You’ve got the invitations sent, the venue booked, and a mom-to-be who deserves the prettiest tables in town. So why does picking boy baby shower centerpieces feel harder than it should?
Blue balloons alone won’t cut it anymore. Guests have seen a hundred versions of that on Pinterest already. What makes a table memorable is a mix of texture, a little humor, and one or two pieces nobody else thought to make.
Below you’ll find 20 centerpiece ideas sorted from five-minute wins to a weekend project worth bragging about. Grab what fits your theme, your budget, and how much glue gun time you’re willing to put in.
1. Blue Balloon Cascade in a Wooden Crate
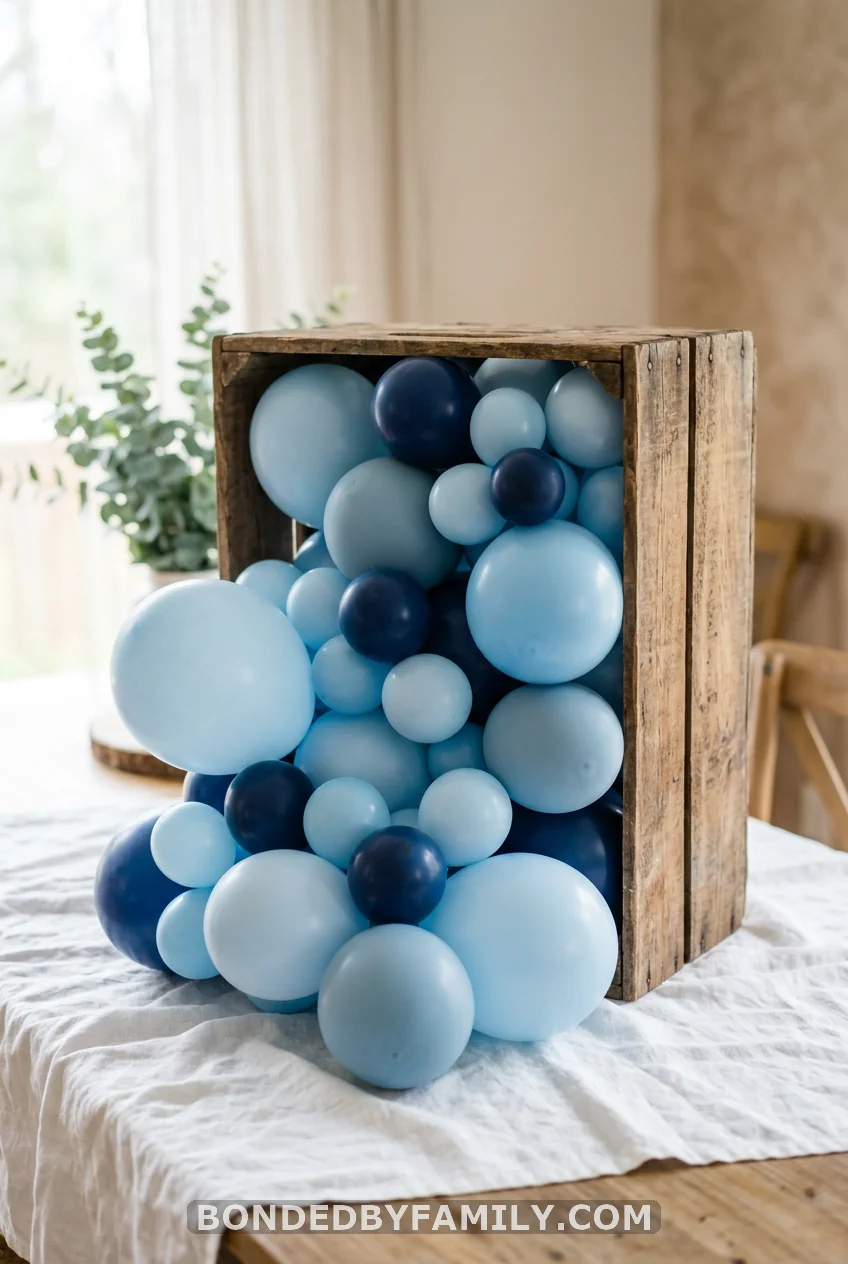
Skip the balloon arch. A small crate stuffed with balloons in three shades of blue costs less than ten dollars and takes four minutes to build. Weight the crate with a bag of rice underneath so it doesn’t tip when someone bumps the table.
2. Teddy Bear and Eucalyptus Basket
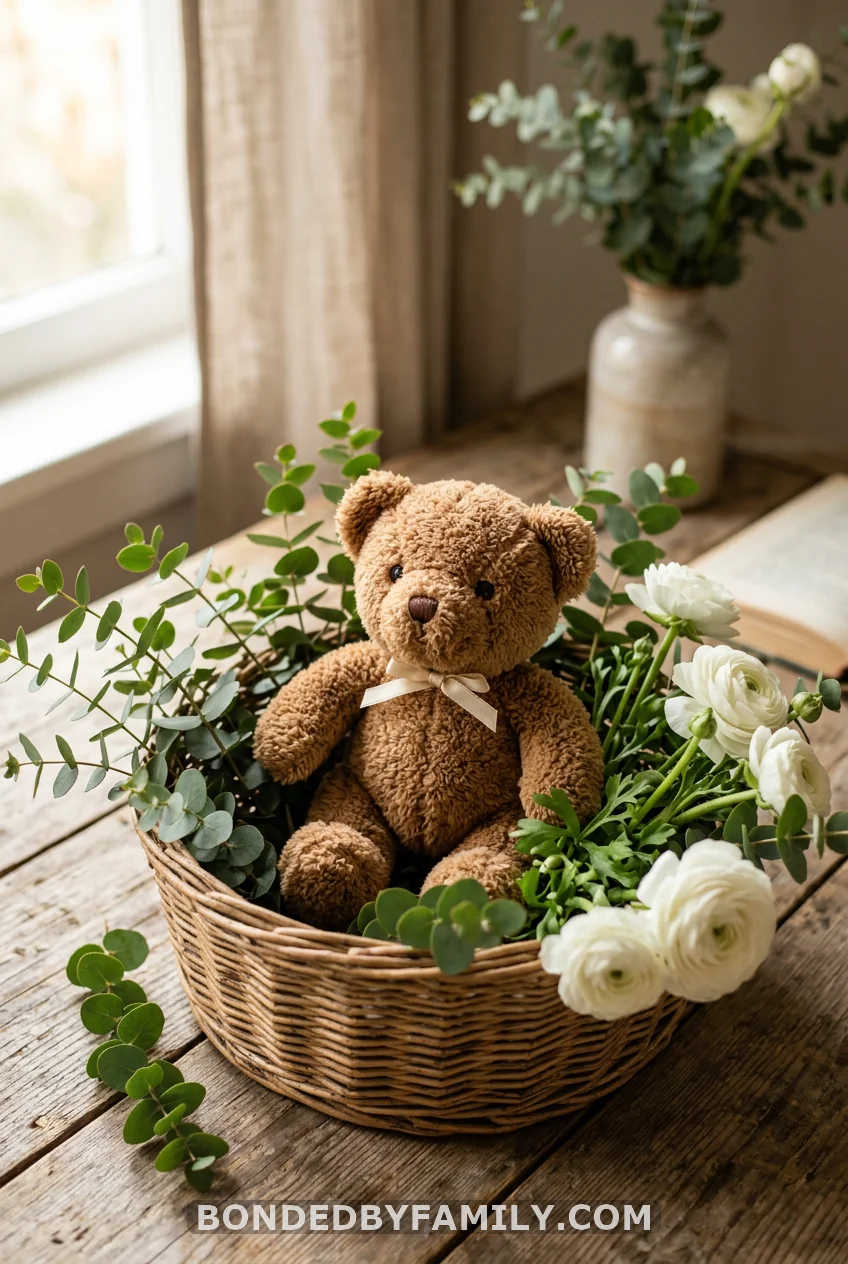
Teddy bear themes work because they’re gender-neutral enough to reuse for a first birthday later. Tuck a small bear into a basket lined with eucalyptus and a few white blooms. Add a wood-slice base underneath for extra height, and prop the bear against the basket handle so it stays upright through the whole party.
3. DIY “Little Man” Top Hat Centerpiece
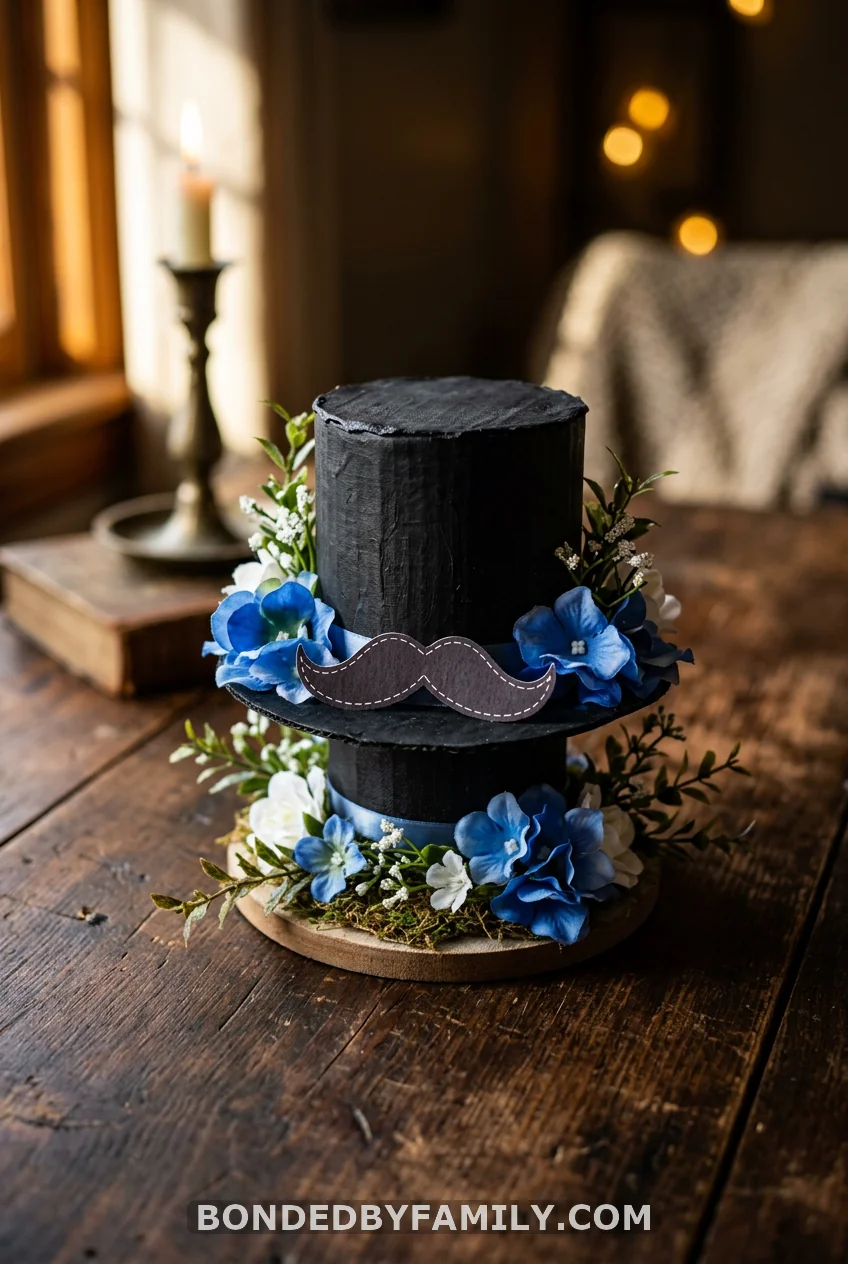
This is the one worth setting aside a real afternoon for, and it’s the closer table decoration in a “little man” themed shower. Guests remember it because nobody expects a centerpiece built from a snack carton to look this polished.
What You’ll Need
- One empty single-serve container with a round base (a small oatmeal or potato-chip carton works)
- Black craft foam, one sheet
- Black acrylic paint and a small brush
- Floral foam, one block
- Faux blue flowers, one bundle (roughly 12 stems)
- Black ribbon, half a yard
- A printable mustache cutout (search “mustache silhouette printable” or cut your own from cardstock)
- Hot glue gun and glue sticks
- A pencil and a small bowl to trace a circle
Step-by-Step Build
- Clean and dry the carton completely. Peel off any labels and scrub away sticky residue.
- Trace the bowl onto the craft foam to make a brim circle, then cut it out with scissors.
- Hot glue the open end of the carton to the center of the foam circle. This becomes the hat’s brim.
- Paint the entire carton black. Let the first coat dry for 20 minutes, then add a second coat if the cardboard shows through.
- Once dry, cut a hole in the top of the foam circle so it slides over the closed end of the carton, hiding the seam.
- Fill the open top of the hat with floral foam, then push in the faux flower stems until the foam is fully covered.
- Wrap the ribbon around the base where the brim meets the hat body, gluing the ends to hide the seam.
- Attach the mustache cutout to a small dowel or skewer and tuck it upright into the floral foam beside the flowers.
Cost Breakdown
| Item | Estimated Cost |
|---|---|
| Craft foam sheet | $2-3 |
| Acrylic paint | $3-4 |
| Floral foam block | $3 |
| Faux flower bundle | $6-10 |
| Ribbon | $2 |
| Printable or cardstock mustache | $0-2 |
| Total per centerpiece | $16-24 |
Common Mistakes to Avoid
Painting the carton before the glue on the brim has fully set is the most common slip. The foam will shift under wet paint and leave you with a crooked hat. Let every glued seam cure for a full ten minutes before you pick up the paintbrush.
The other misstep is overfilling the floral foam block. Too many stems packed in too tightly makes the flowers splay outward instead of standing up, and the whole thing starts to look more like a bouquet explosion than a tidy top hat.
Why This Works
A top hat shape reads as instantly “dapper” without needing a single word of text on the table, which matters if you want photos that don’t feel over-labeled. It also doubles as a diaper cake topper if you build a second one, so the fifteen minutes of extra effort stretches across two décor pieces instead of one.
4. Nautical Anchor in a Galvanized Bucket
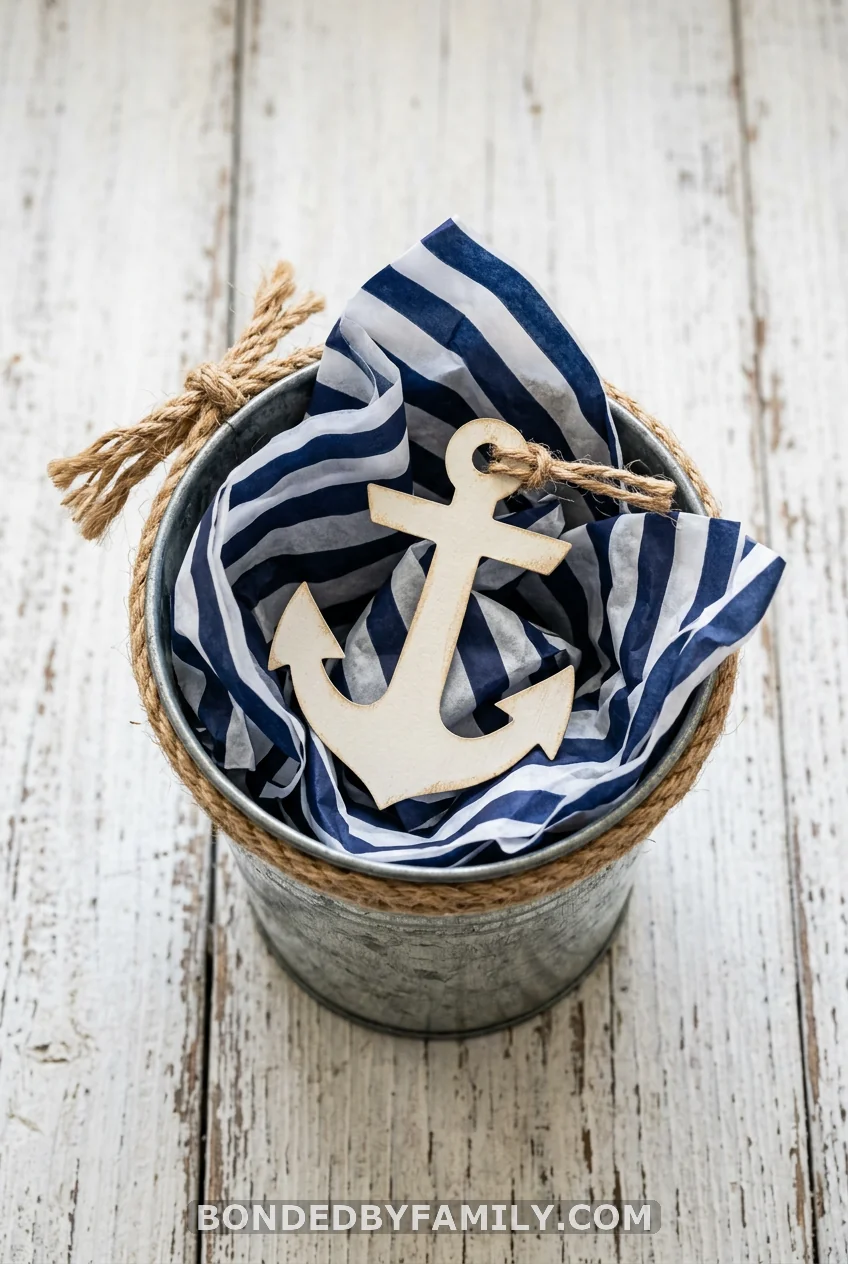
A five-dollar bucket, some rope from the hardware store, and a paper anchor cut on a home cutting machine gets you a nautical table without ordering a single prop online.
5. Safari Animal Cluster with Greenery
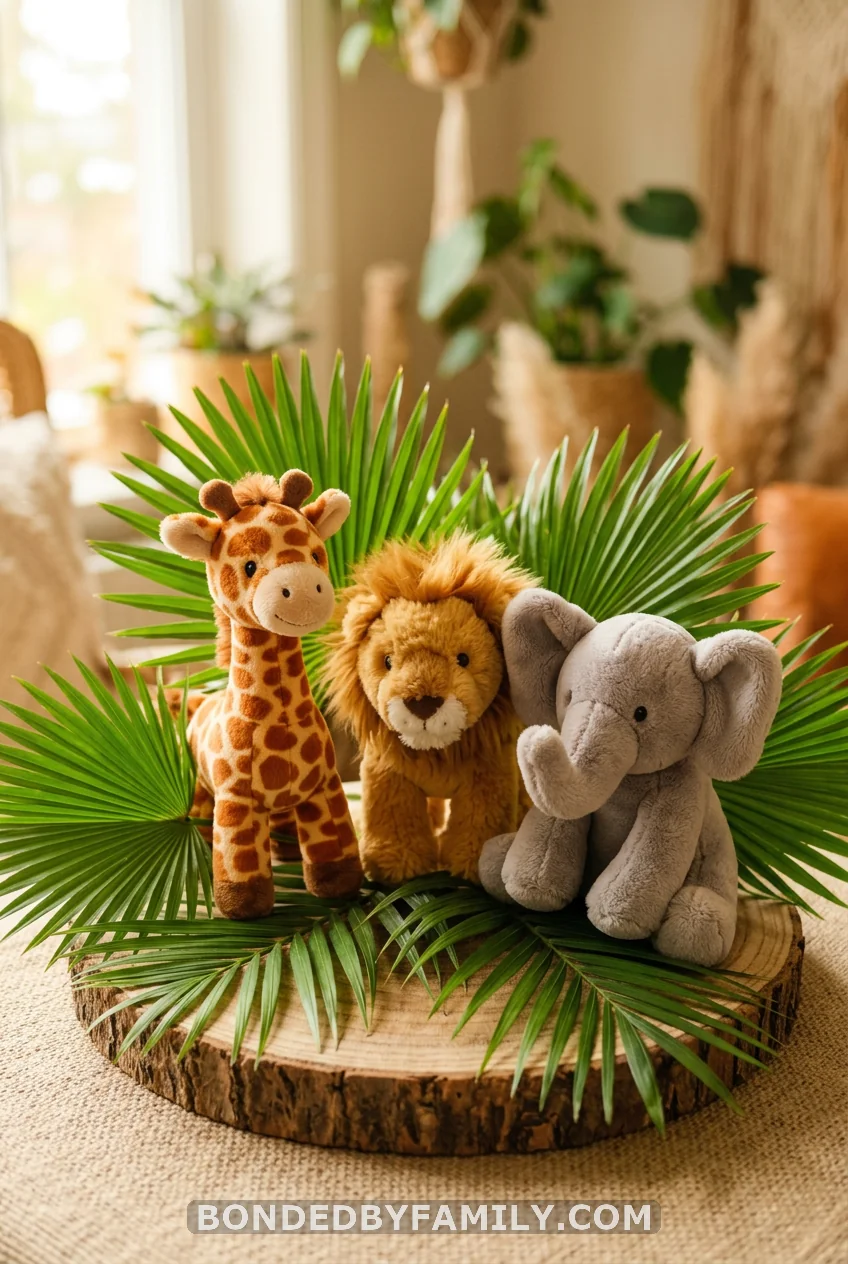
Buy a bag of small stuffed safari animals from a craft store and cluster three or four of them on a wood slice with fresh or faux palm leaves tucked between them. Guests can take one animal home as a favor at the end of the night, which saves you a separate favor budget line.
6. Dinosaur Egg Nest
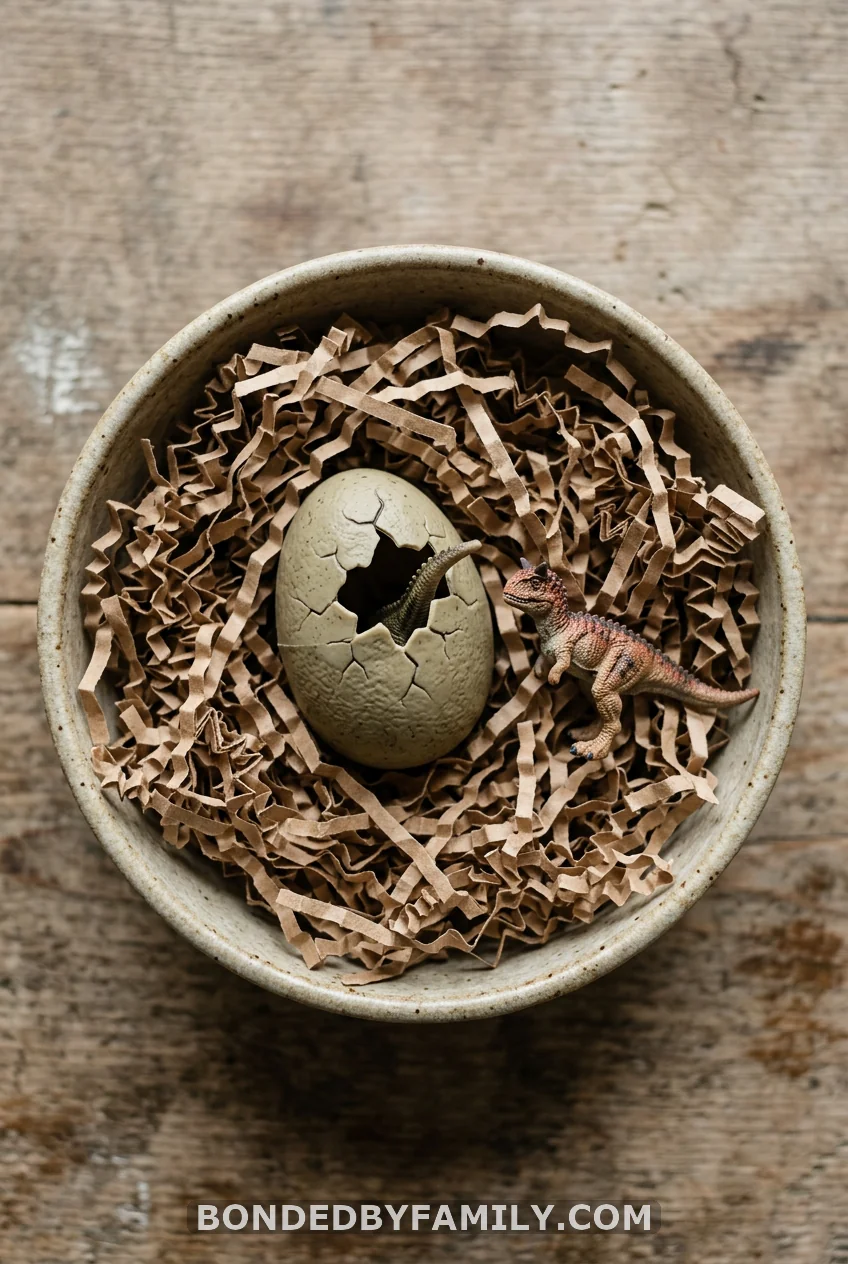
Crack open a plastic dinosaur egg toy and nestle it into a bed of shredded brown paper inside a low bowl. Add a tiny plastic dinosaur peeking out from beside the nest. Total build time: under three minutes, and it works even for parents who insist they’re “not doing another bear theme.”
7. Superhero Comic Book Stack
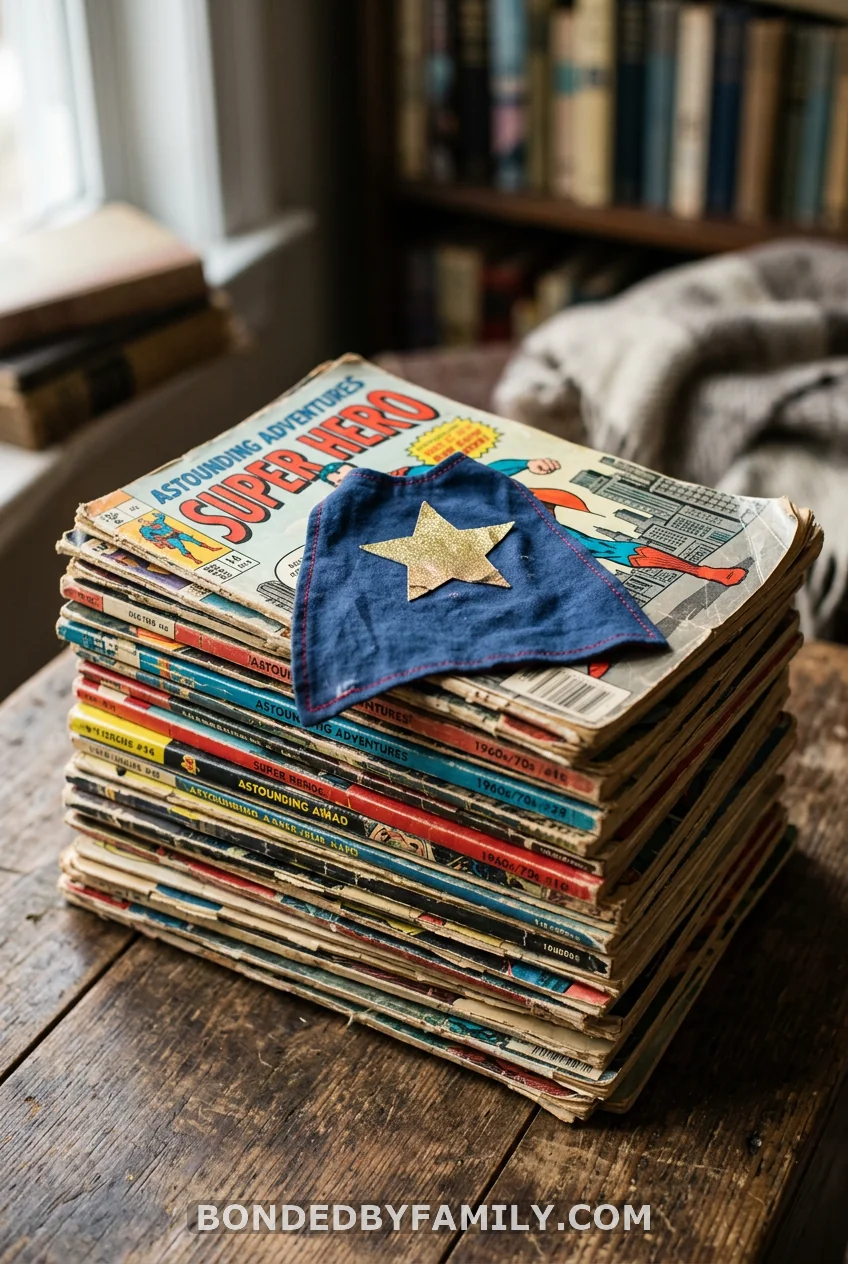
Stack a few dollar-store comic books (or print blank comic covers yourself) and top the stack with a tiny felt cape draped over the corner. Add a small starburst cutout leaning against the base for a comic-panel feel.
8. Woodland Fox and Antler Arrangement
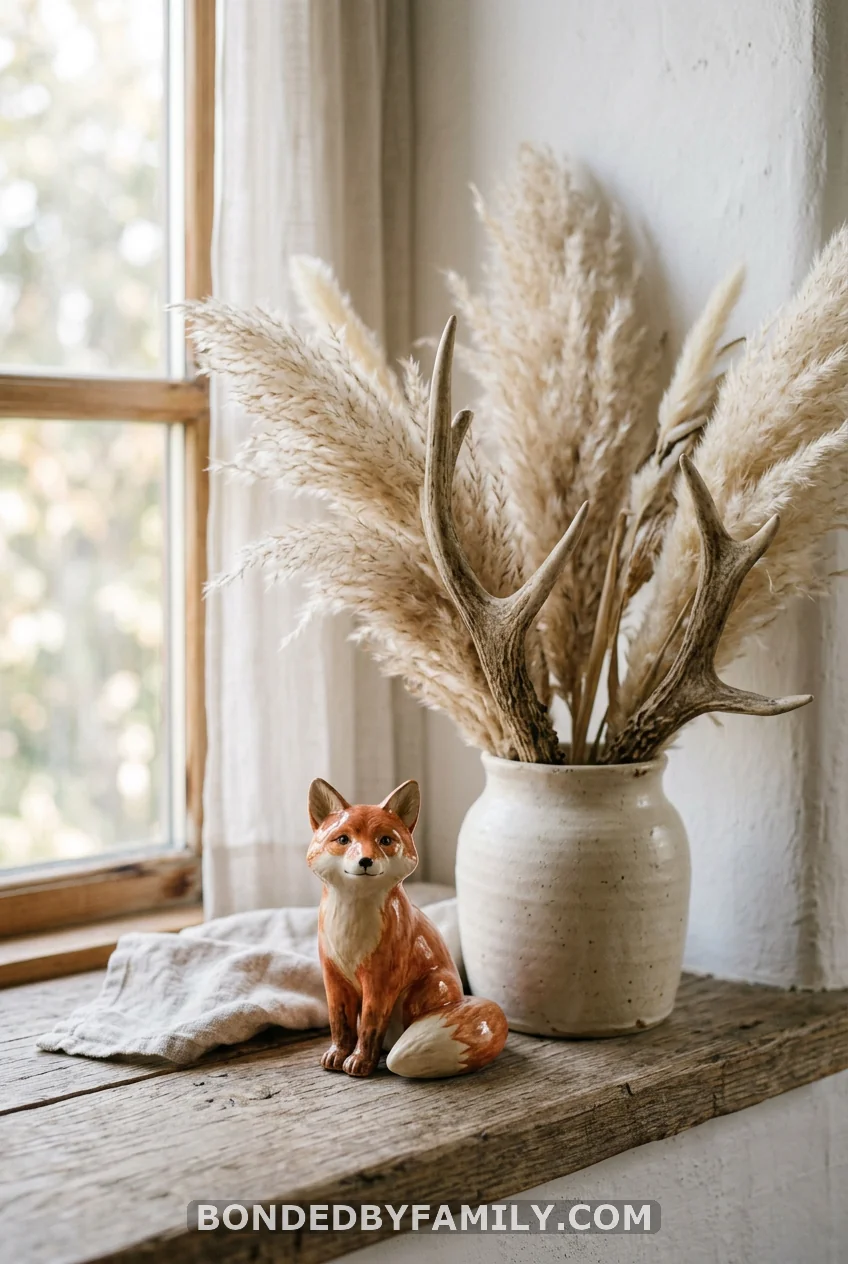
Woodland themes lean neutral, which makes this one of the few centerpieces here that photographs beautifully even in a room with mismatched furniture. Pair a small fox or fawn figure with dried pampas grass and a couple of small branches for texture.
9. Prince Crown in a Gold Bucket
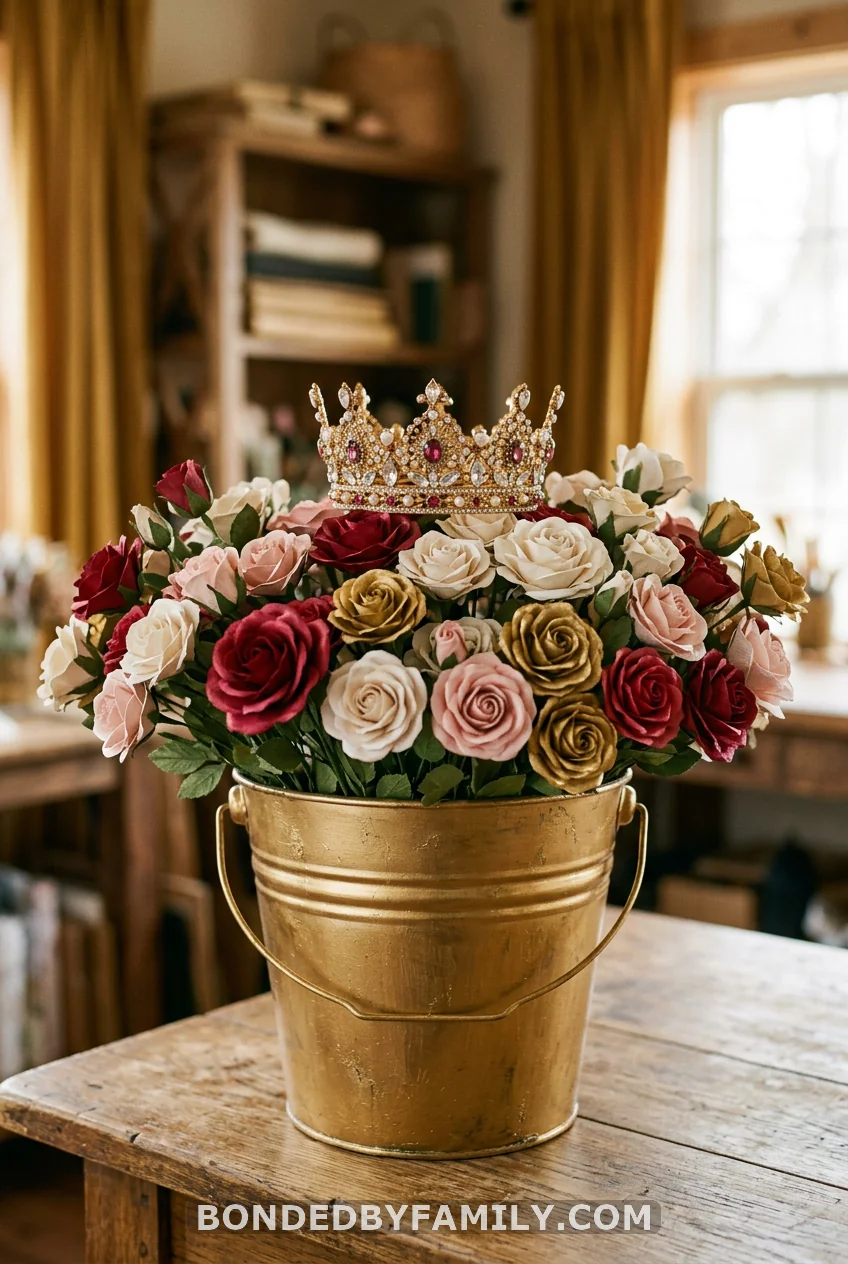
A gold-painted bucket, a handful of paper roses, and a small plastic or cardstock crown balanced on top gives you a royal-themed centerpiece for under twelve dollars. Spray paint dulls fast under fluorescent lighting, so give it a light second coat if the party runs during the day.
10. Construction Truck Flower Pot
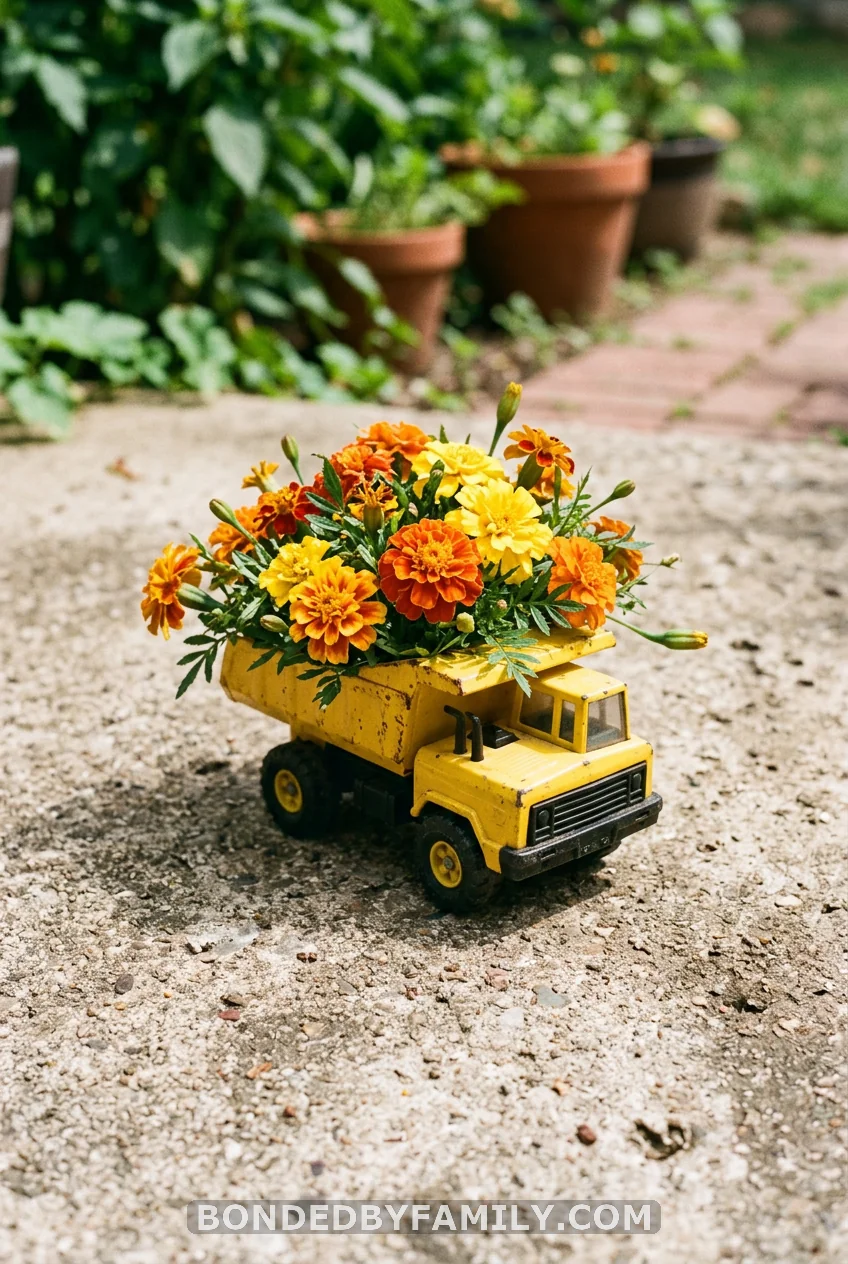
A toy dump truck with the bed filled with faux marigolds or mums turns into a centerpiece that doubles as a favor. Add a strip of caution tape tied around the base for guests who are leaning hard into the construction theme.
11. Camping Tent Mini Scene
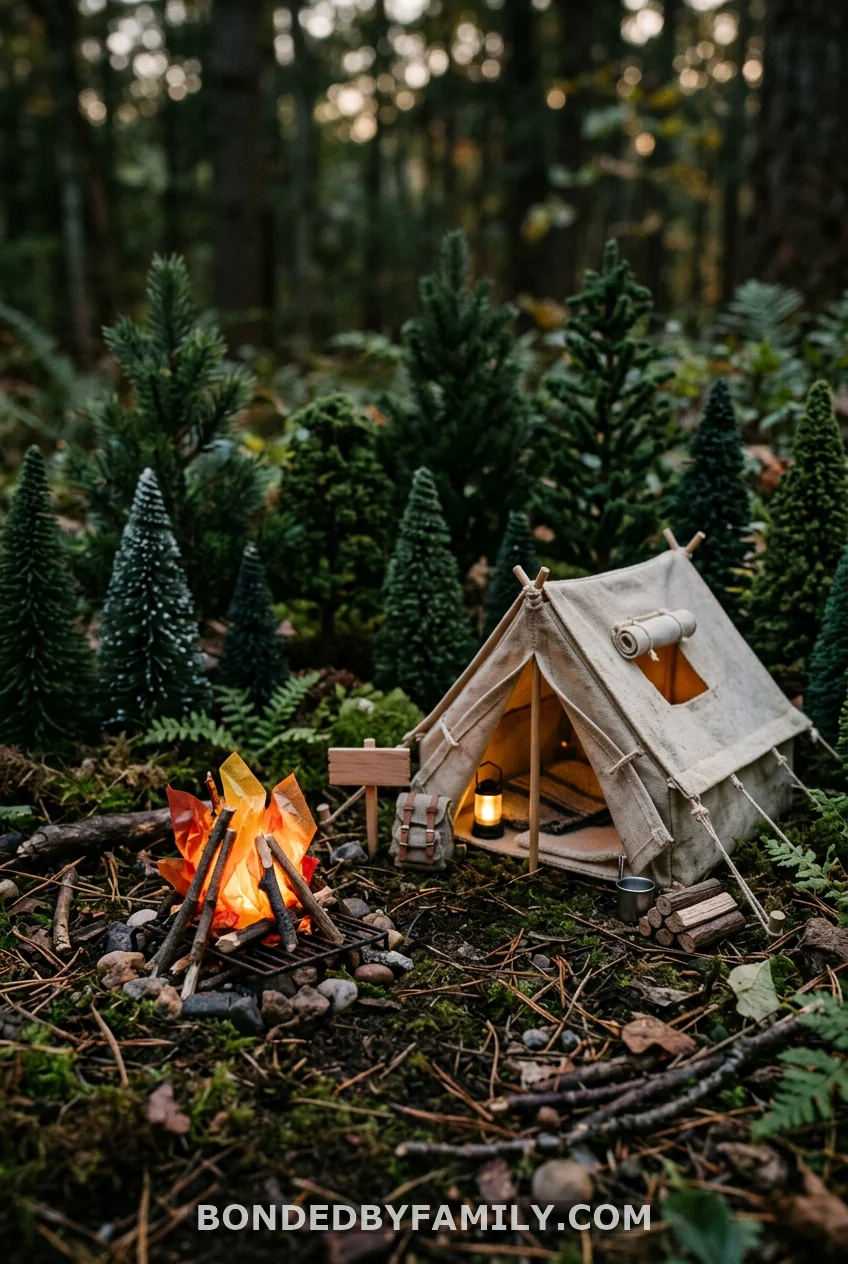
Build a tiny scene with a mini canvas tent (craft stores sell these for tabletop décor), a few faux pine sprigs, and a small pretend campfire made from twigs stacked with orange tissue paper tucked between them for “flames.”
12. Hot Air Balloon Basket
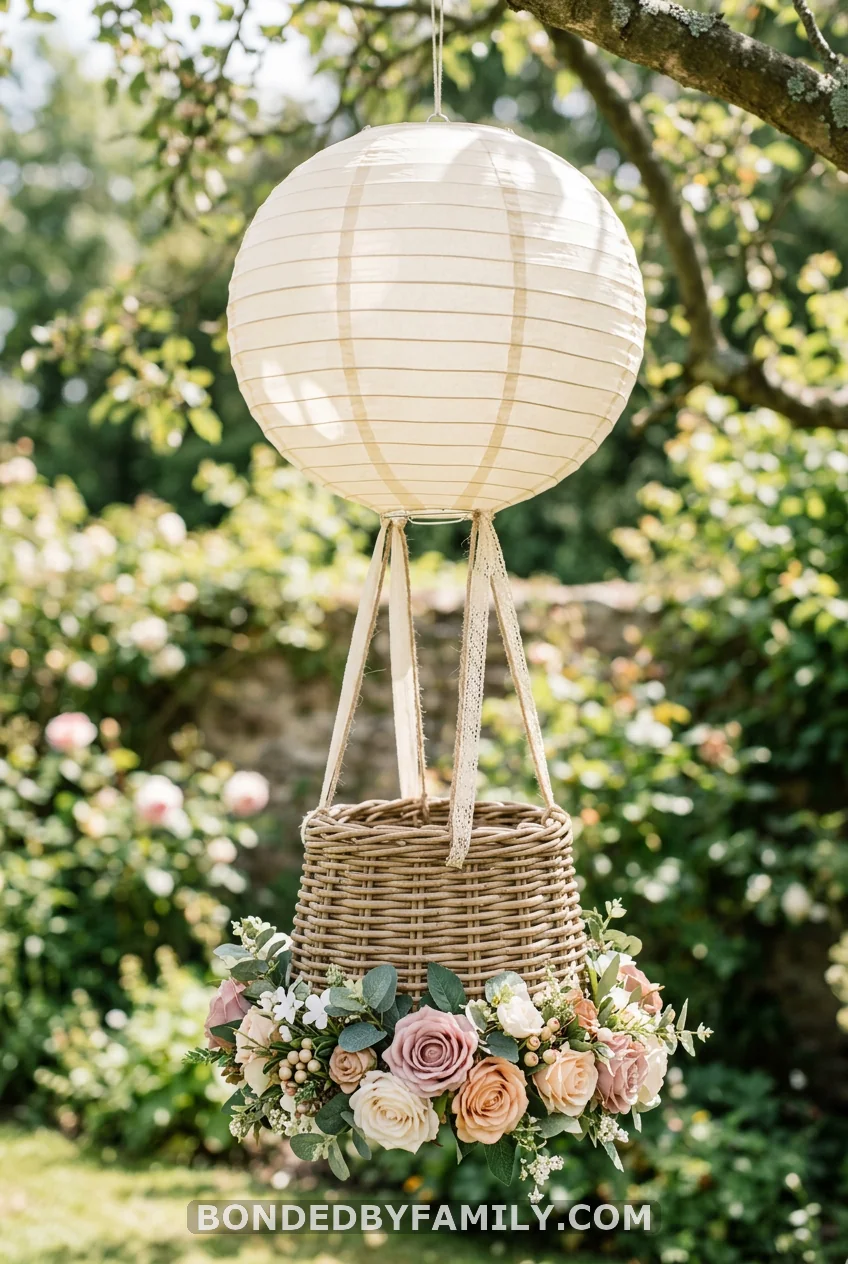
Turn a small woven basket upside down, glue three ribbon strings to the rim, and attach a round paper lantern above it painted or wrapped to look like a balloon. Tuck faux flowers around the base of the basket to hide the glue points.
13. Myth: You Need Fresh Flowers for a Table That Looks Put Together
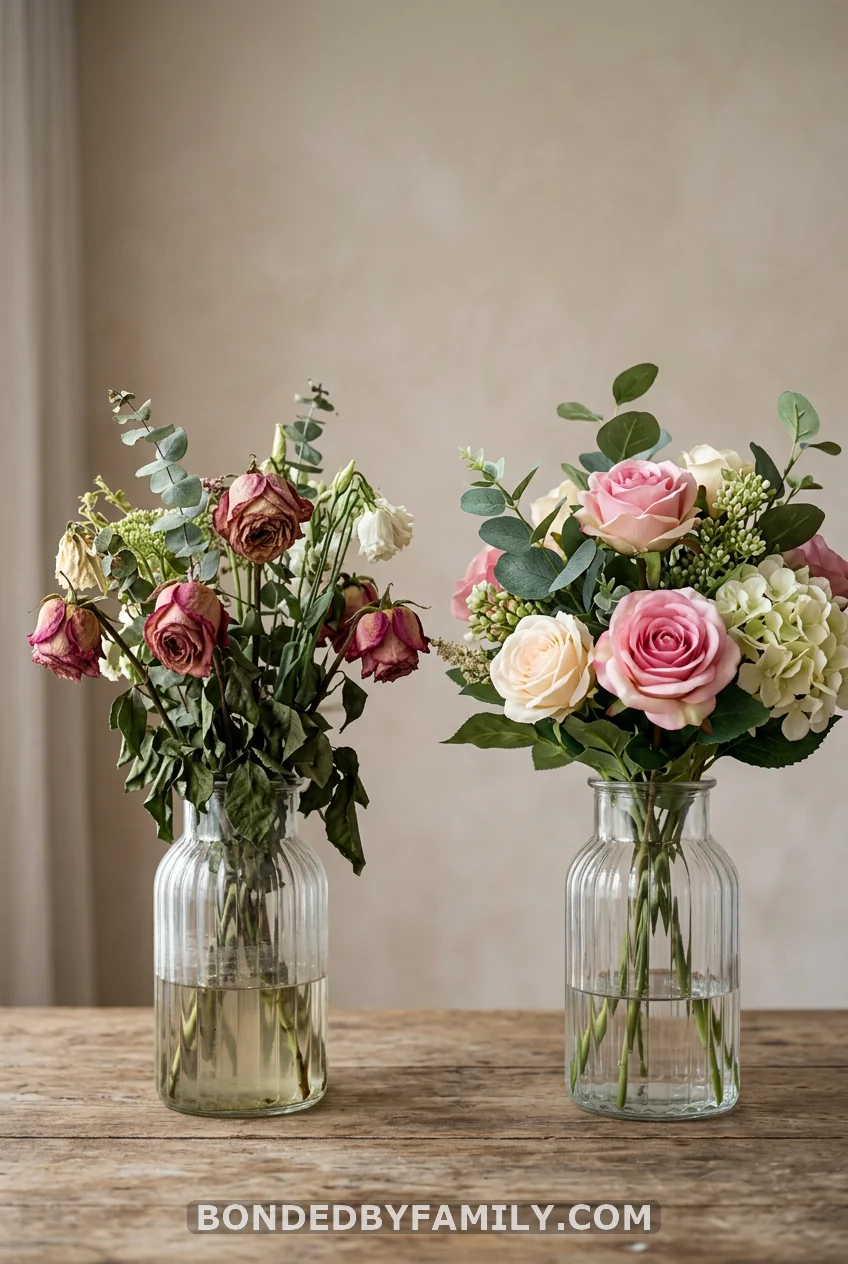
Fresh flowers wilt by hour three of a shower, especially outdoors in warm weather, and florist bouquets for a full table run $40 or more per arrangement. The centerpieces on this list built with faux stems, from the fox arrangement to the top hat build, hold their shape for the entire event and pack away for reuse at the next shower. If you want the fresh-flower look without the fresh-flower price tag, buy silk stems from a craft store during a sale week and trim them to size with wire cutters rather than ordering pre-made arrangements.
14. Monochrome Blue Vase Trio
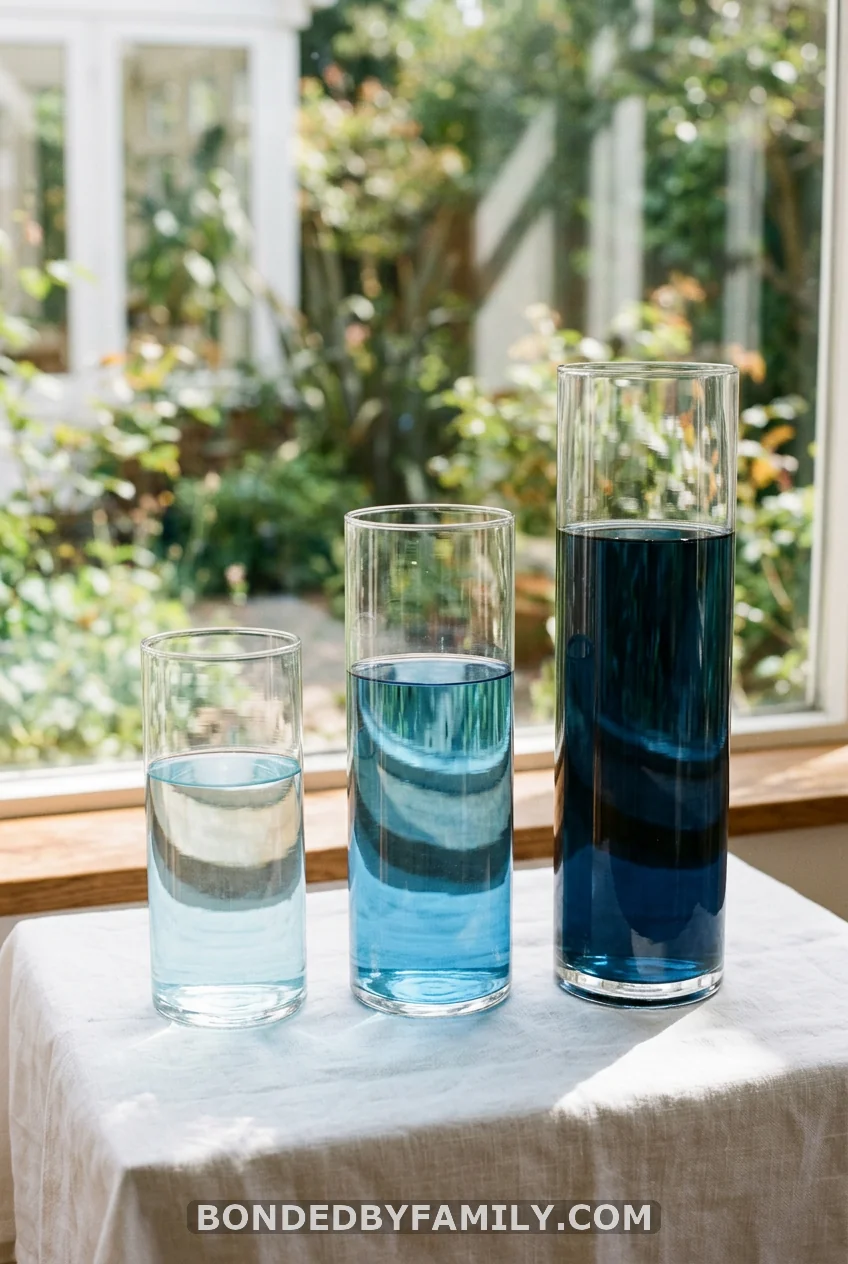
Three glass vases in ascending heights, filled with water tinted a different shade of blue in each, lined up down the center of the table. No flowers needed. It photographs like a color gradient and costs about six dollars in food coloring and dollar-store vases.
15. Rubber Duck Bath Tub
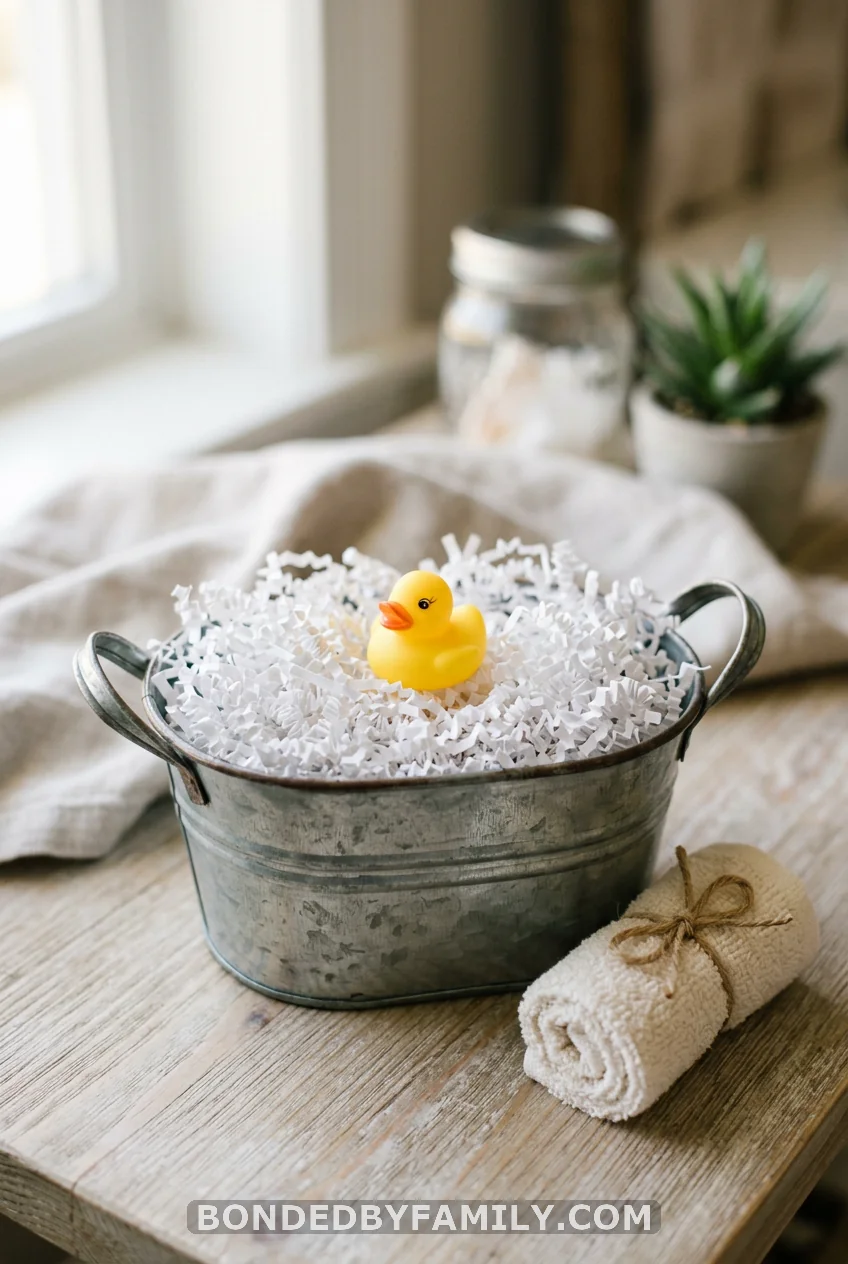
A miniature tin tub (or a repurposed soap dish) filled with a few inches of shredded paper “bubbles” and a rubber duck floating on top. Add a tiny rolled washcloth beside it for scale. Guests find this one weirdly hard to stop touching.
16. Elephant Peanut Bucket
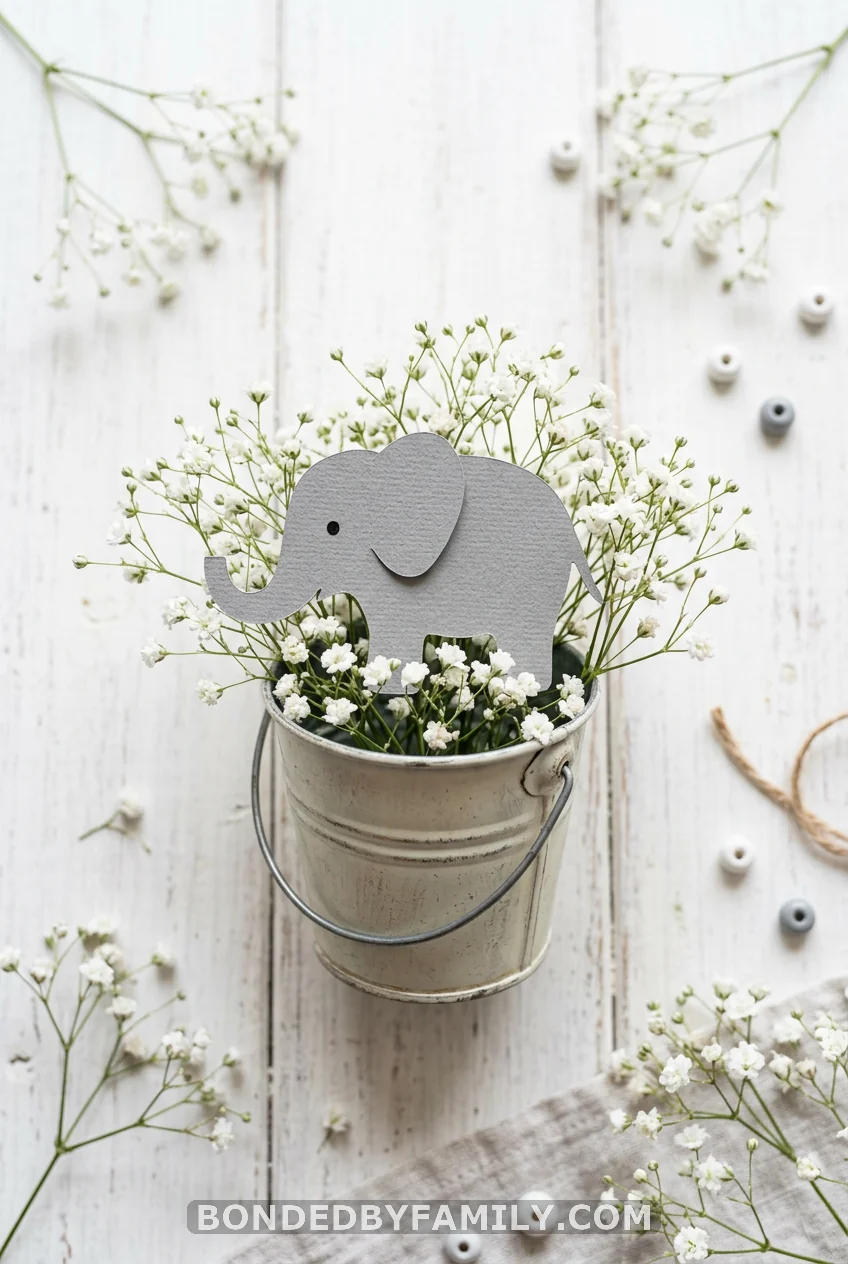
A vintage-style peanut tin, a paper elephant glued to a skewer, and a handful of baby’s breath tucked around the base makes a soft gray-and-white table that pairs well with almost any secondary color scheme you’ve already picked.
17. Under the Sea Coral Bowl
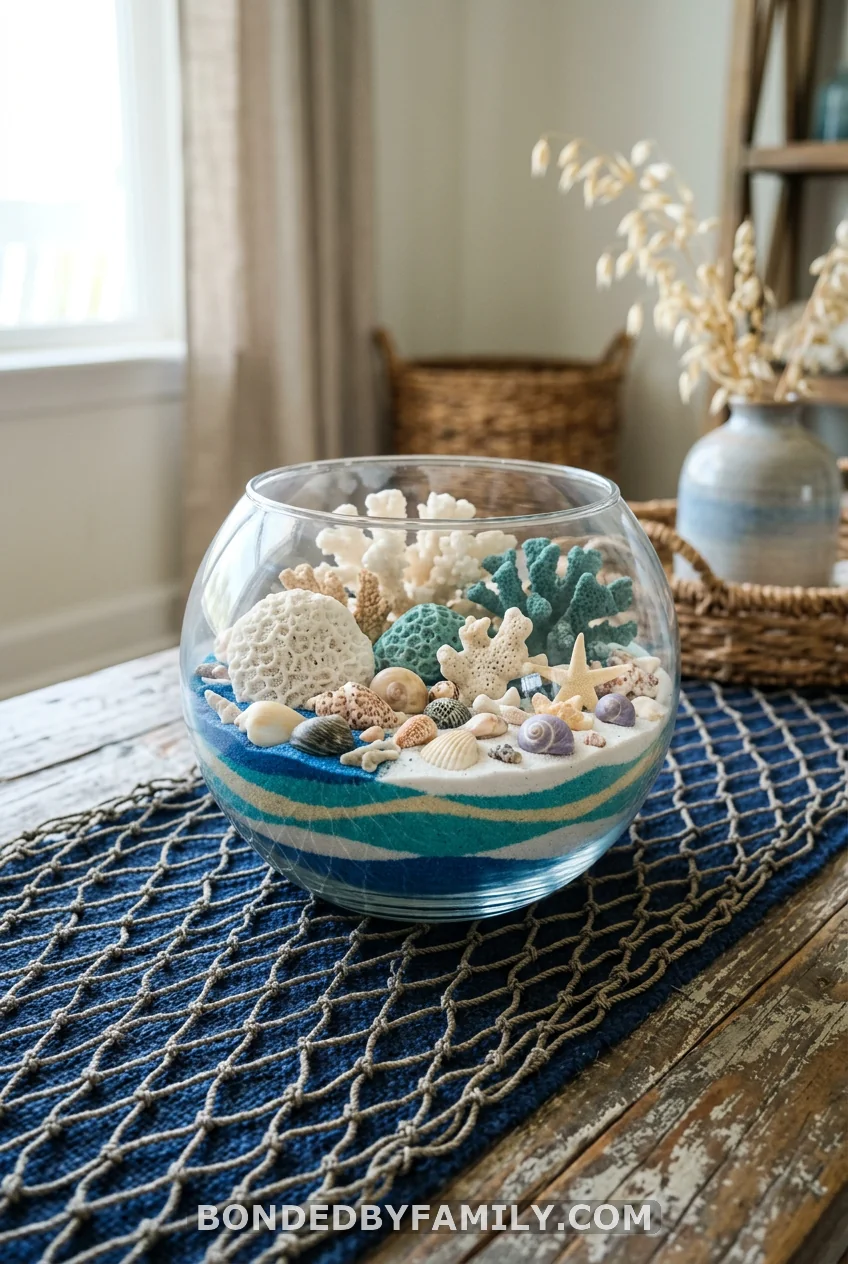
Layer colored sand in a clear bowl, then add faux coral pieces and a couple of small shells on top. Set the bowl on a piece of netting or tulle to fake a “sea foam” texture underneath without buying an actual table runner. This one works especially well if you’re planning an Under the Sea themed baby shower.
18. Golf-Themed Mini Green
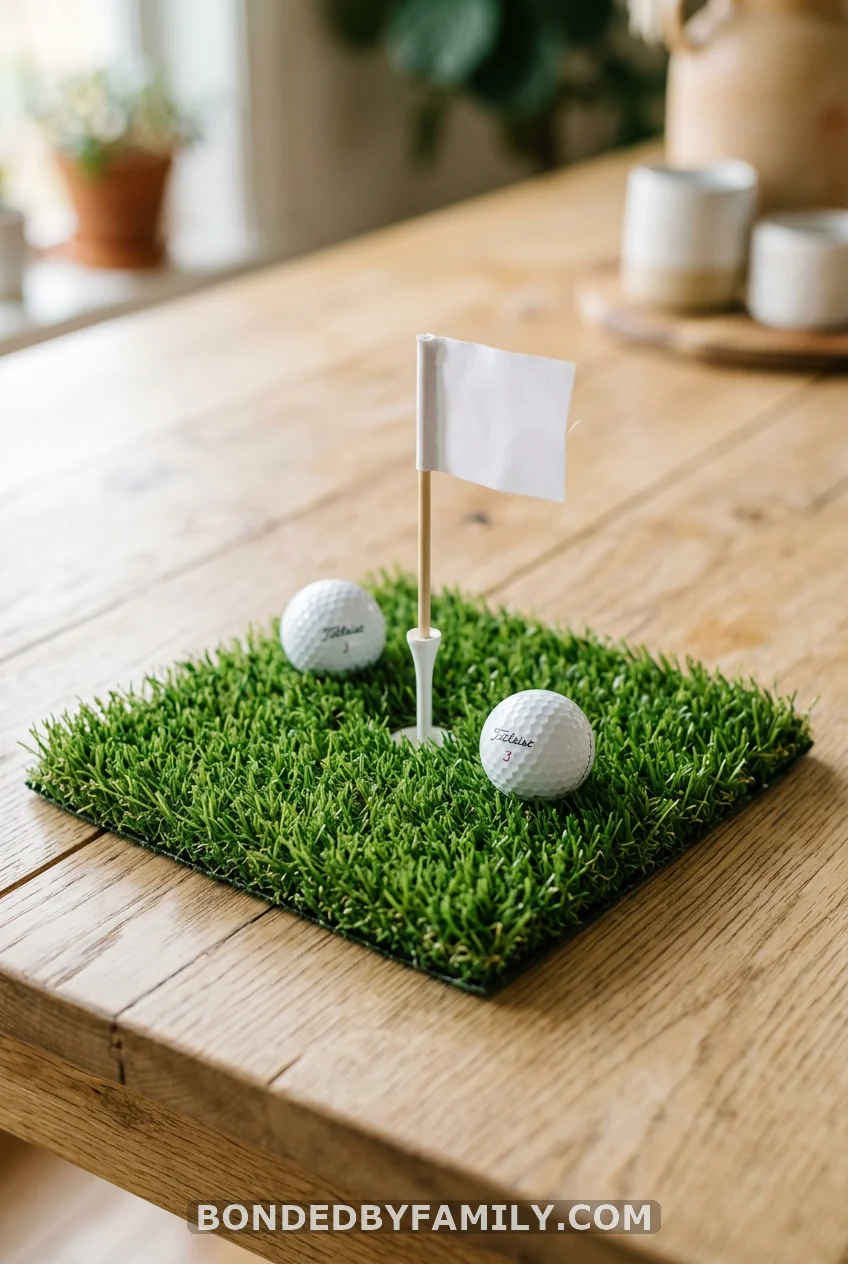
A small square of artificial turf, a golf tee stuck upright with a mini flag attached, and two or three golf balls scattered nearby. This one works especially well if the dad-to-be has strong opinions about his own shower décor.
19. Farm Barnyard Wagon
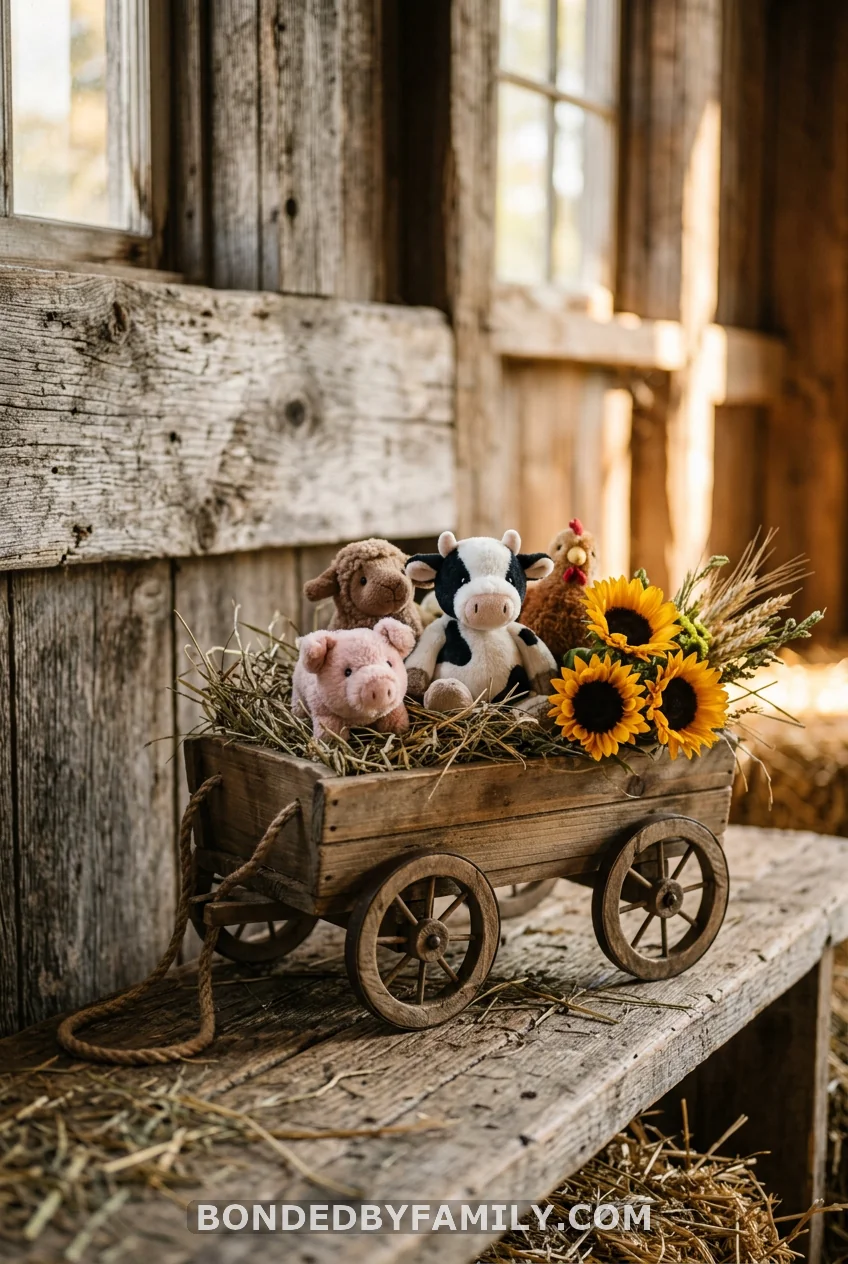
Fill a small wooden toy wagon with a handful of real or faux hay, tuck in two or three plush farm animals, and add a couple of sunflower stems leaning against the side. This centerpiece pulls double duty as a photo prop near the gift table.
20. World Traveler Globe and Passport Stack
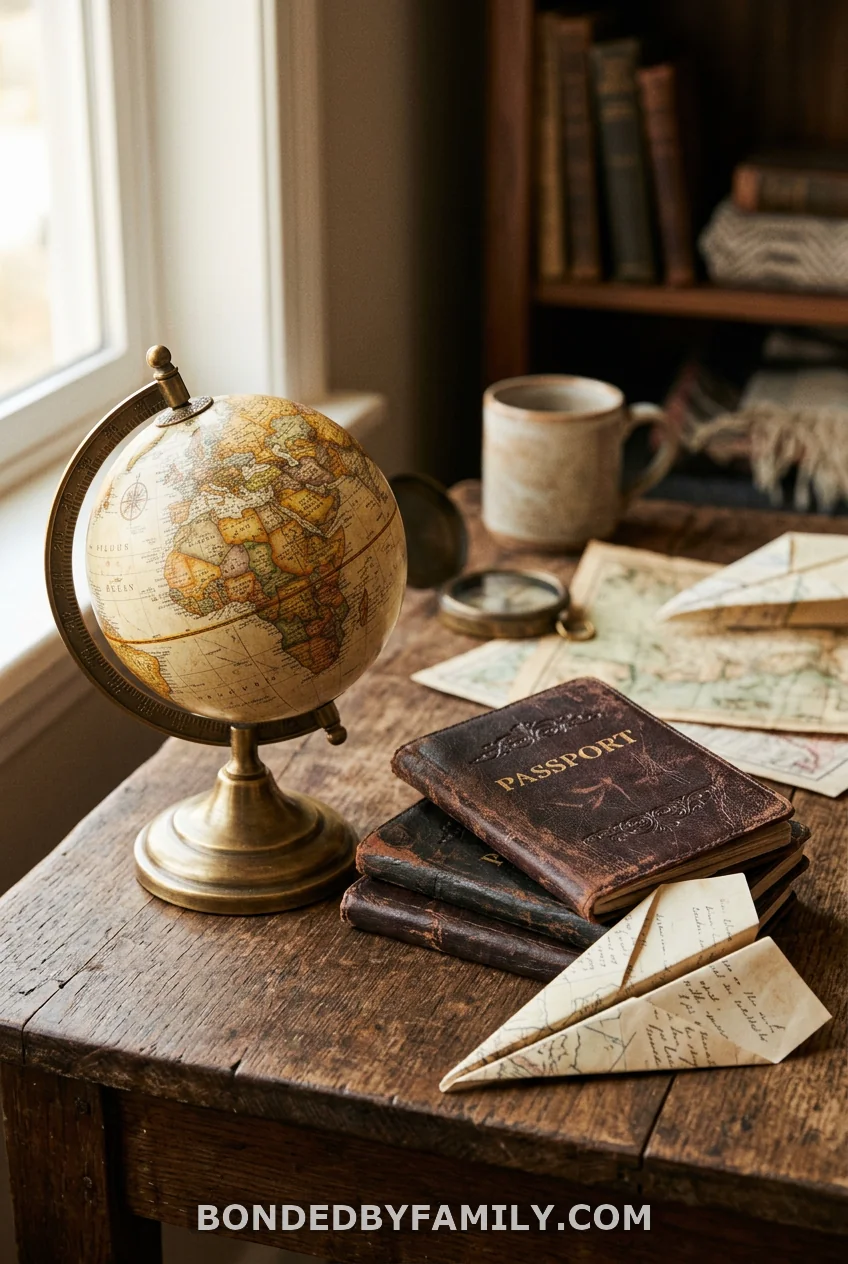
Close the table lineup with a small globe, a stack of blank passport-style booklets tied with twine, and a folded paper airplane leaning against the base. It reads as sophisticated rather than juvenile, which makes it a good pick for the gift table or the head table where the parents-to-be sit.
Choosing the Right Centerpiece for Your Table
Match the centerpiece height to your table size before anything else. A tall arrangement on a narrow table blocks conversation across it, while a flat piece on a long banquet table disappears from six feet away. Aim for pieces under 14 inches tall on tables where guests will be talking across from each other, and save the taller builds like the hot air balloon basket for buffet or gift tables where height draws the eye without blocking anyone’s view.
Budget next. If you’re covering eight or ten tables, the five-minute builds like the balloon cascade or the duck tub keep the per-table cost low while still giving you variety. Save the top hat build for one or two hero tables, like the head table or the dessert table, where the extra effort gets seen up close.
Frequently Asked Questions
How many centerpieces do I need for a baby shower?
Plan for one centerpiece per table, plus one slightly larger piece for the gift table or dessert table if you have the budget. For a shower with 6-8 guest tables, that usually means 7-9 total centerpieces.
What’s the cheapest boy baby shower centerpiece idea?
The monochrome blue vase trio and the rubber duck bath tub both come in under seven dollars per table, since they rely on dollar-store containers and materials you may already have on hand.
Can I reuse these centerpieces for a first birthday party?
Teddy bear, safari, and woodland themes transfer well to a first birthday since they aren’t gender-specific to a newborn shower. Store the pieces in a labeled box with the faux flowers removed to keep the shapes from crushing.
Do I need matching centerpieces on every table?
No. Mixing two or three themes, like teddy bear and nautical, keeps a longer party from feeling monotonous, as long as you repeat one shared color (usually blue) across every table so the room still feels cohesive.
How far in advance can I make these centerpieces?
Anything built with faux flowers or foam, including the top hat and the fox arrangement, can be made 2-3 weeks ahead and stored in a box away from direct sunlight. Save fresh elements, like real hay or fresh greenery, for the day before.
Twenty ideas is plenty to mix and match into a table lineup that feels planned instead of thrown together the night before. Pick your hero piece, fill in the rest with the quick builds, and let the mom-to-be enjoy a shower that looks like someone cared.