It’s 94 degrees outside. The kids are circling the kitchen like little sharks, and the last thing you want is to flip on the oven and turn the house into a sauna. Summer cooking activities for kids fix both things at once. They soak up a whole afternoon, and almost none of them need heat.
I’ve made every one of these with sticky-handed helpers of my own. Some are a five-minute fix for a boredom meltdown. One is a shake-it-yourself ice cream the kids will beg to repeat until your arms give out. A few feel like a science experiment you happen to be allowed to eat. By the end of this list, you’ll have a no-oven plan for the whole season, sorted from grab-and-go to full kitchen adventure.
A quick promise: I won’t pad this with “let your kid stir the muffin batter.” You came for real ideas. Here they are.
1. Ice Cream in a Bag (The One They’ll Demand on Repeat)
This is the heavyweight champion of the whole list, and the numbers back it up. It’s part chemistry lesson, part dessert, and it runs entirely on shaking. No oven, no machine, no freezer, wait. The salt drops the ice well below freezing, the cream chills fast, and in about ten minutes of shaking, you’ve got soft-serve.
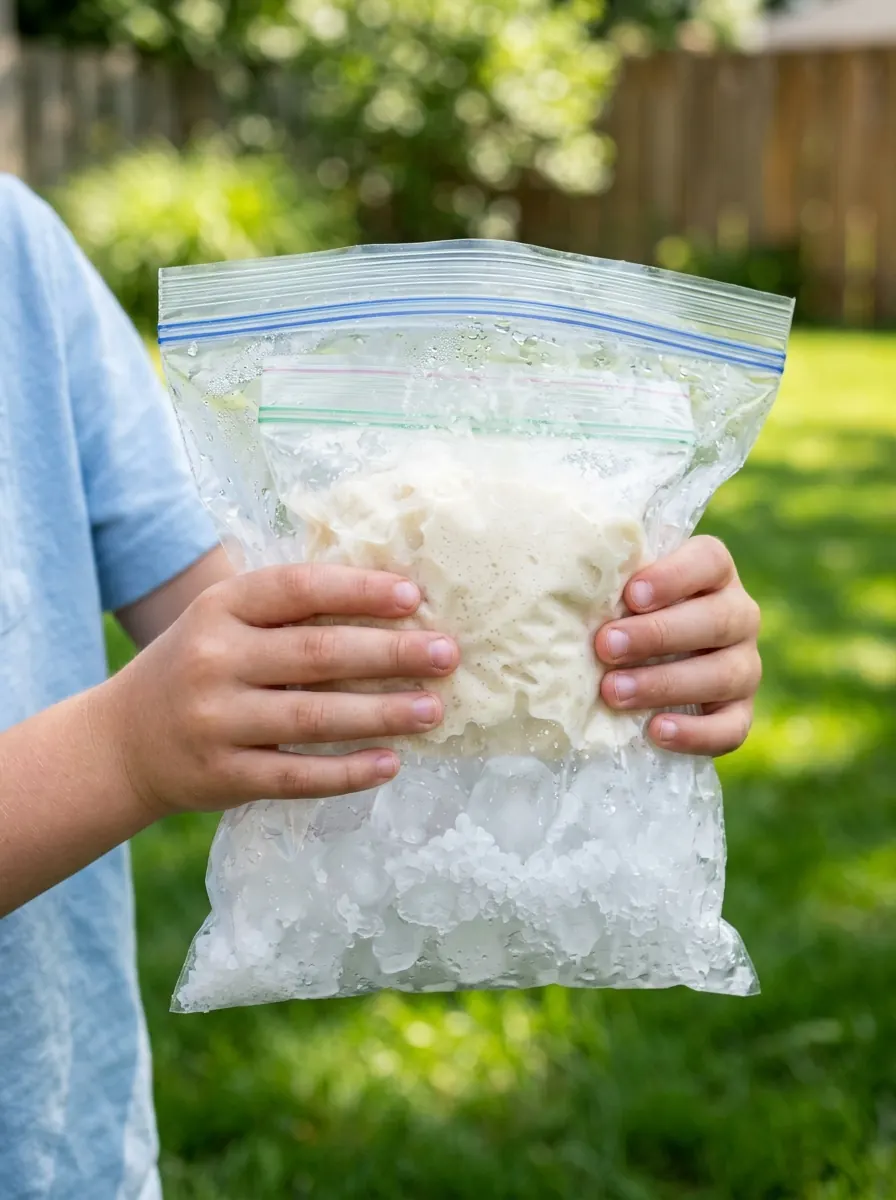
Here’s why it earns the top spot: it works as a quiet solo project or a backyard relay with a crowd. You can toss the bag, pass it, or dance with it. The cold does the work while the kids do the fun.
Why It Works
Plain ice sits at 32°F (0°C), which isn’t cold enough to freeze cream quickly. Add salt, and the ice has to pull heat from everything around it to melt, dropping the mix to roughly 0°F. That steep cold is what turns liquid cream into ice cream in minutes. Tell the kids that part. Watching the “why” land is half the joy.
What You’ll Need (Per Child)
| Item | Amount | Rough Cost |
|---|---|---|
| Half-and-half or heavy cream | 1/2 cup | $0.40 |
| Sugar | 1 tablespoon | $0.05 |
| Vanilla extract | 1/4 teaspoon | $0.10 |
| Ice cubes | 3–4 cups | $0.00 (your freezer) |
| Coarse kosher or rock salt | 1/3 cup | $0.20 |
| Pint zip-top bag (inner) | 1 | $0.10 |
| Gallon zip-top bag (outer) | 1 | $0.15 |
Total: under $1.50 a serving. A box of name-brand freezer bags (Ziploc Gallon Freezer, the thick ones) holds up to the salt and shaking far better than thin sandwich bags, which split. That’s worth the extra dime.
Step-by-Step
- In the pint bag, combine the cream, sugar, and vanilla. Press out the air and seal it tight. Run a finger along the seal to double-check.
- Fill the gallon bag halfway with ice. Pour the salt over the ice.
- Nest the sealed pint bag inside the gallon bag, surrounded by the salted ice. Seal the gallon bag.
- Shake. Toss it between your hands, pass it around, and set a timer for 10 minutes. The bag gets very cold, so wrap it in a kitchen towel or wear gloves.
- Pull out the inner bag, rinse the salty outside under the tap, snip a corner, and squeeze the ice cream into a cup.
Common Mistakes to Avoid
- Thin bags. They leak saltwater into the cream and ruin it. Use freezer-grade.
- Skipping the towel. Little hands hate the cold and quit early. Wrap the bag.
- Table salt instead of coarse salt. It dissolves too fast. Kosher or rock salt holds the chill longer.
- Under-shaking. If it’s still soupy at ten minutes, the bag wasn’t cold enough. Add more salt and ice and keep going.
Pro Move
Set out little bowls of mix-ins first: mini chocolate chips, crushed cookies, sprinkles, and a swirl of jam. Each kid customizes their own. Suddenly, one recipe becomes a build-your-own bar, and the squabbling stops.
2. Solar-Oven S’mores (Let the Sun Do the Cooking)
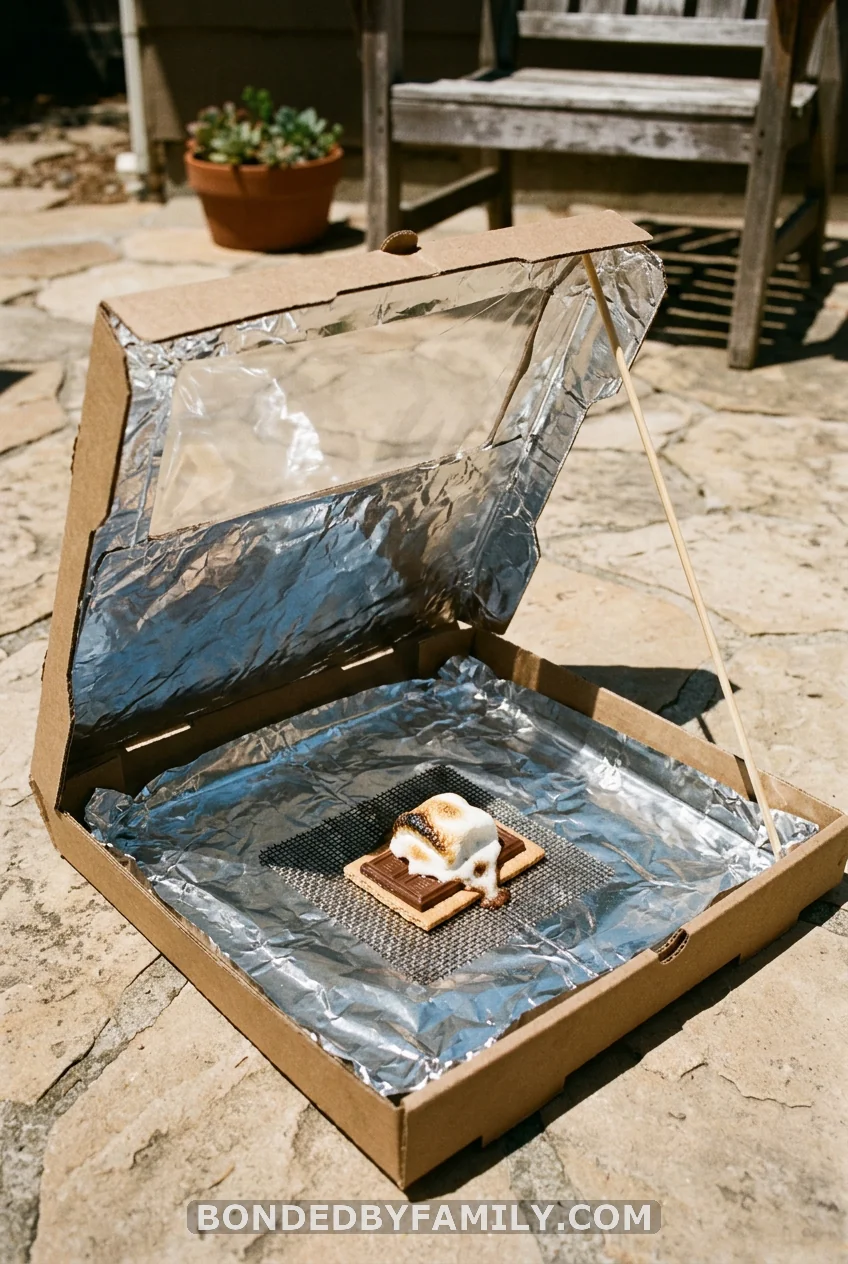
This one turns the summer heat into the whole point. A foil-lined pizza box becomes a tiny solar oven, and the kids learn that sunlight is energy you can aim. The marshmallow softens, the chocolate slumps, and nobody touches a flame.
Cut a flap in the lid, line the inside with foil, tape clear plastic wrap over the opening to trap heat, and angle the foil flap to bounce sun onto the food. Set it in the hottest spot you’ve got and wait 30 to 60 minutes. Yes, it’s slower than a campfire. That’s the lesson: solar cooking is patient cooking.
While they wait, send them to track how the shadow moves and re-aim the flap. You’ve just smuggled in a physics lesson disguised as dessert.
3. Frozen Yogurt Bark
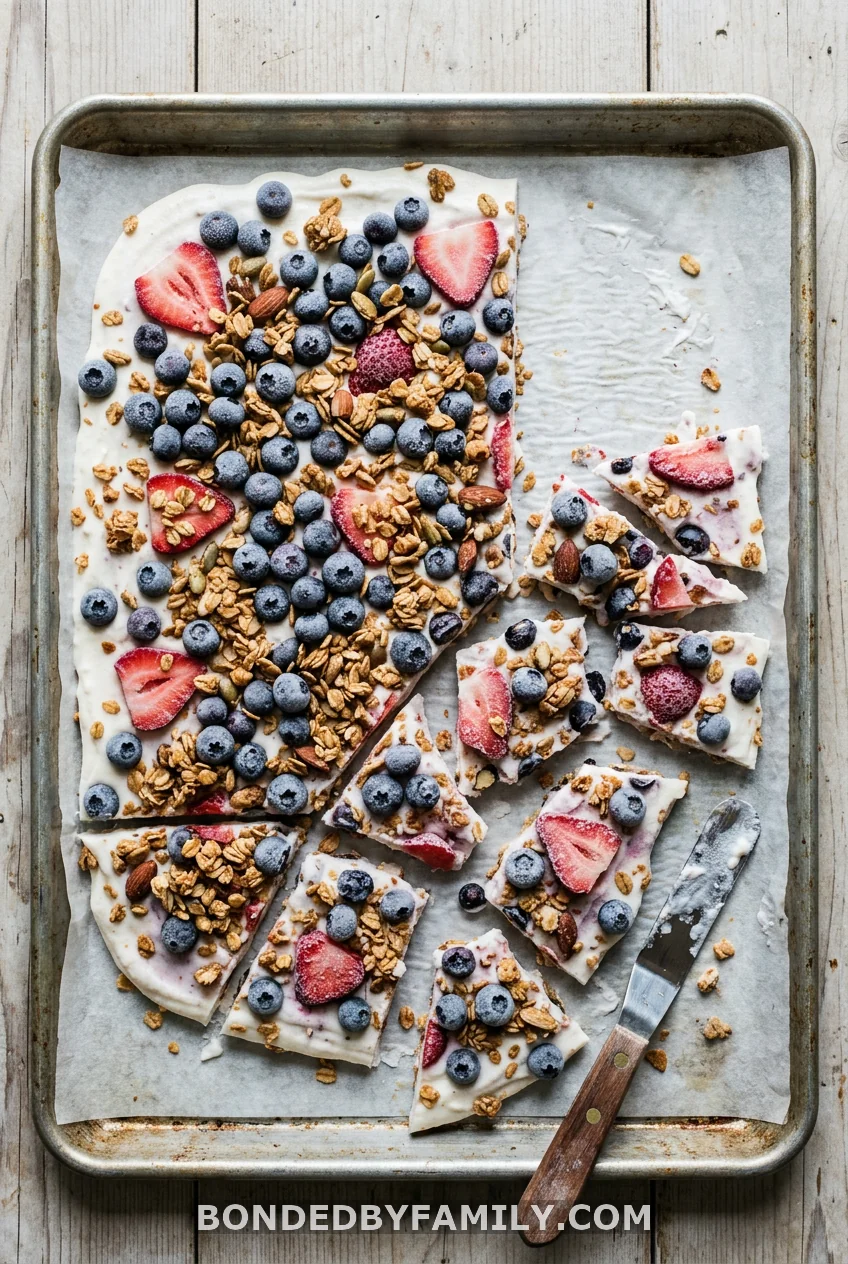
Spread yogurt thin on a lined tray. Let the kids rain berries and granola over it. Freeze for three hours, then snap it into shards. Done. It looks fancy and takes four minutes of hands-on work.
4. Rainbow Fruit Kabobs
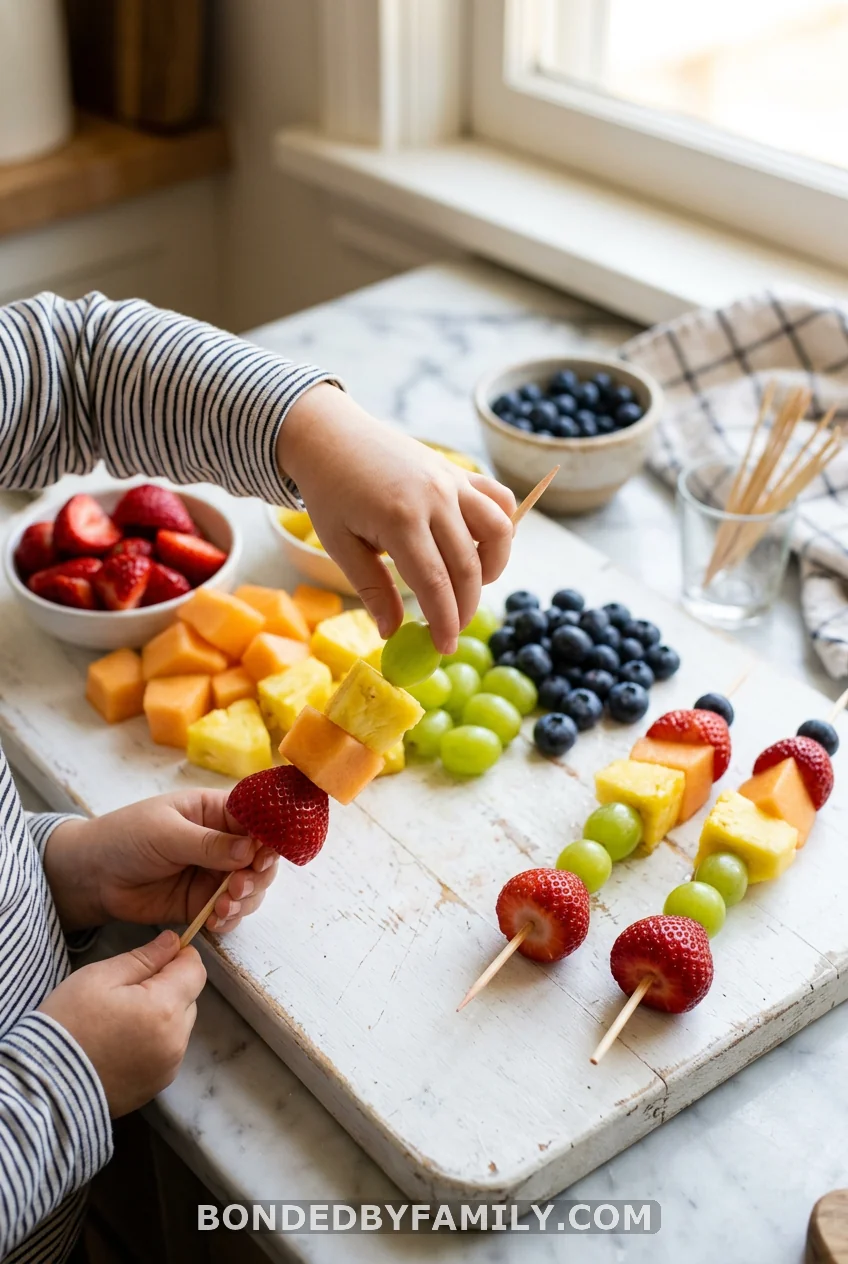
Hand over a pile of cut fruit and some blunt skewers. The job: build a rainbow, red to purple. It sneaks in color sorting and pattern-making, and the kids eat fruit without a single nag from you.
5. Edible Water Beads (The Snack That Looks Like a Science Lab)
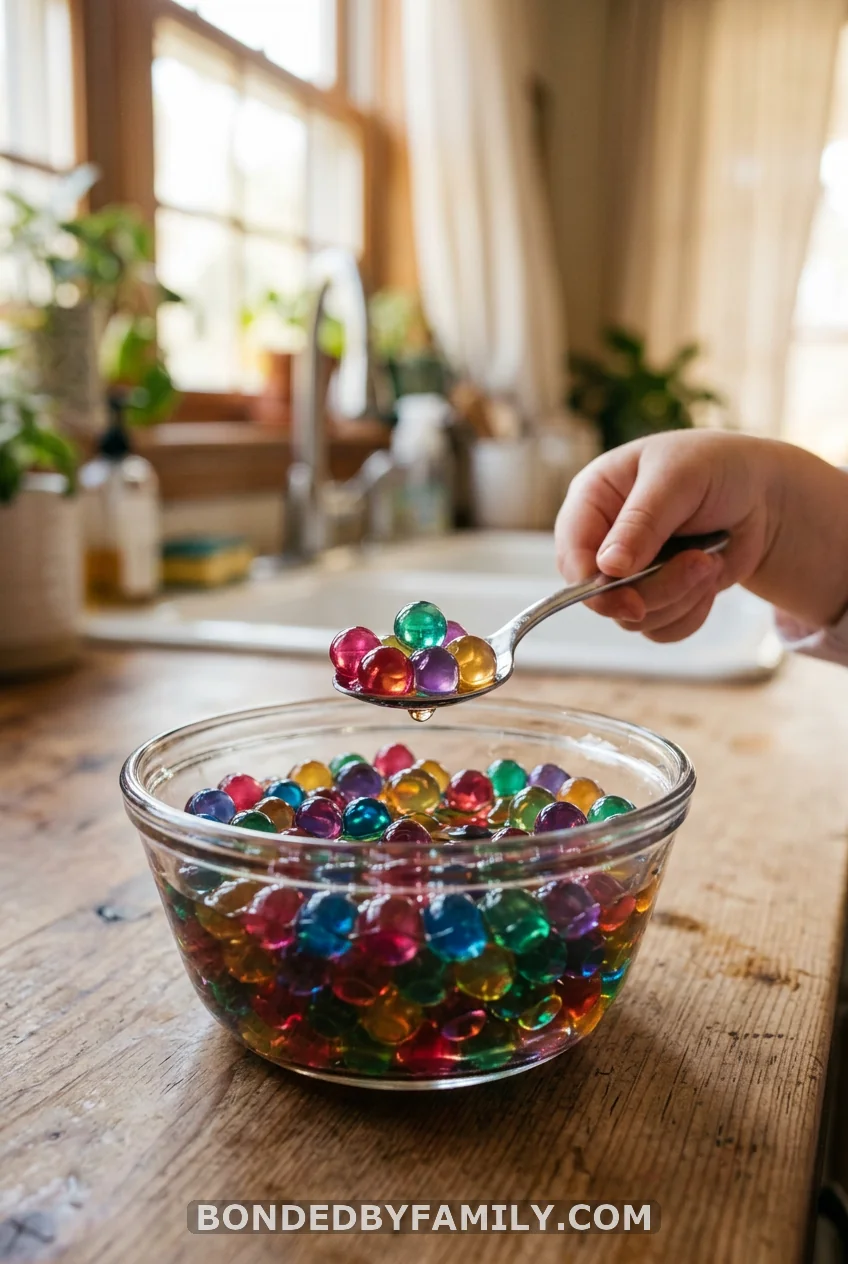
Most kids have seen those squishy non-edible water beads and been told, “Don’t eat those.” This flips the script. Using fruit juice, sugar, and food-grade sodium alginate dropped into a cold calcium-water bath, you make little juice pearls that pop in your mouth. It’s the same spherification trick fancy restaurants use, scaled down for a kitchen table.
It takes a bit more setup than the snacks above, so save it for a day when you want a real project. The payoff is big: the kids feel like chemists, and the result is a topping for yogurt, lemonade, or ice cream.
6. No-Bake Energy Balls
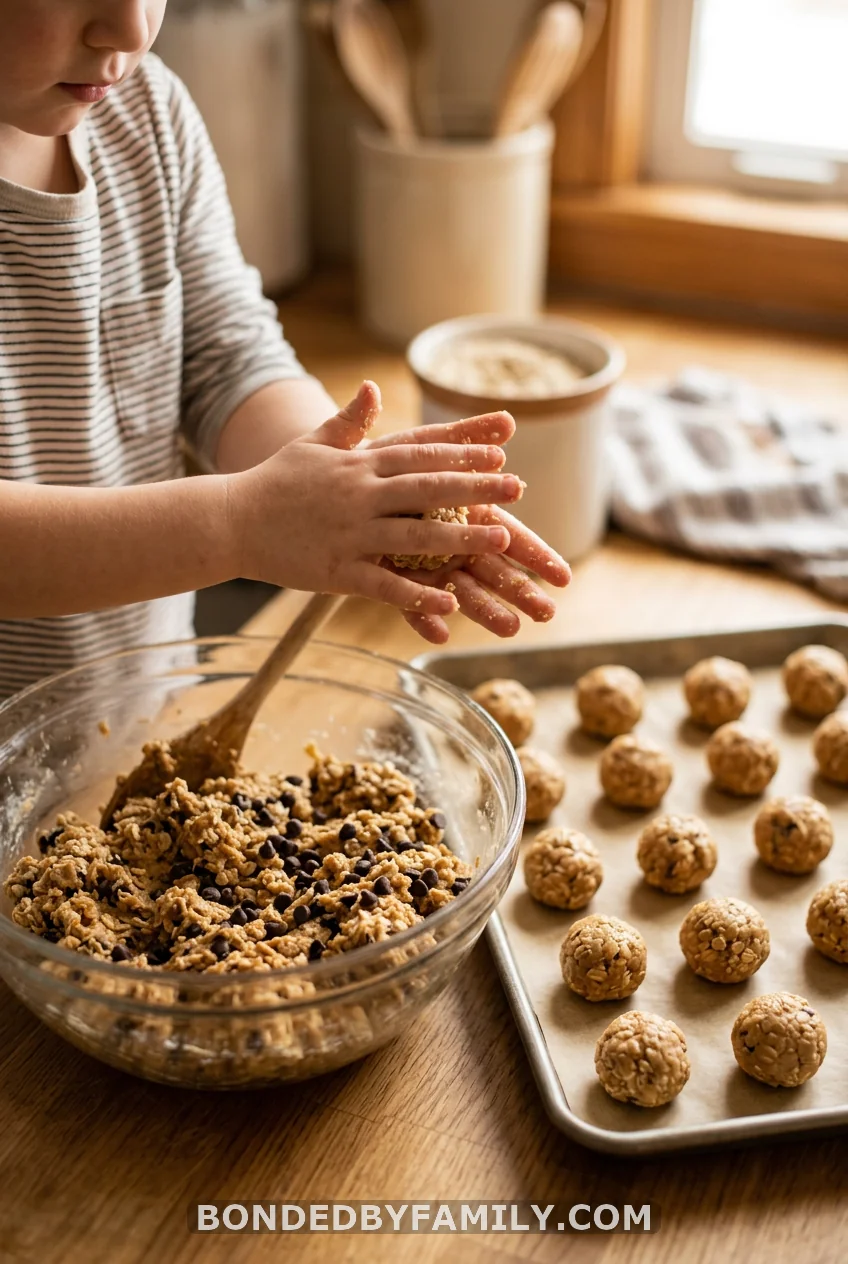
Stir oats, peanut butter, honey, and mini chocolate chips in one bowl. Roll into balls. Chill. That’s the whole thing, and it’s a brilliant first “recipe” because the measuring is forgiving and the rolling is the kind of squishy work little hands love.
Let them swap in their own add-ins: a spoon of cocoa, some shredded coconut, a handful of dried cranberries. Each batch becomes theirs.
7. Dirt Cups With Gummy Worms
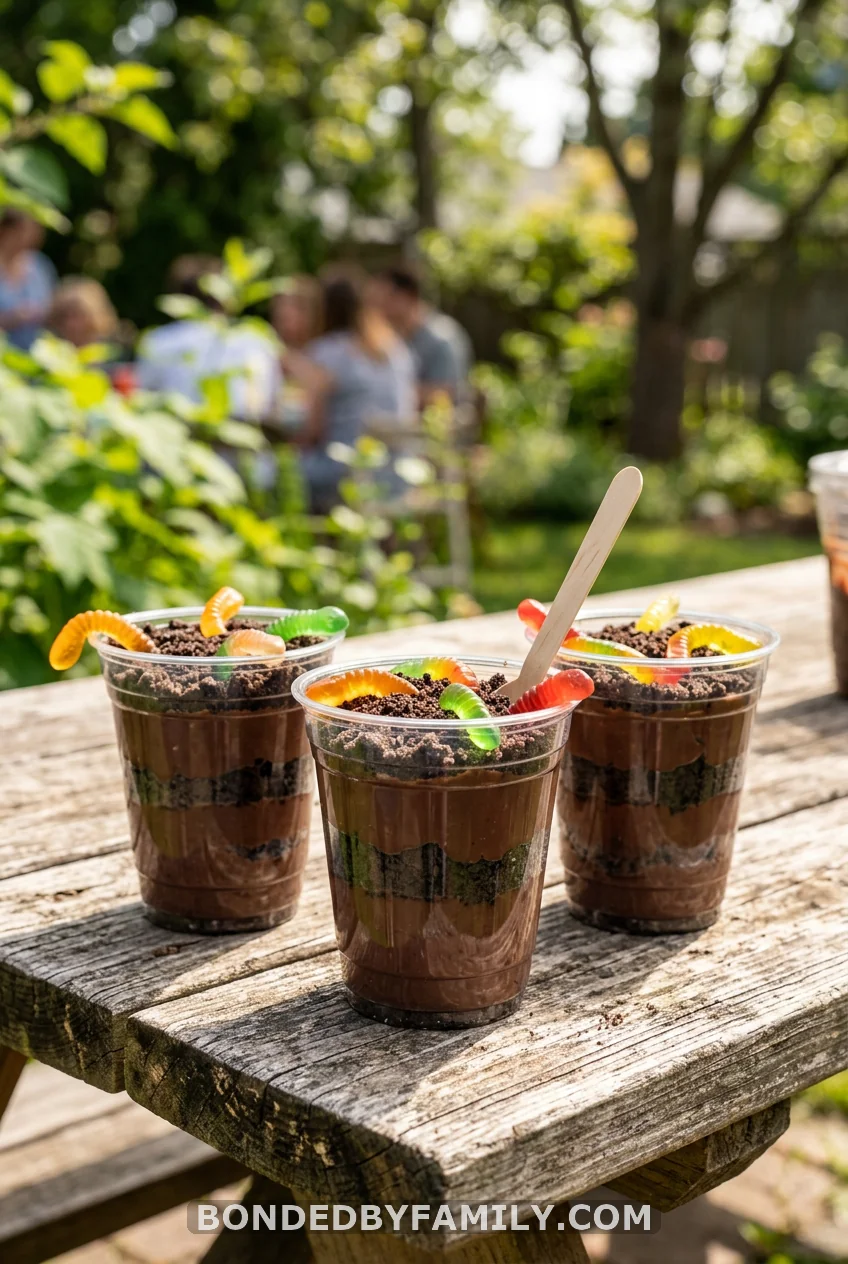
Layer pudding and crushed cookies in a cup. Bury gummy worms. The grosser it looks, the louder they cheer. Two minutes, zero heat, maximum delight.
8. Homemade Popsicles, Three Ways
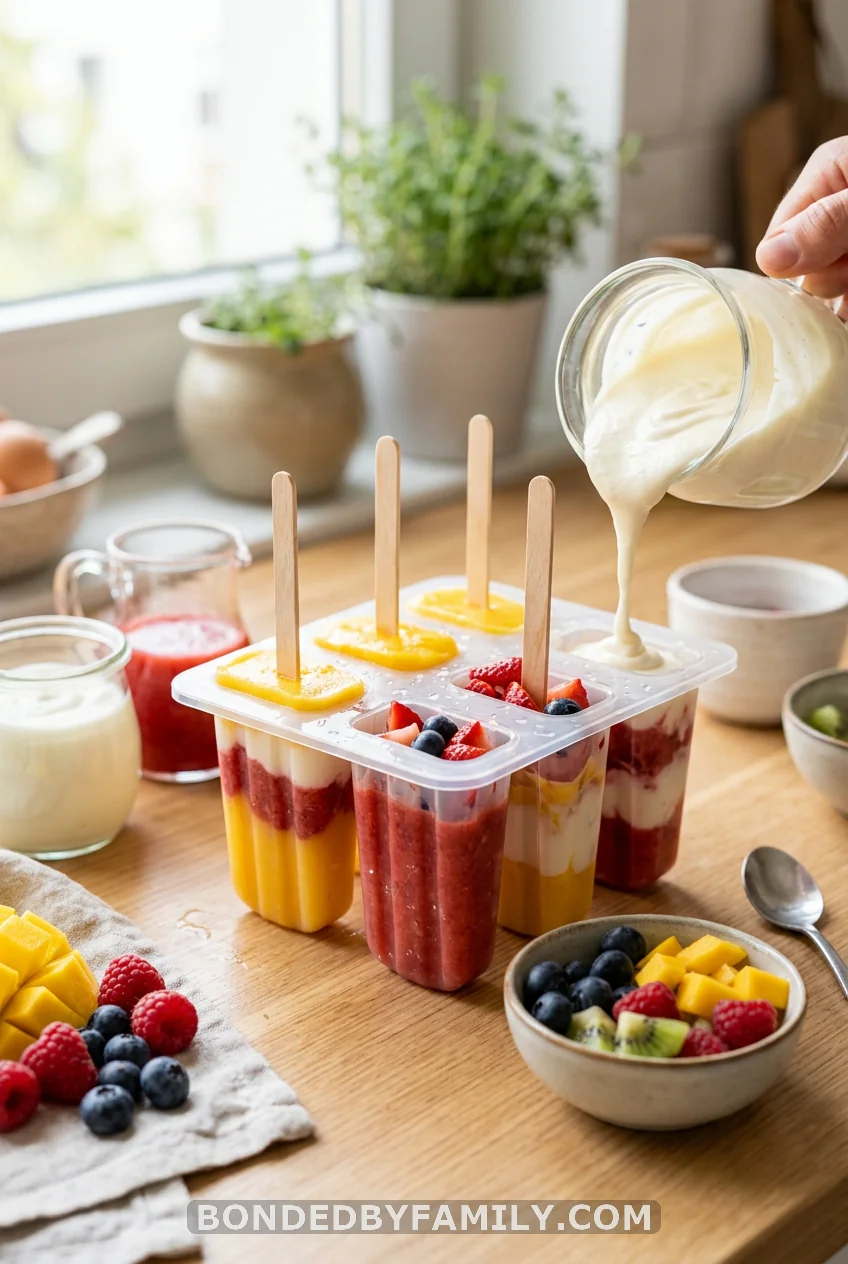
Pour juice into a mold for the no-fuss version. Layer juice and yogurt for stripes. Or blend frozen fruit with a splash of milk for creamy ones. The hands-on part is the pour and the fruit-dropping, and the freezer handles the rest.
Half the lesson here is patience. Hang a little sign on the freezer that says how many hours are left, and the asking slows down.
9. Edible Sand Art Jars

Remember sand art at the fair? This is the snackable version. Crushed graham, pudding, tinted shredded coconut, and crumbled cookies become colored “sand” layered into a clear jar. The look is the draw, and the careful layering keeps fidgety kids focused longer than you’d expect.
It also scales up beautifully for a party. Set out bowls of each layer and let a whole group build their own jars at once.
10. Build-Your-Own Snack Plates
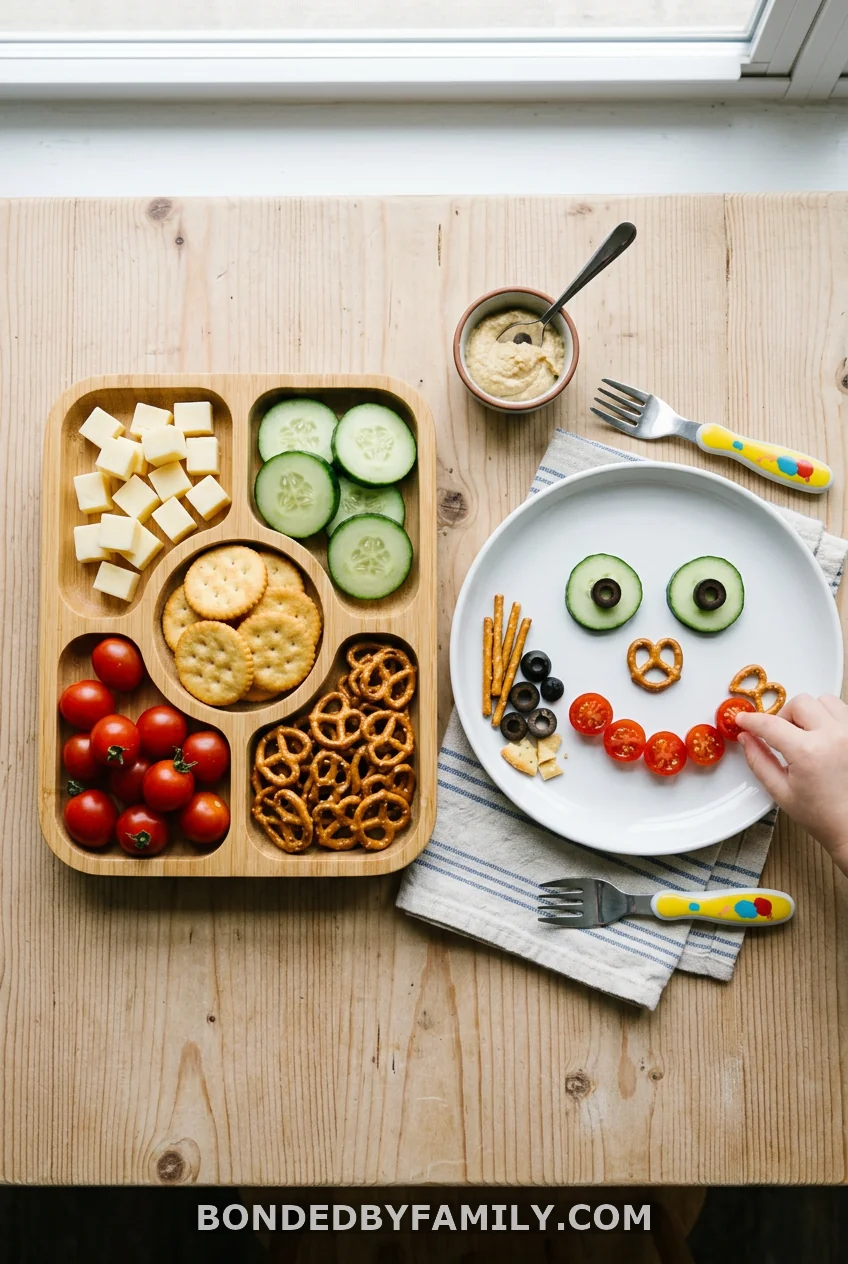
Lay out small bowls of cut veggies, cheese, crackers, and fruit. The task: build a face, a scene, or a tiny garden on the plate, then eat it. It’s lunch and a craft in one, and it nudges picky eaters to try the “eyes” they just made from a cucumber.
11. The No-Recipe Snack Board (Myth vs. Reality)
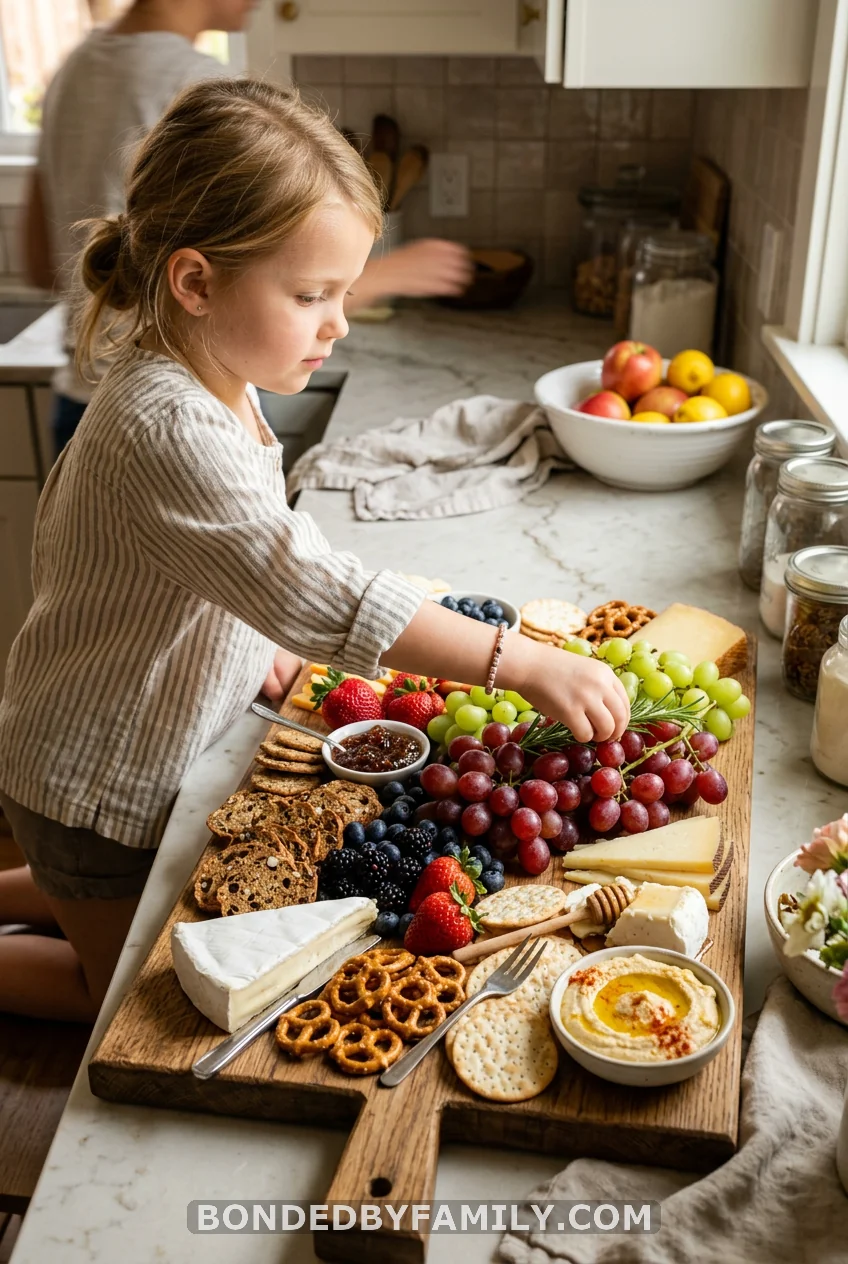
The myth: cooking with kids means following a recipe, start to finish, measurements and all. So a lot of parents skip it on busy days because a “real” recipe feels like too much.
The reality: the most valuable kitchen skills aren’t in the recipe at all. Sorting, arranging, tasting, deciding what goes with what, that’s the stuff that builds a confident eater and a kid who likes being in the kitchen. A snack board needs no recipe and no heat. You set out the parts; they compose the whole.
Try it on the next rushed afternoon. Give them a board and a dozen little ingredients and one rule: make it look good enough to photograph. You’ll get a calm twenty minutes and a kid who feels like the chef. The recipe was never the point.
12. Watermelon “Cake”
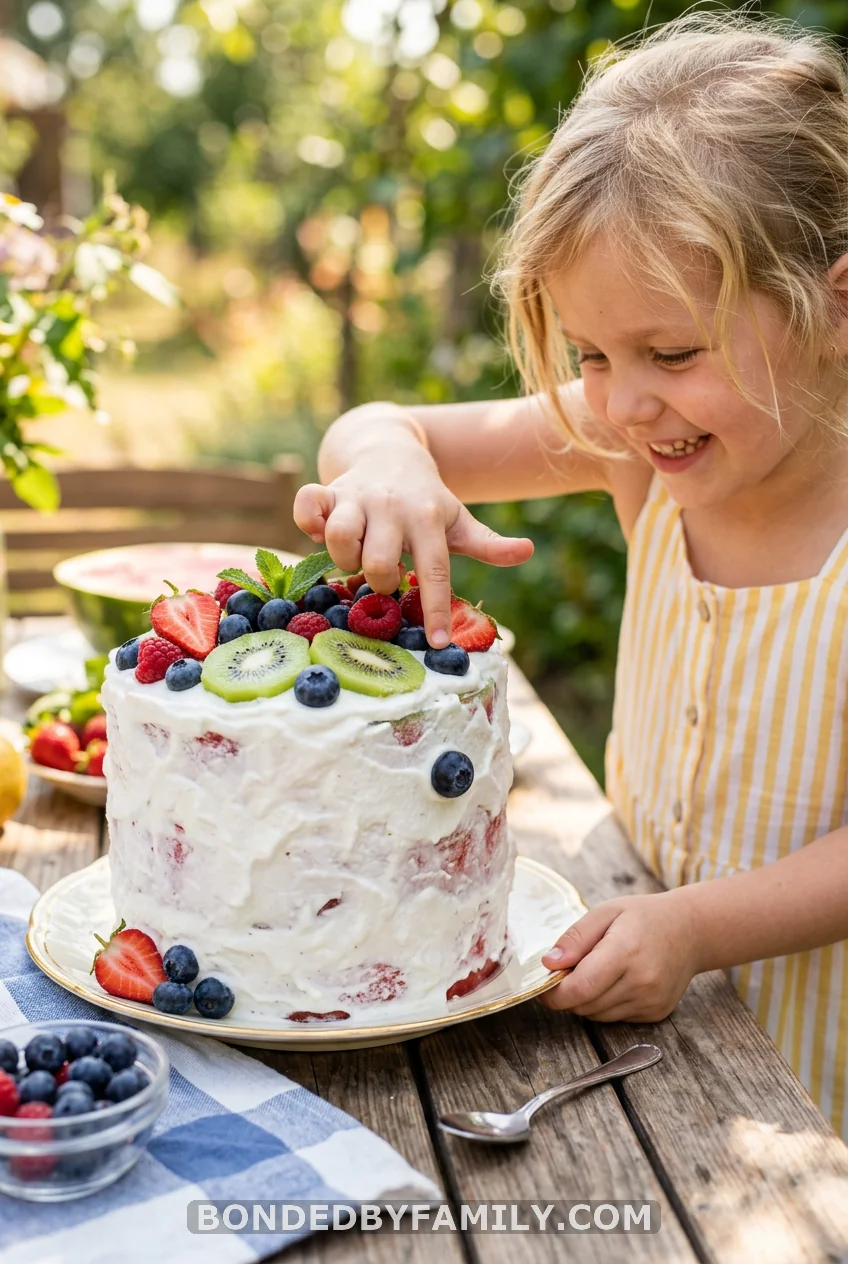
Slice a thick round from a seedless watermelon and trim it into a cylinder. The kids “frost” it with whipped yogurt or coconut cream and press fruit on top like decorations. It looks like a layer cake, costs the price of a melon, and feels like a celebration on a regular Tuesday.
13. Edible Cookie-Dough “Slime”
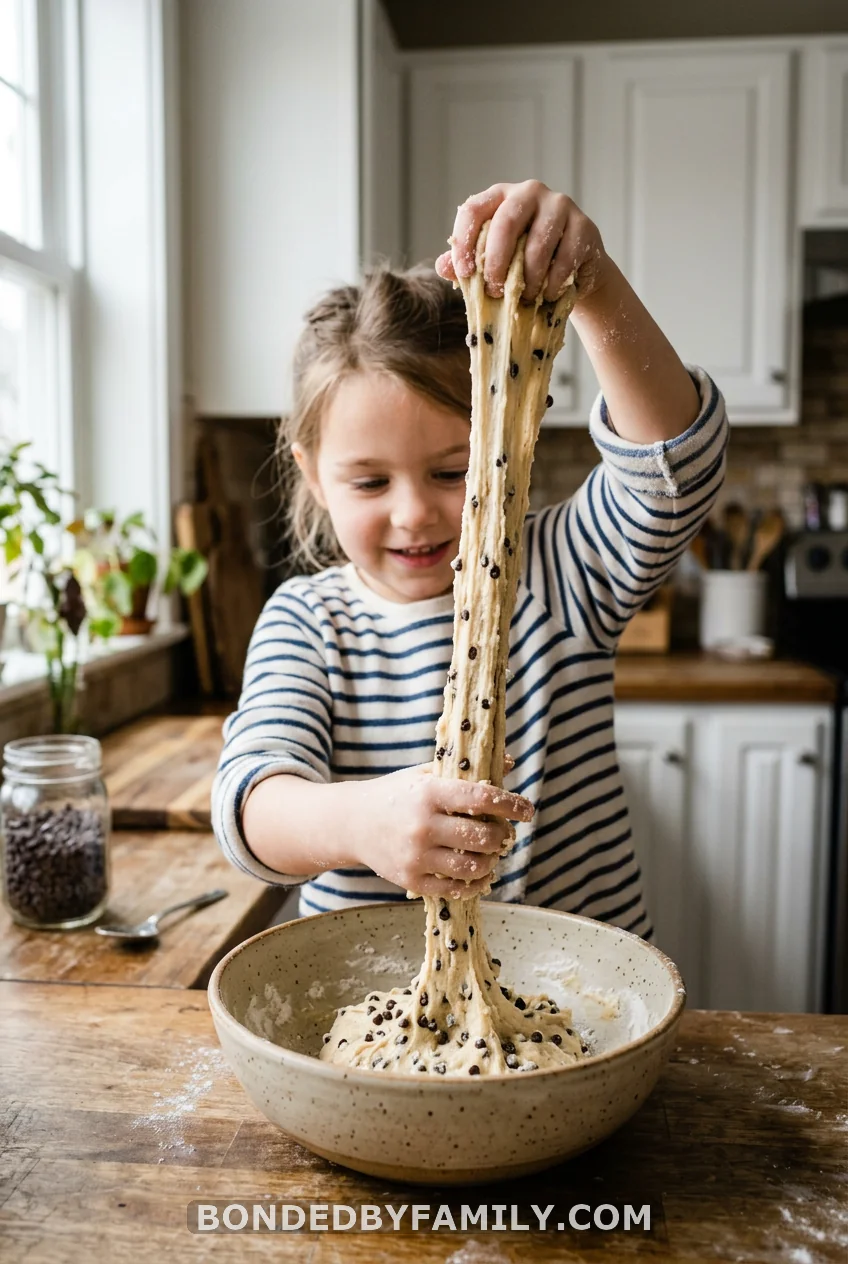
Mix heat-treated flour, butter, sugar, and a little milk into a stretchy, safe-to-eat dough. The kids knead, pull, and snack as they go. It scratches the sensory-play itch and the sweet-tooth itch in the same bowl.
A Few Tips for Cooking With Kids in Summer
Keep it cold and keep it short. Match the project to the mood: a five-minute snack for a meltdown, a bigger build for a long empty afternoon. Set out every ingredient before you call the kids in, because the wait is where the chaos starts. And lower the bar on mess. A wiped counter is a small price for a kid who learned to make their own snack.
Give jobs by age. Toddlers as young as two can pour, stir, and sprinkle with help. School-age kids measure, layer, and read the steps. Older kids can run the whole project while you sip iced coffee and supervise from a stool. The goal isn’t a clean kitchen. It’s a kid who walks away thinking, “I made that.”
The Real Win
None of these heats your house, and most cost less than a coffee. More than that, they hand your kids a small, repeatable feeling of “I can do this.” A child who makes their own ice cream in a bag once will ask to do it again, and somewhere in the shaking and the spilling, they pick up patience, cause-and-effect, and pride.
So pick one for today. Start with the snack board if the afternoon is short, or the ice cream in a bag if you’ve got energy to spare. Whichever you choose, you’re trading a long, hot afternoon for a memory, and that’s a fair trade every time.
Frequently Asked Questions
What can kids cook in summer without an oven?
Plenty. Ice cream in a bag, frozen yogurt bark, no-bake energy balls, popsicles, fruit kabobs, and snack boards all skip heat entirely. Solar-oven s’mores use the sun instead of a stove, which makes them a fun science twist.
At what age can kids start cooking?
Toddlers as young as two can pour, stir, and sprinkle with help. By four or five, kids can measure and assemble most no-cook projects on this list. School-age kids can run a whole recipe with light supervision.
Are these summer cooking activities messy?
Some are, and that’s part of the fun. Set everything out on a wipeable surface or take it outside to a picnic table. The shaking and layering projects stay tidier than baking, since there’s no flour cloud or batter splatter.
What’s the best summer cooking activity for a big group or party?
Edible sand art jars and build-your-own snack boards both scale well. Set out bowls of each component and let every child assemble their own. Ice cream in a bag also works as a backyard relay for a crowd.
How do I keep kids safe while cooking in the summer?
Stick to no-heat projects for the youngest helpers, and wrap the ice cream bag in a towel so cold hands don’t quit. Supervise any cutting, hand kids blunt tools, and wash hands and produce before you start.