Turning 18 hits different, doesn’t it? One day you’re a teenager, the next you’re legally an adult with a whole pile of paperwork proving it. If you’re hunting for 18th birthday photoshoot ideas that don’t require hiring a photographer or draining your savings, you’ve landed in the right spot. I’ve spent years styling birthday shoots on a shoestring budget, and I’m handing you every trick.
Here’s the promise: by the end of this list, you’ll have a full lineup of shoot concepts, plus the exact props, costs, and mistakes to dodge. No fluff. Just ideas you can pull off this weekend.
1. The DIY Balloon Backdrop and String Light Set
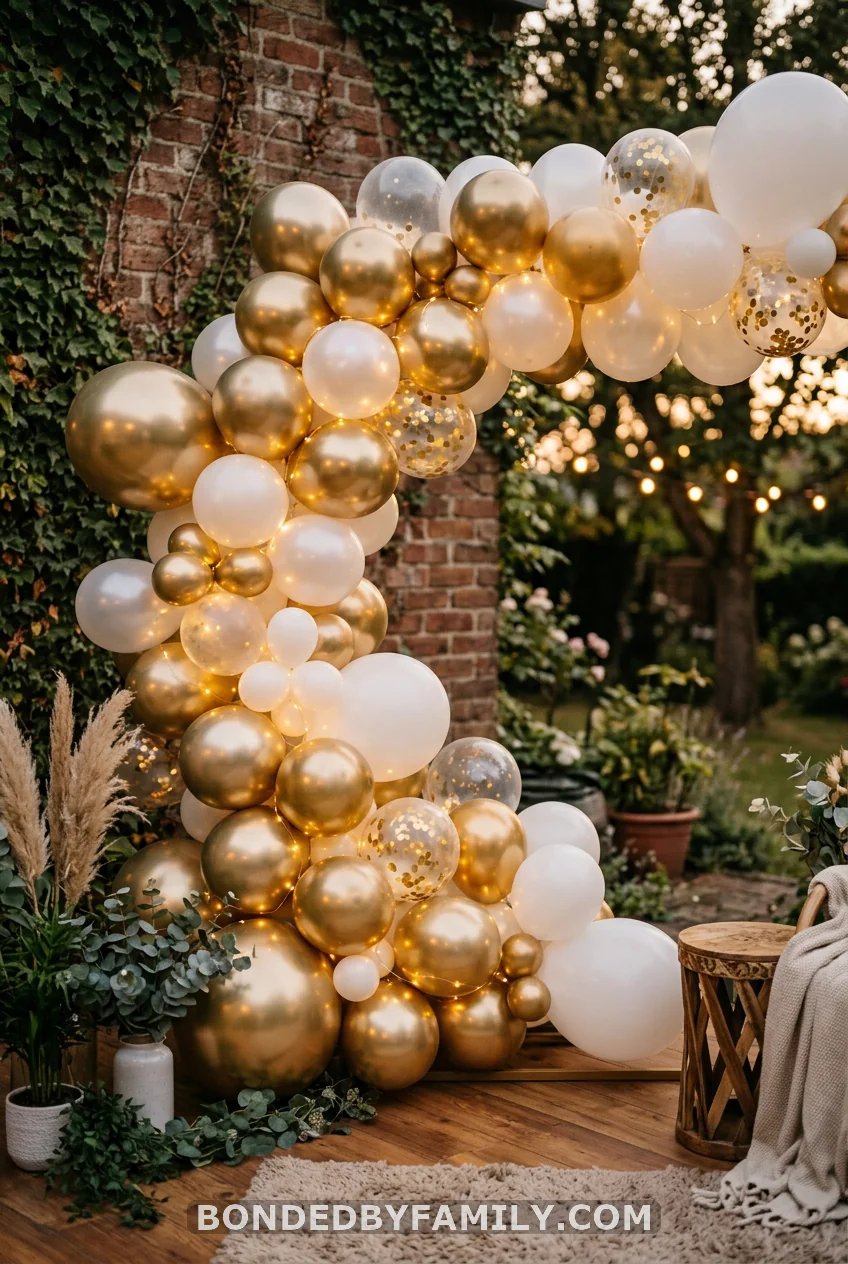
Why this setup works
A backdrop does the heavy lifting in any photo. It gives your eye somewhere to land besides a blank wall. Balloons plus string lights read as celebratory without screaming “kids’ party,” which matters when you’re turning 18, not 8.
Dimensions and layout
Plan for a backdrop roughly 6 feet wide by 5 feet tall. That’s wide enough to fill the frame behind you without swallowing the whole room. Cluster balloons in three sizes: 5-inch, 11-inch, and one oversized 36-inch foil “18,” so the eye has texture to travel across instead of one flat wall of circles.
Step-by-step build
- Inflate 25 to 30 latex balloons using a hand pump. A pump saves your lungs and keeps sizing consistent.
- Tie balloons in clusters of three using the balloon-tail method: knot two together, then twist the third into the gap.
- Attach clusters to a strip of clear balloon tape stuck to the wall, working from the center outward.
- Weave a 20-foot warm-white LED string light through the gaps once the base layer is up.
- Hang the foil “18” balloon slightly off-center, not dead middle. Centered numbers look like a school poster.
- Step back six feet and photograph from slightly below eye level. Shooting up makes balloons look fuller, and you look taller.
Materials and costs
| Item | Cost |
|---|---|
| Latex balloons (30-pack) | $6 |
| Foil “18” balloon | $4 |
| Balloon tape strip | $2 |
| LED string lights (20 ft) | $9 |
| Hand pump | $5 (reusable) |
| Total | $26 |
Common mistakes to avoid
Don’t inflate balloons more than four hours before the shoot. They sag, and a sagging backdrop photographs worse than no backdrop at all. Skip helium here. Helium balloons float away from the wall and ruin your careful clustering. And resist the urge to center everything perfectly. A slightly asymmetric cluster photographs more naturally than a grid.
Pro move
Shoot during golden hour, the hour before sunset, with a window behind your camera. The warm light plus warm string lights create a color palette that needs almost no editing.
When it’s worth spending more
If you want a backdrop that photographs well for more than one occasion, upgrade the balloon tape and string lights to a reusable arch frame, sold for around $12 online. A frame keeps the arrangement rigid instead of tape-dependent, which matters if you’re photographing outdoors where wind can loosen a taped cluster mid-shoot. It also folds flat for storage, so the same frame works for graduation photos or a future birthday without rebuying materials.
Working with a small space
Renters and anyone shooting in a small bedroom can scale this whole build down to a 4-foot by 4-foot section instead of the full 6 by 5. Use fewer balloons, 15 to 18 instead of 30, and lean the arrangement into a corner rather than a flat wall. Corners naturally frame a subject without extra props, and a smaller cluster still reads as full once your camera is a few feet back and slightly zoomed in.
2. Polaroid in Hand, Polaroid on the Wall
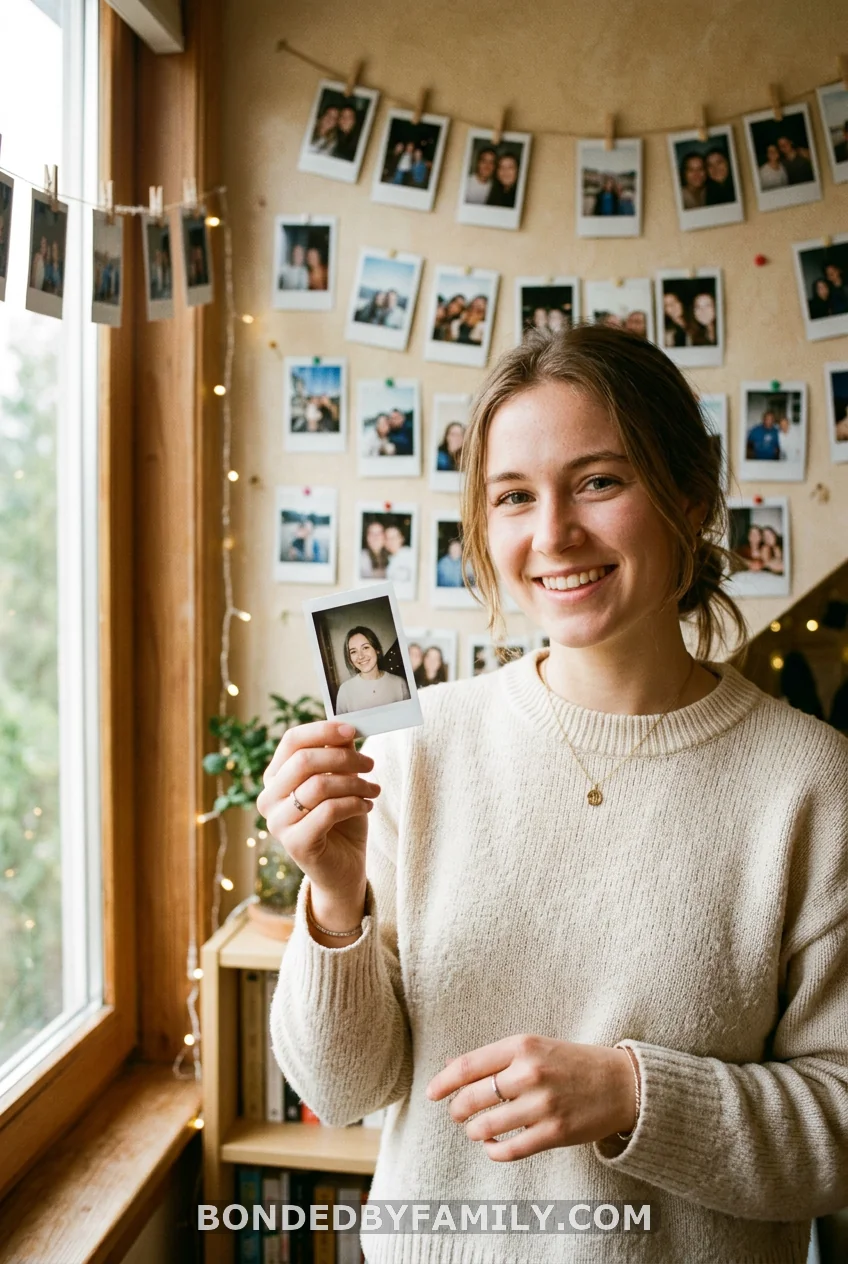
Grab an instant camera, snap a photo mid-shoot, then hold the freshly developed print up to the lens for a photo-within-a-photo shot. It’s a two-second setup that photographs like you hired a creative director. Tape a few extra prints to the wall behind you for depth.
3. The Silhouette Against a Sunset
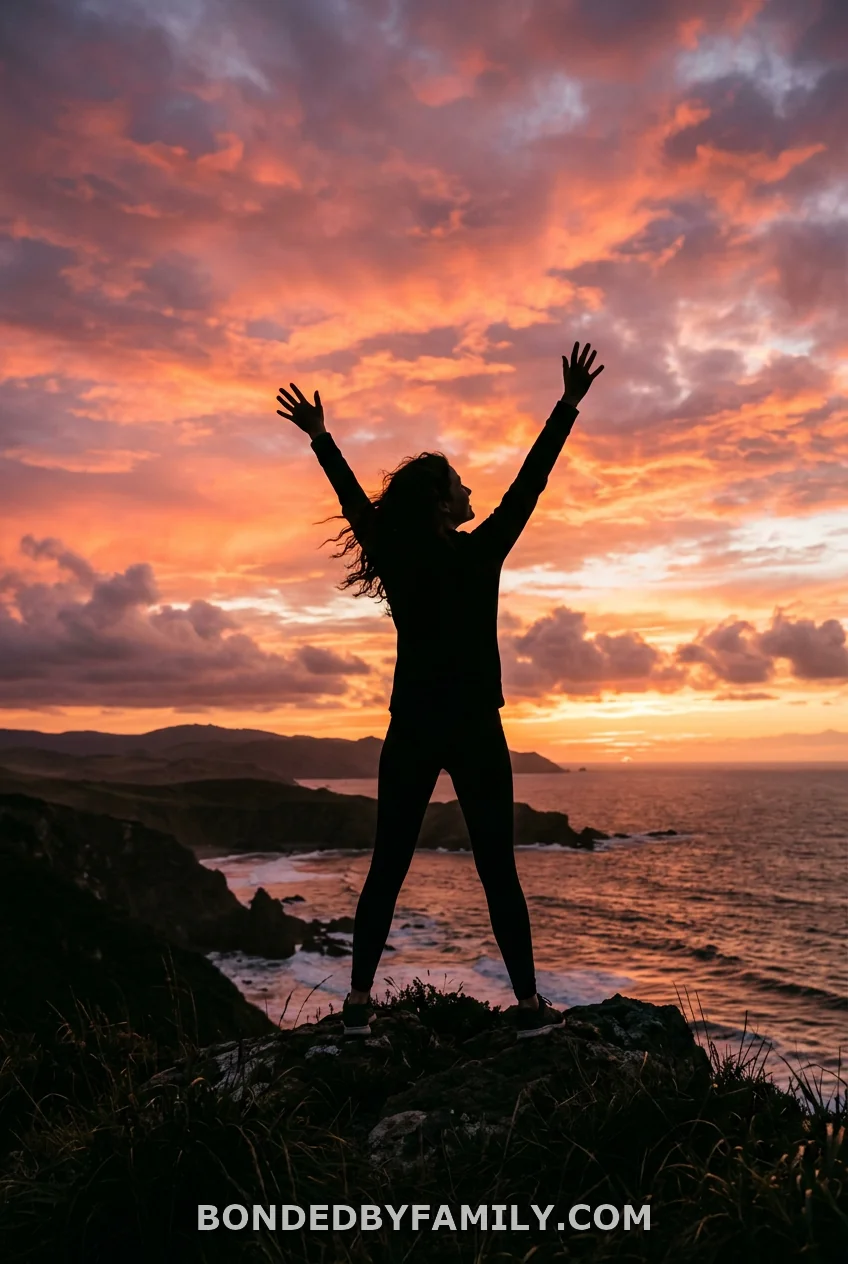
Sunset silhouettes need almost nothing except timing. Stand facing your photographer with the sun directly behind you, about 20 minutes before it dips below the horizon. Raise a graduation cap, a bouquet, or just your arms. The lack of visible detail is the whole point; it turns your shape into the story.
4. Hand-Painted “18” Sign, Held High
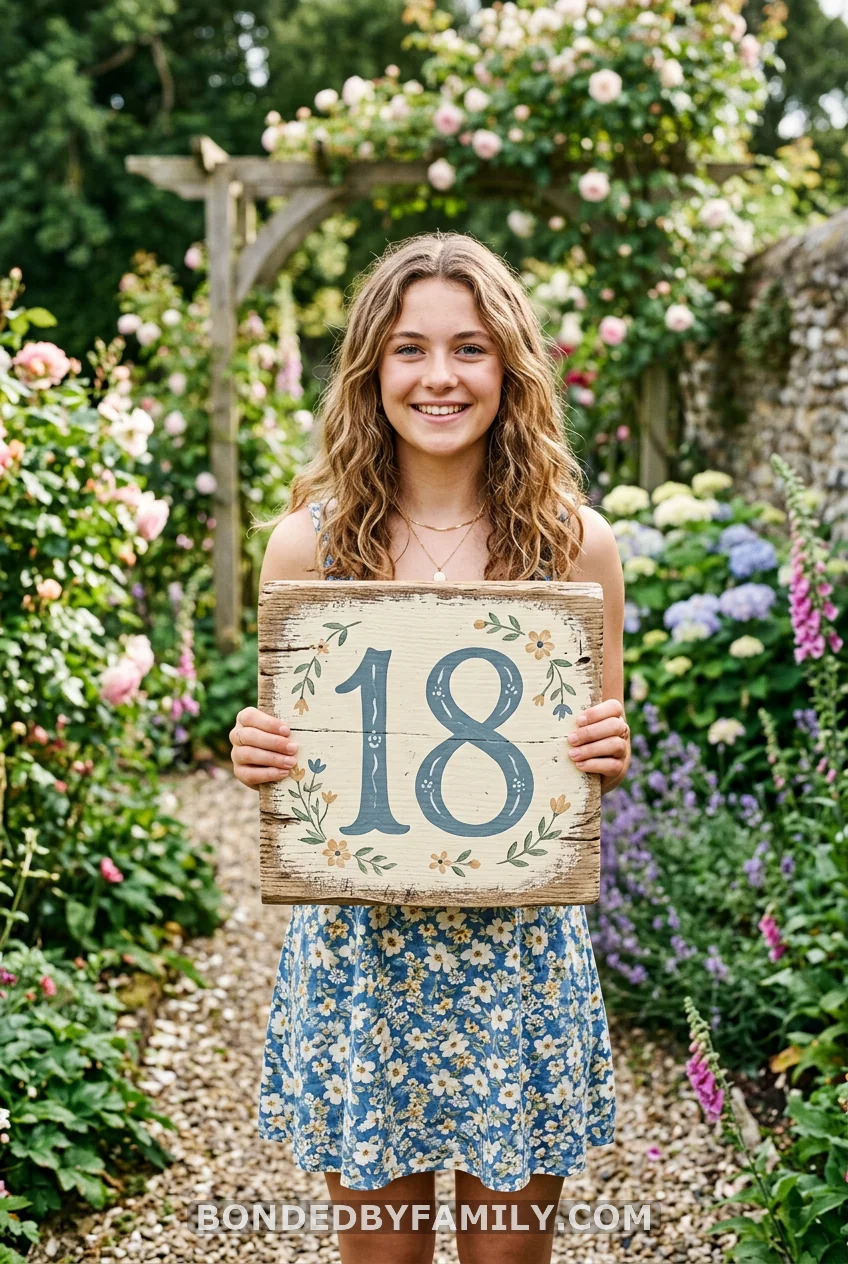
Paint a thrifted wooden frame or a scrap of cardboard with a bold “18” in metallic paint pen. Hold it at chest height, tilted slightly, and let your photographer catch you mid-laugh instead of a stiff smile. Costs about $3 in supplies if you already own paint.
5. Morning-Of, Still in Pajamas
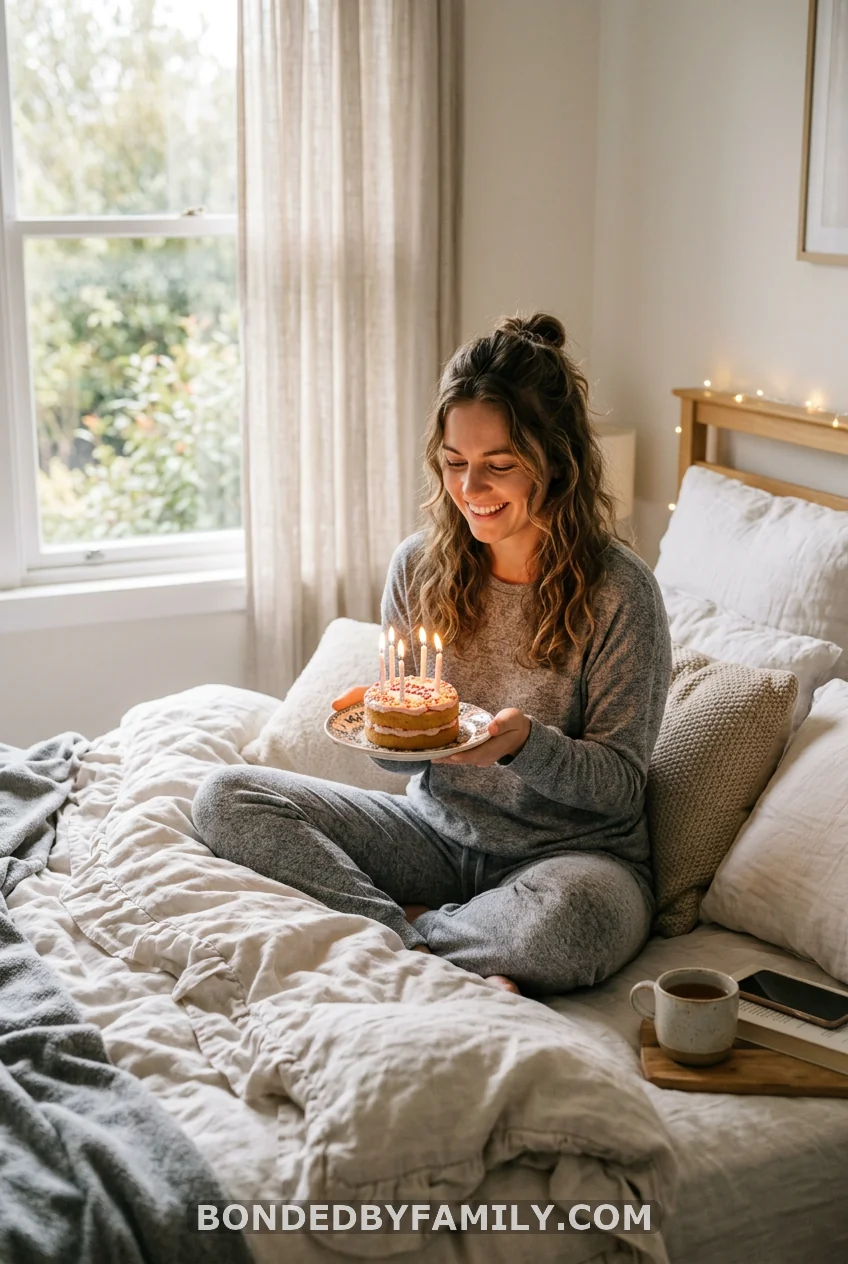
The setup
Capture the actual moment you wake up an adult. Set a small cake with lit candles on your nightstand the night before, then have someone snap the photo the second you open your eyes. Nobody photoshops this level of authentic bedhead, and that’s exactly why it works.
What sells the shot
Natural window light beats any lamp here. Shoot within an hour of sunrise, facing the window, and skip overhead lights entirely. Overhead lighting flattens faces and adds shadows under the eyes that no filter fixes cleanly.
6. Crown and Sash, Queen for the Day
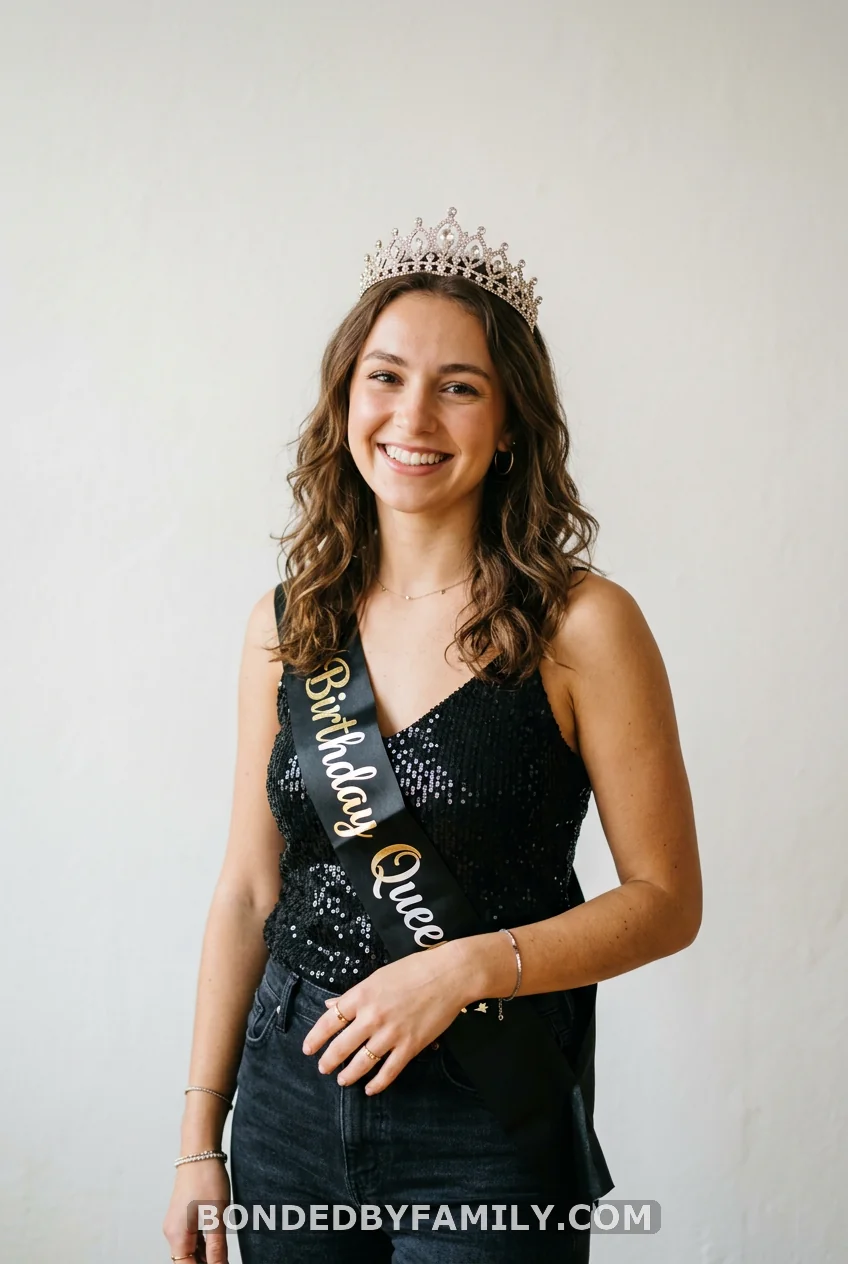
A $7 rhinestone crown and a birthday sash turn an ordinary outfit into a themed shoot instantly. Pose with hands on hips or holding a bouquet, and let the accessories carry the concept so your outfit can stay plain.
7. Confetti Toss, Caught Mid-Air
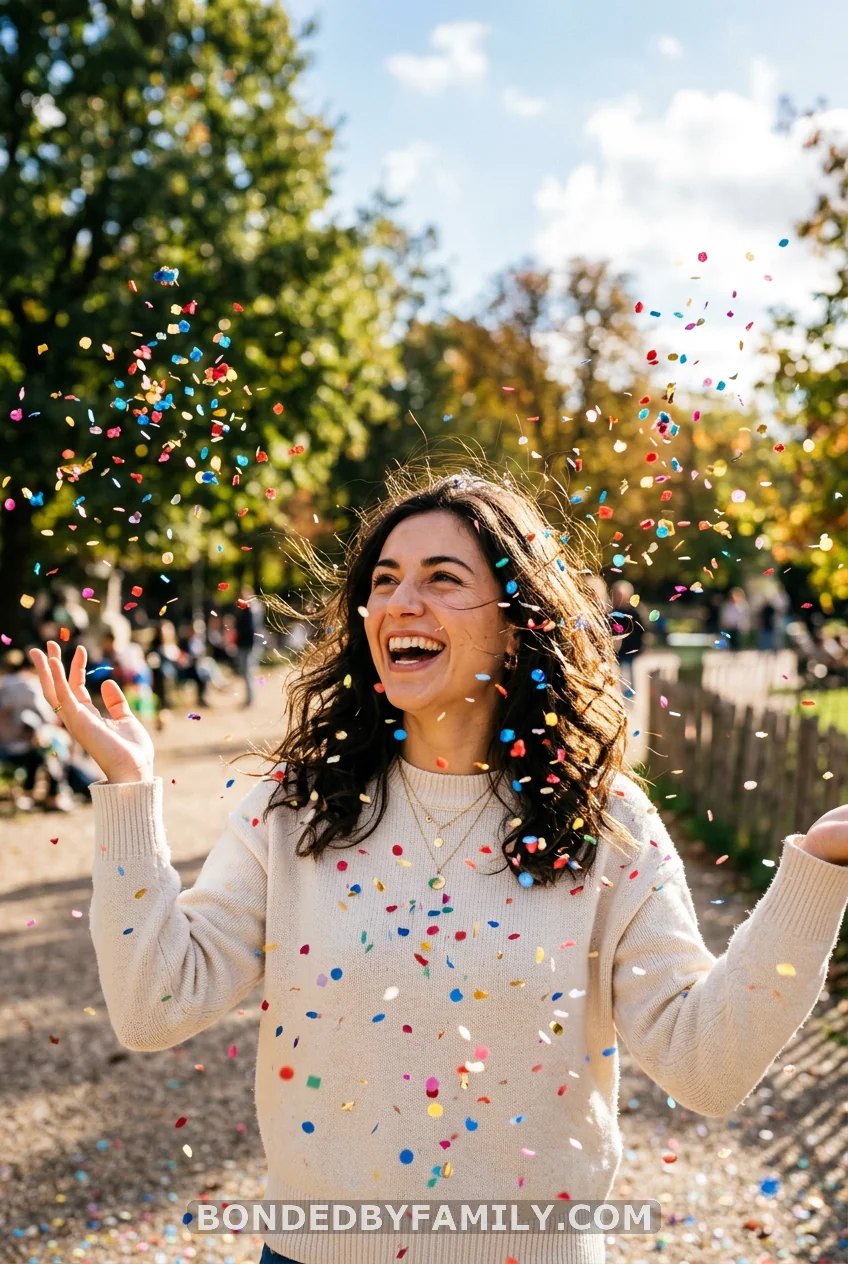
Fill your palms with biodegradable confetti and toss it upward on a count of three. Have your photographer burst a quick sequence of shots, at least eight frames, to land one where the confetti hangs midair. Tissue-paper confetti falls slower than metallic, which buys you a wider timing window.
8. Close-Ups on the Small Stuff

Not every shot needs your whole face in it. Photograph the candle mid-flicker, the clink of two glasses, a new bracelet slipped over your wrist. These detail shots fill out a photo gallery and give your eye a breather between portraits.
9. Myth-Bust: You Need a Professional Photographer
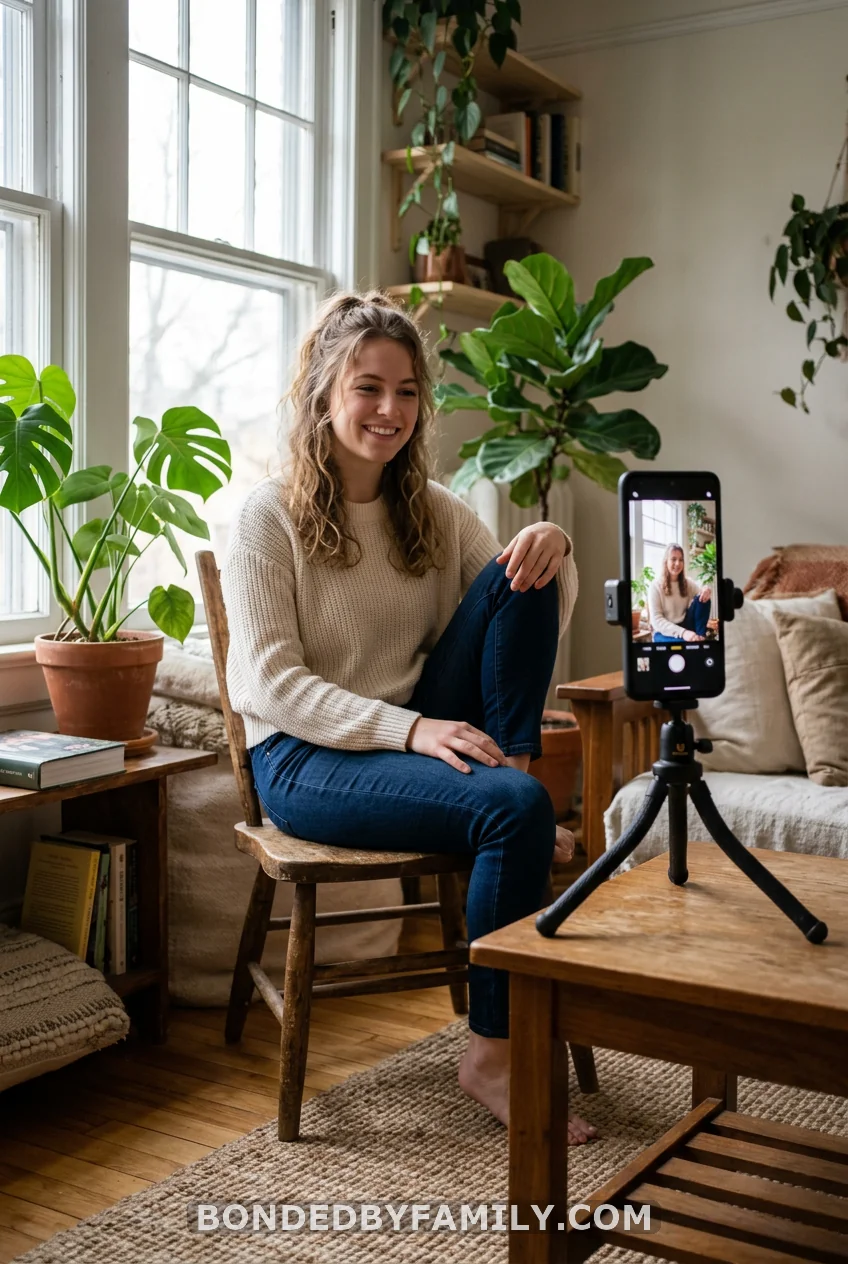
Here’s what most people assume: a real photoshoot means a hired photographer with a fancy camera. Reality check, that’s not true anymore. A phone from the last five years, a $15 tripod, and a timer app can produce photos indistinguishable from professional work once you understand light.
The trick isn’t the camera body. It’s the light source. Position yourself facing a window during the golden hour, set your phone on a tripod at chest height, and use the built-in timer or a Bluetooth remote under $10. Shoot in your phone’s native resolution, never through a filter app, since filters bake in effects you can’t undo later. Adjust exposure by tapping the screen and dragging the brightness slider down slightly, which prevents blown-out highlights on skin.
Professional photographers charge for their eye and their editing, not for owning equipment you can’t access. If your budget is tight, spend it on props and backdrop materials instead. That’s where the visual difference lives.
10. Group Shot With Your Closest People
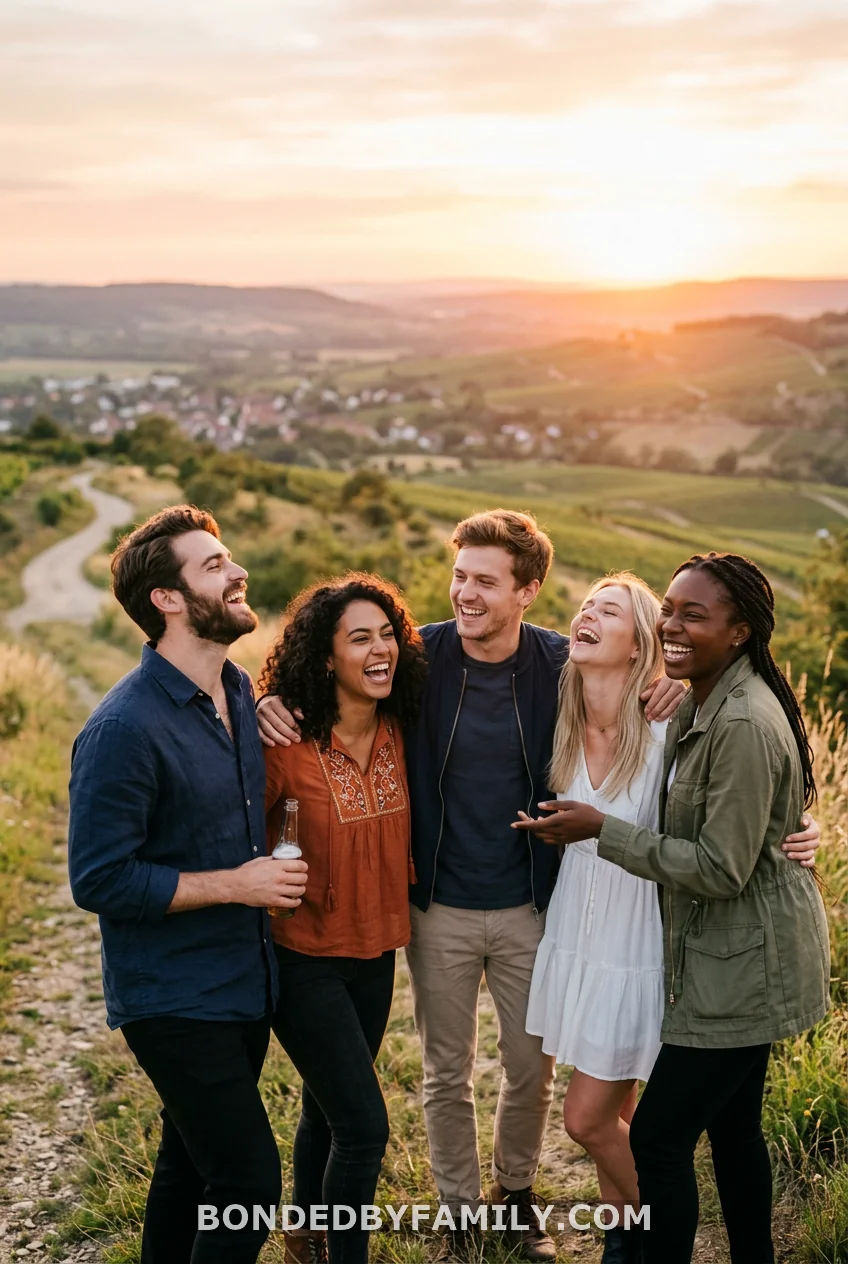
Round up your three or four closest friends for a candid group shot. Skip posed smiles and instead ask everyone to react to something funny right as the shutter clicks. The laugh lines photograph better than any rehearsed pose.
11. Cautionary Tale: The Over-Posed Photoshoot
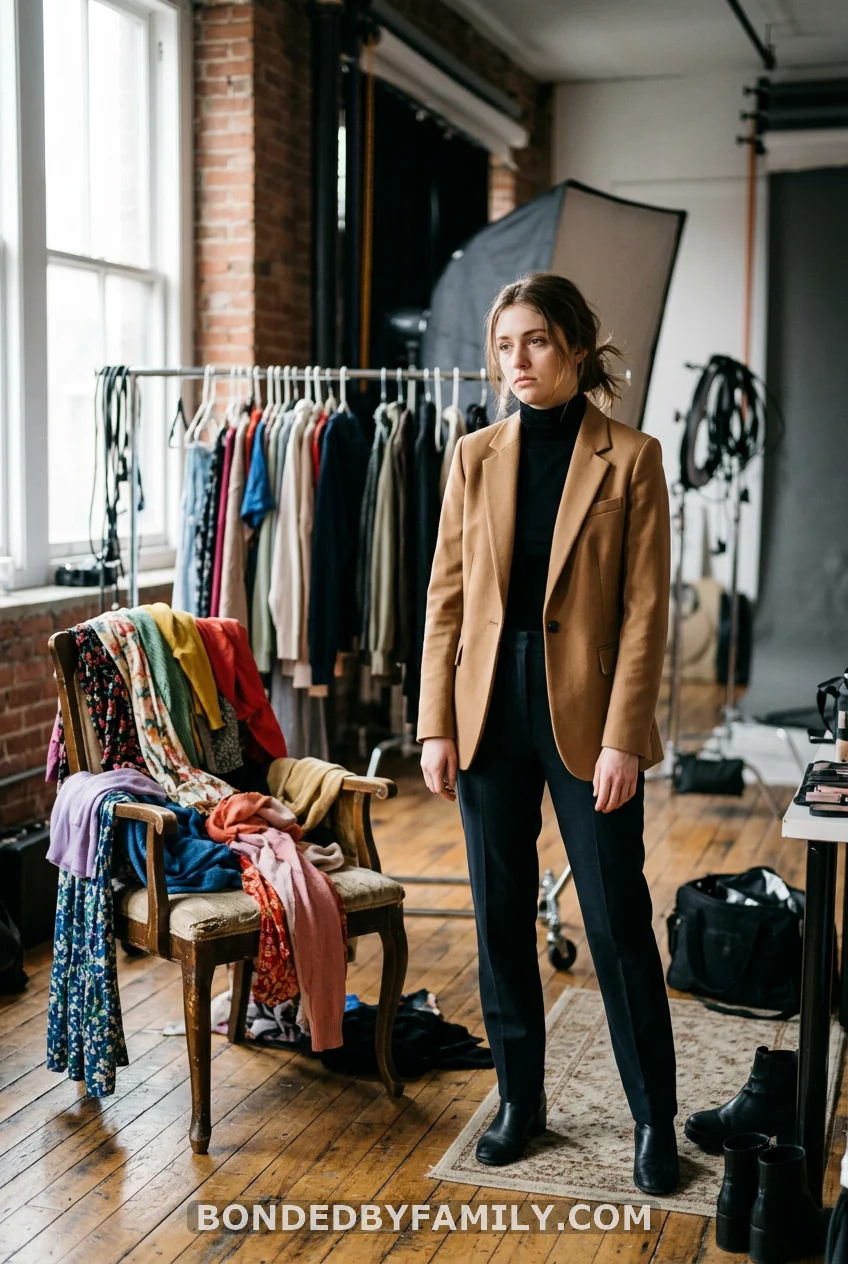
I learned this one the hard way at a friend’s shoot last spring. She had pulled twelve different outfit changes, three prop bags, and a Pinterest board with forty saved poses queued up on her phone. Two hours in, every single photo looked stiff. Her smile had gone glassy. The poses looked copied instead of lived.
What went wrong wasn’t the ambition. It was the sequencing. She tried to nail the flawless version of every pose before moving to the next, which meant retaking the same shot twelve times until nobody in the shot looked relaxed anymore.
The fix came from slowing down, not speeding up. We picked three outfits instead of twelve. We picked five poses instead of forty. Between each pose, she took thirty seconds to shake out her arms and reset her face. The last twenty minutes of that shoot, after she stopped chasing perfection, produced every photo she ended up printing.
If you take one thing from this story, let it be this: fewer concepts, done slowly, beat a long list rushed through. A photoshoot with three ideas executed well outperforms a photoshoot with fifteen ideas executed in a hurry.
12. Road and Highway, Golden Hour Edition
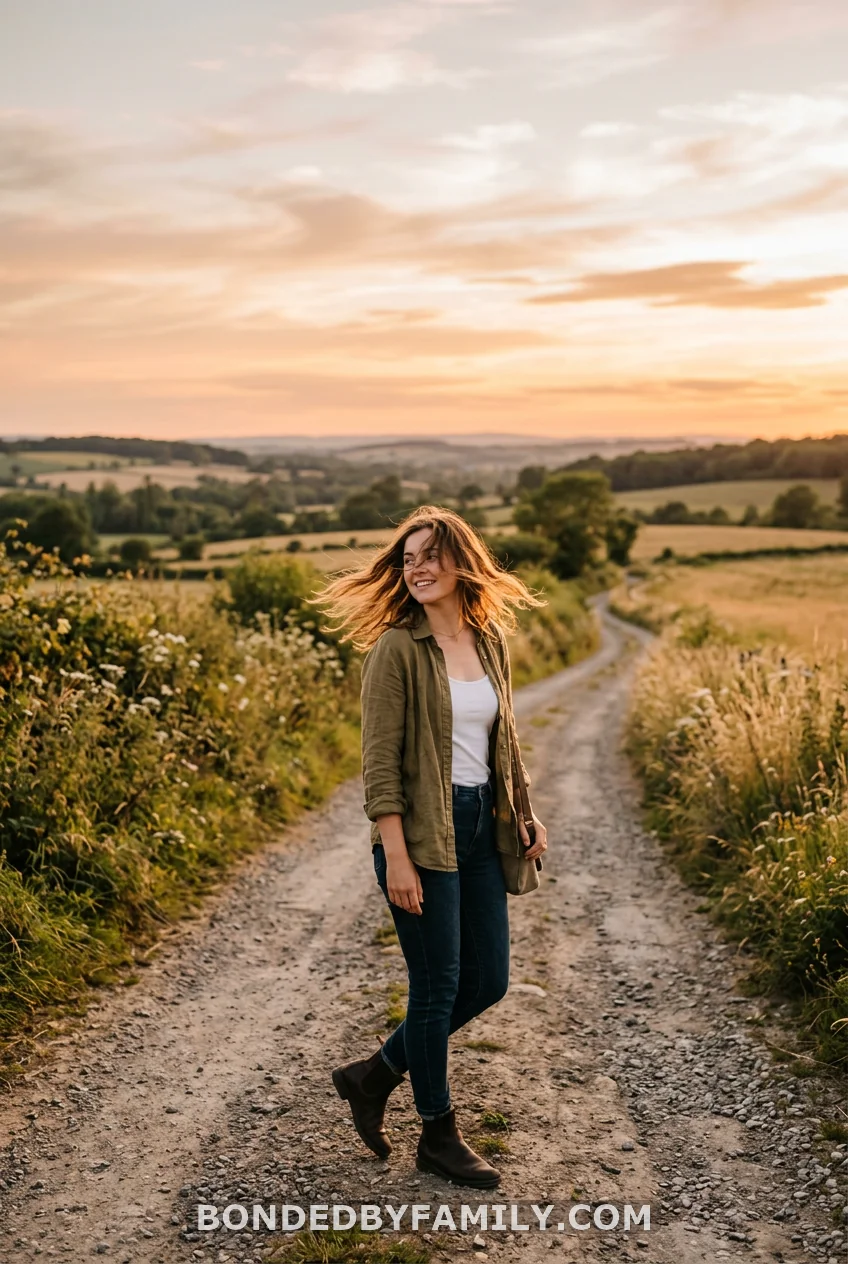
A quiet country road at sunset photographs like freedom itself, which happens to be the whole theme of turning 18. Stand a few feet off the road’s shoulder for safety, let your photographer shoot from a low angle looking up, and let the wide sky do most of the visual work.
13. Neon and Blacklight Party Mode
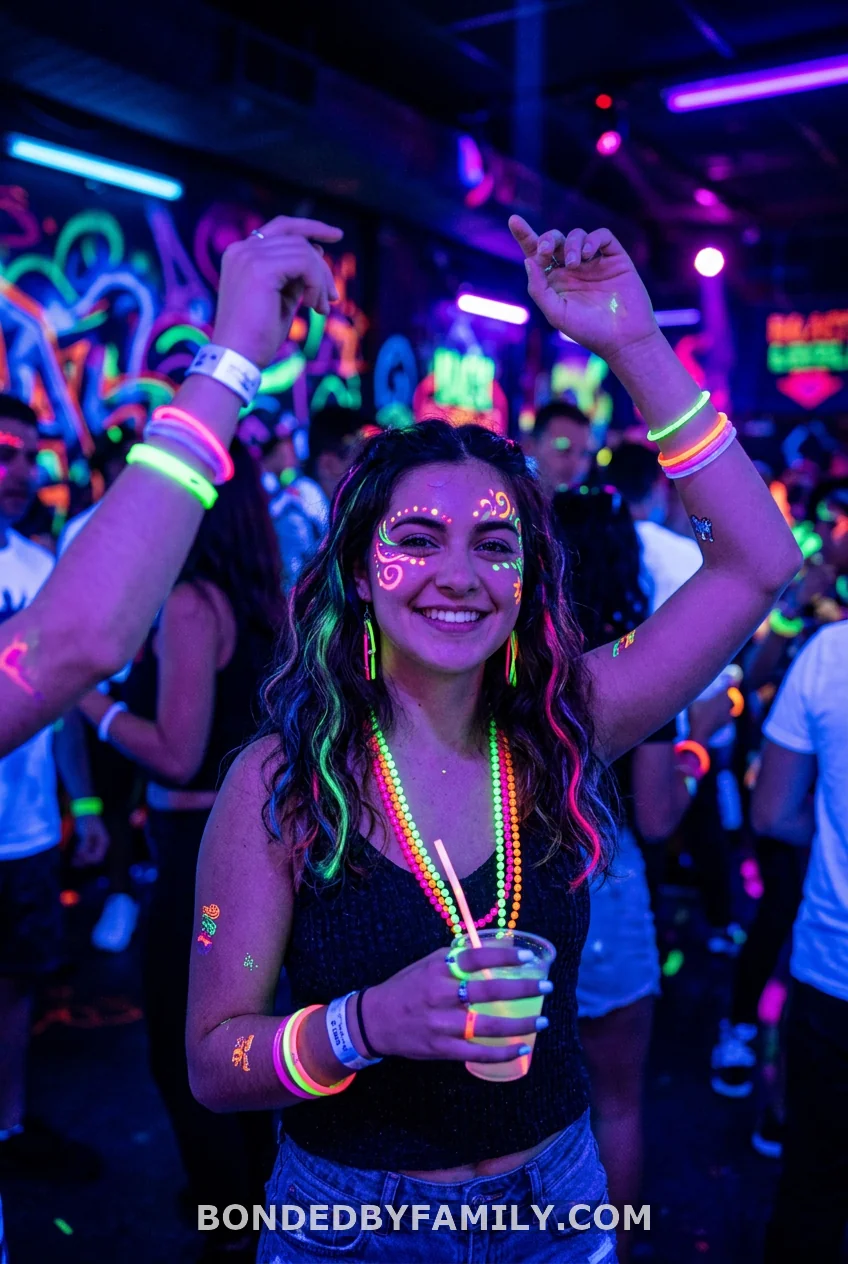
Grab a blacklight bulb for under $10, screw it into a lamp, and turn off every other light source in the room. Glow-in-the-dark face paint or a white outfit lights up instantly under blacklight. Shoot handheld with your phone’s night mode off, since night mode tends to wash out the neon glow you’re going for.
14. Floral Crown, Soft Focus
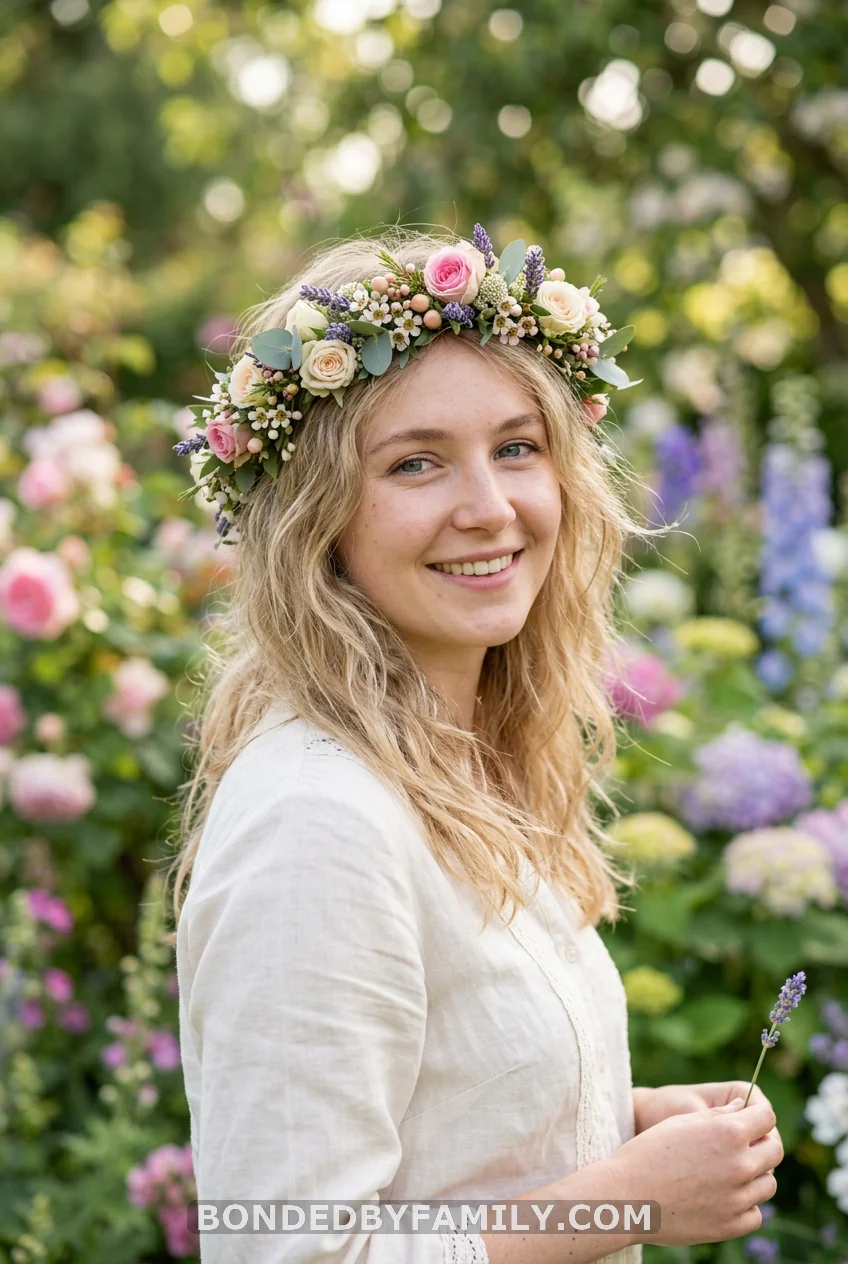
A floral crown, real or artificial, softens any shoot instantly. Pair it with a garden or a wall of climbing vines. Shoot from a few feet back so the background blurs into color, not detail.
15. Candlelit Cake, the Wish Moment
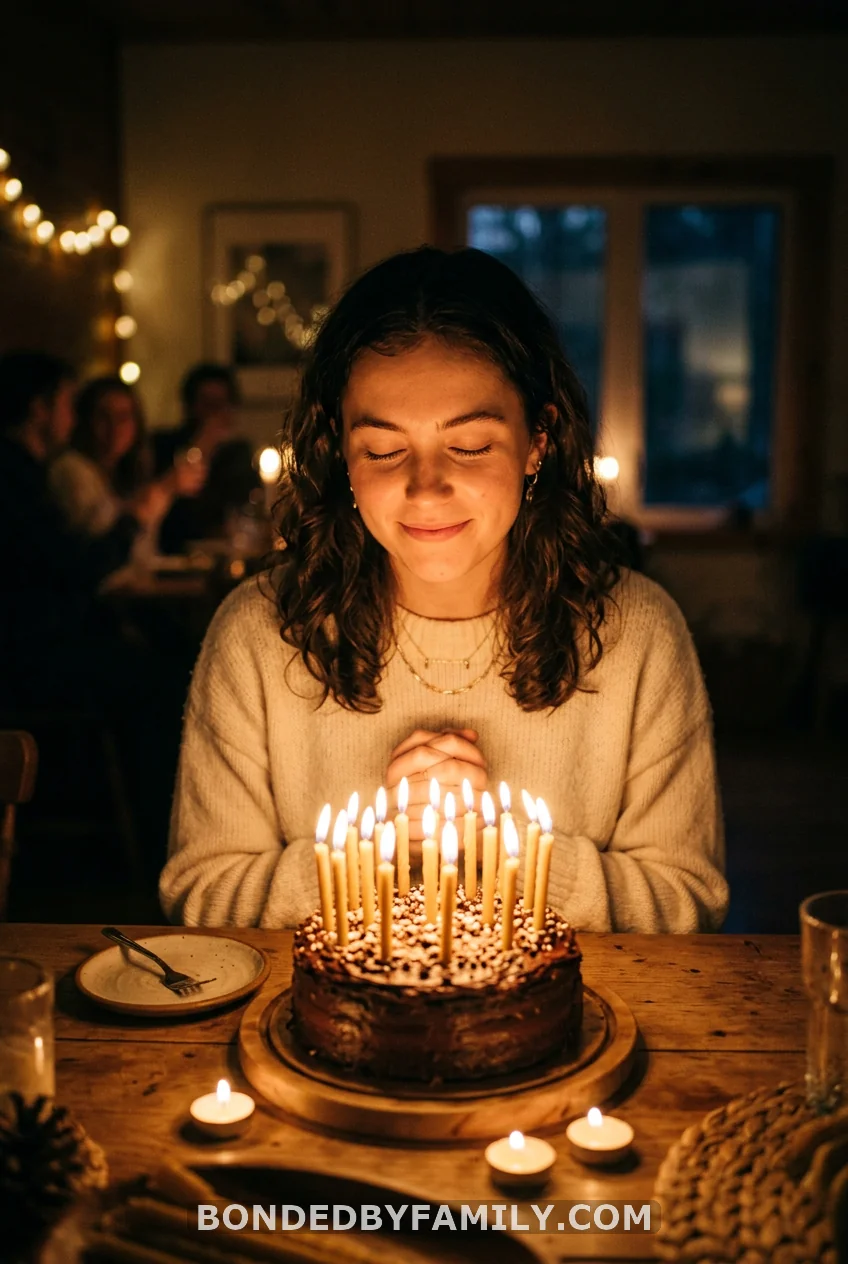
Turn off the overhead lights. Let the candles be your only light source. Capture the second right before you blow them out, eyes closed, flicker catching your face. Any room, any budget, any timeline.
16. Spa Day, Robe and Face Mask
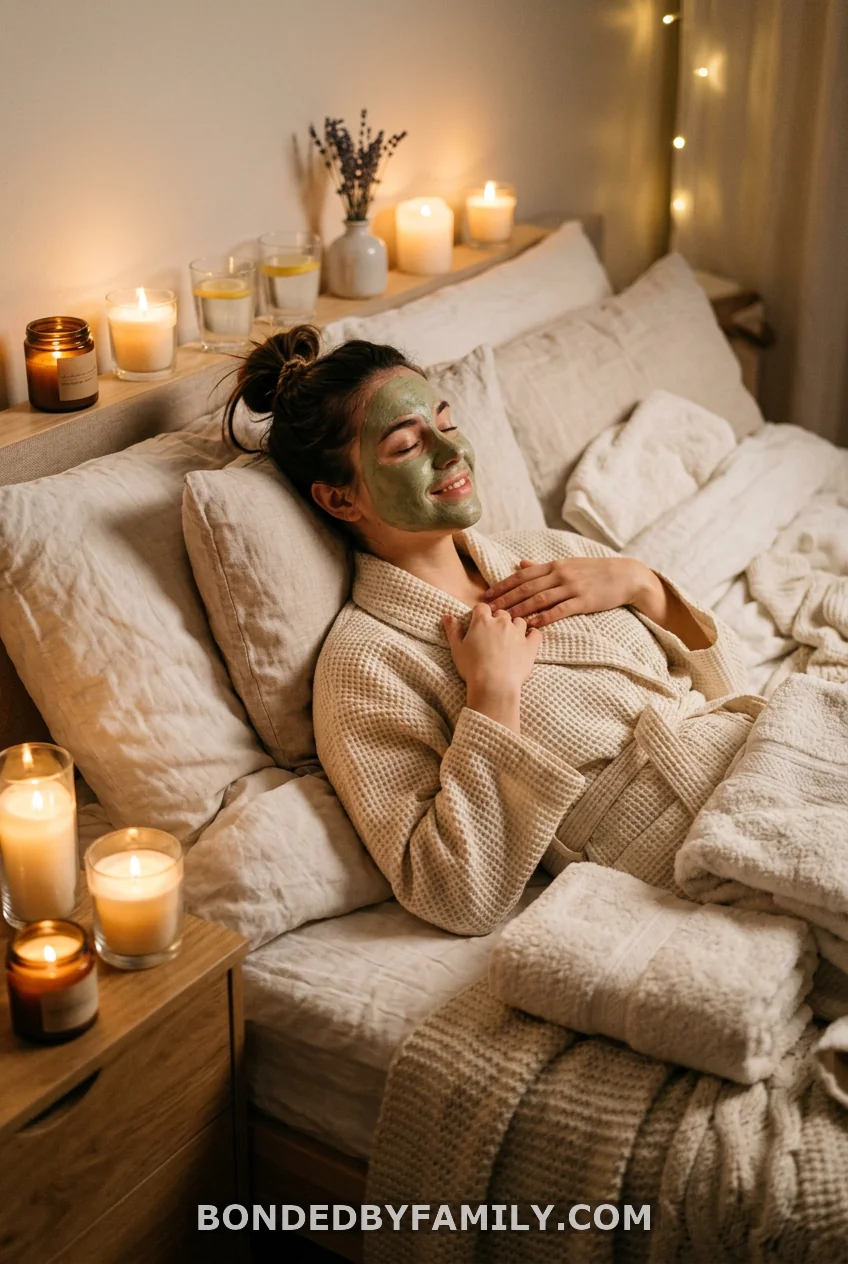
Set up a mini spa scene at home. Robe, face mask, cucumber slices over the eyes if you’re feeling extra. This concept photographs well because it looks unposed even when it’s fully staged, and it costs nothing beyond a mask you probably already own.
17. The Dinner Table Toast
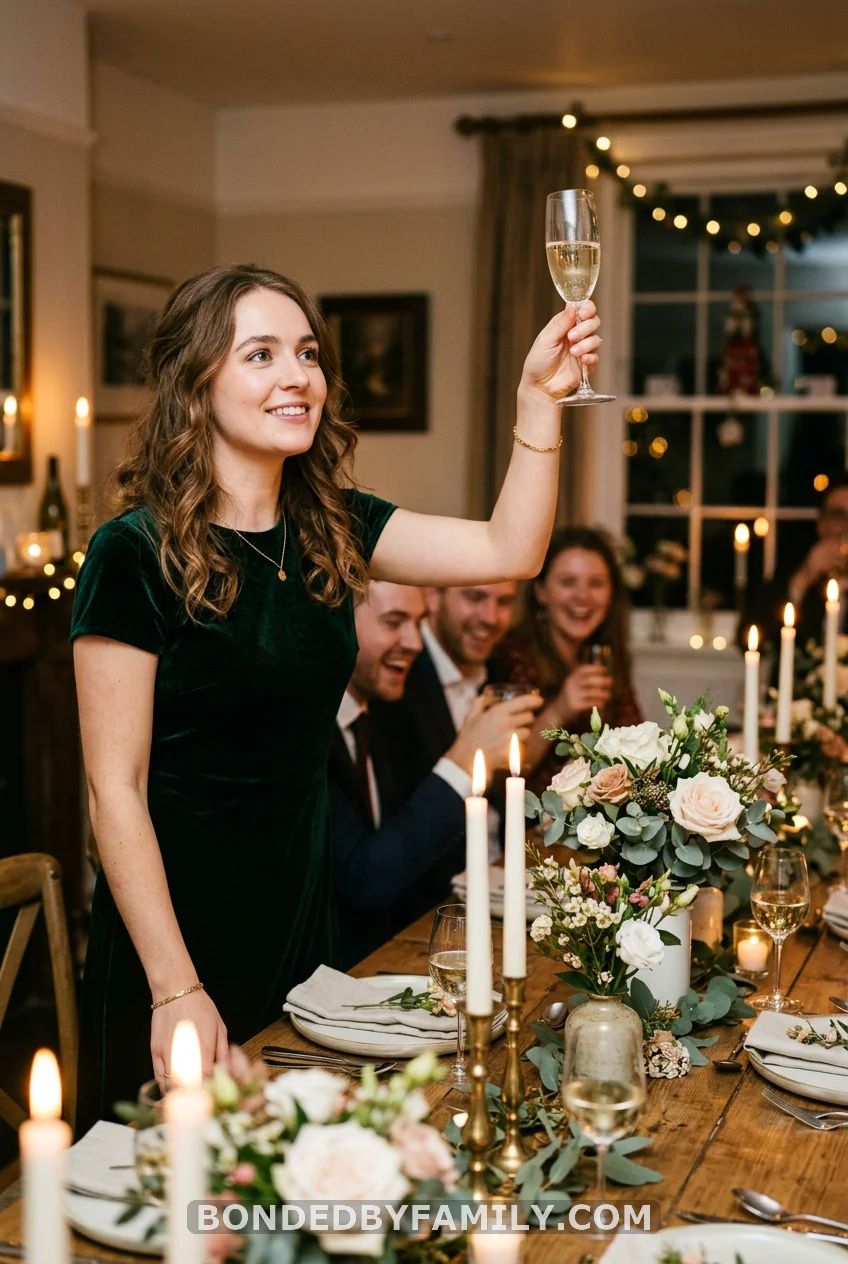
Set a small table with candles, a low centerpiece, and your favorite drink in hand. Ask everyone at the table to raise their glass at the same time. Candid toasts photograph warmer than posed dinner shots because everyone’s caught mid-laugh, not mid-smile.
Picking the Right Ideas for Your Shoot
You don’t need all 17. Pick three or four that match your own style and budget, then commit to those instead of chasing every idea on this list. A shoot built around a theme you truly like will always outshoot one built around what looked good on someone else’s Pinterest board.
If you’re short on time, the DIY balloon backdrop and the candlelit cake moment cover the most visual ground for the least setup effort. If you’ve got a whole afternoon, pair the golden hour road shot with the group photo for a mix of solo and social images.
Wrapping Up Your 18th Birthday Photoshoot
Eighteen only happens once. These ideas cost less than a single hour with a professional photographer combined, and every one of them uses props you can find at a dollar store or already own. Grab a friend with a steady hand, pick your favorites from this list, and go make something worth printing.
FAQ
What should I wear for an 18th birthday photoshoot?
Pick one outfit you feel confident in rather than several rushed changes. Solid colors photograph cleaner than busy patterns, and a piece with texture, like satin or velvet, catches light better than flat cotton.
Do I need a professional camera?
No. A recent smartphone paired with good natural light and a steady tripod produces results close to professional gear. The lighting matters far more than the camera body.
What time of day is best for outdoor shots?
Golden hour, roughly 45 minutes before sunset, gives the softest and most flattering light. Midday sun creates harsh shadows under the eyes and nose that are hard to edit out.
How many photo concepts should I plan for one shoot?
Three to five concepts executed slowly beat ten rushed ones. Build in thirty-second breaks between poses so your expressions stay natural instead of stiff.
What’s a cheap way to build a photo backdrop at home?
A balloon cluster with string lights costs under $30 and covers a 6×5-foot wall section, which is enough to fill most camera frames without needing a studio setup.