Every guest walks straight to the backdrop first. Before the cake, before the music, before anyone even says happy birthday. That one wall is where the whole party lives on Instagram, so it earns your attention before anything else on the checklist.
A sweet 16 backdrop is not just decoration. It is the frame around the birthday girl’s whole night. Get it right, and every photo from the party looks pulled from a real event, not a living room with balloons taped to it.
I have built backdrops for tight budgets and for full-blown balloon walls, and the ideas below cover both ends. Pick the one that matches your space, your time, and your patience for glue guns.
1. The Classic Balloon Arch
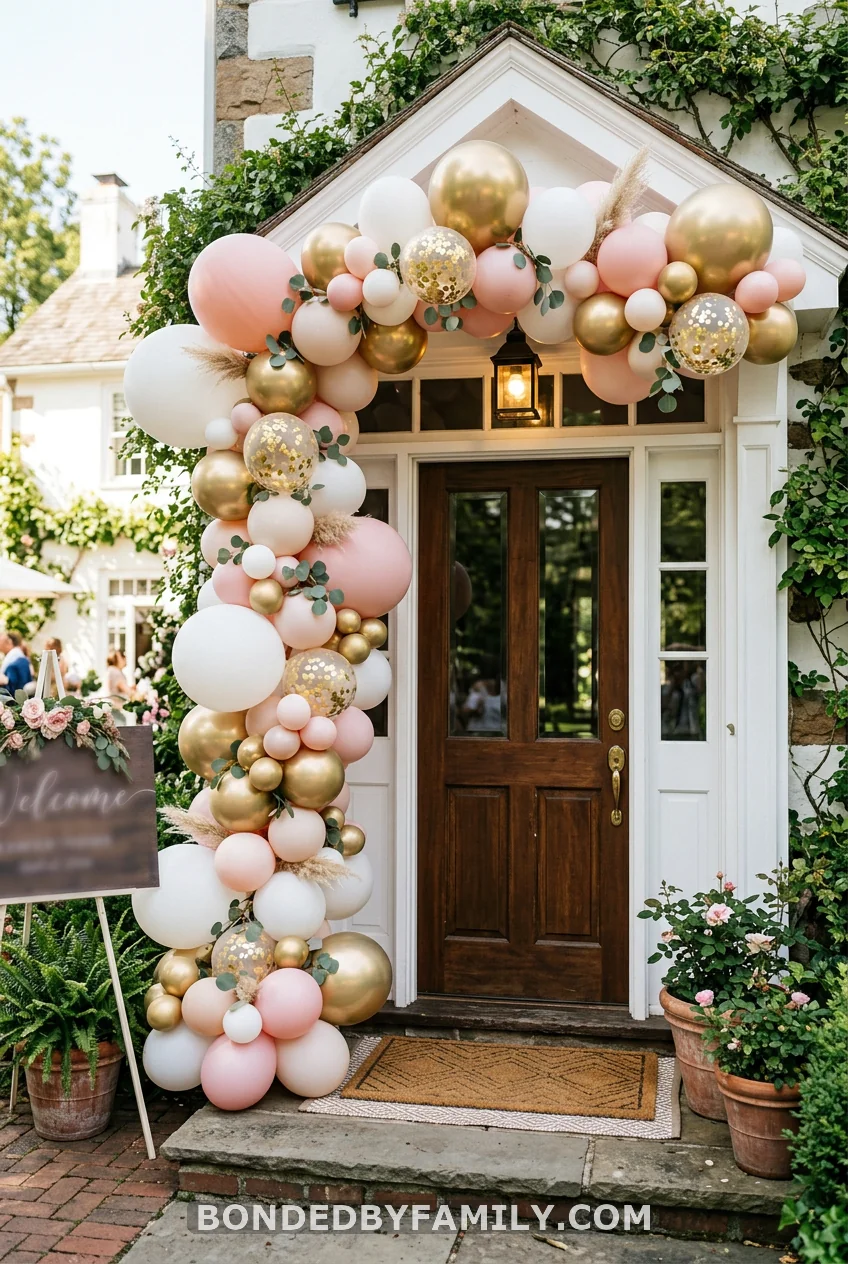
Balloons in three shades, twisted into an arch shape, framing the birthday girl at the center. Nothing fancier than that, and nothing needed. It works over a doorway, a cake table, or a plain wall. Grab a balloon arch kit, add a hand pump, and you are done in under an hour.
2. Sequin Shimmer Wall
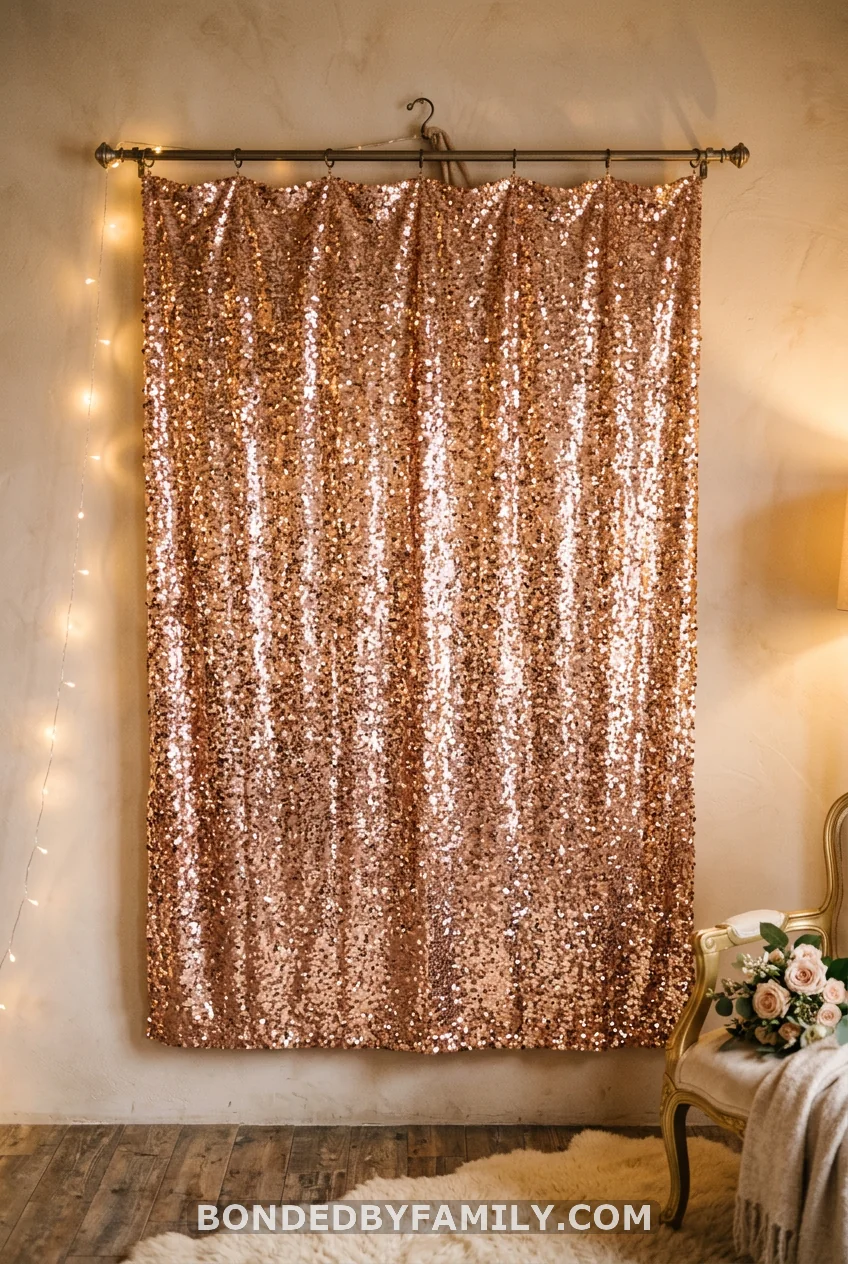
A sequin panel catches every bit of light in the room and throws it back at the camera, which is exactly why professional photographers love shooting in front of one. You hang the panel with basic curtain clips, then add a single balloon garland along the bottom edge so the shimmer has a frame instead of floating alone. Rose gold and champagne read as elegant. Hot pink and silver read as a party. Pick based on the rest of your color scheme, not just what looks prettiest on its own, since a mismatched sequin wall fights every other photo in the room. Clip a small marquee “16” to the center, and the wall does double duty as both backdrop and cake table centerpiece.
3. Butcher Paper and Paint
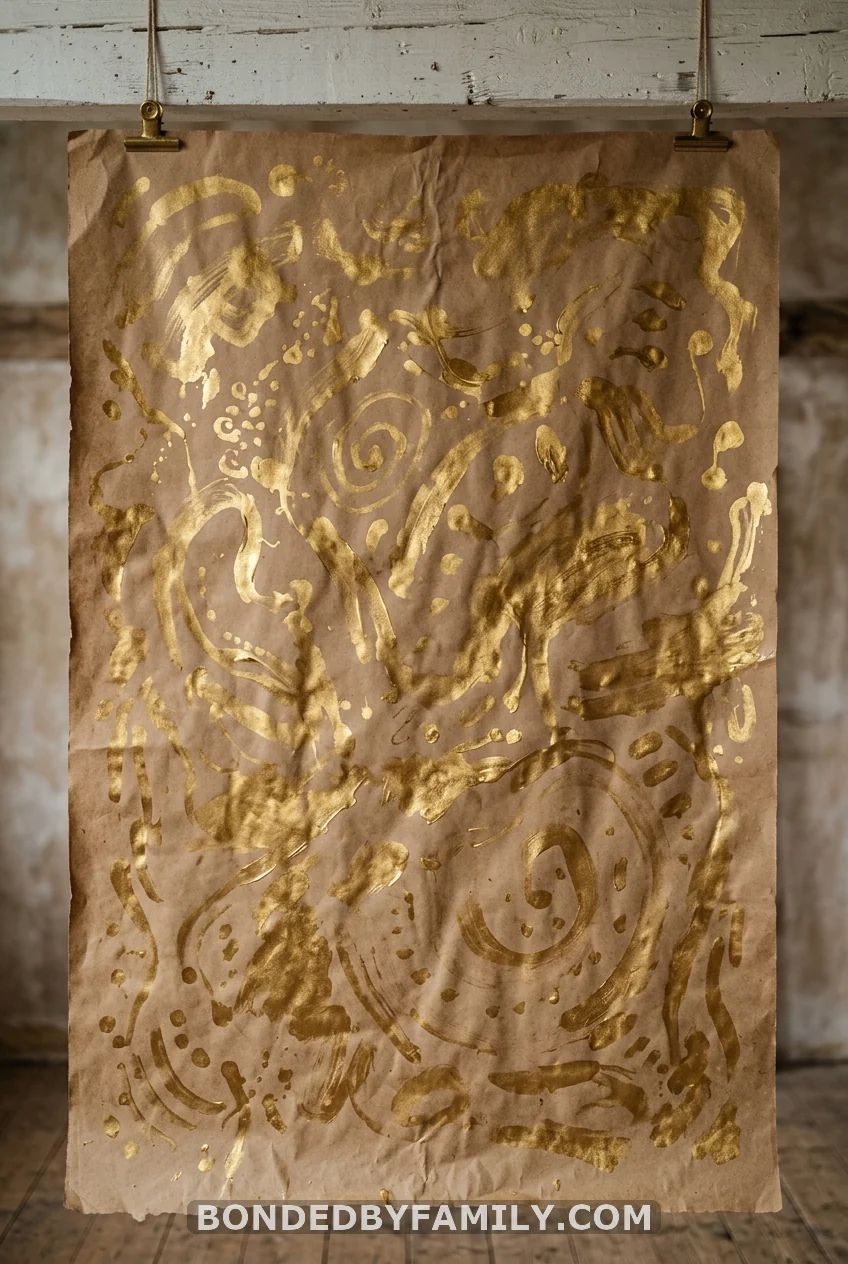
Roll out a length of kraft paper, tape it flat, then paint a loose pattern across it in one metallic color. Fifteen dollars, thirty minutes, done.
4. Floral Focal Wall
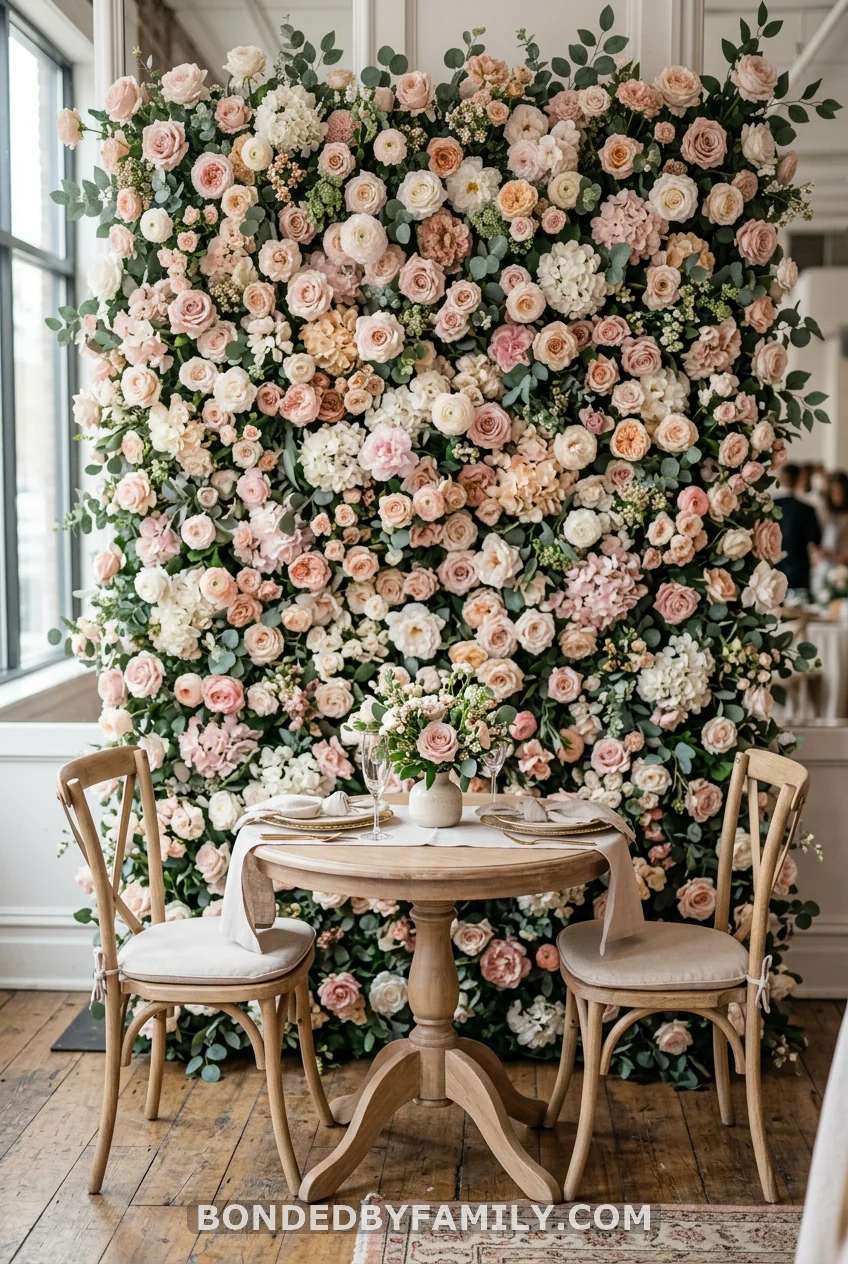
A floral wall built from stem-by-stem foam-backed panels turns a bare wall into something that looks rented from a wedding venue. Start with a foam board base, then work outward from the center with your largest blooms first, filling gaps with smaller filler flowers as you go. Silk peonies and ranunculus hold up all night without wilting, and you can reuse the panel for a birthday next year with a fresh coat of spray paint on the frame. Budget around $60 to $90 for a 4-by-6-foot panel using bulk silk flowers from a craft store, versus $200 or more for a pre-made version online.
5. Marquee Number Lights With a DIY Photo Frame
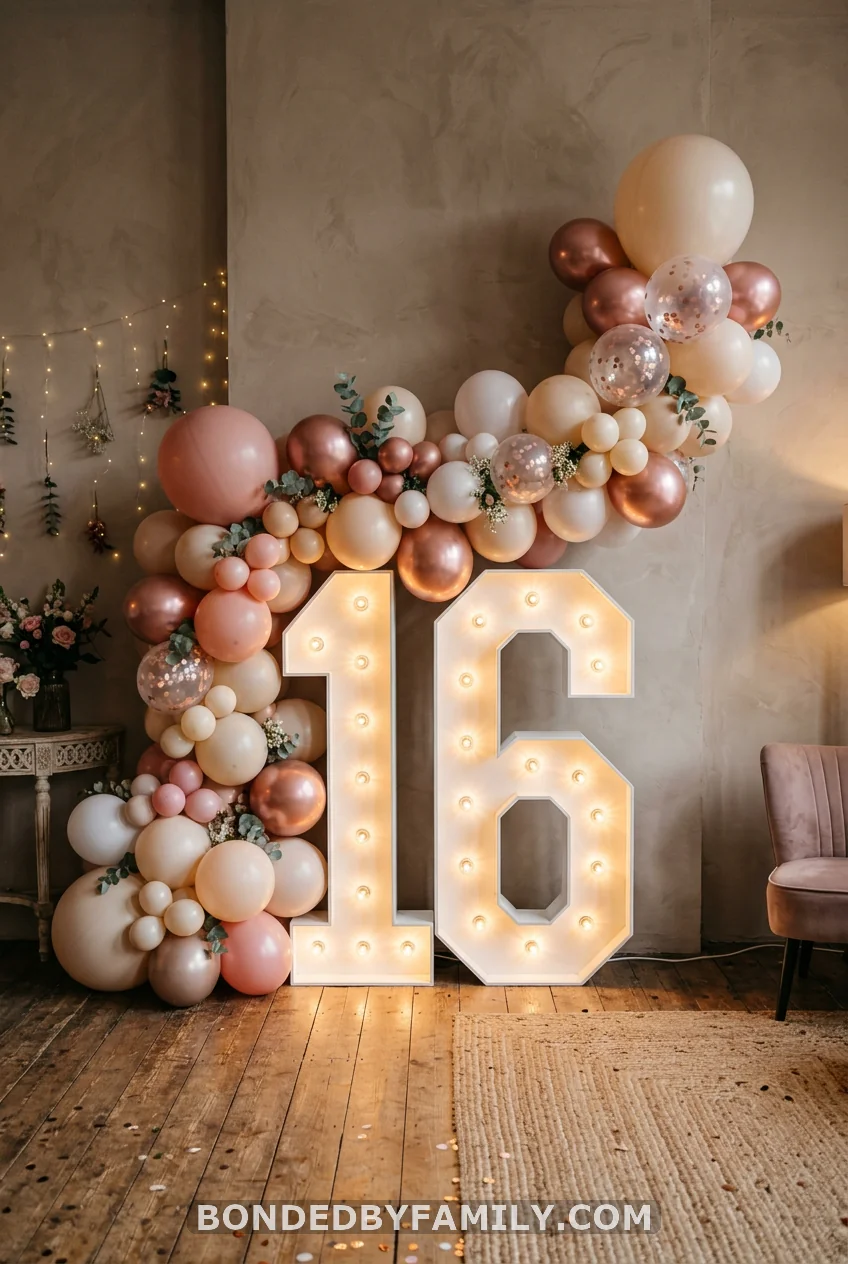
This is the backdrop I get asked about the most, so here is the full build.
Why It Works
A lit marquee number does two things at once. It anchors the whole wall visually, so guests know exactly where to stand for photos, and it works in low light, which most sweet 16 parties have by 8 p.m. Balloons alone go flat in dim lighting. A lit number does not.
Dimensions
Standard marquee numbers run 24 to 40 inches tall. For a wall backdrop, 30 inches is the sweet spot: tall enough to read from across the room, small enough that a balloon garland can wrap around it without swallowing it whole.
Step-by-Step Build
- Order or rent a 30-inch marquee “16,” LED bulb version, not battery-only strip lights, since strip lights wash out in photos.
- Mount a plain foam board or thin plywood panel 4 feet wide by 5 feet tall to the wall using command strips rated for at least 5 pounds each.
- Center the marquee number on the panel, roughly two-thirds of the way up, and secure it with the mounting hardware it comes with.
- Build a balloon garland in your two main colors plus one metallic, using a balloon garland strip and a hand pump.
- Drape the garland in a loose arc starting at one bottom corner of the panel, sweeping up around the number, and ending at the opposite corner.
- Tuck 3 to 4 stems of greenery or silk flowers into the gaps along the garland for texture.
- Plug in the marquee number and test it in the room’s actual evening lighting before guests arrive, since daylight hides gaps that show up after dark.
Materials and Costs
| Item | Cost |
|---|---|
| 30-inch LED marquee “16” | $45-$65 |
| Foam board panel, 4×5 ft | $12 |
| Command strips (heavy duty) | $8 |
| Balloon garland kit | $18-$25 |
| Hand pump | $10 |
| Silk greenery stems (x4) | $10 |
| Total | $103-$130 |
Pro Move
Buy the marquee number in white plastic and add a colored gel filter over the bulbs instead of buying a colored unit outright. One $45 number becomes reusable for every birthday in the family for years, just swap the gel.
Common Mistakes to Avoid
Mounting the panel before the balloon garland is built is the single biggest time-waster. Build the garland first, lay it out flat, and only then hang everything as one unit. Guests also tend to stand too close to the number itself instead of centered on the whole panel, so tape a small “X” on the floor about 4 feet back to guide where people stop for photos.
When It’s Worth It
Skip the marquee number if your party has fewer than 10 guests or is happening entirely outdoors in daylight. The lit-number effect depends on evening light and a crowd big enough to justify the setup time. For a small daytime gathering, the floral wall above gives more impact for less work.
6. Fringe Curtain Backdrop
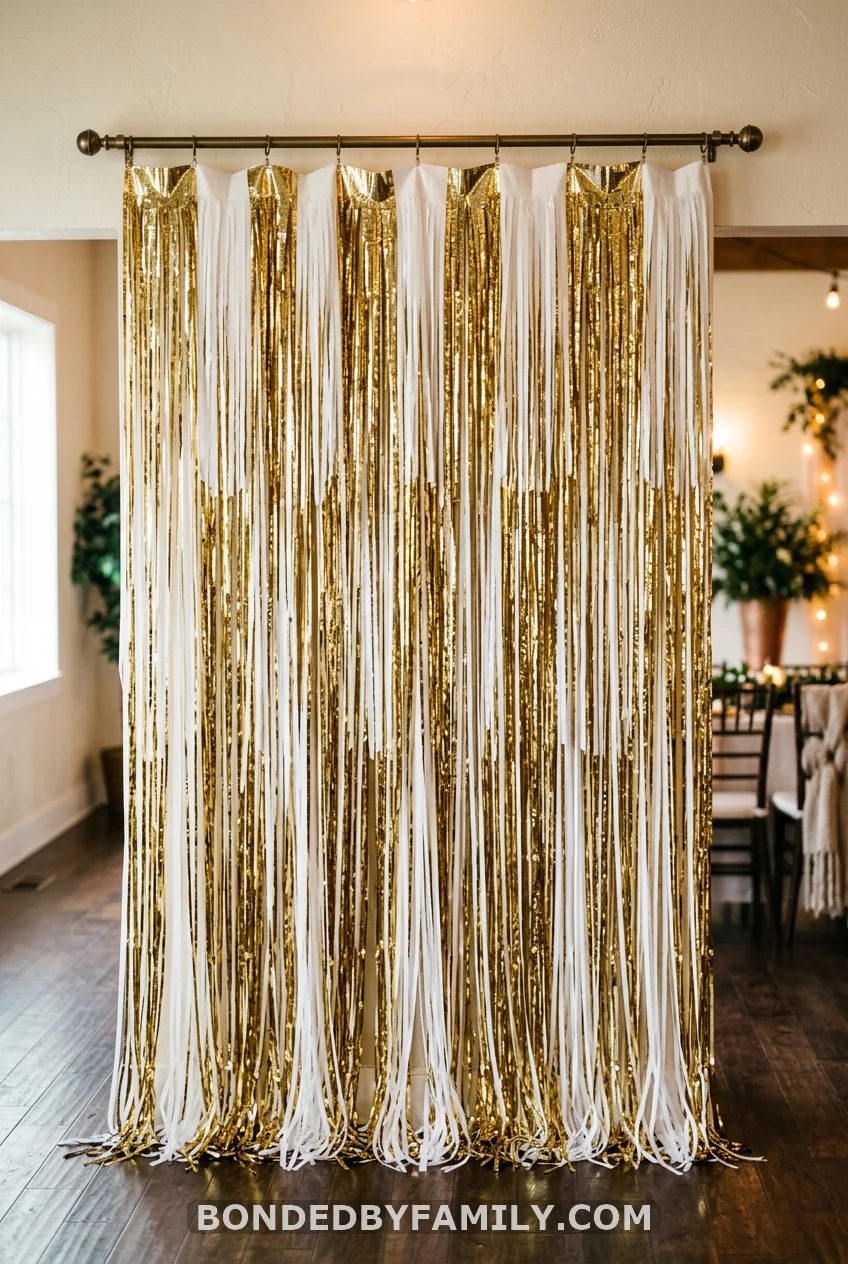
Metallic fringe curtains hang from a tension rod and move slightly with air, which photographs beautifully under any lighting. Layer two colors for depth instead of one flat sheet.
7. Neon Sign Statement Wall
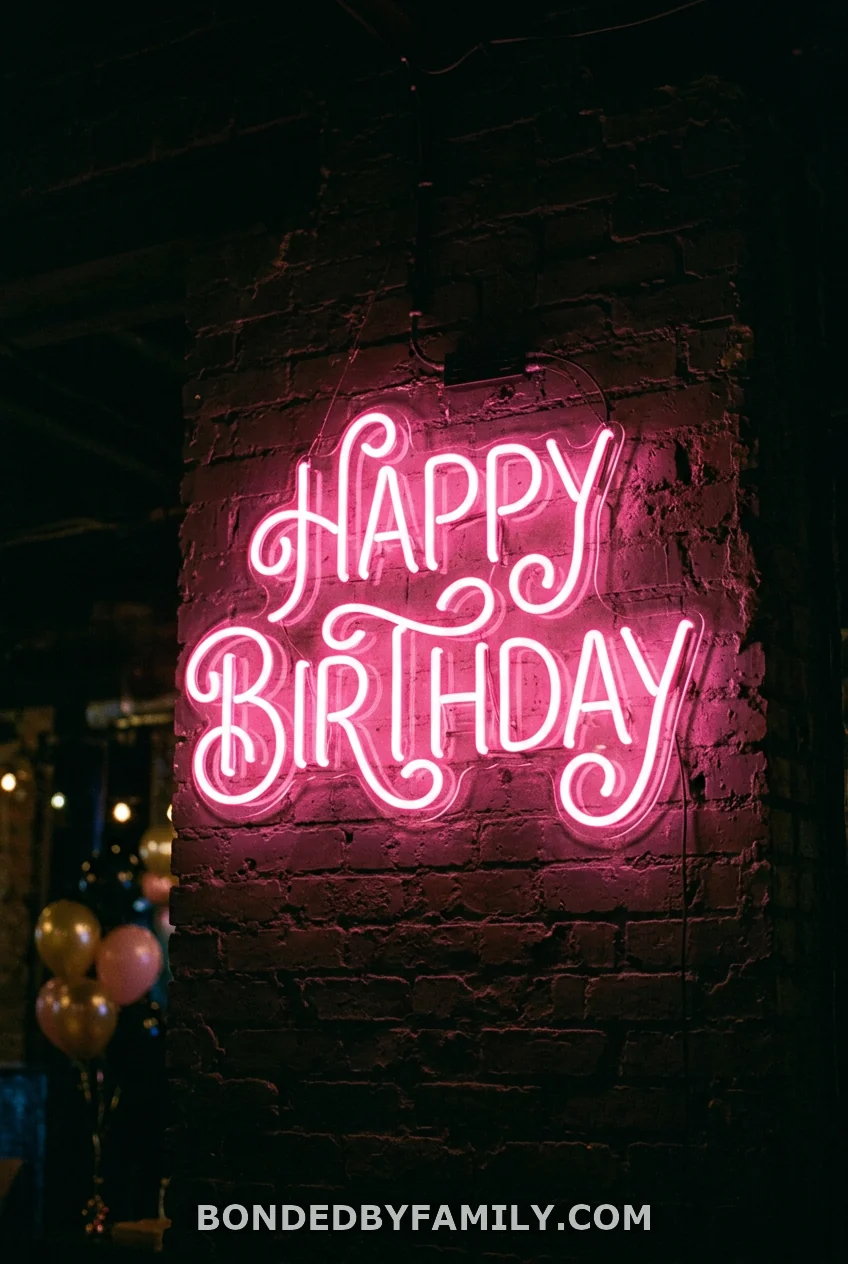
A neon-style LED sign, the kind that spells out a short phrase or the birthday girl’s name, gives a backdrop a grown-up, lounge-party feel that pure balloons cannot match. Mount it against a dark or deep-colored wall so the glow stands out clearly, since a white wall behind a neon sign just looks washed out in photos. Pair it with a few strands of plain string lights along the ceiling line rather than more neon, so the main sign stays the obvious focal point. Rental units run $30 to $50 for a weekend, which beats buying one you will use twice.
8. Layered Balloon Garland Wall
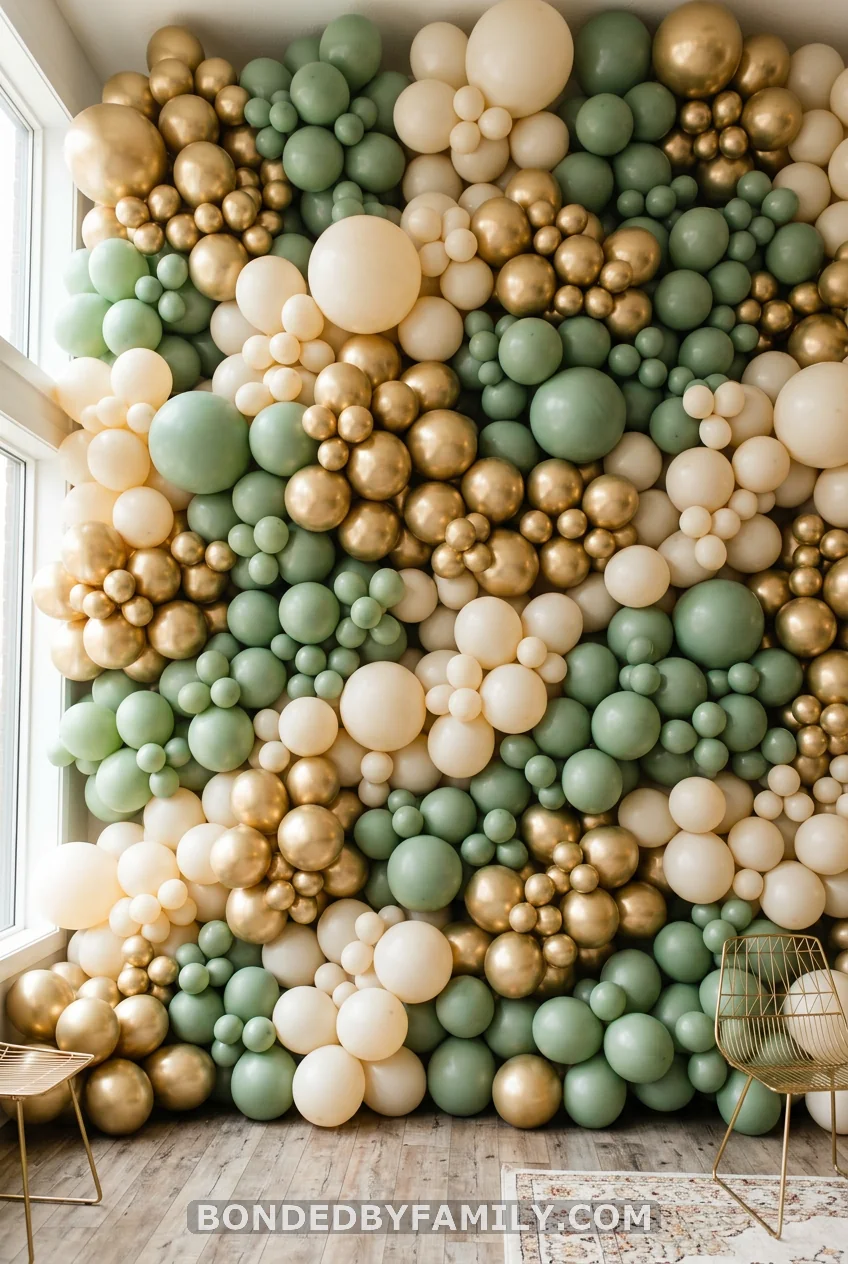
Instead of an arch shape, cover an entire wall edge to edge with a balloon garland built in organic clusters. It reads as more dramatic than an arch and works well as a backdrop for the whole party, not just photo moments. Budget two to three hours for a full wall, since this is the most time-intensive balloon option on this list.
9. The “More Is Better” Myth
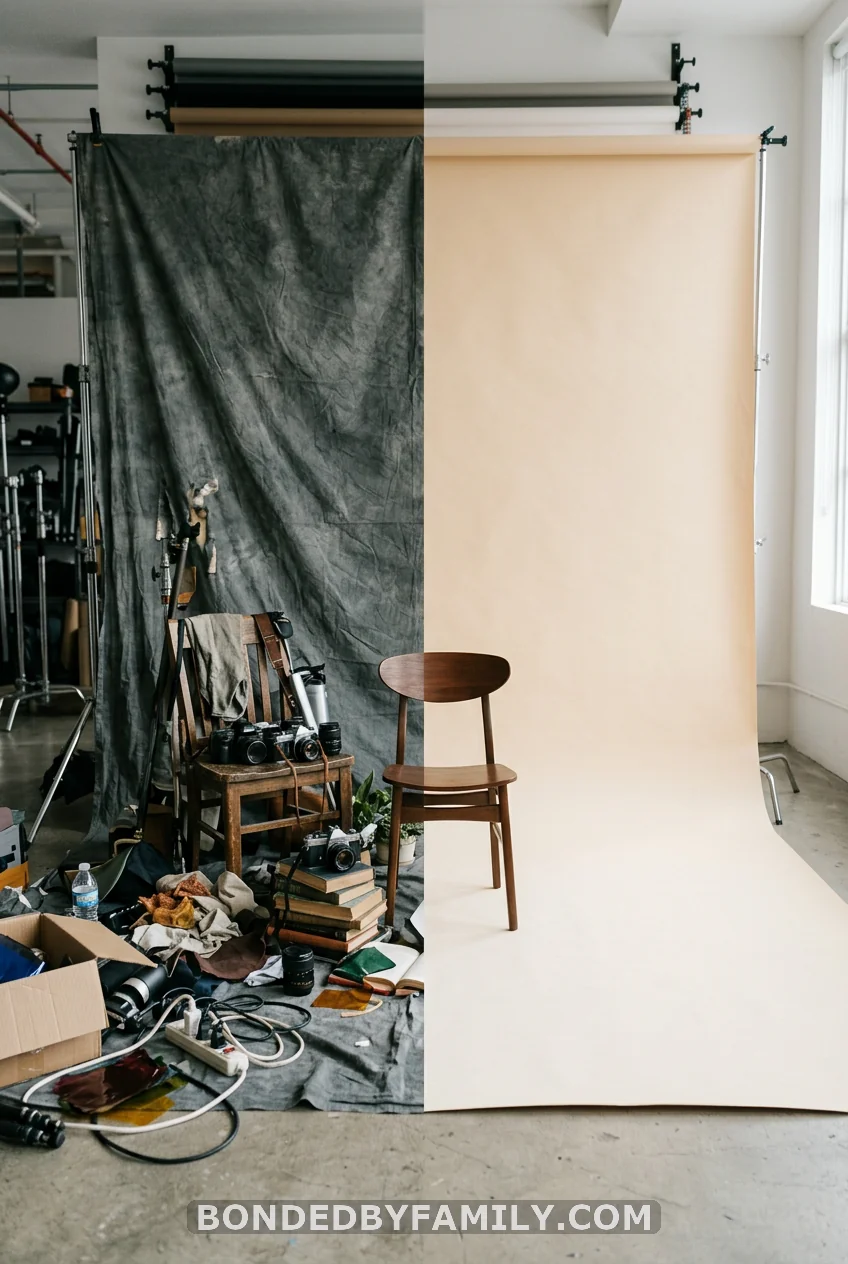
What most people think: a bigger backdrop with more elements always photographs better.
The reality: the opposite is usually true. I watched a friend spend an entire weekend building a backdrop stacked with balloons, flowers, streamers, a marquee number, and a fringe curtain all layered together. Every single photo from that party looked busy and slightly chaotic, because the eye had nowhere to land. Compare that to a plain sequin wall with one balloon garland along the bottom, which photographed cleanly in every single shot from a different party the same month.
A backdrop needs exactly one focal point. That can be a number, a name, a floral cluster, or a color block. Everything else on the wall should support that one thing, not compete with it. Before you add another element, ask whether it is pulling attention toward your focal point or away from it. If you cannot answer that clearly, leave it off.
The fix: pick your single focal element first, build the rest of the backdrop around supporting it, and stop adding once the wall feels “almost too plain.” That feeling usually means you have it exactly right, since photos compress detail and a wall that looks perfectly balanced in person often reads as slightly sparse on camera. Trust the restraint.
10. Fabric Drape Backdrop
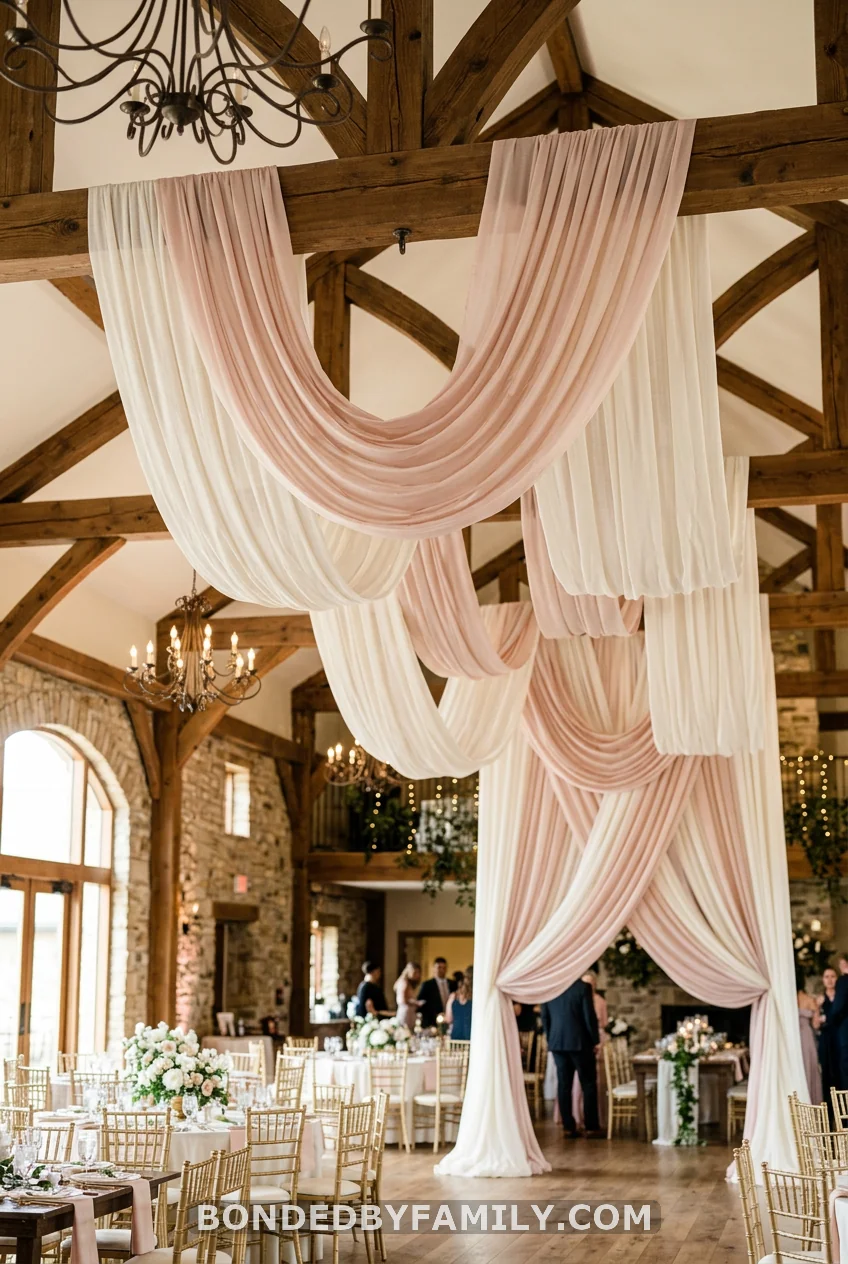
Two or three lengths of sheer or satin fabric, draped from a plain PVC pipe frame, give a soft, romantic look without a single balloon. This works especially well for an indoor venue with high ceilings, since the fabric can hang long and pool slightly at the floor. Clip strands of fairy lights behind the fabric for a soft glow once it gets dark.
11. Paper Fan Cluster
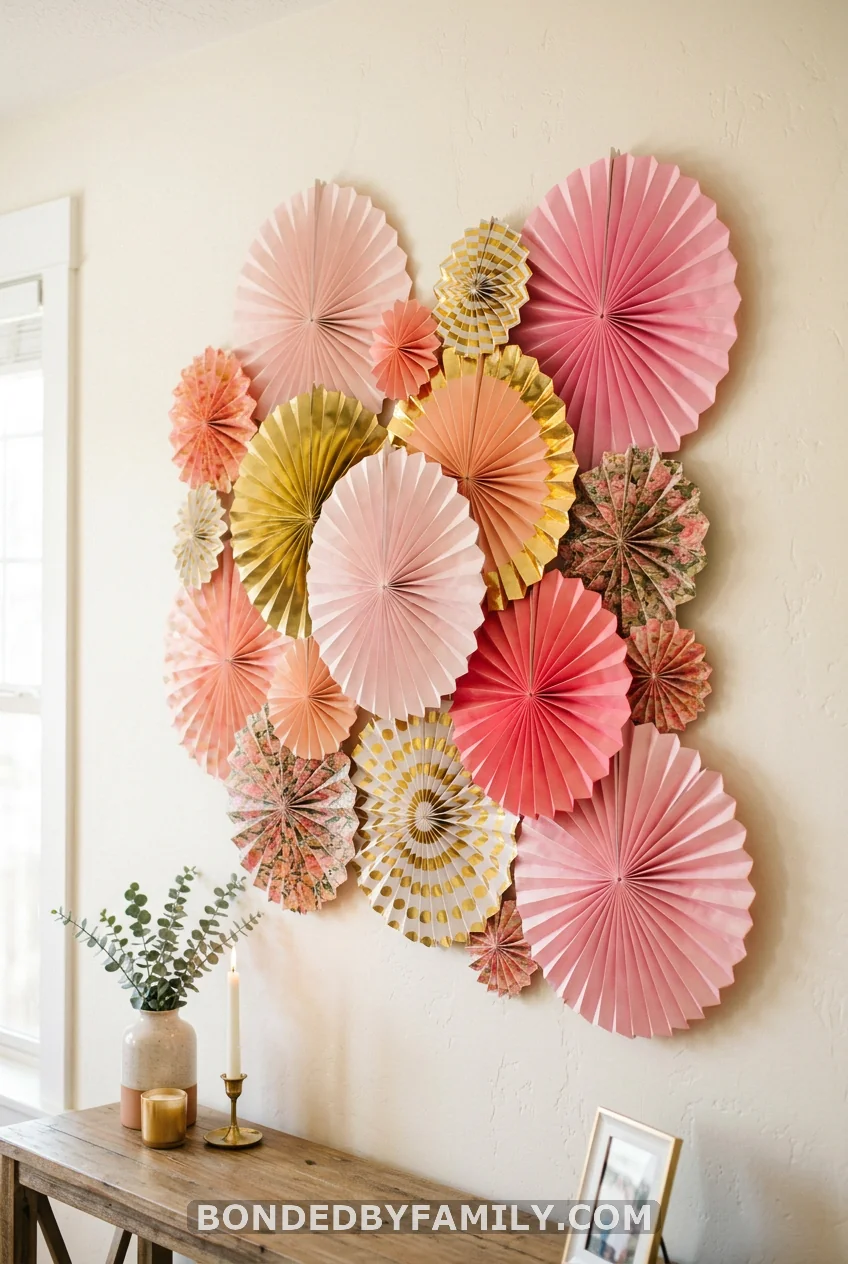
Tissue paper fans in three sizes, grouped in clusters of three, cover a huge amount of wall space for almost nothing. Under $20 for a full wall.
12. Streamer Wall
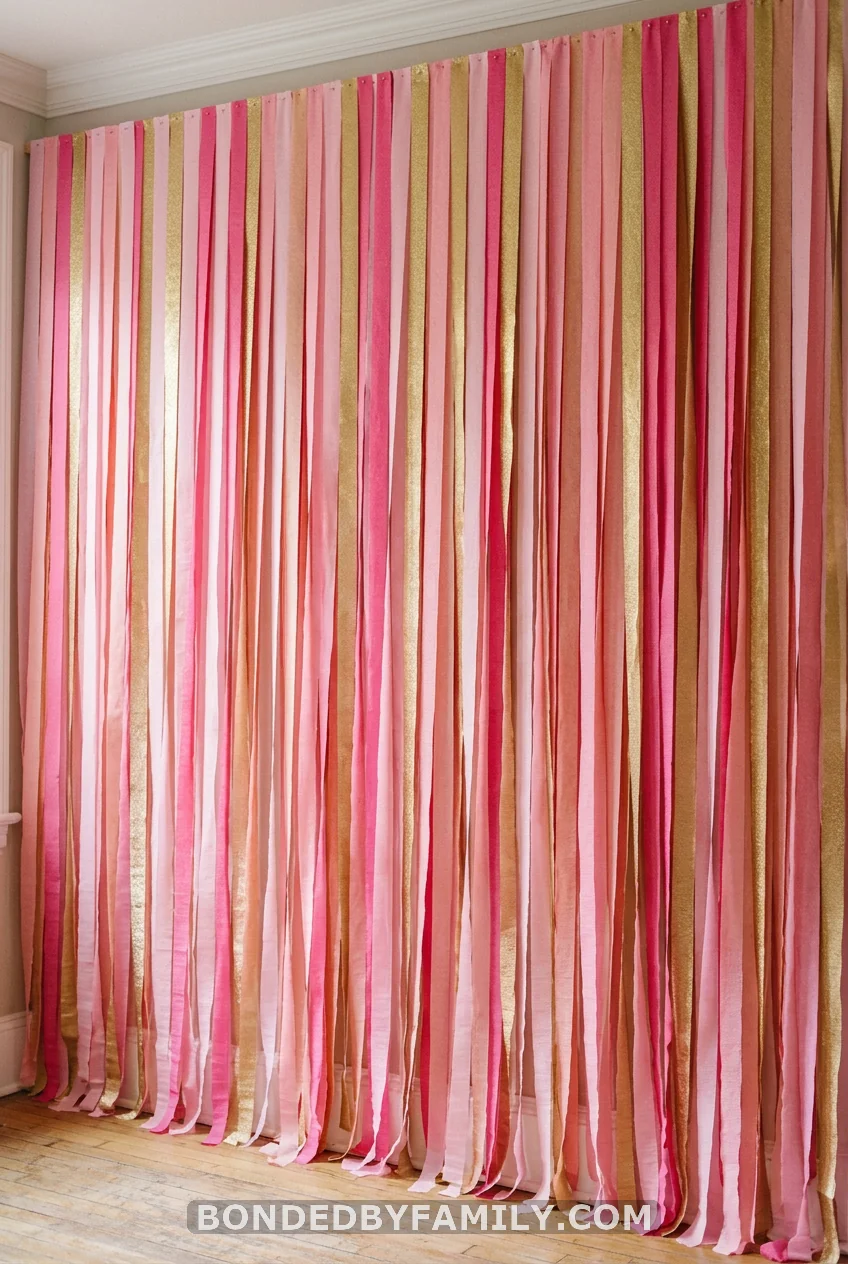
A wall of vertical crepe paper streamers, hung close together from a single strip along the ceiling, gives movement and color without any structural building at all. It photographs best when the streamers are cut long enough to just touch the floor, since shorter streamers read as unfinished in photos. Two colors alternating in a clean pattern look intentional. Random mixed colors tend to look leftover from a different party.
13. Greenery and Fairy Light Wall
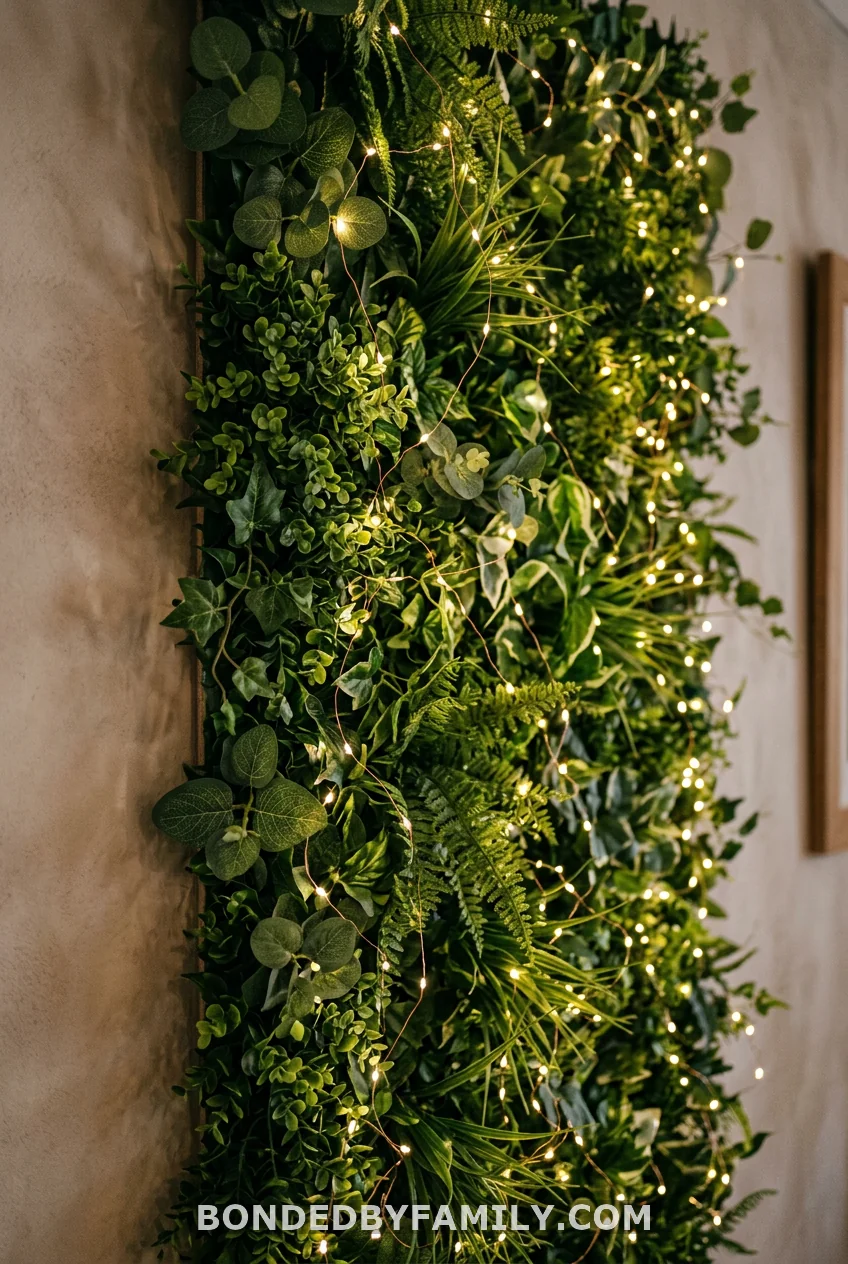
A greenery panel, the kind sold in stackable interlocking squares, gives a lush, garden-party look in about 20 minutes of assembly. Weave a string of warm white fairy lights through it before hanging for a soft glow after dark.
14. Vintage Mirror and Frame Cluster
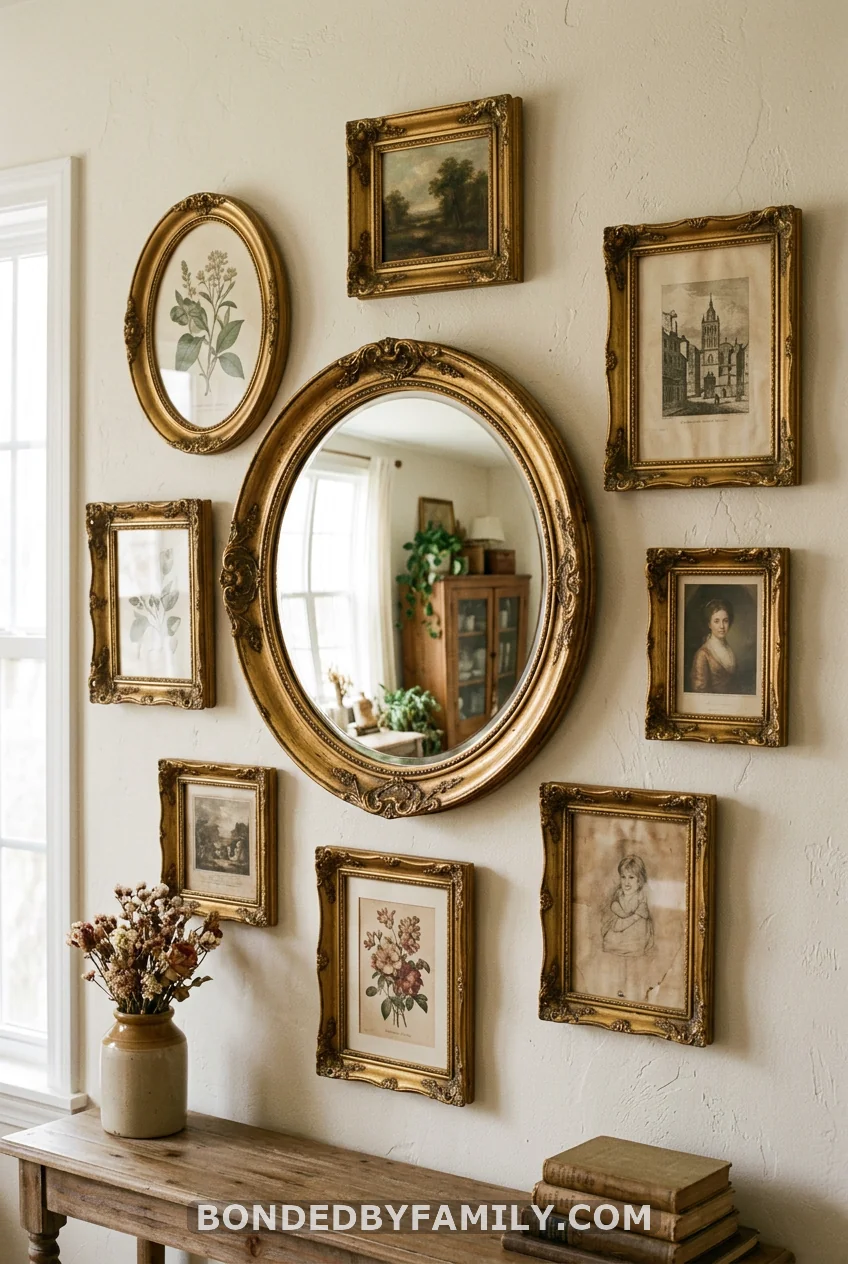
Instead of building something from scratch, thrift five or six mismatched frames in gold or brass tones and hang them in a loose cluster around one larger mirror. Leave the frames empty rather than filling them with photos, since empty frames read as intentional decor while filled frames read as a family photo wall, which is a different vibe entirely. Add one small strand of fairy lights woven through the cluster for evening photos. This whole setup costs almost nothing if you shop secondhand stores over two or three trips instead of buying frames new in one sitting.
15. Confetti Balloon Cloud
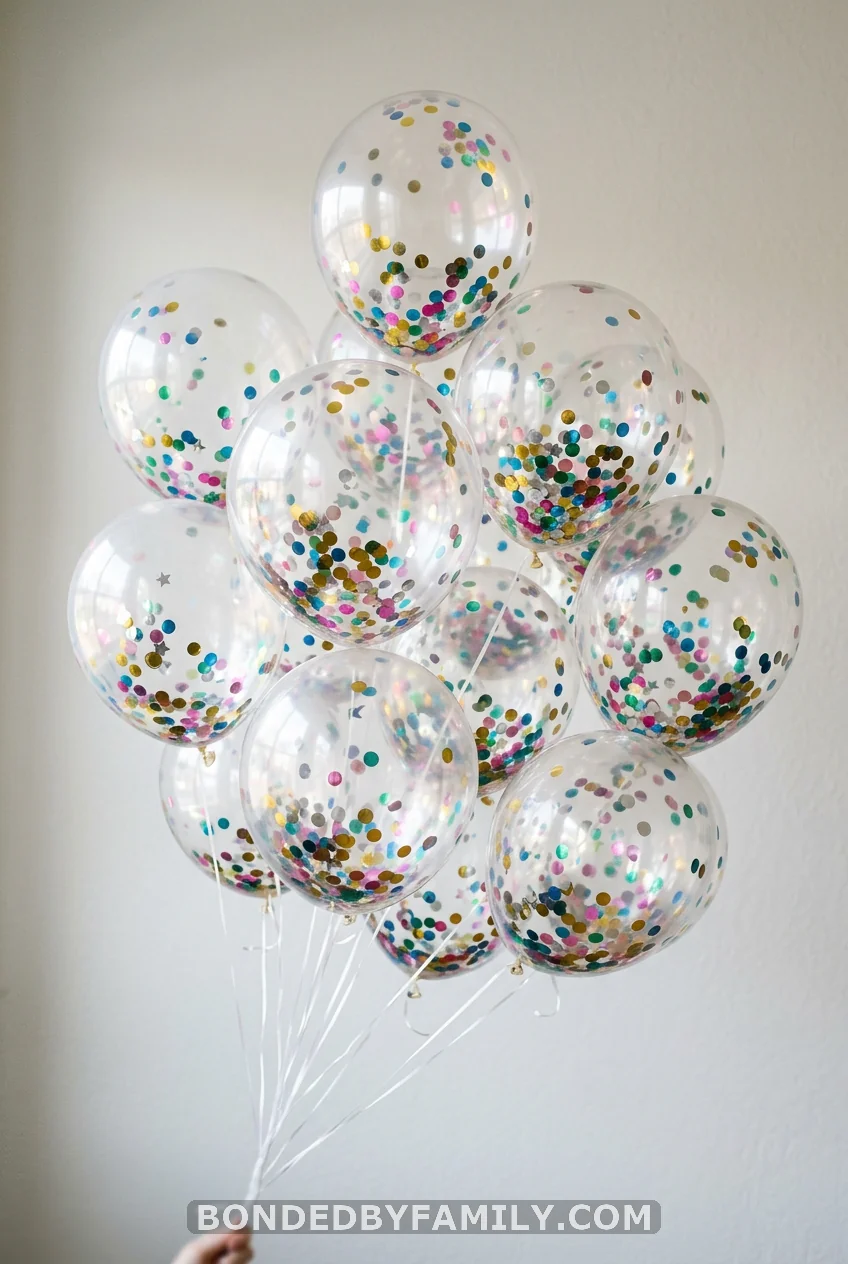
Clear balloons filled with metallic confetti, grouped in a loose cluster at varying heights, catch light beautifully with almost no setup work required.
16. The Budget Butcher Paper and String Light Combo
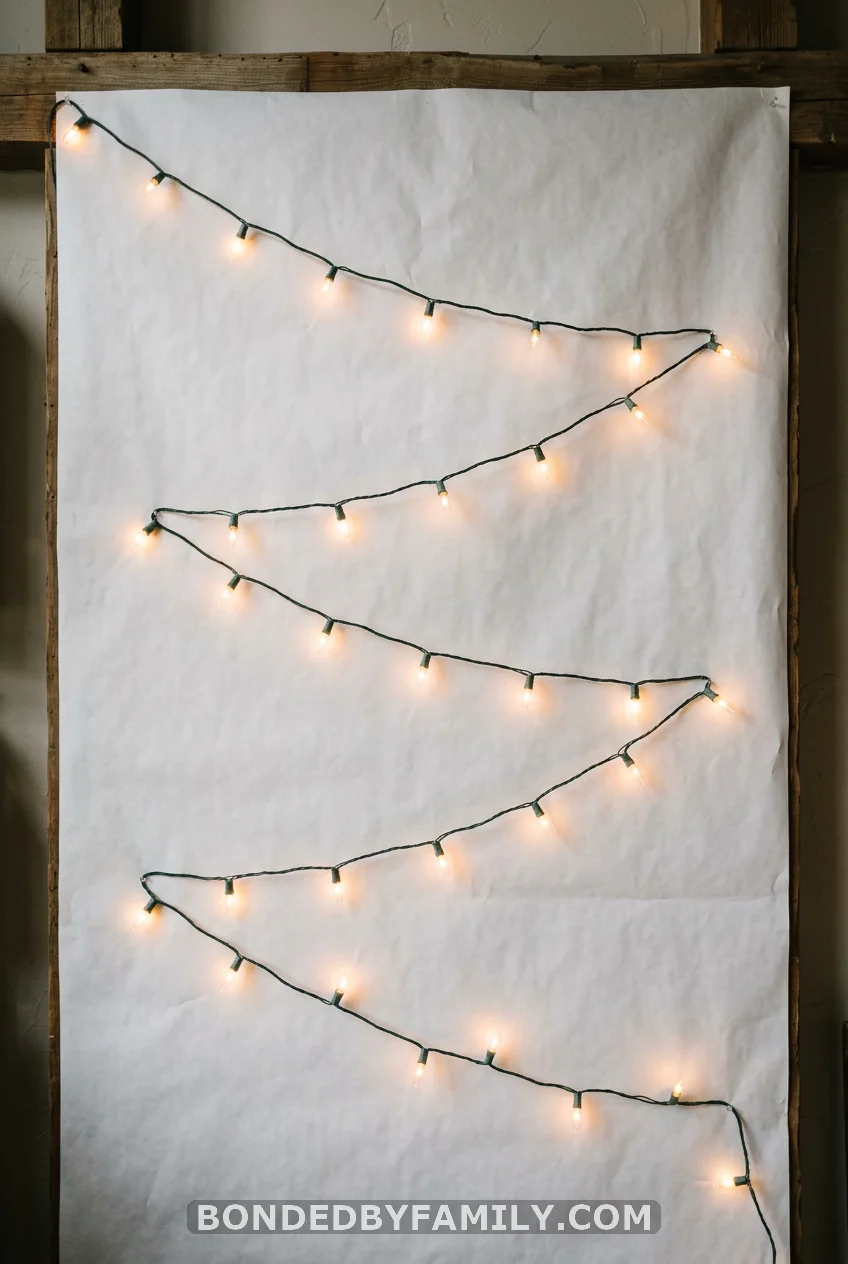
Hang a plain roll of white or cream butcher paper as your base, then zigzag a strand of warm white string lights across it from corner to corner. It costs under $15 total and looks intentional rather than bare, especially once the lights are on and the room is dim. Add one small cluster of balloons in a bottom corner to keep it from feeling too minimal.
17. The Full DIY Photo Corner on a Real Budget
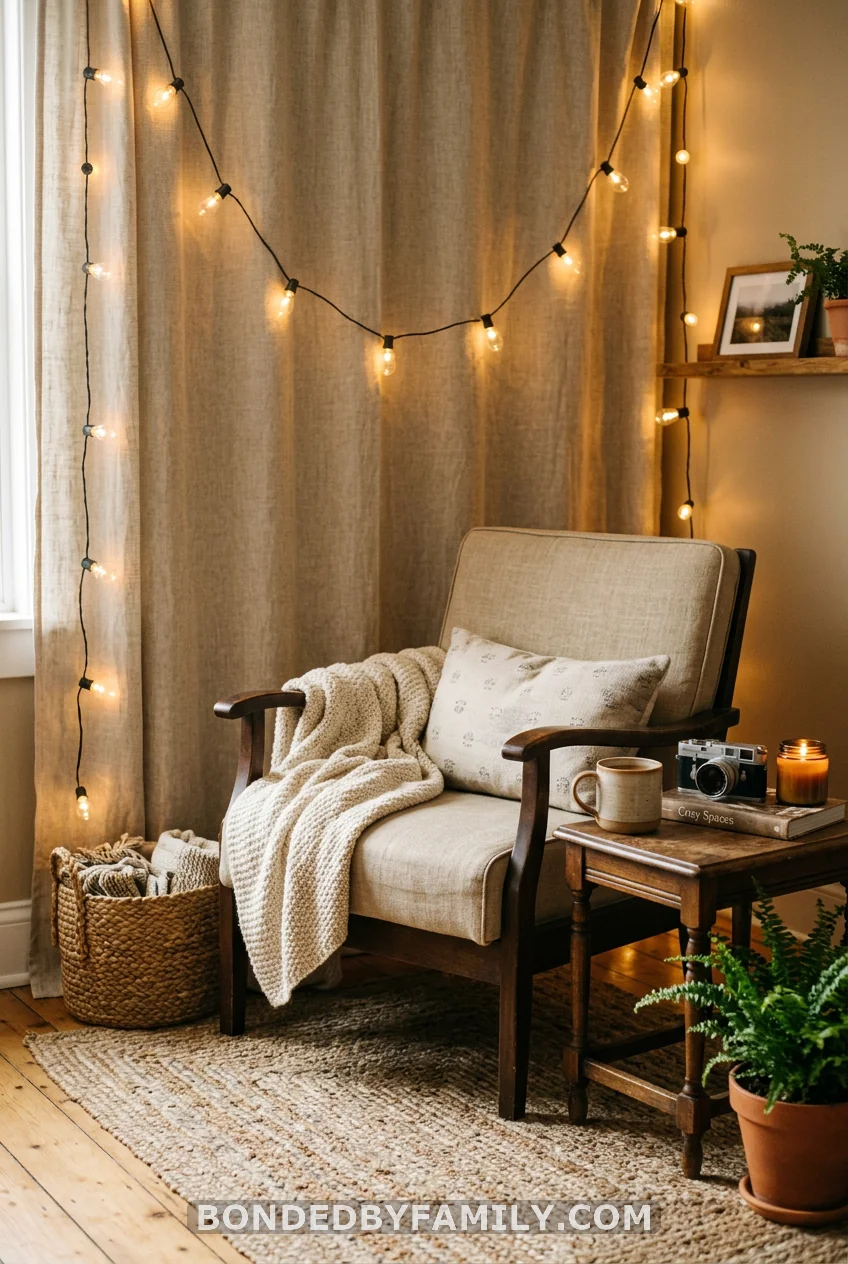
If your total decor budget is under $50, this is where to put it. One length of fabric or paper as a base, one string of lights, and a single chair pulled into the corner give guests an actual spot to sit for photos instead of just standing against a wall. The chair changes everything, since seated photos read as more relaxed and less like a lineup. Skip buying anything else for this corner and spend the rest of your budget on the drink station instead.
Choosing the Right Backdrop for Your Space
Small apartment living room? The butcher paper and string light combo or the vintage frame cluster both work in tight corners without needing floor space. Backyard party? The floral wall and fabric drape hold up best outdoors since they are not dependent on evening light the way the marquee number is. Big rented venue? The sequin wall or layered balloon garland fills a large wall the way a small paper fan cluster cannot.
Whatever you land on, keep one thing in mind from the myth-bust above: pick a single focal point and let the rest of the backdrop support it instead of competing with it. That one decision does more for your photos than any single item on this list.
Frequently Asked Questions
How much should I budget for a sweet 16 backdrop?
A DIY backdrop using balloons, paper, and craft store materials typically runs $15 to $130 depending on scale, with the marquee number build on the higher end and the butcher paper combo on the low end. Rented pre-built backdrops usually start around $150 and climb from there.
How far in advance should I build the backdrop?
Build fabric, paper, and frame-based backdrops the day before the party, since they hold up fine overnight. Save balloon garlands for the morning of, since latex balloons start to shrink slightly within 24 hours in a warm room.
What backdrop works best for small spaces?
The vintage frame cluster and the butcher paper and string light combo both work in tight corners since neither needs floor space or a wide wall. Avoid full balloon arches in small rooms since they need clearance on both sides to read as an arch shape.
Do I need professional lighting for backdrop photos?
No. A marquee number, string lights, or a neon sign all provide enough ambient glow on their own. What matters more is positioning the backdrop away from a bright overhead light, which tends to flatten every photo taken in front of it.
Can I reuse a sweet 16 backdrop for another party?
Frame clusters, fabric drapes, and greenery panels all reuse well since they are not personalized to one age or name. Marquee numbers and any item with “16” printed on it are the exceptions, so buy those secondhand or rent them if you do not plan to keep them.