You said yes to a toy story baby shower, and now the pressure is on. Where do you even start when a whole toy box of possibilities is sitting in front of you? Take a breath. You don’t need a studio budget or a garage full of props. You need a plan. A few smart picks. Permission to skip anything that doesn’t fit your space or your guest list.
This roundup gives you both the plan and the permission. Twenty ideas, sorted by how much time and money they ask for. Build a shower that feels full, not frantic. Grab a coffee. Let’s get your table set.
Decor That Sets the Scene
1. Wagon Wheel Welcome Sign
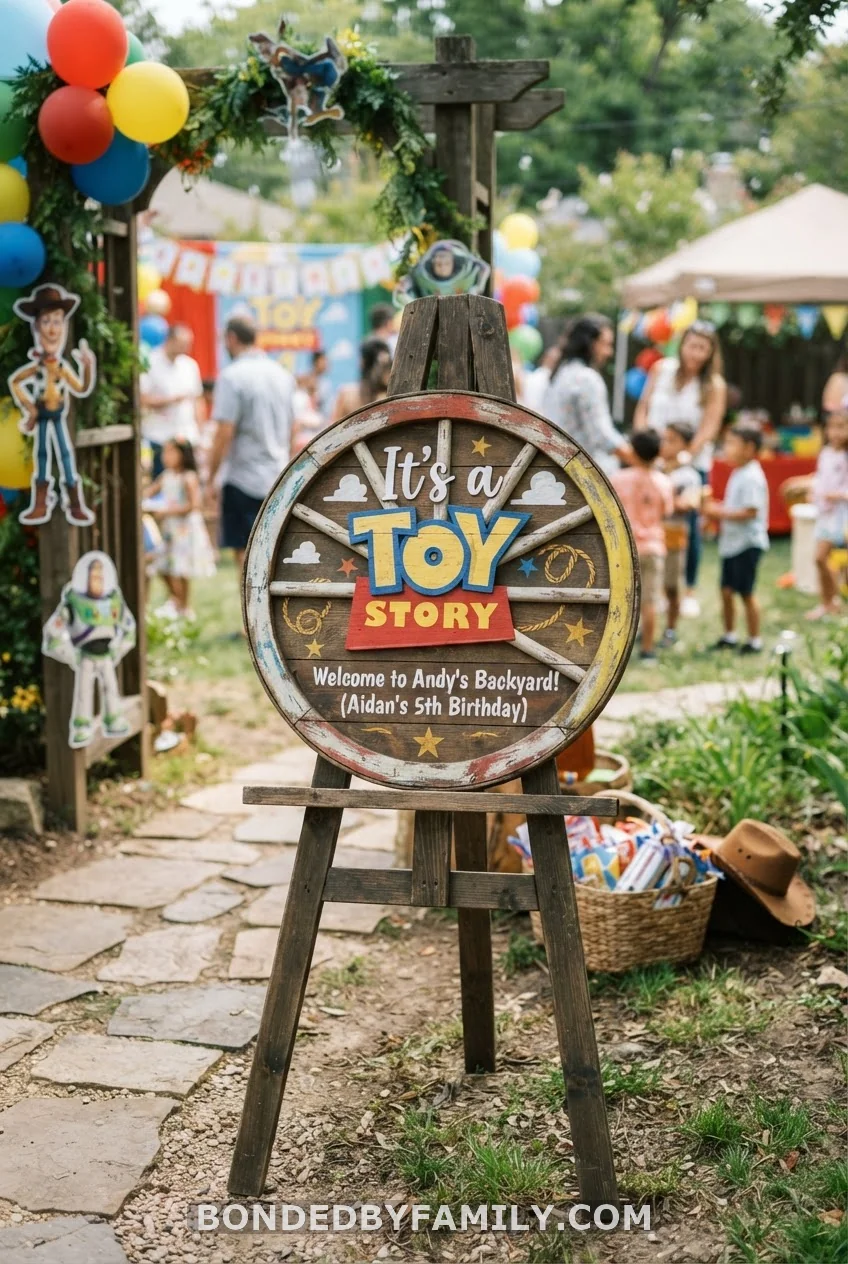
Prop it at the door on a wooden easel. Paint the spokes yourself with a $6 craft-store wheel template, or order one pre-cut for around $35. Either way, it’s the first thing guests photograph before they even find their seat.
2. Cloud-Shaped Balloon Backdrop
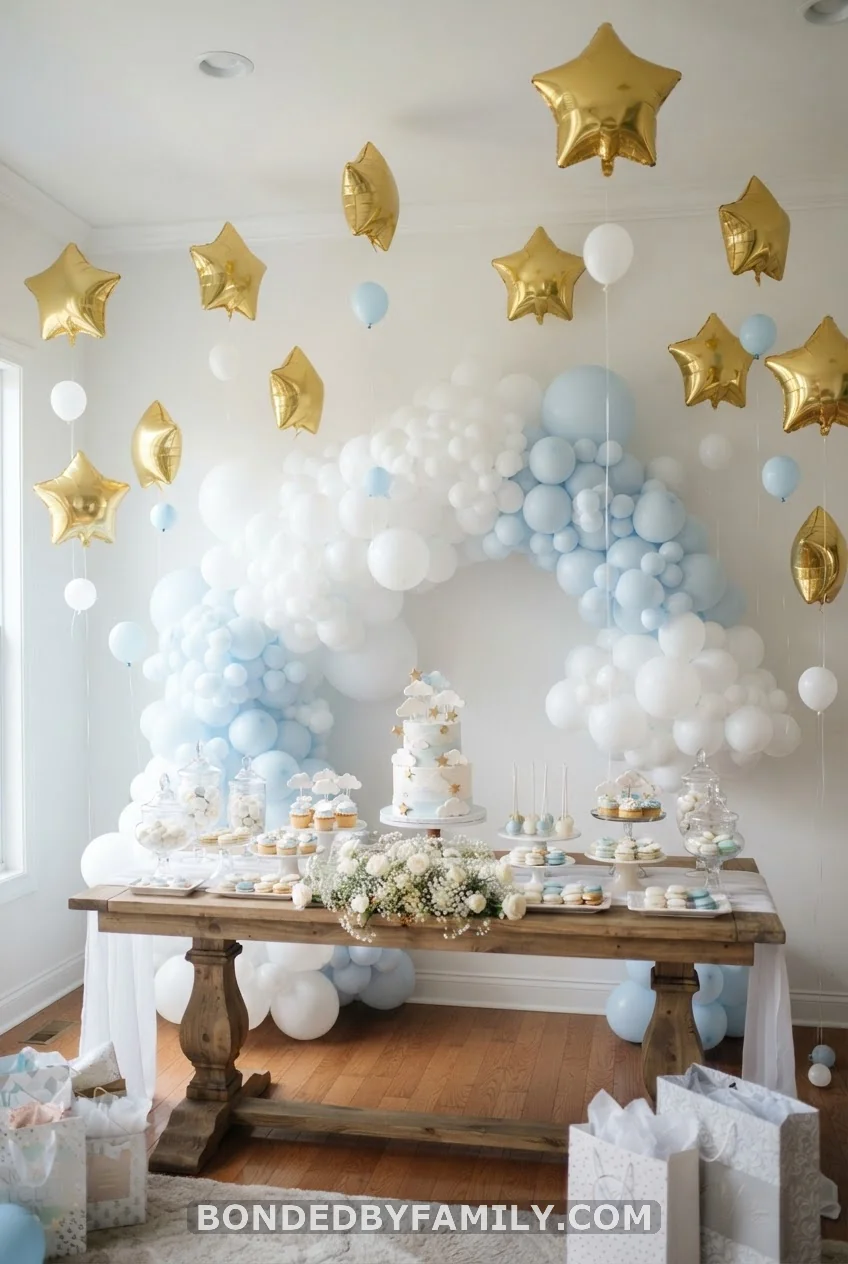
A cloud garland reads as sky, not sofa, which keeps the whole wall from feeling like a birthday leftover. Order a balloon garland kit for $25 to $40, then thread in a dozen star balloons for lift. Budget two hours to build it the morning of, since latex sags overnight.
3. Sheriff Badge Cookie Favors
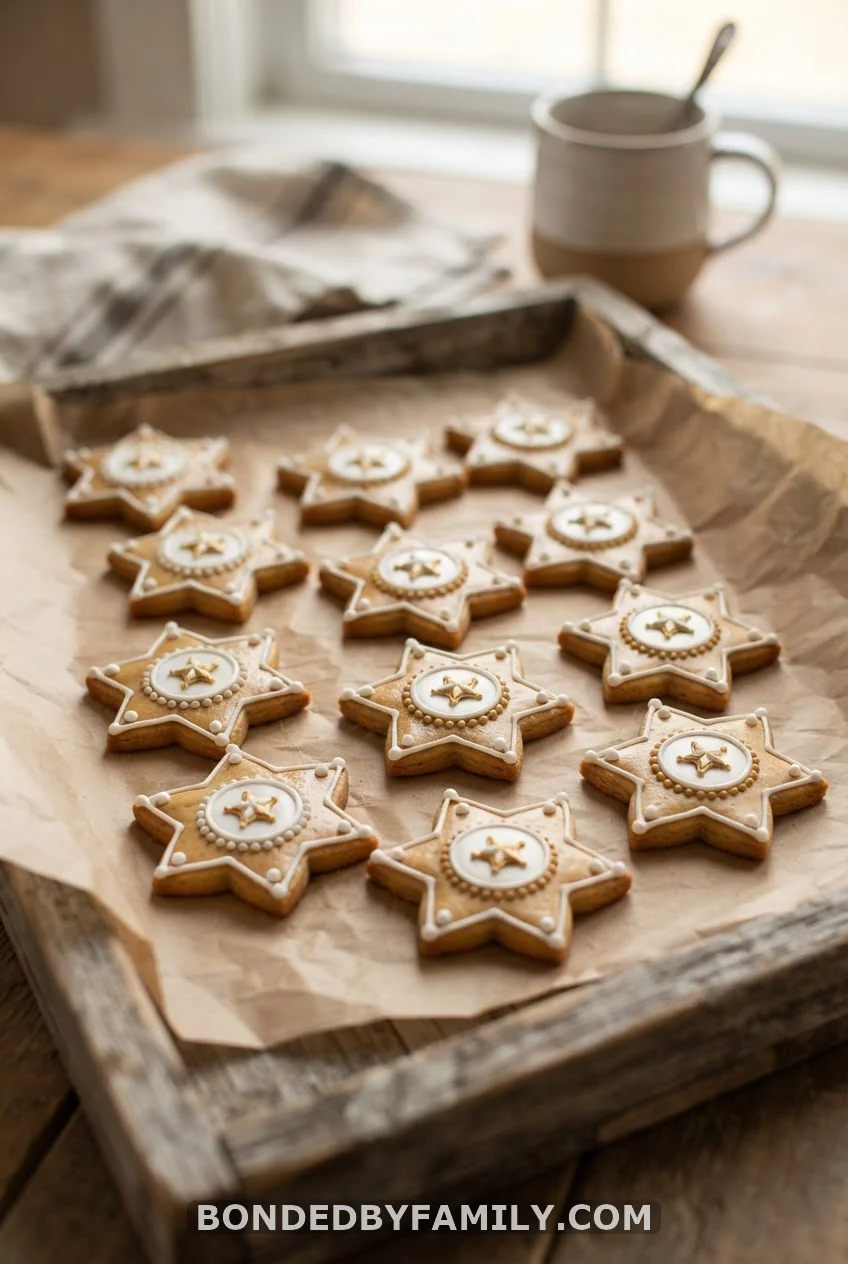
A local bakery will run these for $2 to $3 each, or you can cut star cookies and pipe on royal icing yourself. Bag them in twos with a twine tag that reads the baby’s name and date. Done in an afternoon, gone in a weekend.
4. Toy Crate Centerpieces
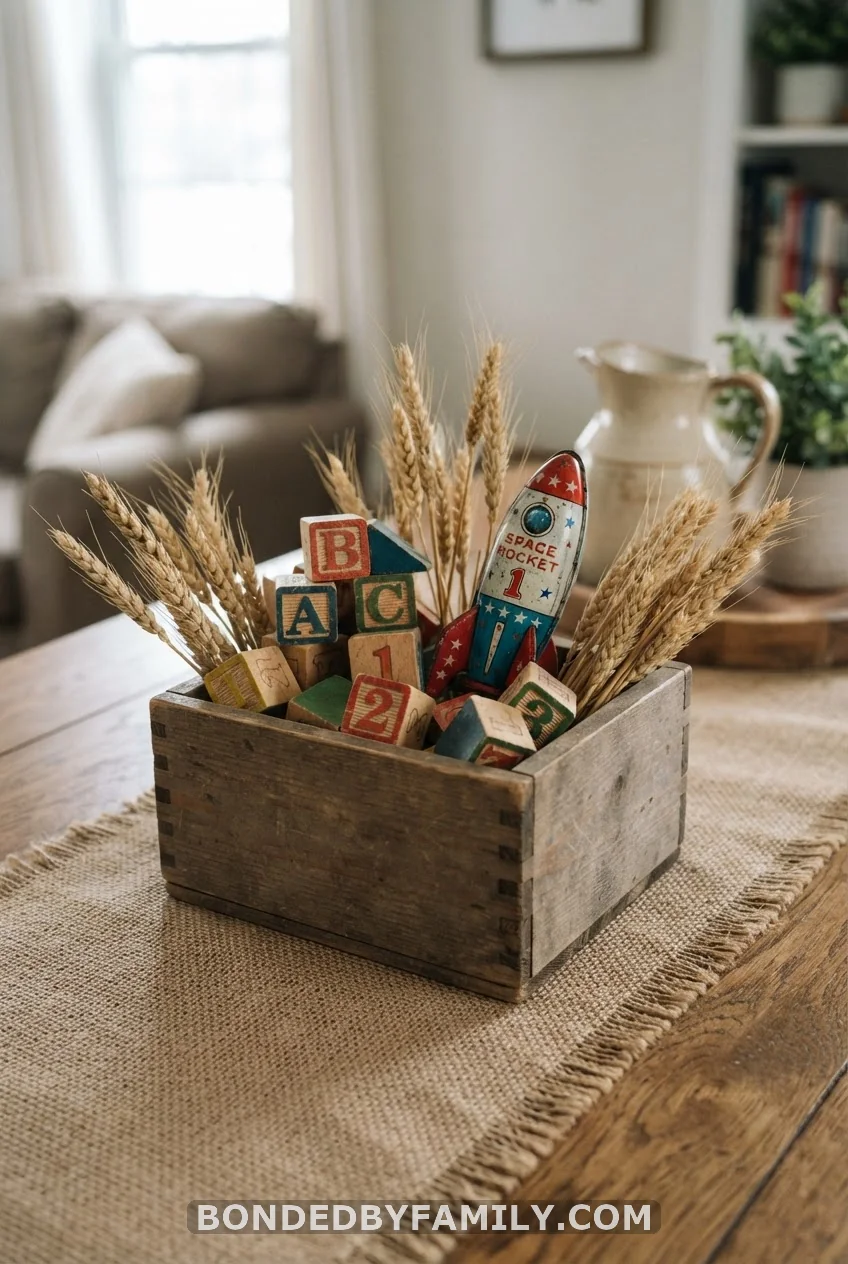
Dollar-store wooden crates, a few thrifted blocks, and some dried wheat stems. Under $15 per table. Skip fresh flowers here. The wood and burlap texture is the point, and it survives a three-hour party without wilting.
5. Gingham and Denim Table Runner
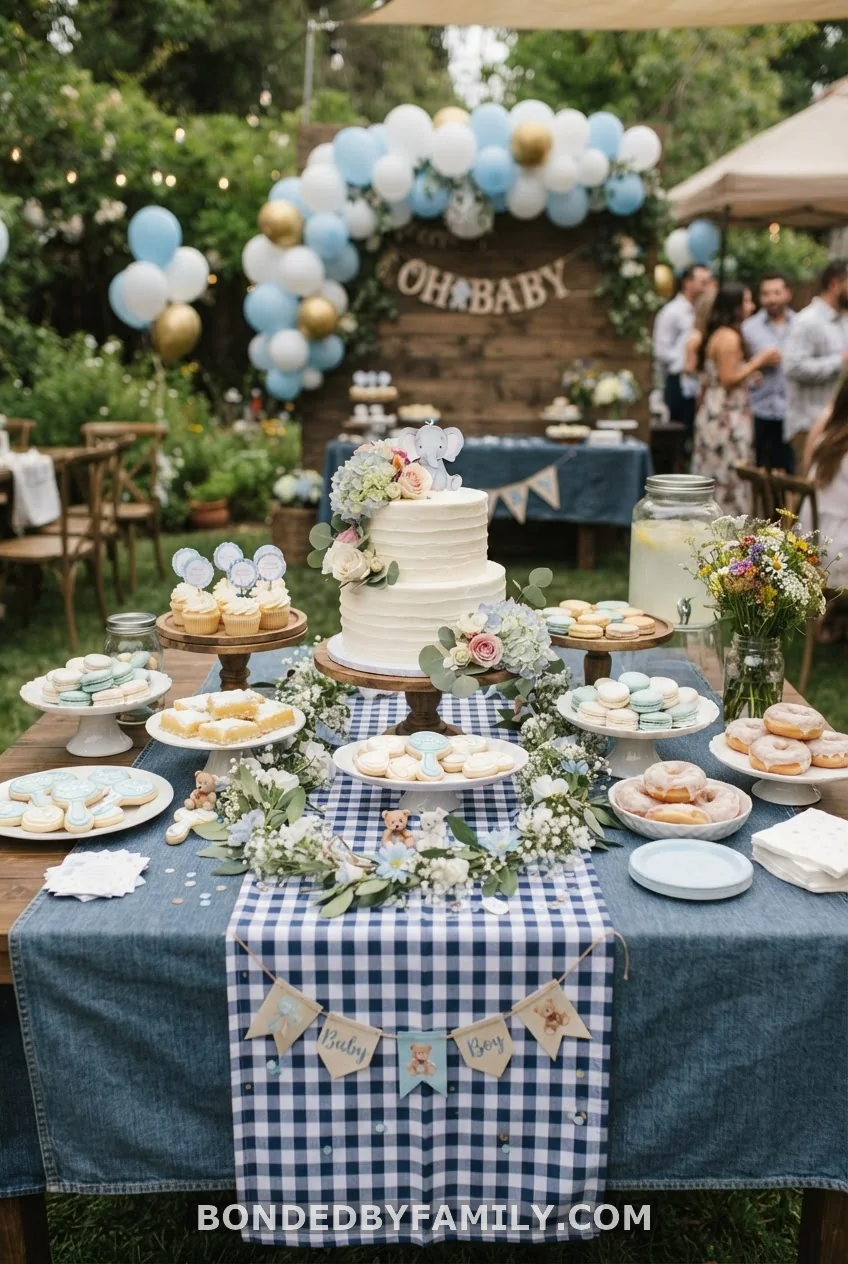
Denim fabric by the yard runs about $10. Add a length of gingham ribbon down the center for contrast that won’t fight your centerpieces. This combination shows up across nearly every western-toy nursery theme for a reason: it photographs warm under any lighting.
The Main Event: Cake and Dessert Table
6. Rocket Ship Dessert Stand
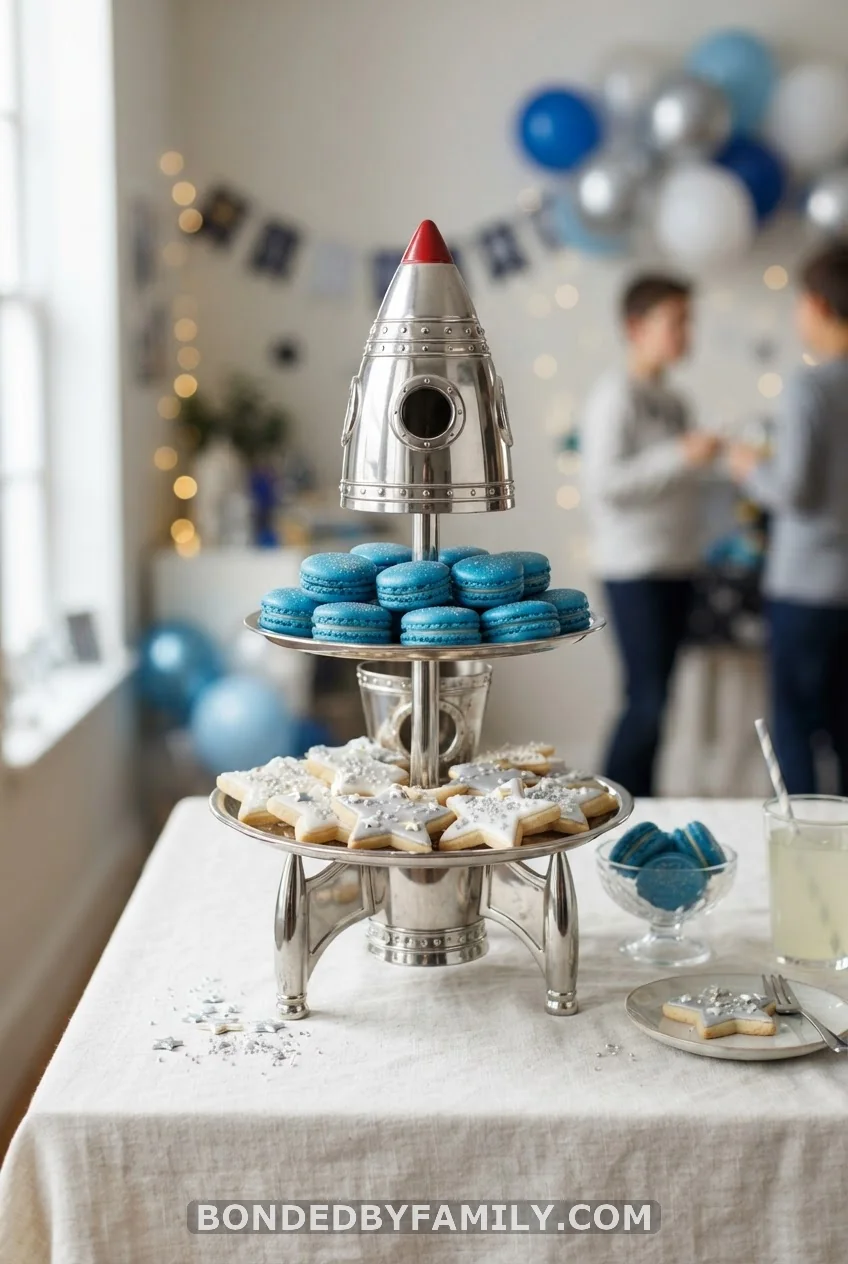
A three-tier stand painted silver with red fin accents anchors a whole dessert table. Rent one from a local party supplier for $20 to $30, or build your own from foam cones and craft paint over a weekend. Either route beats buying a single-use plastic stand you’ll toss after.
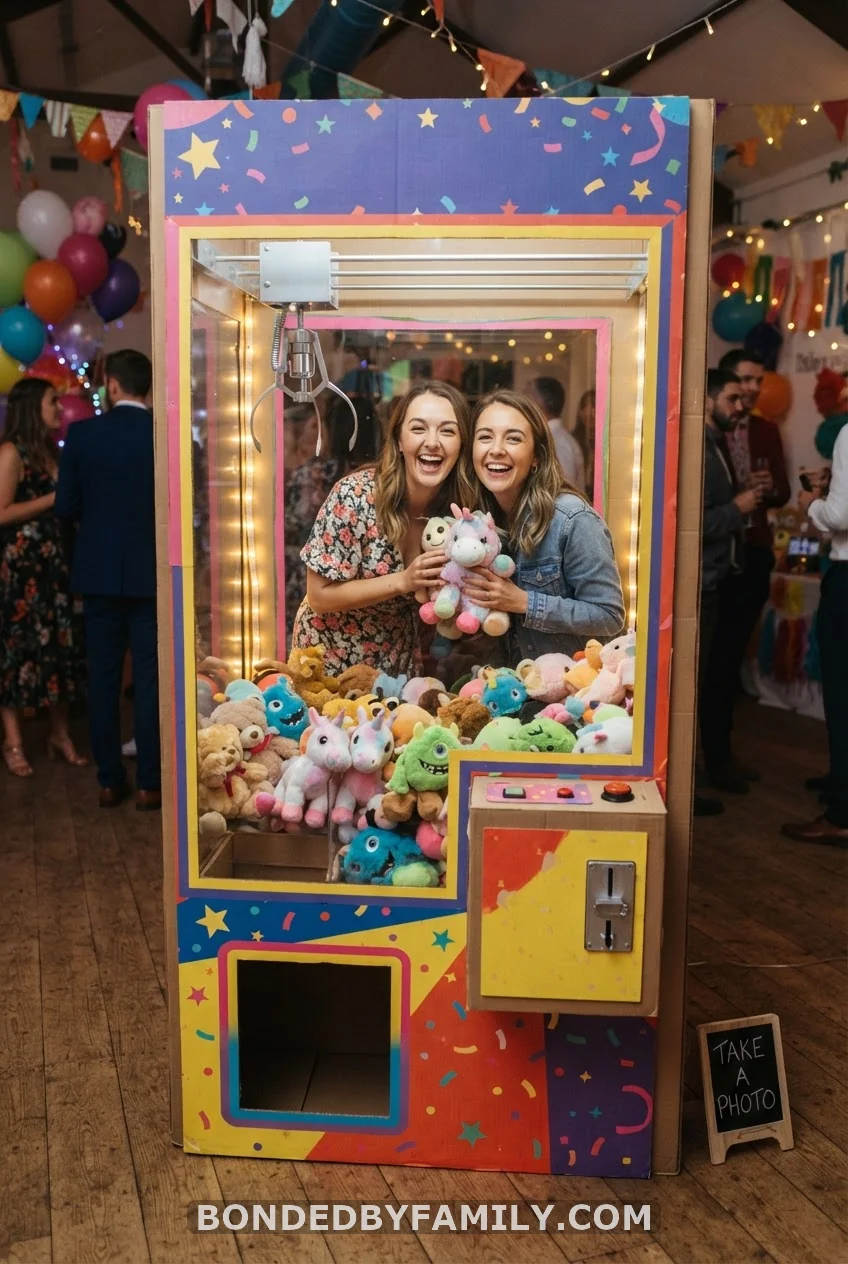
7. Build a Claw Machine Photo Booth
Why This Works
Guests remember the one activity that got them off their chairs. A claw machine booth does that better than a static backdrop. It asks people to step inside, pose with a “prize,” and hand you a photo you’ll use for years.
Dimensions and Setup
Build the frame at 5 feet wide by 6 feet tall. That fits one adult with room for a partner to lean in for a group shot. Leave a 3-foot cutout at chest height for the “glass” front. Add a 10-inch slot at the base for a prop claw arm to poke through.
Materials and Costs
- Two large refrigerator boxes (often free from an appliance store): $0 to $20
- Silver and red spray paint: $25 for two cans
- Clear plastic sheeting for the “glass” front: $12
- Metal coat hanger and duct tape for the claw arm: $6
- Stuffed toys to fill the base (secondhand shop finds work well): $30 to $50
Total cost lands between $70 and $115, well under what a rental prop booth charges for a single weekend.
Step-by-Step Build
- Tape the two boxes together vertically for height, then reinforce the seam with packing tape inside and out.
- Cut the front window opening, leaving a 4-inch frame border for stability.
- Spray paint the frame silver, let it dry for four hours, then add red racing stripes along the edges.
- Stretch the plastic sheeting across the window and staple it from the inside.
- Shape the coat hanger into a claw and wrap it in silver duct tape. Mount it through the top slot with a dowel handle behind the booth.
- Fill the base with stuffed toys so at least a dozen show through the front window.
Common Mistakes to Avoid
Don’t skip the reinforcement tape on the seam. Cardboard flexes when someone leans against it, and a weak seam buckles mid-party. Also avoid using fresh paint the same day guests arrive; the smell lingers in enclosed spaces for hours.
Pro Move
Tape a small sign inside the booth that says “take one home,” and let guests walk off with a plush toy. It turns a photo prop into a party favor without any extra budgeting.
8. Star-Print Diaper Cake
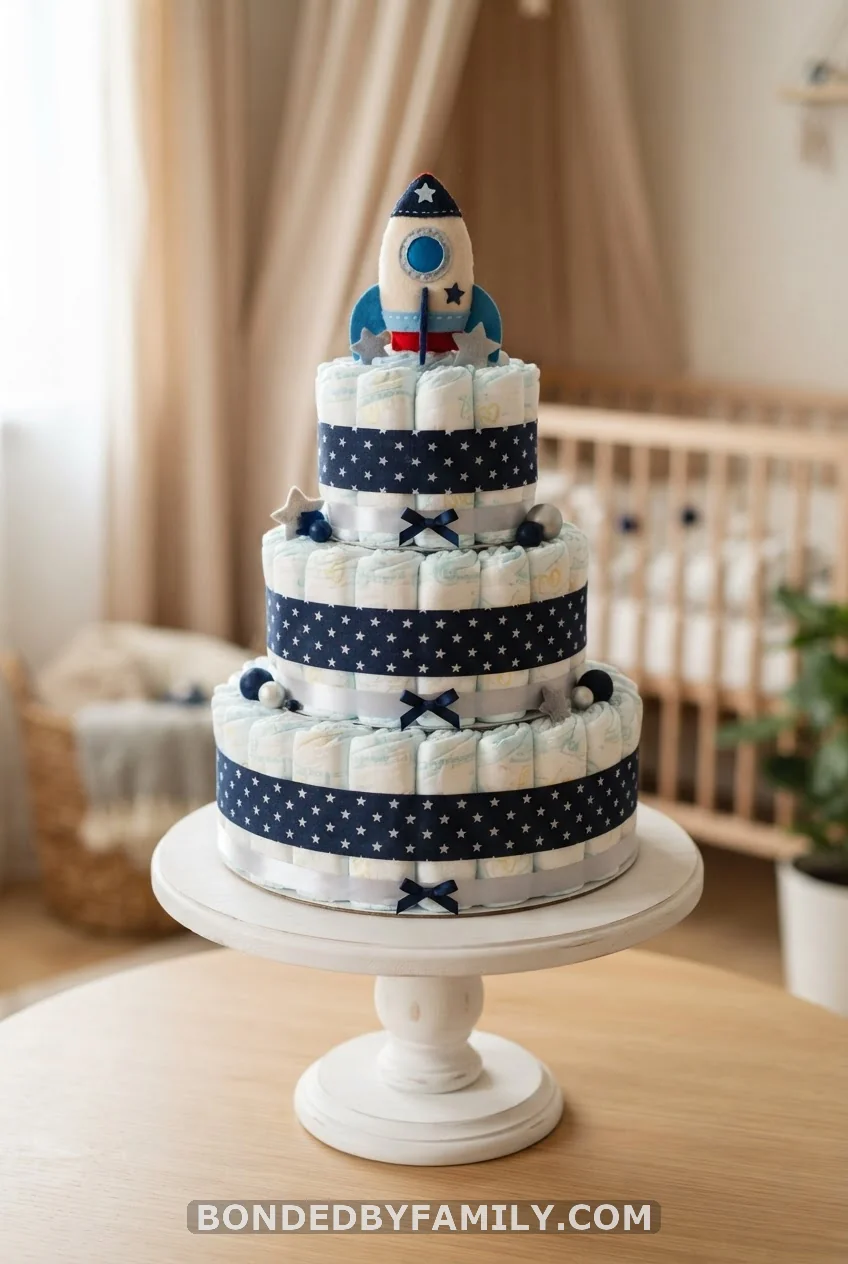
Roll 50 to 60 diapers into a three-tier stack, secure with rubber bands, then wrap in star-print ribbon for around $25 in materials. It doubles as a gift and a centerpiece, which matters if your table space is tight.
9. Space Punch Station
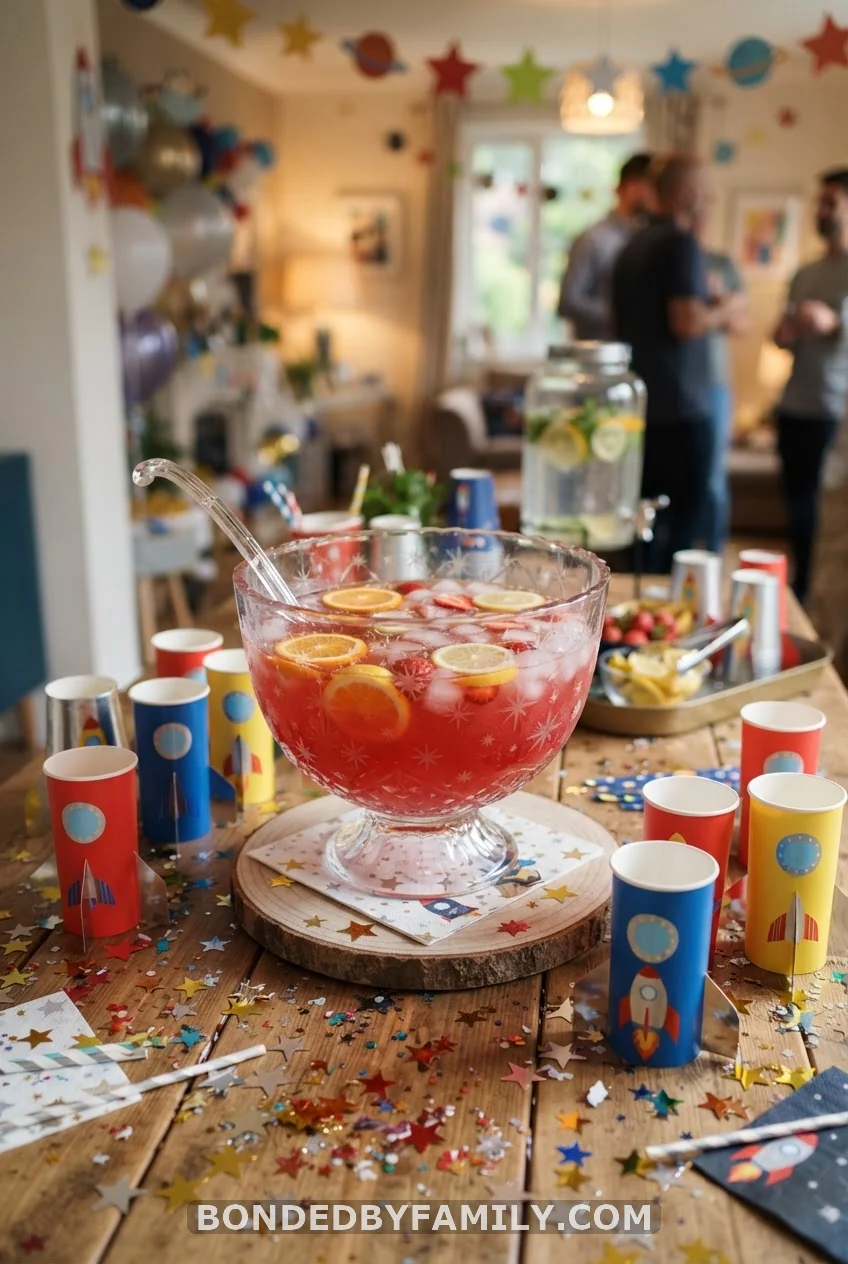
Mix a blue punch with sherbet and lemon-lime soda. Serve it in rocket-shaped paper cups, about $8 per pack of 24. Set out a hand-lettered sign that says “Blast Off Punch” so guests know what they’re pouring.
Games and Guest Activities
10. Wanted Poster Guessing Game
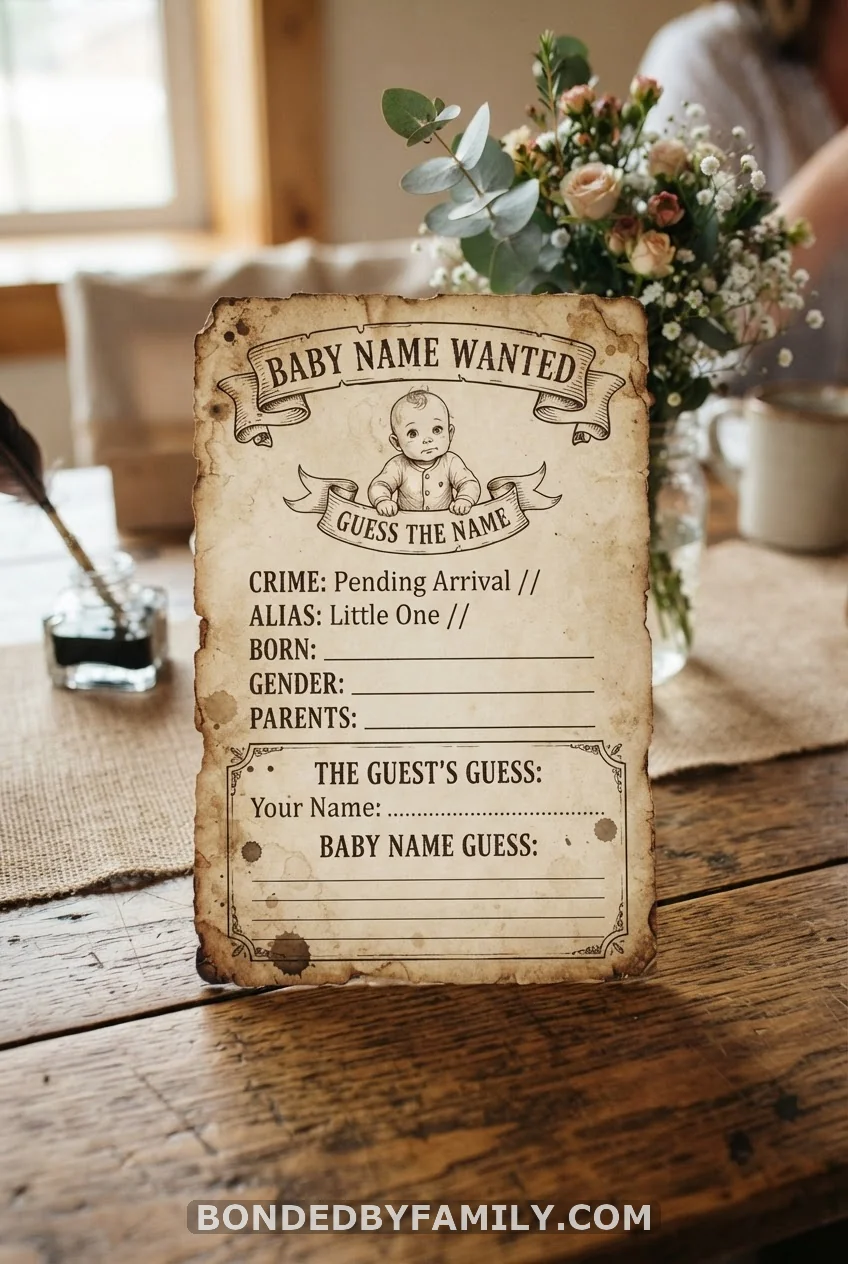
Print aged-paper cards styled like an old western wanted poster. Guests guess the baby’s weight, length, or arrival date. A pack of 25 printable cards costs about $10, or you can design your own free in an hour.
11. Toy Story Trivia Bingo
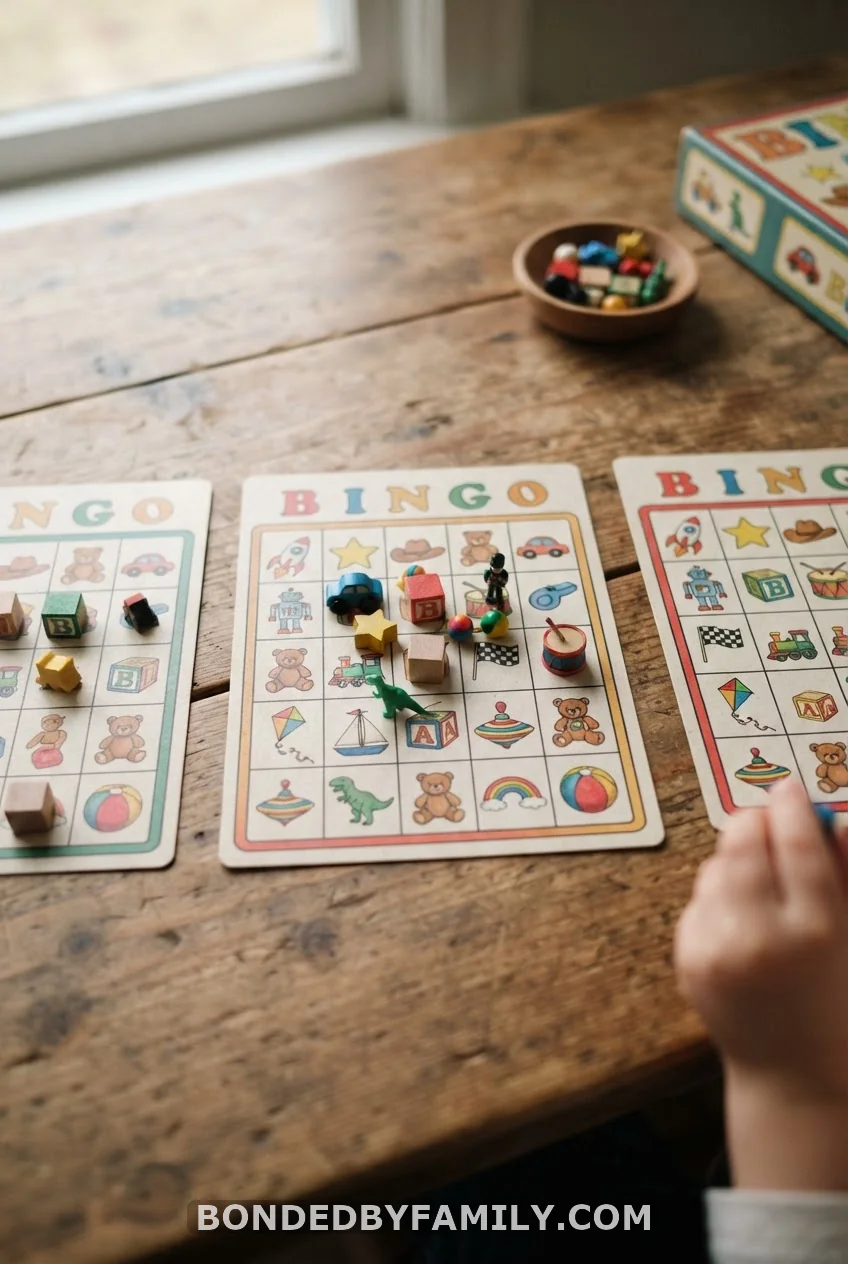
Swap letters for toy-themed icons and hand out a card per guest with a small prize for the first blackout. This one keeps a mixed-age crowd occupied for a full 20 minutes. Most shower games lose the room faster than that.
12. Pin the Badge Farewell Game
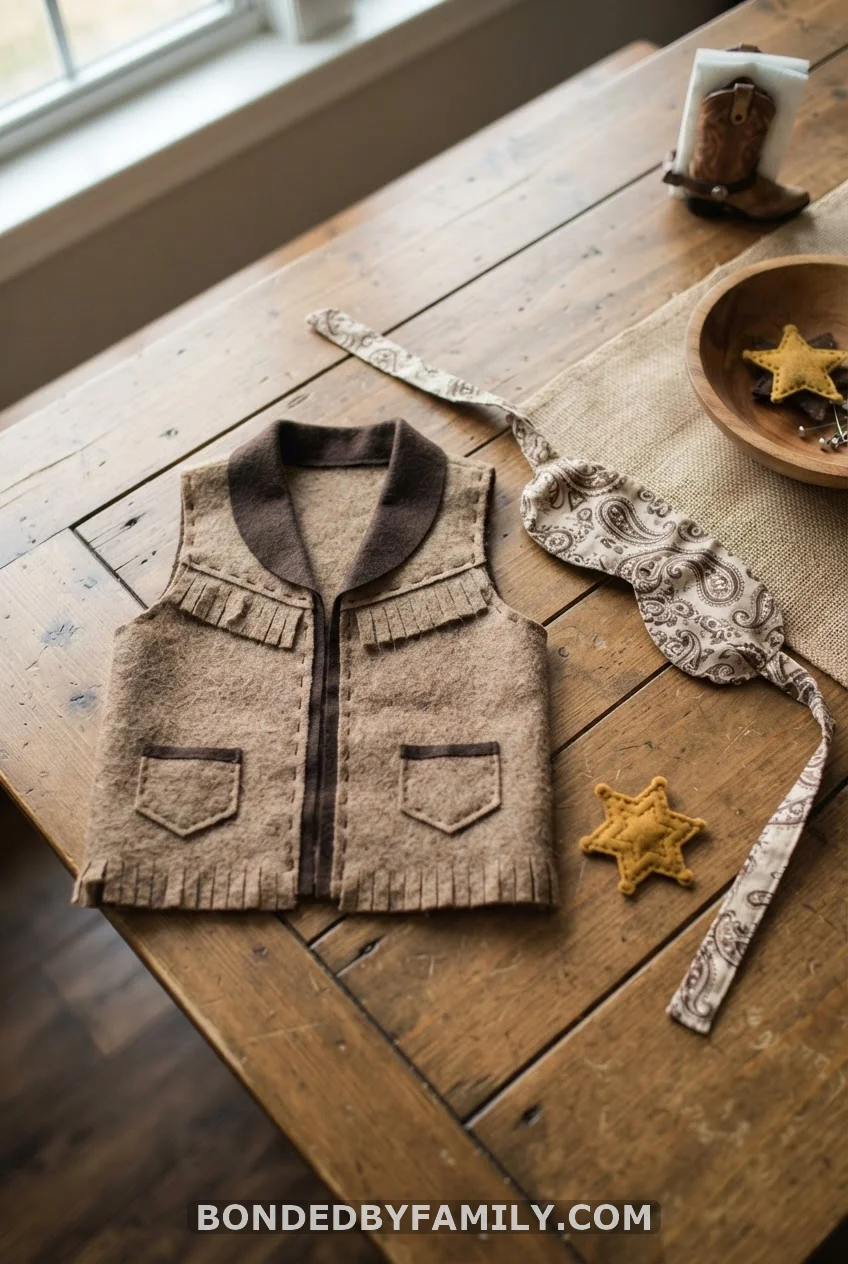
A twist on pin the tail: guests wear a blindfold and try to stick a felt badge on a poster vest. Costs under $12 in felt and Velcro dots, and it’s the game that gets the loudest laughs from grandparents.
Favors and Send-Off Ideas
13. Cowboy Boot Cookie Cutout Favors
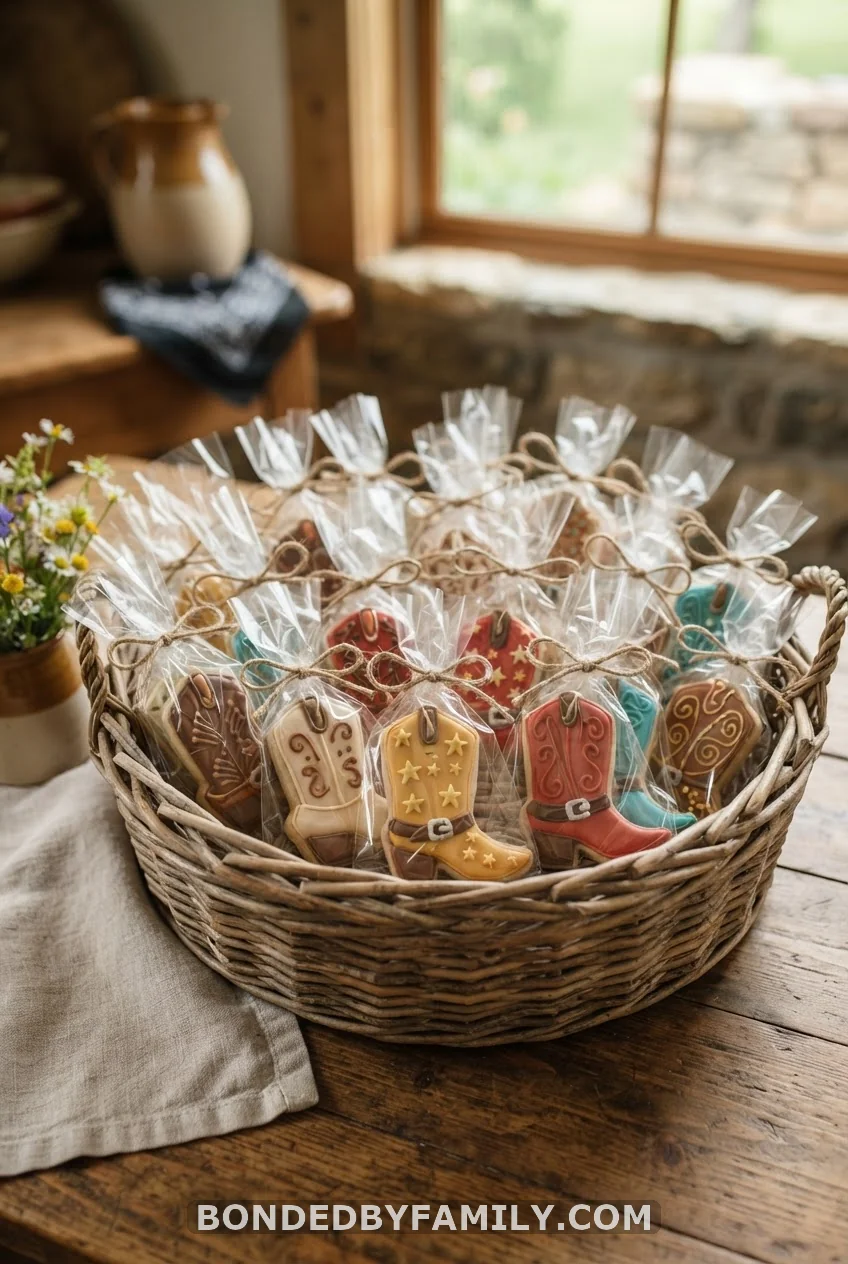
Cut and bake boot-shaped cookies, then bag them individually for $1.50 to $2.50 each depending on your bakery. Set the basket by the door so nobody leaves empty-handed.
14. Wooden Toy Block Place Cards
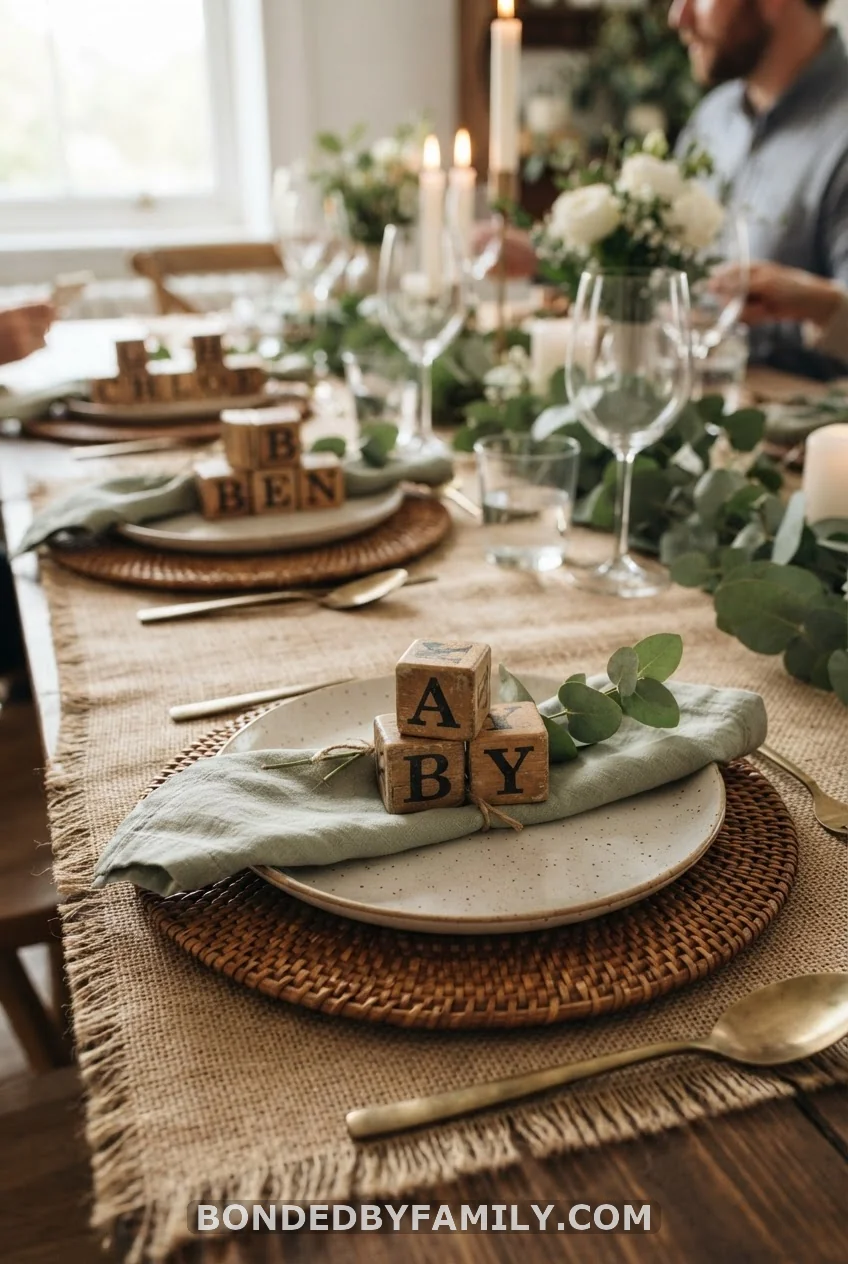
Skip printed name cards. Stack three small wooden blocks per seat and letter each guest’s name across the top with a paint pen. It costs about $4 per set and doubles as a keepsake guests carry home.
15. Space Ranger Helmet Cake Topper
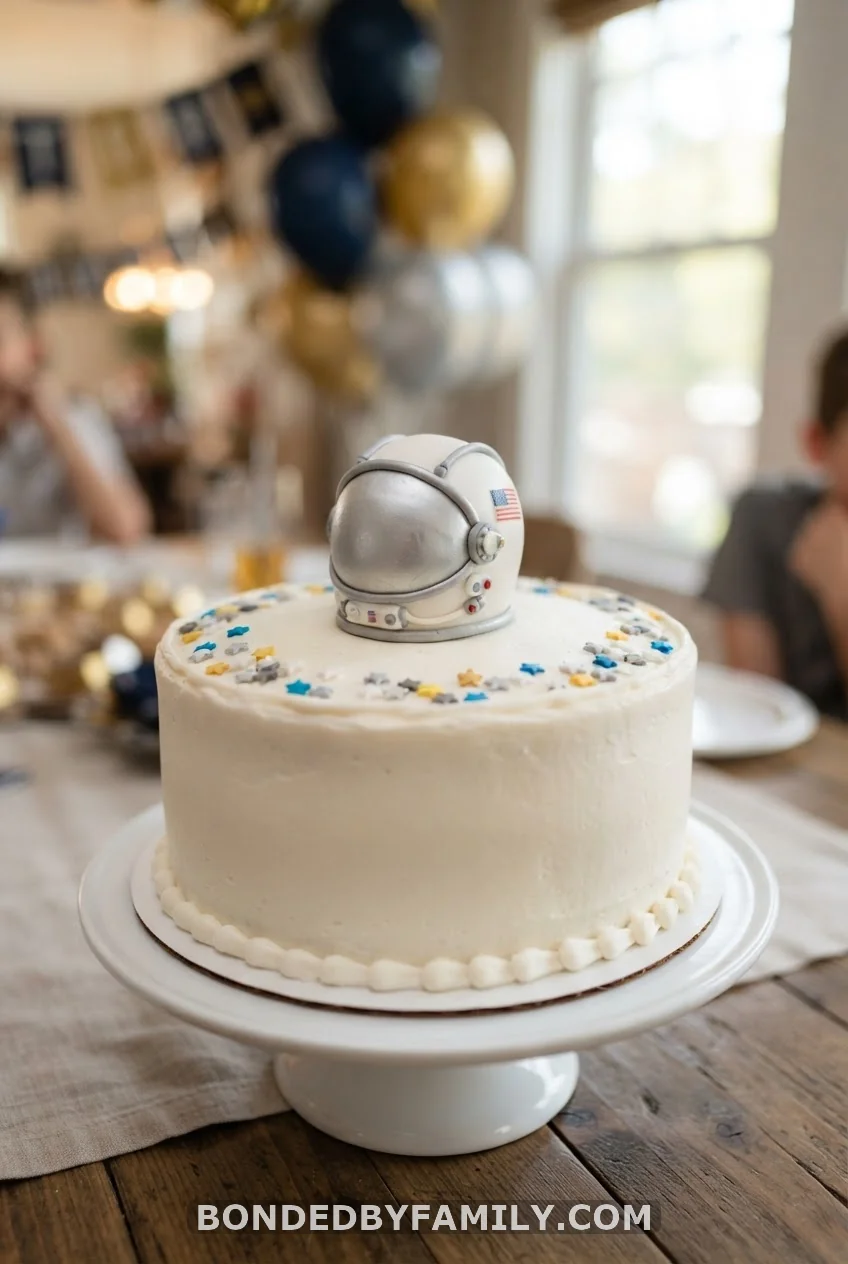
Order or mold a small silver helmet topper for the cake, around $18 from a custom bakery supplier. It reads as space-adventure without leaning on any single character design. That keeps your options open if you want to reuse the topper for a future birthday.
Two Things That Trip Hosts Up
16. Myth: Balloon Arches Need a Professional
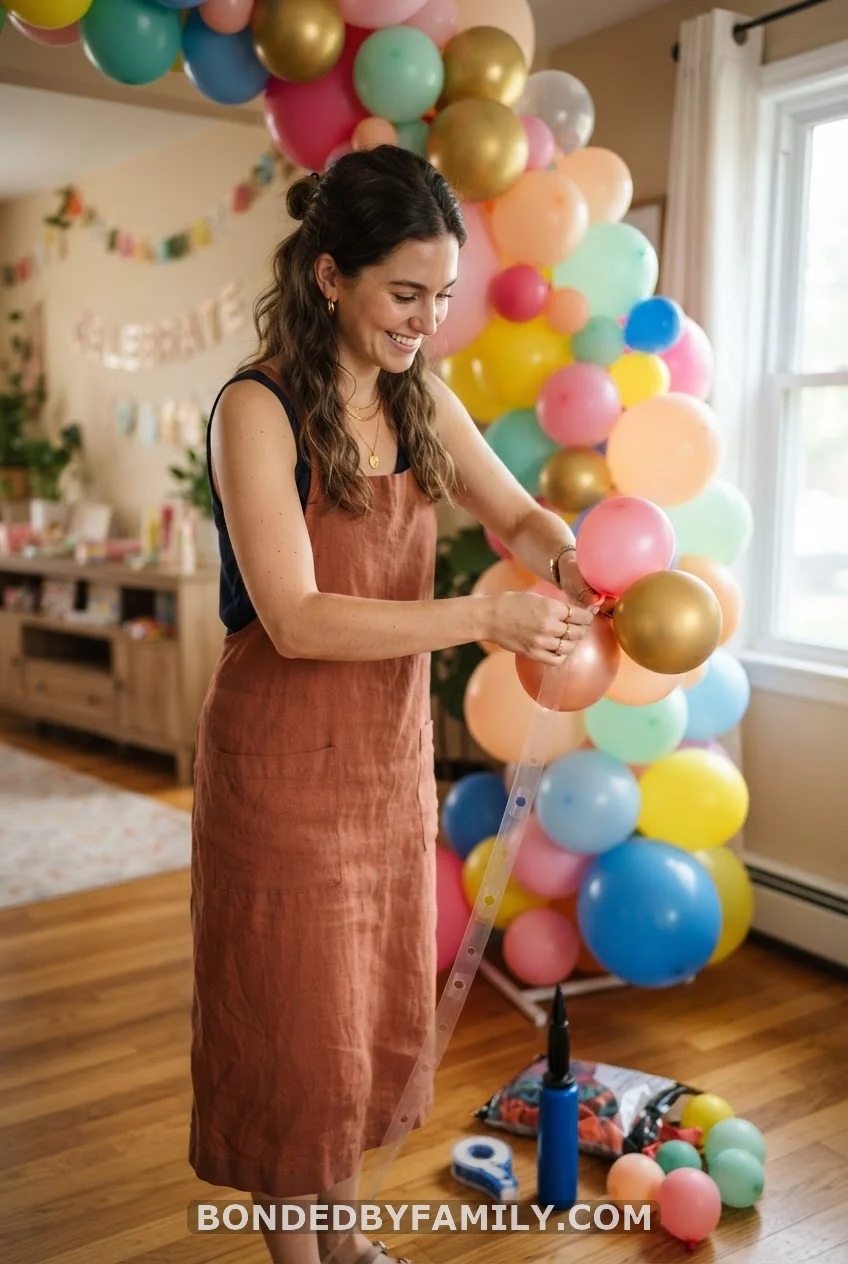
Most first-time hosts assume a full balloon arch needs a professional. They skip the decor entirely, out of pure intimidation. The reality is simpler than the myth suggests. A balloon arch kit with a strip, glue dots, and a hand pump costs $20 to $35. A first attempt takes about ninety minutes for an 8-foot arch. Watch one 10-minute tutorial video before you start. Work in clusters of three balloons at a time, and tuck smaller balloons into the gaps. Professional results aren’t about skill here. They’re about patience with the tucking step, which nobody tells you takes longer than the inflating.
17. The Plush Toy Centerpiece That Almost Ruined the Cake Table
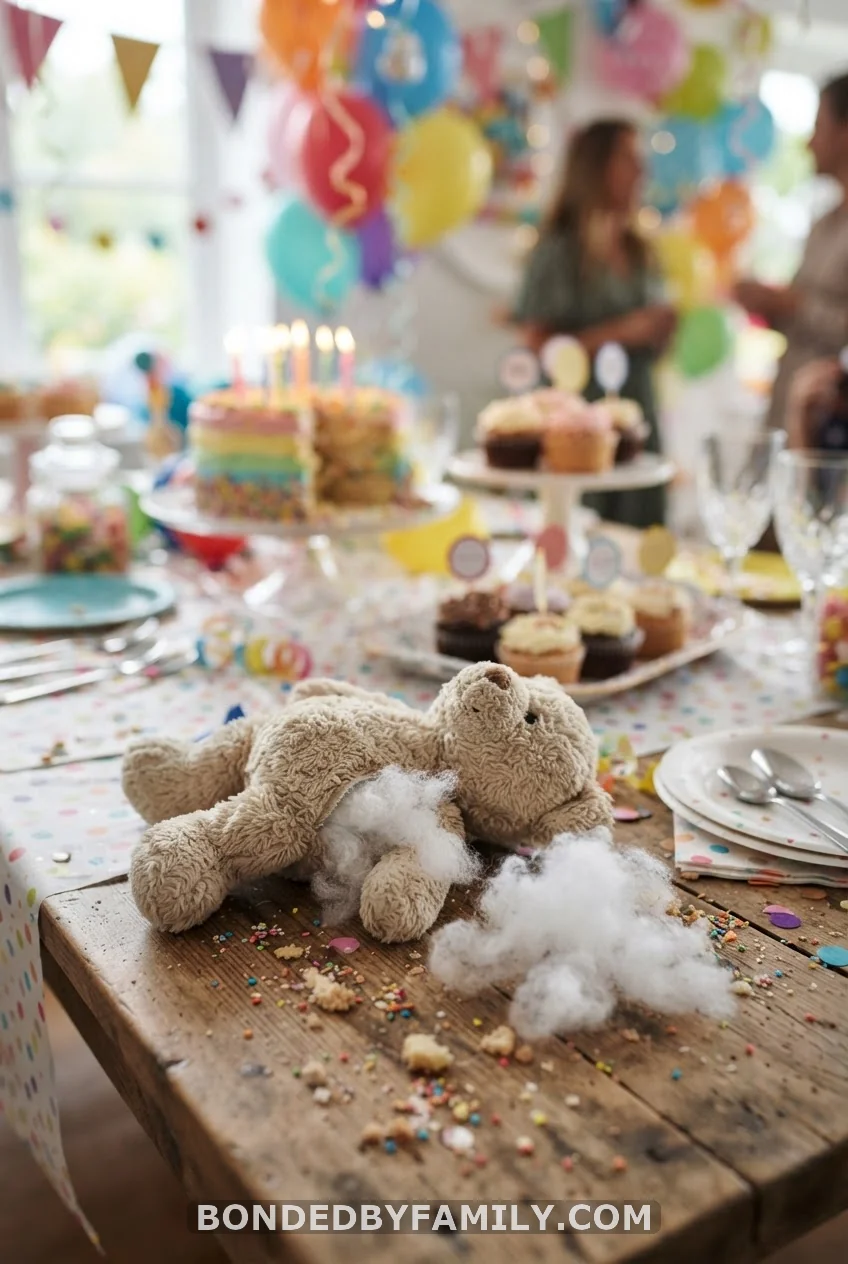
A friend of mine stacked a dozen secondhand plush toys around her dessert table an hour before guests arrived. She skipped checking them for loose seams first. Halfway through the party, one bear’s stuffing started leaking onto the tablecloth next to the cupcake stand. She spent the last hour of her own shower dabbing at polyester fill instead of visiting with her guests. Check every secondhand or thrifted toy for split seams and loose eyes before it goes anywhere near food. If you’re not sure, keep plush decor on a separate table, at least three feet from anything edible.
Finishing Touches
18. Constellation String Lights
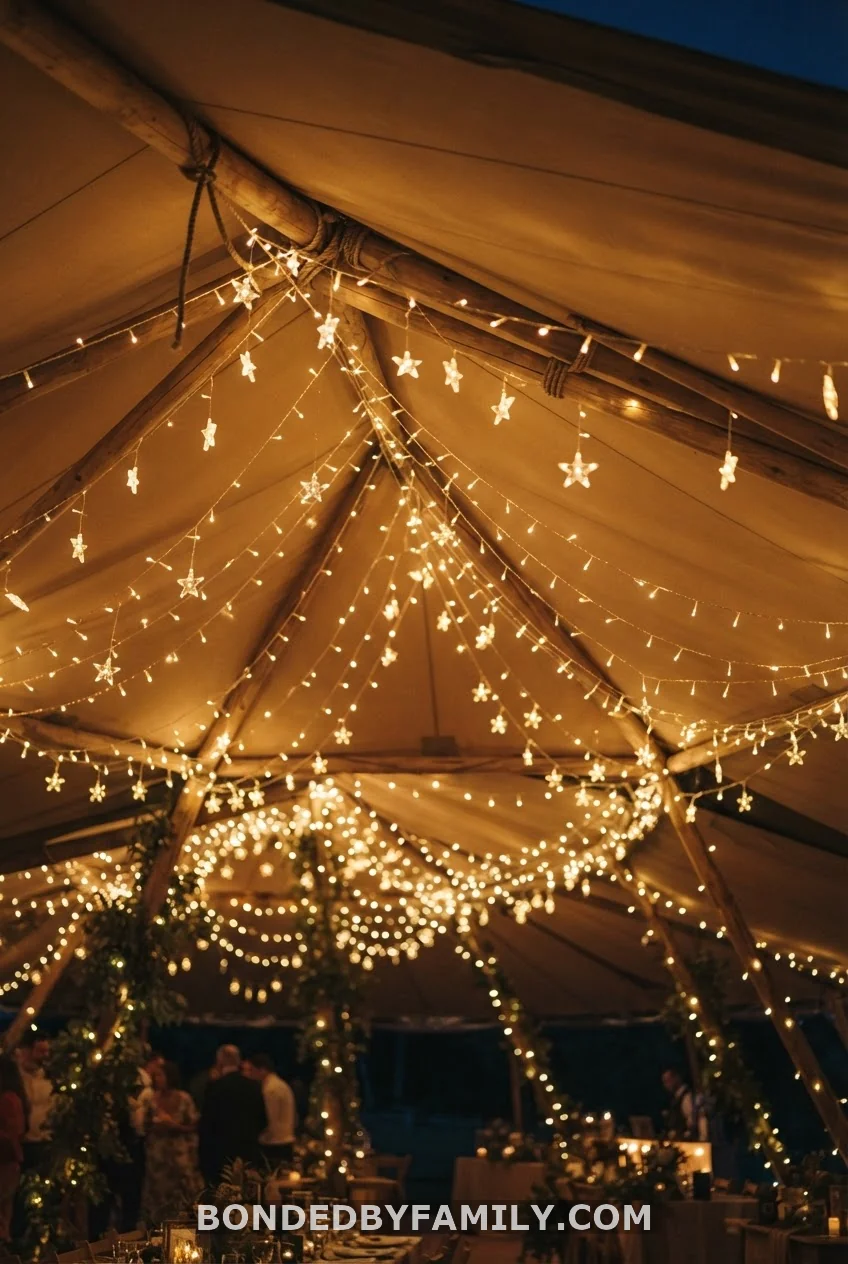
String lights with star-shaped clips run $15 to $25 for a 20-foot strand. They turn a daytime backyard shower into something that glows after sunset, if your event runs into evening.
19. Pizza-Shaped Snack Table
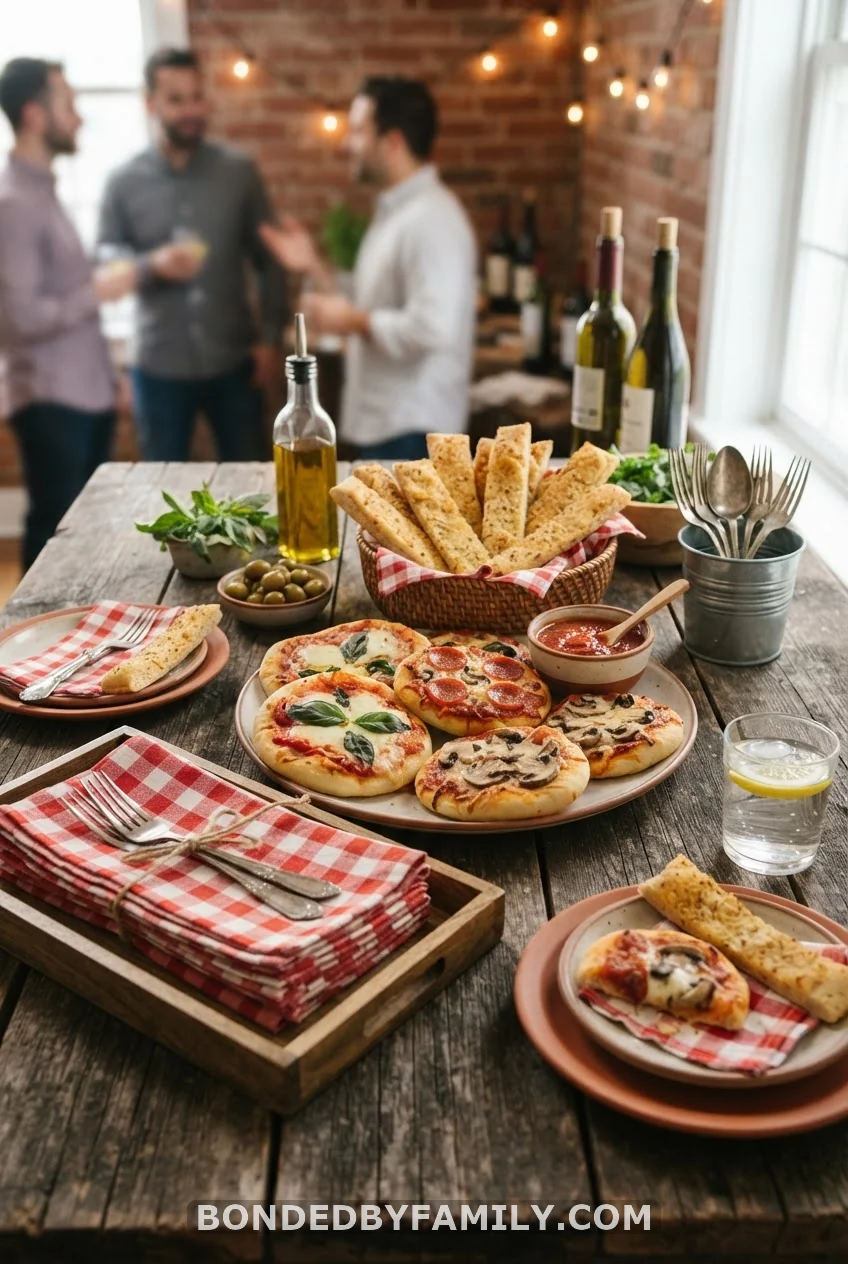
A nod to the classic arcade-and-pizza party scene without naming it outright: mini pizzas, breadsticks, and red checkered napkins. Order flatbread rounds from a local pizzeria for around $3 each and skip the oven entirely on party day.
20. Toy Chest Guestbook Station
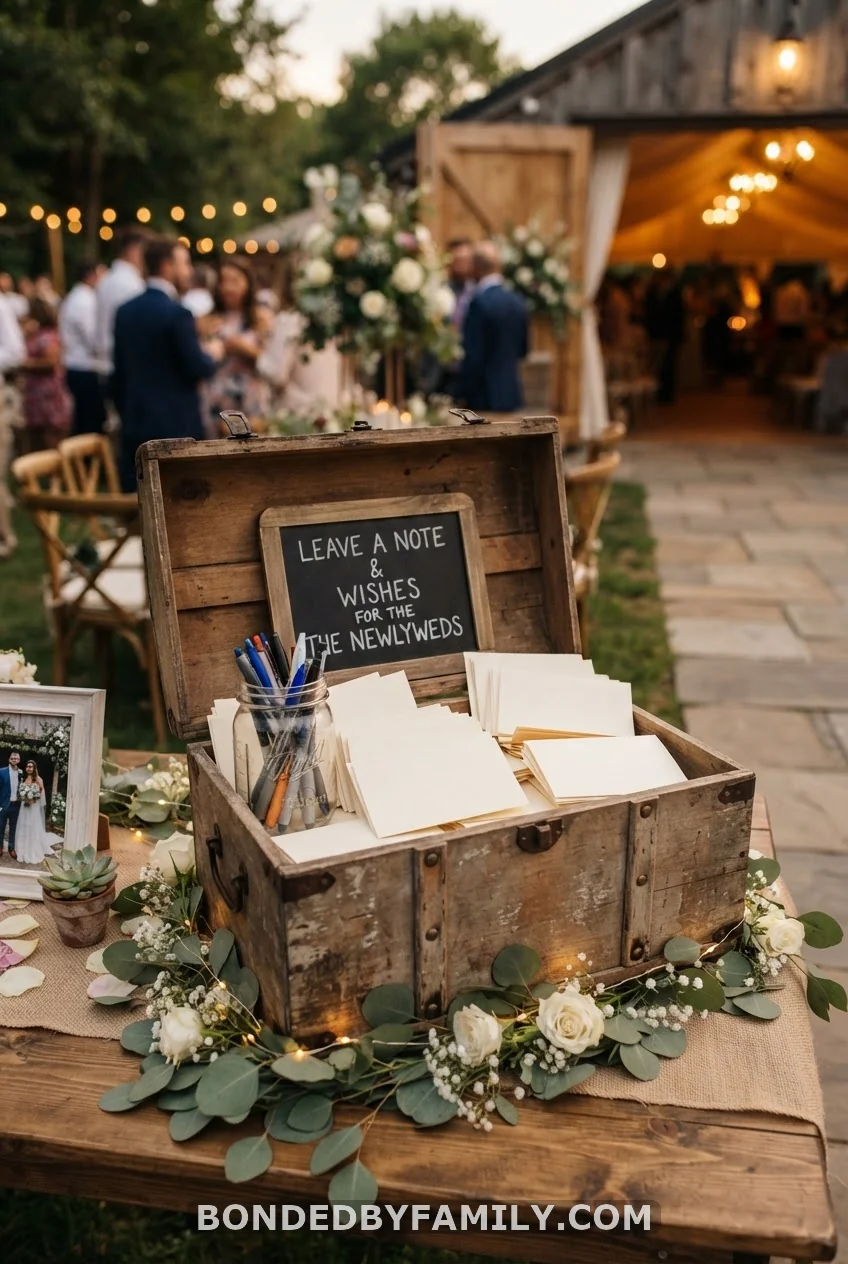
Set an open wooden toy chest by the entry. Line it with cards guests can drop a wish or memory into, instead of signing a traditional book. It costs nothing beyond a chest you likely already own. You get something worth reading again after the party, not a guestbook that sits in a drawer.
Selection Tips: Building Your Own Mix
You don’t need all twenty. Pick two or three decor pieces, one activity, one favor, and let the rest go. A shower that does five things well beats one that does twenty things halfway. If your budget is tight, lean on the wooden block, gingham, and burlap ideas first. Wood and fabric photograph rich even when they cost almost nothing.
Hosting outdoors? Skip the string lights unless your event runs past dusk. Swap the plush centerpieces for the wooden crate version instead. Wind and loose stuffing don’t mix.
Frequently Asked Questions
How much does a toy story baby shower cost to put together?
Most hosts land between $150 and $300 for a shower of 15 to 25 guests. That covers decor, food, and one or two games. Skipping a rental balloon company and building your own arch is the single biggest way to cut that number.
What colors work best for a toy story baby shower?
Blue, yellow, red, and green form the core palette. Lean on any two harder, depending on preference. A blue-and-cream mix reads more neutral than the full four-color set.
Do I need to buy licensed decor to make the theme read clearly?
No. Cowboy, western, and space-adventure elements like wagon wheels, gingham, stars, and rockets carry the theme on their own. No licensed character merchandise required.
What food works for a toy story baby shower that isn’t cake?
Mini pizzas, pretzel rods, and a punch station cover most guest lists without extra cooking equipment. All three travel well if you’re setting up in a park or rented hall.
How far in advance should I start planning?
Give yourself four to six weeks if you’re building anything from this list yourself. The claw machine booth and balloon arch both need lead time. Two weeks is enough if you’re only assembling store-bought pieces.