A bin of real snow only lasts about 30 to 60 minutes indoors before it turns to slush. That short life is the best part of a snow sensory bin. Your kids get to feel snow go from fluffy to heavy to wet in a single morning.
If you have no snow, you can still build a snow sensory bin. Instant snow, two-ingredient fake snow, cotton balls and white pom-poms all work as a base. Below you’ll find nine themed bins.
Each one lists supplies, a base swap, an age tag and the skill it builds. Most take about 10 minutes to set up.
Pick Your Snow Base First
The base decides how messy, how cold and how safe the bin will be. Any bin below works with any base.
- Real snow: Free and cold to the touch. It melts in 30 to 60 minutes.
- Instant snow powder: Insta-Snow, SnoWonder and Let’s Resin all work. Add water and it puffs up into cool, fluffy “snow.” Dry it out and reuse it.
- Two-ingredient fake snow: 1 cup white hair conditioner plus 5 to 6 cups baking soda. It packs like wet snow.
- No-snow bases: Cotton balls, white pom-poms, dried white beans or shredded white paper. No water, no mess to speak of.
For a container, I like an IRIS clear storage bin with a lid. An under-bed storage bin gives more room for two kids. Both stack away when play is over.
Budget note: A clear lidded bin runs about $10 to $20. A bag of cotton balls costs a couple of dollars. Most of your supplies can come from a dollar store or your craft drawer.
Real Snow Bins
Use these when it is snowing, or when it is too cold to stay outside. Chill your bin in the garage first. Pack fresh, clean snow, and keep the room cool.
1. Real Snow Construction Zone
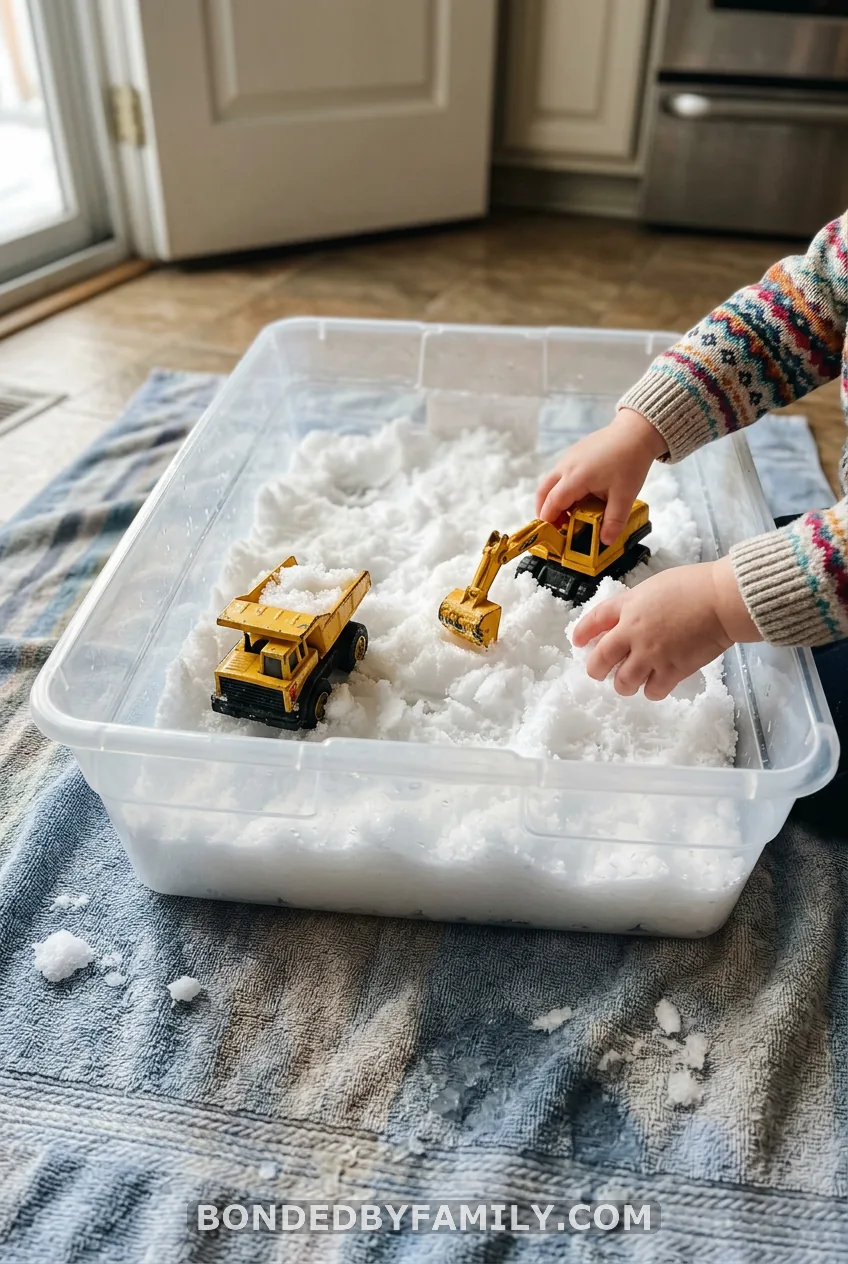
Scoop a bin of fresh snow from outside. Let it sit on the counter for five minutes so it softens a little. Then add the trucks.
Supplies: Toy dump trucks, a toy excavator, a few large toy figures, large toy road cones or big blocks, and a wooden scoop. Choking hazard: small figures, small cones and small blocks can be swallowed. Only use pieces too big to fit through a toilet paper tube for children under 3.
Age: 2 and up, with an adult close by at all times. Use only large toys for children under 3.
Base swap: Use two-ingredient fake snow, or a bin of large white felt shapes for kids who still mouth things. Keep the pieces larger than a toilet paper tube opening, and watch closely.
Here’s what kids learn. The snow starts light and crumbly. Within 20 minutes it is heavy and slushy, and the trucks move differently.
You get to ask, “What happened to the snow? That’s early science, and it takes no extra work.
Cost reality: Free if you have trucks. Otherwise a small set runs about $8 to $15.
2. Paint the Snow
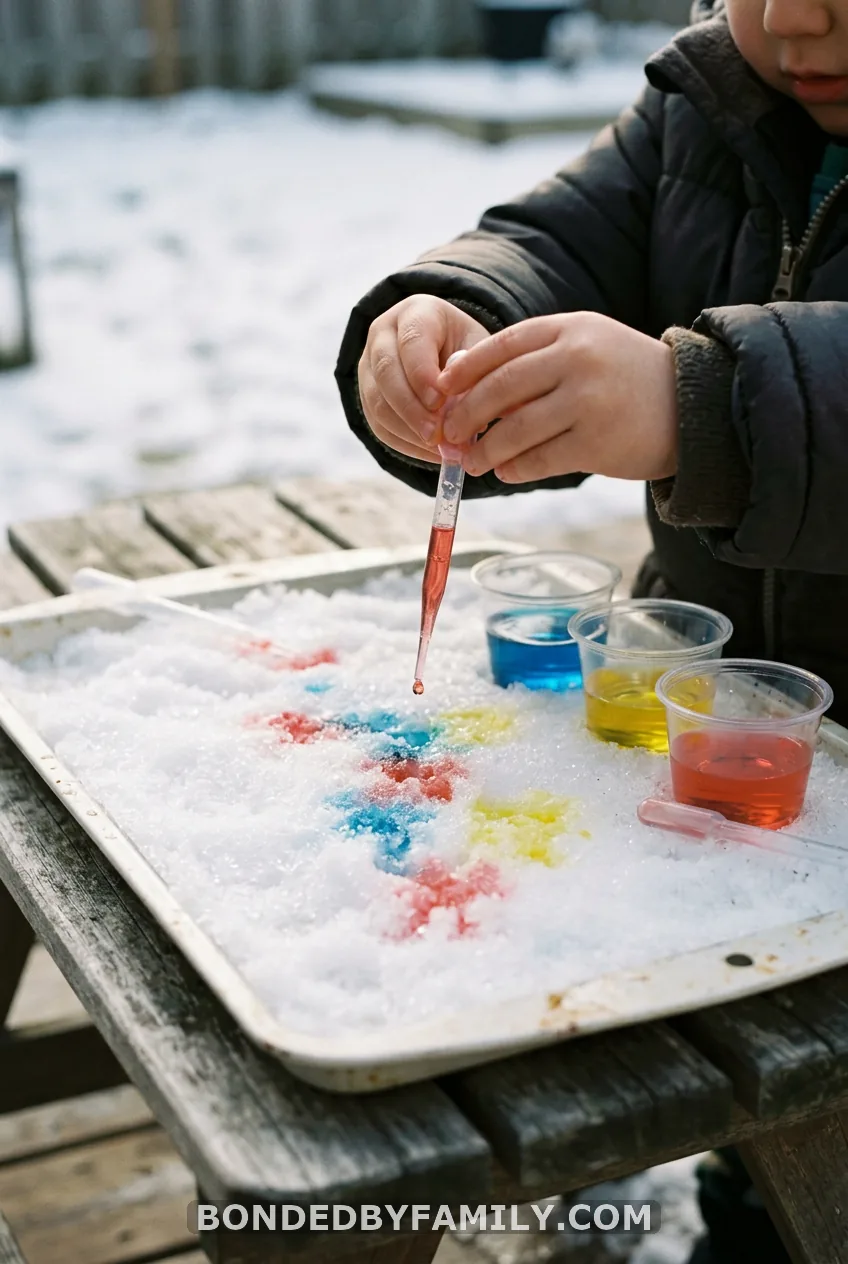
Fill three cups with water. Add a few drops of food coloring to each. Dilute it well, because strong coloring stains little hands. Give your child a dropper and let them dot the snow.
Squeezing a dropper builds the same grip muscles kids need for holding a pencil. Let them mix red and yellow right in the snow. They’ll spot orange without you saying a word.
Age: 3 and up. Base swap: Two-ingredient fake snow or instant snow. Real snow shows the color best.
3. Snowball Rescue
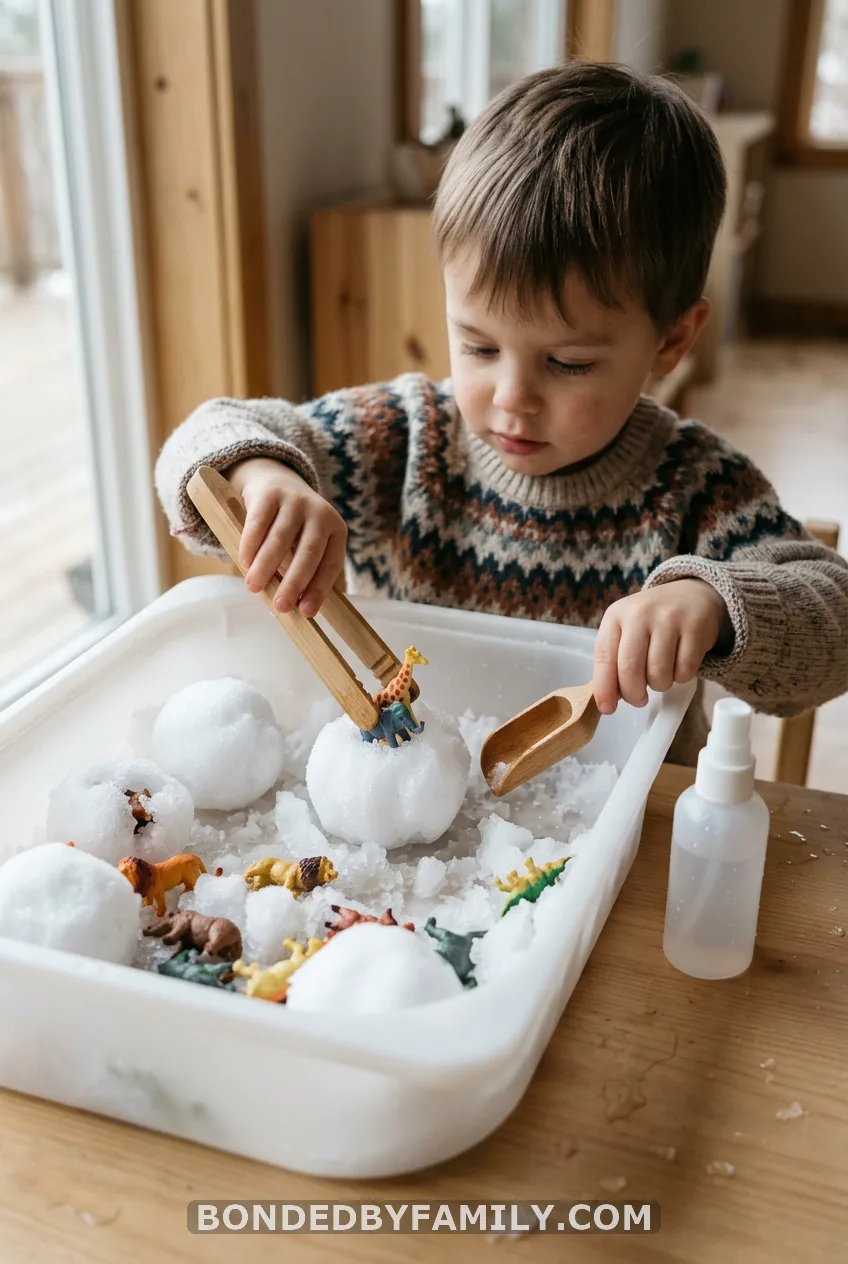
Pack snowballs around small toys. Hand over a wooden scoop, tongs and a spray bottle of warm water. Let them dig, squirt and crack each snowball open.
Persistence is the real skill here. Your child learns to keep trying when the snowball won’t give. Hand strength gets a workout too.
Age: 3 and up. Base swap: Packed two-ingredient fake snow holds a ball just as well.
Instant and Fake Snow Bins
No snow outside? These two bins come together at the kitchen counter. They also last longer than real snow.
4. Instant Snow Arctic Bin
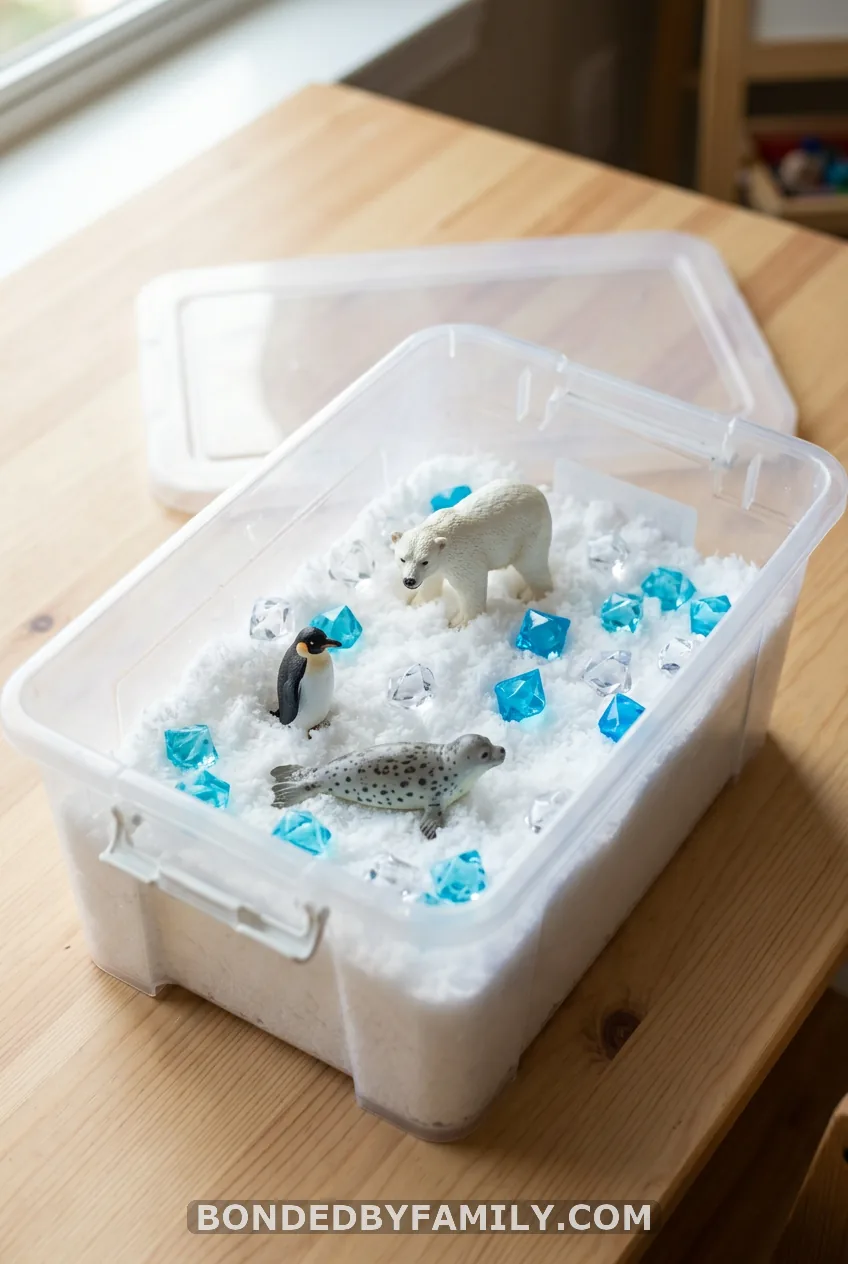
This is my favorite bin for a rainy day. Instant snow feels cool and fluffy, and it grows right before your child’s eyes. It is the one bin that feels like magic to a four-year-old, so I give it the most room here.
Supplies:
- 1 packet of instant snow (Insta-Snow, SnoWonder or Let’s Resin)
- Water, plain and cool
- A clear storage bin or sensory tray
- Arctic animal figures (a Safari Ltd Arctic TOOB works well)
- Large blue acrylic ice gems or blue glass gems (choking hazard: keep small gems away from children under 4)
- A wooden scoop and tongs set
Steps:
- Pour the powder into the dry bin. Spread it in a thin layer.
- Check the packet for the water amount. Brands differ, so follow yours.
- Add water a little at a time. The powder swells within a minute or so.
- Wait for it to stop growing, then stir. If it feels wet and soupy, add a bit more powder. If it feels dry and crumbly, add a splash of water.
- Tuck in the animals and gems and hand over the tools.
The mistake to avoid: Don’t dump all the water in at once. You’ll get a soggy mess, and you can’t undo it. Go slow.
Instant snow is non-toxic but not edible. Keep it for kids who no longer mouth toys, usually 4 and up because of the small gems and figures. For younger children, skip this bin and use large white felt shapes as the base, with large animal toys and an adult watching the whole time. Do not use cotton balls, because they can be swallowed and choked on.
To reuse it, spread the snow on a tray and let it dry for a day or two. Then add water again. Never rinse it down the drain, because the polymer can clog pipes. Scoop it into the trash instead.
Budget note: Instant snow packets cost about $6 to $15, depending on the brand and size. A tub of arctic animals runs about $15 to $25.
Skills: Language (polar, arctic, slippery, fluffy), scooping and pouring, and imaginative play.
5. Snowy Forest Small World
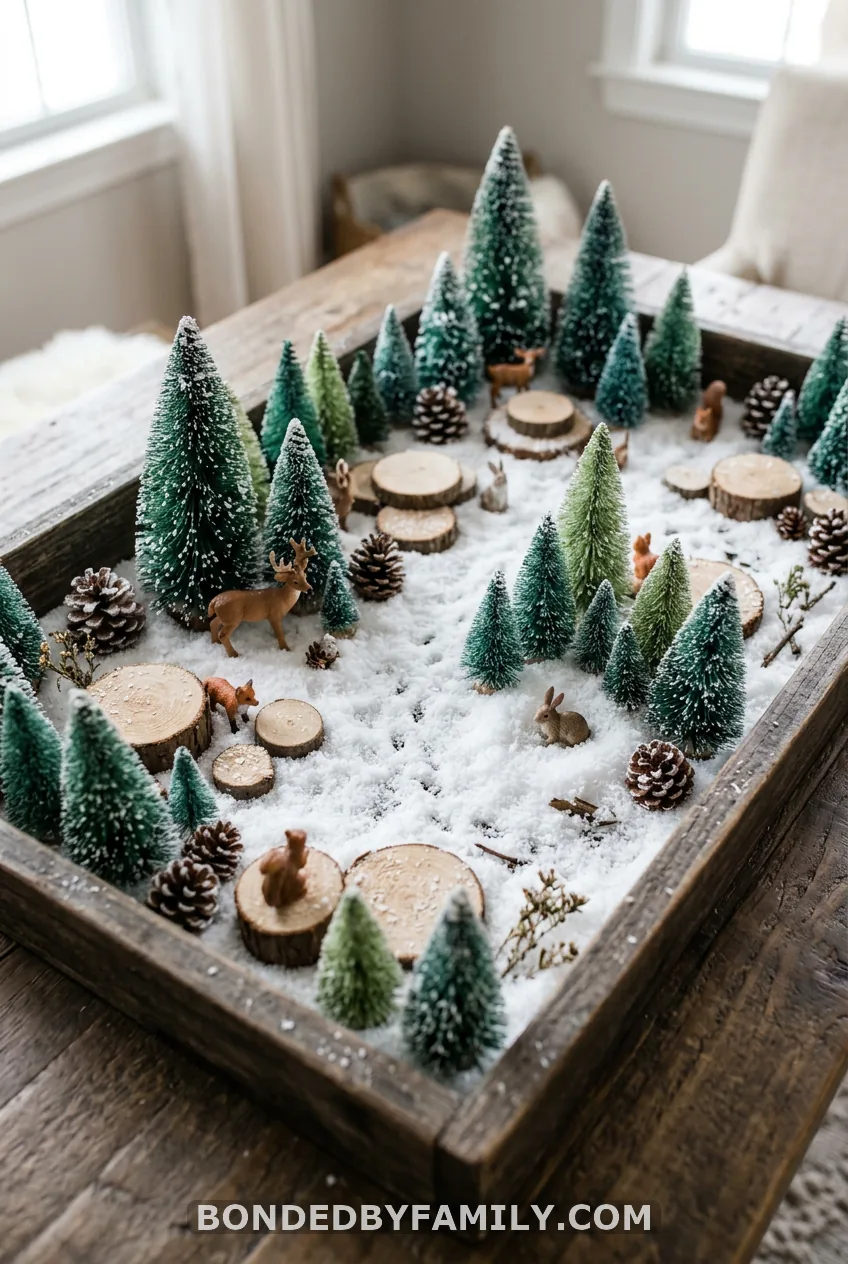
Start with instant snow or fake snow as your base. Plant bottle brush trees in it. Add wooden log slices as stepping stones and pinecones as boulders.
Then bring in the woodland animals, such as foxes, deer and owls. Wild Republic figures are sturdy and look real.
Add a wooden scoop and tongs set. Kids can ferry animals across the forest, and that is built-in fine motor practice.
Age: 3 and up. Pinecones and small figures can be choking hazards for younger kids, so stay close.
Base swap: Dried white beans or shredded white paper give a nice crunch under the trees.
Skills: Storytelling, naming animals and sorting by size.
6. Two-Ingredient Fake Snow Snowman Build
What most people think: More conditioner means better snow.
Reality: Too much conditioner gives you slime, not snow. The snow gets slick and sticky and won’t pack.
Here is the recipe that works:
- Pour 5 cups of baking soda into your bin.
- Add 1 cup of white hair conditioner.
- Mix with your hands for a couple of minutes. It will look crumbly at first.
- Add up to 1 more cup of baking soda if it feels tacky. Stop when it packs into a ball.
Cheap white conditioner is fine. Skip anything with glitter or strong color.
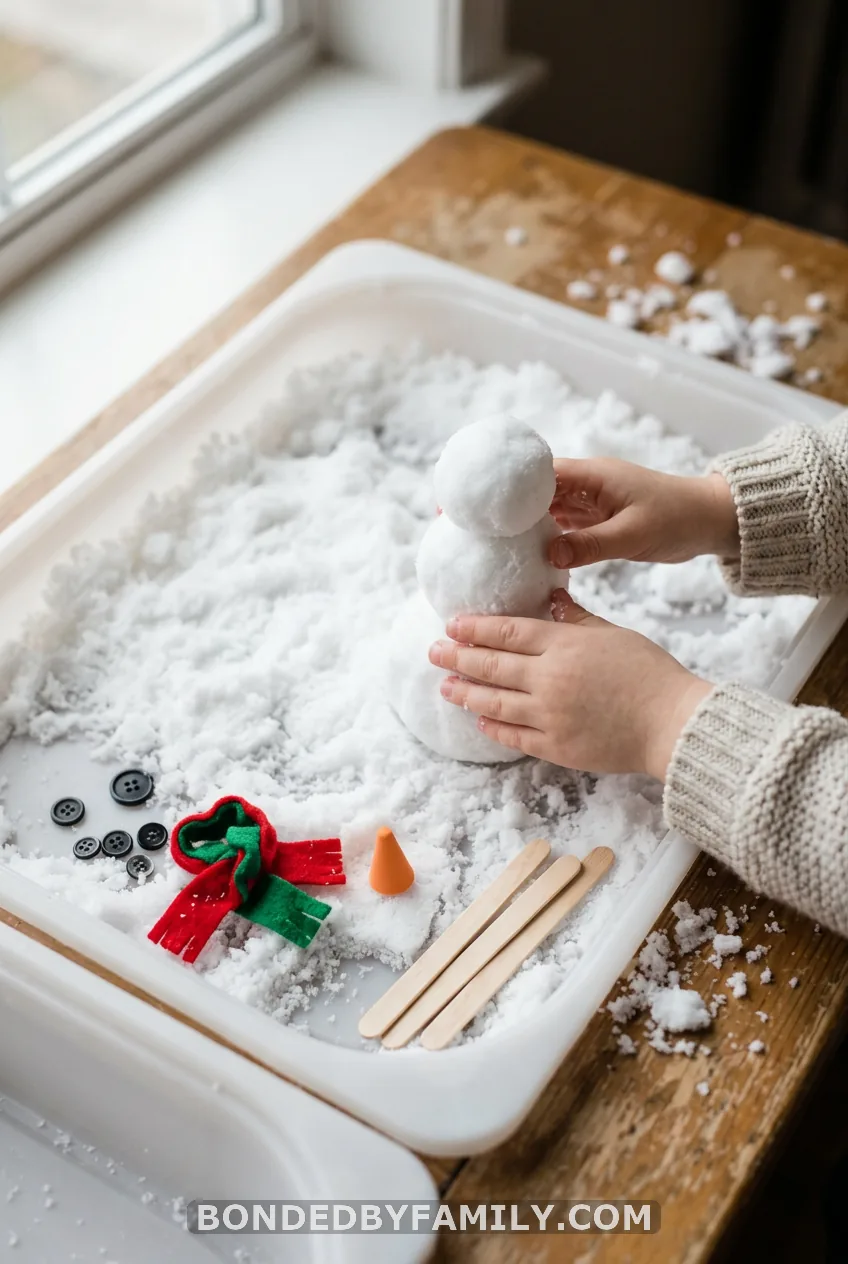
Now build. Roll three balls, stack them, and add large black buttons for eyes, a foam nose, craft stick arms and a felt scarf. Packing and shaping builds hand strength, and the sequence (big ball, medium ball, small ball) sneaks in size words.
Age: 3 and up. Buttons are a choking hazard for under 4s, so use big felt shapes instead. This snow is not taste-safe, and it can dry out skin, so rinse hands afterward.
Cost reality: Baking soda and conditioner together cost about $5 to $8 for a full bin.
No-Snow Bins
Never see snow where you live? These bins skip it completely. They also work for babies and for kids who put everything in their mouths, as long as you pick the right base.
7. Winter Treasure Hunt
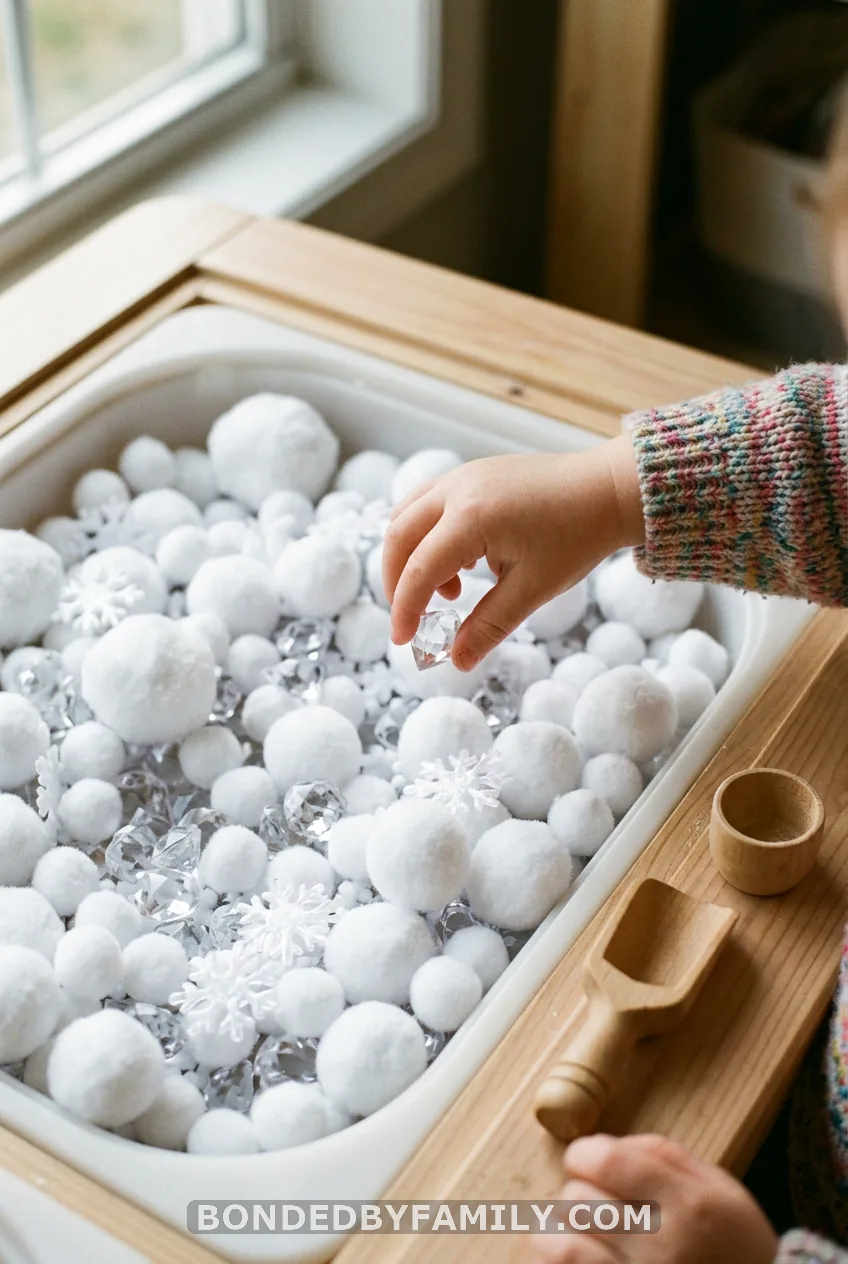
Bury plastic gems, snowflake pieces and a few colored pom-poms in a white base. Give your child a scoop and a small cup. Ask them to find all the treasures.
Count what they find. Ask, “How many blue ones?” Early math slips in without a worksheet.
Age: 3 and up. Pom-poms are small, so supervise closely.
8. Cotton Ball Snowman Bin
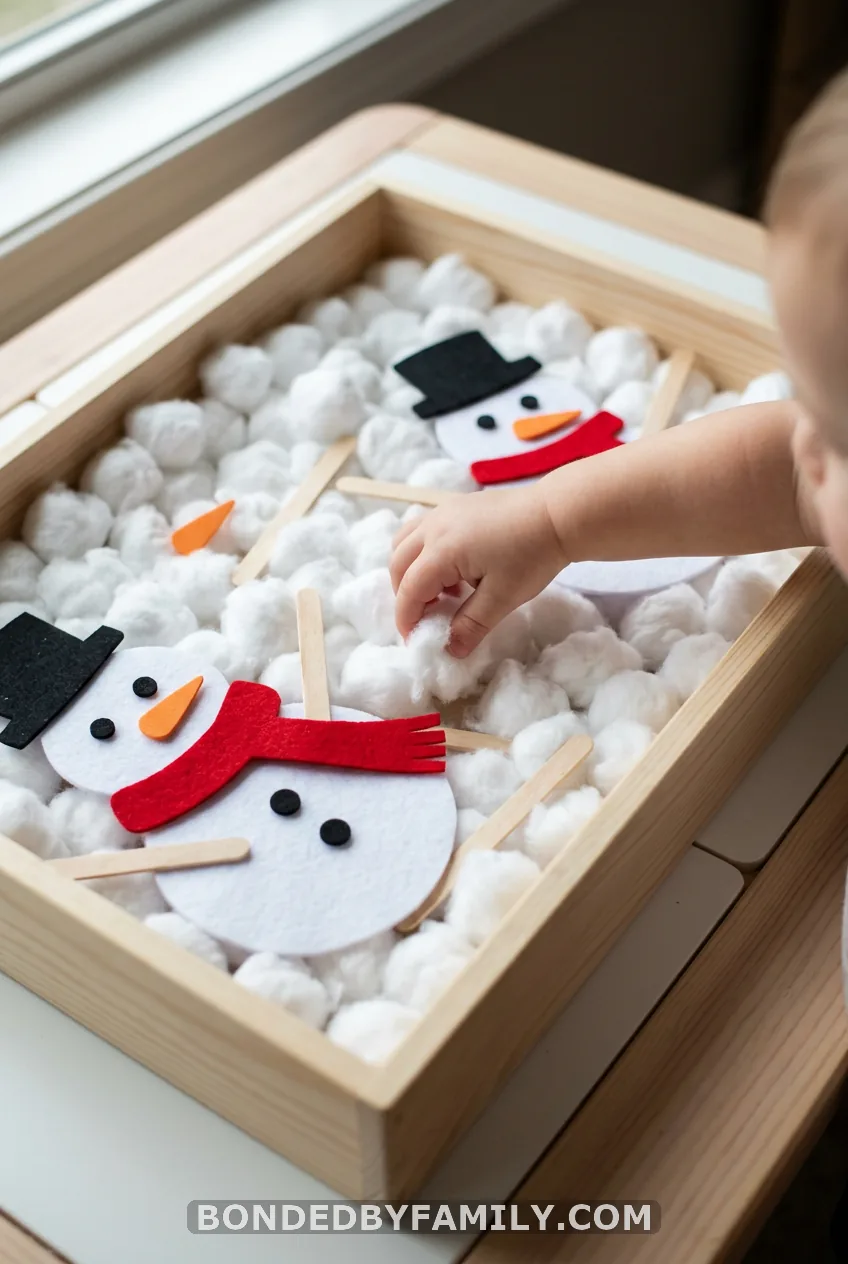
Dump a bag of cotton balls into a bin. Add felt scarves, foam noses and craft sticks. That’s the whole setup.
It’s soft and quiet, and no water is involved. It is great for toddlers. Cotton balls can still be mouthed, so stay near. Pulling them apart and squeezing them works small hand muscles.
Age: 18 months and up with supervision.
9. Ice Fishing
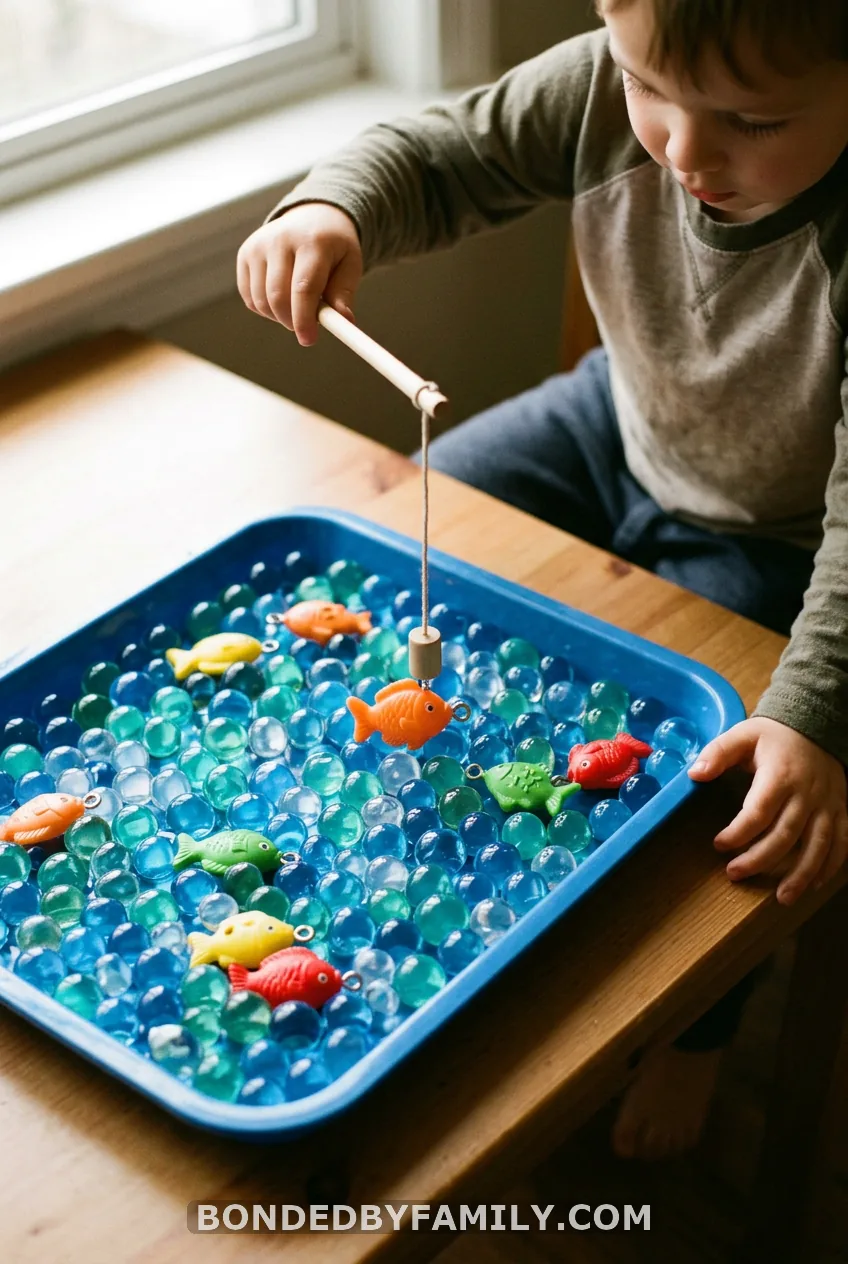
The catch: Water beads are a serious hazard if swallowed. Use them only with kids 4 and older, and only with an adult sitting right there. For younger kids, swap in blue shredded paper or blue felt squares.
Fill a tray with hydrated water beads to look like icy water. Add plastic fish with metal rings. Hand your child a magnetic fishing pole and a small cup for the catch. Chill the beads in the fridge for 20 minutes first, so they feel cold.
Fishing builds hand-eye coordination. Kids also practice patience, and you can ask, “What color fish did you catch?”
Age: 4 and up for water beads. Base swap: Blue felt or shredded paper works from age 2 with supervision.
Bin Setup, Floor Protection and Cleanup
Set the bin on a non-slip gripper pad. Put a quilt, towels or a vinyl tablecloth underneath. A bike mat or splash mat makes a clear play boundary. Keep a small dustpan and a towel close.
Wipe the tray before you store it. For real snow, tip the slush outside or into the sink. For fake snow, let it dry and scoop it into a sealed container. It lasts for another round of play.
Safety and Taste-Safe Notes
Always supervise. Water beads, buttons, pom-poms, pinecones and small figures are choking hazards for kids under 4. Never leave any bin unattended.
For mouthing babies, use cotton balls, large felt shapes or a taste-safe base. Instant snow and baking soda snow are not meant to be eaten. Dilute food coloring, since it stains hands.
Keep real snow play to 20 to 30 minutes. Dry little hands well afterward, because they get cold fast.
How to Pick the Right Bin
Start with your child’s age. Under 3, go with cotton balls and big felt shapes. For 3 and up, try instant snow or fake snow. For 4 and up, add the water beads.
Then check your climate. Got snow? Bin 1, 2 or 3 costs you nothing.
No snow? Bin 4 through 9 work all year. Swap bases freely.
Which bin will you set up first, and what will your kids build in it?
Snow Sensory Bin FAQs
What do you put in a snow sensory bin?
Start with a snow base: real snow, instant snow, two-ingredient fake snow, cotton balls or pom-poms. Add a scoop or tongs, a small container, and a few themed pieces like arctic animals, bottle brush trees or snowman parts.
How do you make fake snow with 2 ingredients?
Mix 1 cup of white hair conditioner into 5 to 6 cups of baking soda until it packs like wet snow. Add the baking soda gradually. Too much conditioner makes it slimy instead of moldable.
Is instant snow safe for toddlers?
Instant snow is non-toxic but not edible, so it suits kids who no longer mouth toys, usually 3 and up. For babies and mouthers, use cotton balls or large felt shapes, and always supervise.