Most sensory bin ideas online are too much work. Nobody has time to dye six pounds of rice before breakfast. The best sensory bin ideas start with what is already in your pantry and take less time to set up than a cup of coffee takes to cool.
This list gives you 14 bins, each tagged with setup time, mess level, and age. You’ll also get a filler and tool checklist, cleanup tricks, a month-by-month rotation, and the safety rules I follow every time. Pick one and have it on the floor in five minutes.
The 5-Minute Sensory Bin Formula
Every bin on this list uses the same four parts. Learn them once and you can invent your own.
The four parts of any bin
- Container. A Dollar Tree storage bin (about $1.25), an under-bed tub, or a big mixing bowl.
- Filler. Rice, oats, pasta, foam, water, or sand. This is the “texture” part.
- Tools. Scoops, cups, tongs, funnels, or a muffin tin.
- Toys. Animals, trucks, or plastic eggs that give the play a story.
Fill the container about one-third to halfway. A full bin spills. A half-full bin gets stirred, poured, and buried in.
Pro tip: Keep one “bin kit” drawer
Stash scoops, a funnel, two sets of tongs, and a few measuring cups in one drawer or basket. When the whiny hour hits, you grab the kit, pour a filler, and you’re done. Setup drops from ten minutes to three.
Age and supervision basics
Sensory play helps fine motor skills, language, and focus. Scooping builds the hand strength kids need for writing later. Pouring teaches “full” and “empty.” Quiet digging helps some kids settle after a loud day.
Here is the safety line I never cross. Children under 4 still mouth things, so stay within arm’s reach. Avoid small parts like buttons, beads, and tiny pom poms for that age.
Watch for food allergies, too. If your child has a wheat, nut, or egg allergy, pick non-food fillers from the checklist below.
1 Sensory Bin Ideas, Sorted by Mess Level
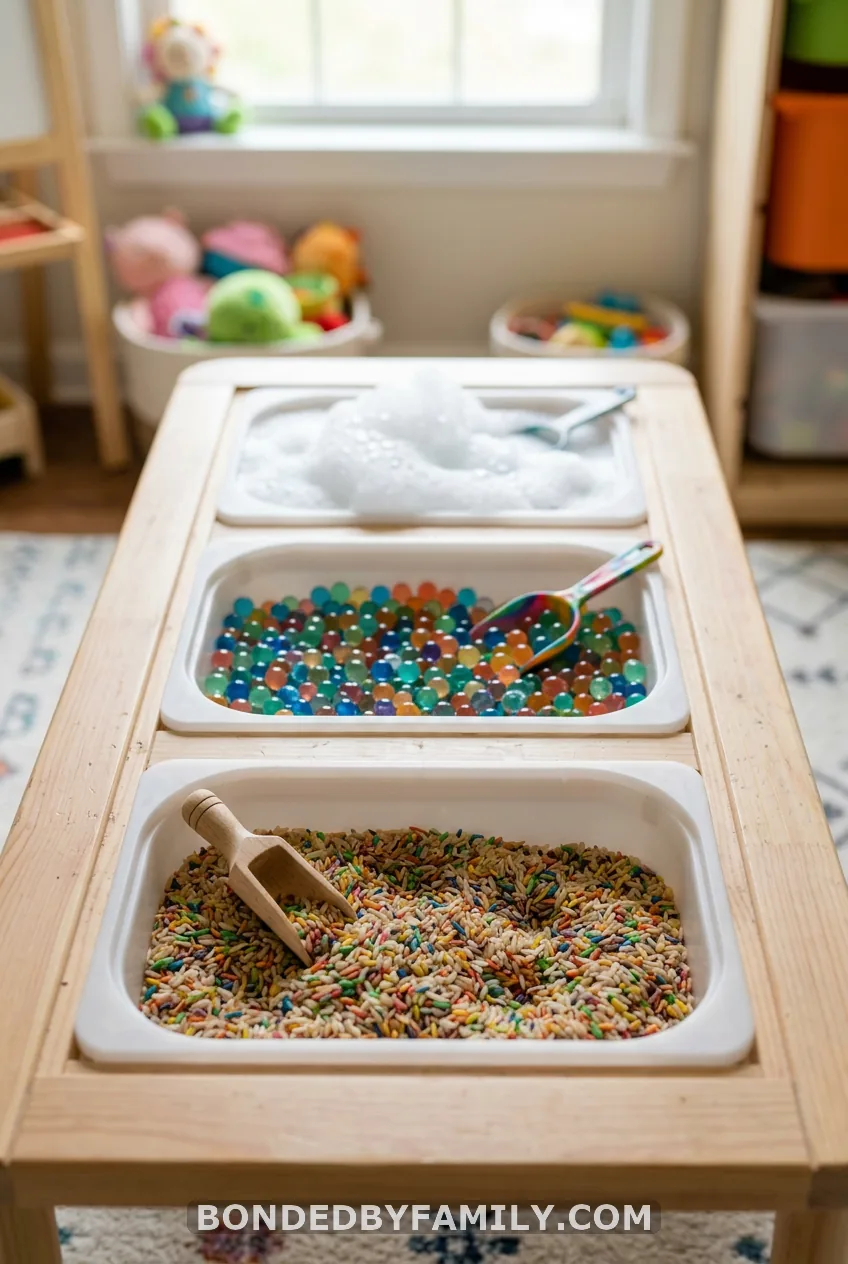
Dry and Low-Mess Bins
These five stay mostly in the bin. Start here if the idea of mess makes your shoulders climb toward your ears.
2. Rainbow Dyed Rice Bin
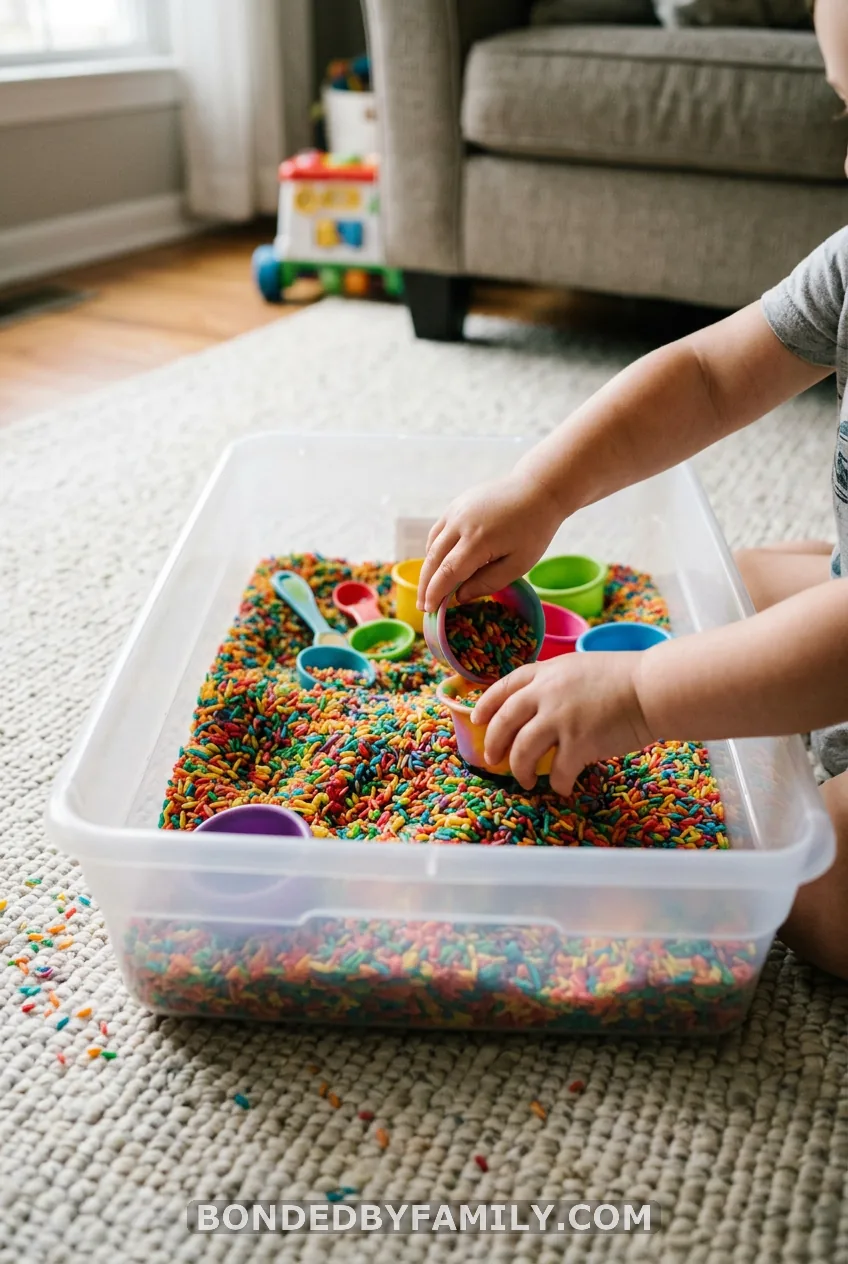
Setup: 5 minutes (plus drying time) | Mess: Medium | Age: 2 to 5
Rainbow rice is the classic for a reason. It pours like water but stays put like sand. You dye it once, and it lasts for months in a lidded tub.
What you need:
- 1 cup dry white rice per color (a 5 lb bag costs about $4 to $5)
- 1 tablespoon white vinegar per color
- Gel or liquid food coloring, about 10 drops per color
- One zip-top gallon bag per color
- A baking sheet lined with parchment
Here is how to dye it:
- Add the rice, vinegar, and food coloring to a bag.
- Press out the air and seal it.
- Shake and squish for one minute until every grain is coated.
- Pour the rice onto the baking sheet in a thin layer.
- Let it dry for 1 to 2 hours, or until it feels fully dry to the touch.
The mistake to avoid is skipping the drying step. Damp rice clumps, smells sour after a few days, and can grow mold in storage. If you’re in a rush, spread it near a sunny window or run a hair dryer over the tray for a few minutes.
Add measuring cups, a funnel, and a few plastic scoops. Done.
Pro tip: Dye a rainbow, then mix
Dye four or five colors on a weekend, then keep them in separate bags. Pour them into the bin in stripes for a rainbow look, or let your child mix them into one muddy swirl. Both versions get played with.
3. Oatmeal Farm Bin
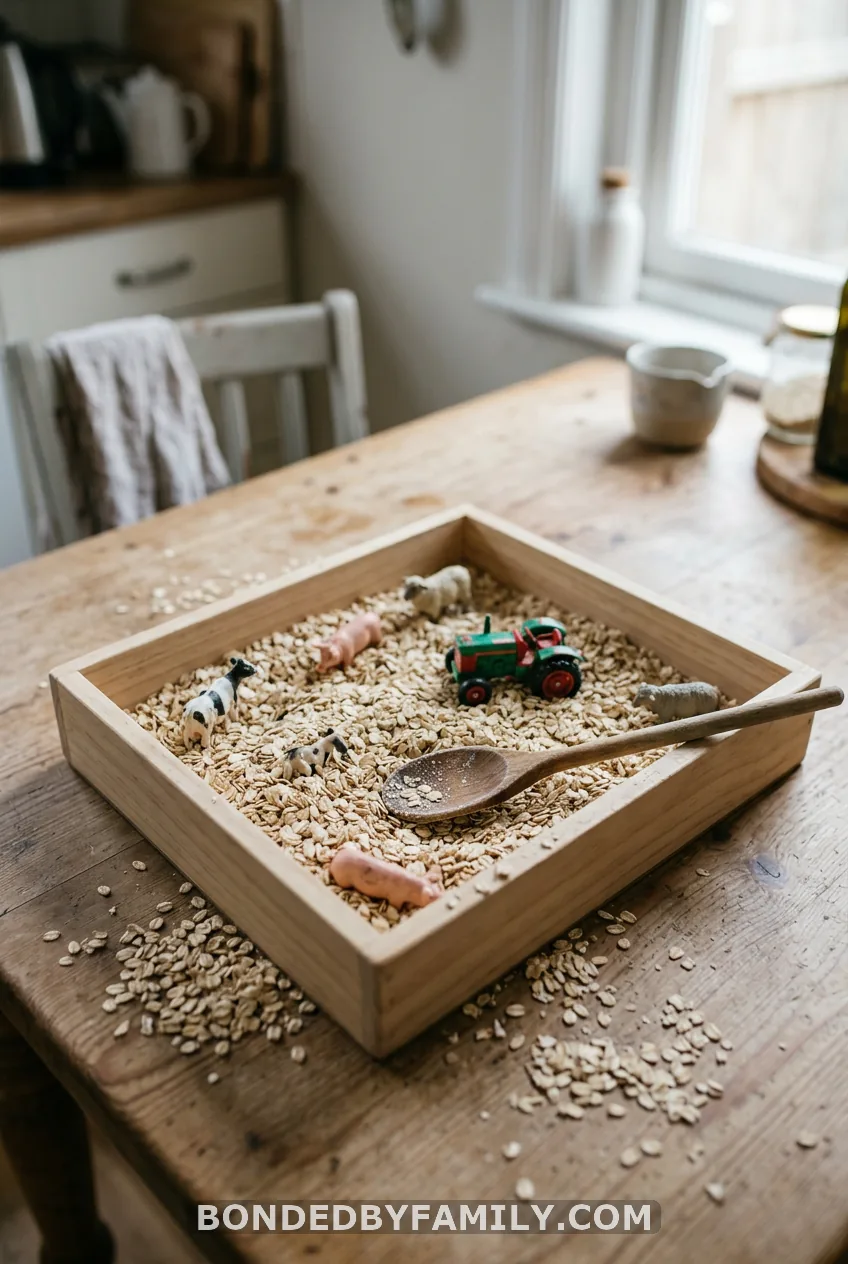
Setup: 2 minutes | Mess: Low | Age: 12 months and up
Pour plain rolled oats into a bin. Bury a few large plastic farm animals and add a toy tractor. Pick animals too big to fit in a child’s mouth, because small ones are choking hazards.
Stay within arm’s reach of babies the whole time. Oats are taste-safe, which makes this my pick for kids who still mouth everything. Sweep the leftovers into the compost or the trash.
4. Dry Pasta Shape Sort
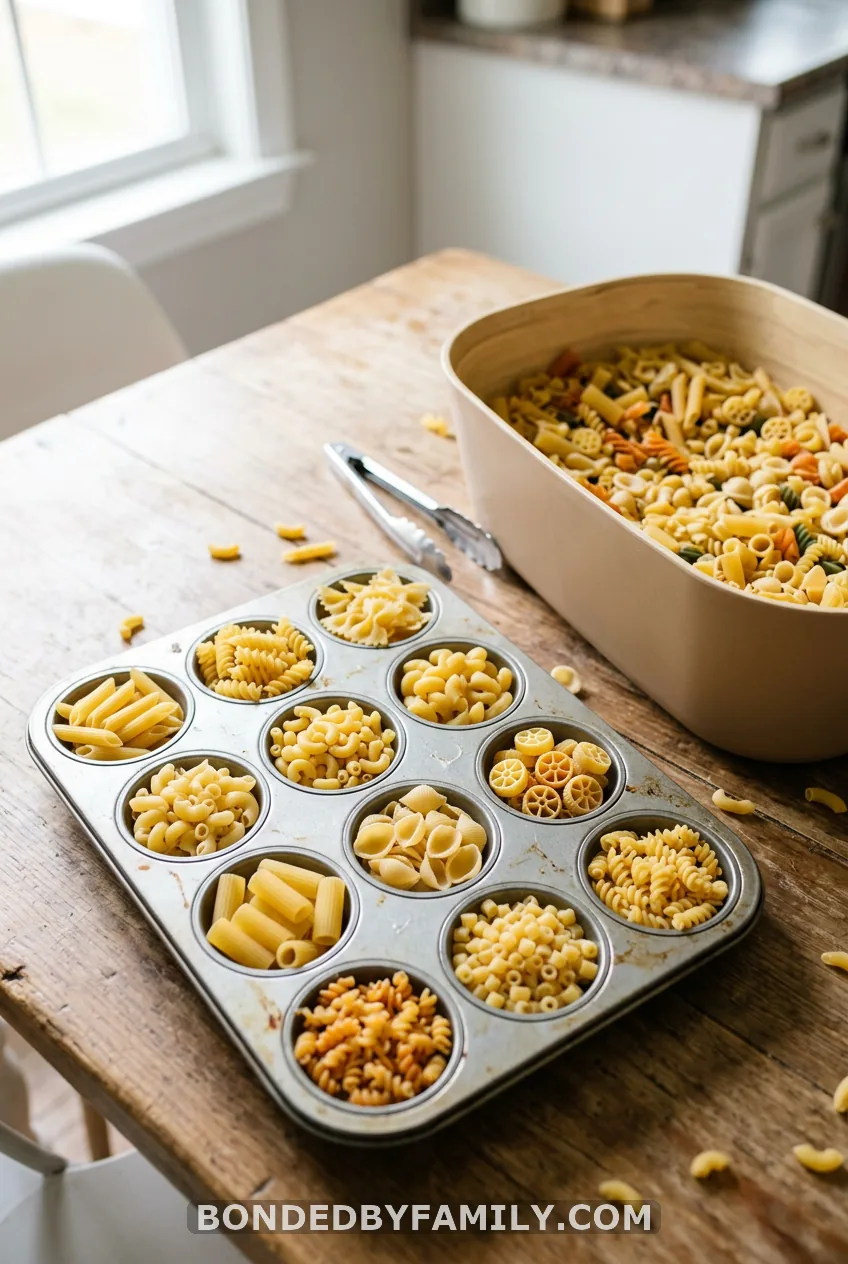
Setup: 3 minutes | Mess: Low | Age: 2 to 4
Dump three or four pasta shapes together: penne, bowties, rotini, and shells. Give your child a muffin tin and kid-size tongs. The job is to sort each shape into its own cup. Skip tiny pasta like orzo for under-4s, since it’s a choking risk.
5. Pom Pom Color Sort
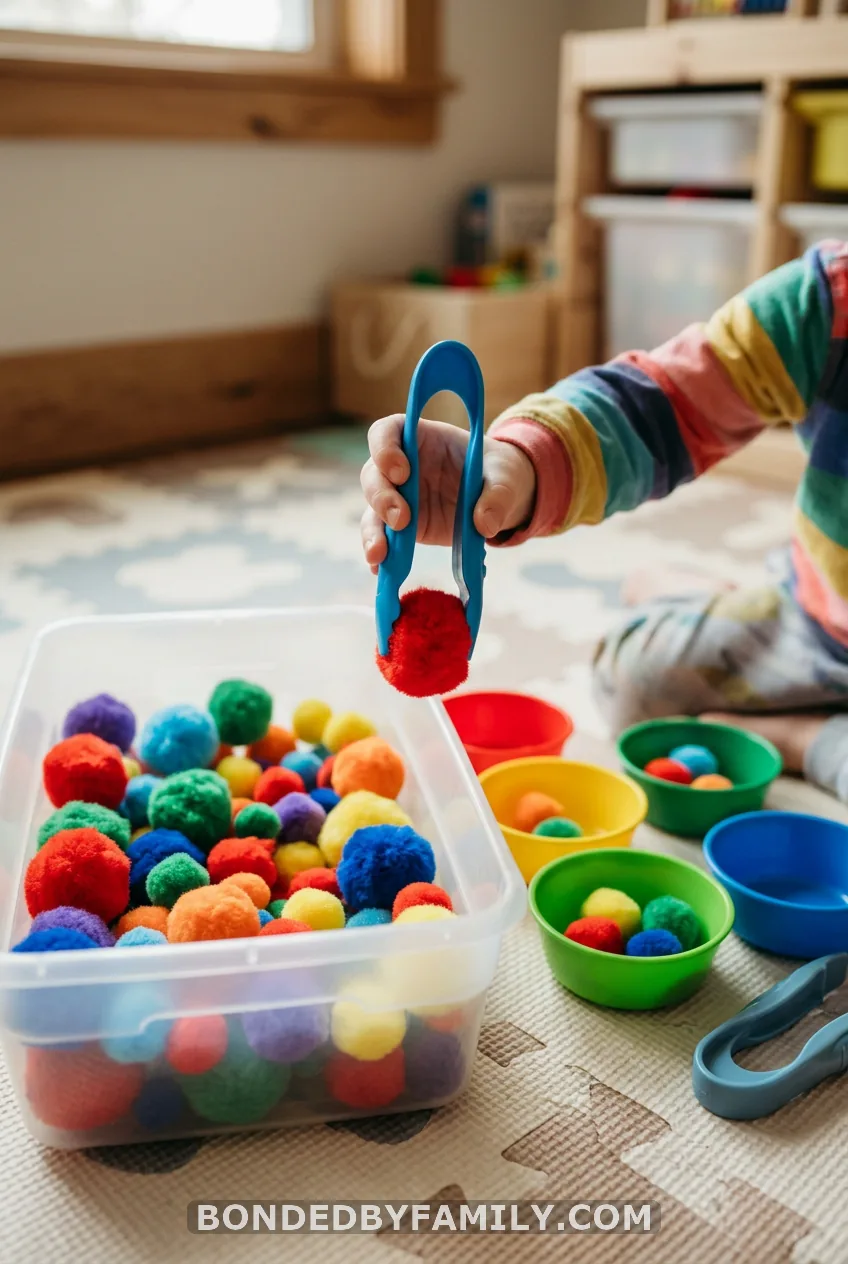
Setup: 4 minutes | Mess: Very low | Age: 3 to 5
Here is the cautionary tale. I once bought the cheap bag of half-inch pom poms because it was a dollar cheaper. Within ten minutes, one was in my daughter’s mouth and the others were rolling under the couch. I spent the afternoon fishing them out.
Buy jumbo pom poms, at least 1.5 inches wide, which are too big to swallow. Set out bowls in matching colors and give her tongs. Sorting by color is calm, quiet, and great practice for the pincer grip.
The pom pom bin is also the easiest one to cart to a restaurant or a waiting room. It dumps into a zip-top bag in seconds.
6. Cotton Ball Cloud Bin
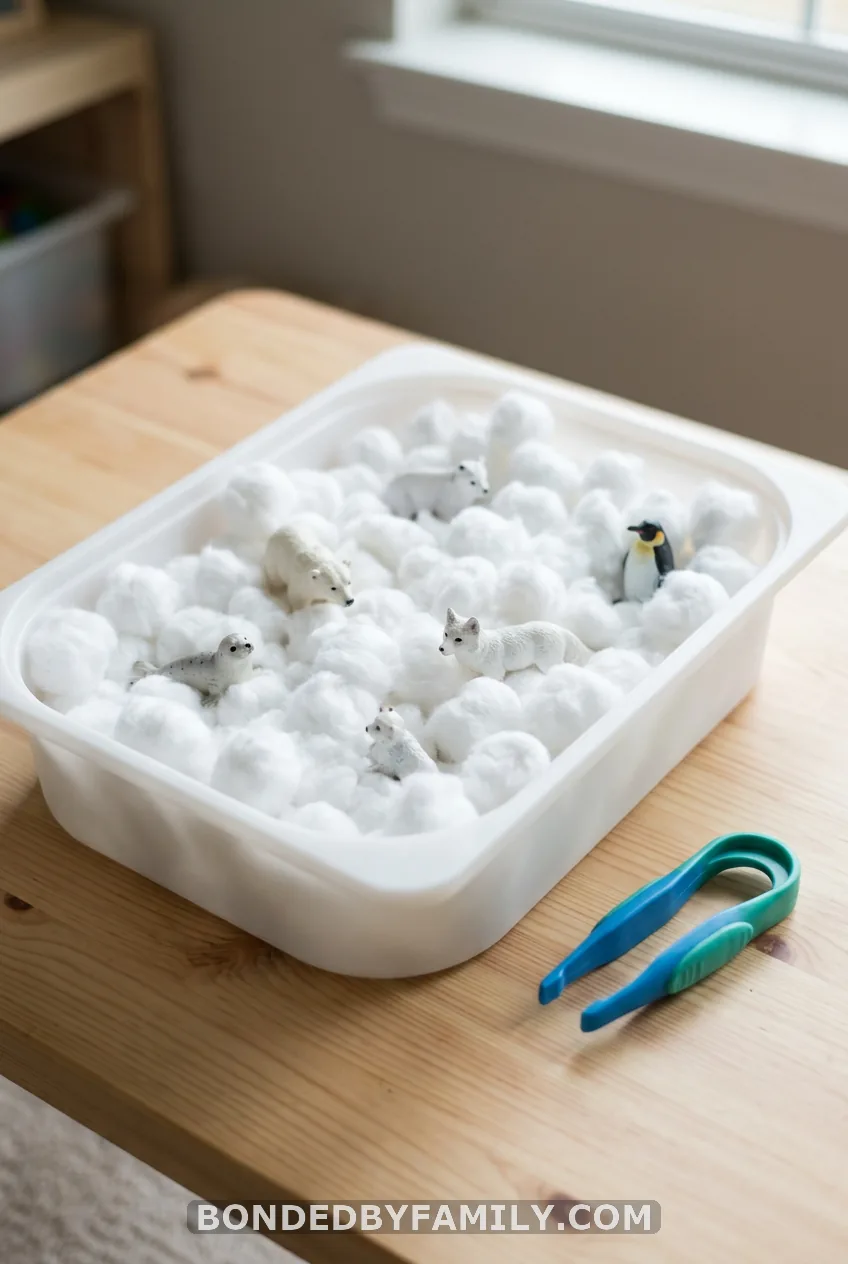
Setup: 2 minutes | Mess: Very low | Age: 3 to 5
Fill a bin with cotton balls. Hide a few polar bears or penguins inside. Hand over tweezers or tongs to “rescue” them.
It’s soft and quiet, and it keeps the little ones calm. Keep it away from toddlers who put things in their mouths.
Wet and Squishy Bins
These five are for the sensory seekers, the kids who want their hands in everything. Set them up on a tiled floor, in the bathtub, or outside.
7. Water Pouring Station
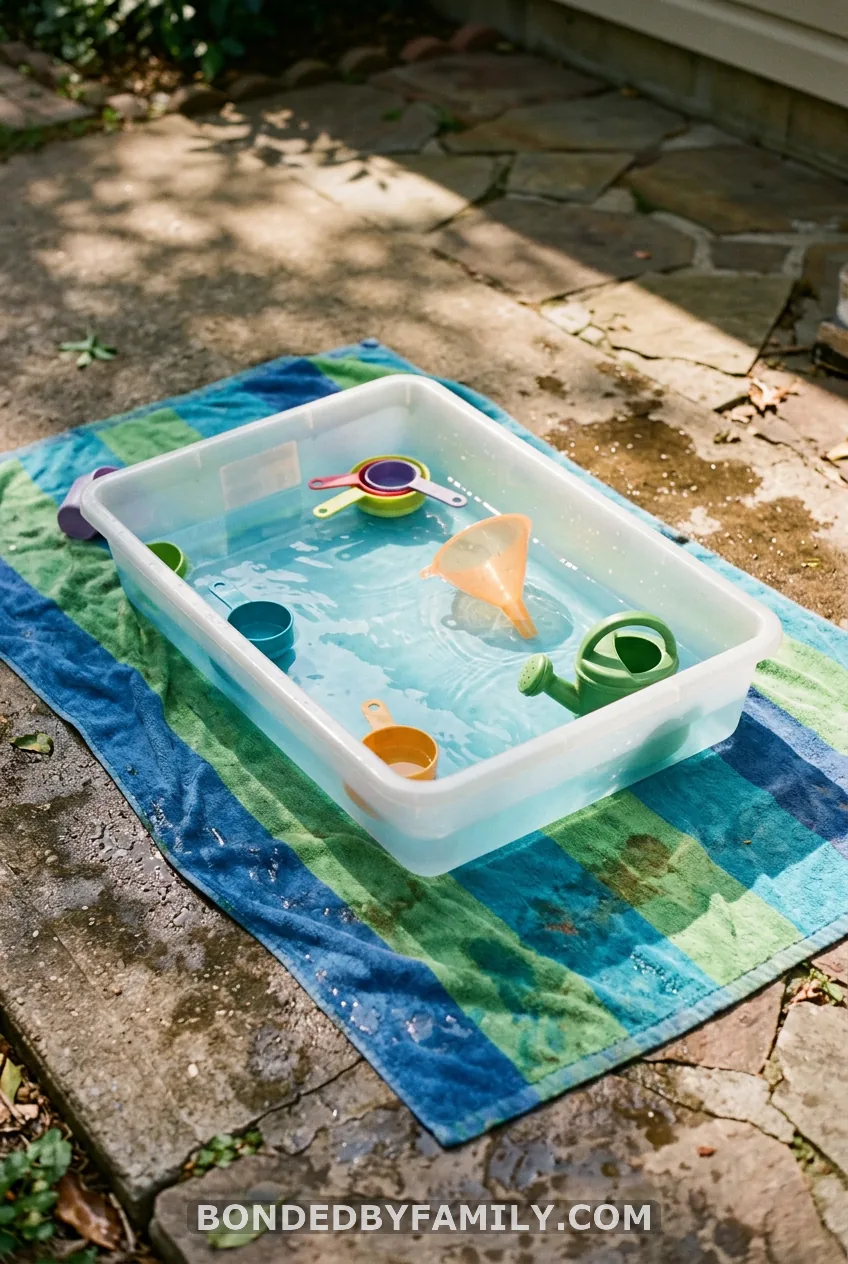
Setup: 3 minutes | Mess: Medium | Age: 18 months to 4 years
Pour two inches of water into a tub. Add a drop or two of food coloring, plus measuring cups, a funnel, and a turkey baster. That’s the whole thing. Kids will pour, squeeze, and fill for a surprising length of time.
Water play counts as a drowning risk even in shallow tubs. Stay beside your child the whole time, and empty the tub when you’re done.
Worth knowing: Towels beat paper towels
Lay a bath towel under the tub. It catches the splash and doubles as your drying mat afterward. Toss it in the wash and move on.
8. Oobleck Goo Bin
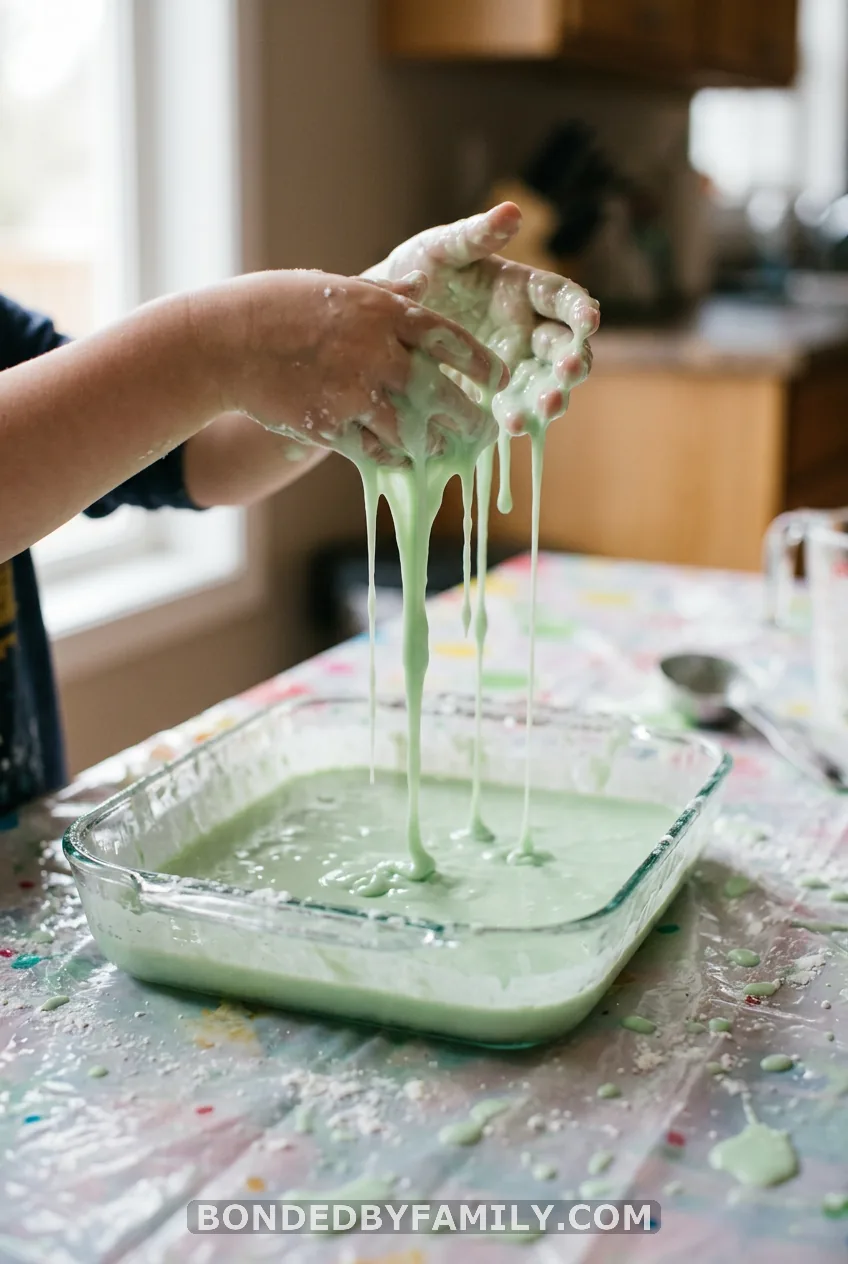
Setup: 5 minutes | Mess: High | Age: 3 to 5
Oobleck needs two ingredients and one bowl. Mix 2 cups cornstarch with 1 cup water, adding the water slowly while you stir with your hands. Add a few drops of food coloring if you like.
It acts like a liquid when you pour it and like a solid when you squeeze it. Kids find that very strange and very funny. Hide a few plastic toys inside for digging.
Never rinse oobleck down the sink. The cornstarch can clog pipes. Scrape the leftovers into the trash and wipe the rest with a damp cloth.
9. Soap Foam Bin
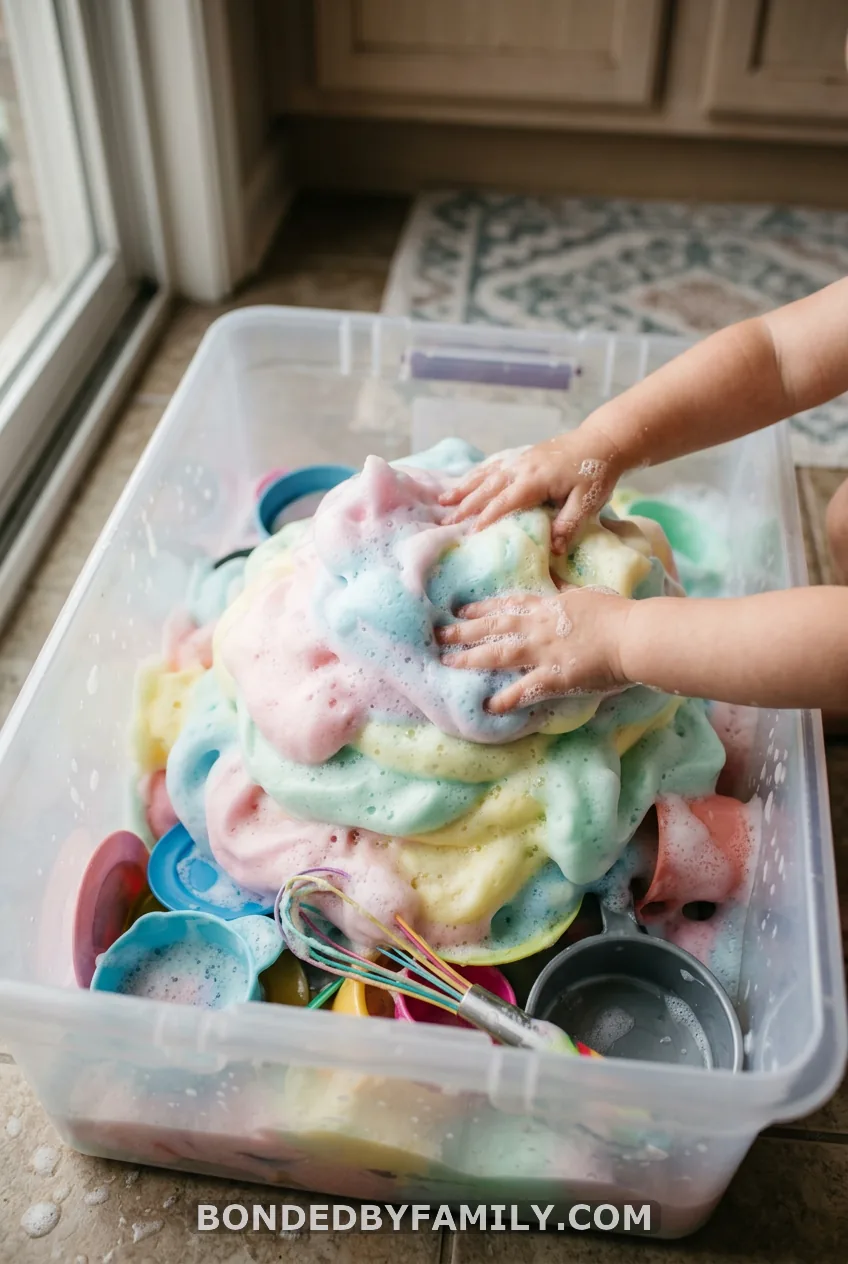
Setup: 5 minutes | Mess: Medium | Age: 2 to 5
Add about 1/4 cup of dish soap and 1/2 cup of water to a large bowl. Whip it with a hand mixer for a few minutes until it stands in stiff peaks. Scoop the foam into a bin and add toy dishes or plastic animals for a bubble bath.
The foam sticks around for a long time, so it feels like magic to little hands. Keep it out of eyes, and wash hands after play. Do it near a sink if you can.
10. Ice Melt Rescue Bin
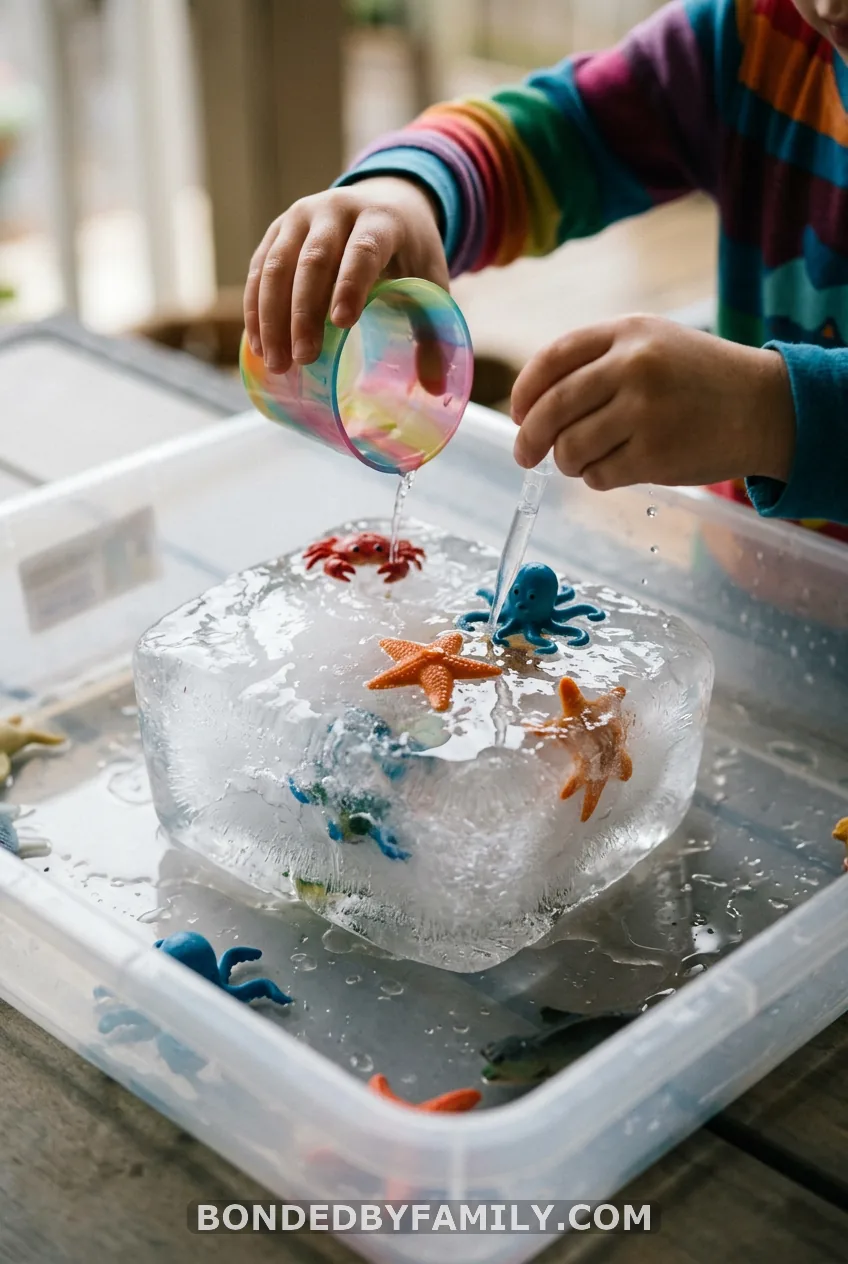
Setup: 5 minutes, plus overnight freeze | Mess: Medium | Age: 2 to 5
The night before, drop a few small plastic animals into a container of water and freeze it. In the morning, pop the ice block into a bin. Give your child cups of warm water, droppers, and a spoon to chip away at it.
The goal is to free the animals. Kids watch the ice crack and shrink, which is a first lesson in melting. It also makes a smart hot-day bin. Use animals bigger than a golf ball for kids under 4.
11. Shaving Cream Cloud Sand
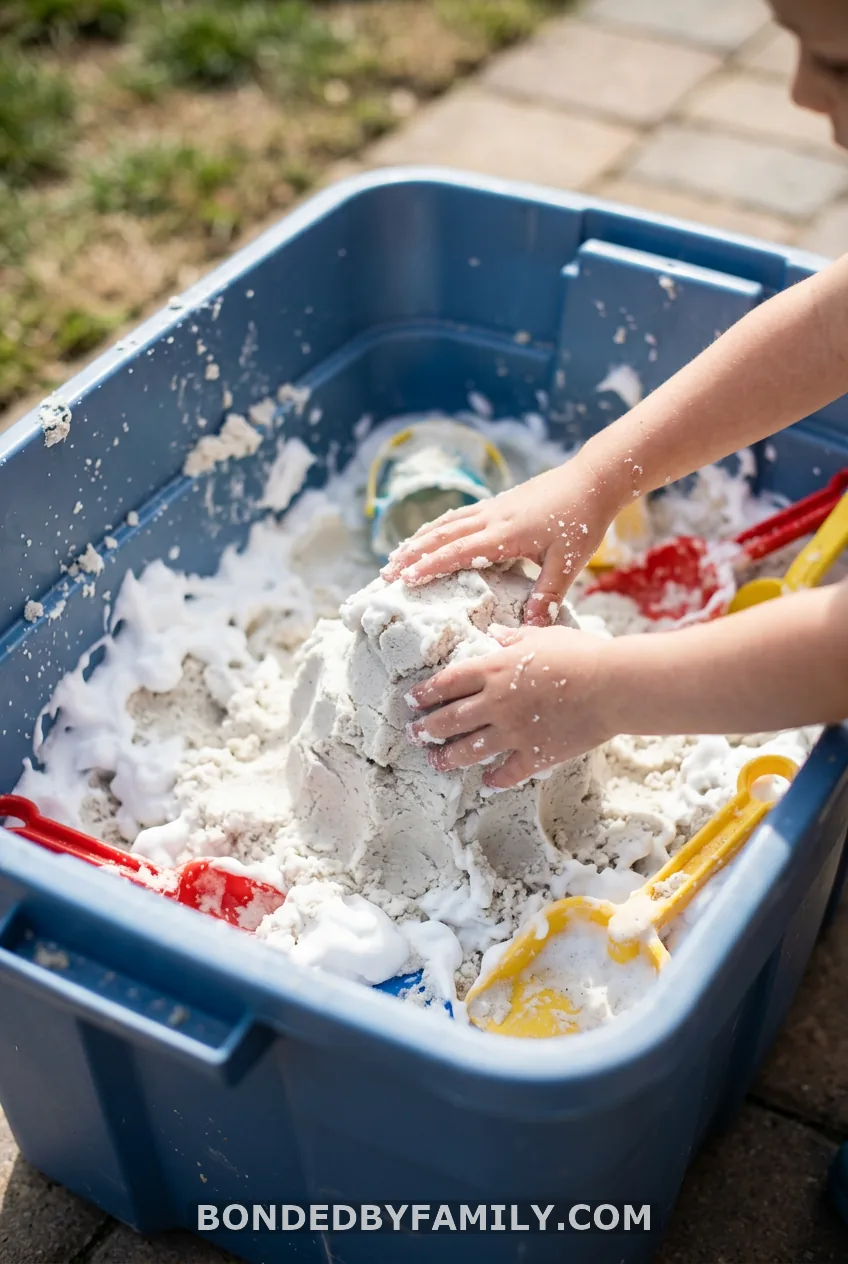
Setup: 4 minutes | Mess: High | Age: 3 to 5
Fill a bin about halfway with play sand. Squirt in plain, unscented shaving cream and knead it until the sand holds a shape. It feels cool and fluffy, and it packs like wet beach sand without any water.
Shaving cream can irritate sensitive skin, so test a small spot first. Not for kids who mouth things. Use it outside if you can, and hose off the tools afterward.
Themed and Seasonal Bins
These four swap the toys and a few fillers to give old bins a new look. Pair them with the calendar further down.
12. Ocean Adventure Bin
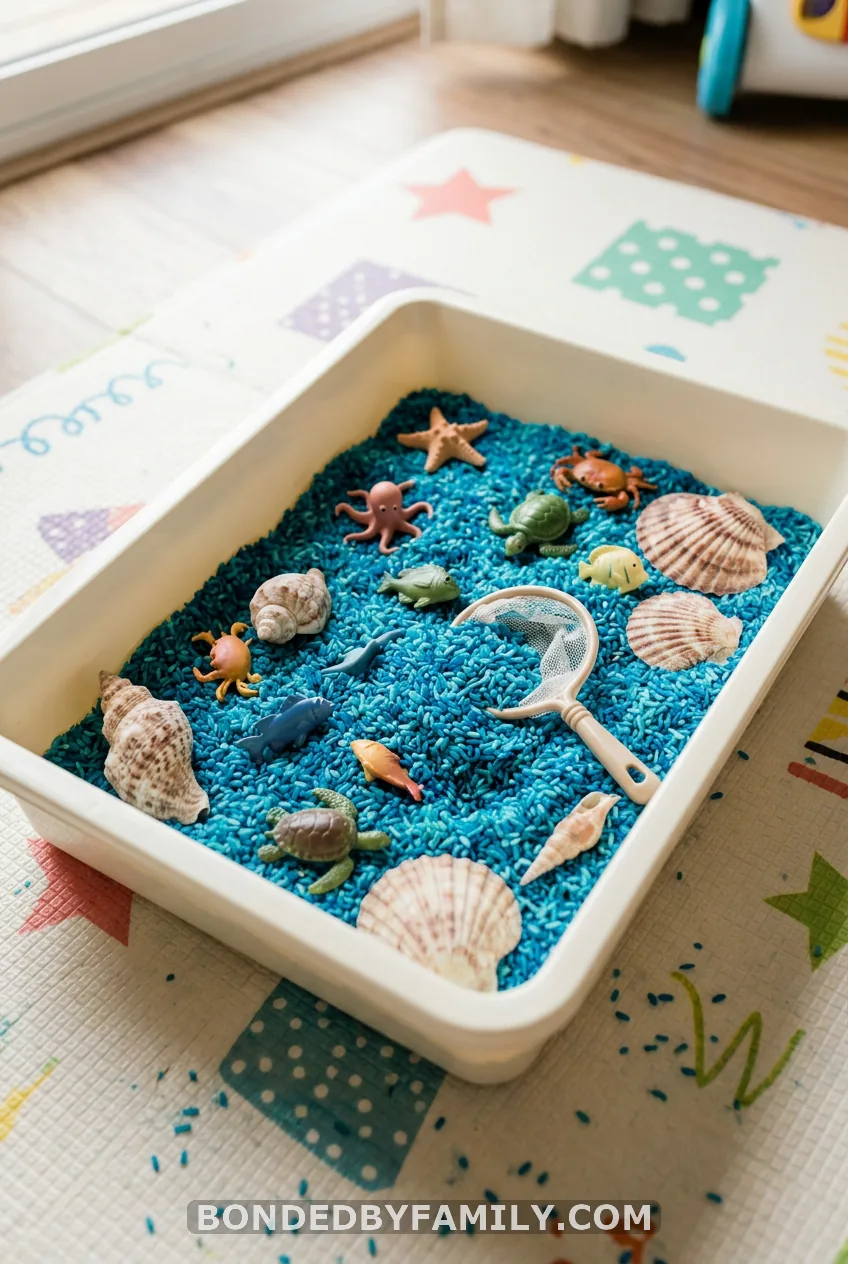
Setup: 3 minutes (with rice already dyed) | Mess: Medium | Age: 2 to 5
Dye your rice blue using the method from the first idea. Add plastic whales, sharks, and starfish from the Dollar Tree. Toss in a few big shells and a small net or slotted spoon for “fishing.”
For a wet version, swap the rice for water in a shallow tub. Kids play ocean rescue for ages. Choose shells larger than a ping pong ball for little ones.
13. Dinosaur Dig Bin
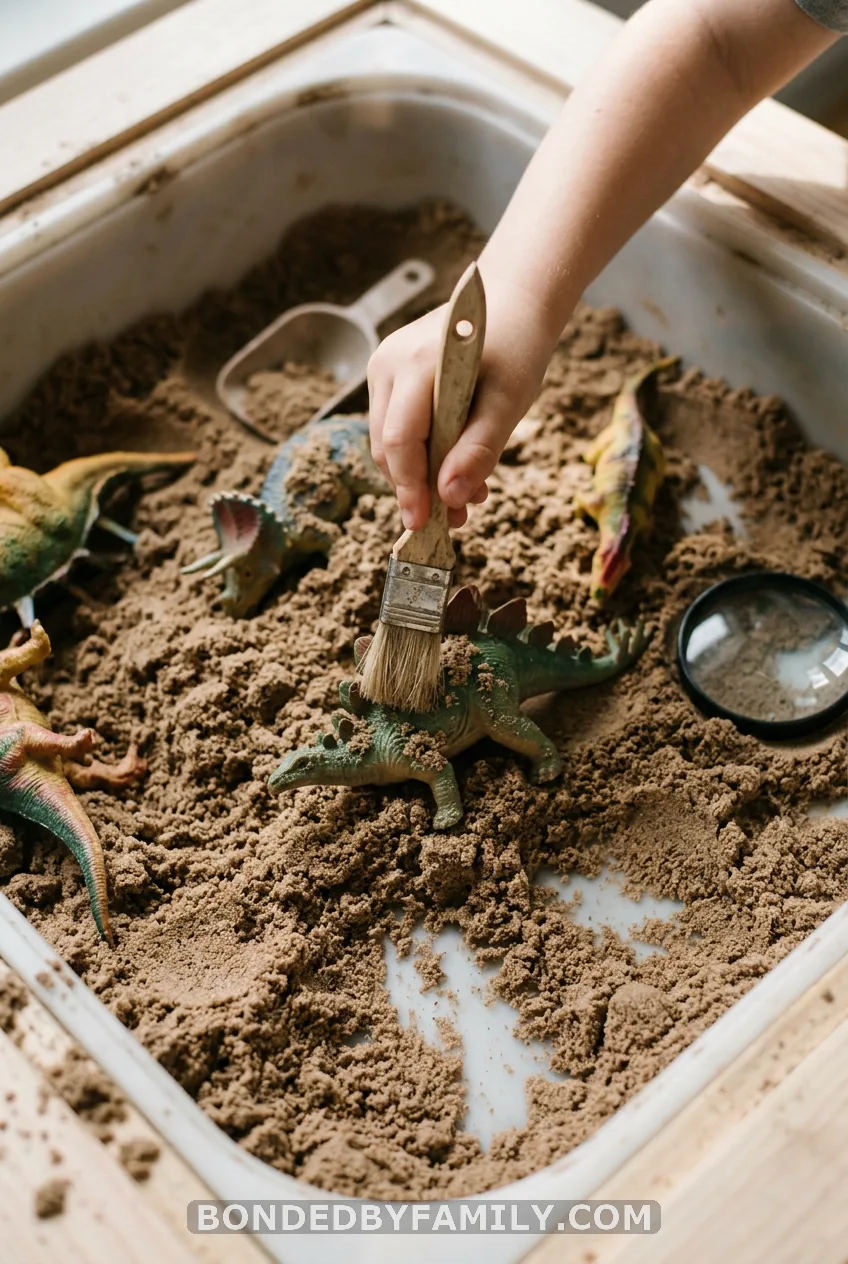
Setup: 3 minutes | Mess: Medium | Age: 3 to 5
Bury plastic dinosaurs in play sand or crushed oats. Hand over a paintbrush and a scoop and call it an archaeological dig. Kids brush the dirt away slowly, which builds patience.
14. Fall Harvest Bin
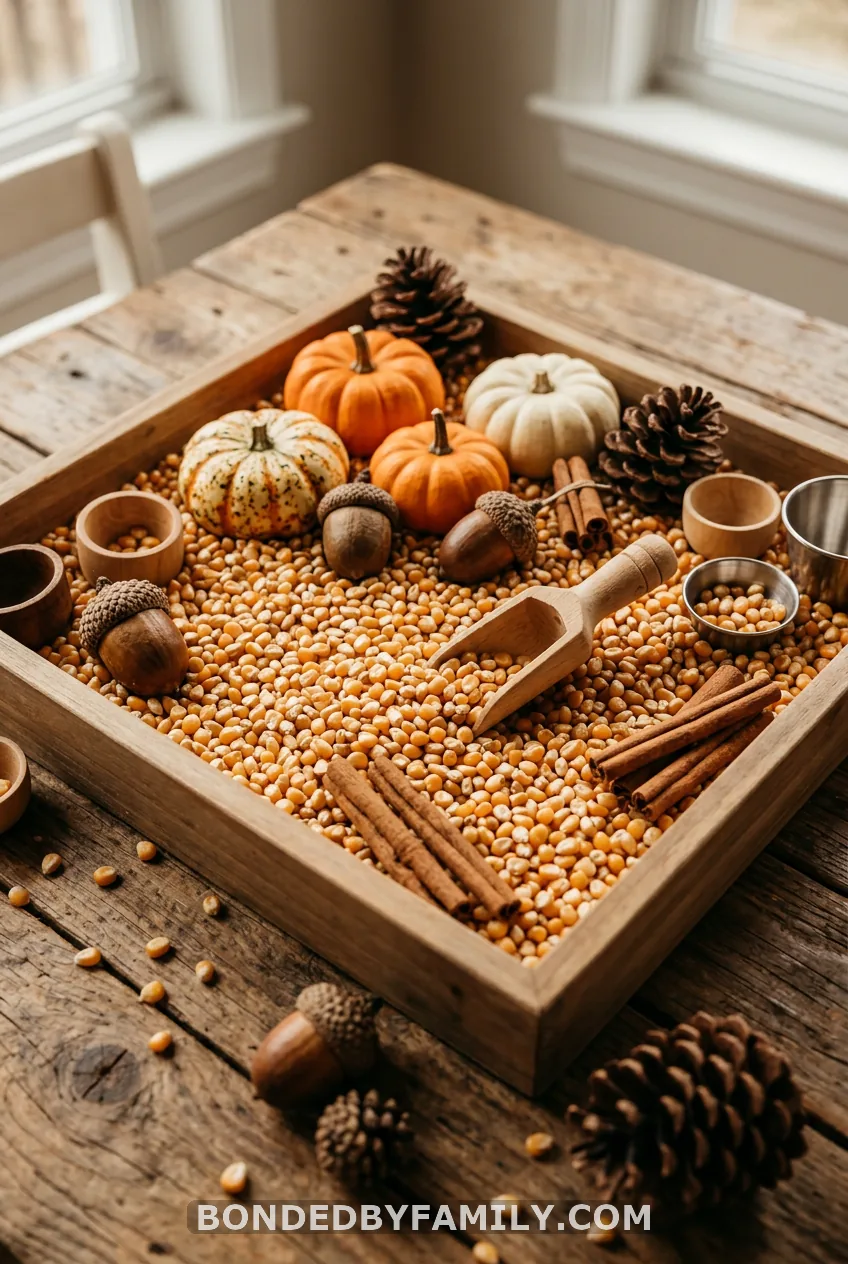
Setup: 5 minutes | Mess: Medium | Age: 3 to 5
Fall is the season for natural fillers. Pour dried corn kernels (about $2 to $3 a bag in the pet or bird feed aisle) into a bin. Add mini pumpkins, big acorns, pinecones, and a few cinnamon sticks for the smell.
Give your child scoops, cups, and small baskets. The cinnamon makes the whole room smell like autumn, which is half the fun. Add a pair of tweezers for older kids who can sort acorns by size.
Corn kernels are small and hard. Stay close and skip this one for kids who still mouth things. Acorns can also cause trouble for kids with tree nut allergies, so skip them if that’s you.
Fillers and Tools Checklist
Print this, screenshot it, or tape it inside a cupboard door. You can build most bins from what’s on this list.
Fillers by type
- Dry, taste-safe: rolled oats, cooked and cooled pasta, plain cereal
- Dry, not for mouthers: rice, dried beans, lentils, corn kernels, birdseed, dry pasta
- Wet and squishy: water, soap foam, oobleck, shaving cream sand, baking soda “snow”
- Non-food (allergy-friendly): shredded paper, jumbo pom poms, cotton balls, pipe cleaners, bottle caps, wooden blocks
Tools worth having
- Scoops and measuring cups
- Kid-size tongs and tweezers
- A funnel
- A muffin tin or ice cube tray for sorting
- A magnifying glass
- Droppers and a turkey baster
Dollar Tree finds
A Dollar Tree run covers most of it. Look for storage bins, plastic animals, measuring cups, funnels, jumbo pom poms, droppers, muffin tins, and baking soda. You can often fill a cart for under $15, though stock changes from store to store.
Cleanup, Storage, and Safety
Keep the mess in one place
Put a shower curtain liner or old fitted sheet under the bin. A plain flat sheet slides around, but a fitted one stays put on a hard floor. Keep a handheld vacuum or a small dustpan close, since that’s what you’ll use at the end.
Set a timer for 20 to 30 minutes. A timer turns “stop playing” into “the timer said so,” which is a lot easier to enforce.
Pro tip: Use a “bin spot”
Pick one spot, like the kitchen tile or the garage, and use it every time. Kids learn that bin play happens there, and you stop worrying about crumbs in the carpet.
Store and rotate
Store dry fillers in lidded bins or gallon zip-top bags, and label them with a marker. Keep the toys in a separate bag so you can swap them. A new set of animals can make the same rice feel brand new.
Sensory bin safety comes down to a short list:
- Stay within arm’s reach of kids under 4.
- Skip small parts for mouthers.
- Check every ingredient for allergies.
- Throw out wet fillers after a day.
Seasonal Rotation Calendar
You don’t need a plan, but a loose one saves you from deciding on the fly.
- January: Winter snow bin (baking soda) or a hot cocoa pretend bin with cookie cutters and cereal
- February: Pink dyed rice with plastic hearts
- March and April: Spring garden bin with potting soil, plastic bugs, and a watering can, plus an egg hunt bin with plastic eggs and paper grass for Easter
- Summer: Water pouring station, ice melt rescue bin, ocean bin
- September: Back-to-school bin with magnetic letters hidden in rice
- October and November: Fall harvest bin
FAQ: Sensory Bin Ideas
What age are sensory bins for?
Babies can start around 12 months with taste-safe fillers like oats or cooled cooked pasta. Toddlers and preschoolers get the most from scoops, tongs, and themed toys. Stay close for any child under 4.
What are safe fillers for toddlers who still mouth everything?
Choose taste-safe options like rolled oats, cooled pasta, and plain cereal. Skip water beads, buttons, beads, and tiny pom poms, which are choking hazards. If a bin has small parts, wait until the mouthing stage passes.
How do I stop the mess?
Use a shower curtain or fitted sheet under the bin. Keep the bin on a hard floor, set a timer, and fill it only halfway.
How often should I rotate sensory bins?
Rotate whenever your child loses interest, which might be weekly or every other week. Often a new set of toys is enough. Store the fillers in lidded bins so they keep.
What are non-food sensory bin fillers?
Shredded paper, jumbo pom poms, cotton balls, pipe cleaners, bottle caps, wooden blocks, and play sand all work. Check each for size if your child still mouths objects.
One Last Thing: Stop Rotating So Much
Everyone says to rotate your bins constantly. I disagree. Most kids don’t need a new theme every week. They need the same bin, left out for days, so they can go deeper.
My daughter once played with the same tub of oats and farm animals for ten days straight. She invented a barn fire, a rescue, and a funeral for a plastic cow. A new bin would have cut that short.
So skip the big rotation schedule. Pick one bin, keep it simple, and let your kid get bored of it before you replace it.