Do not buy the $55 pre-made Grinch sensory bin. You already own most of what goes in it. A Grinch sensory bin is just green stuff, a few Whoville props and something to scoop with.
This guide walks you through one green rice base, then shows five ways to swap it. You get a no-dye shortcut for busy weeknights and a taste-safe version for toddlers who still mouth everything. Most of it comes from the pantry and the dollar store.
What You Need for a Grinch Sensory Bin
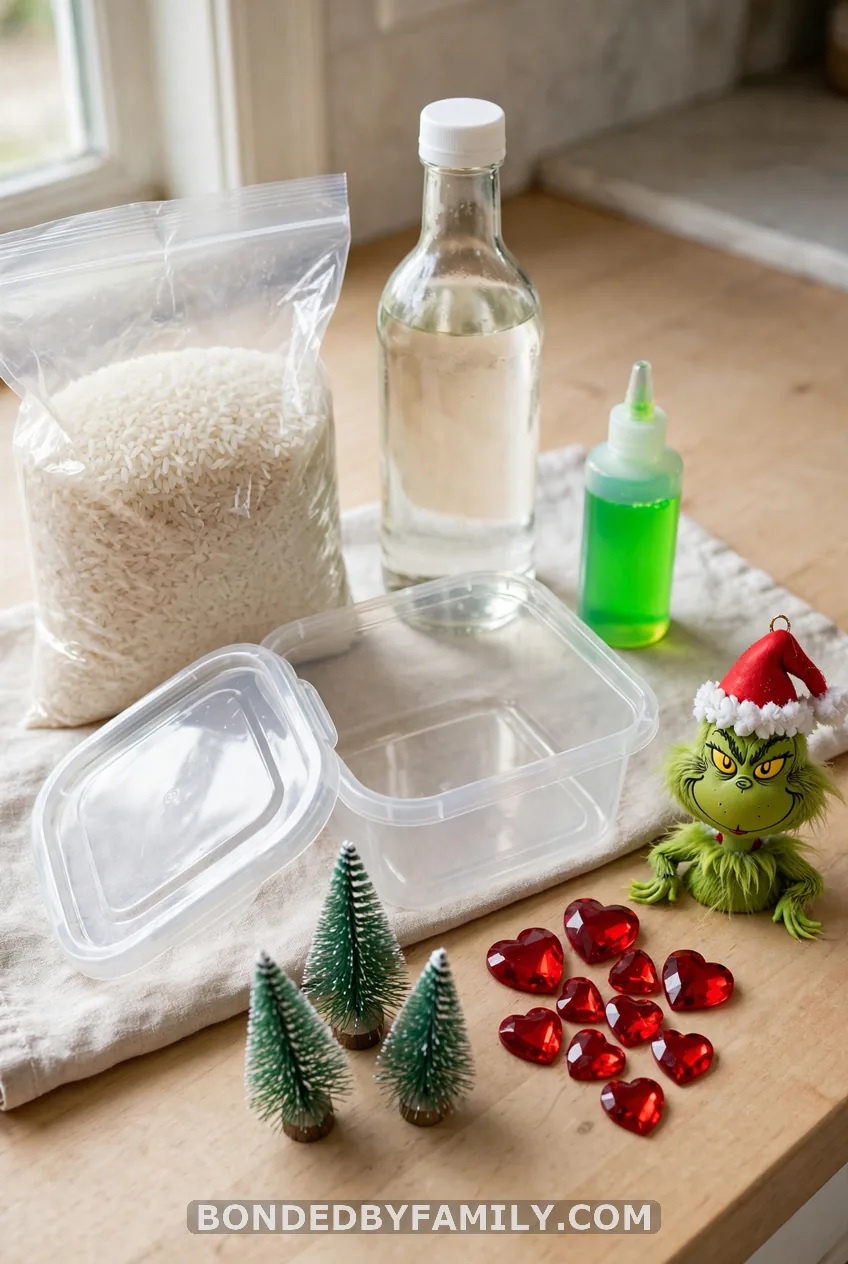
Check the age first. Rice and small props are a choking hazard for kids under 3. If your child still mouths toys, skip ahead to the taste-safe version below.
Shop your own house before you shop a store. Everything here fits under $15 with Dollar Tree and pantry finds.
Base:
- 4 cups white rice
- 1 teaspoon white vinegar
- Neon green food coloring (gel gives the deepest Grinch green)
- 1 zip-top bag, gallon size
- Parchment paper and a baking sheet
Fillers (pick 8 to 10):
- Mini bottle-brush trees
- A Grinch figurine or ornament
- Red heart gems or a heart-shaped cookie cutter
- Mini gift boxes
- Plastic candy canes
- Jingle bells
Tools and bin:
- Scoops, measuring cups, a funnel and silicone cupcake liners
- Jumbo tweezers or tongs
- Wooden or plastic alphabet tiles
- A lidded plastic tub at least 3 inches deep, an under-bed box or an IKEA FLISAT table
Step 1: Dye the Rice Green
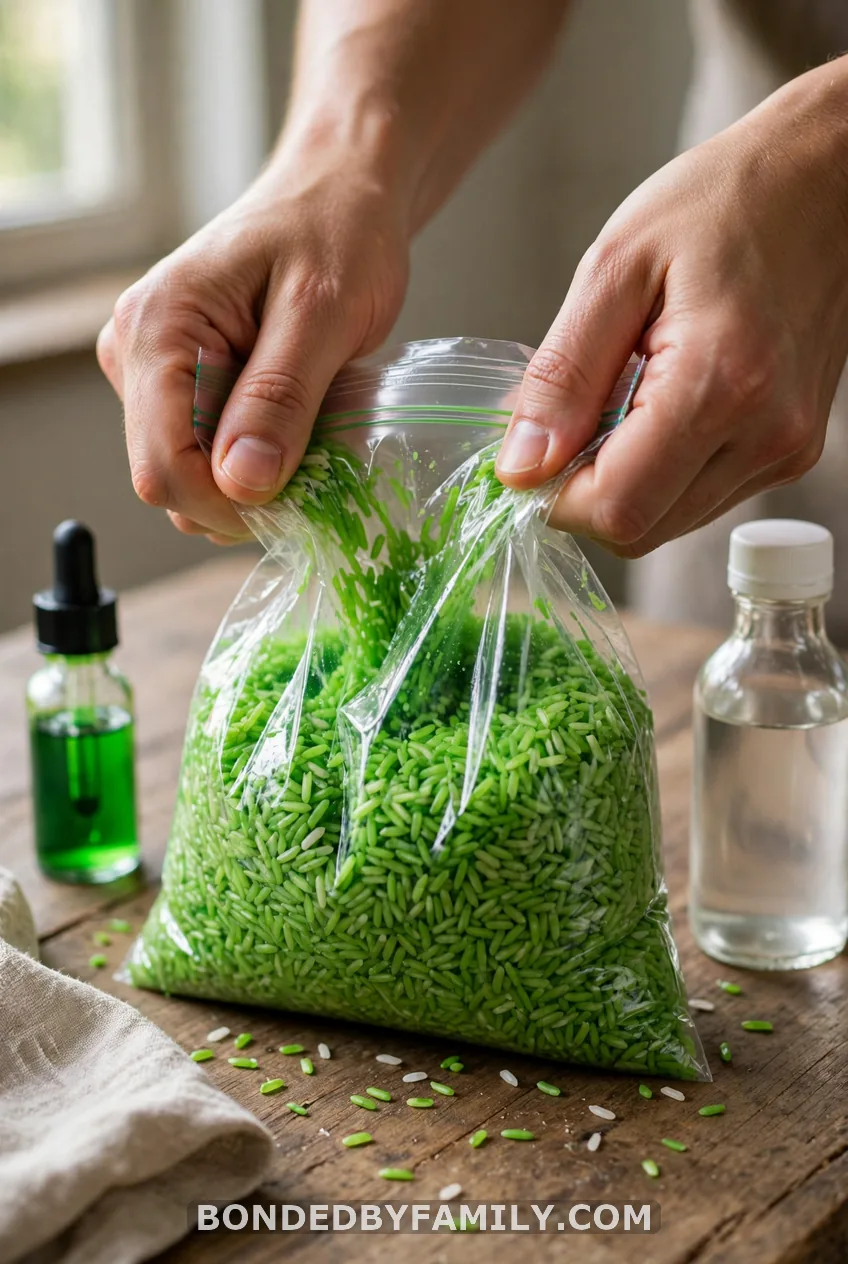
This takes about five minutes. Pour 4 cups of white rice into the zip-top bag. Add 1 teaspoon of white vinegar and several drops of neon green food coloring.
Seal the bag, squeeze out the air and shake. Then knead it with your fingers until every grain looks the same. Add a few more drops if it looks minty. Grinch fur is a deep, slightly acid green, so go darker than you think.
Why the vinegar? It helps the color grab the rice and it cuts the dye smell.
Pro tip: For a dye-free family, use a spoonful of matcha, spirulina or spinach powder in a dry bag of rice. The color will be softer and earthier, but it works.
Step 2: Dry the Rice Without Clumps
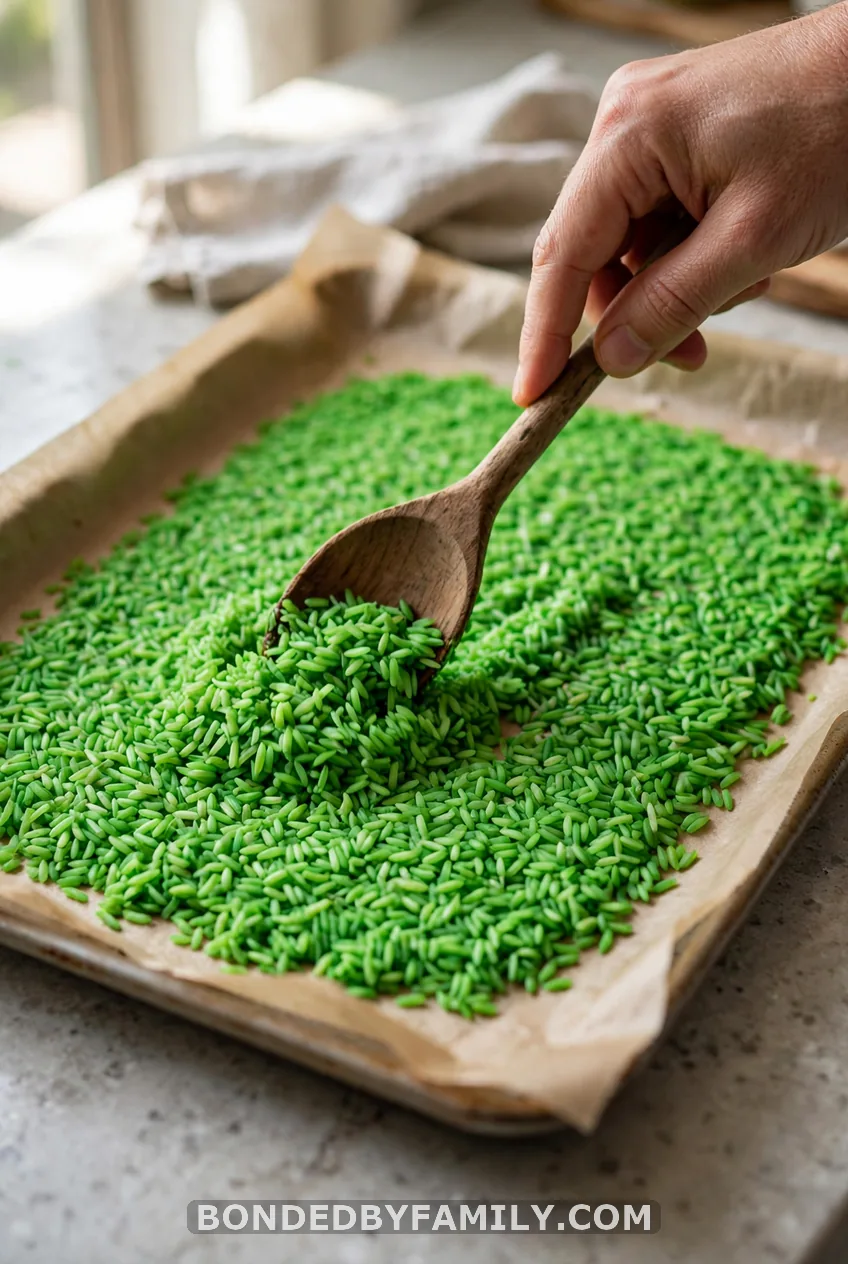
Line a baking sheet with parchment. Spread the rice in a thin layer, one grain deep where you can. Then let it air-dry for 1 to 2 hours.
In a hurry? Slide the tray into a 200°F oven for about 10 minutes and stir it once halfway through. Let it cool before little hands touch it.
Test it by running a handful through your fingers. It should pour loose, like dry sand. If it sticks together in clumps, you used too much liquid, so spread it thinner and give it more time. If it feels damp or looks shiny, it needs longer.
The catch: Rice that goes into the bin damp will smell sour in a day or two and can grow mold. When in doubt, wait another 30 minutes.
Make a double batch. Store the extra in a jar and you have green rice for the whole season.
Step 3: Build the Bin Layer by Layer
Pour 3 to 4 cups of green rice into your bin. Spread it flat. Leave one shallow corner for scooping.
Now add the Whoville layer. Stand the bottle-brush trees up in the rice. Tuck the gift boxes in, scatter the jingle bells, and set the Grinch figurine off to one side.
Here comes the best part. Bury one red heart gem near the bottom. When your child finds it, they get to “grow the Grinch’s heart three sizes.
Hold up a bigger heart, then a bigger one, and let them cheer. It ties the bin right back to the Dr. Seuss book, How the Grinch Stole Christmas.
Stop at 8 to 10 loose items. An overstuffed bin gets dumped, not played with.
Step 4: Add Tools for Little Hands
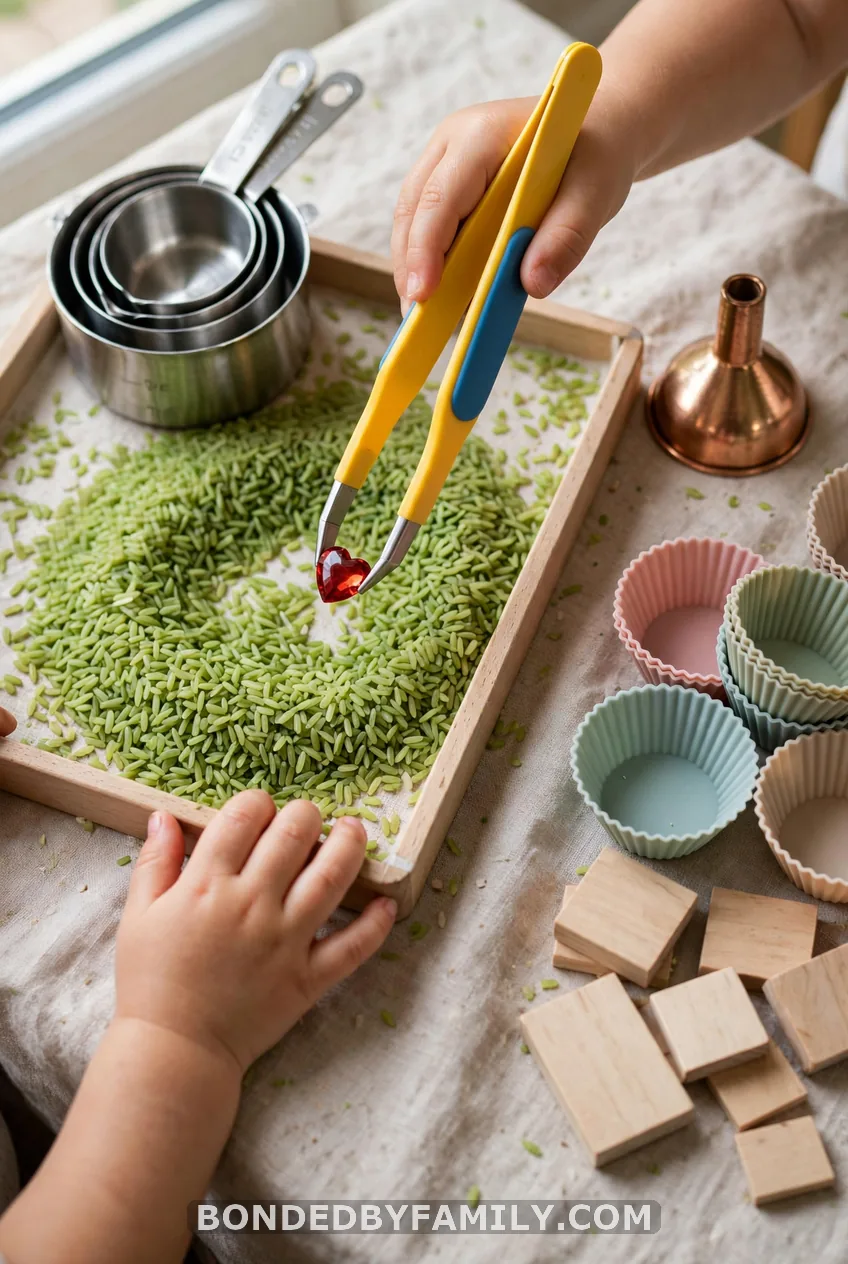
Tools turn dumping into real fine-motor work. Scooping, pouring and sorting are the whole point.
Match the tool to the age:
- Ages 2 to 3: big spoons, scoops and measuring cups
- Ages 3 to 4: funnels and cupcake liners for sorting
- Ages 4 to 6: jumbo tweezers and tongs for picking up hearts
Add wooden alphabet tiles and ask your child to find the letters for GRINCH, WHO and HEART. A small wooden bowl makes a good “Whoville feast” station for sorting.
Count the trees, sort the hearts by size and have your child describe what they feel: rough, smooth, cold, sparkly. That is early math and language hiding inside play.
Step 5: Set Up the Play Zone
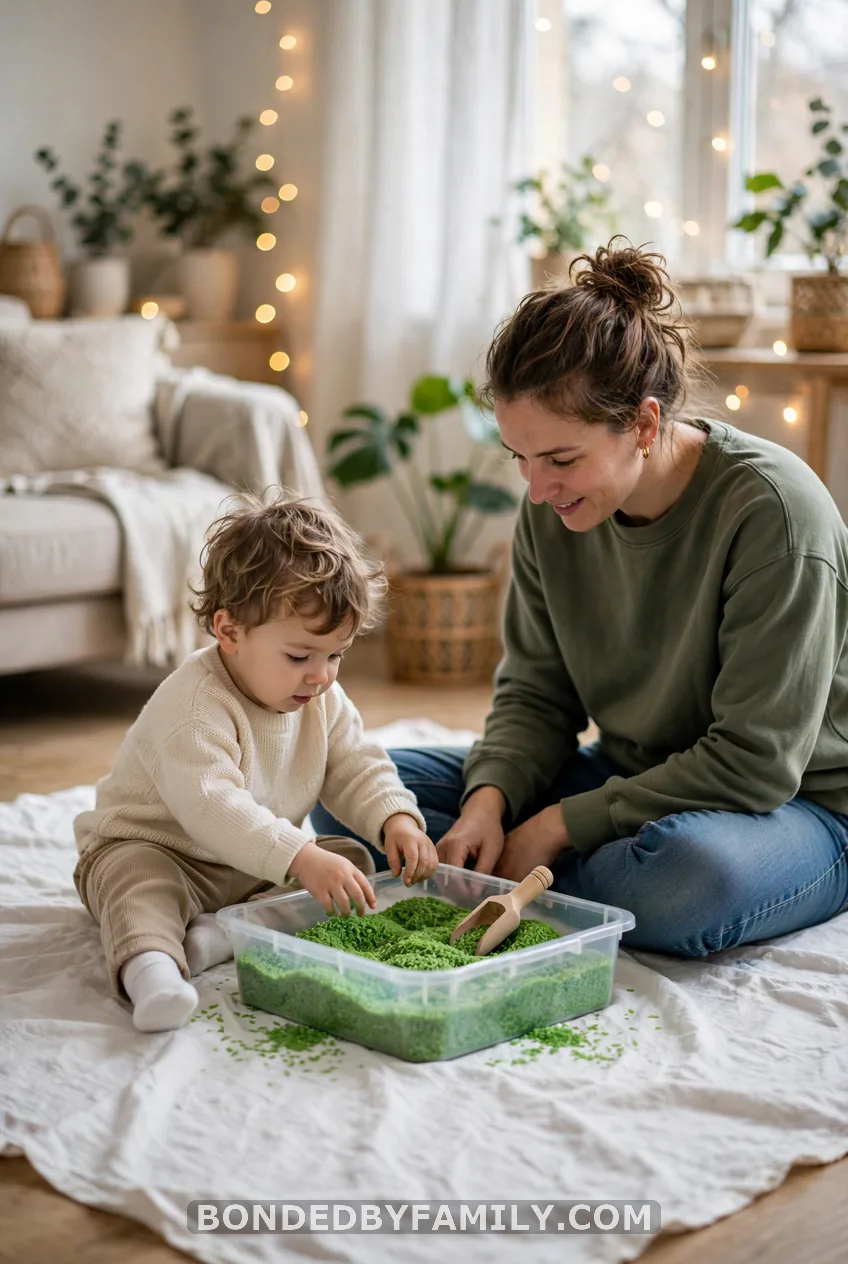
Lay an old sheet or a plastic tablecloth under the bin. Cleanup then takes about 10 seconds.
Say the two rules out loud before play starts. Rice stays in the bin. Small parts stay out of mouths.
Plan on 20 to 30 minutes of focused play. Then put the bin away and bring it back in a few days. A bin left out all day becomes furniture.
One caveat: some kids are dumpers. If yours tips the whole bin by minute two, make the sensory bottle in the next section instead. It holds the same Grinch fun with no spills.
Repetitive scooping and pouring is calming, which helps when December has a toddler running on too much sugar and too little sleep.
Five Grinch Sensory Bin Variations
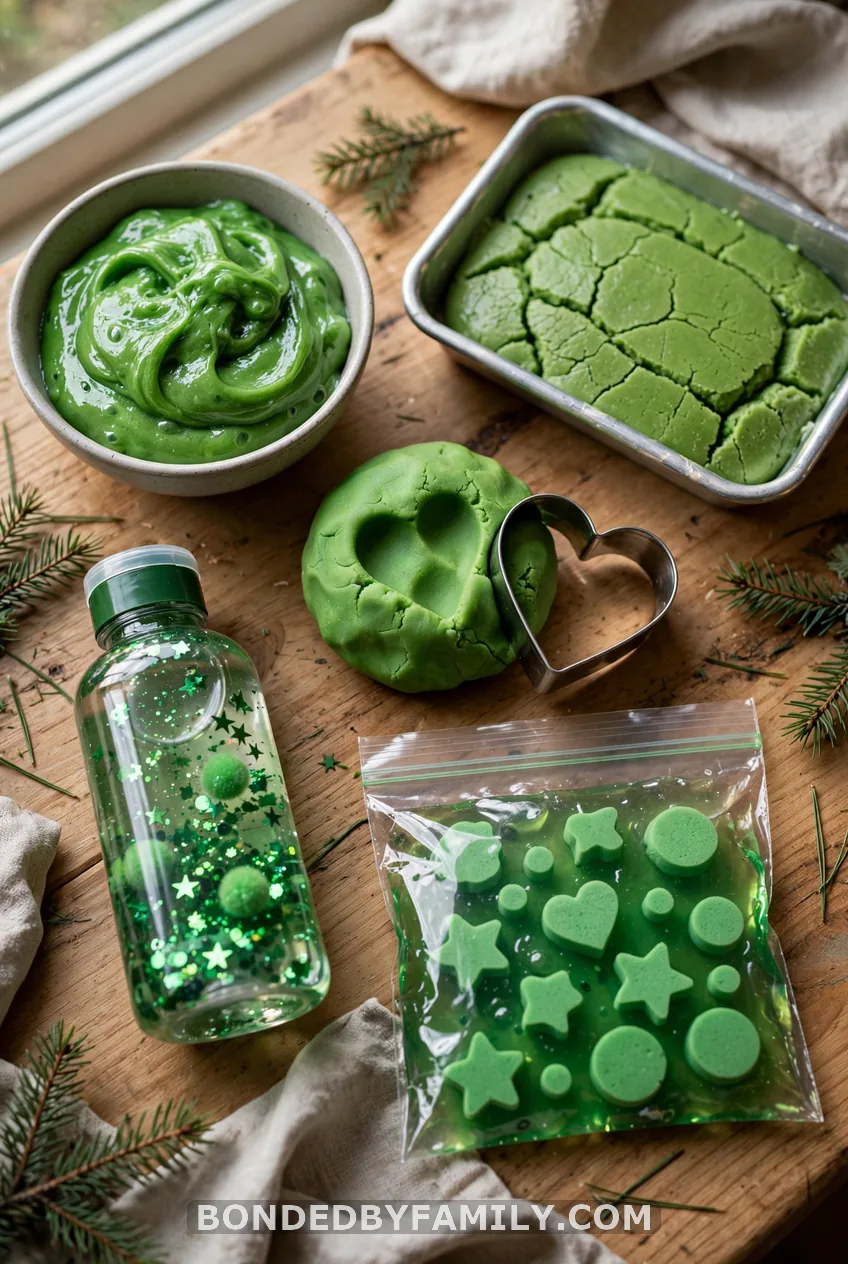
Keep the same props and swap the base. Slime, oobleck and playdough are for ages 3 and up, with an adult nearby.
- Grinch slime: Mix 1 cup white school glue, 1/2 cup water, 1/2 teaspoon baking soda and green food coloring. Stir in 1 tablespoon contact lens solution (one that lists boric acid) until it pulls from the bowl. Add more drops, a little at a time, if it stays sticky. Do not let anyone eat the slime or put it in their mouth. Keep it away from children who still mouth objects, and wash hands after play.
- Grinch oobleck: Mix 2 cups cornstarch with 1 cup water and green coloring. It acts like a liquid when you pour it and a solid when you squeeze it. Use a tray with a lip.
- Grinch playdough: Mix 2 cups flour, 1/2 cup salt, 2 tablespoons vegetable oil, 3/4 cup warm water and green coloring. Knead until smooth. Use a heart cookie cutter to “grow the Grinch’s heart.”
- Grinch sensory bottle: Fill a plastic bottle with green rice, glitter and a few mini ornaments, then glue the cap shut. Keep this one for ages 3 and up, because mini ornaments are a choking hazard for under-3s. Check the bottle for cracks before each use and stay nearby.
- Grinch sensory bag: Put hair gel or green gel in a zip-top bag with foam letters and tape the seal shut. Kids press the letters around to spell GRINCH. No mess at all.
The No-Dye, 15-Minute Shortcut Version
No time to dye and dry? Skip it. Use a base that already comes green.
Good picks:
- Green split peas
- Green lentils
- Dollar-store green pasta
- Green kinetic sand
- Pre-colored craft sand
- Green shredded paper
Pour 3 to 4 cups into the bin, add your props, set out the scoops and you are done. Build it while the kids finish their snack.
Pick this version for weeknights, classroom prep, or a child who eats everything.
Taste-Safe Version for Toddlers Who Still Mouth Everything
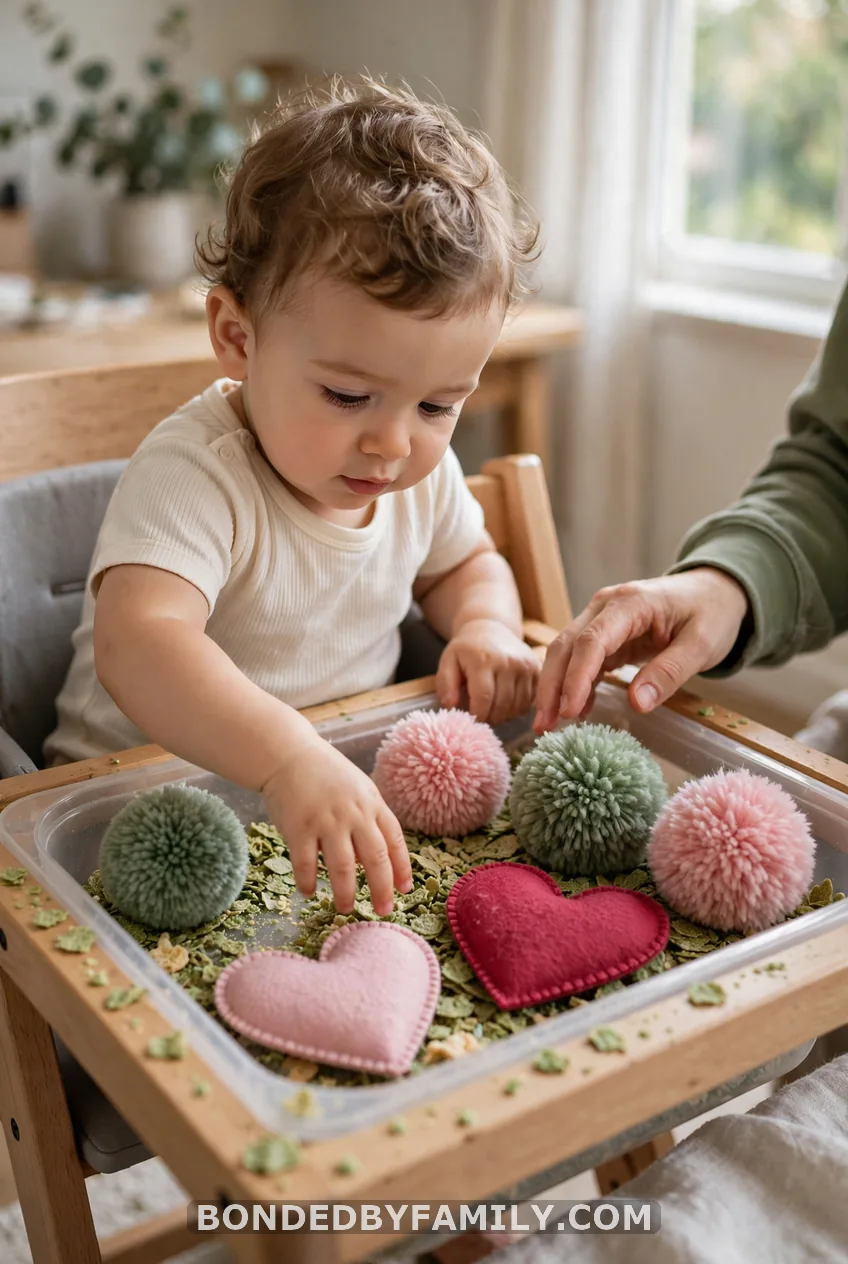
For 1 and 2 year olds, swap the rice for crushed Cheerios, cooked-and-cooled green peas or dyed spiral pasta. Frozen peas thawed and cooled work well.
A few drops of food coloring are fine. For no dye at all, use spinach or matcha powder.
Use oversized props only: large pom poms, big felt hearts and chunky wooden trees. If a prop fits through a toilet-paper tube, it stays out.
An adult must sit right there the whole time. Save small parts for age 3 and up.
The catch: Even taste-safe food can be a choking risk for a toddler who stuffs handfuls in. Stay within arm’s reach.
Cleanup, Storage and Safety Notes
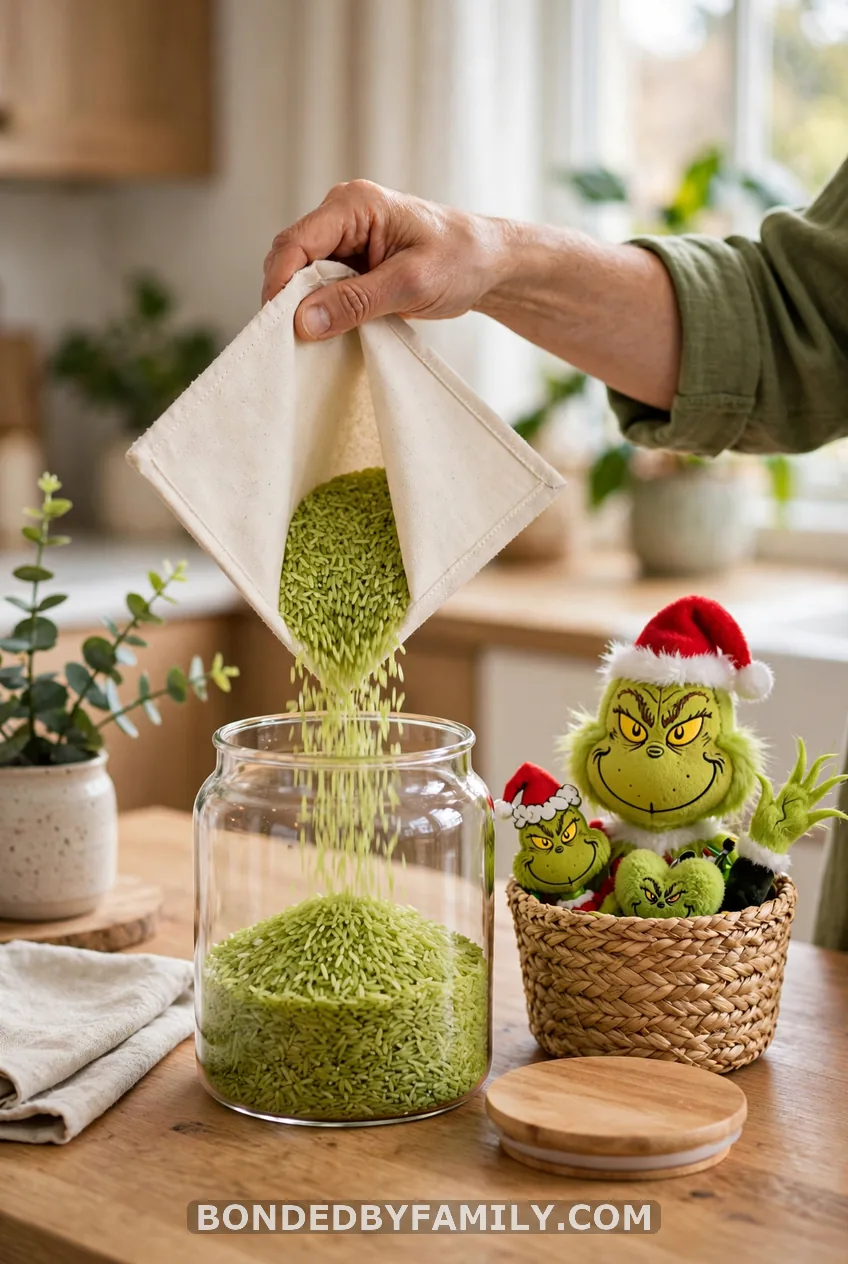
Shake the sheet out over the trash or outside. Vacuum the stragglers.
Store the rice and props apart in a lidded bin or zip-top bag so the color stays off the toys. Keep it dry. Wet rice grows mold, so toss it. Dry rice lasts the whole holiday season, and in spring the same green rice becomes grass for an Easter bin.
Safety comes first:
- Anything smaller than a ping-pong ball is out for under-3s.
- Skip real candy canes, glass ornaments and anything sharp or battery-powered.
- Check props for cracks before every play.
- Scent the rice with peppermint extract or spearmint oil only for kids who won’t taste it.
- Stay close the whole time.
FAQ
Can I make a Grinch sensory bin without food coloring?
Yes. Use green split peas, green lentils, dollar-store green pasta or green kinetic sand. There is no dyeing or drying, and the bin is ready in about five minutes.
How long does the dyed green rice take to dry?
It takes 1 to 2 hours spread thin on a parchment-lined baking sheet. In a 200°F oven it takes about 10 minutes, stirred once. It should run loose through your fingers before it goes in the bin.
Is a Grinch sensory bin safe for a 1-year-old?
Only the taste-safe version, with crushed cereal or cooled peas and oversized props. Rice and small trinkets are choking hazards under 3, so supervise constantly.
What can I use instead of a sensory bin?
A shallow plastic storage tub, a roasting pan or an IKEA FLISAT table all work. Pick something at least 3 inches deep so the base stays put.