Last December, I poured red food coloring straight into a bowl of glue and walked away to answer the door. When I came back, my daughter had added half a bottle of contact lens solution “to help. The Christmas slime we ended up with was a rubber brick the color of a cough drop.
It bounced. It did not stretch.
We started over, and I learned the order matters more than the theme. Get the base right once, and every holiday version after it works. Below you’ll find one reliable base recipe, seven festive slimes built on it, and the fixes for when things go sticky.
Start Here: The Base Slime
Every idea in this list uses the same foundation. Make it once and you can change the color, scent, and add-ins all season.
What You Need
- 6 oz Elmer’s white or clear school glue (store-brand glue often fails)
- 1/2 teaspoon baking soda
- 1/4 cup water
- 1 1/2 tablespoons contact lens solution that lists boric acid and sodium borate
- Food coloring or glitter
- A bowl, a spatula, and a table cover
One batch costs about $3 to $5 and takes 10 minutes. It makes a handful of slime, roughly the size of a tennis ball.
The Steps
- Pour the glue into the bowl. Stir in the water until smooth.
- Add the baking soda and stir.
- Add color, glitter, and any scent now. Slime fights you if you add them later.
- Add the contact lens solution. Stir hard for a full minute as it pulls away from the bowl.
- Knead with your hands for 3 to 5 minutes. It will be sticky at first. Keep going.
An adult should measure and pour the contact lens solution. It is not a food, and kids should wash their hands before and after play.
Make a Batch Plan
If you want several colors for jars, make each color as its own batch. Do not double a batch in one bowl, because the activator spreads unevenly. Three batches, red, green, and white, cover most of the ideas below.
1 Christmas Slime Ideas
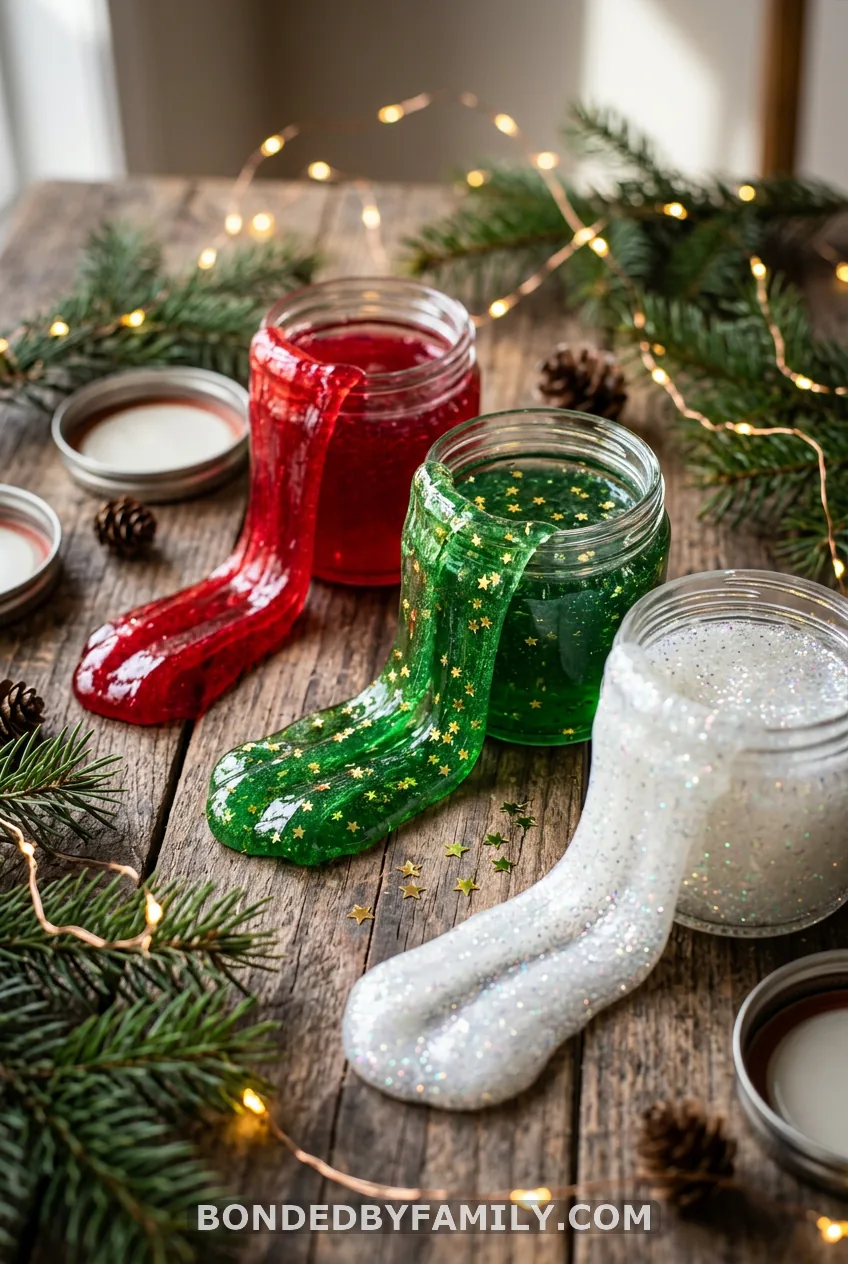
2. Twisted Candy Cane Fluffy Slime
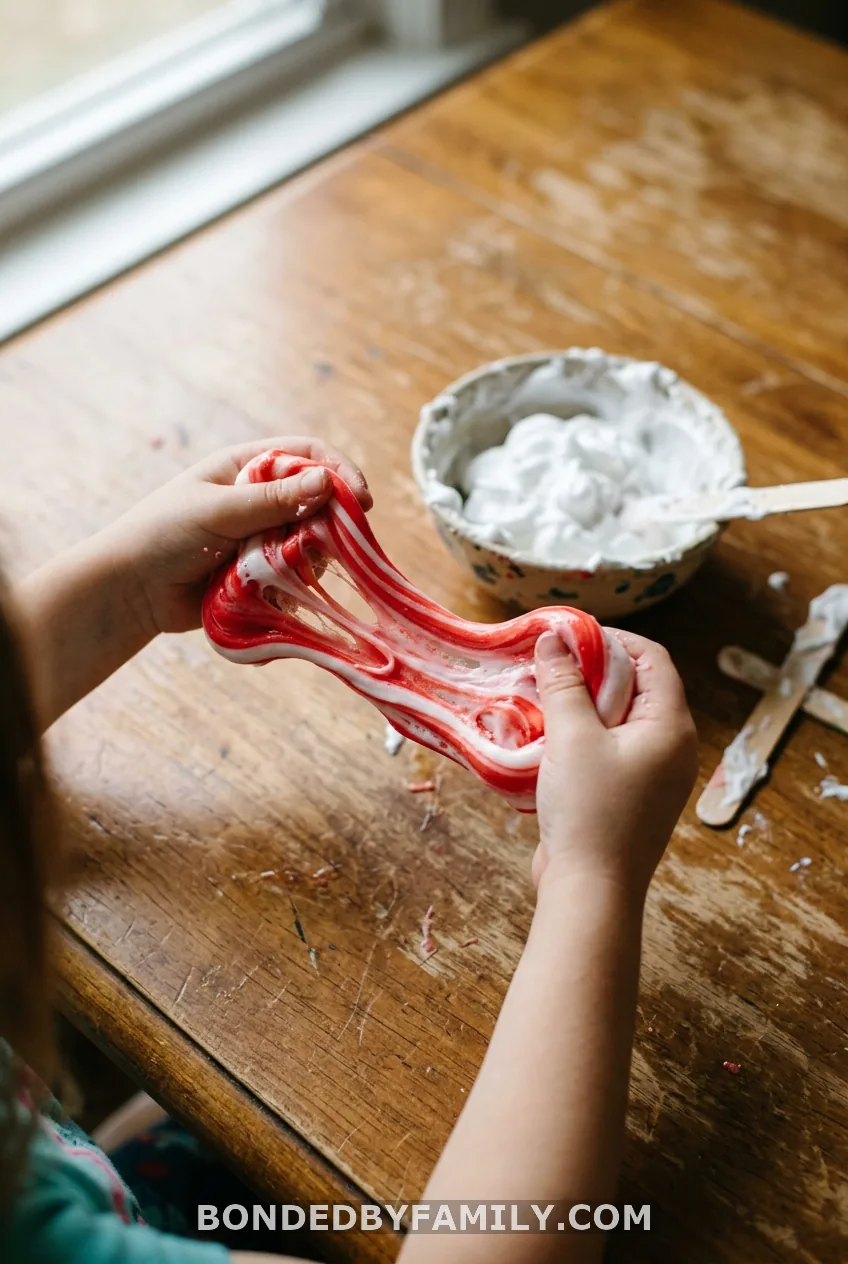
This one looks like a candy cane and feels like a cloud. It is the best first project because the two-color twist makes it look impressive with almost no extra skill.
What You Need
- Two batches of base slime, one with red coloring and one left white
- 2 cups of foam shaving cream (not gel), split between the two batches
- 3 to 4 drops of peppermint extract or one drop of peppermint essential oil, optional
- Baby oil or lotion for your hands
How to Make It
- Make the white batch through step 3 of the base recipe. Stir in 1 cup of shaving cream until the mix looks like whipped frosting.
- Activate it with the contact lens solution and knead.
- Repeat with the red batch and the second cup of shaving cream.
- Roll each color into a long rope, about 10 inches. Twist the two ropes together.
- Press the ends together and bend one end into a hook.
The shaving cream makes the slime softer and a bit stickier. Add extra activator a quarter teaspoon at a time if it clings to your hands.
The Mistake to Avoid
Do not knead the two colors together. You’ll get pink slime in about 30 seconds. Twist, then stop.
For sensitive kids or classrooms, leave the peppermint out. It still looks like candy cane.
3. Grinch Slime
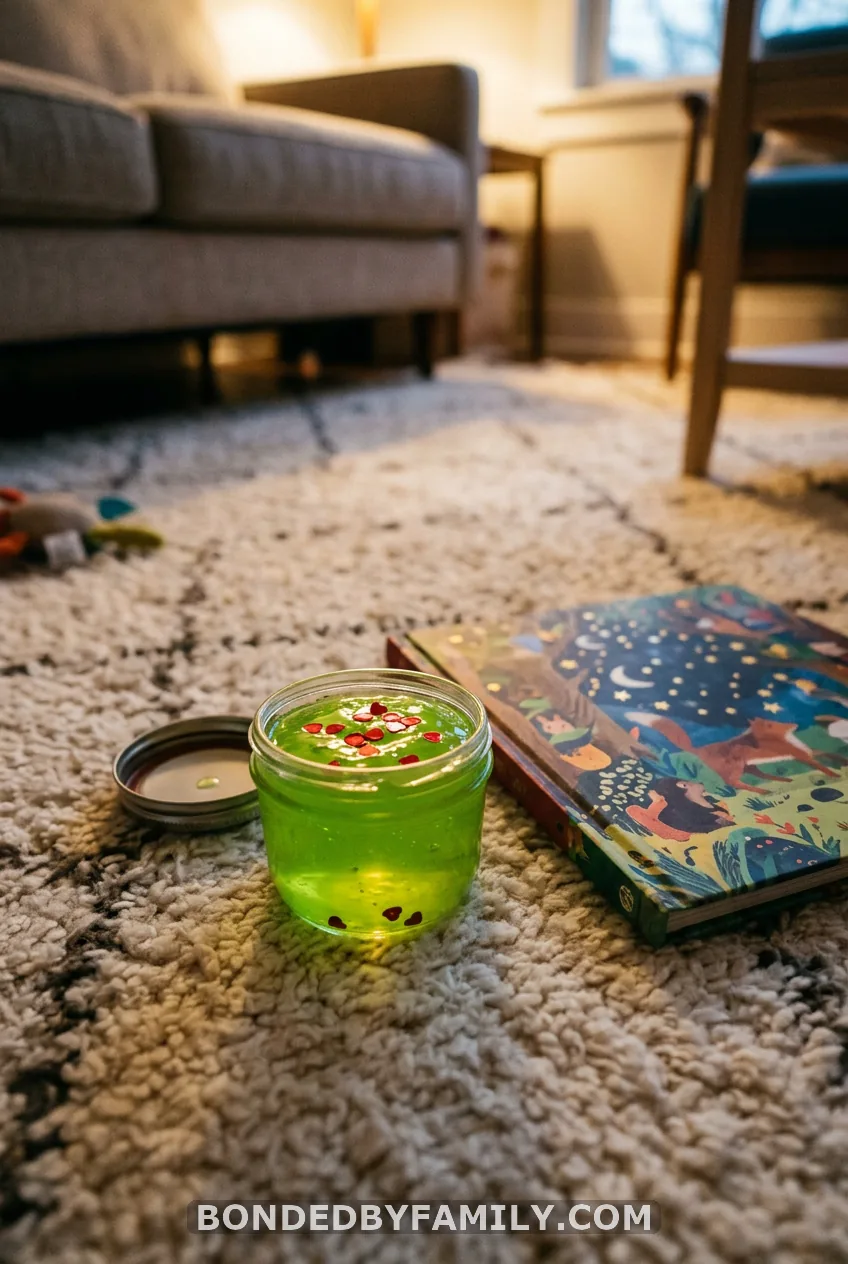
Tint one base batch lime green with yellow and green food coloring. Fold in a pinch of fine red glitter. Scatter a few red heart sequins on top, but only for kids five and up. Pair it with the book and a movie night.
4. Gingerbread Slime: What You Think vs. What Works
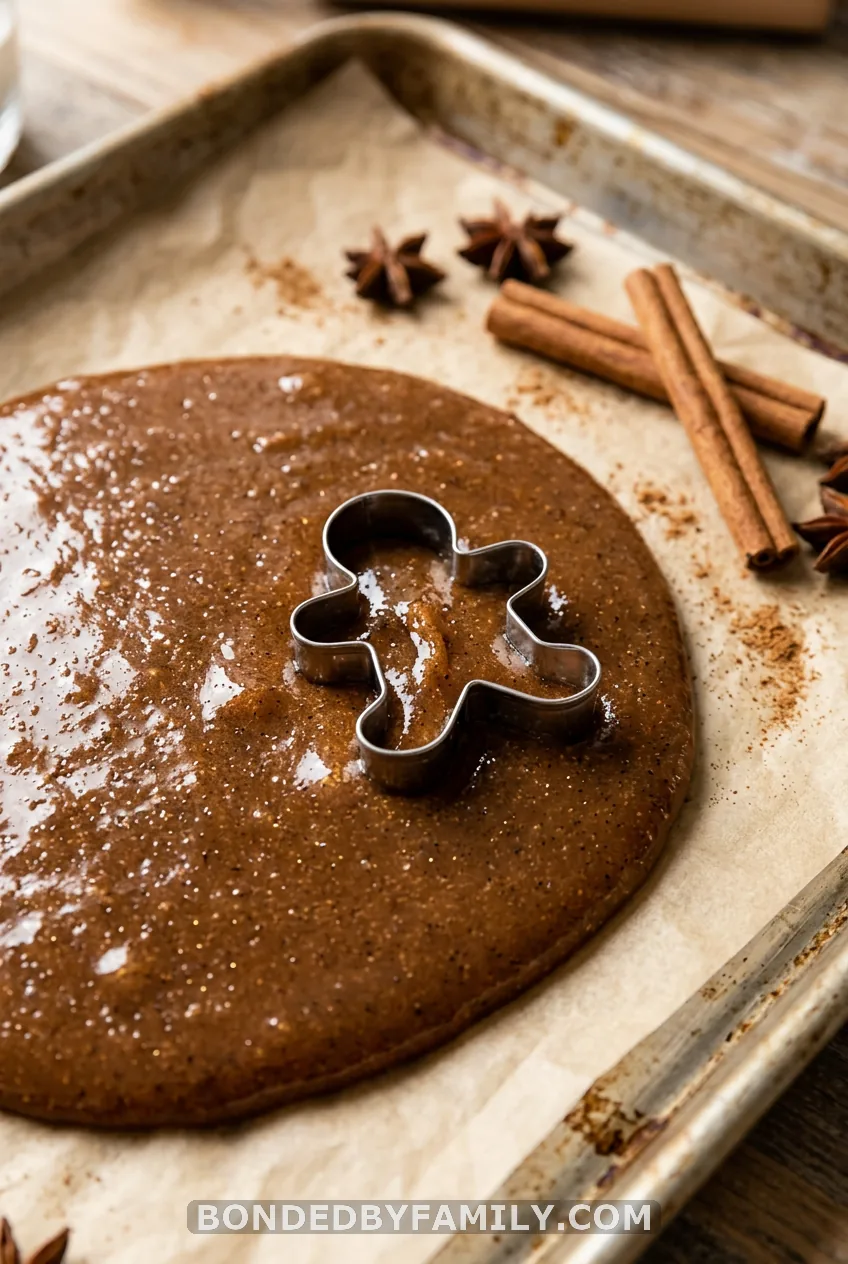
What most people think: Brown food coloring and cinnamon make good gingerbread slime. Reality: Cinnamon powder clumps and stains your table, and brown coloring turns muddy.
Mix red, green, and a little yellow food coloring for a warm brown instead. Stir in a half teaspoon of gingerbread-scented oil or a dash of vanilla extract. Then press the slime flat and cut shapes with a metal cookie cutter you only use for crafts.
Skip real spices if anyone in your house has allergies. For toddlers, skip slime altogether and make a taste-safe cloud dough with flour and baby oil. Keep it away from anything small enough to swallow.
5. Snowman Slime Jar
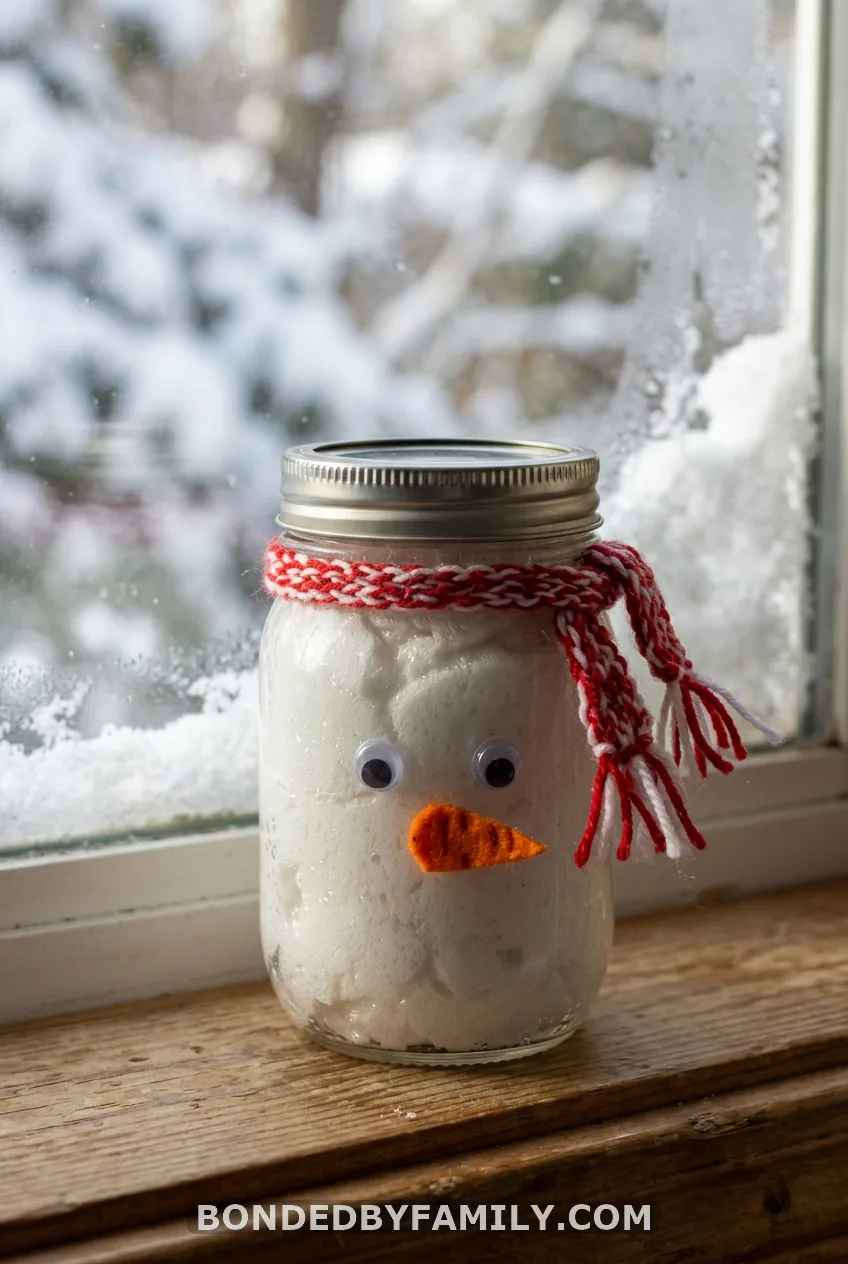
Make white fluffy slime with shaving cream. Pack it into a half-pint mason jar. Glue on two googly eyes, a felt carrot nose, and a small strip of fabric as a scarf, then let the glue dry for an hour before gifting.
This works well as a classroom gift. Just skip the eyes and buttons for children under five, since they are choking hazards.
6. Rudolph Slime Jar

Tint one base batch brown, using the same red, green, and yellow mix. Add a pinch of brown glitter if you like some sparkle.
Twist two brown pipe cleaners into antlers and loop them around the lid. Hot-glue a red pom-pom to the front of the jar. An adult should handle the glue gun. The pom-pom and pipe cleaners are choking hazards, so keep them away from children under four.
7. Slime Ornaments

Buy clear plastic fillable ornaments, about $8 to $12 for a pack of ten. Skip glass ones. A cracked glass ornament full of slime is a bad afternoon.
Fill each ornament almost to the top with firm, well-kneaded slime. Snap the cap on and add a drop of craft glue to the seam. Tie on a gift tag with the date.
These are decorations, not toys. Keep them on the tree, away from under-fives and pets, and out of hot rooms or sunny windows.
Fixing, Storing and Sharing Your Slime
If It Is Too Sticky
Knead for five minutes first. Slime often firms up on its own. If it still sticks, add 1/4 teaspoon of contact lens solution and knead again. Rub a little lotion or baby oil on your hands to help.
If It Is Stiff or Crumbly
You added too much activator. Knead in a spoonful of warm water, or a small squeeze of glue. Stop when it stretches without snapping.
Storage
Press slime into an airtight jar or a zip-top bag with the air squeezed out. Keep it in a cool, dry spot. Most homemade slime lasts one to two weeks.
Throw it out if you see mold, or if it smells sour or changes color. Keep slime away from hair, carpet, and pets. For stuck-on bits, soak the spot in white vinegar and blot.
Classroom and Party Notes
Pre-measure the glue, water, and baking soda into zip bags. Keep the activator at an adult station and add it yourself. Cover tables, check the allergy list, and label every jar.
Slime is best for ages five and up with supervision. Small charms, beads, and glitter are choking hazards for younger children.
What I Am Doing Differently Next Time
Next December I’m making all three base batches on a Saturday morning, red, green, and white, and letting the kids pick their themes at the table. I’ll color and scent each bowl before any activator goes in, so there are no more rubber bricks.
I’ll also keep a jar of baby oil within reach and set a timer for five minutes of kneading before anyone asks for more activator. Then we’ll fill two ornaments for the grandparents and tuck the rest into jars with date labels.
FAQ
What is the easiest Christmas slime recipe for kids?
Use 6 oz of Elmer’s glue, 1/2 teaspoon baking soda, 1/4 cup water, and 1 1/2 tablespoons contact lens solution with boric acid and sodium borate. Add color and scent before the activator, then knead for several minutes. An adult should handle the solution.
How long does Christmas slime last?
Stored in an airtight jar in a cool, dry place, most homemade slime lasts about one to two weeks. Toss it if it smells sour, changes color, or grows mold.
Is Christmas slime safe for toddlers?
Slime is best for ages five and up with an adult nearby. Charms, beads, and glitter can be choking hazards, and slime should never go in the mouth. For younger kids, pick a taste-safe sensory dough and watch closely.
Can I make Christmas slime without glue or borax?
Yes. Glue-free slime can be made with conditioner and cornstarch, and it works as a soft dough. Contact lens solution still contains boric acid, so choose another approach if you need to avoid it entirely. Test a small batch first.