“Wait, why does my Pooh look so loud?”
My sister held up a bright red-shirted plush next to a faded 1970s storybook. She was right. The plush looked like a cartoon next to a watercolor. That was the day I learned the difference between modern Pooh and the soft, classic kind, and it changed how I plan every vintage Winnie the Pooh centerpiece.
This list gives you 12 ideas for a classic Pooh baby shower. Each one has exact materials, rough costs, and a note on whether kids can help.
What Counts as Vintage Pooh
Vintage Pooh means the softer, storybook style drawn in the E.H. Shepard tradition. Think pale yellow, grass green, warm brown, cream, and small pops of red.
Modern Disney items can pass as vintage too. Pair them with kraft paper, gingham ribbon, wood slices, and cream cardstock. The muted materials tone down the bright packaging.
Each idea below carries four quick badges: cost, time, difficulty, and kid help.
Hunny Pot Centerpieces
The hunny pot is the star of any Pooh table. Start here if you only make one thing.
1. The Painted Terra Cotta Hunny Pot
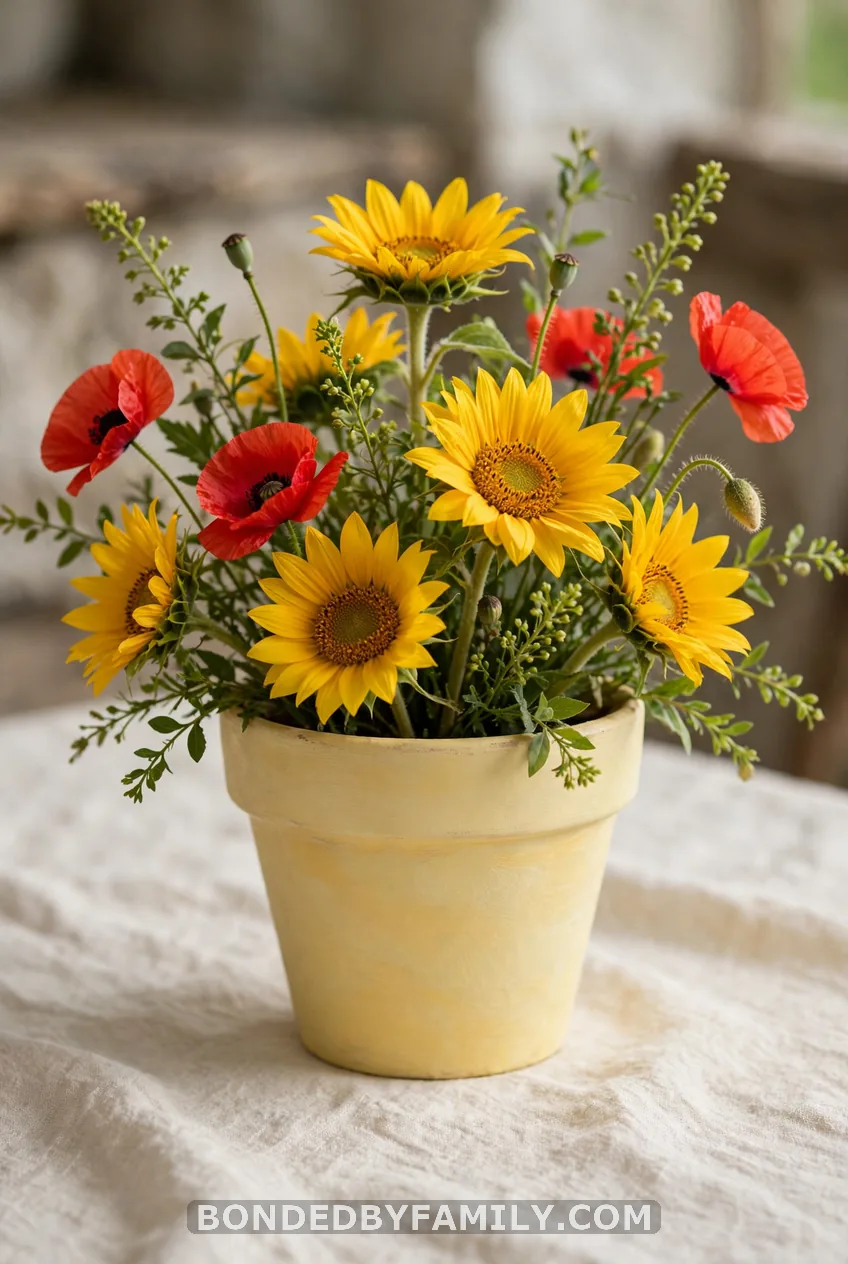
Cost: $8-15 each. Time: 45 minutes plus drying. Difficulty: Beginner. Kids: Yes, painting.
This is the deep dive, so let’s do it right. Here is what you need:
- A 6-inch terra cotta pot (about $3 at Hobby Lobby or Home Depot)
- Yellow acrylic paint in a honey shade, not neon
- A black acrylic paint marker
- A small floral foam block or a jar that fits inside
- Faux or fresh sunflowers, red poppies, and greenery
Here is how it goes together:
- Wipe the pot clean and let it dry.
- Paint two coats of yellow, letting each dry 30 minutes.
- Draw light pencil guidelines, then letter HUNNY in black marker. Wobbly letters look charming.
- Drop a small jar inside, fill it with water, and arrange the flowers.
Common mistake: painting the inside rim. The rim chips when you lift the jar out. Paint only the outside and a half inch down inside.
Kids can paint the base coat. An adult should handle the lettering and any fresh-cut stems.
2. The Hunny Pot Candy Jar
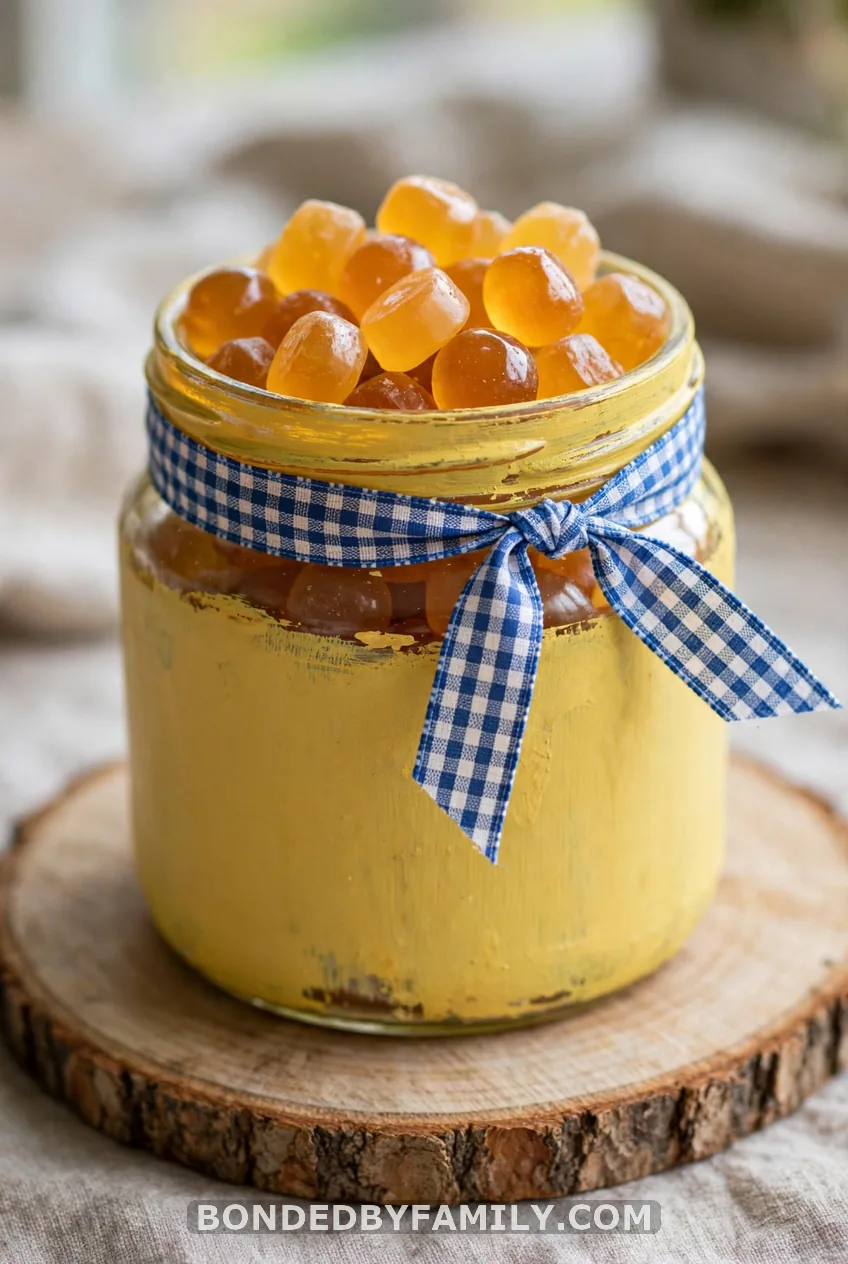
Cost: $6-10. Time: 15 minutes. Difficulty: Beginner. Kids: Yes.
Fill a mason jar with yellow butterscotch candies. Tie gingham ribbon around the neck. Done.
Skip hard candy if toddlers under 4 will be at the table. Fill the jar with yellow tissue paper and a plush instead.
3. Hunny Pot on a Moss and Wood Slice Base
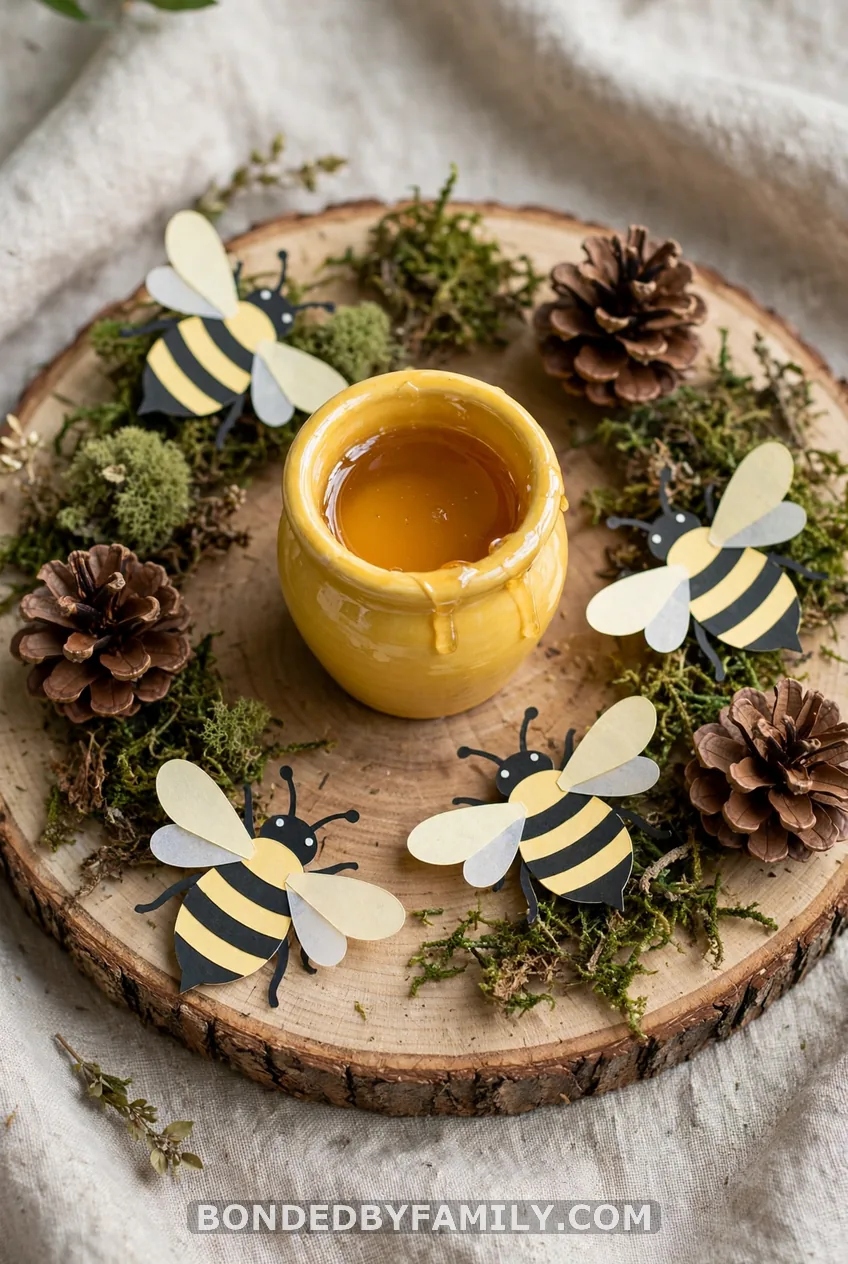
Cost: $10-14. Time: 20 minutes. Difficulty: Beginner. Kids: Yes, placing moss.
Set your painted pot on a 10-inch wood slice. Tuck faux moss around the base and add three pinecones. Glue paper bees on thin wire so they hover.
The base does the vintage work. Wood and moss say forest, not cartoon.
Storybook and Illustration Centerpieces
4. Framed Shepard-Style Illustration
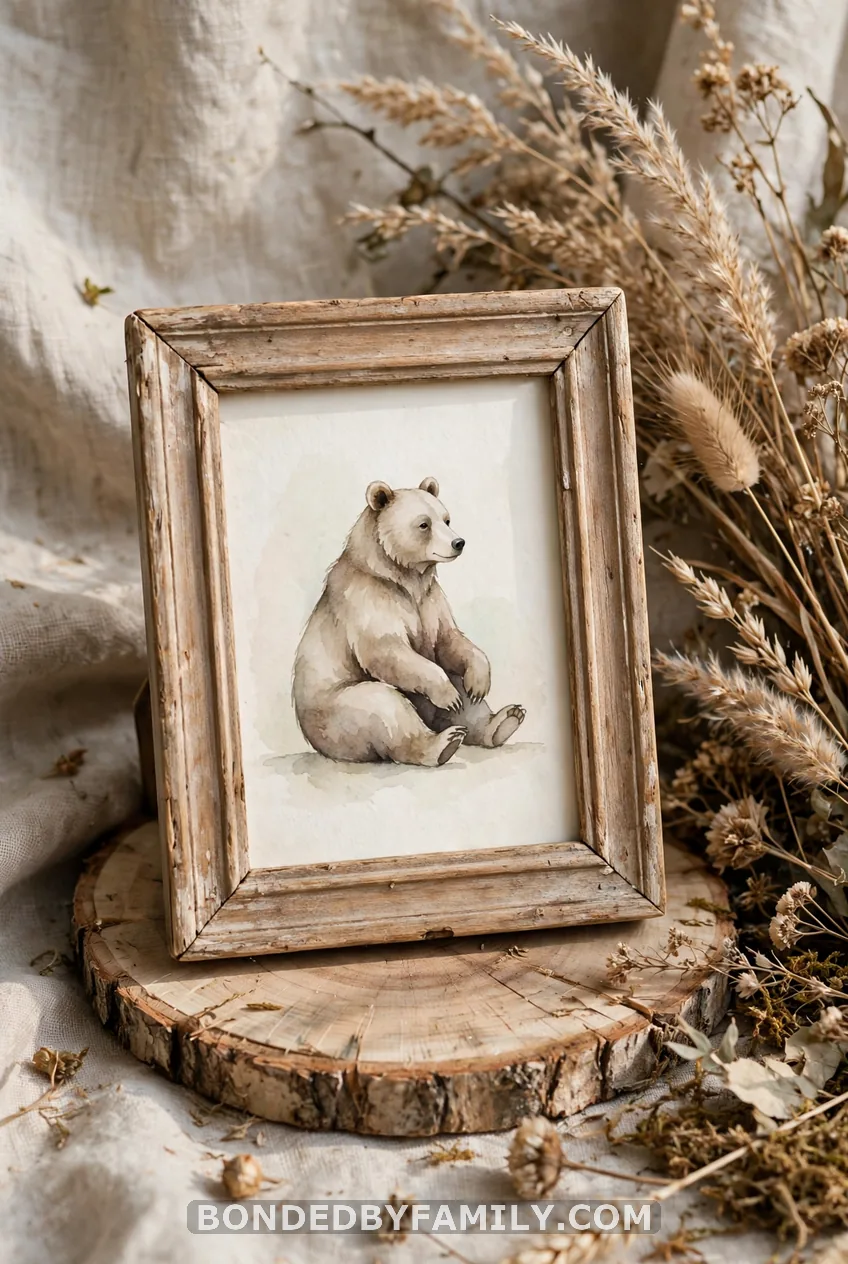
Cost: $5-12. Time: 20 minutes. Difficulty: Beginner. Kids: Some.
Print a free classic-style illustration on cream cardstock. Trim the edges with pinking shears for an aged look. Slide it into a $3 thrift store frame.
Prop the frame on a wood slice. Add a small jar of baby’s breath beside it.
5. The Storybook Stack
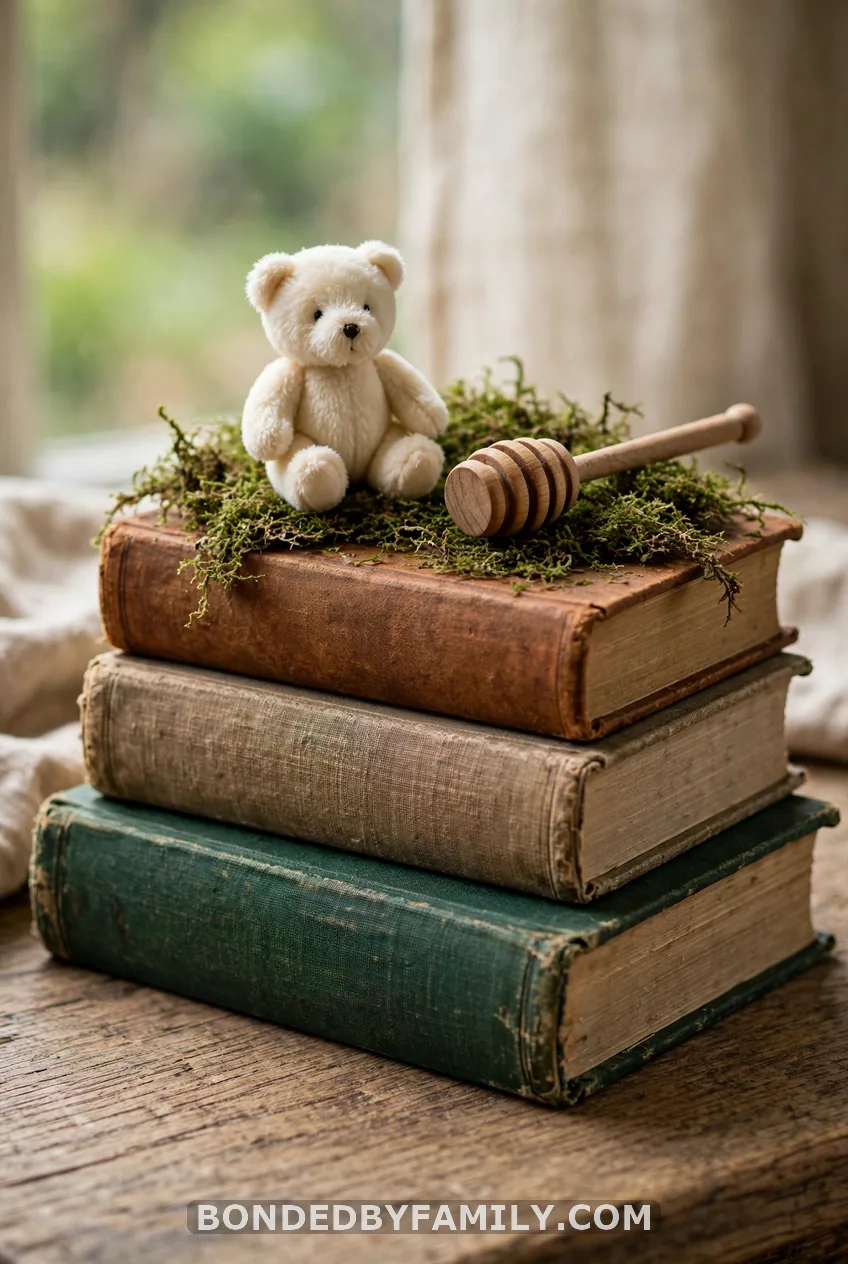
Cost: $8-20. Time: 10 minutes. Difficulty: Beginner. Kids: Yes.
Thrift stores sell old hardcovers for $1-3. Pick three in muted colors. Stack the largest on the bottom.
Top the stack with moss and a honey dipper. Add a small plush on the highest book.
6. Decoupage Book-Page Vase
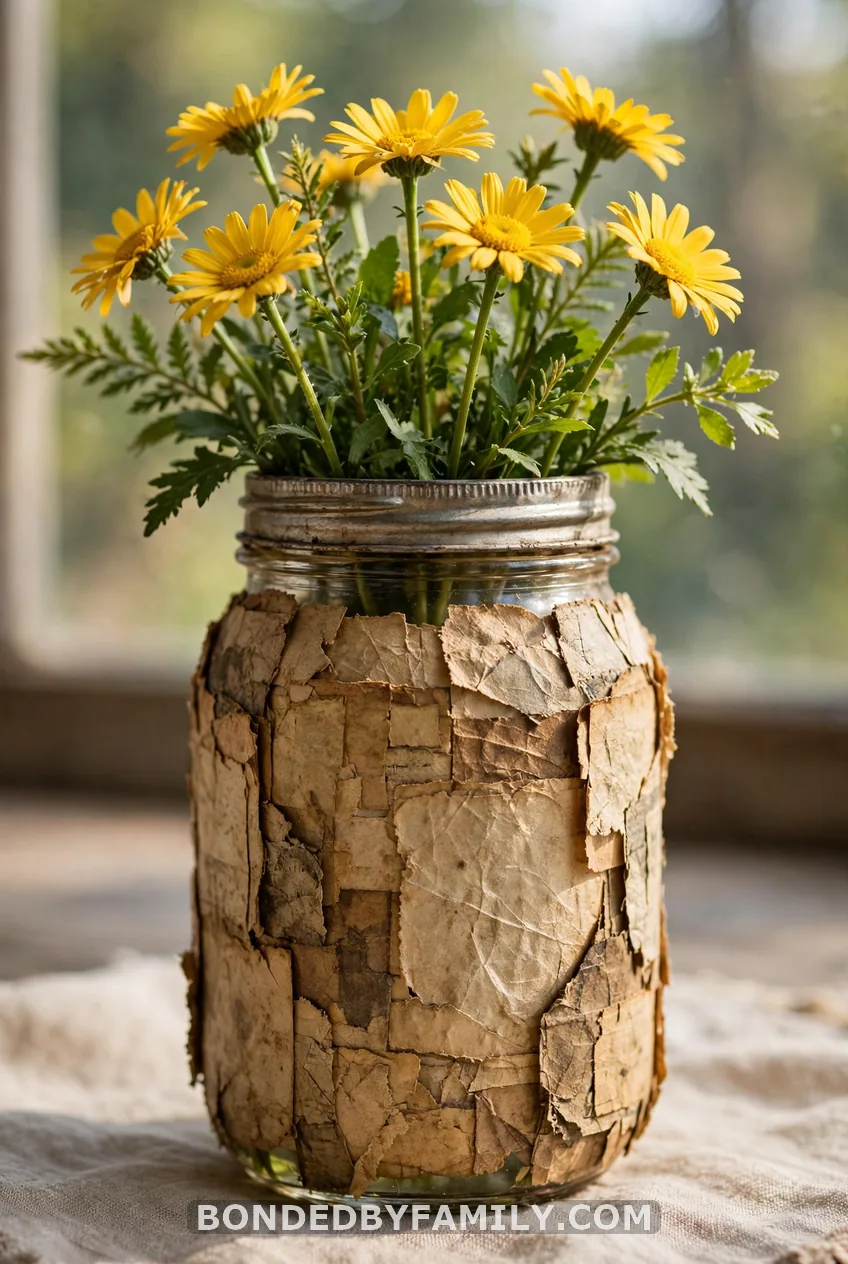
Cost: $6-9. Time: 40 minutes. Difficulty: Medium. Kids: Ages 6 and up.
What most people think: decoupage means smooth, perfect pages. Reality: wrinkles look more vintage. Tear the pages instead of cutting them.
Brush Mod Podge on the jar, press on the torn paper, and seal with a top coat. Let it cure 24 hours before adding water. Use a copy of a book, not a treasured one.
Hundred Acre Wood Nature Centerpieces
7. The Moss Pot Table Marker
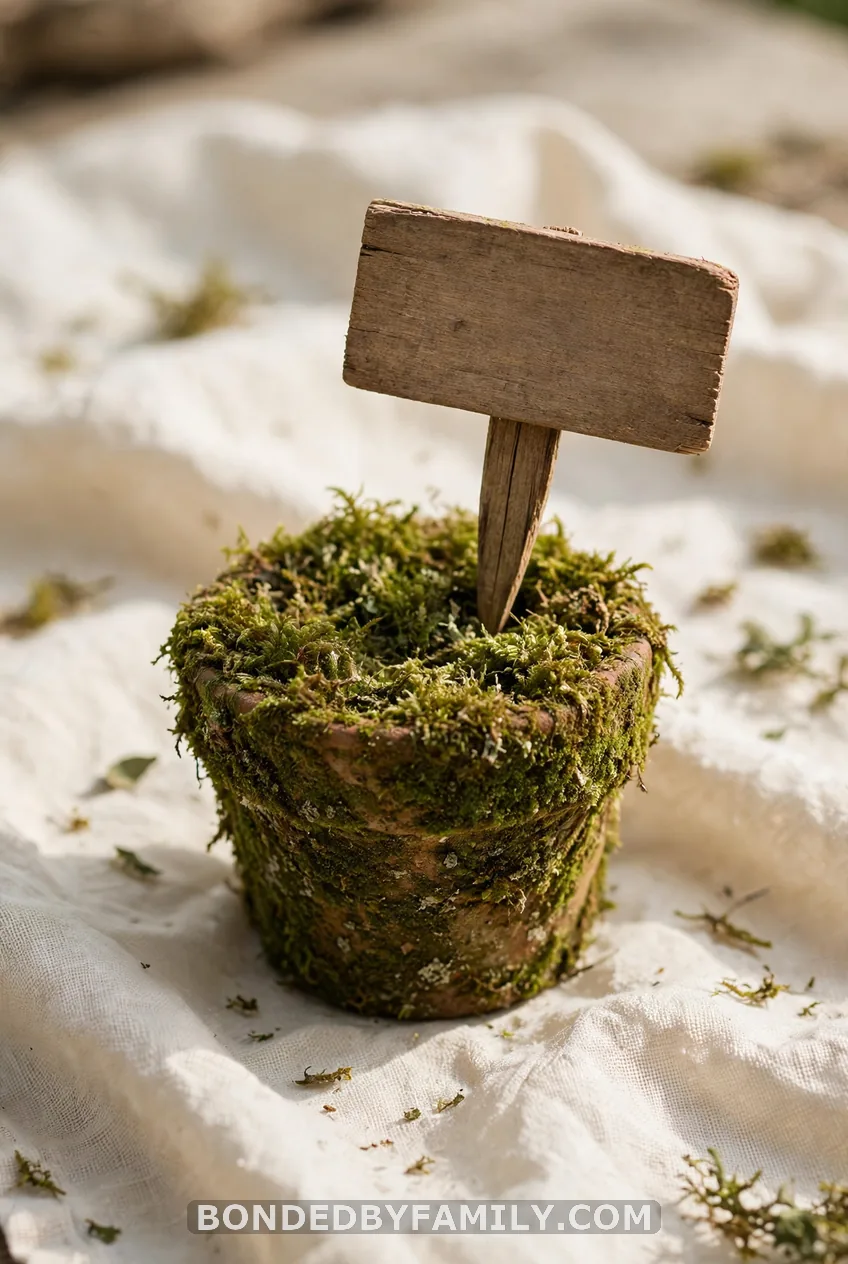
Cost: $5-8. Time: 15 minutes. Difficulty: Beginner. Kids: Yes.
Glue sheet moss onto a small pot. Add a cardstock sign on a craft stick that says “Pooh’s Place” or “Piglet’s Place.” Hot glue is for adults only.
8. Twig Basket of Yellow and Red Florals
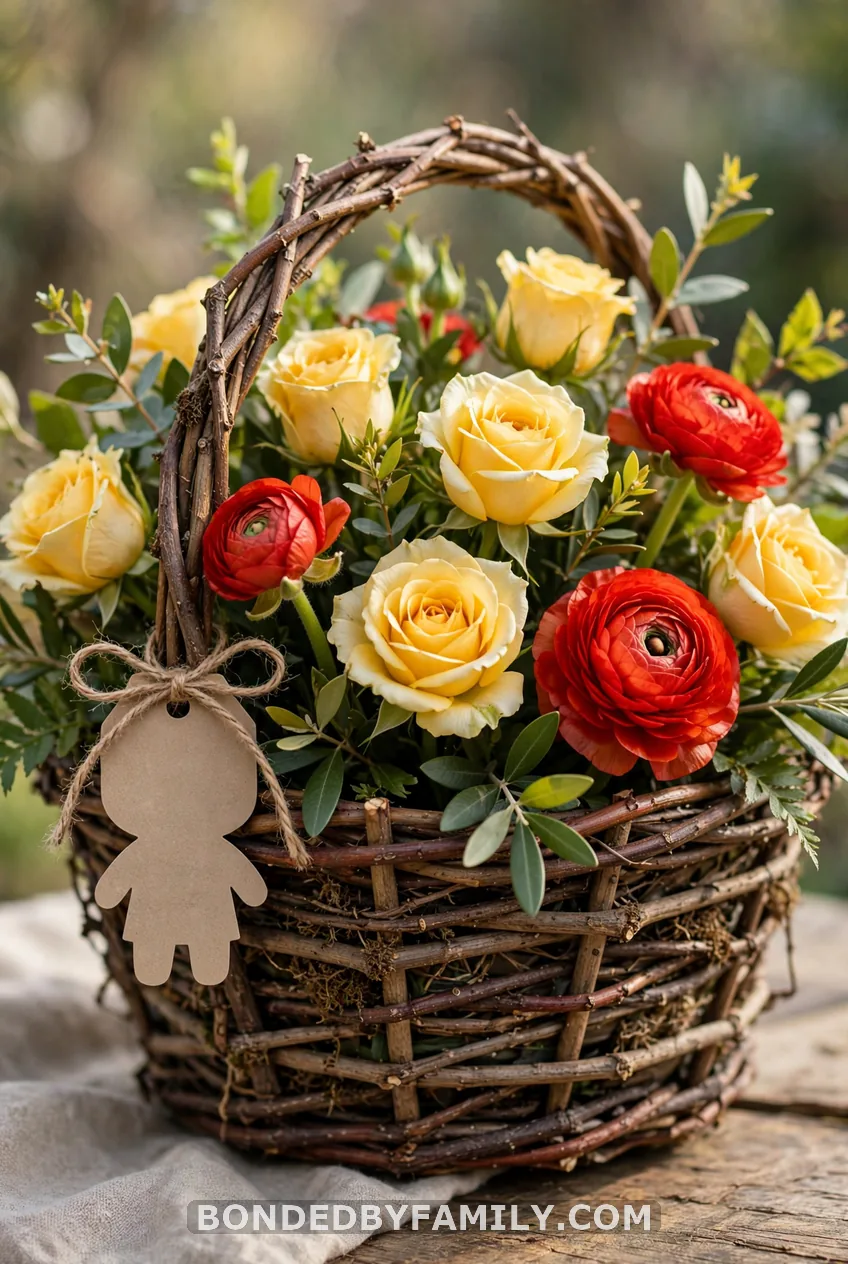
Cost: $15-30. Time: 30 minutes. Difficulty: Medium. Kids: Some.
Line a small basket with plastic, then add wet floral foam. Cut stems short so the arrangement stays low. Aim for pale yellow, a few red blooms, and plenty of green.
Keep it under 8 inches tall for food tables. Guests need to see over it.
Character and Balloon Centerpieces
9. The Floating Pooh Balloon
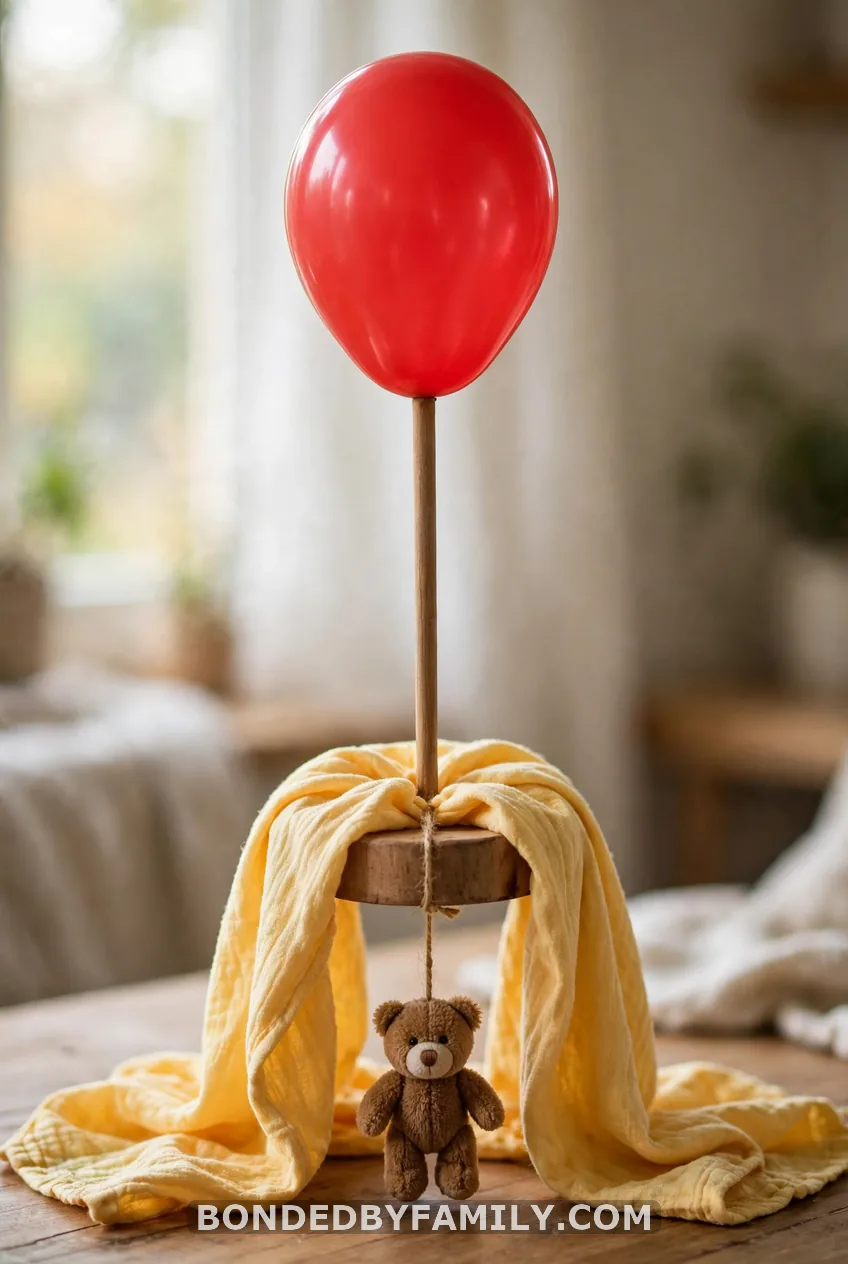
Cost: $15-25. Time: 30 minutes. Difficulty: Medium. Kids: Decorating only.
Push a 36-inch dowel into a Styrofoam block. Hide the block in a pot or box. Drape a yellow receiving blanket over the top.
Tie a 24-inch red balloon to the dowel top. Use air, not helium. Attach the plush with ribbon.
Keep balloons and popped pieces away from children under 8. Pop fragments are a choking risk.
10. Plush in a Wooden Crate
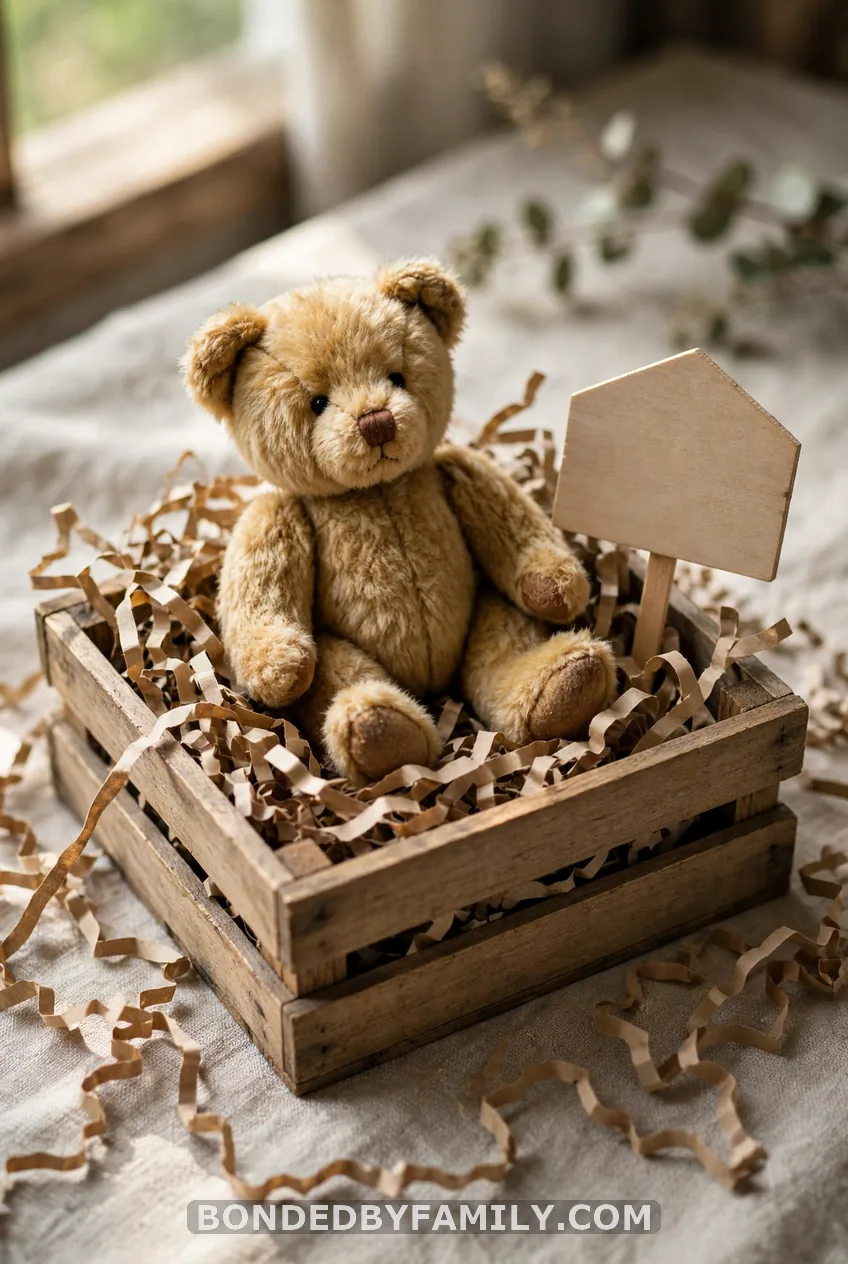
Cost: $12-22. Time: 10 minutes. Difficulty: Beginner. Kids: Yes.
Fill a crate with kraft shred. Nestle a plush in the middle. Add a small “Welcome Baby” sign. The plush becomes a gift for the baby afterward.
11. Painted Bath-Toy Figurines
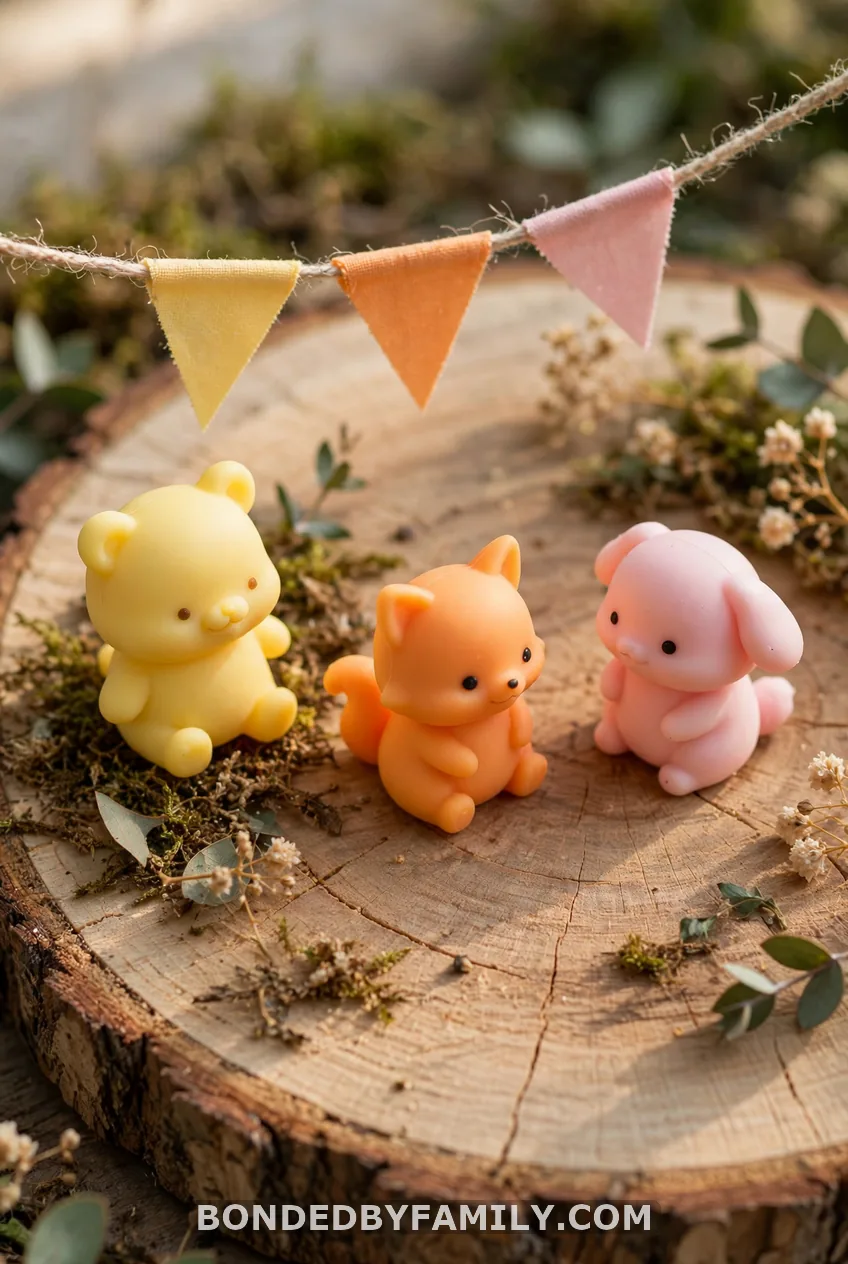
Cost: $10-18. Time: 1 hour plus drying. Difficulty: Medium. Kids: Painting only with supervision.
Cautionary tale: my first batch peeled off in strips. I skipped the base coat. Silicone toys need two coats of white acrylic before any color goes on. Let each coat dry fully.
After painting, add small word banners on twine. Display them on a table, not in a toddler’s reach.
Dollar Store Fast Fixes
12. Paper Bees and Tissue Pom-Poms
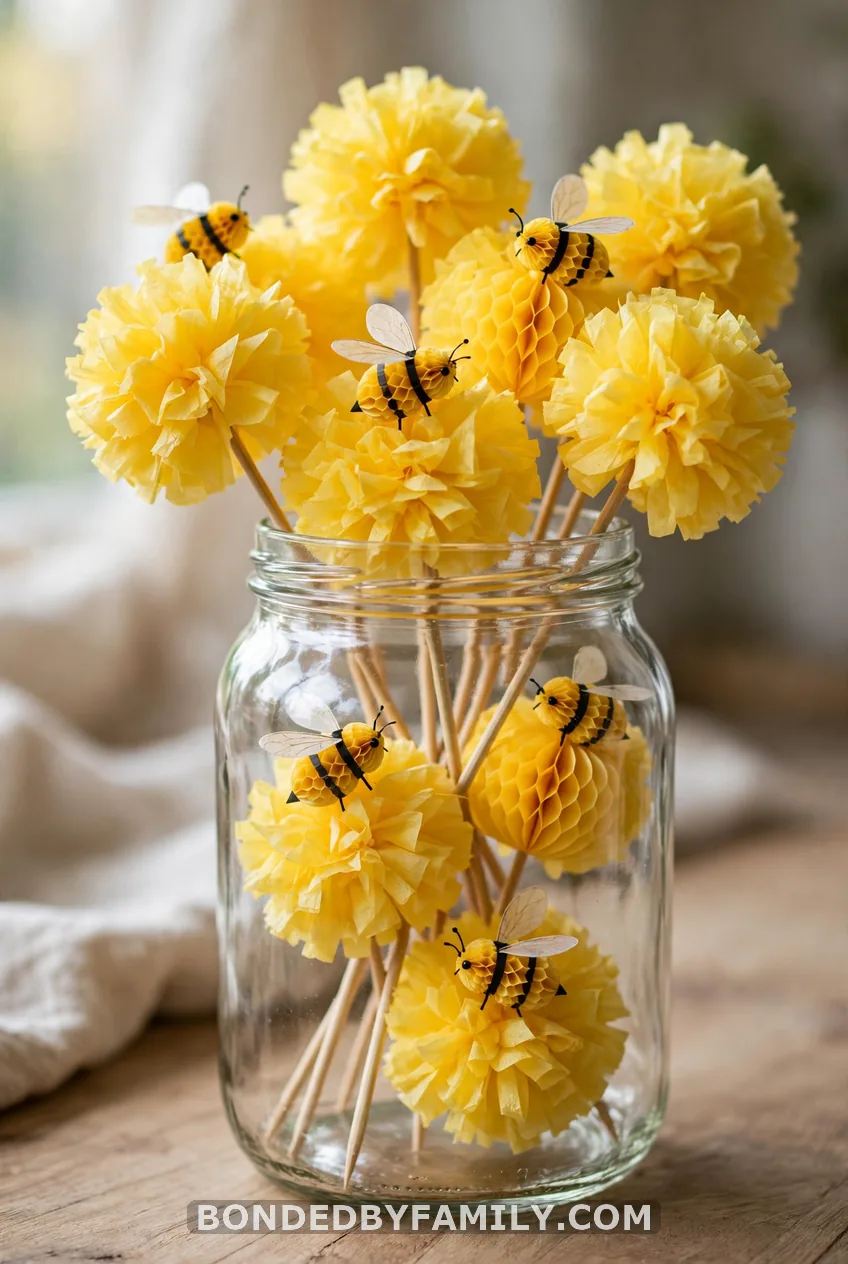
Cost: $5-8. Time: 20 minutes. Difficulty: Beginner. Kids: Yes.
Fold yellow tissue into pom-poms on craft sticks. Cut bees from cardstock. Drop them into a Dollar Tree jar. Cheap, quick, and cute.
Where to Buy Instead of Making
Short on time? Buy smart.
- Etsy: editable classic Pooh printables and party sets.
- Amazon: classic Pooh party bundles and plush toys.
- Target and Walmart: tableware, balloons, and plush accents.
- Thrift stores: old books and figurines.
Look for “Classic Pooh” on the packaging. That label points to the softer, vintage-style art. Canva has free templates if you want to print your own on cream cardstock.
How to Style Your Tables
Mix heights across the room. Use odd numbers, like three small pieces per table. Cream tablecloths and wood or mirror bases make everything look collected.
Name guest tables after the Hundred Acre Wood: Pooh’s Place, Piglet’s Place, Owl’s Treehouse. Keep food-table pieces low so guests can reach the dishes.
Plan one centerpiece per guest table plus one or two for the food and gift tables.
What I’m Doing Differently Next Time
Next shower, I’m starting with the base. I’ll gather wood slices and moss first, then build every centerpiece on top of them. It keeps the whole room matching.
I’ll also paint all the pots in one afternoon with the kids, then add flowers the morning of the party. Fresh stems stay happier that way.
Start with idea 1 this weekend. One honey-yellow pot sets the tone for the other eleven.
FAQ
What is considered vintage Winnie the Pooh for a baby shower?
It means the softer storybook style with muted yellow, green, brown, cream, and red. Stores often label it Classic Pooh. It looks different from bright modern Disney art.
How do I make a HUNNY pot centerpiece?
Paint a terra cotta pot yellow and letter HUNNY in black. Fill it with flowers, candy, or a small plush. Set it on a wood slice with moss for a vintage look.
Can I use modern Disney Pooh items and still get a vintage look?
Yes. Add kraft paper, gingham ribbon, wood slices, and cream cardstock. Those muted materials soften the bright packaging.
How many centerpieces do I need?
One per guest table plus one or two for food and gifts. For six tables, make seven or eight so smaller pieces can cluster without crowding.