Winnie-the-Pooh first appeared in a book in 1926, and E.H. Shepard drew him in soft pen and ink. He was never bright red and yellow. That is the secret to a classic Winnie the Pooh baby shower DIY: muted colors, handmade touches and a lot of honey.
Below are 25 projects you can make at home. Each one lists materials and a difficulty level, so you can pick what fits your time and your supplies. Most need a craft store trip at most, and many use things you already own.
Classic Pooh vs. Modern Pooh: Pick Your Palette
Classic Pooh comes from A.A. Milne’s stories and Shepard’s illustrations. Think cream, sage green, honey gold, soft brown and faded red. Modern Pooh is the bright Disney version.
For every project below, lean classic. Choose watercolor over neon, kraft paper over glossy, and real moss over plastic. If a printable shows a bright cartoon Pooh, skip it and search for vintage-style line art instead.
1. Watercolor Leaves Invitation
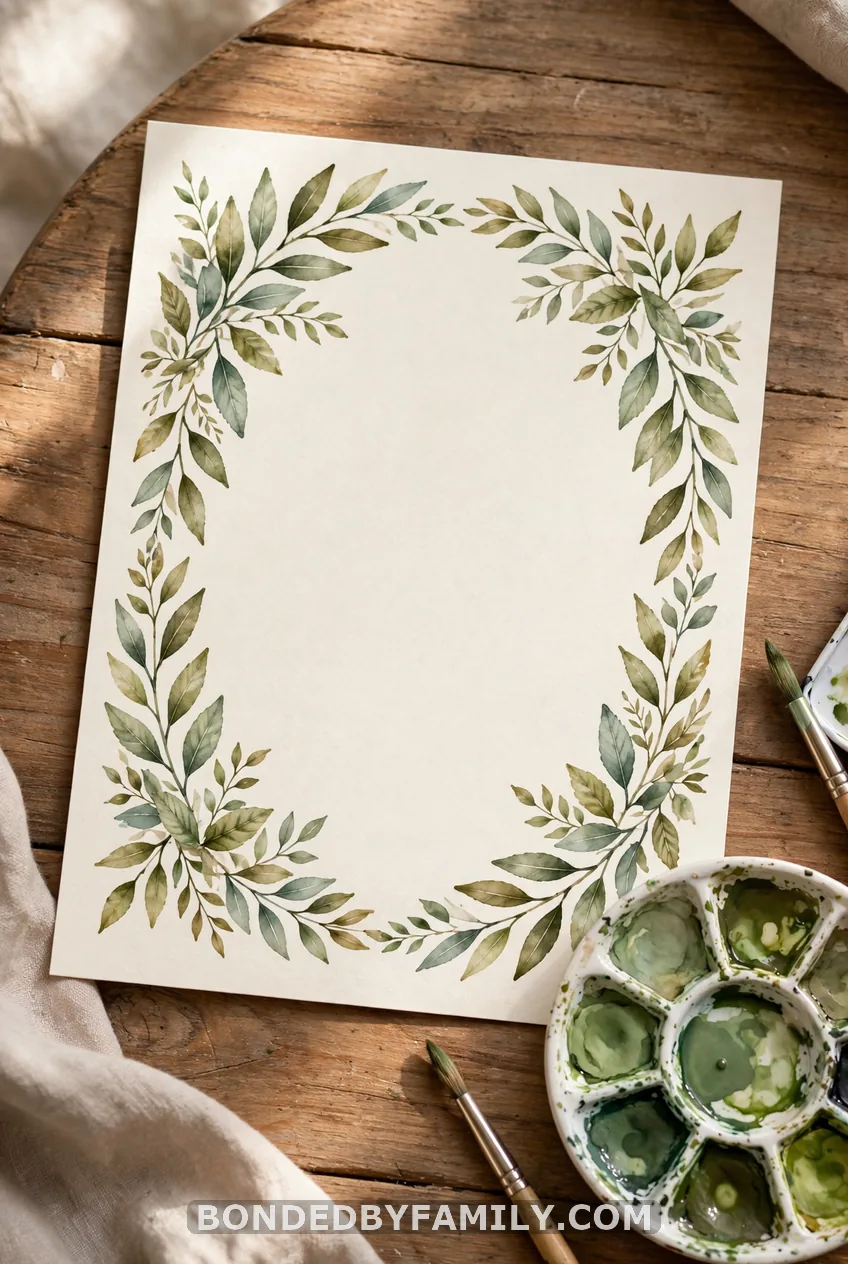
Paint a loose leaf border on 5×7 cardstock, then print your wording on the blank center or write it by hand. Leaves don’t need to be perfect. Wobbly is the point.
Materials: 140 lb watercolor paper or cardstock, a pan watercolor set, a size 6 round brush. Difficulty: Beginner. Allow 2 minutes per card once you find your rhythm.
2. Hundred Acre Wood Map Invitation
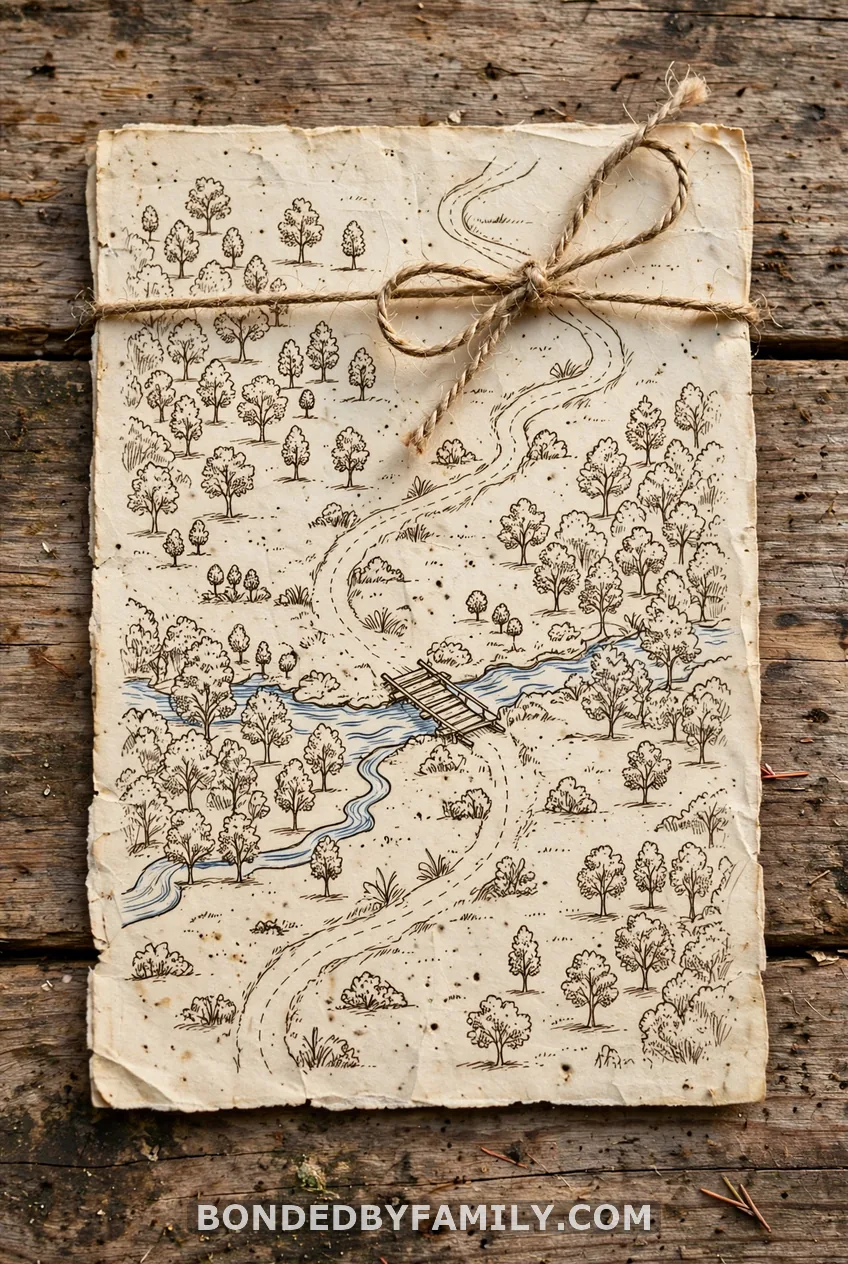
Search for a free vintage-style woodland map graphic and print it on cream paper. Tea-stain the sheet first for an aged look. Brew two black tea bags in one cup of hot water, dab the paper with a sponge and let it dry flat for about an hour.
Put the party details on the back. Roll the map, tie it with twine, and you have an invite people will keep.
Materials: printer, cream paper, tea bags, twine. Difficulty: Beginner.
3. Canva Templates for Invites, Thank-You Notes and Book Cards
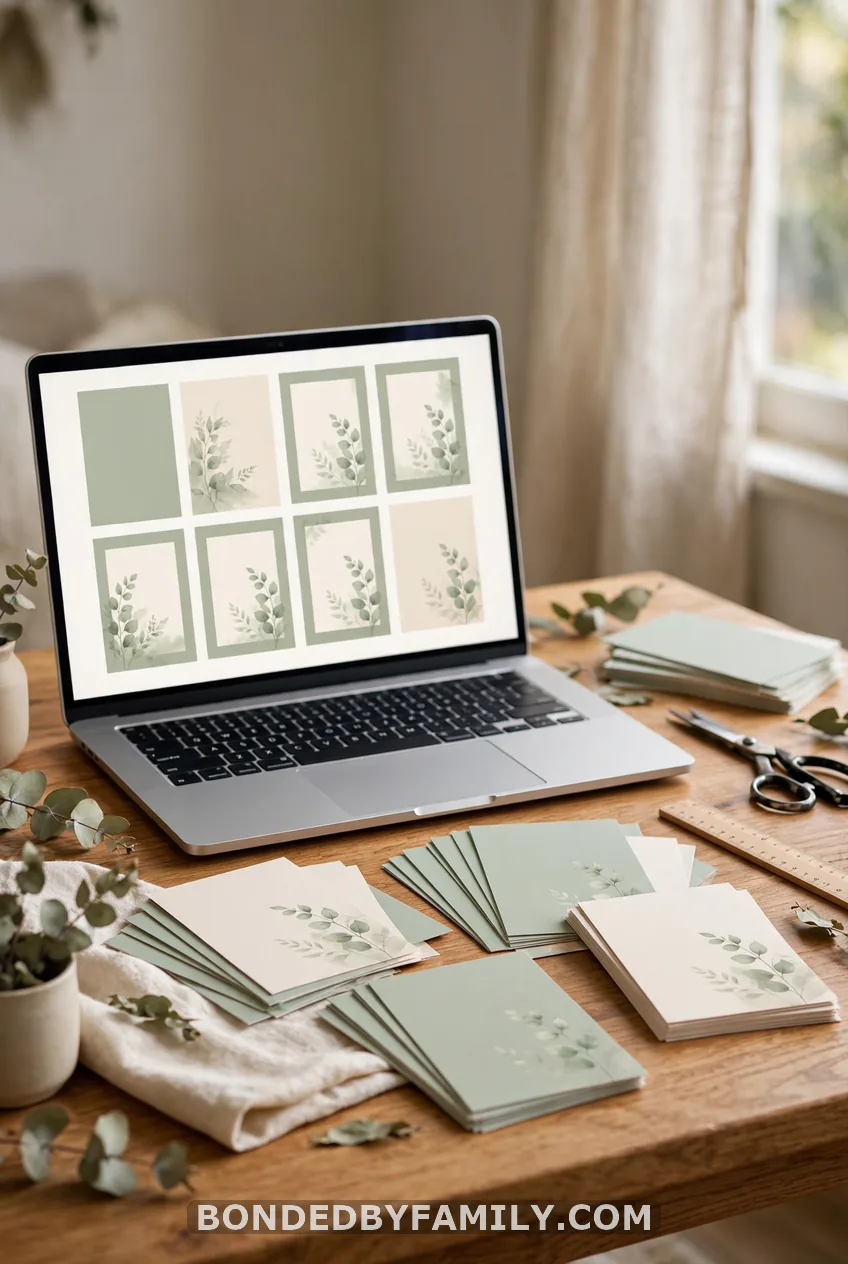
A free Canva account lets you build the whole paper suite in one color palette. Make an invite, a thank-you card and a “bring a book instead of a card” insert. Use a serif font and three colors only: honey, sage and brown.
Most home printers handle cardstock up to about 65 lb. Heavier stock jams, so send thicker designs to an office store. Prints run about 30 to 50 cents a page.
Materials: Canva, printer, cardstock. Difficulty: Beginner.
Pro tip:
Save the file in your brand colors once, then duplicate it for every card. Your whole party will match without extra effort.
4. Welcome Sign and Food Labels
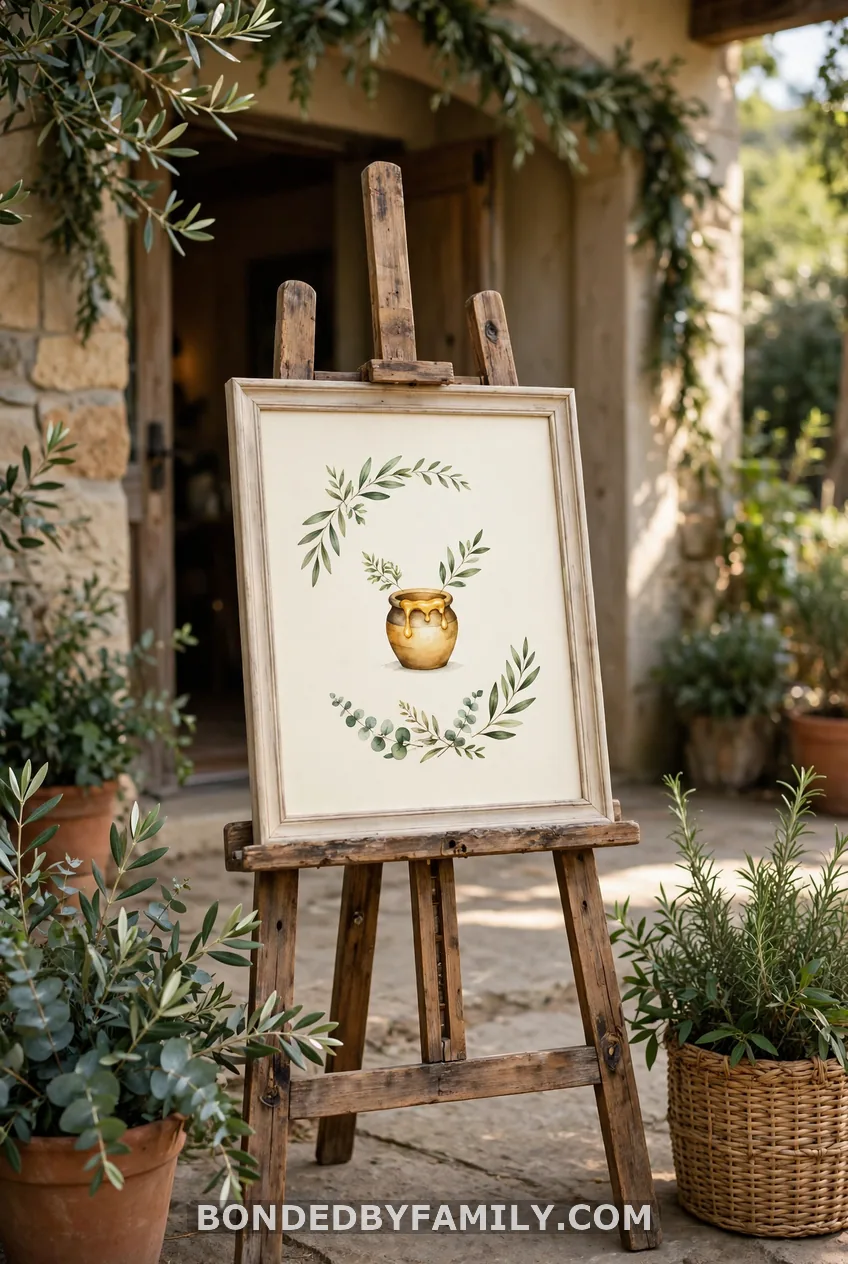
Print a welcome sign reading “Welcome to Pooh’s Corner” on 11×14 paper and slide it into a thrifted frame. Spray the frame with matte tan paint if the finish is dated. Next, print small tent cards for each dish with names like “Hunny Pot Parfaits” and “Tigger Tails.”
Materials: thrifted 11×14 frame, matte spray paint, cardstock. Difficulty: Beginner.
5. Pennant Banner on Twine
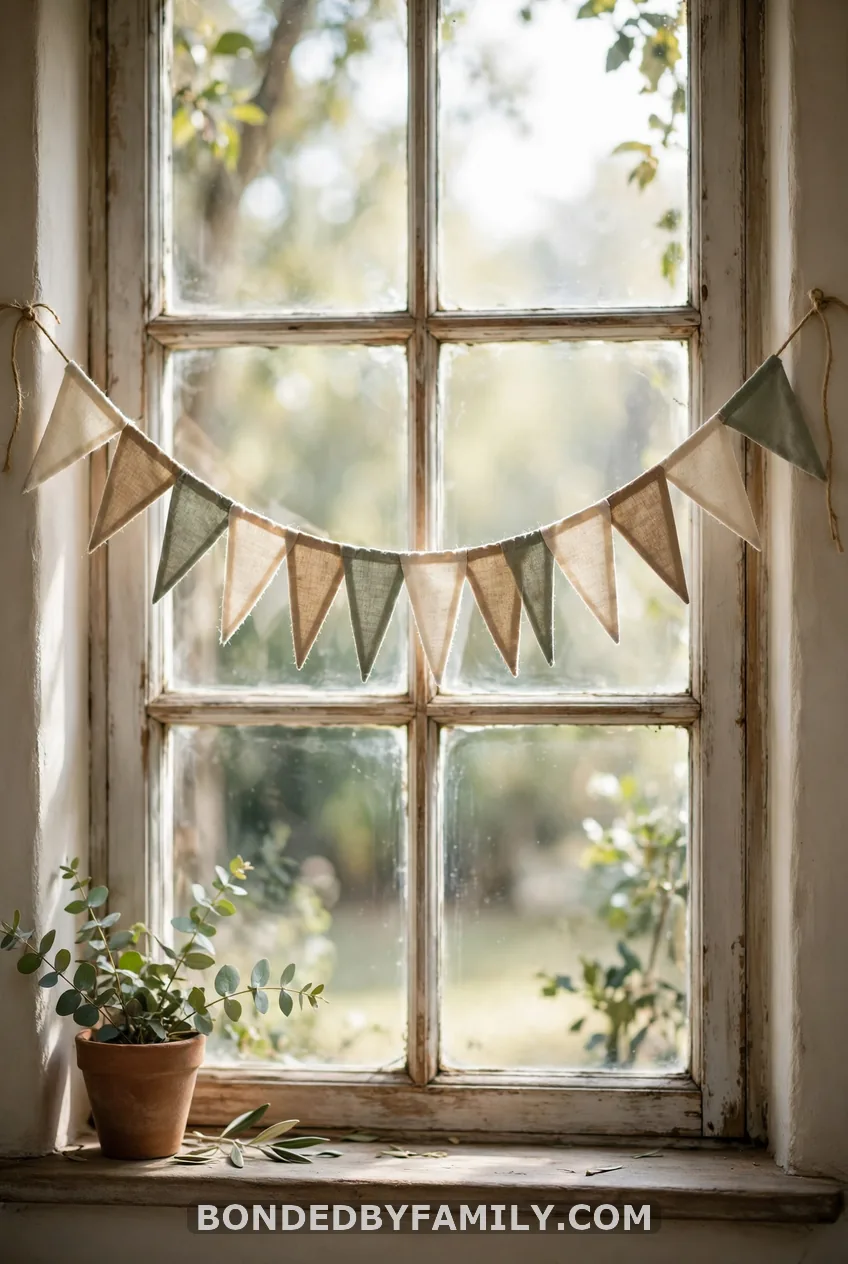
Cut 12 triangles from kraft paper, each 6 inches wide and 8 inches tall. Punch two holes at the top, or fold the top edge over the twine and glue it. Stamp or paint a single honey drop, leaf or star on each one.
Hang the banner over the dessert table or the gift area. It takes about 30 minutes in front of a show.
6. Terracotta Hunny Pot Centerpiece
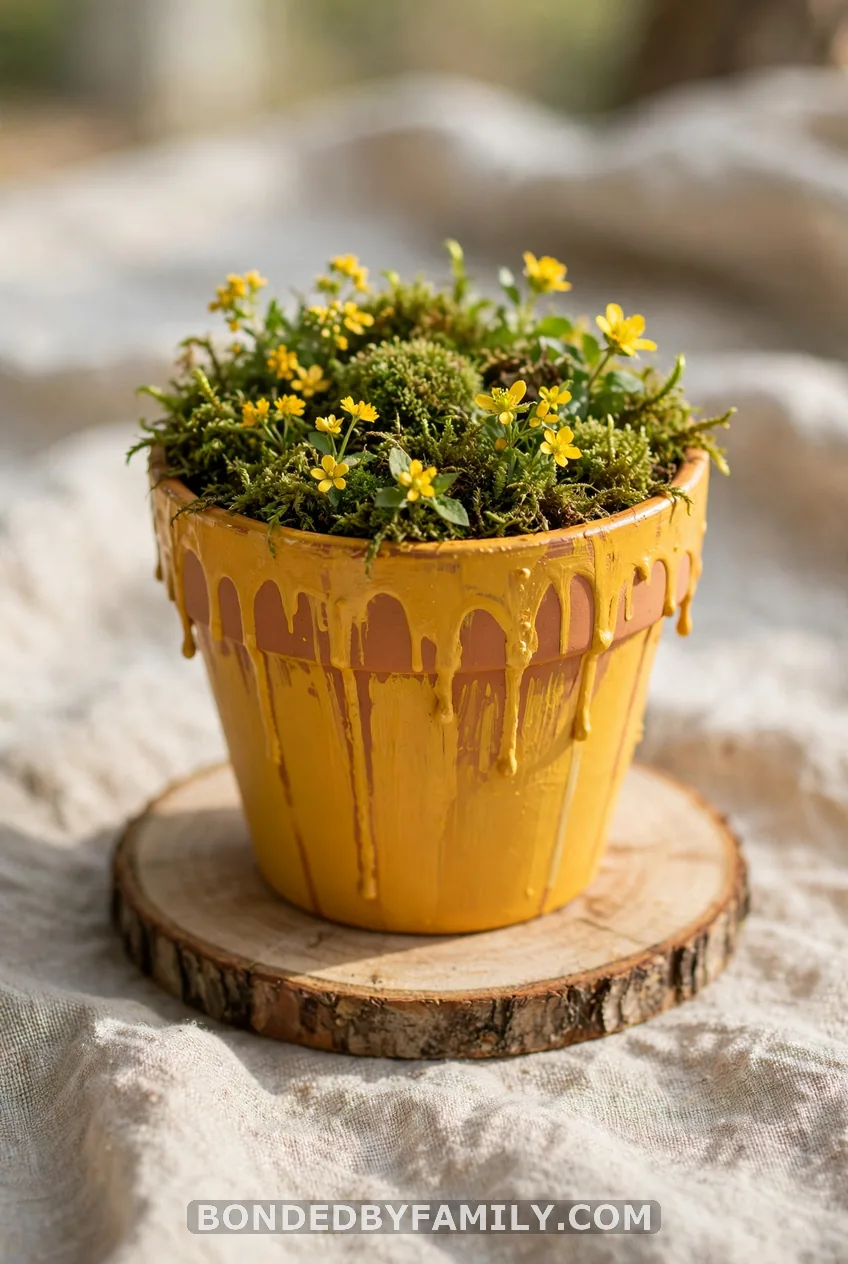
This is the star of the party. A 6-inch terracotta pot costs about $3 to $5 at a craft or garden store, and one pot makes one table piece. Make three for a long table and vary the sizes.
Materials: 6-inch terracotta pot, yellow acrylic paint, black paint pen, floral foam or a plastic cup, moss, faux or fresh flowers, wood slice. Difficulty: Beginner. Time: about 45 minutes plus drying.
Steps:
- Wipe the pot clean and let it dry. Paint two coats of honey yellow acrylic, waiting 20 minutes between coats.
- Paint a wavy “drip” line around the rim in a slightly darker yellow or gold.
- Write “HUNNY” in black paint pen, with a misspelled look on purpose, just like in the books.
- Cut floral foam to fit, or wedge a plastic cup inside, and cover the top with moss.
- Add yellow flowers and set the pot on a wood slice.
Common mistake: painting a pot that still feels damp. Terracotta soaks up water, and wet clay makes the paint peel. Let a new pot dry overnight.
7. Floating Balloon and Plush Centerpiece
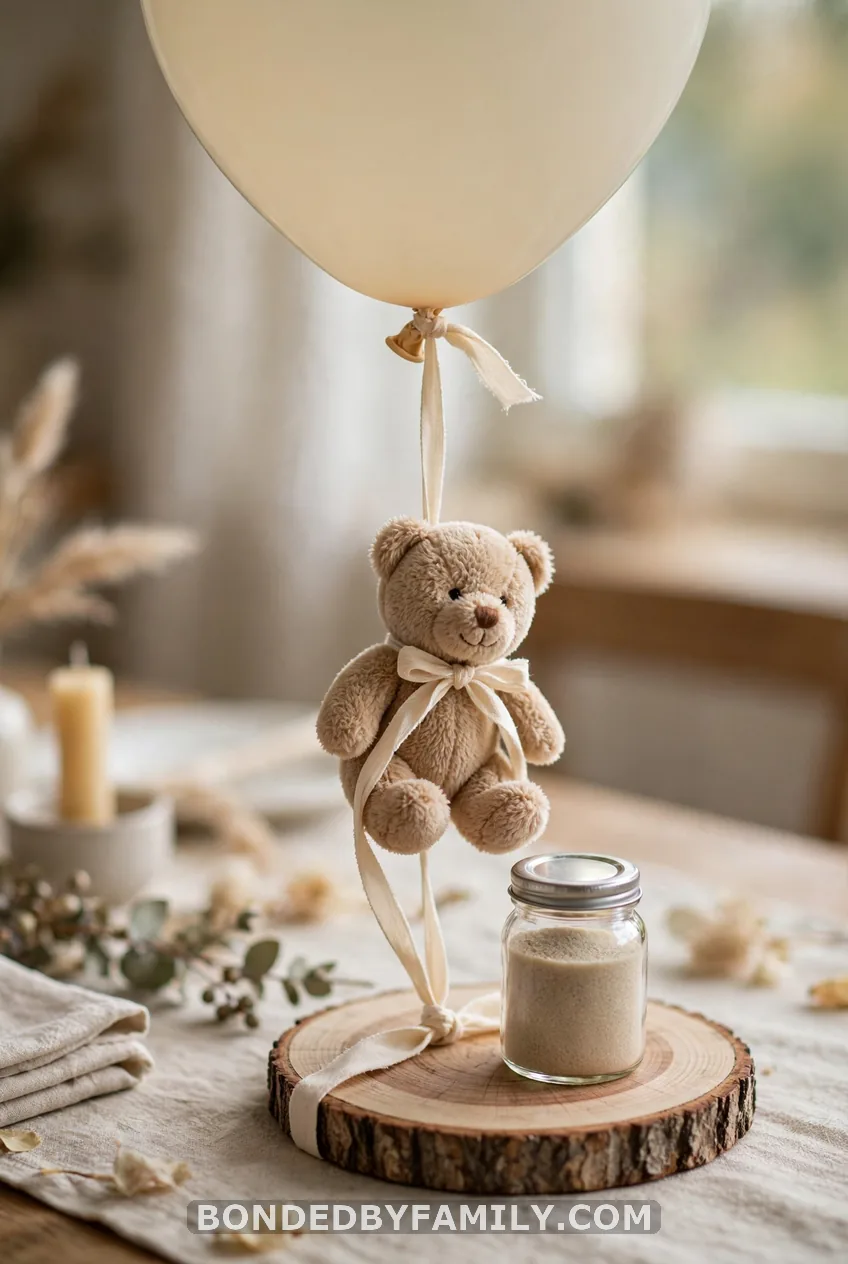
Tie a small plush Pooh to a cream or yellow helium balloon with a short ribbon. Weight the ribbon to a jar of sand or a block of wood so the whole thing sits upright. Most helium balloons float for about 8 to 12 hours, so fill them the morning of the shower.
Safety note: keep balloons and broken balloon pieces away from children under 4. They are a choking hazard. Cut the ribbon short too.
Materials: latex or foil balloon, helium, plush, ribbon, small jar of sand. Difficulty: Beginner.
8. Honeybee Garland
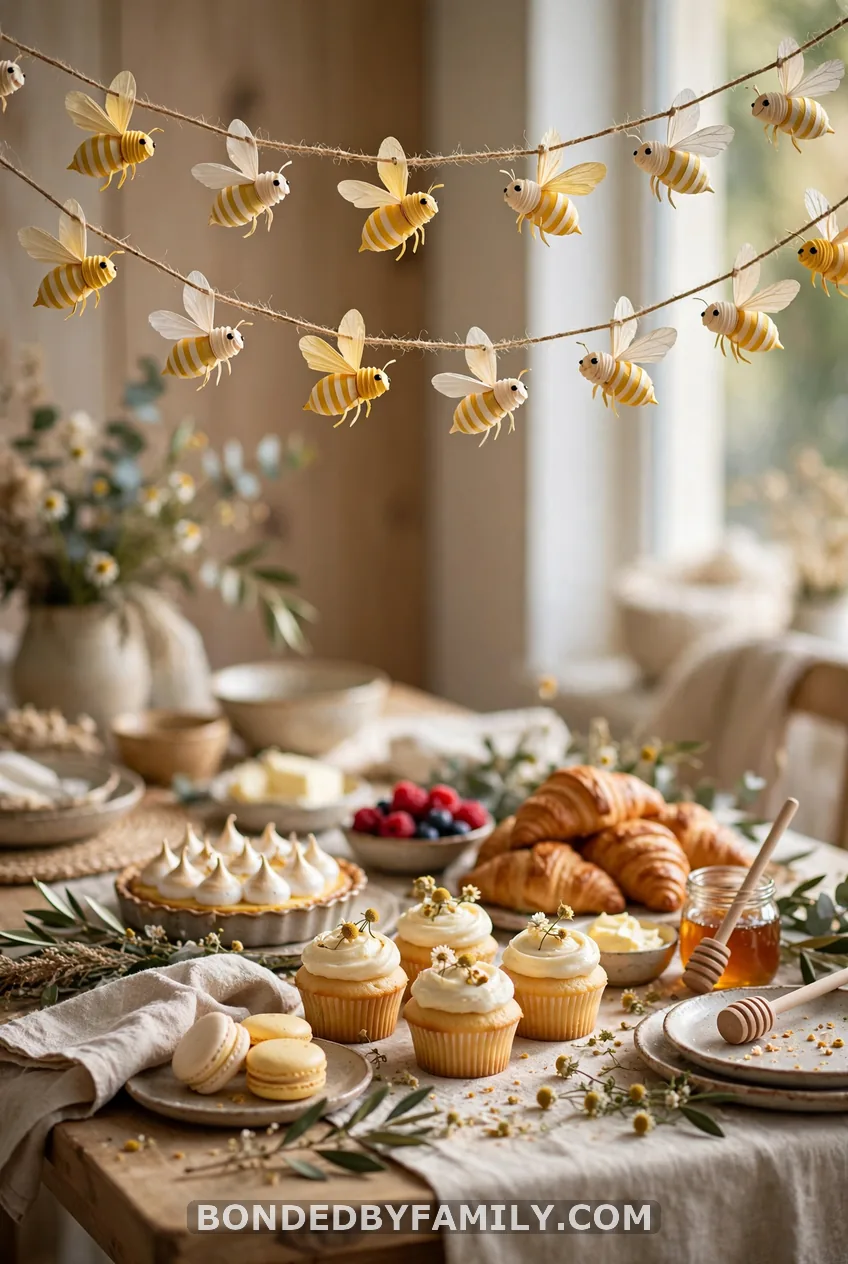
Cut bee shapes from yellow cardstock with a Cricut or a scissor and a paper template. Draw black stripes with a fine marker and glue on two wings from vellum or tracing paper. String 20 to 25 bees on twine with a glue dot behind each.
Materials: cardstock, vellum, marker, twine, glue dots. Difficulty: Beginner. Time: about an hour.
9. Storybook Photo Backdrop
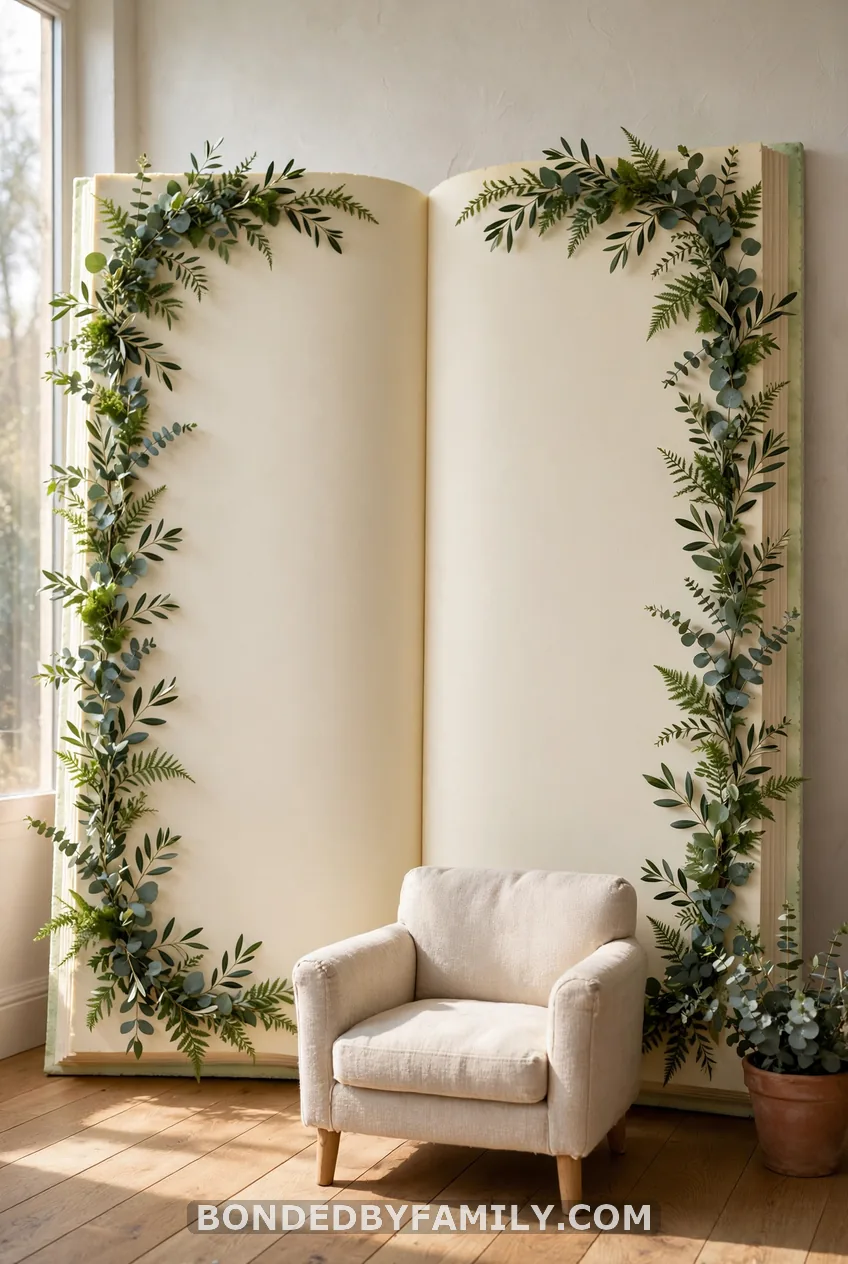
Cut two 30×40 inch foam boards and hinge them with wide masking tape on the back so they open like a book. Paint both cream. Add a leaf border and a simple painted tree. Prop it behind a chair or a pile of books.
Guests will want a photo here. It also makes a lovely spot for the mom-to-be to sit during gifts.
Materials: 2 foam boards ($3 to $5 each at most dollar stores), cream paint, green paint, masking tape. Difficulty: Intermediate.
10. Book Page Table Numbers
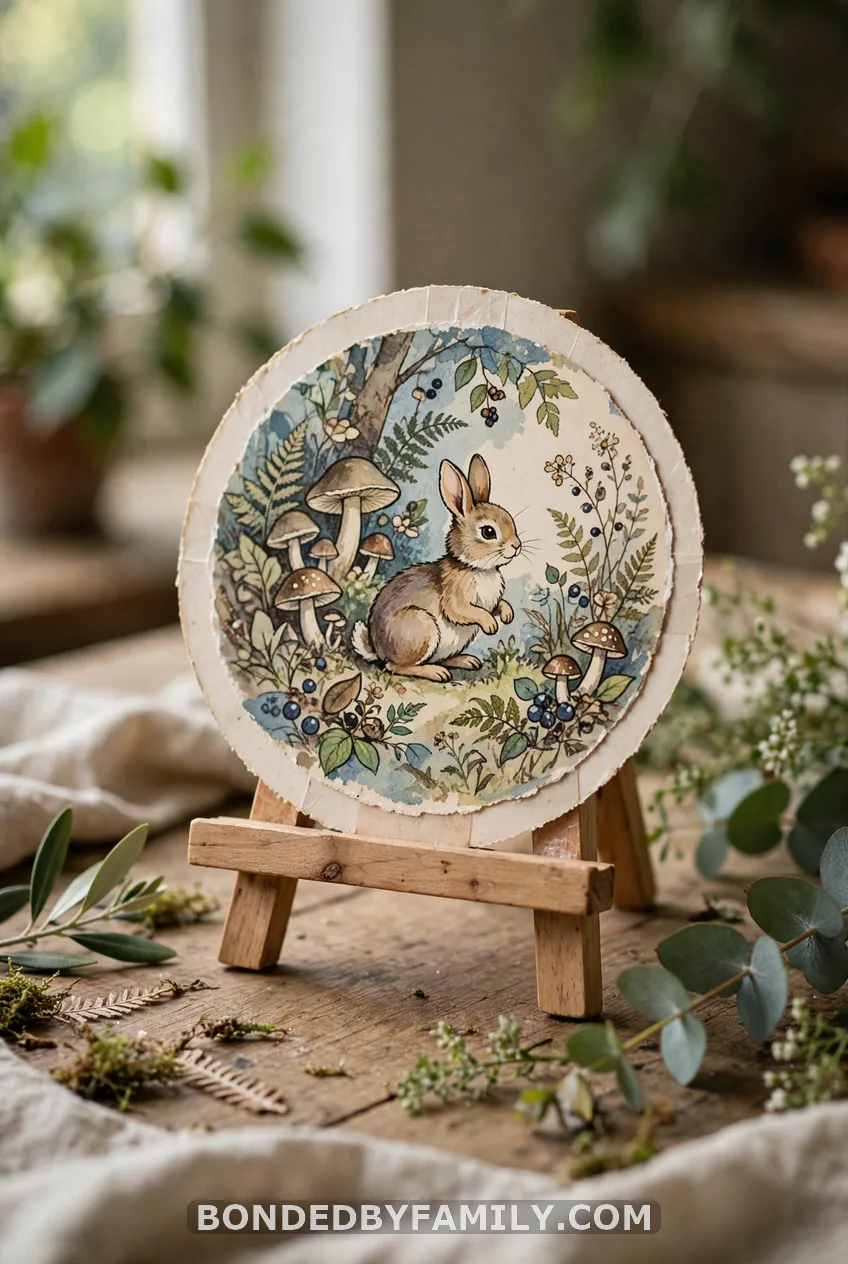
Find an old copy of a Pooh book at a thrift store for $1 to $3. Cut pages into circles and glue each onto a wood slice or a wooden stand. Paint the table number in gold.
Cut an old, damaged book. Never cut a first edition.
Materials: used Pooh book, craft knife, glue, gold paint pen. Difficulty: Beginner.
11. Moss, Wood Slices and Pinecones
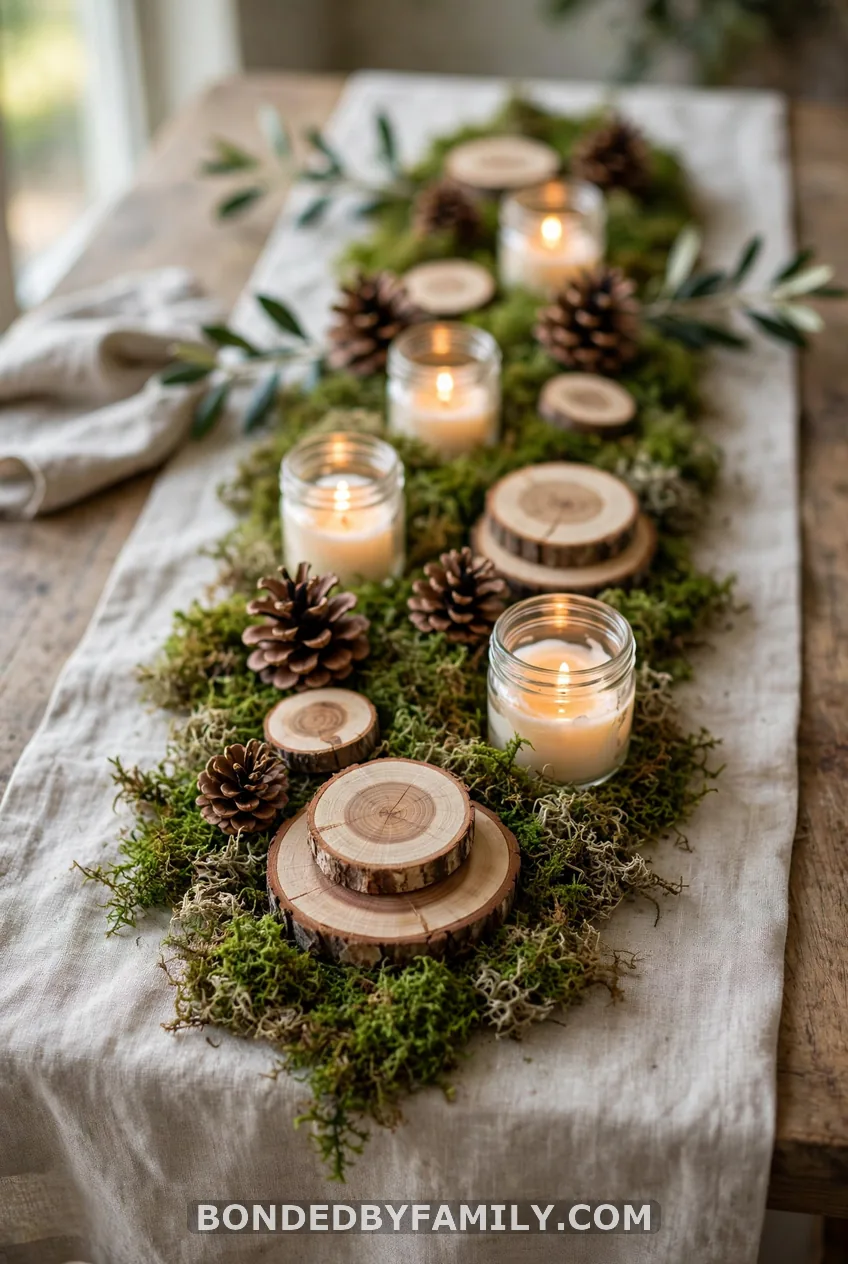
This one is the quickest of all. Lay sheet moss down the center of the table, scatter wood slices and pinecones, and add battery tea lights. Done in 10 minutes. It gives you the Hundred Acre Wood feeling for almost nothing.
Bake foraged pinecones at 200°F for 30 minutes first to kill any bugs.
12. Tigger Tail Pretzels
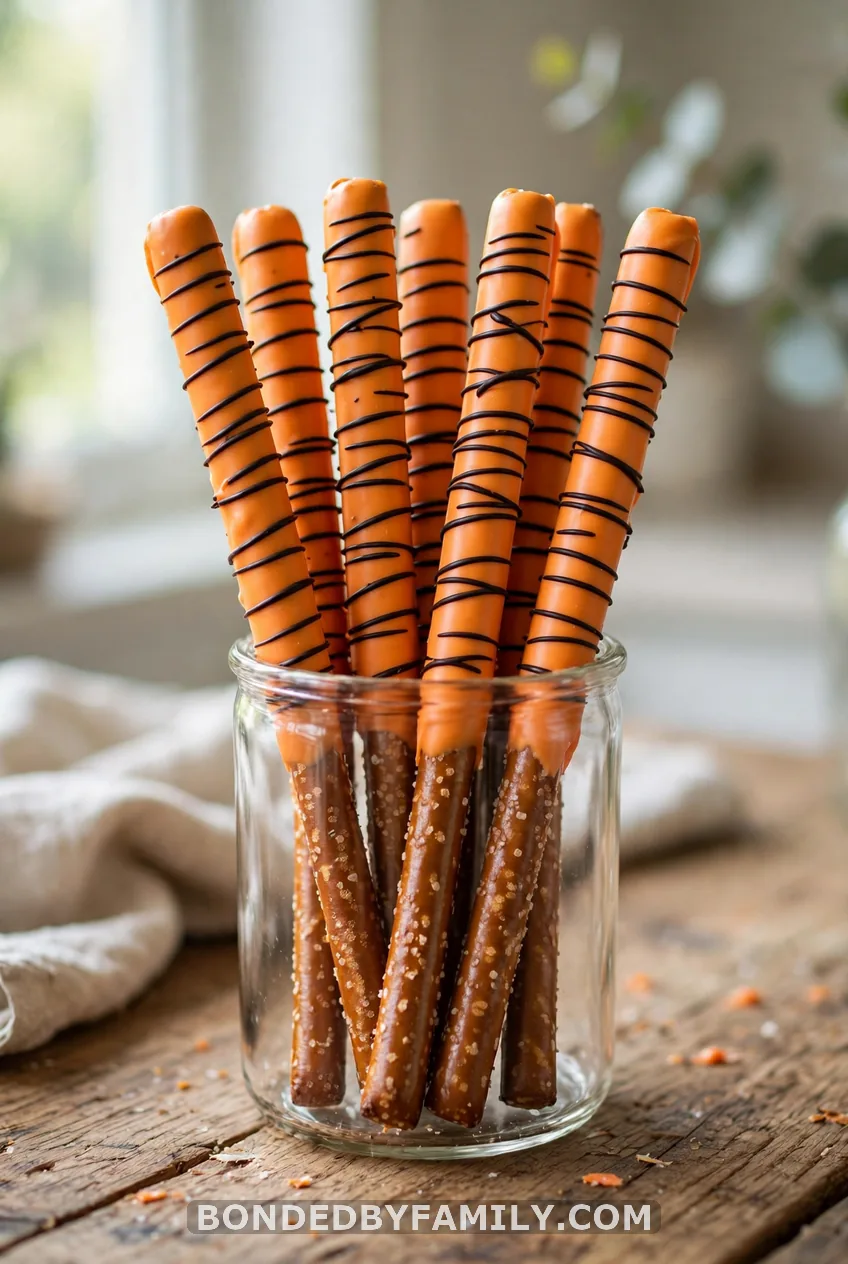
Melt orange candy melts per the package directions and dip pretzel rods two-thirds of the way. Lay them on parchment. Melt a few black melts, pour into a zip bag, snip a tiny corner and pipe stripes while the orange is still tacky.
Materials: pretzel rods, orange and black candy melts, parchment. Difficulty: Beginner. Makes about 20 rods per 12-ounce bag.
13. Honeycomb Cereal Snack Mix
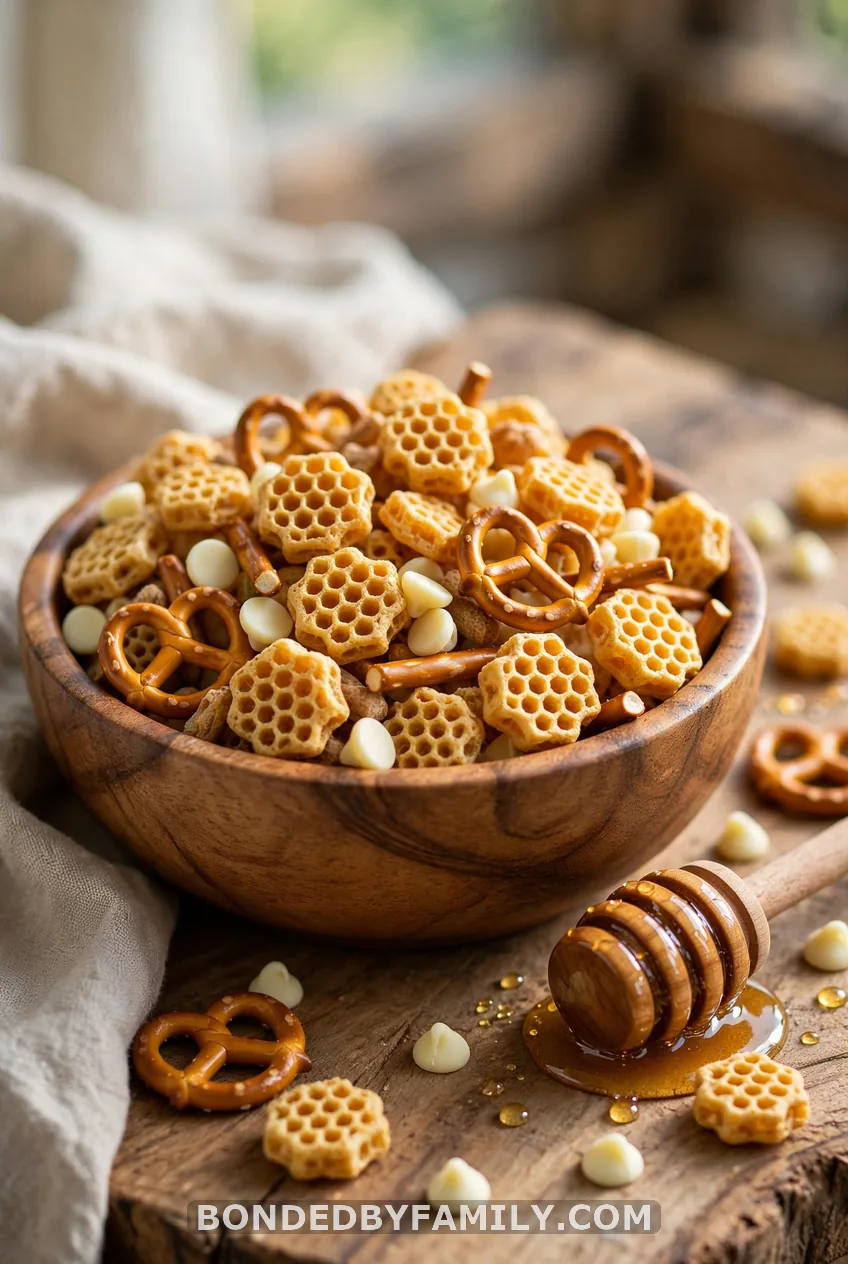
Toss 4 cups of honey cereal with 2 cups of mini pretzels and 1 cup of white chocolate chips. Drizzle with a little warm honey and toss lightly. Spread on parchment for 20 minutes to set.
Skip nuts or put them in a separate bowl and label it. Nut allergies are common, and a snack mix is hard to check by eye.
Materials: cereal, pretzels, chips, honey. Difficulty: Beginner.
14. Piglet Punch and Pooh Honey Lemonade
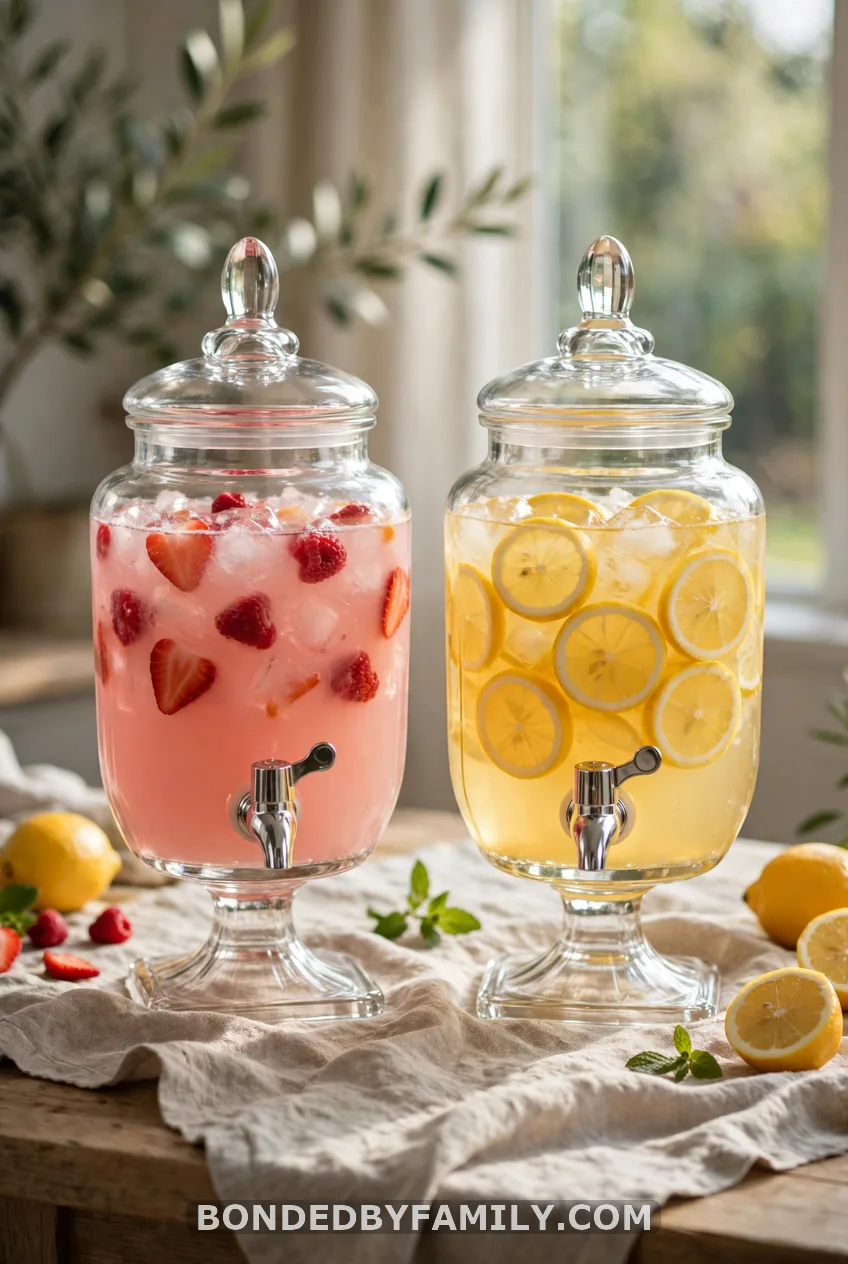
Pink punch: mix 1 liter of strawberry lemonade with 1 liter of lemon-lime soda and a scoop of raspberry sherbet. Golden lemonade: stir 1/2 cup of honey into 1 cup of warm water, cool it, then add 1 cup lemon juice and 4 cups cold water.
Both are alcohol-free, so the mom-to-be can drink them. Serve in mason jars with paper straws.
15. Rabbit’s Carrots
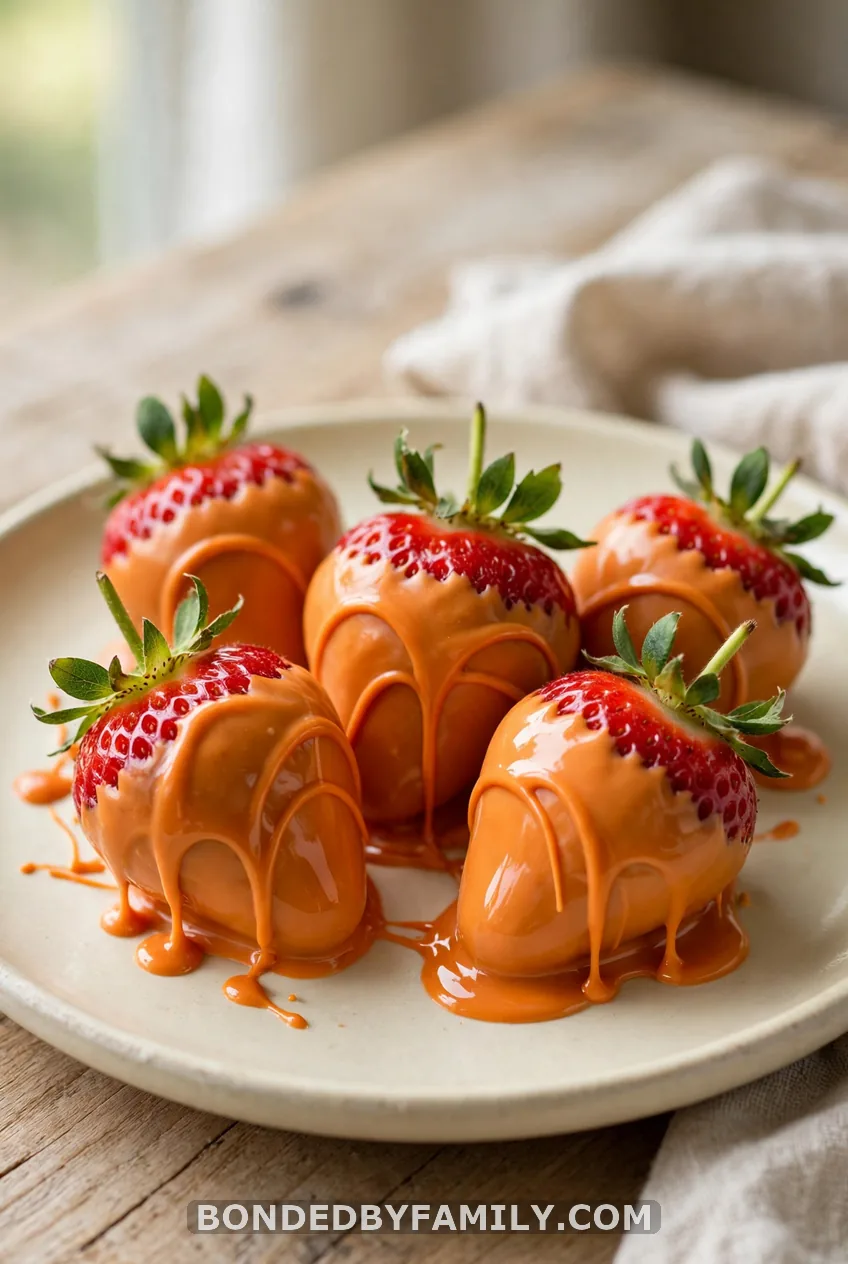
Dip dry, whole strawberries into melted orange candy melts so they look like little carrots. Leave the green tops on. Chill for 10 minutes.
16. Hunny Pot Parfaits with Sugar Bees
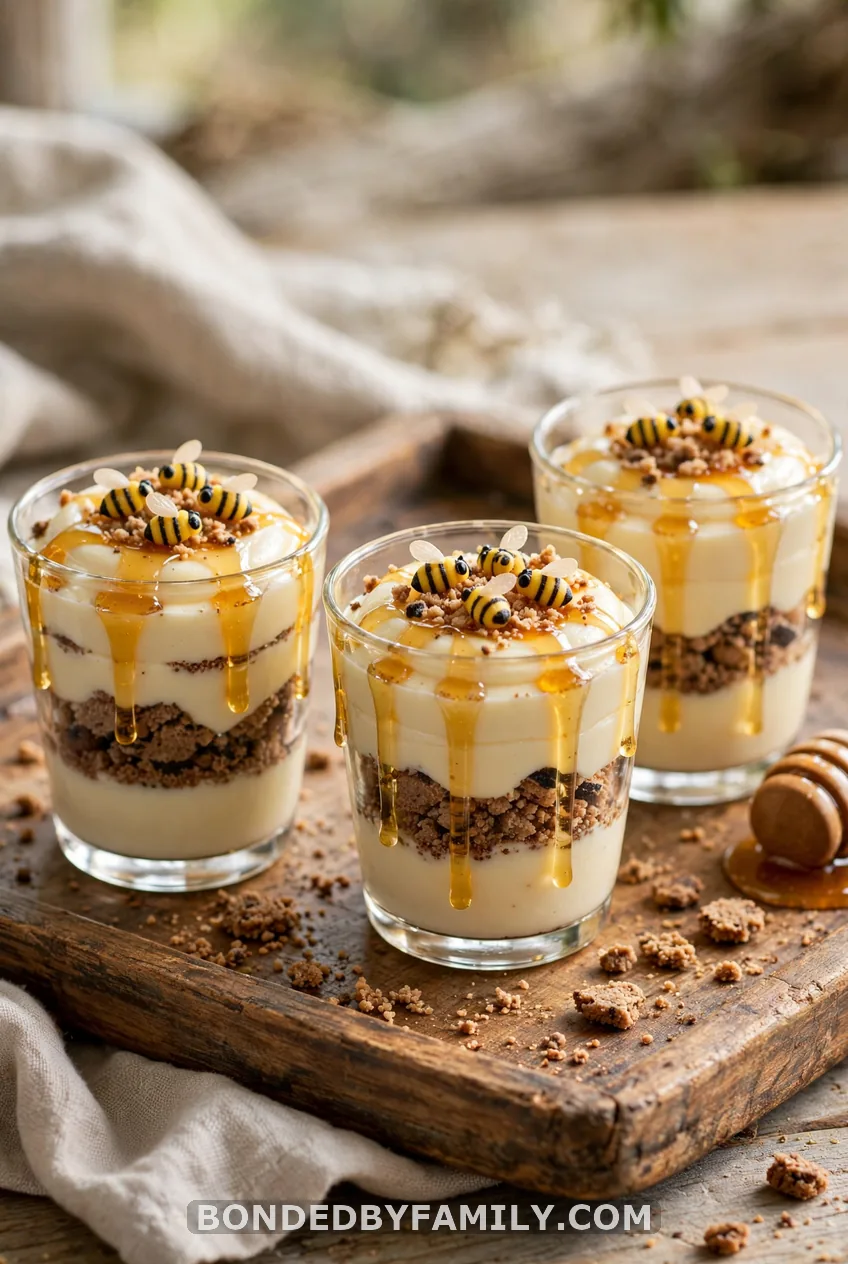
Layer vanilla pudding and crushed vanilla wafers in 4-ounce cups, then finish with a thin drizzle of honey. Top each with a sugar bee. You can buy these in a baking aisle, or make them from fondant and a food-safe marker.
Use the same bees on cupcakes. Press one gently into the frosting right before serving so the wings stay crisp.
Materials: pudding, wafers, honey, sugar bees. Difficulty: Beginner.
17. Baby Bear Pound Cakes
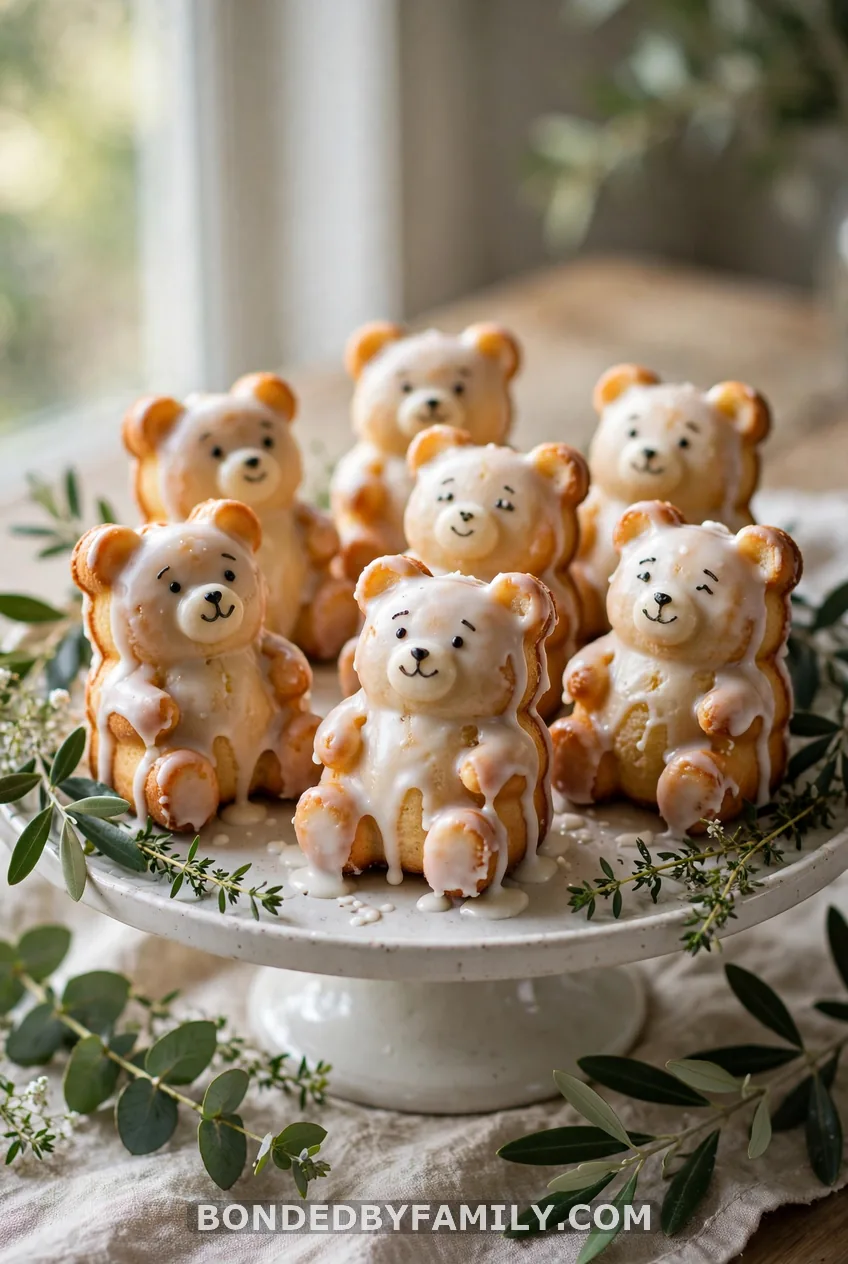
Bake a store-bought or homemade pound cake in a sheet pan and cut out shapes with a bear cookie cutter. Glaze with a mix of 1 cup powdered sugar and 2 tablespoons milk. Let it set for 15 minutes, then draw faces with an edible marker.
Materials: pound cake, bear cutter, powdered sugar, edible marker. Difficulty: Beginner.
18. Pin the Tail on Eeyore
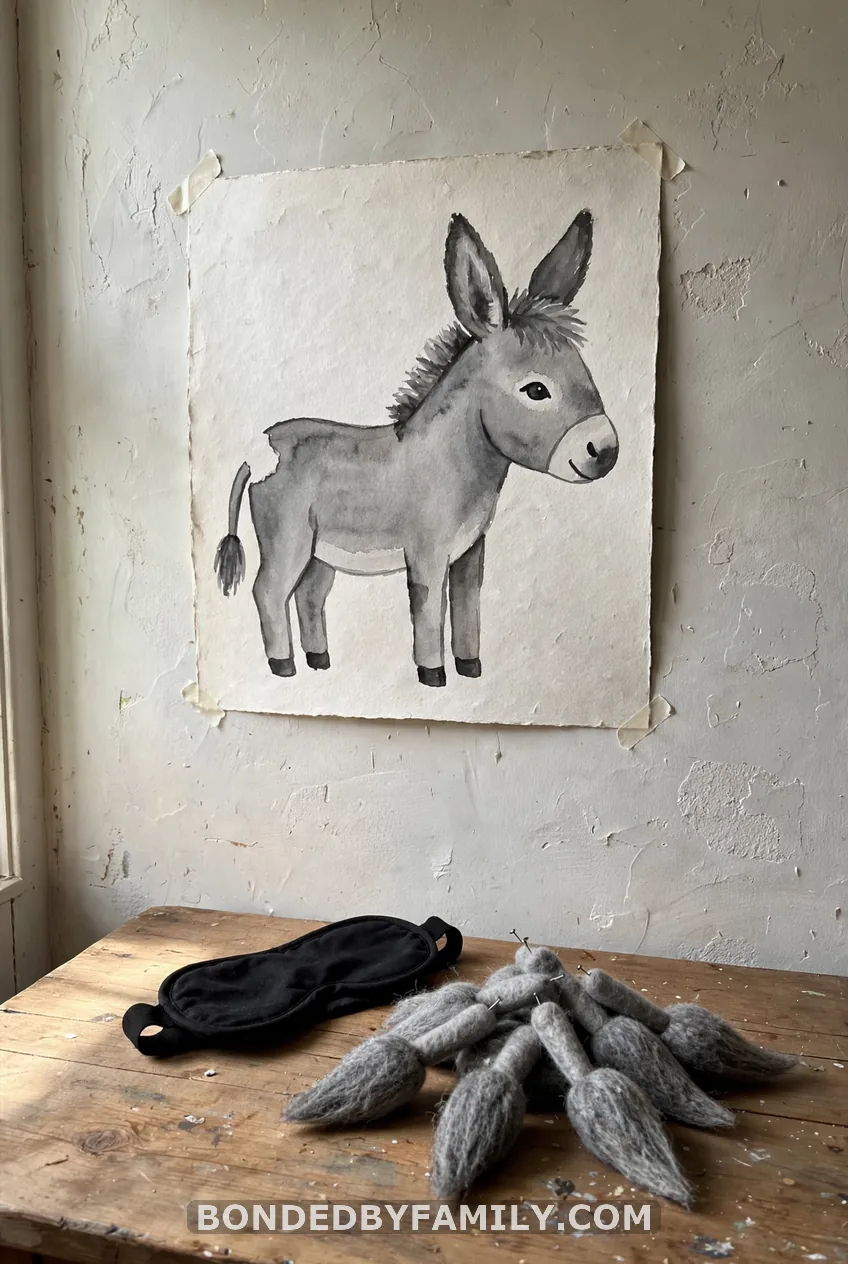
Paint a gray donkey on poster board, then cut tails from gray felt with a loop of tape on the back. Tape a name to each tail so you can see whose landed closest. The closest tail wins a small prize.
Adults only for the blindfold, and keep guests a few feet from the wall edge so no one trips. Materials: poster board, gray paint, felt, masking tape. Difficulty: Intermediate.
19. The Price Is Right: Baby Edition
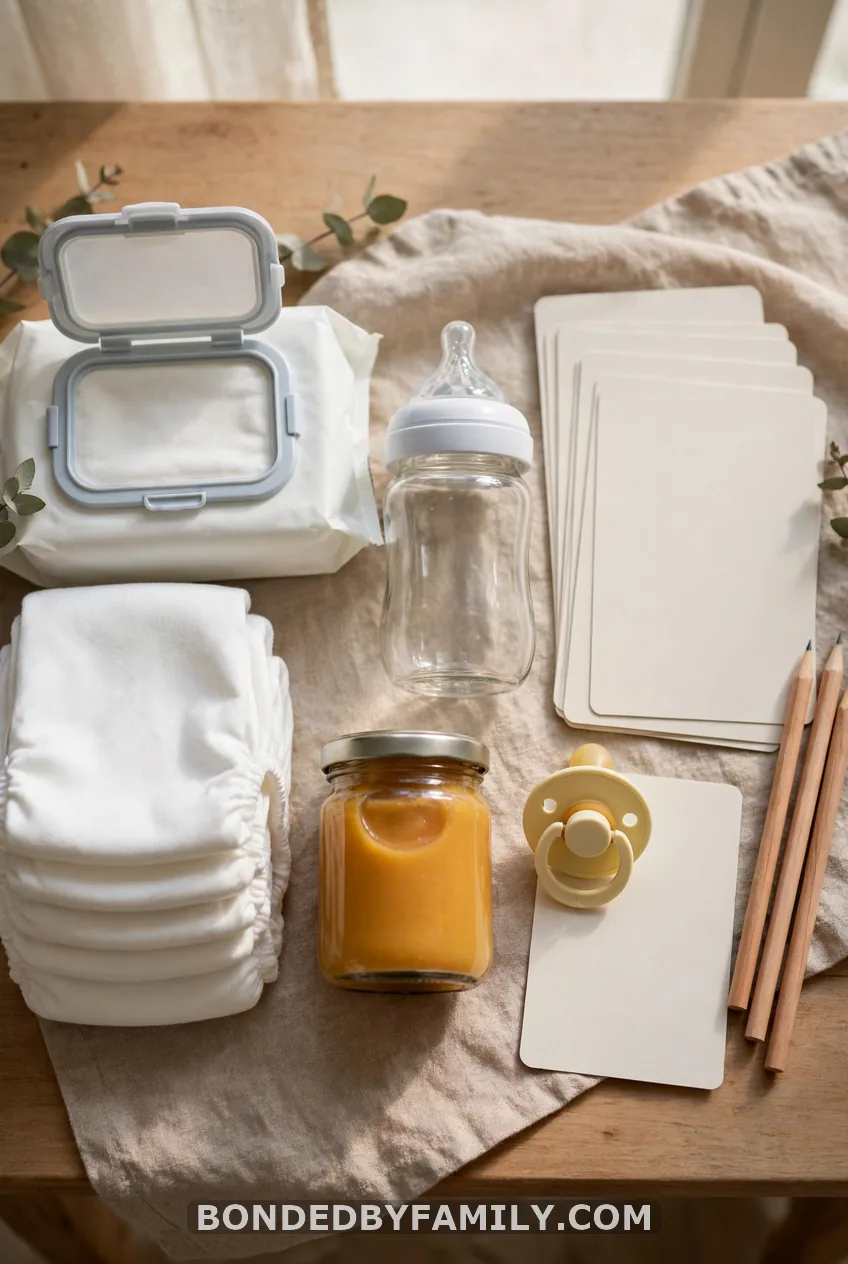
Print a sheet listing 10 baby items: diapers, wipes, a pacifier, a bottle, baby food, lotion, a bib, a teething ring, rash cream and a monitor. Check store prices the week of the shower. Guests guess the price of each item and the total. The closest without going over wins.
Materials: printed sheets, pencils, a list of real prices. Difficulty: Beginner.
20. Name That Storybook Quote
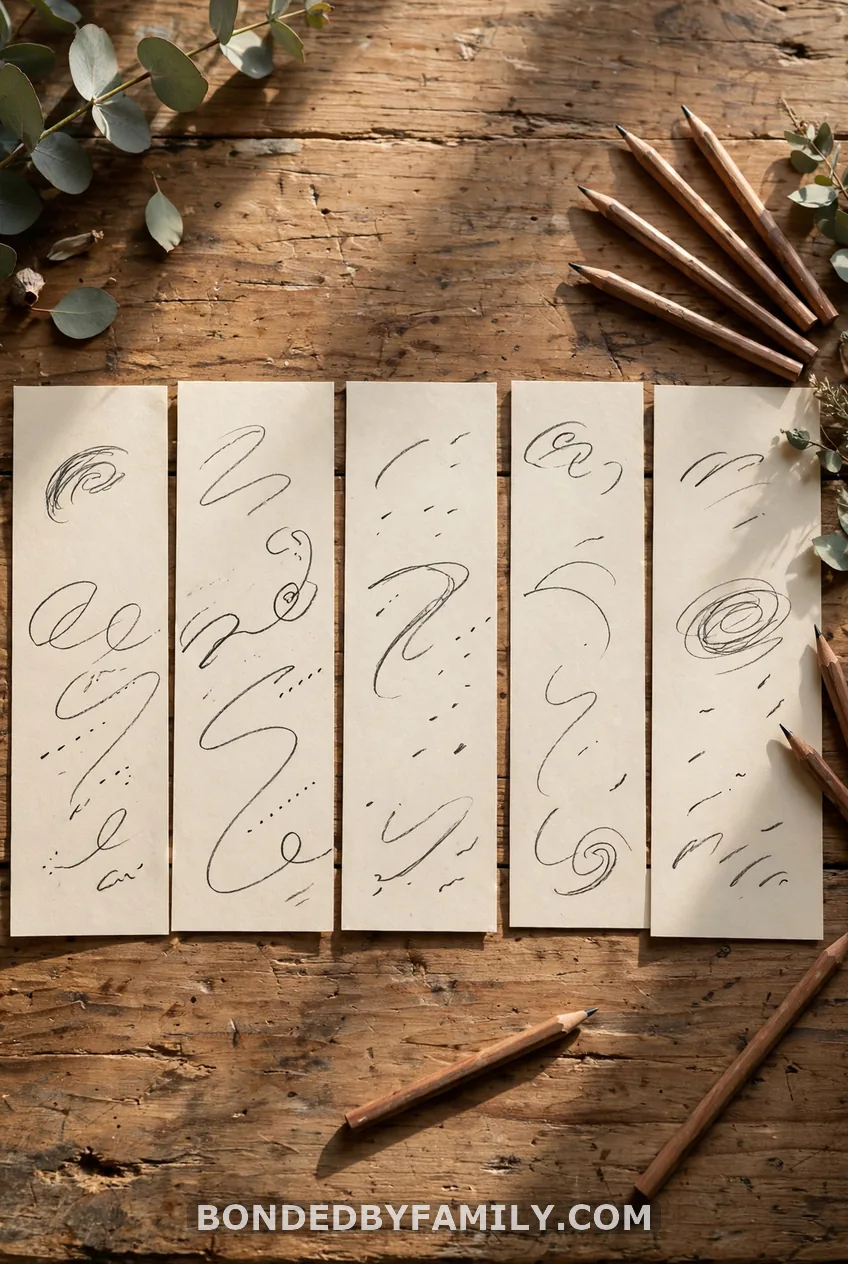
Write 10 short lines from the original books on one sheet and match each to the right character or chapter. Keep the lines short so the game moves fast. Give a point for each match and a small honey jar to the top scorer.
21. ABC Baby Items
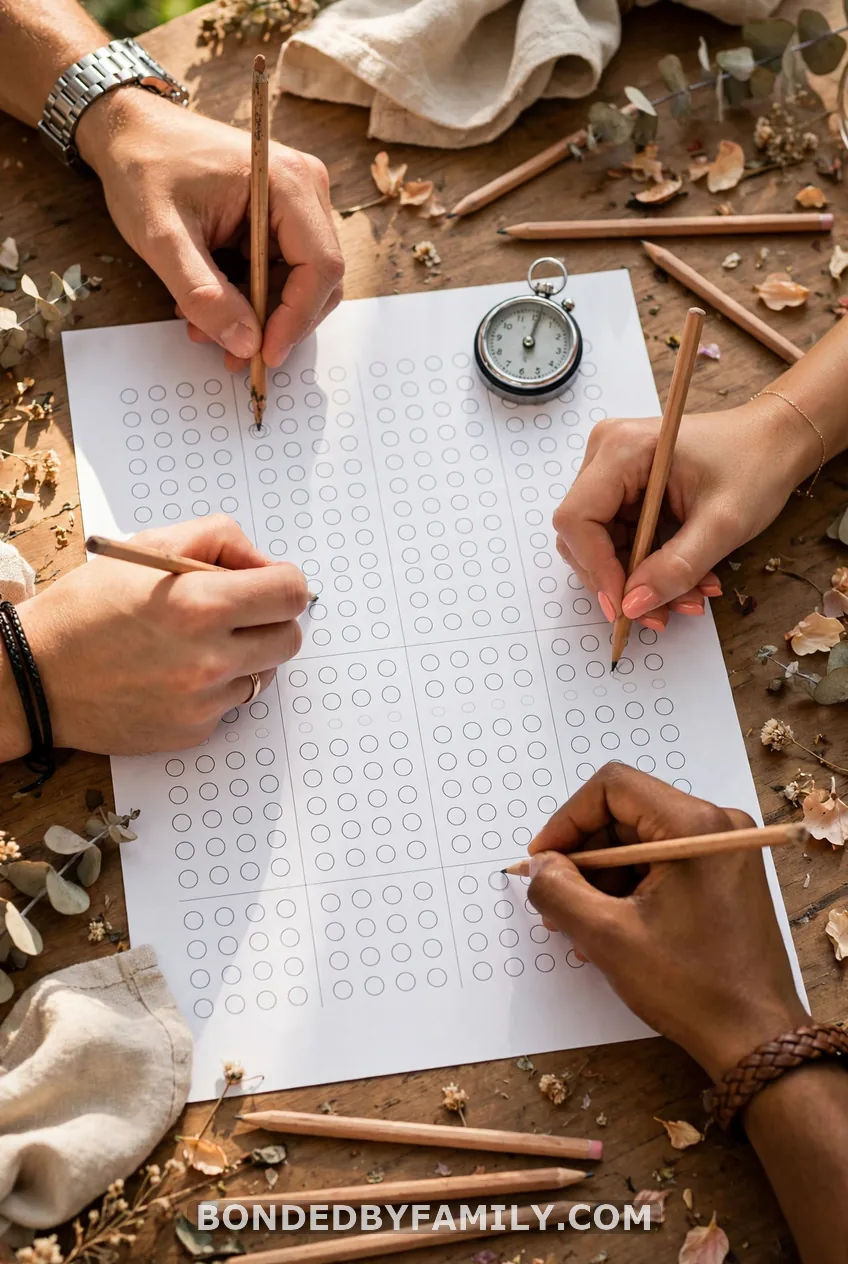
Hand out a sheet with A through Z. Guests have 3 minutes to name a baby item for each letter. First to finish, or the most correct, wins. Q and X are the hard ones, so allow a creative answer.
22. Guess the Honeycomb Count
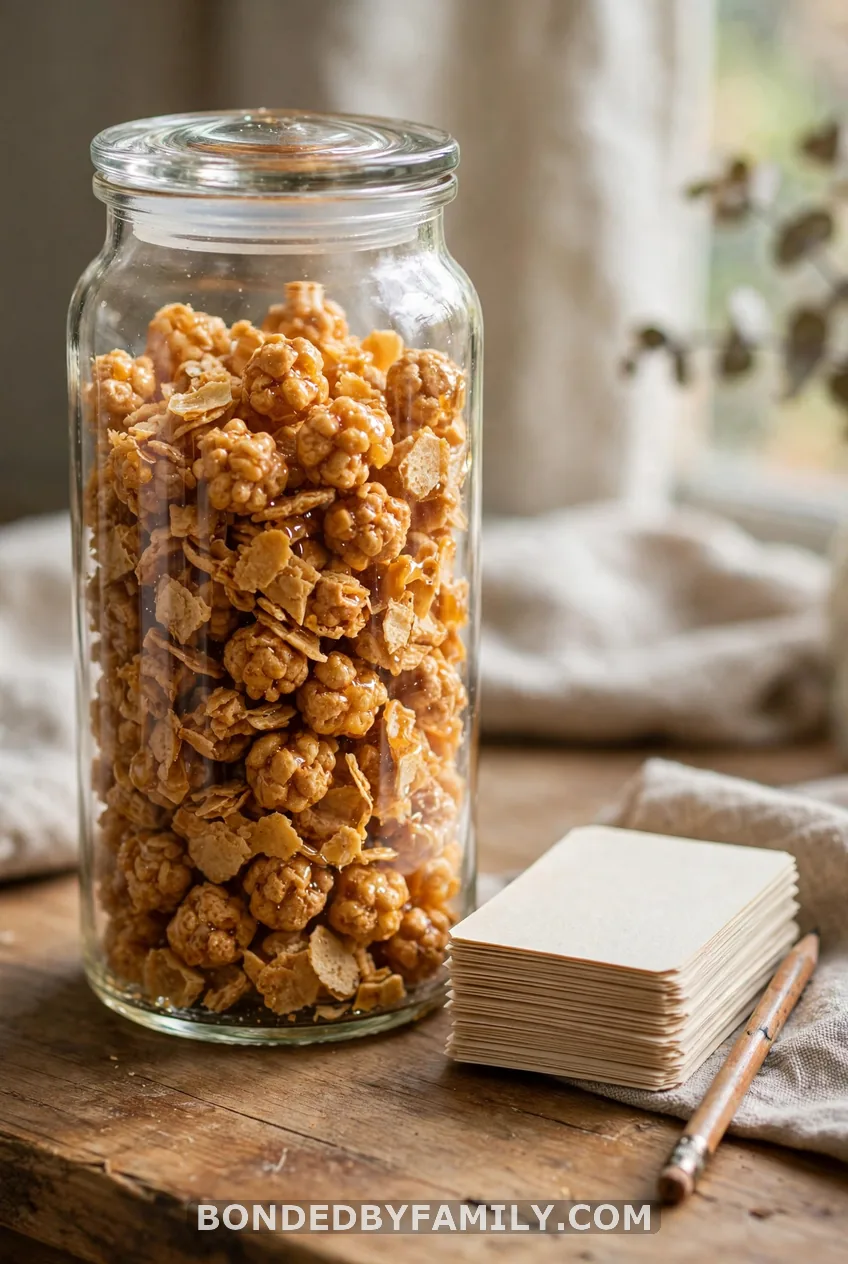
Fill a 1-quart jar with cereal and count as you go, so you know the exact total. Guests write a guess and their name on a card. Closest wins the jar, which doubles as a snack.
23. Onesie Decorating Station
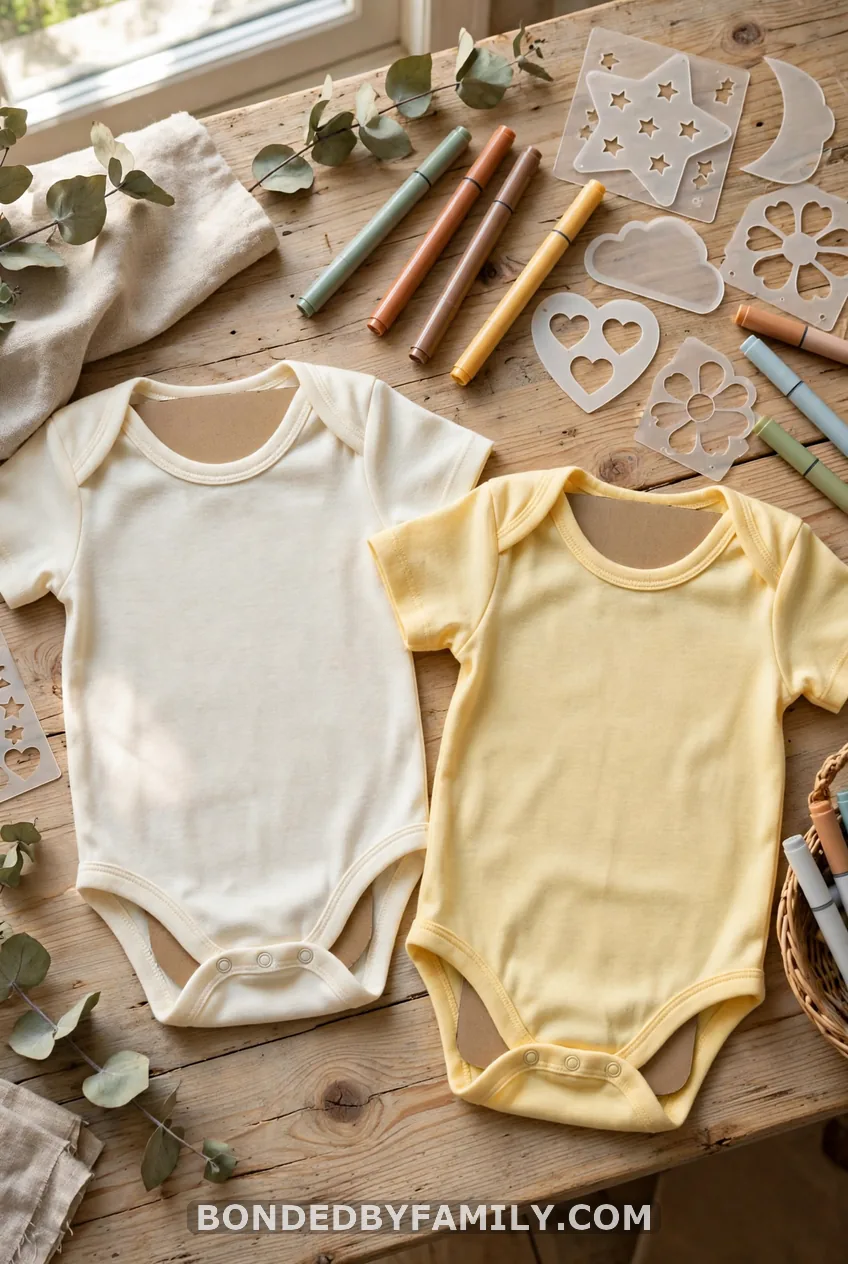
Buy a pack of plain onesies in sizes 0-3 and 3-6 months. Slip a square of cardboard inside each so the ink doesn’t bleed through. Set out fabric markers, stencils of bees, honey pots and stars, and a few sample designs.
The mom-to-be gets a stack of handmade onesies in one afternoon. Allow 20 minutes of drying, then wash them before baby wears them.
Pro tip:
Have guests heat-set the marker with an iron on low for 3 minutes, with a cloth over the design. The colors last through washing.
24. Mini Honey Jar Favors
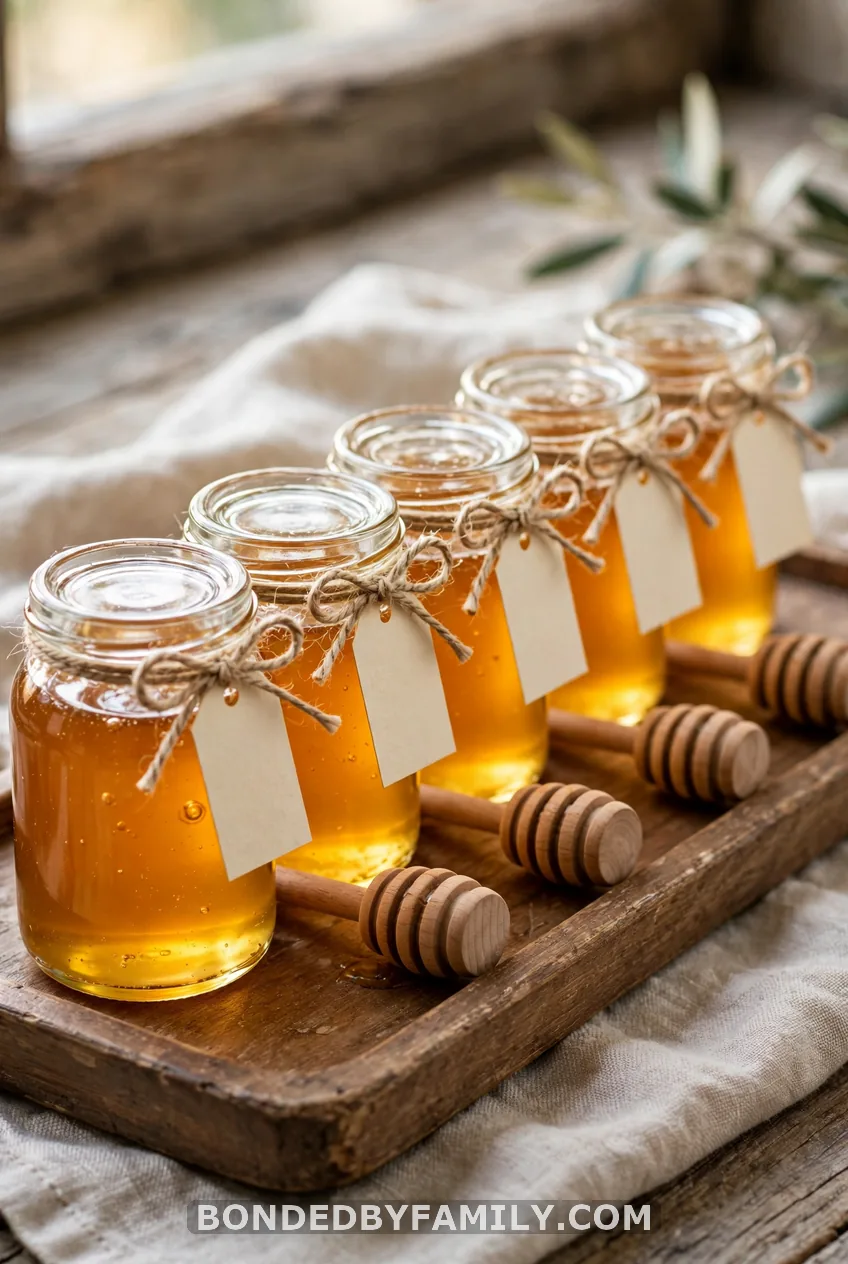
Buy 2-ounce honey jars or fill small jars from a larger bottle. Tie on twine, a mini wooden dipper and a printed tag that reads “Sweet of you to come.” Give a pack of seeds or a Pooh quote bookmark as a second favor option if a guest has an allergy.
Honey is not safe for babies under 12 months. Add a note to the tag so guests know.
Materials: jars, honey, twine, dippers, tags. Difficulty: Beginner. About $1.50 to $2.50 per favor.
25. Hunny Pot Diaper Cake
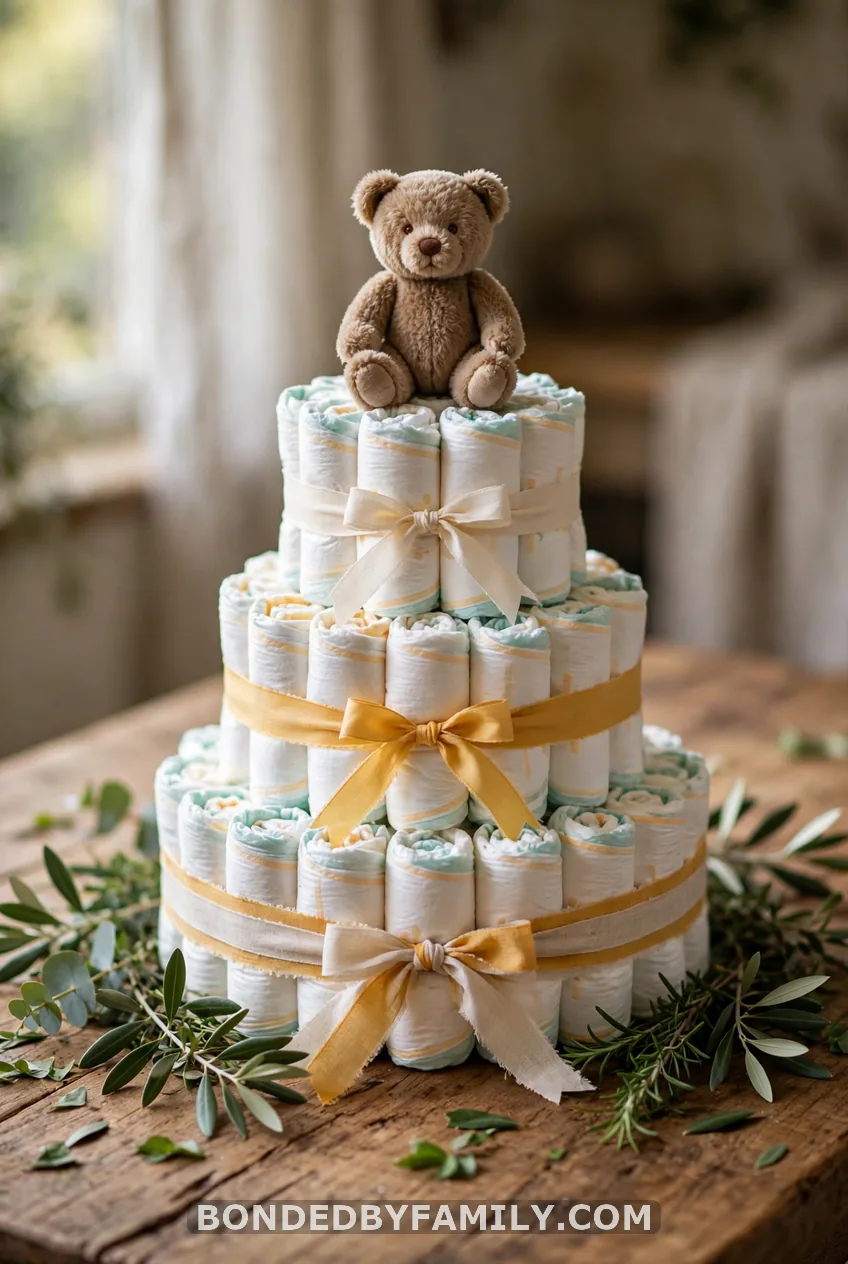
A diaper cake is both a decoration and a gift. For a 3-tier cake, you need about 30 newborn and size 1 diapers, 6 rubber bands, 4 yards of ribbon, a paper towel tube or a bottle for the core, a cardboard base and a small plush.
Roll each diaper tightly and secure with a rubber band. Arrange 12 rolled diapers around a bottle for the base tier, 10 for the middle and 8 for the top. Wrap each tier in ribbon and finish with the plush on top.
How to Choose and Adapt
Start with three or four projects that fit your time. A centerpiece, one dessert, one game and one favor is plenty for a small shower.
For a boy, use pale blue and honey with a touch of orange for Tigger. Add a gray-blue Eeyore corner and a “Welcome Little One” banner. For a neutral look, keep to moss, wood and cream.
Dollar stores carry foam board, balloons, twine and plain frames. Craft stores sell terracotta and cardstock in bulk. Free printables from Canva and other free template sites cover the paper side.
FAQs
What is the difference between classic and modern Winnie the Pooh?
Classic Pooh comes from A.A. Milne’s stories and E.H. Shepard’s soft pen-and-ink drawings.
Modern Pooh is the bright Disney version. For a classic shower, use muted yellows, greens and browns with vintage-style art.
How can I make Winnie the Pooh baby shower decorations on a budget?
Paint terracotta pots as Hunny pots, print banners and signs at home, and use thrifted Pooh books for table numbers. Natural items like moss, wood slices and pinecones add charm for very little money.
What games can I DIY for a Winnie the Pooh baby shower?
Try The Price Is Right, Name That Storybook Quote, ABC Baby Items, Pin the Tail on Eeyore and a guess-the-honeycomb-count jar. Most need only paper, pencils and a few cheap props. A onesie decorating station works as both a game and a gift.
Where can I find free classic Pooh printables?
Canva has free templates you can restyle in vintage colors, and many party blogs offer free invites and signs. Search for “classic Winnie the Pooh baby shower free printables” and choose designs with soft, sketch-style art.
How do I make a Hunny pot centerpiece?
Paint a terracotta pot with two coats of yellow acrylic and write “HUNNY” in black paint pen. Fill it with floral foam, cover with moss and add yellow flowers. Set it on a wood slice for a rustic base.
One Last Thing
A handmade shower feels sweeter than a bought one, so pick a few projects, paint a pot or two, and enjoy the honey.