Wrapping paper crinkled in one hand, tape stuck to your fingers, gift half-covered, shower starting in twenty minutes. Sound familiar?
Baby shower gift wrapping ideas don’t have to mean a trip to a craft store or an hour you don’t have. Most of the prettiest presentations come from things you already own. Brown paper, a spare ribbon, maybe a onesie you were going to gift anyway.
Below are 25 ways to wrap a baby gift so it looks like you spent way more time on it than you did. Some take two minutes. One takes a Saturday afternoon and turns into a keepsake. Grab whichever fits your morning.
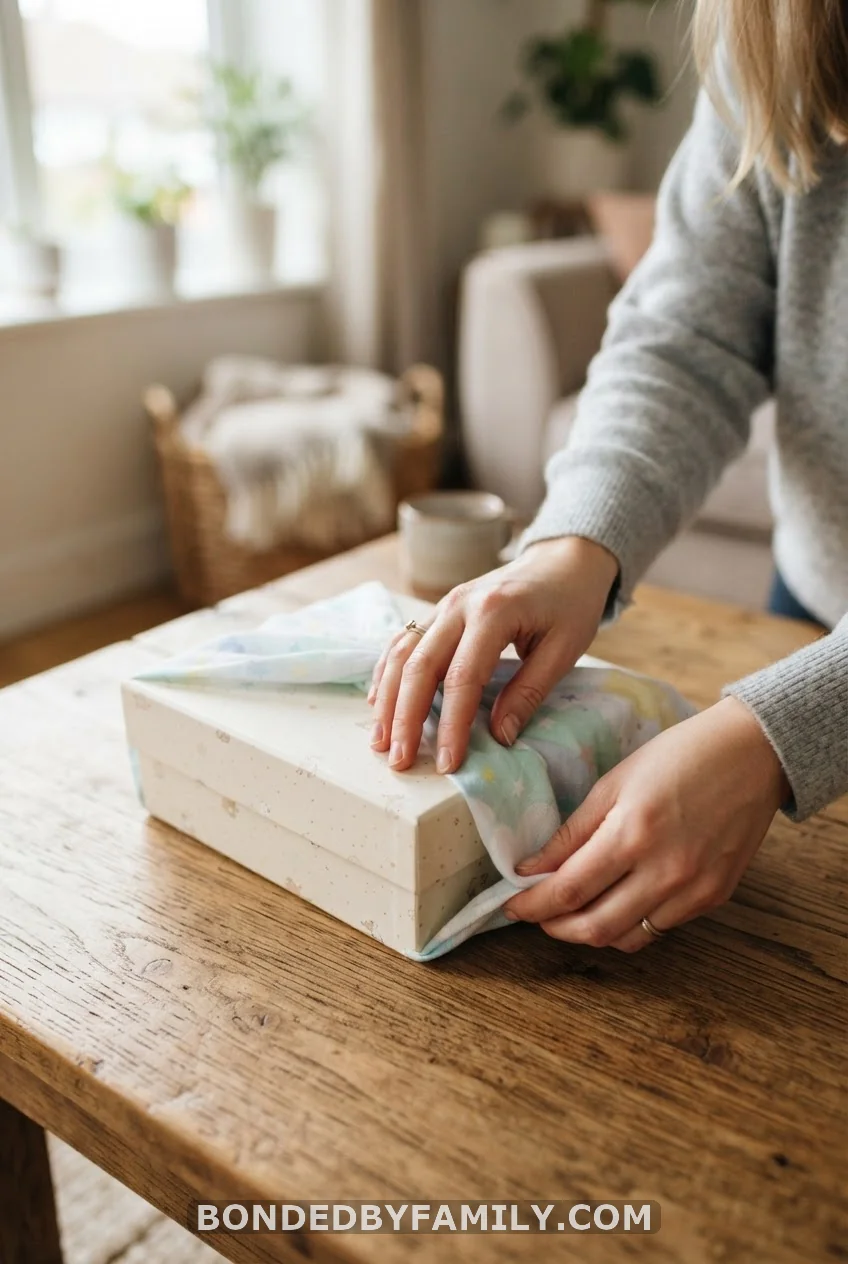
1. The Furoshiki Cloth Wrap
Why This Works
Furoshiki is a centuries-old Japanese cloth-wrapping method, and it solves the one problem every baby shower gift has: awkward shapes. A stroller attachment, a stack of burp cloths, a bulky diaper bag. Paper tears at the corners. Fabric doesn’t. It stretches, tucks, and knots around almost anything. When the parents unwrap it, the fabric itself becomes a swaddle blanket or a nursing cover. Nothing goes in the trash.
Dimensions and Setup
For a standard shoebox-sized gift, you need a fabric square between 24 and 30 inches per side. Bigger items like a diaper bag need 36 inches. A quarter-yard of cotton or muslin from most fabric counters covers a medium gift with room to spare.
Materials and Costs
- Cotton or muslin fabric square: $6-14 depending on print
- Fabric scissors: skip if you already own kitchen shears
- Iron (optional, for crisp folds): $0 if borrowed
Total cost for one wrap: $6-14, and the fabric is reusable indefinitely.
Step-by-Step Build
- Lay the fabric in a diamond orientation, one corner pointing toward you.
- Center the gift box in the middle of the diamond.
- Bring the bottom corner up and over the box, tucking it snugly underneath.
- Bring the two side corners up and tie them in a knot on top, like you’re tying a shoelace.
- Take the remaining top corner and tuck it under the knot, or tie it through for a bow effect.
- Fluff the knot so it sits like a rosette rather than a flat cross.
Common Mistakes to Avoid
Skipping the iron on wrinkled fabric is the biggest one. A wrinkled wrap reads as messy instead of intentional, even though the folding technique is the same. Also avoid slippery fabrics like satin for your first attempt. They slide out of the knot before the shower even starts.
Pro Move
Buy the fabric in a print the parents could genuinely use later, like a muted floral or a plain stripe. Pin a small tag to the knot that says “this doubles as a swaddle” so they know the wrap is part of the gift, not just packaging.
2. Diaper Cake Disguise
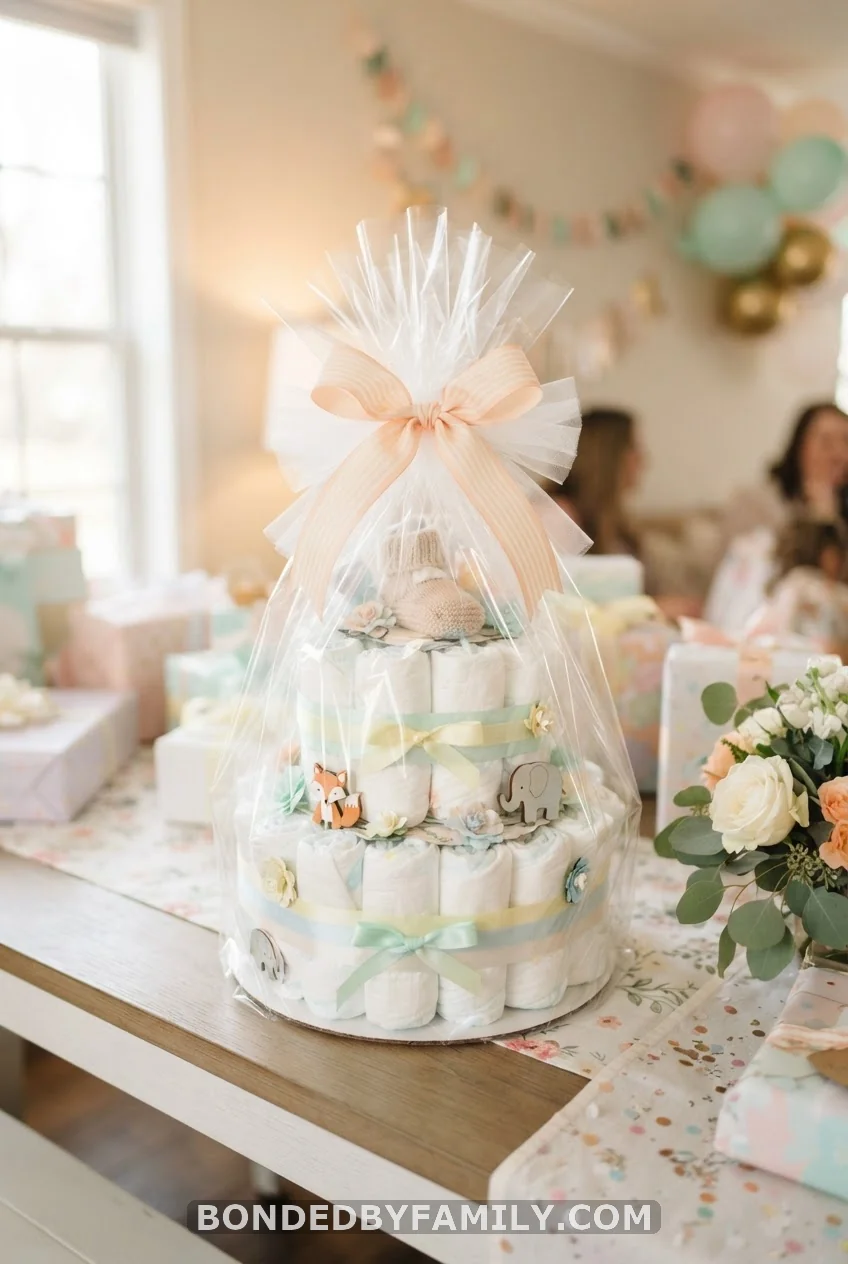
Roll thirty or so diapers into tight cylinders and secure each with a small rubber band. Stack them in rings around a cardboard tube core, small ring on top, wide ring on the bottom. Wrap the whole thing in clear cellophane and cinch it with a wide ribbon at the base of each tier. It photographs beautifully and doubles as a gift the parents will use down to the last diaper.
3. Onesie Bouquet Topper
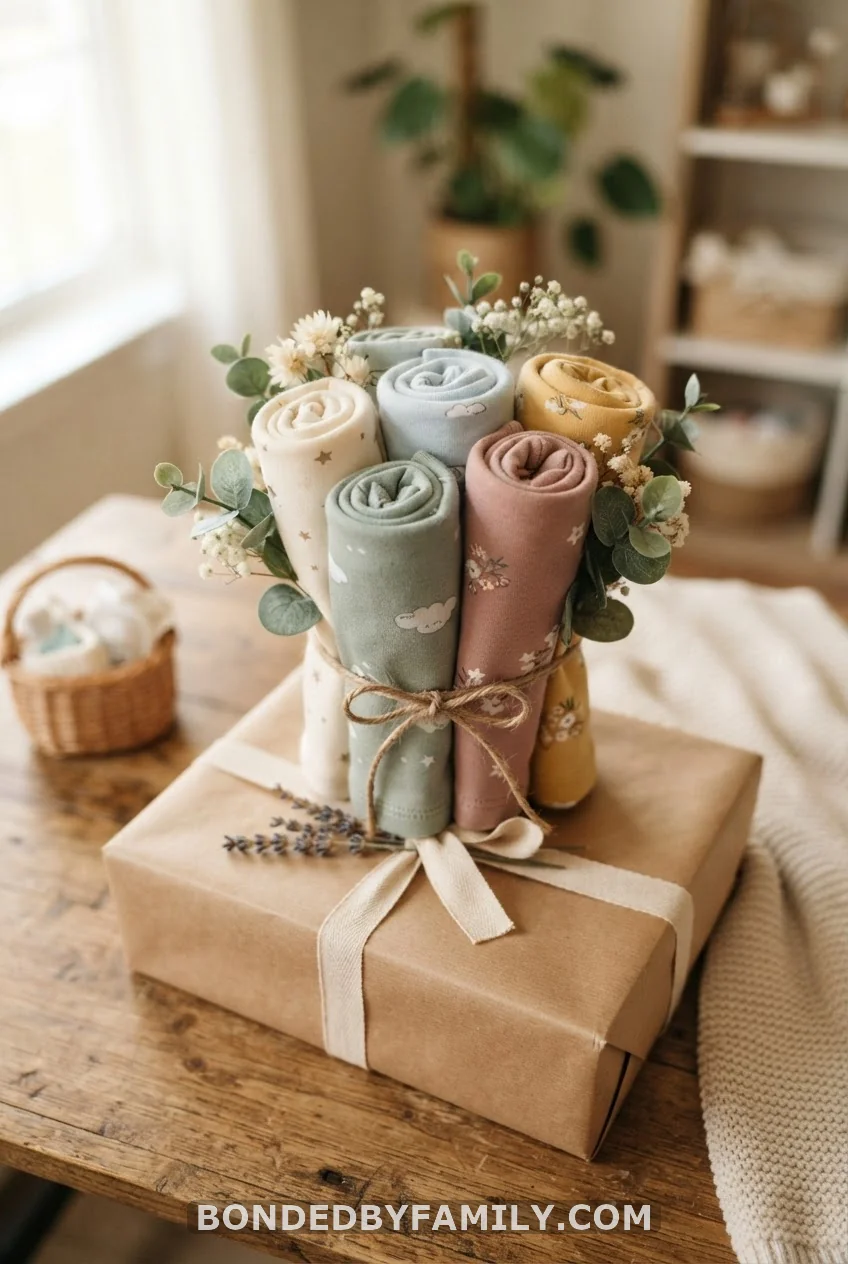
Roll each onesie from the bottom hem up, tucking the rolled fabric into the neckline so it holds its shape like a flower bud. Insert a bamboo skewer or lollipop stick through the center for a stem. Bundle five or six together with floral tape and rest the bouquet on top of a wrapped box. It costs nothing beyond the onesies you were already buying.
4. Kraft Paper and Rubber Stamp Tags
Plain kraft paper is the cheapest wrap on this list. A $4 baby-themed rubber stamp turns it into something custom in under a minute. Stamp a repeating pattern of tiny footprints or a single stork across the paper before you wrap, then tie with jute twine.
5. Two-Tone Color Block Wrap
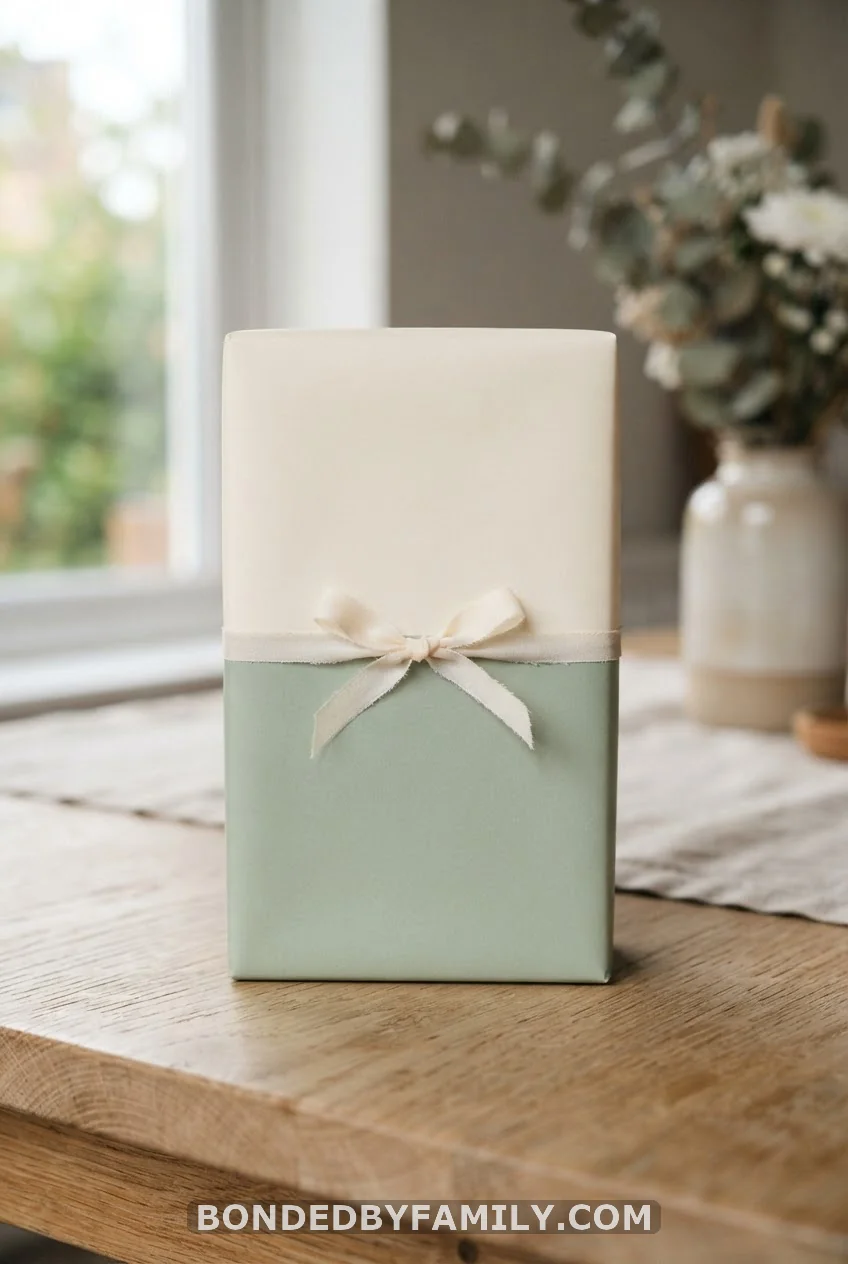
Wrap the bottom two-thirds of the gift in a solid pastel. Wrap the top third in a contrasting cream or white, then secure the seam with a thin ribbon band. The visual break makes even a plain box look designed rather than default.
6. Dollar-Store Ribbon Curls
Buy a spool of curling ribbon for under two dollars, cut a dozen strands, and run each one along the closed blade of scissors to curl it. Bundle the curls under a single knot on top of the gift. Two minutes, almost no cost, and it reads as far more finished than a flat bow.
7. Wagon Delivery for Bulky Gifts
If your gift is a car seat or anything too big to wrap cleanly, skip the paper. Load it into a small toy wagon instead. Tuck a few smaller wrapped items around it and tie a ribbon to the wagon handle. The wagon becomes a second gift once the paper’s gone.
8. Cellophane Basket Reveal
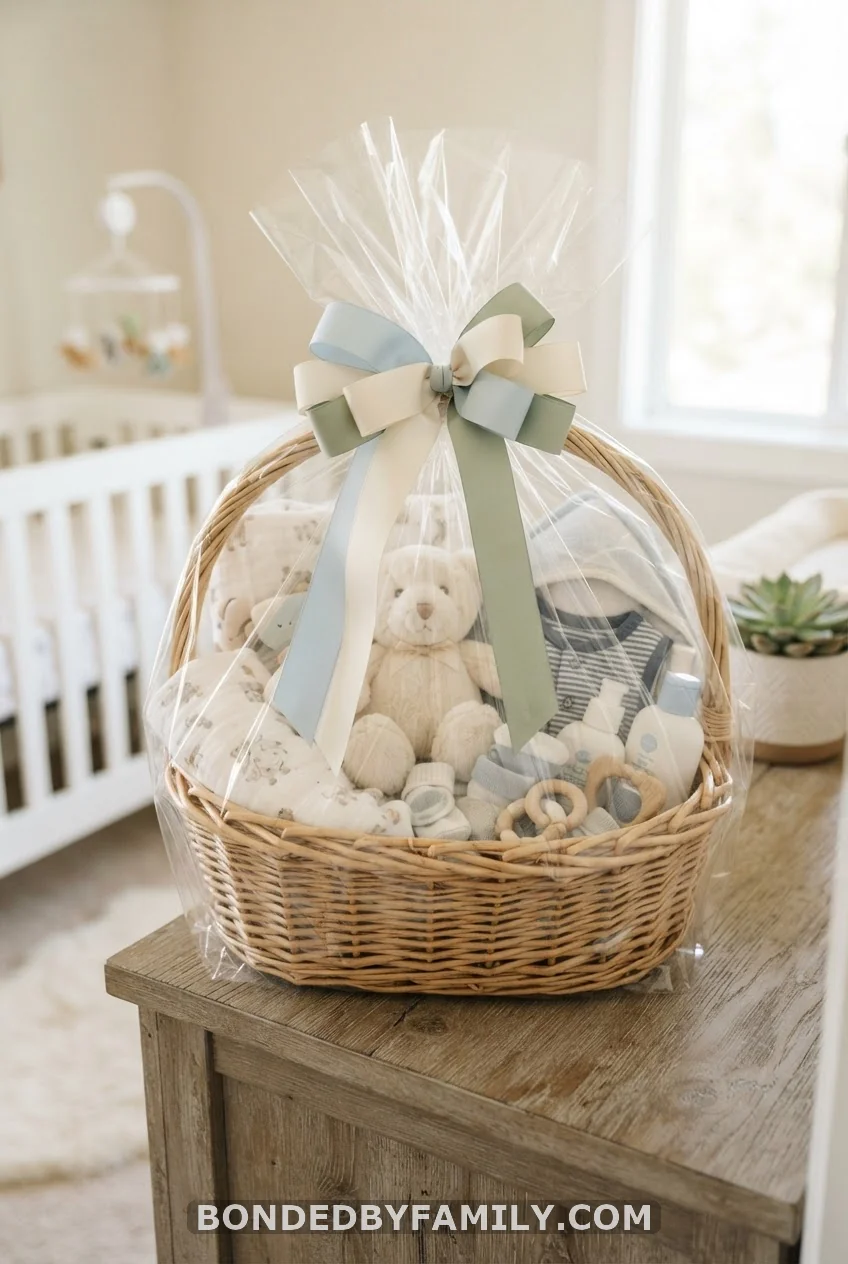
Layer tissue paper in a wicker or fabric basket. Arrange the gift items so the prettiest pieces face up, then wrap the whole basket in cellophane and gather it at the top with a bow. Everything is visible before it’s even opened, which makes for a great unboxing photo.
9. Myth: A Bigger Bow Means a Better-Looking Gift
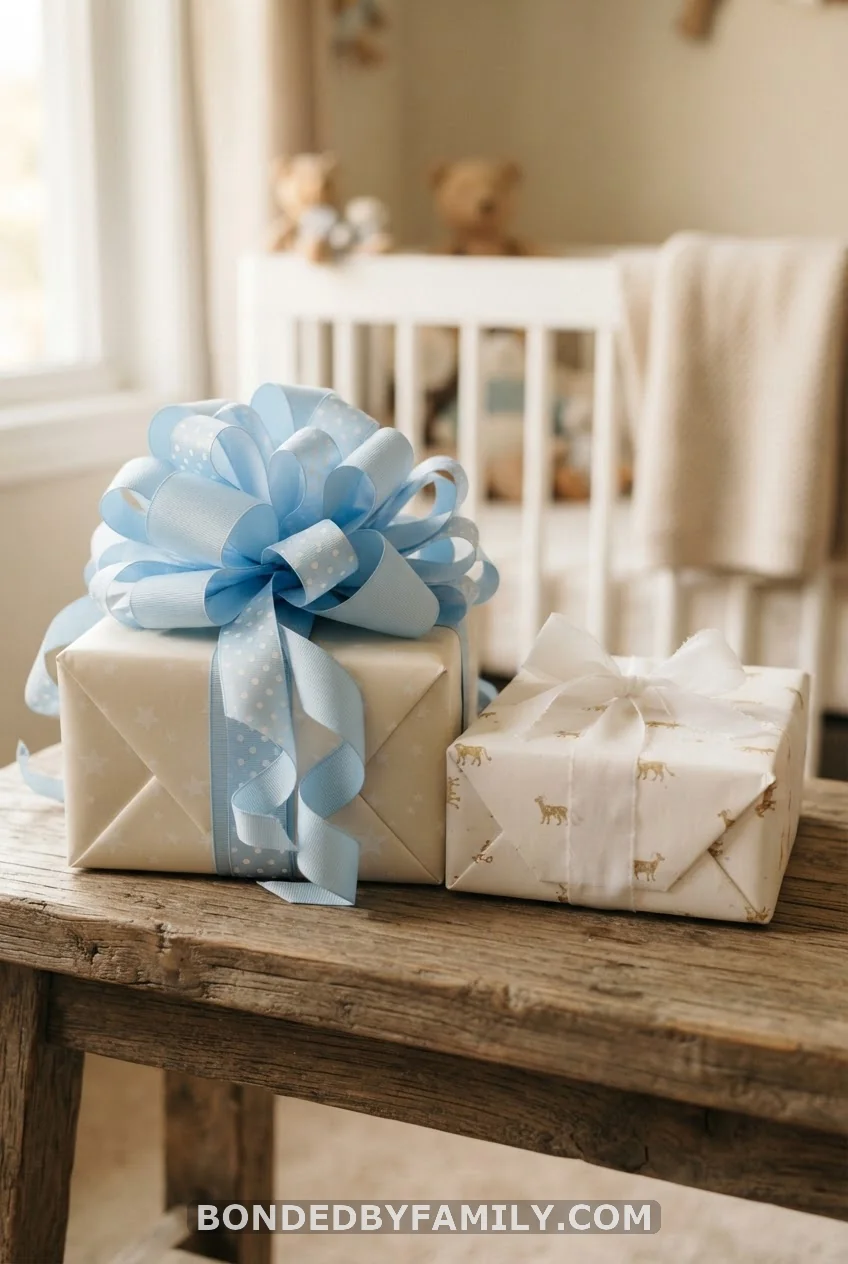
What people think: Piling on the biggest, puffiest bow you can find signals extra effort and makes the gift look more expensive.
Reality: A bow bigger than your palm usually overwhelms a small or medium box and can hide the wrap underneath entirely. The gifts that photograph best tend to have one well-placed accent. A small ribbon knot, one dried flower, a folded fabric tag, rather than a mountain of curling ribbon. Scale the accent to the size of the box. A shoebox-sized gift needs a bow you could close your fist around, not one the size of a dinner plate.
10. Sock Bouquet Topper
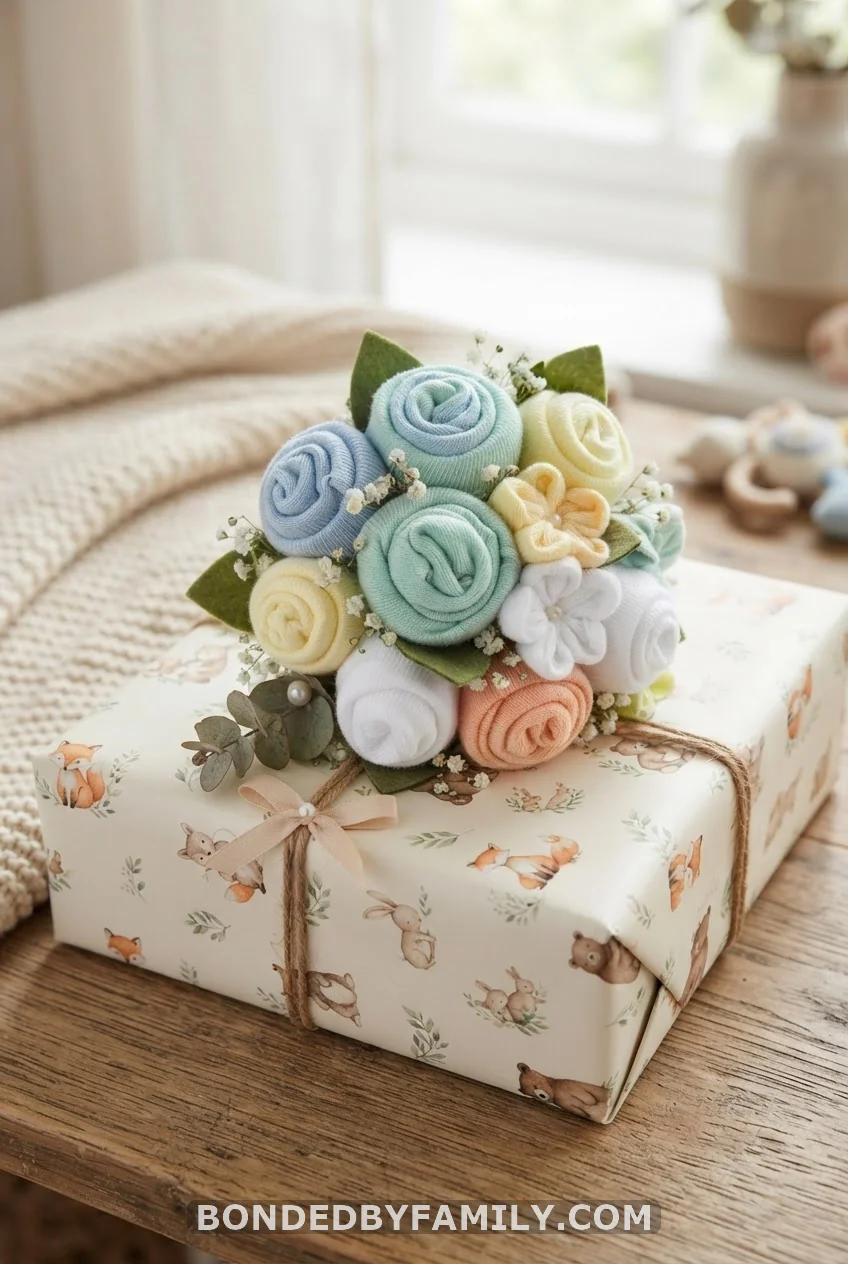
Same technique as the onesie bouquet, but with baby socks paired into “flowers” using a felt circle base. Faster to assemble than the onesie version since socks hold their shape without rolling.
11. Chalkboard Tag Labels
Cut a small rectangle of black cardstock or a mini chalkboard tag. Write “Baby [Name]” or “It’s a Girl” in white paint pen or chalk marker, then tie it to the ribbon. It reads as custom stationery for about fifty cents.
12. Painter’s Tape Grid Lines
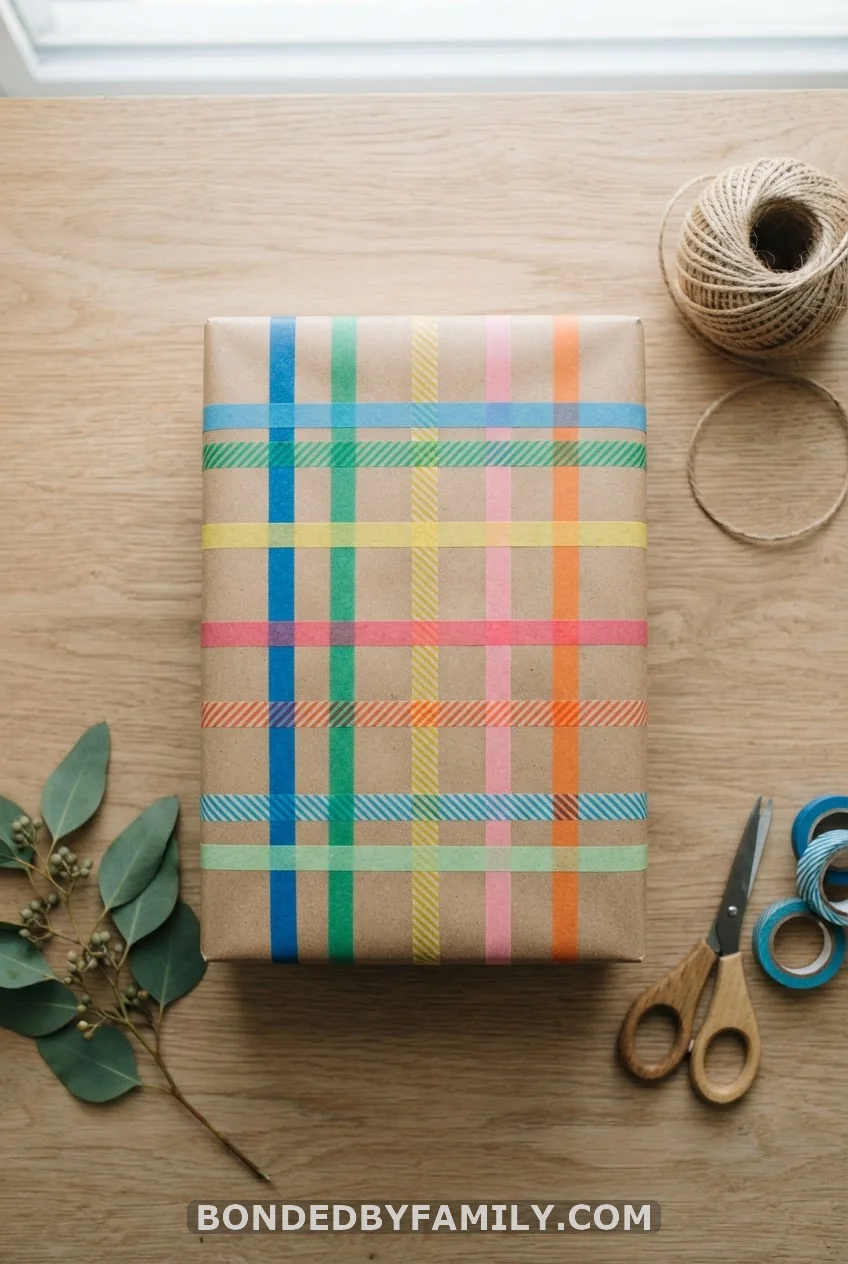
Wrap the gift in plain white or brown paper, then run strips of colored painter’s tape across it in a grid or plaid pattern. No cutting skills required, and the tape peels off clean if you make a mistake.
13. The Glitter Bomb Disaster
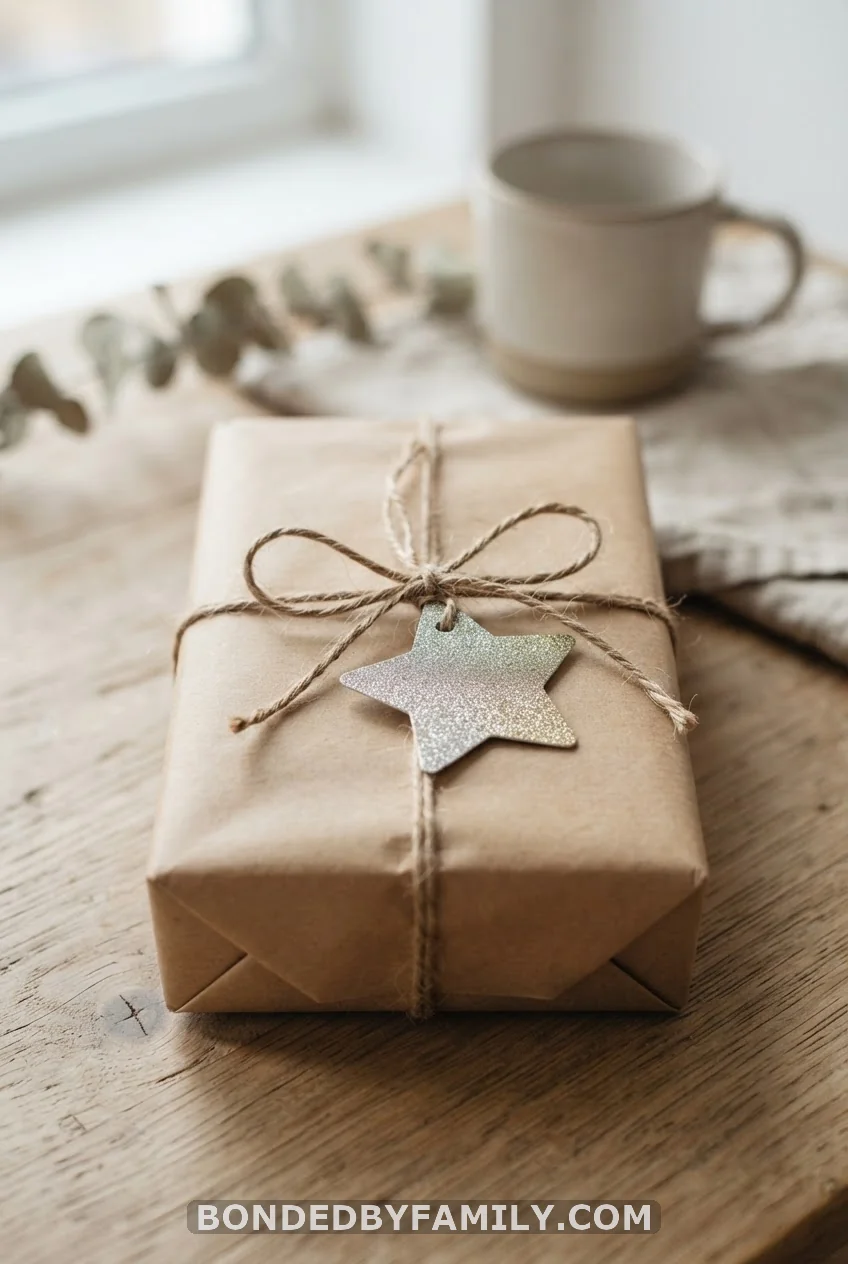
I learned this one the hard way at my cousin’s shower. I thought glitter glue on brown paper would look rustic and sparkly. It looked rustic for about four minutes. Then the new mom picked it up, and glitter rained down onto the carpet, the food table, and the guest of honor’s black dress. Loose glitter does not stay put, no matter how thoroughly you think you’ve sealed it. If you want sparkle, use a glitter cardstock tag instead of loose glitter glue or glitter spray on the wrap itself. The shine stays exactly where you put it, and nobody’s dress pays the price three weeks later when they’re still finding glitter in the car.
14. Book-as-Tag Wrap
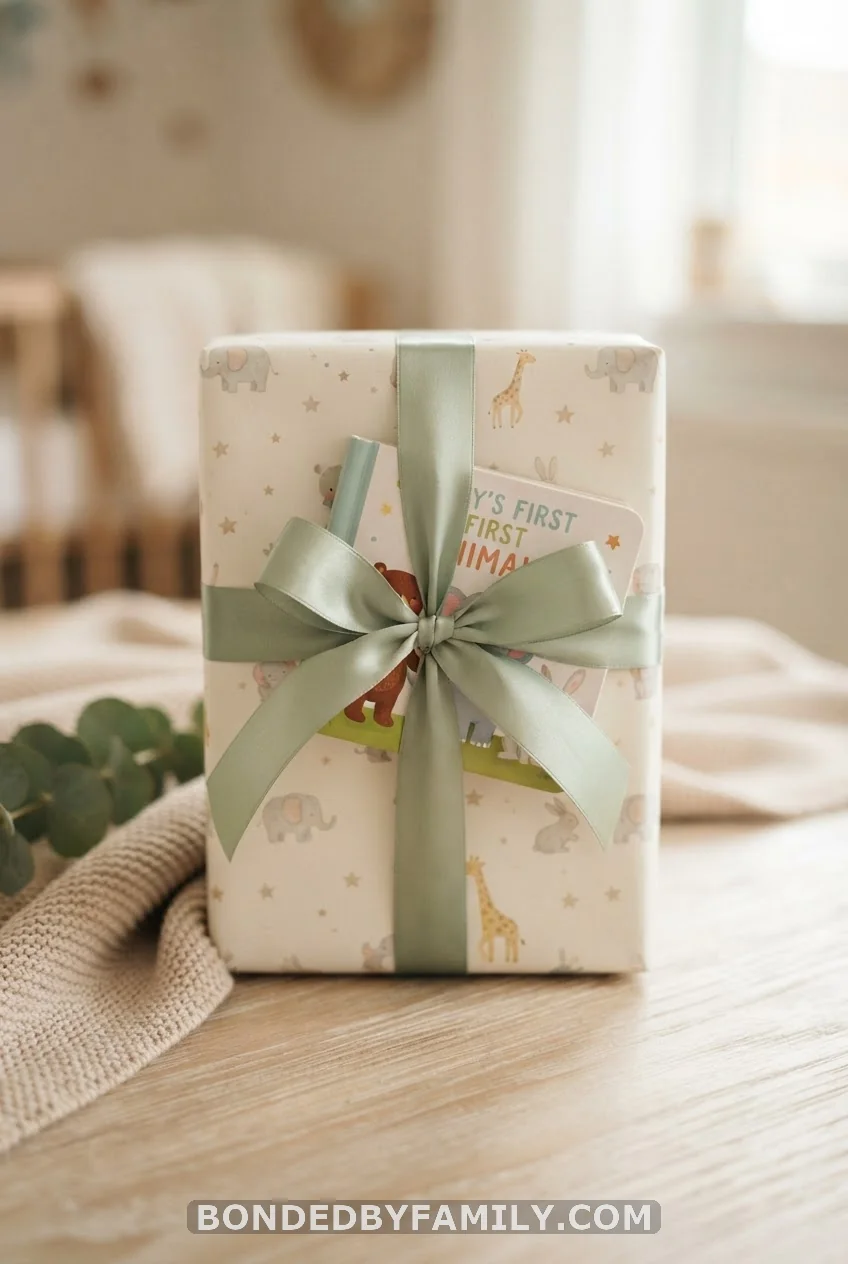
Skip the paper gift tag and tie a small board book onto the ribbon instead. It works as both the tag and a second gift. The cost lands close to what you’d have spent on a nice card anyway.
15. Pom-Pom Cluster Topper
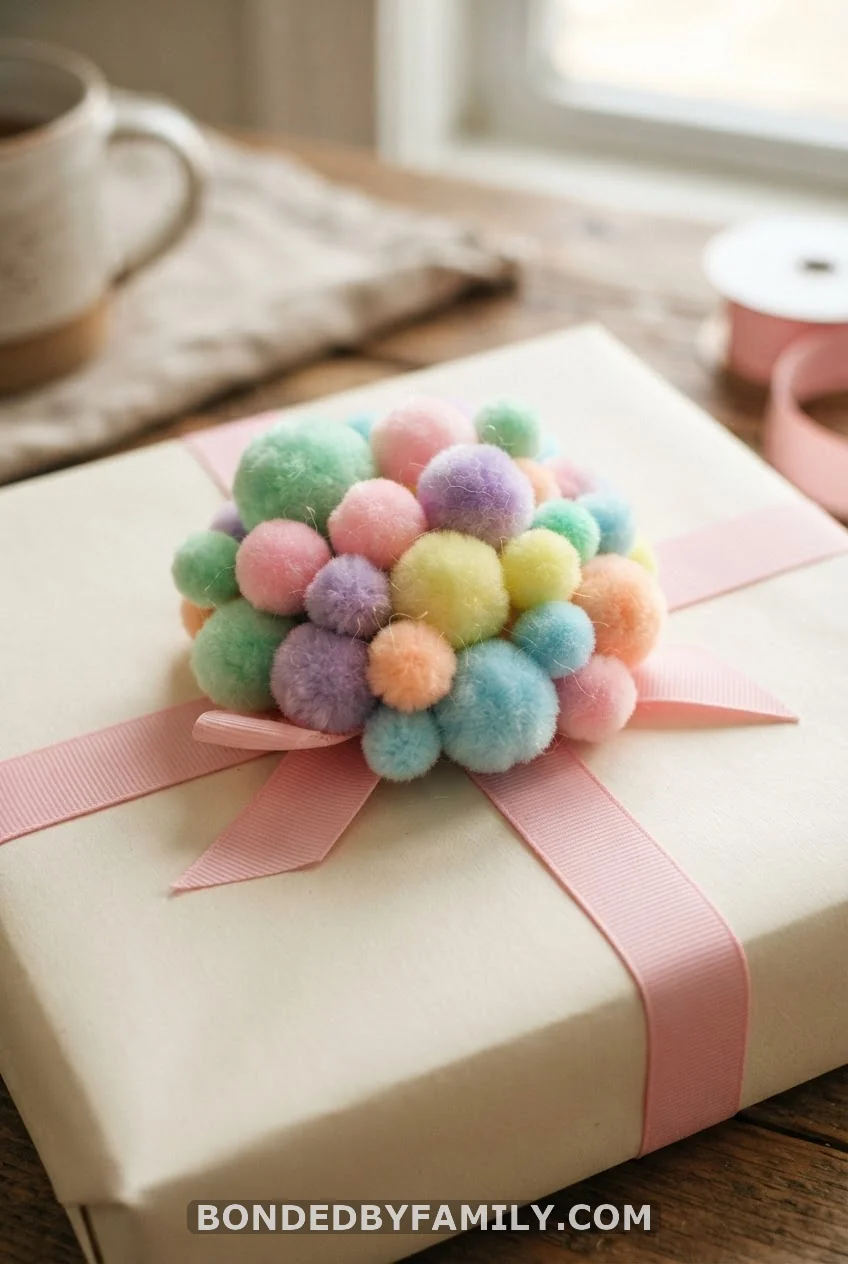
Buy a bag of craft pom-poms in mixed pastel sizes, hot glue five or six into a small cluster, and glue the cluster to the top of the ribbon knot. Takes about three minutes and adds texture without any sewing.
16. Pastel Ombré Paper Fade
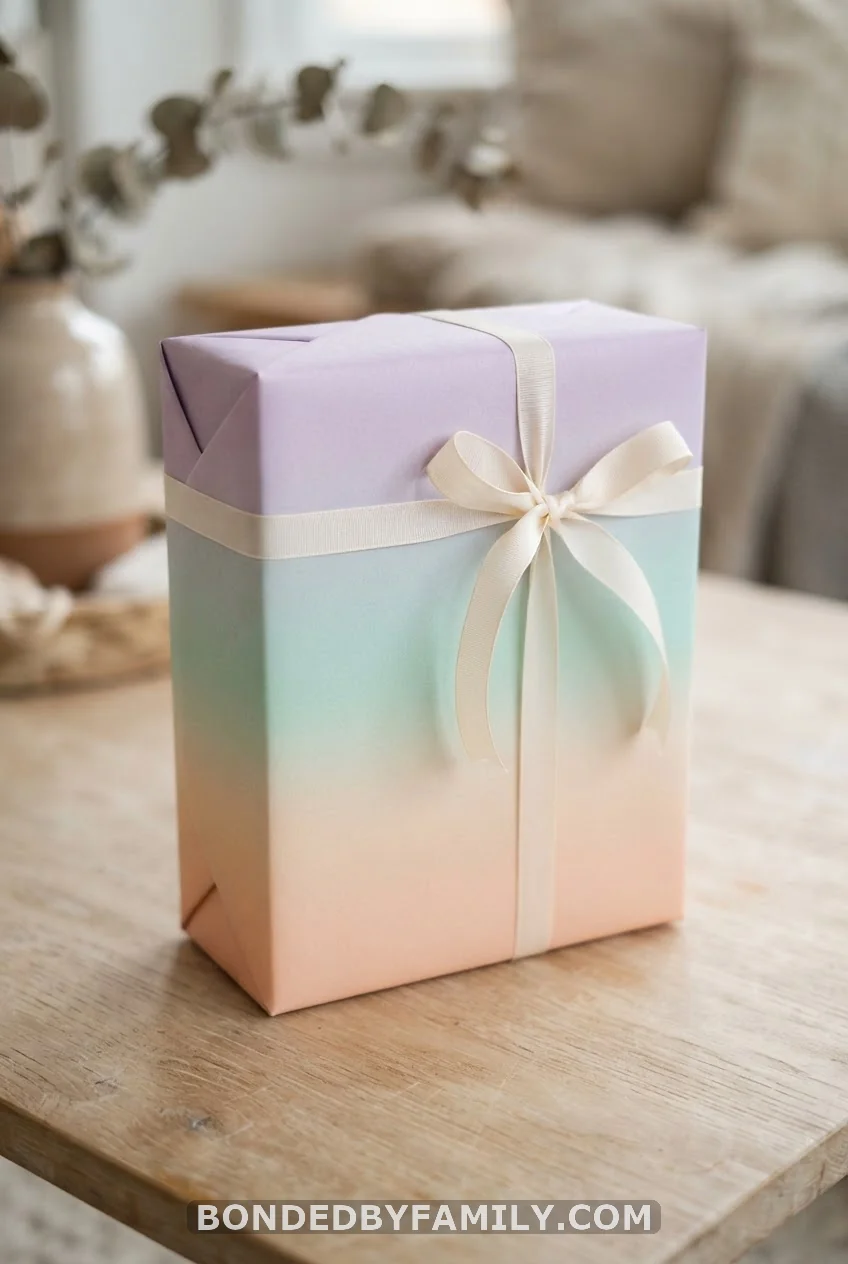
Layer three shades of the same color, palest at the bottom and darkest at the top, in overlapping horizontal bands around the box. It takes a bit more precision than a single sheet of paper. But the gradient effect looks custom-printed, even though it’s just three rolls of paper you already had left over.
17. Bandana Wrap for Boy Showers
Fold a printed bandana diagonally around a small or medium gift the same way you would a furoshiki cloth. Knot at the top and tuck a wooden teething ring into the knot. Costs about three dollars and matches almost any rustic or western-themed boy showers.
18. Mason Jar Nested Gift
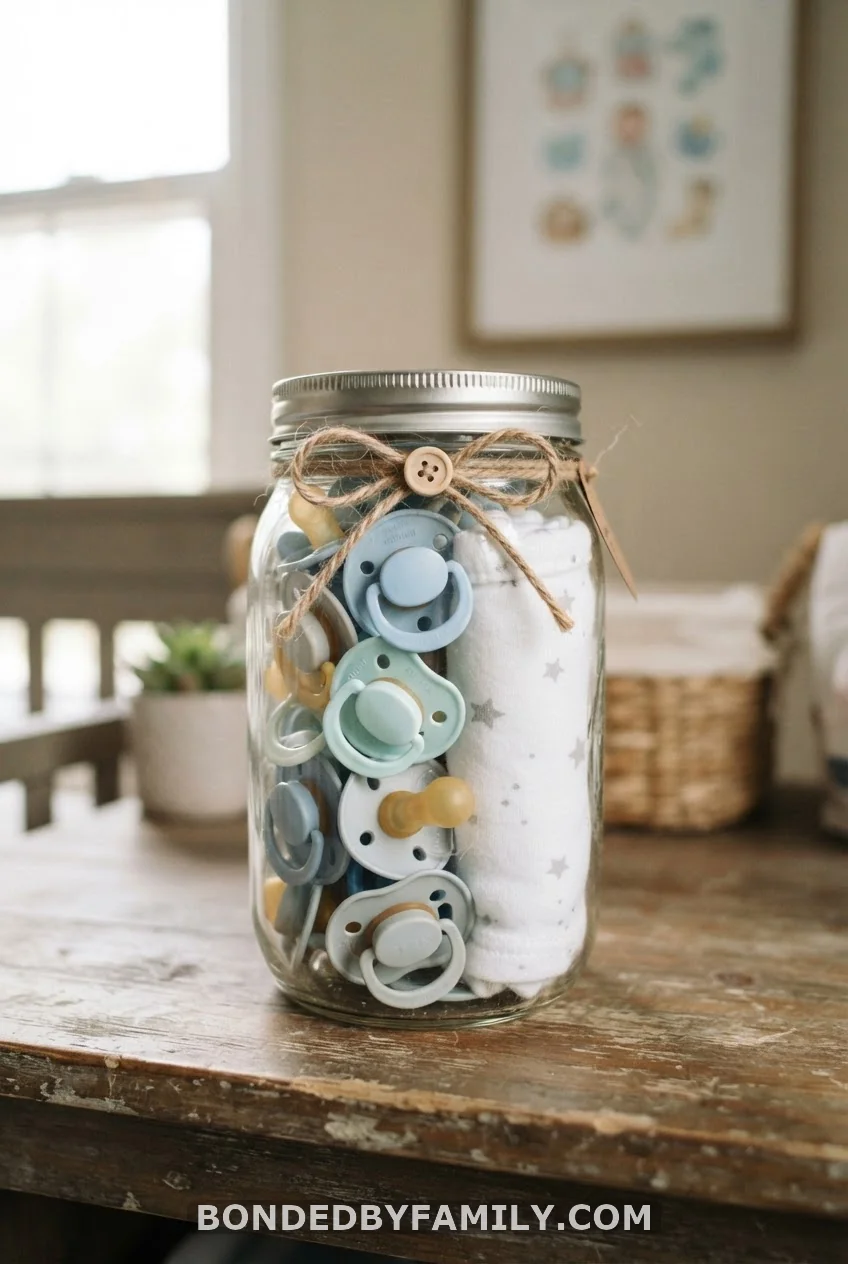
For smaller items like pacifiers, teething toys, or a rolled onesie, skip wrapping paper entirely. Nest the gift inside a mason jar tied with a ribbon at the neck. The jar becomes reusable storage once the gift is out.
19. Doily and Twine Rustic Wrap
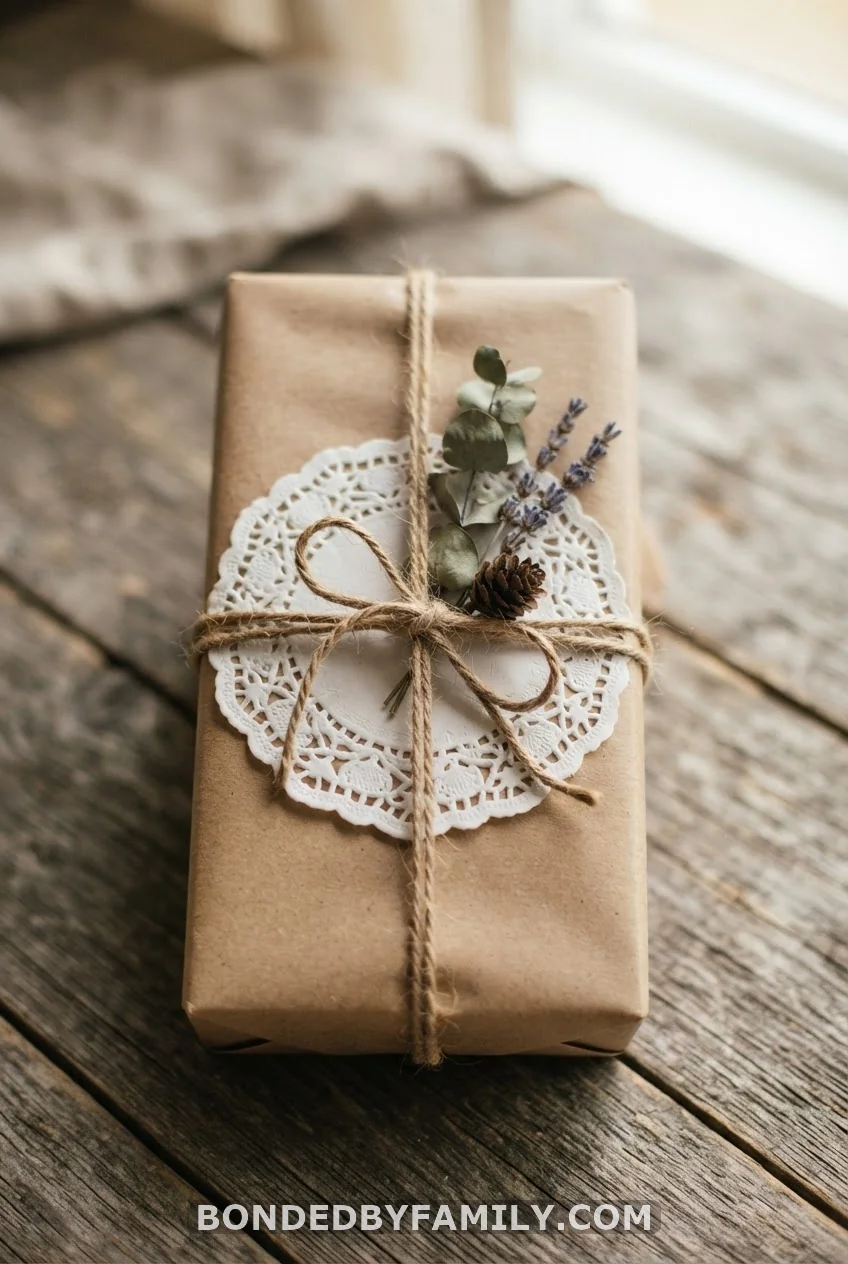
Wrap the base gift in plain kraft paper, then layer a paper doily diagonally across one corner before tying with jute twine. The lace pattern peeking out from under the twine gives a handmade look without any real lacework.
20. Balloon Bouquet Attachment
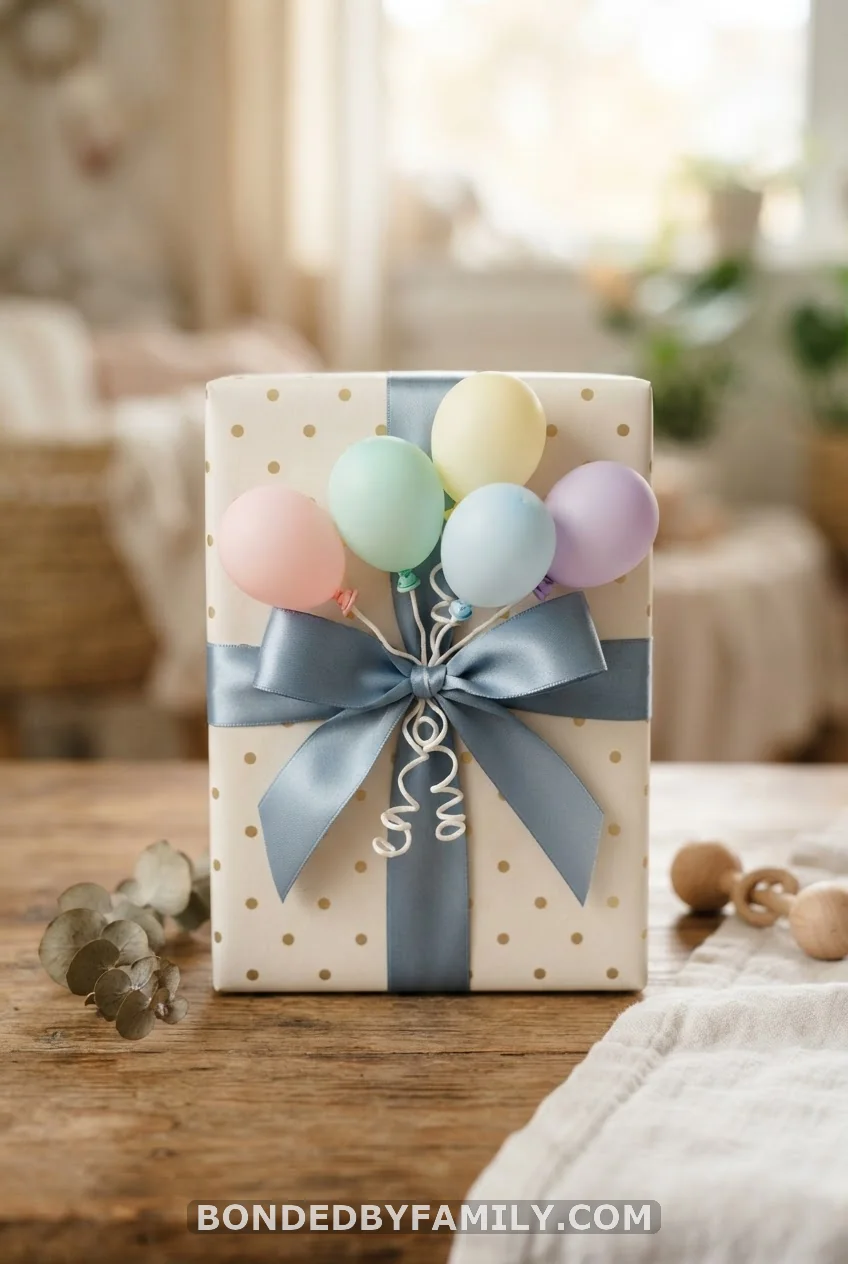
Tie three or four small latex balloons in pastel or white to the ribbon of a wrapped gift. It adds height and color to a gift table for almost nothing extra. A small bundle of balloons usually runs under five dollars.
21. Washi Tape Stripe Wrap
Cover a plain paper wrap in diagonal stripes of two or three coordinating washi tape patterns. Washi tape tears by hand, so there’s no need for scissors, and a roll costs about two dollars and covers several gifts.
22. Felt Animal Topper
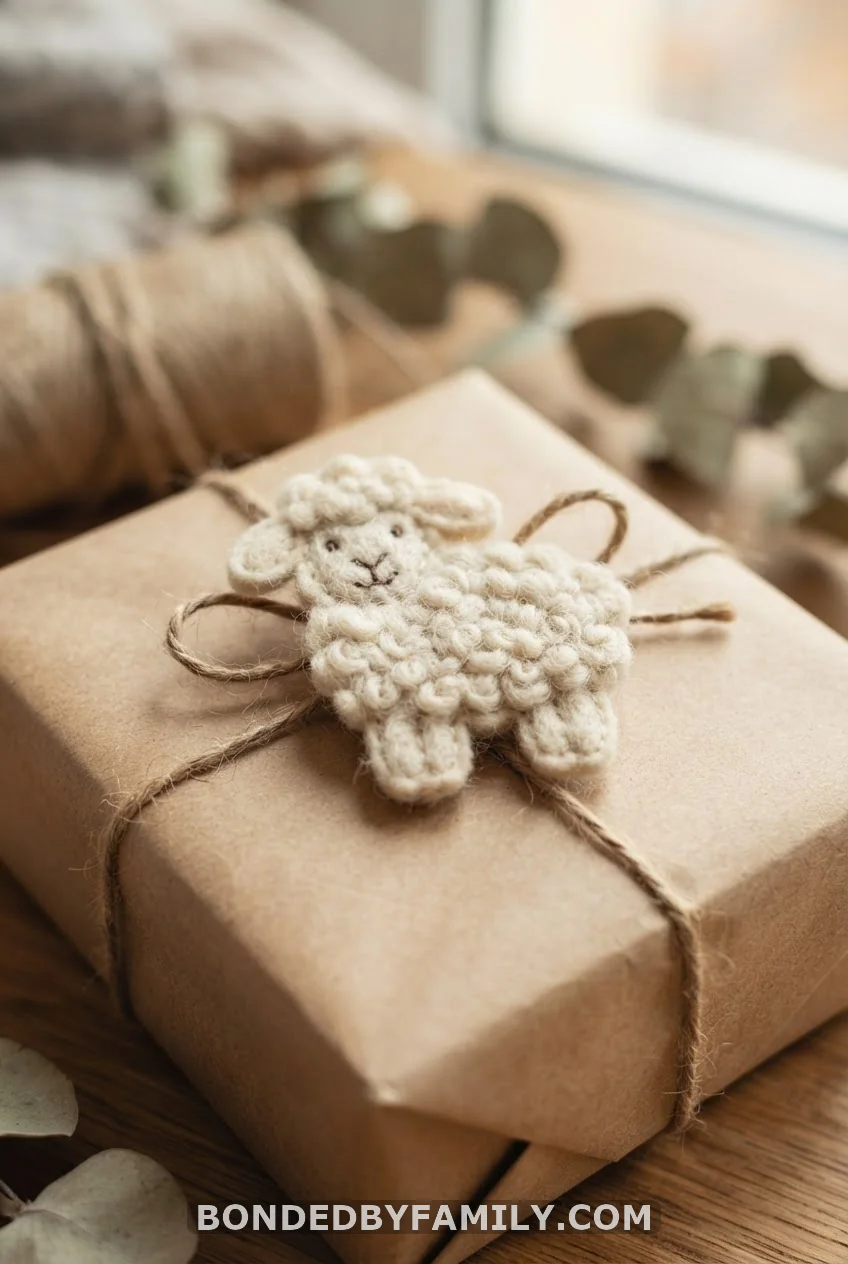
Cut a felt animal shape, a lamb, an elephant, a bear, using a printable template, and glue it flat onto the top of the wrapped box in place of a bow. No sewing required if you use fabric glue instead of thread.
23. Monogram Wax Seal Tag
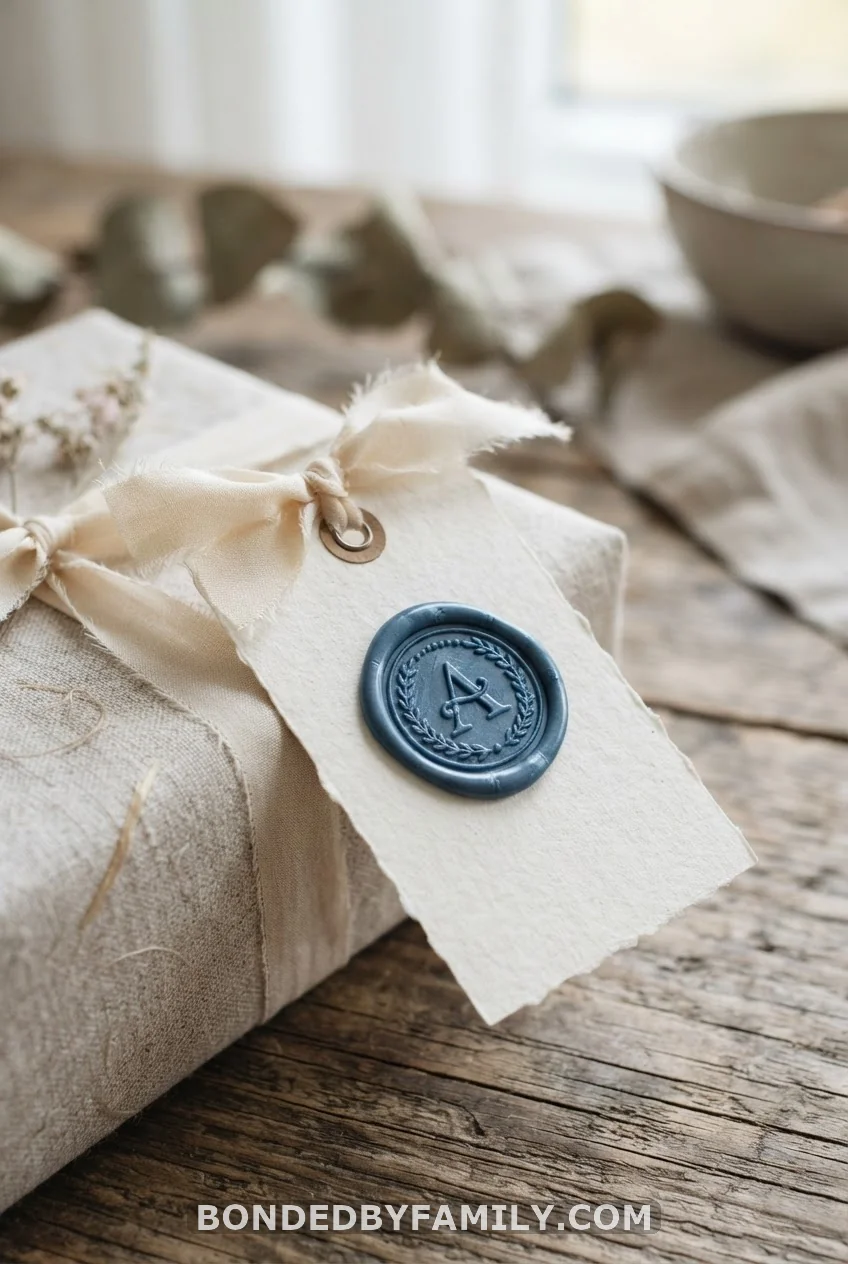
A wax seal stamp with the baby’s first initial presses into a small circle of colored wax on a paper tag. Wax seal kits run about twelve dollars and make enough seals for a dozen gifts, so the cost per gift drops fast if you’re wrapping more than one present.
24. Tissue Paper Flower Cluster
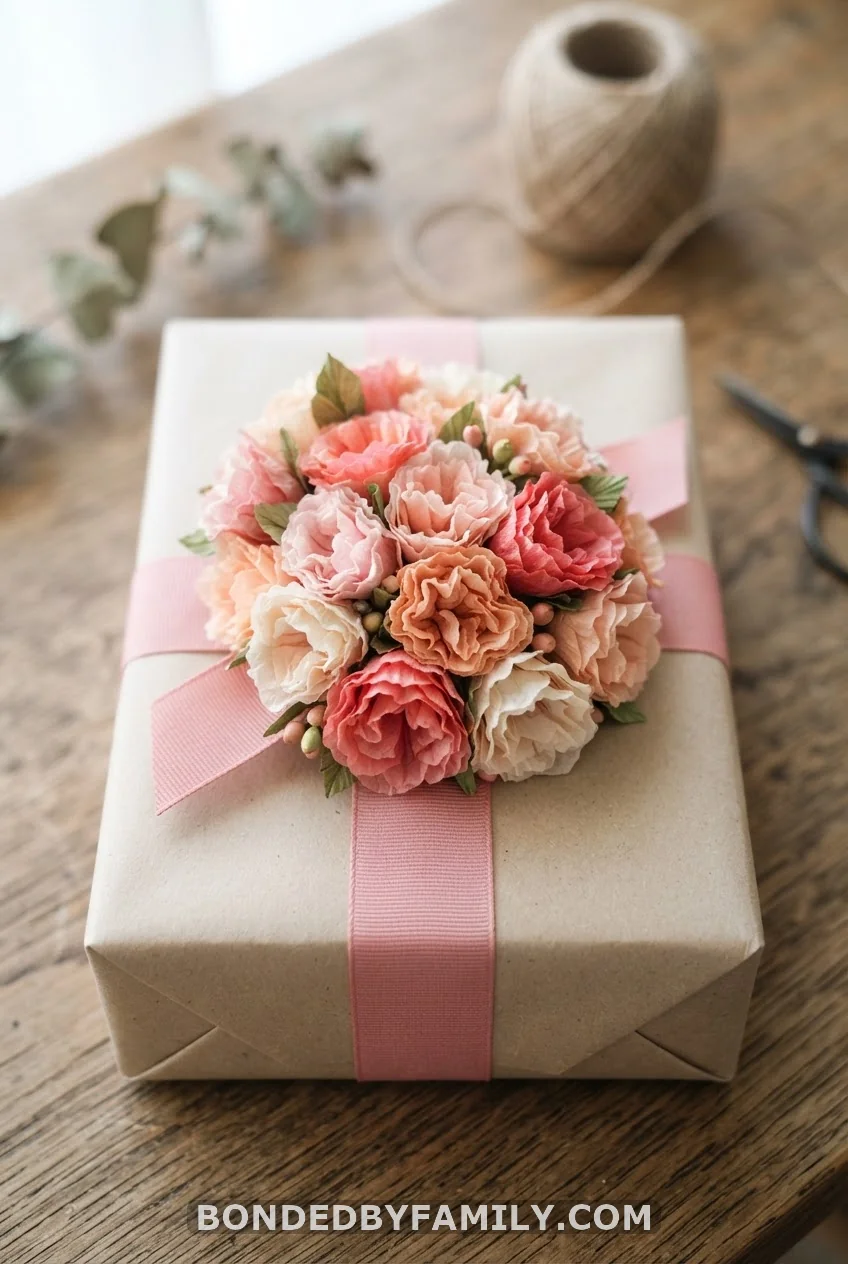
Layer six sheets of tissue paper, fan-fold the stack, tie the center with wire, then separate each layer upward to form a flower. Three or four clustered together and glued to the ribbon knot create a bouquet effect for less than the cost of one real flower.
25. Dried Pampas Grass and Baby’s Breath Accent
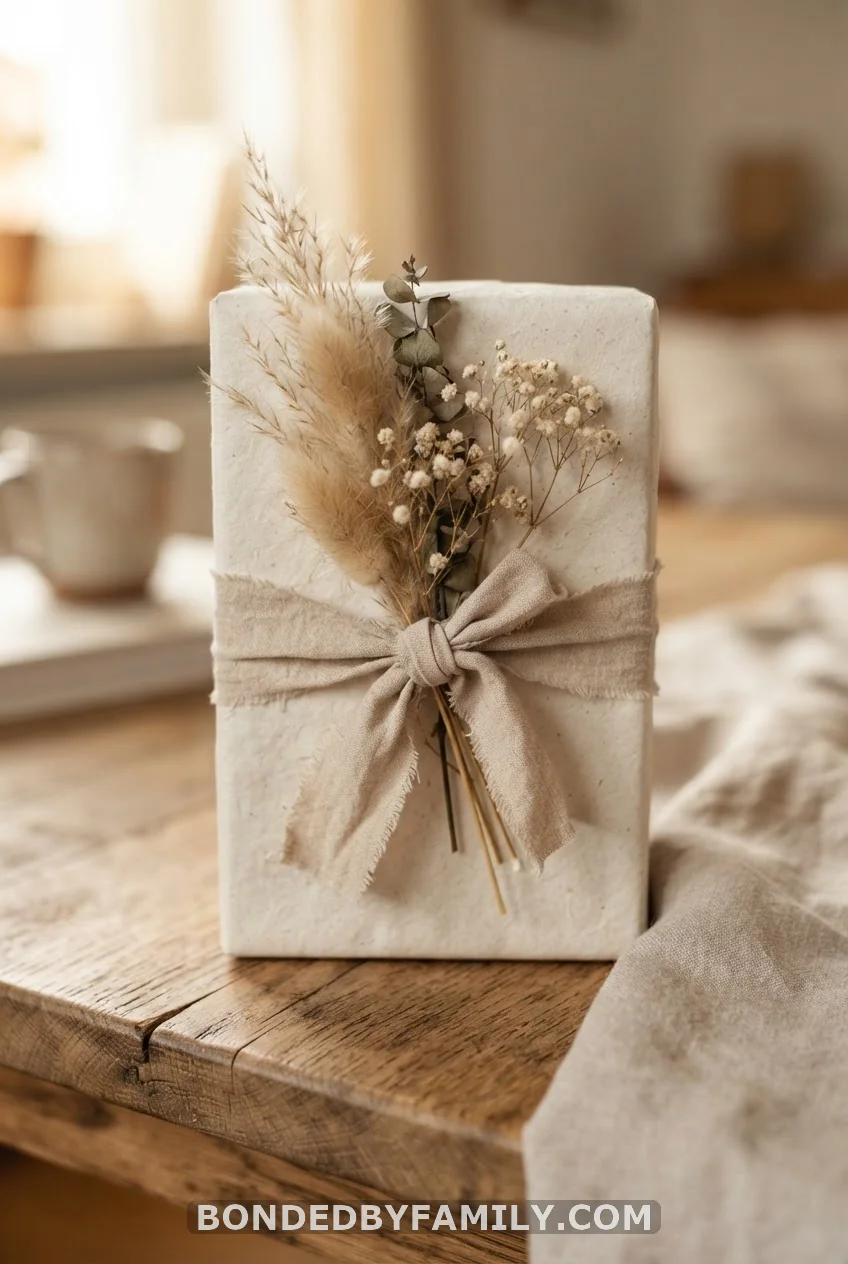
Tuck two or three small stems of dried pampas grass, bunny tail grass, or baby’s breath under the ribbon knot. It adds movement and a neutral, boho texture that works well for gender-neutral showers. A bundle from a craft store lasts through dozens of gifts since it never wilts. It’s the simplest entry on this list and consistently one of the prettiest, proof that a wrap doesn’t need five components to look finished.
A Few Selection Tips
Match the wrap to how the gift will travel. A furoshiki cloth wrap survives a car ride better than a cellophane basket, which can shift and spill. If the shower has a color theme, pick one wrap element, the ribbon, the tape, the accent, in that color rather than trying to match everything. And if you’re short on time, go with paper plus a natural accent. Doily and twine, or kraft paper and baby’s breath, take the least effort for the most visual payoff.
Still hunting for what to put inside the wrap? Our unique baby shower gifts roundup covers the presents nobody else is bringing.
Wrapping Up
A great baby shower gift wrapping idea doesn’t need a craft room or a weekend. Most of what makes a gift table look pulled together comes down to one intentional detail. A knot, a stamp, a sprig of greenery, rather than layers of extras. Pick whichever of these fits the time you have this week, and the gift will look like it took longer than it did.
FAQ
What’s the easiest way to wrap an oddly shaped baby gift?
Fabric wrapping, like the furoshiki method, handles odd shapes far better than paper. It stretches and knots around curves and corners that would tear standard wrapping paper.
How do I wrap a baby shower gift without buying anything new?
Use paper grocery bags cut flat as kraft paper, twine or leftover ribbon from previous gifts, and any small item from around the house, a button, a sprig from a houseplant, as the accent.
What colors work for a gender-neutral baby shower gift?
Sage green, mustard, cream, and terracotta read as gender-neutral without leaning heavily masculine or feminine, and they photograph well against most gift table backdrops.
Can I reuse gift wrap materials from a baby shower?
Fabric wraps, mason jars, and wagons are all reusable by design. Paper-based wraps with tape typically aren’t, so lean toward fabric or containers if reducing waste matters to you.
How far in advance should I wrap a baby shower gift?
Structural wraps like the diaper cake or bouquet toppers hold up fine made a day or two ahead. Anything with fresh greenery, like the pampas grass or baby’s breath accents, is best added the morning of the shower so it stays fresh in photos.