Rice is already in my hair, and my three-year-old is shouting that the reindeer needs “more cocoa.” That is the moment I knew a DIY Christmas sensory bin was worth the ten minutes it took to build. The bin cost about four dollars, and it kept her busy through an entire pot of coffee.
This list gives you nine festive bins you can build at home. Each one lists a setup time, a mess level, and an age swap, so you can pick the right one for your kid and your floor.
Before You Build: The 4-Part Formula
Every bin below follows the same four parts. Once you know them, you can swap in whatever you already own.
- Base: a shallow bin, baking sheet, or storage tub. A 28-quart lidded tub works well, and it doubles as storage.
- Filler: rice, oats, lentils, pom poms, cloud dough, fake snow, or shredded paper.
- Tools: scoops, tongs, funnels, measuring cups, spoons, and jars.
- Theme extras: bottle brush trees, jingle bells, cookie cutters, or animal figures.
Aim for about two inches of filler. That is deep enough to scoop and bury things, and shallow enough that it stays in the bin.
The catch:
Sensory play needs a grown-up nearby. Any piece smaller than a toilet paper tube is a choking hazard for kids under 4, and that includes mini marshmallows, pom poms, buttons, and jingle bells. If your child still mouths toys, use the large-piece swaps I list for each bin.
Food-Scented Bins
These three smell good and feel good. They also invite the most pretend play.
1. Hot Cocoa Sensory Bin
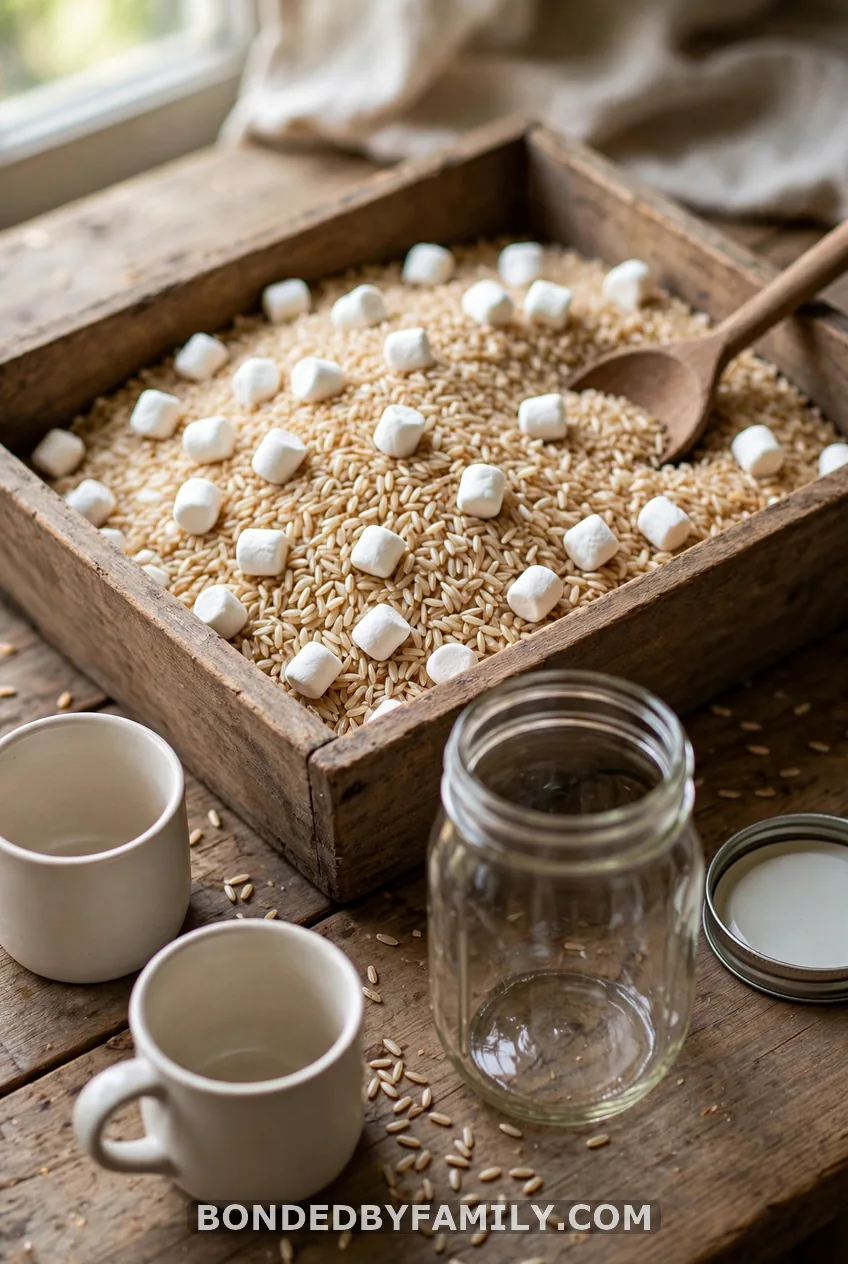
Setup: 5 minutes. Mess: medium. Ages: 3 and up.
Pour 4 cups of uncooked brown rice into the bin. Add jumbo marshmallows, two or three small mugs, a ladle, and a Mason jar. Kids scoop, pour, and “serve” cocoa to stuffed animals.
For toddlers, swap in white felt balls for the marshmallows. They look right and nobody tries to eat them.
One caveat:
Real marshmallows are a food allergy risk for some kids. Use felt balls or white pom poms for anyone with allergies, and only with kids old enough not to mouth them.
2. Christmas Tree Farm Sensory Bin
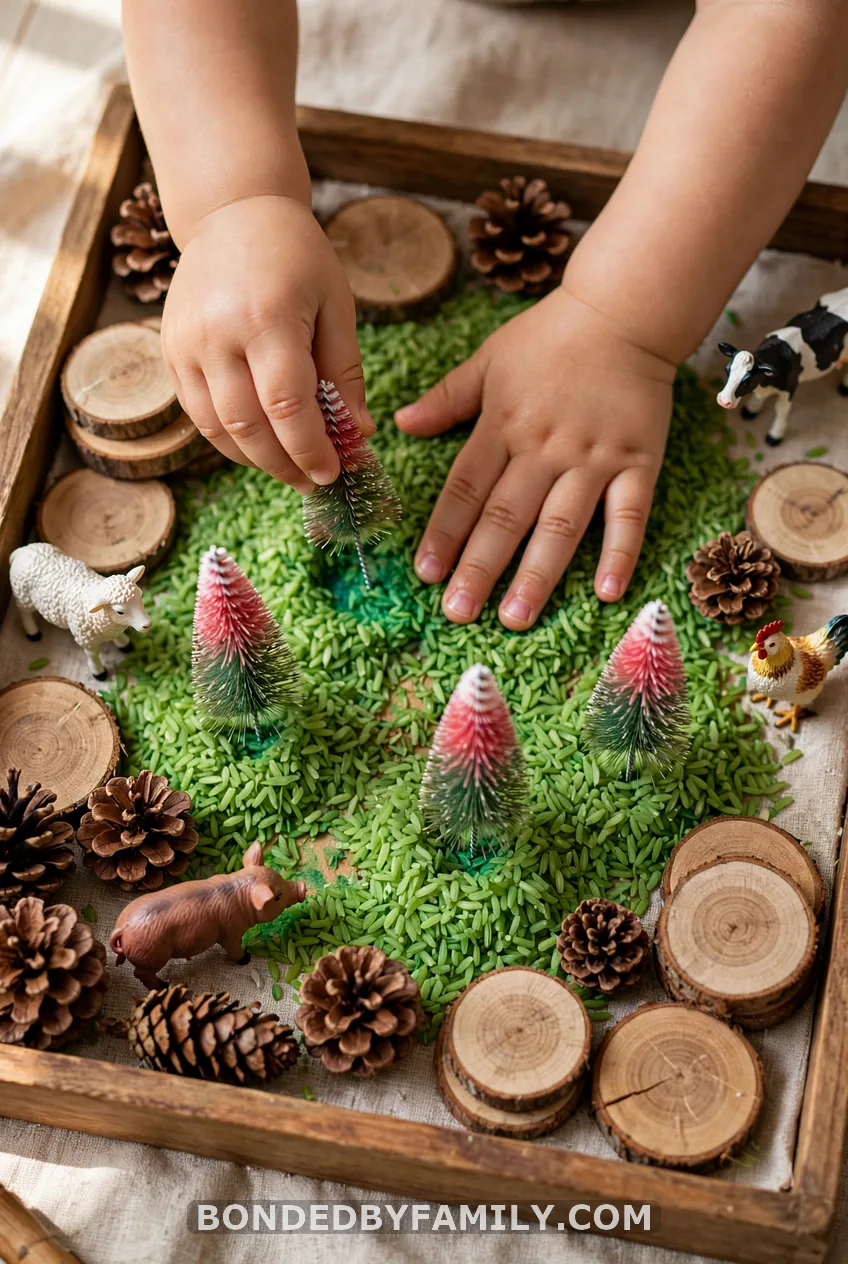
Setup: 10 minutes. Mess: medium. Ages: 2 and up.
Dye 4 cups of rice green, or use dry green lentils straight from the pantry. Poke bottle brush trees into the filler so they stand up. Add natural wood slices as “sales counters,” a few pinecones, and some animal figures from a set like Wild Republic’s.
Kids plant, rearrange, and sell trees. Older kids can count trees into rows of five.
Toddlers do best with just three or four big trees and a scoop. Skip the tiny figures.
3. Gingerbread Bakery Sensory Bin
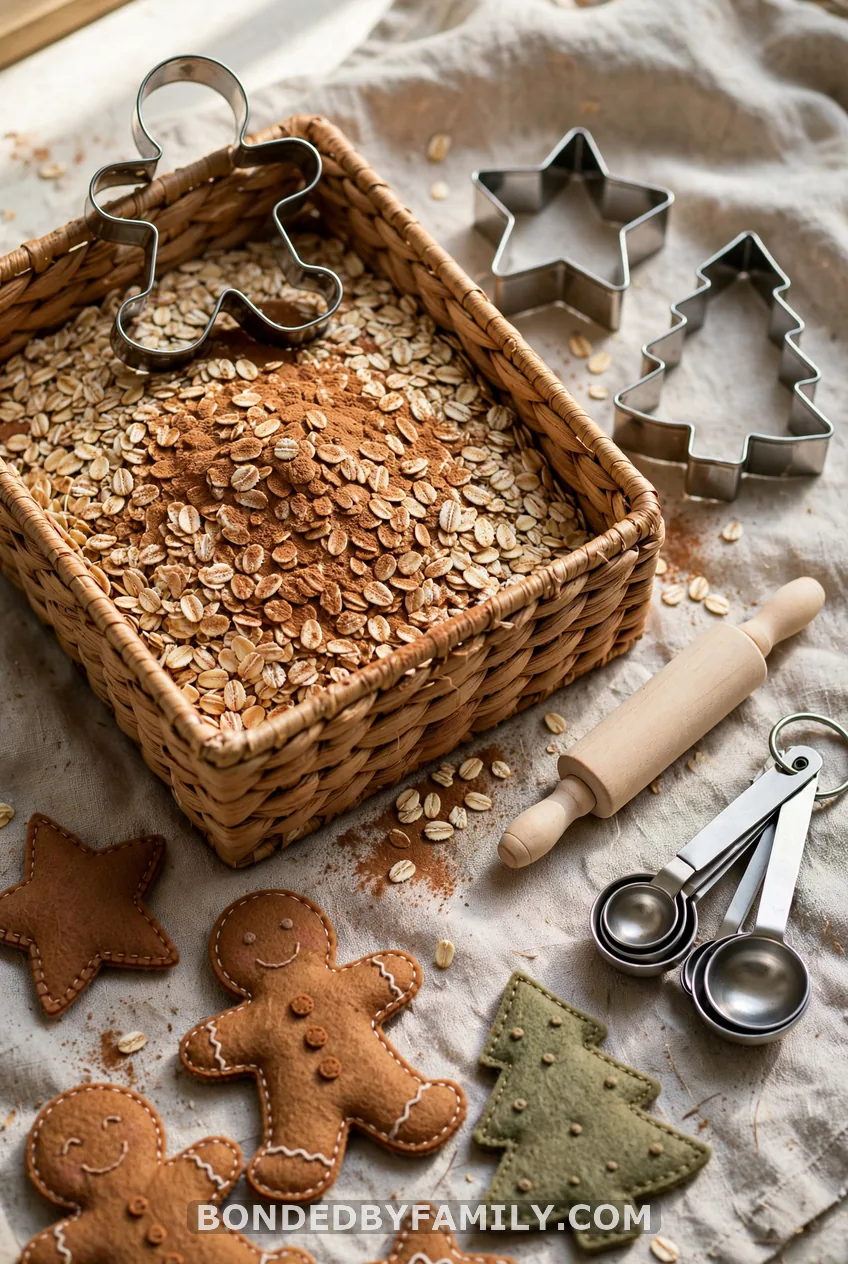
Setup: 5 minutes. Mess: medium. Ages: 2 and up.
Fill the bin with plain rolled oats and shake in a tablespoon of cinnamon. Add a gingerbread man cookie cutter, a mini rolling pin, measuring spoons, and a muffin tin. Cut felt shapes in brown and red for kids to “decorate” and count.
If strong scents bother your child, leave the cinnamon out. Put a cinnamon stick on a tray beside the bin instead, so they can sniff it when they choose.
Colorful Sorting Bins
These bins build fine motor skills. Tongs and scoops do the heavy lifting.
4. Candy Cane Rice Sensory Bin
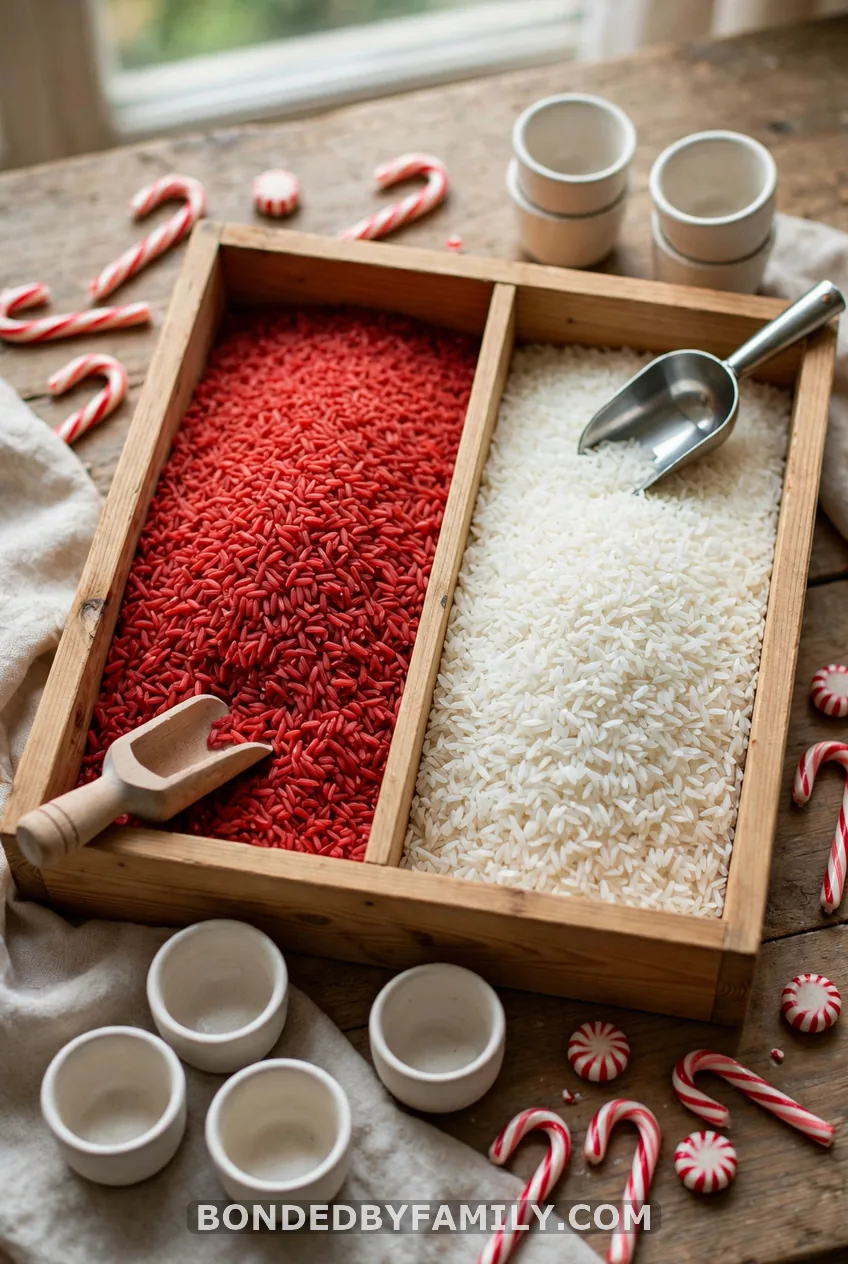
Setup: 15 minutes plus 1 hour drying. Mess: medium-high. Ages: 3 and up.
This is the deep-dive bin. Dyed rice is the filler behind half the Christmas bins you will ever make, so learn it once.
What you need (about $5 total):
- 4 cups white rice
- 4 tablespoons white vinegar
- Red gel or liquid food coloring
- 2 gallon-size resealable bags
- 1 baking sheet
- A few drops of peppermint extract
- Mini candy canes or red and white pom poms for sorting
How to dye it:
- Put 2 cups of rice into a bag. Add 2 tablespoons of vinegar and 8 to 10 drops of red coloring.
- Seal the bag and shake for about a minute, until no white patches remain.
- Spread the rice on a baking sheet lined with paper towels.
- Let it dry for about an hour. Stir it once halfway through.
- Leave the second 2 cups plain white. Mix in the peppermint extract.
Kids use tongs to pull out candy canes, then scoop red and white rice into sorting cups. Making stripes is a bonus game.
The catch:
Don’t skip the drying time. Damp rice stains hands and clumps in the bin. The most common mistake is adding too much coloring, which leaves pink fingers for days. Start with fewer drops and add more.
No time to dye? Use red and white pom poms or dry red lentils. Either works.
5. Jingle Bell Search & Find Bin
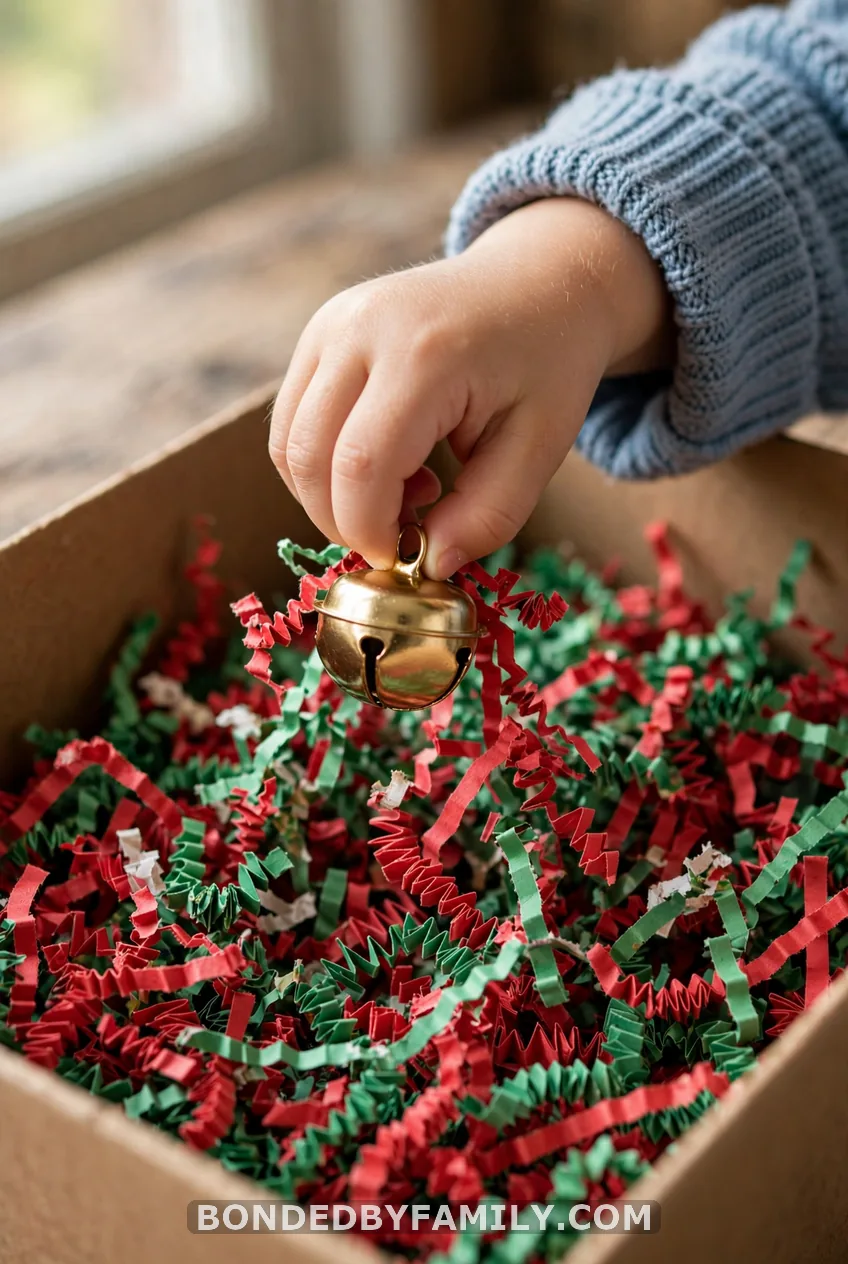
Setup: 3 minutes. Mess: low. Ages: 4 and up.
Fill a bin with red and green shredded paper. Bury jingle bells, small erasers, and foam stars. Kids hunt by feel and name each find.
Add a magnetic wand to pull out the metal bells. It feels like a magic trick.
6. Snowy North Pole + Build-a-Snowman Bin
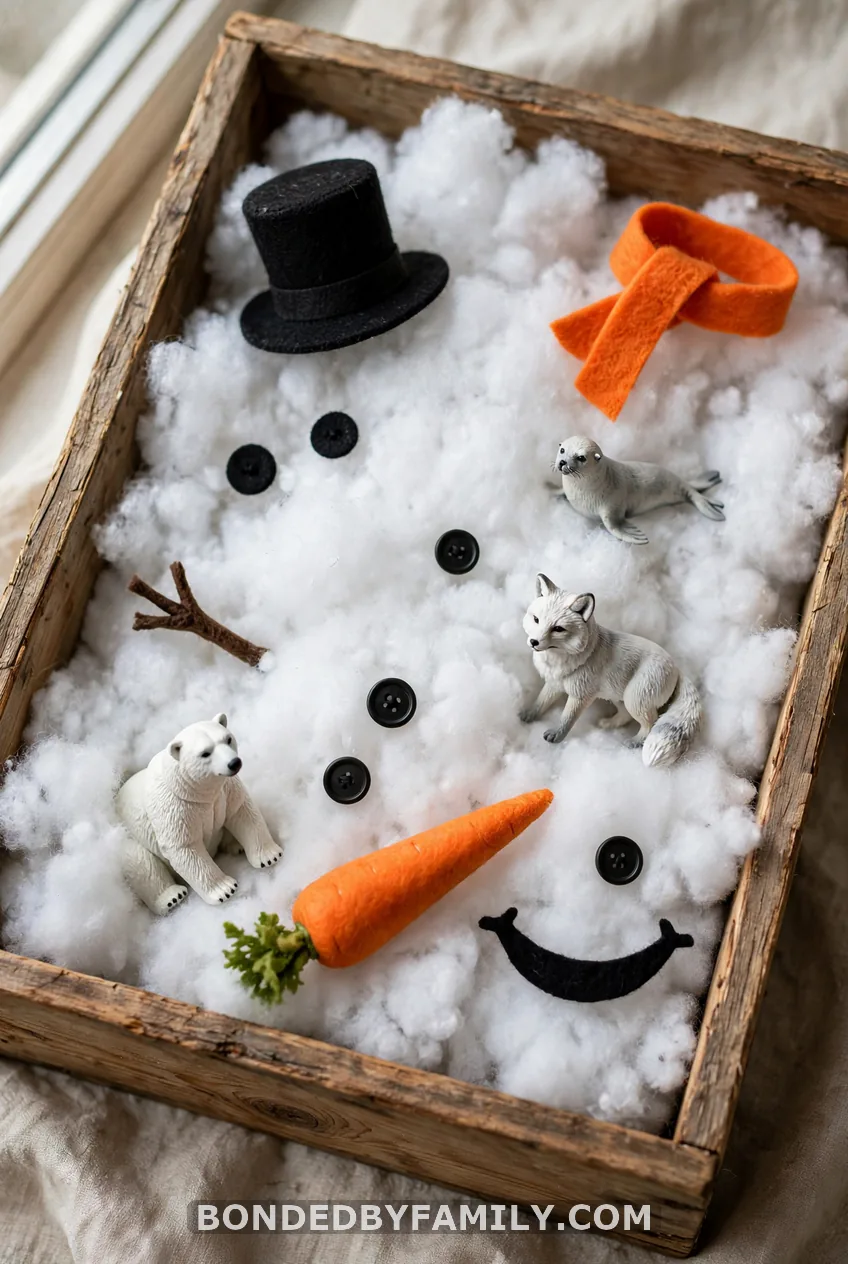
Setup: 10 minutes. Mess: medium-high. Ages: 3 and up.
Mix 3 cups of baking soda with 1 cup of shaving cream. Squeeze it with your hands until it holds a shape when pressed. If it feels crumbly, add 1 teaspoon of water at a time. If it feels wet, add a little more baking soda.
Cut three white felt circles in different sizes for the snowman body. Add button eyes, a felt carrot, and a scarf. Kids stack the pieces on top of the snow, then pretend with a few arctic animals.
For babies and toddlers, use plain white felt balls or cotton balls with an adult watching closely. Do not use instant snow or any polymer snow for children who mouth toys, because it is harmful if swallowed. Large felt balls are the safest swap.
Story and Craft Bins
These last three go beyond scooping. They are for kids who like a plot.
7. Reindeer Food Sensory Bin
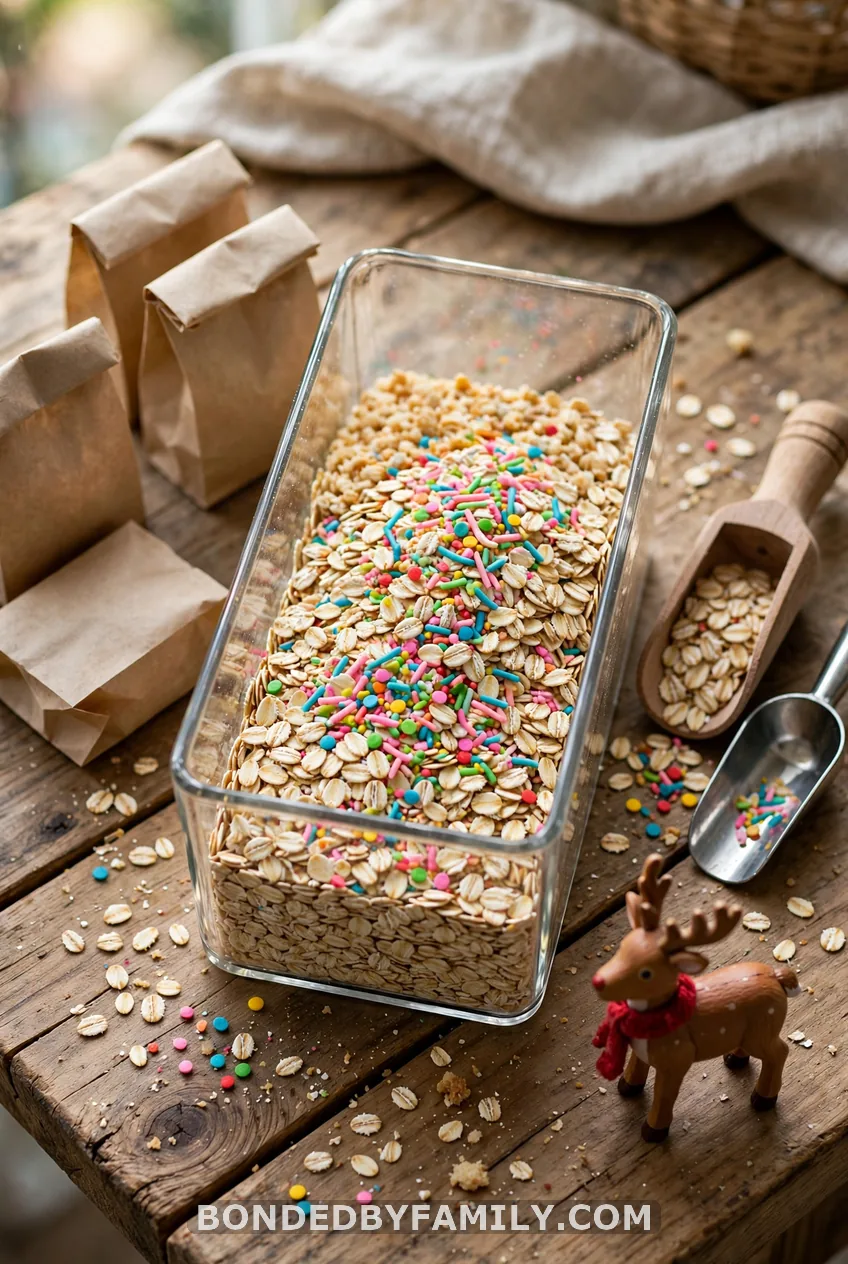
Setup: 5 minutes. Mess: medium. Ages: 3 and up.
I once added craft glitter to this bin. It was in my carpet until February, and the birds in our yard would have hated it.
Learn from my mistake. Use plain oats and a pinch of cinnamon, plus a little colored sugar for sparkle. Kids scoop it into paper bags with small spoons, then tuck the bags in for the reindeer.
Skip the sugar for allergy-sensitive kids. Oats alone smell great and feel soft.
8. Nativity Story Sensory Bin
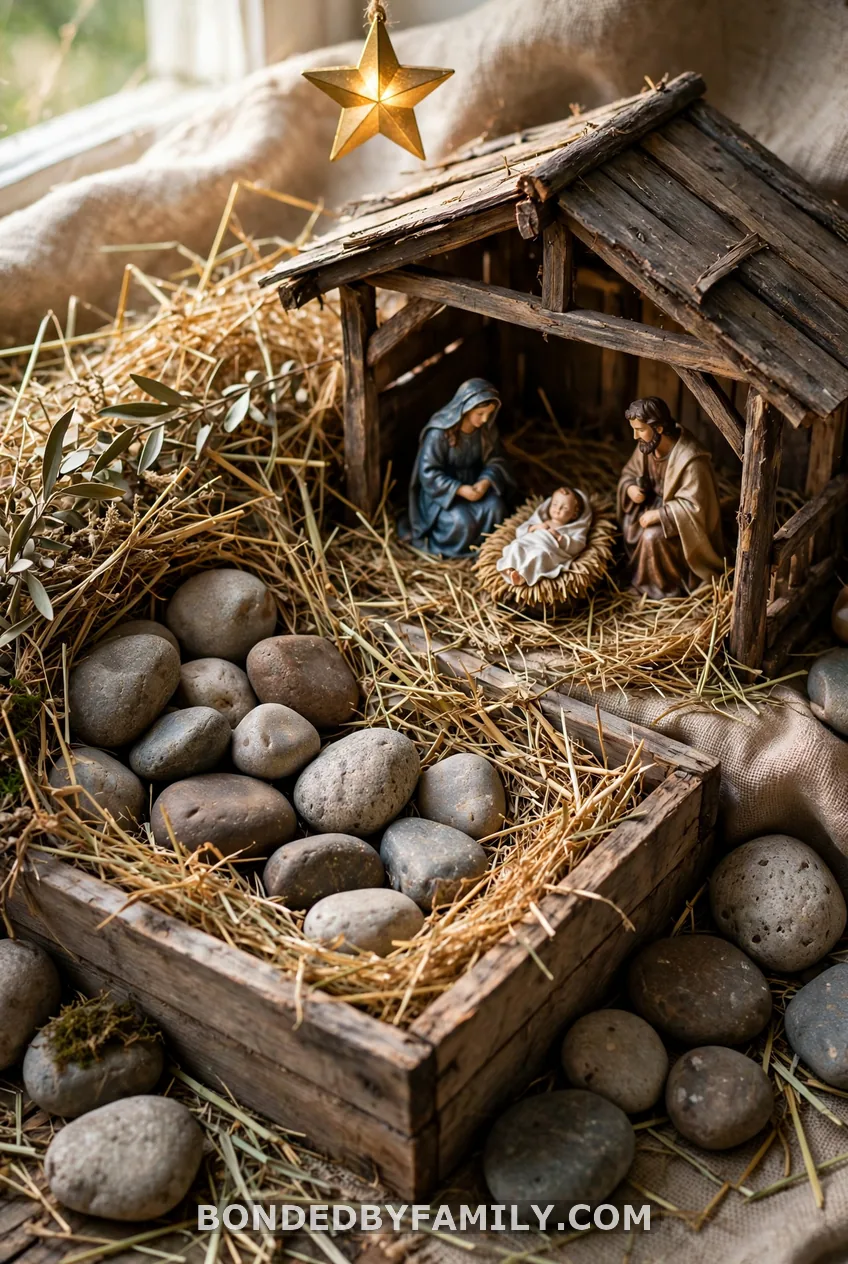
Setup: 5 minutes. Mess: low. Ages: 3 and up.
Fill the bin with craft hay or shredded paper. Add a small wooden stable, nativity figurines, a star, and a few river rocks. Retell the story aloud while your child places each piece. Use felt pieces for toddlers.
9. Wrapping Paper Cutting Bin
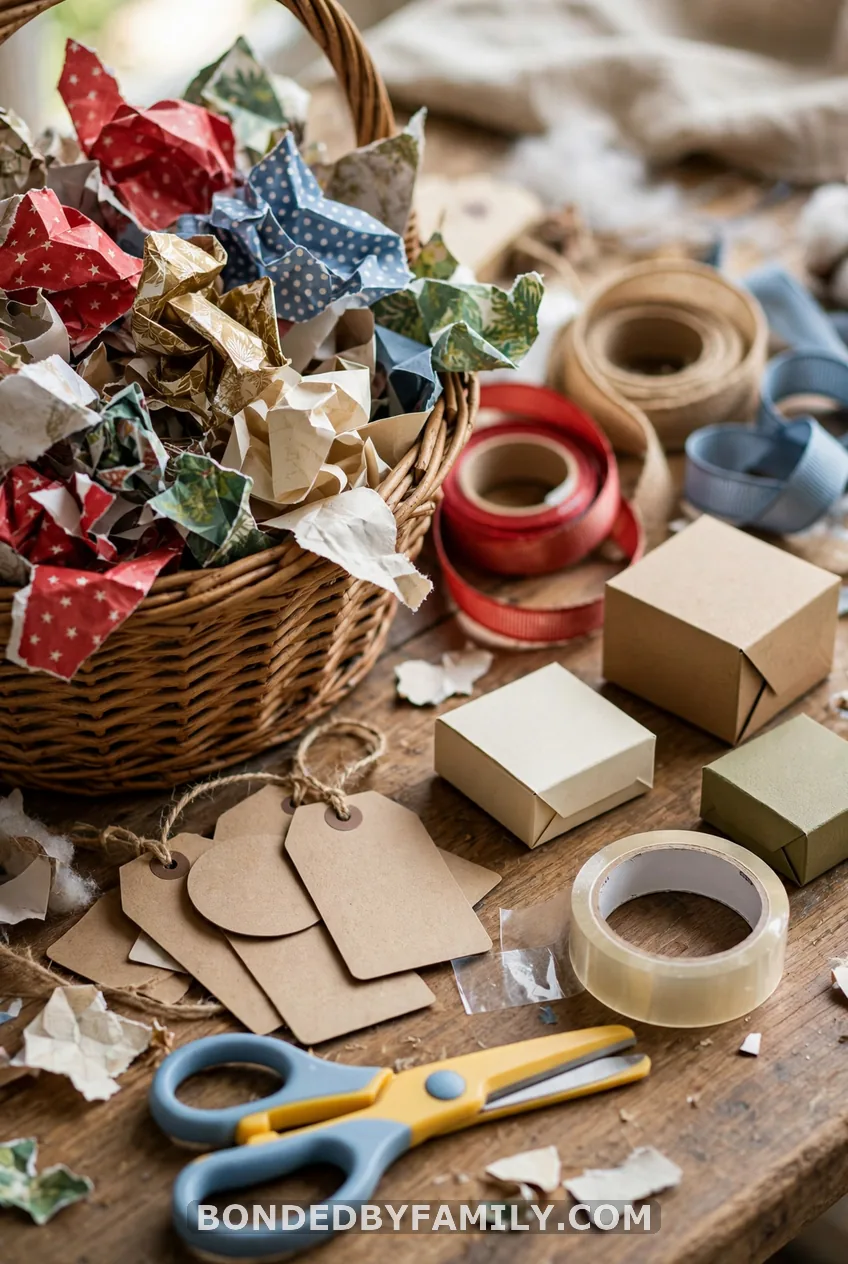
Setup: 5 minutes. Mess: high, but dry. Ages: 4 and up.
Gather leftover wrapping paper, ribbon, gift tags, and a few small boxes. Add child-safe scissors, tape, and bows. Kids cut, tear, and wrap tiny presents.
Keep a small trash bowl inside the bin. Scraps go in there, not on the floor.
FAQ: DIY Christmas Sensory Bins
What do I put in a DIY Christmas sensory bin?
Start with a shallow bin and one filler: rice, oats, lentils, pom poms, cloud dough, or fake snow. Add scoops, tongs, and a few festive extras like bottle brush trees, jingle bells, or cookie cutters.
How do I dye rice for a Christmas sensory bin?
Mix 2 cups of white rice with 2 tablespoons of vinegar and a few drops of food coloring in a resealable bag. Shake well, spread it on a baking sheet, and let it dry for about an hour before play.
Is a Christmas sensory bin safe for toddlers?
Yes, with supervision and the right pieces. Use items larger than a toilet paper tube, skip small parts for kids who mouth toys, and stay beside them the whole time.
What can I use instead of food in a sensory bin?
Try pom poms, shredded paper, felt balls, kinetic sand, or water with plastic ornaments. These suit kids with food allergies and families who prefer non-food fillers.
How do I store a Christmas sensory bin for next year?
Seal each filler in a labeled resealable bag and keep small pieces in separate snack containers. Put everything in a lidded bin, like an IRIS clear storage bin with lid, and pack it with your Christmas decorations so it is ready in December.