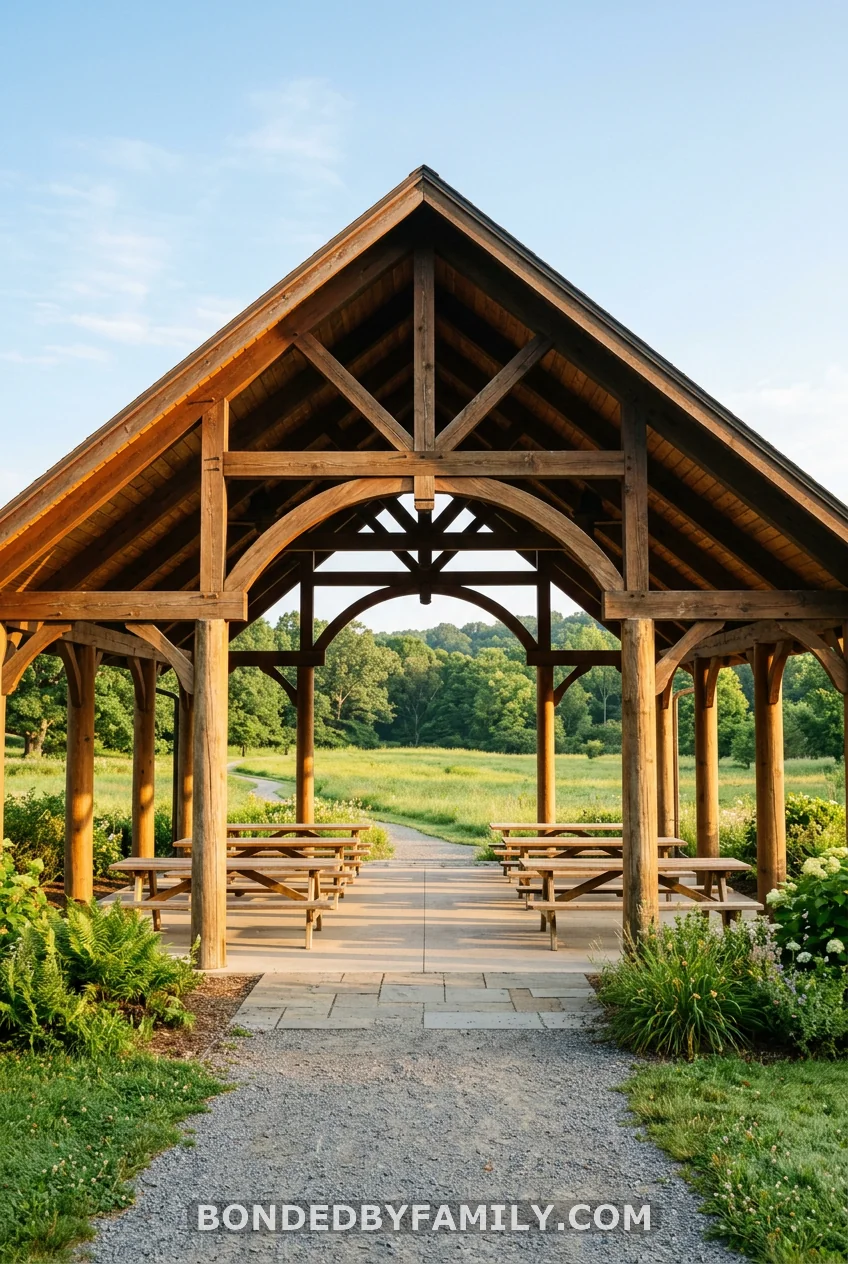
You booked the shelter months ago. Now you’re staring at a concrete pavilion with four posts, six picnic tables, and a ceiling covered in spider webs, wondering how you’re going to turn this into a birthday party.
A park shelter birthday party is one of the smartest calls you can make. No venue deposit. No noise curfew. No cleaning fee. And if you know which moves to make, it looks like you hired a party planner.
These 17 ideas are organized around exactly what a shelter gives you — posts to wrap, beams to hang things from, tables to anchor, and open grass right outside the edge. Some are five-minute setups. One will take 45 minutes, but it will be the reason everyone asks who did your catering. All of them work within park rules that ban nails, staples, and permanent adhesives on park property.
Let’s get into it.
1. Reserve the Shelter and Scout It Before Party Day
Most park shelter reservations cost between $25 and $75, depending on your city. That’s it. That’s the entire venue fee. But here’s the part parents skip: visiting the shelter in person before the party.
Go on the same day of the week and the same time of day you’re planning your party. A shelter that’s quiet on a Thursday morning might have a youth soccer league parking next to it at 10 a.m. on Saturday. Take your phone and photograph everything — the number of tables, whether there are electrical outlets (some shelters have them on the posts), the hooks or nails already in the beams, the distance to the nearest restroom, and which direction the sun hits the tables in the afternoon. That last one matters more than you’d think when you’re trying to keep a frosted cake from melting.
While you’re there, check the rules posted on the shelter. Many park systems prohibit attaching decorations with tape, nails, or staples to the pavilion structure itself. Frisco, Texas, for example, explicitly bans this. Other parks are fine with painter’s tape. Knowing this ahead of time means you show up with the right supplies — not driving to Dollar Tree in a panic at 9 a.m. the morning of the party.
Pro tip: Ask the parks department specifically whether you get exclusive use of the shelter or if it’s shared with walk-in guests. Some cities reserve the space exclusively; others only guarantee a table. Exclusive use is worth every penny — $50 for no strangers sitting in the middle of your party is a deal.
2. Wrap the Pavilion Posts with Crepe Paper
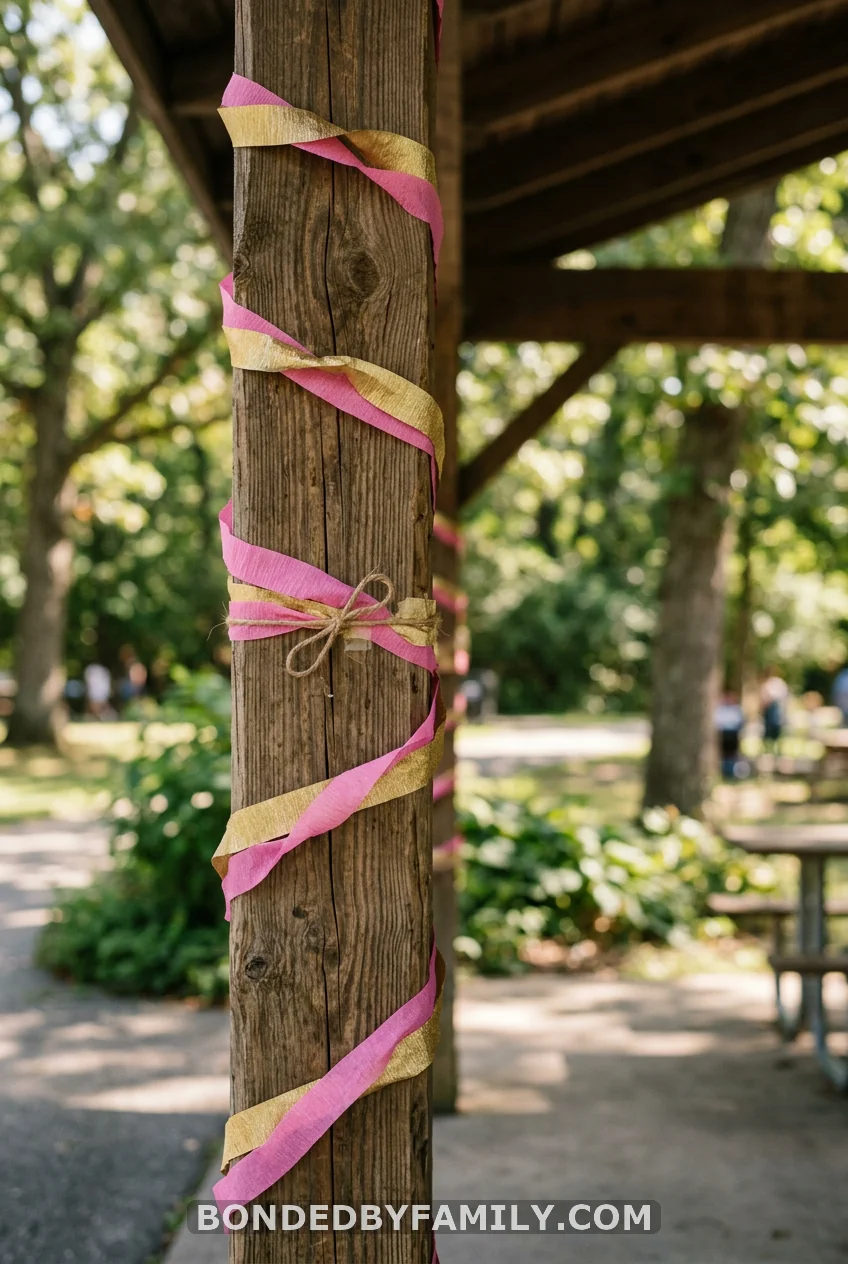
Buy two rolls of crepe paper in your theme colors. Twist them together loosely. Start at the top, secure with painter’s tape, and spiral down to the base. Four posts done in under ten minutes. The pavilion goes from a concrete structure to a party.
This single move does more visual work than any centerpiece. It frames the entire space and tells guests immediately they’re in the right place. Total cost: $4.
3. Anchor Balloon Clusters Without Helium
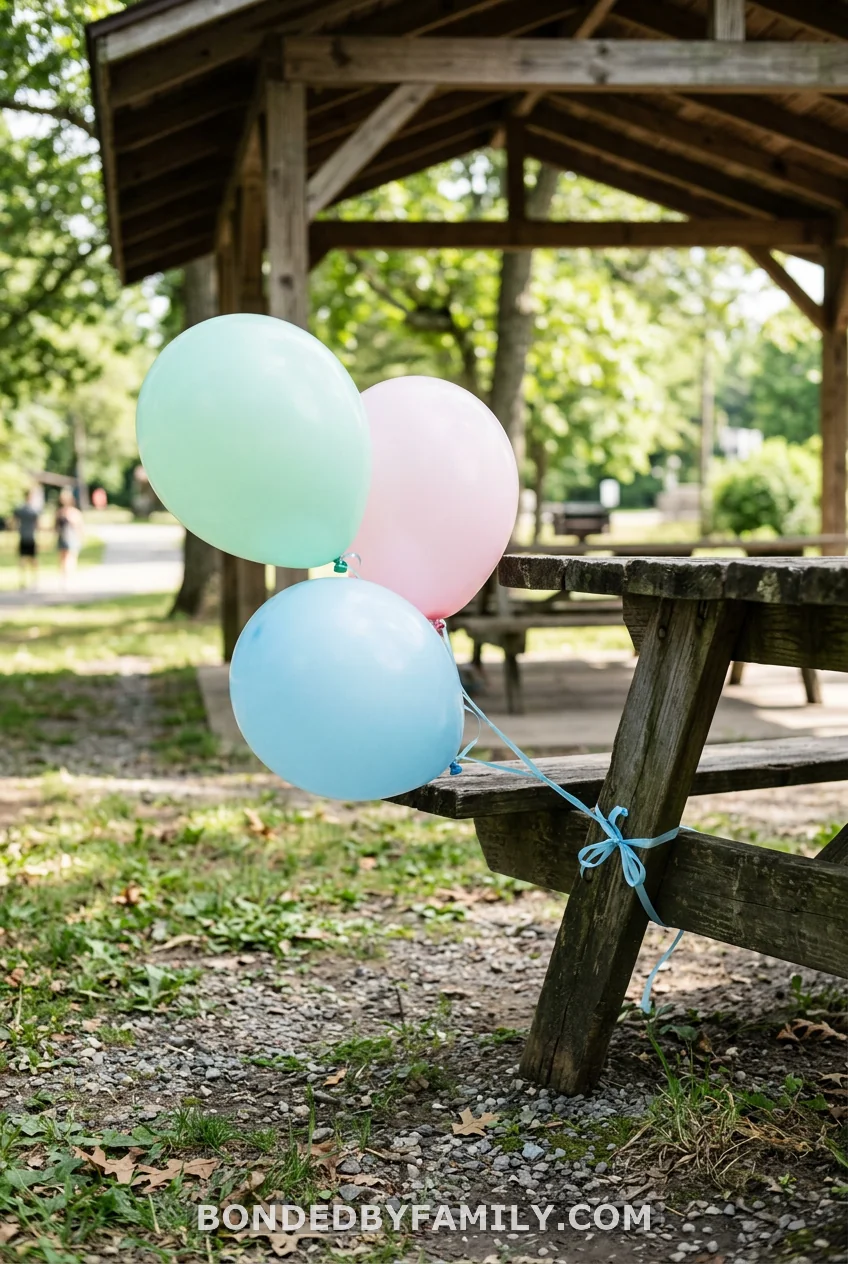
You do not need helium. Tie three latex balloons together, then tie the cluster to a picnic table leg with a 12-inch ribbon. They sit at chair height and look intentional. Six clusters for a six-table shelter cost around $6 in balloons and zero dollars in helium. Under a sheltered structure, they stay put even in a breeze.
4. Hang a Birthday Banner Across the Main Beam
The main beam running across the top of your shelter is prime real estate. A fabric pennant banner hung here becomes the visual anchor of the entire space — guests see it the second they walk in, it photographs beautifully, and it takes two minutes to hang.
Use jute twine or thin ribbon tied to the beam itself (no hooks required). A fabric pennant banner runs $8–$14 on Amazon and comes pre-strung. Look for ones with tied loops at each end so you can adjust the length to fit your specific shelter span. Most park pavilions run 12–20 feet across, so get a banner that’s at least 10 feet long.
Avoid paper letter banners for outdoor use. They curl in humidity and shred in any amount of wind, even inside a shelter. Fabric holds up through a two-hour party without looking tragic.
5. Clip Every Tablecloth Down
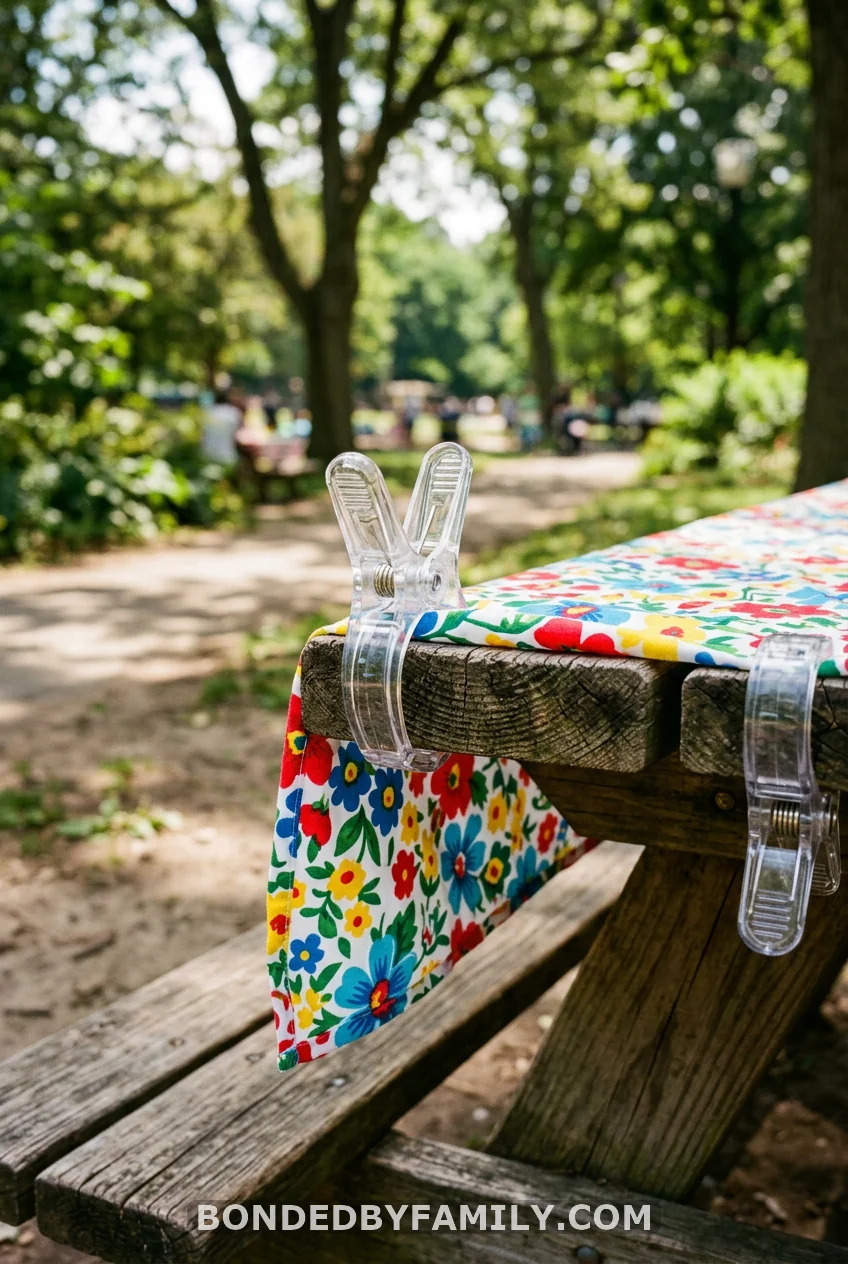
Buy a 10-pack of plastic tablecloth clips. They cost $7 on Amazon and will save your party from the most predictable disaster in outdoor entertaining history.
Even in a covered shelter, moving air catches tablecloths. One corner lifts, and suddenly all your food is under a flapping plastic sheet while thirty children watch. Clip all four corners. Done. The clips are reusable and pack flat, so throw them in your party bin now and stop thinking about them.
6. String Battery-Operated Lights Across the Roof Beams
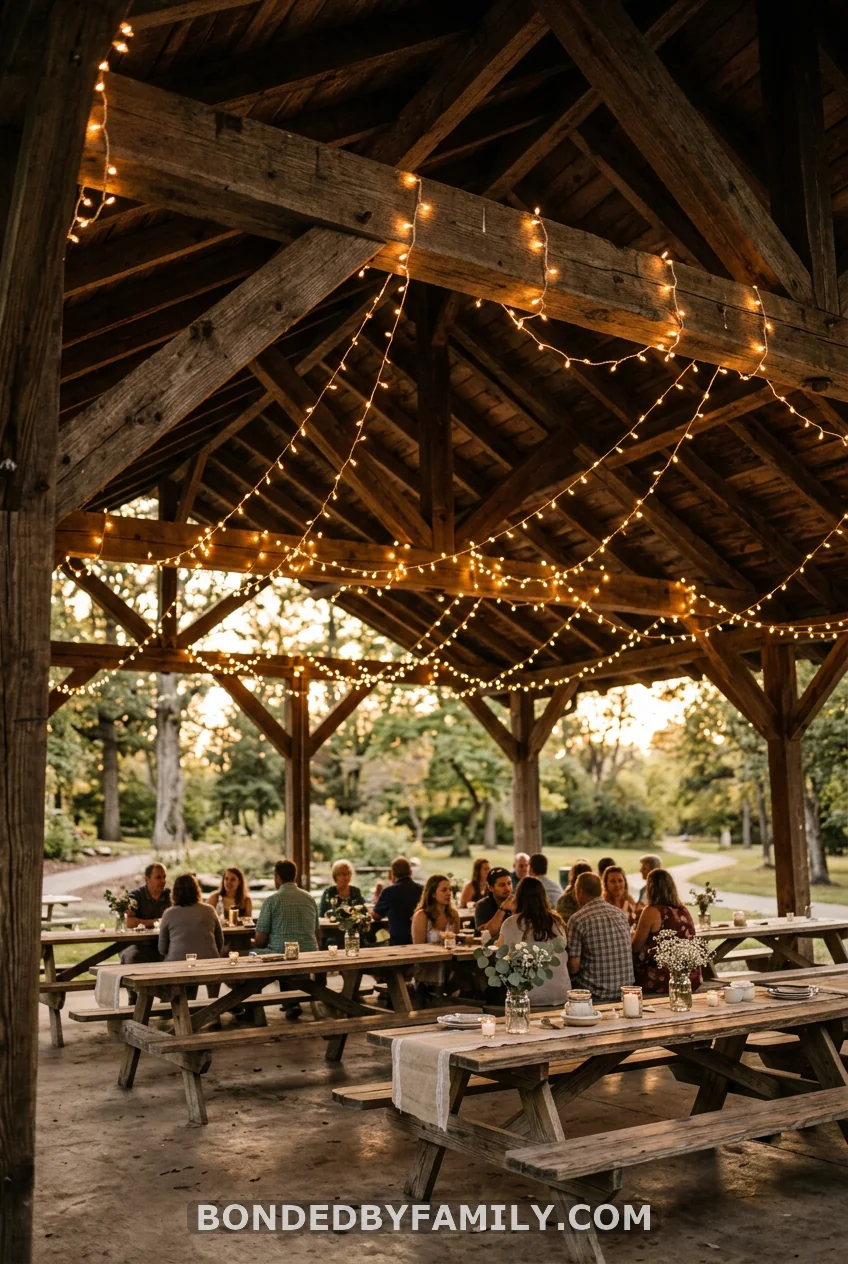
Battery-operated string lights — specifically the warm-white copper wire kind — draped across the ceiling beams of your shelter transform the feel of the entire space. They create depth, warmth, and a “someone put real effort into this” effect that no other decoration achieves for the price.
A 33-foot copper wire light strand (Prextex or Brightown, both under $12 on Amazon) runs across most standard pavilion ceilings twice with a few feet to spare. Drape loosely in two or three parallel lines, looping over the ceiling joists. No power outlet needed — battery pack tucks out of sight above the beam. Change the batteries the night before to avoid the party lights dying at 3 p.m.
These are genuinely worth bringing even to a daytime party. The shade under a shelter means it’s darker than open sunlight, and the warm light makes everything — especially the food and the birthday cake — look better in photos.
7. Set Up a Build-Your-Own Food Station
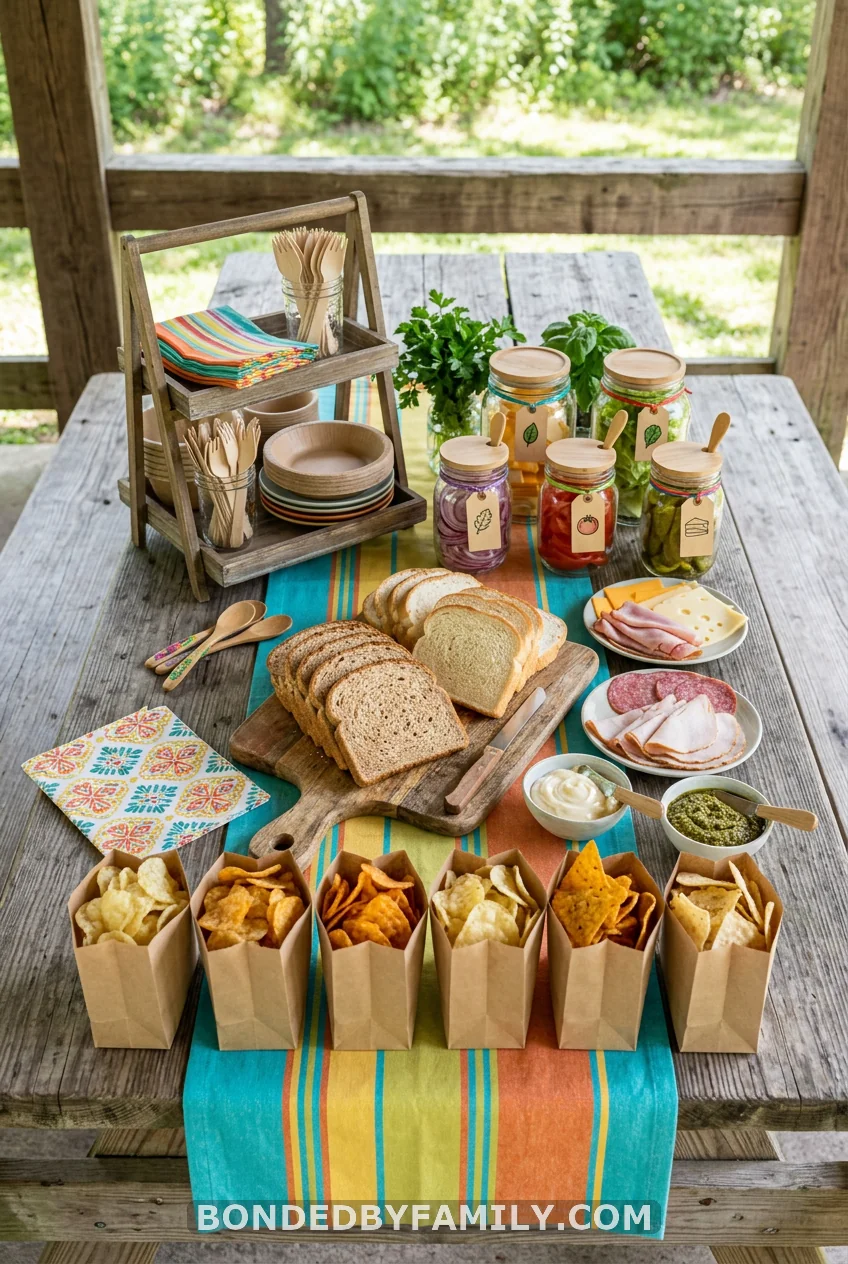
This is where a park shelter birthday party beats an indoor venue. You’re already outside. You have tables. You have space. A build-your-own food station costs less than a catered spread, keeps kids entertained for longer than any organized game, and virtually eliminates “but I don’t like that” complaints from picky eaters.
Why This Works
Kids who make their own food eat it. That’s the whole secret. When a seven-year-old assembles her own sandwich with the exact ratio of turkey to cheese she prefers, she eats it. You stop playing short-order cook. Parents stop explaining their child’s dietary preferences to you. Everyone wins.
What to Set Up
The most reliable park food station format is a sandwich/wrap bar with one protein station, one bread station, and one topping station spread across two pushed-together picnic tables.
Station 1 — Breads (left end of table):
– Slider buns (1 pack, 12 count) — $3
– Mini croissants (bakery section, 12 count) — $5
– Tortilla wraps, halved — $3
Station 2 — Proteins (center, chilled in a cooler underneath the table):
– Sliced turkey (Boar’s Head, 1 lb) — $9
– Ham (pre-sliced, 1 lb) — $7
– A vegetarian option: hummus cups (Sabra 2-pack) — $4
Station 3 — Toppings (right end of table):
– Sliced American and cheddar cheese — $6
– Lettuce in a bowl
– Sliced tomatoes
– Condiment packets (ketchup, mayo, mustard — grab a handful from any fast food stop)
Station 4 — Sides table (second picnic table):
– Individual chip bags in a basket (Sam’s Club variety pack, 50 count) — $10
– Apple slices in a bowl (pre-sliced, bagged from Costco) — $6
– Grapes in a bowl — $4
– Lemonade in a large dispenser jug — $8 for powder mix and a gallon jug
– Water bottles in a bucket of ice — $5 for a 24-pack
Total food cost for 20 kids: approximately $70–$85, depending on your local prices.
Step-by-Step Setup
- Arrive at the shelter 45 minutes before guests. Place the cooler under the protein table.
- Set out two picnic tables end-to-end and clip tablecloths down.
- Arrange Station 1 (breads) in a basket on the left.
- Keep proteins in the cooler until 15 minutes before guests arrive, then plate and tent with foil.
- Set out topping bowls. Label anything that contains a common allergen with a handwritten card — peanuts, dairy, gluten.
- Place a stack of paper plates and napkins at the start of the station with a handwritten sign: “Build Your Own.”
- Set out the chip basket and fruit bowls on the second table.
- Fill the lemonade dispenser last to keep it cold. Set it at the end of the line with cups next to it.
- Designate one adult to stand near the protein station for the first 20 minutes of lunch. After that, kids navigate it themselves.
Common Mistakes to Avoid
Mistake 1: Pre-making sandwiches. Don’t. They get soggy in the cooler, and kids don’t eat what they didn’t choose. The whole point of a station is choice.
Mistake 2: Using glass pitchers. Most park rules prohibit glass containers. Use the plastic Igloo beverage dispenser ($18 at Walmart) or a large insulated pitcher.
Mistake 3: Forgetting a trash station. Put a trash bag at the end of the food line, not in the middle of the park 30 feet away. If the trash is convenient, people use it. If it isn’t, they set plates on the table and walk away.
Mistake 4: One table for everything. Split it across two tables. When eight kids are circling the same picnic table at once, the whole thing collapses into a pile-up. Two tables, two lines, half the chaos.
Mistake 5: No signage. A handwritten “Build Your Own Lunch” card on an index piece of cardstock tells adults what’s happening without you explaining it 40 times.
What This Costs vs. What You’d Pay Otherwise
A catered sandwich platter for 20 guests from a deli or grocery store runs $60–$120 and gives everyone exactly the same thing. Your build-your-own station for the same 20 guests runs $70–$85, gives everyone choices, and takes about 15 minutes to set up. It also looks like more food, because it is more food — displayed in serving bowls rather than sealed in a platter tray.
The station format also means you can restock mid-party without clearing plates or rearranging anything. Open the cooler. Add more turkey. Done.
8. Turn the Shelter’s Back Wall Into a Photo Backdrop
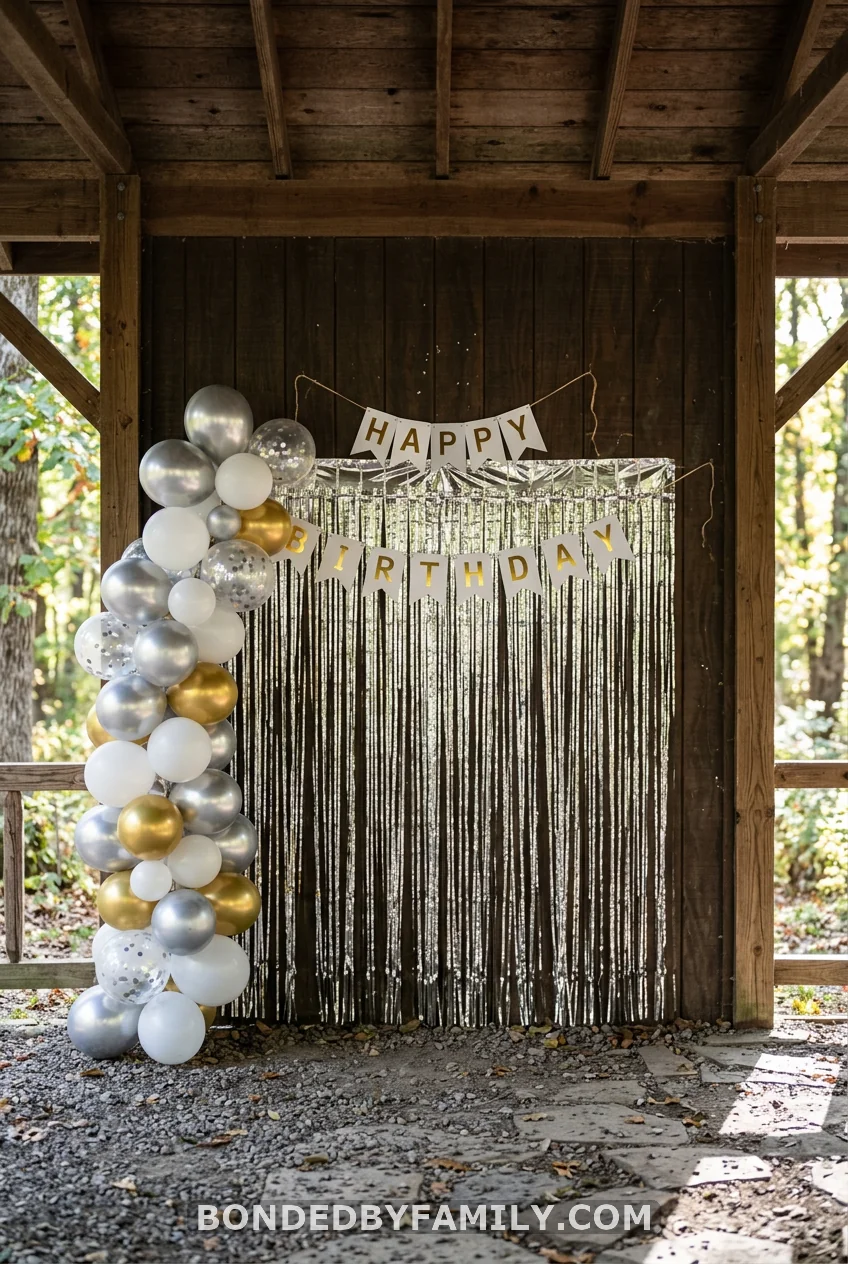
Most park pavilions have a solid back wall or a half-wall at the rear of the structure. That’s your backdrop. Two foil fringe curtains ($3 each at Party City or Dollar Tree) hung side by side cover an 8-foot span. Add a balloon cluster on each side, and you’ve got a photo spot that every adult at the party will use voluntarily.
Place a small sign on a stake in the ground in front of it: “Photo Spot.” That’s it. No ring light, no professional backdrop stand, no instructions needed. People know what to do with a backdrop at a party. The trick is naming it so it doesn’t just look like a wall with curtains on it.
If your shelter has a support post in the center of the back wall, use it as a natural dividing point. Hang one curtain on each side of the post, balloon clusters on the outer edges. The post becomes a design element instead of an obstacle.
9. Set Up a Balloon Arch at the Shelter Entrance
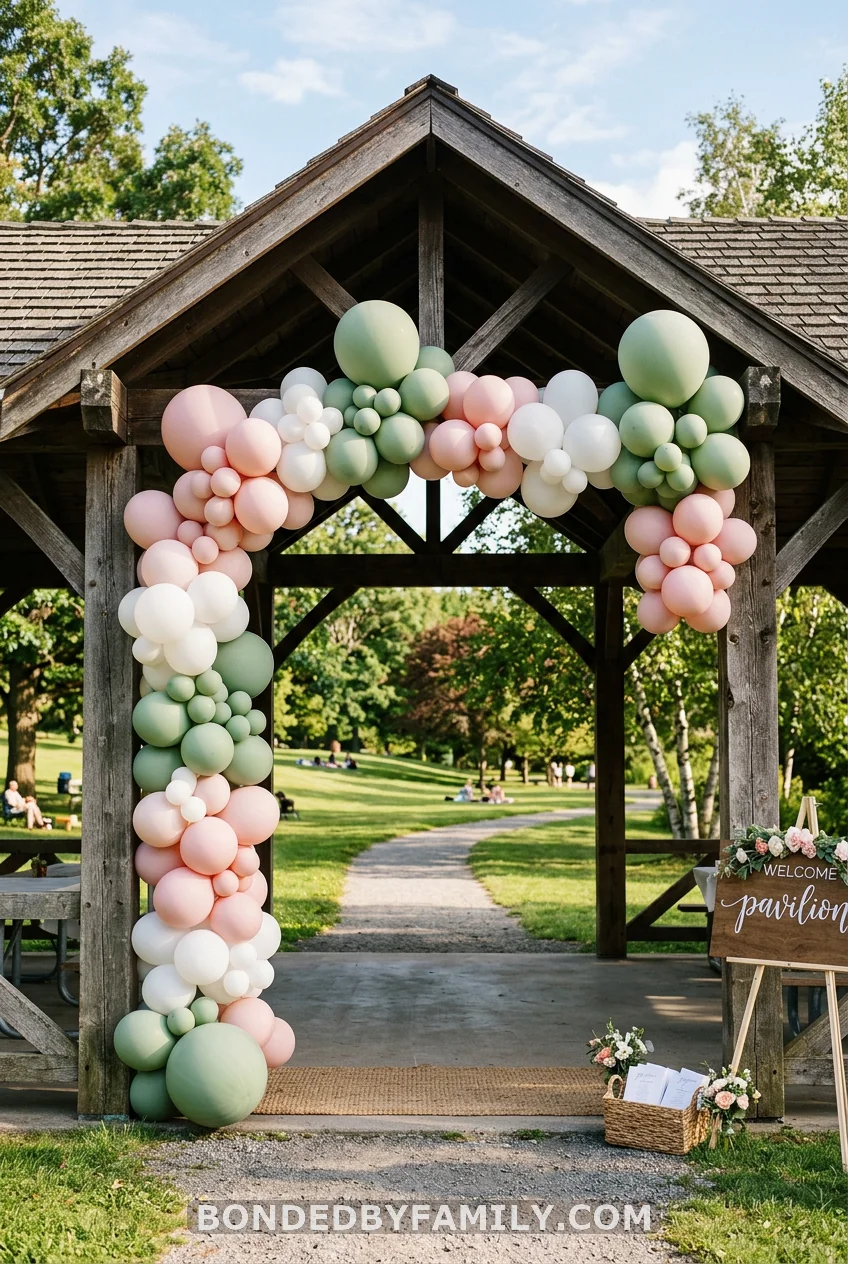
A DIY balloon arch kit changes how the whole shelter reads from a distance. When guests pull into the parking lot and see a balloon arch at the pavilion entrance, they know exactly where to go — and the party looks intentional before anyone even walks in.
The Balloon Arch Kit from FEPITO or RUBFAC (available on Amazon for $18–$22) includes a 16-foot strip, 100 balloons in mixed sizes, and adhesive dots. You inflate about 60 balloons the night before, attach them to the strip following the size alternation pattern on the instructions, and hang the finished arch between two pavilion posts using the plastic hooks included in the kit.
Two notes for park-specific setups: First, use Command hooks rated for 5 lbs (not the included plastic hooks) if your pavilion has smooth-painted posts — the kit hooks tend to slip on smooth surfaces. Second, inflate balloons indoors the night before if you’re planning this in summer heat. Balloons over-inflate in hot direct sun and pop. Keep the inflated strip in your air-conditioned car until you’re ready to hang it.
Arch setup: 30–45 minutes the first time, 20 minutes if you’ve done it before.
10. Create a Picnic Blanket Zone Beyond the Shelter
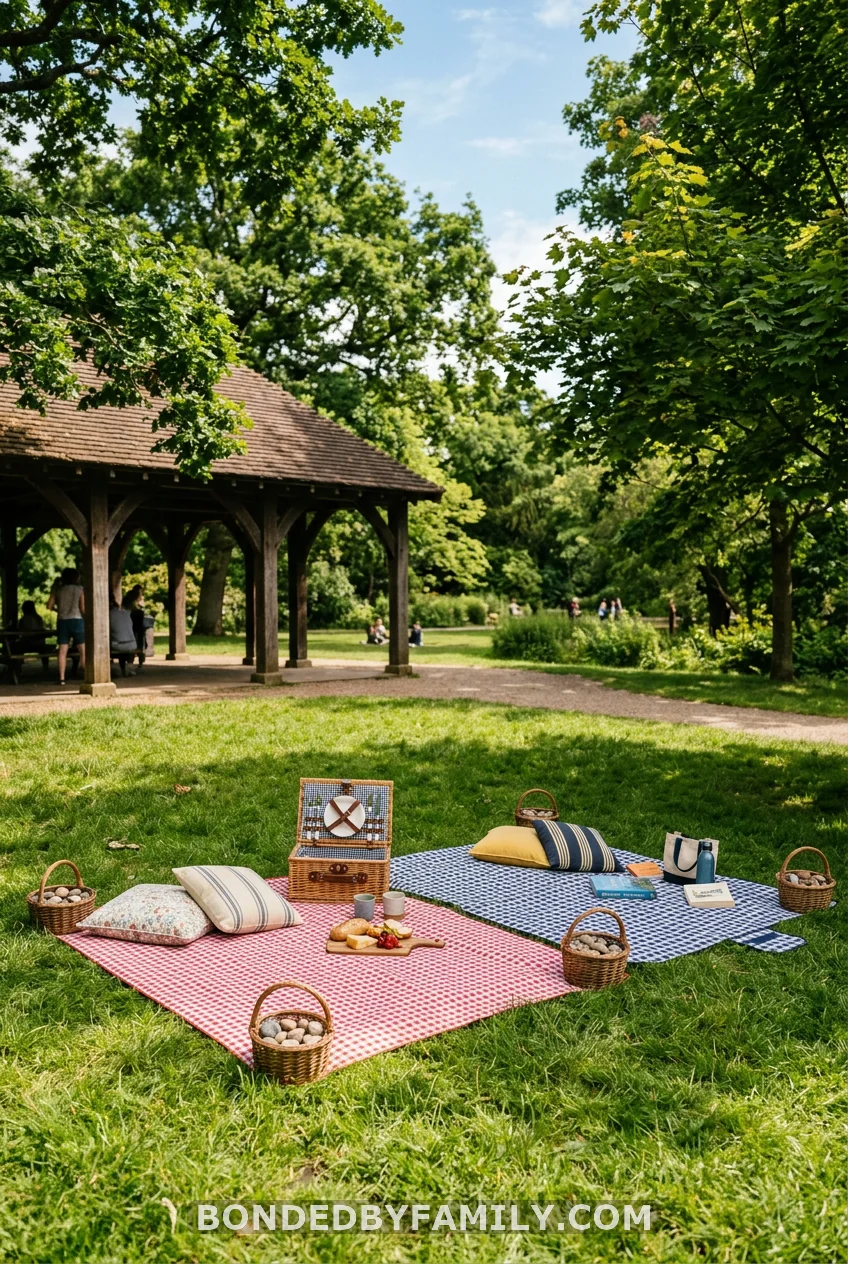
Lay two blankets on the grass past the shelter’s edge. Add a picnic basket as a prop. Now you have overflow seating, a photo location, and a spot where parents want to sit without being in the middle of the action.
It costs nothing if you own blankets. It extends the party space beyond the tables. It’s the only setup idea here that requires zero decisions.
11. Set Up a Lawn Game Station
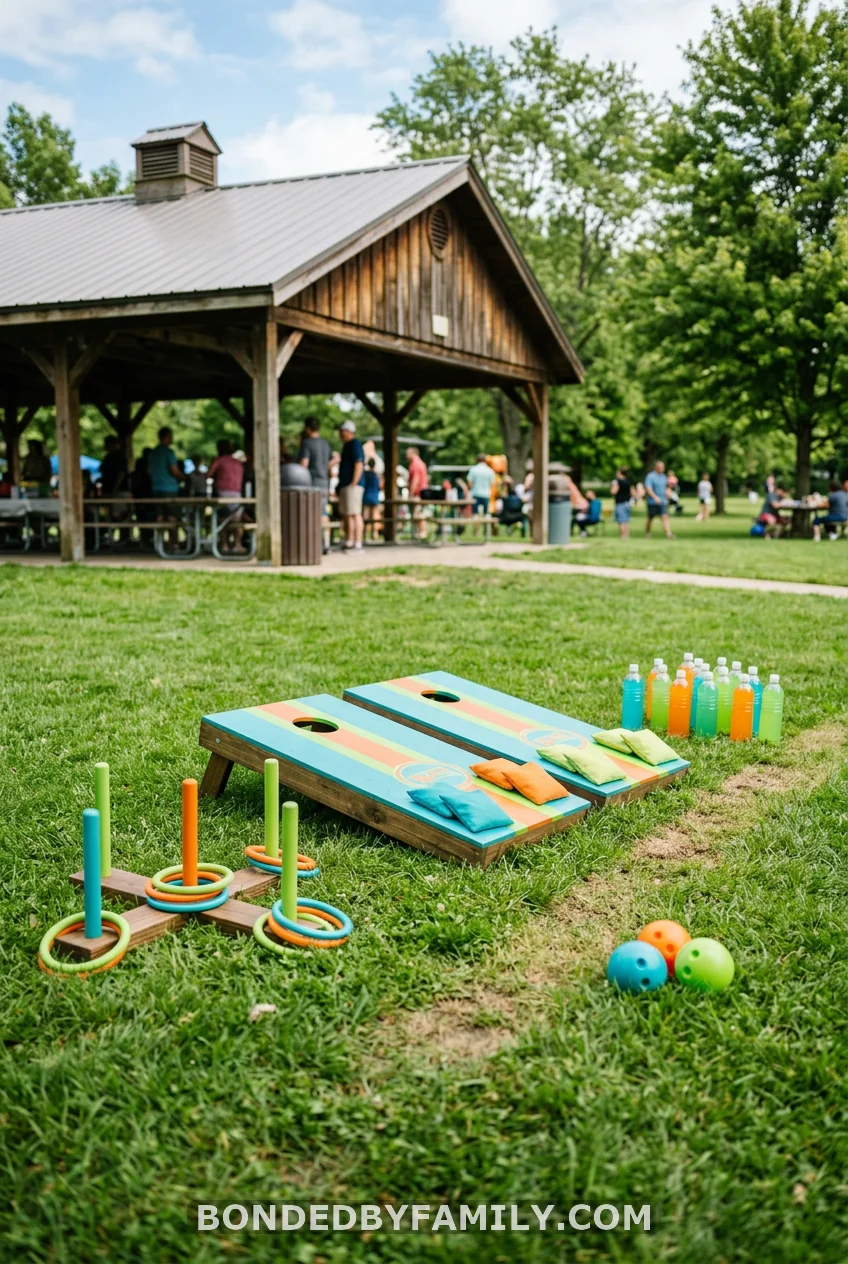
The grass adjacent to your shelter is the park’s contribution to your party entertainment budget. Use it.
A three-game station — cornhole, ring toss, and a DIY bowling lane using filled water bottles and a rubber playground ball — costs $0 if you own cornhole ($25–$40 to buy a foldable set) and $3 for the water bottle bowling setup. Set them up 10 feet apart in the grass beside the shelter. Put a handmade “Game Zone” sign on a stake.
The beauty of a lawn game station at a park birthday is the mixed-age participation. A three-year-old can bowl water bottles. An eleven-year-old can play competitive cornhole. Parents wander over. Grandparents sit in chairs on the edge and watch. Nobody has to organize anything after setup. The games run themselves for the entire party.
Bring sidewalk chalk if the path near your shelter is paved. A chalk zone for the youngest kids (draw a hopscotch, write “Happy Birthday” in giant letters, let them do whatever they want) keeps them occupied and right in your sightline without requiring any supervision beyond a glance.
12. Set Up a Sun and Bug Station
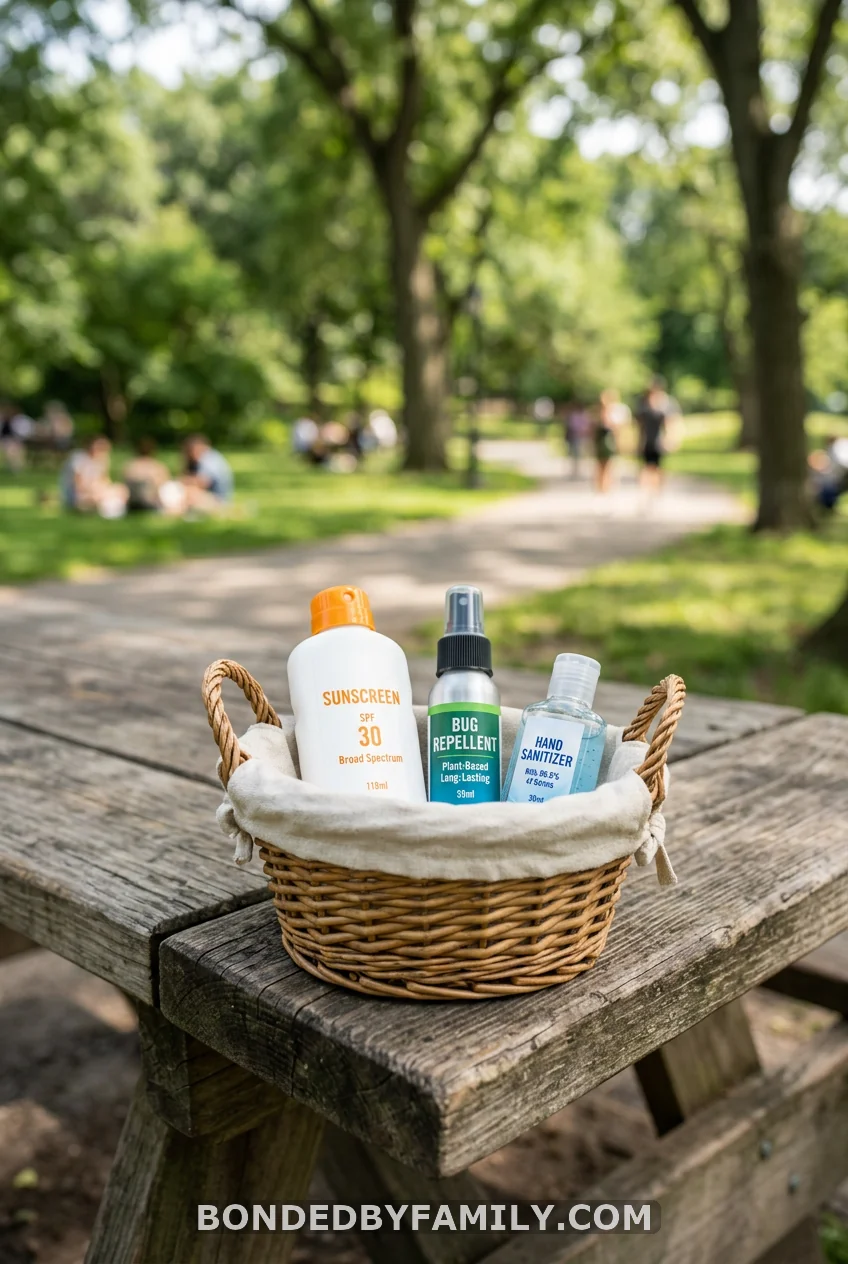
A basket with travel sunscreen, bug spray, and hand sanitizer on the edge of one table. Parents will quietly use it and quietly thank you for it. Do this. It takes two minutes.
13. Make the Cake Table Feel Like a Moment
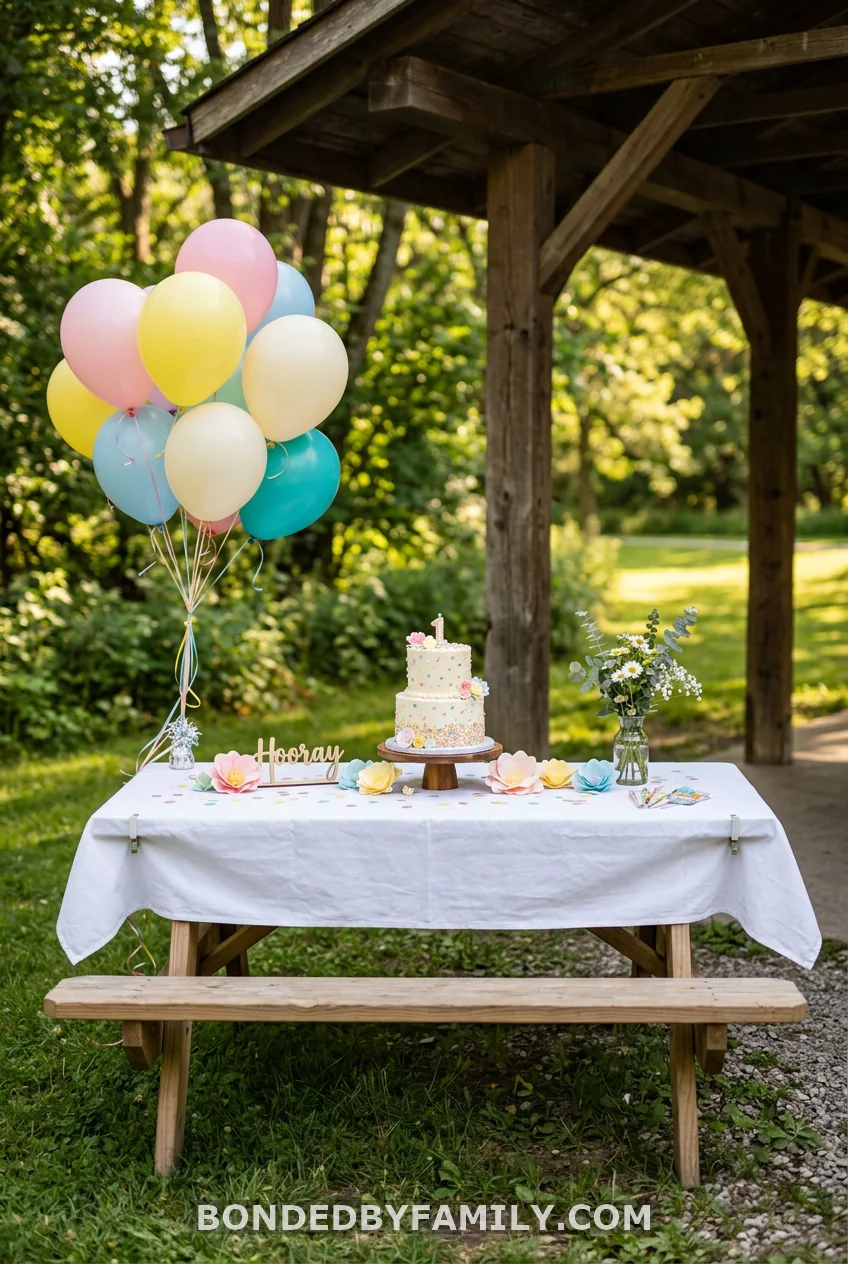
Designate one full picnic table exclusively for the cake. Not one half of a table. One full table. Cover it with a white tablecloth (white reads as “intentional” against park settings) and put the cake on a small raised cake stand — even a $4 acrylic riser from Dollar Tree works. Flank the stand with two balloon clusters.
That’s it. The empty space around the cake is intentional. When the cake is the only thing on the table, it reads as important. When it’s competing with paper plates and juice boxes, it looks like an afterthought.
Use the cake table as your photo backdrop for the birthday song moment. Put the birthday child’s chair in front of it, facing away from the sun. Every birthday candle photo from this party will be worth keeping.
Cost reality: A 6-inch two-tier cake from a grocery store bakery runs $28–$45. Twelve matching cupcakes from the same bakery run $18–$24 and serve more people with less cake-cutting drama. Both are fine choices. The cupcakes are the more practical option at a park party where you’re cutting cake with a plastic knife on a picnic table in 80-degree weather.
14. Build a Favor Table

A favor table at the shelter entrance serves two functions: it marks the party space as claimed territory when guests arrive, and it gives kids something to look forward to on the way out.
Pre-fill kraft paper bags ($6 for 25 at Hobby Lobby) with small items — a pack of stickers, a mini Play-Doh container, a pencil or two. Seal with a sticker in your party color. Total cost per bag: $1.50–$2.50. Label each bag with the child’s name on a tag using a marker the night before. Set them on a table near the shelter entrance with a card that says “Grab Your Bag on the Way Out.”
The “on the way out” instruction is important. When favor bags go out before the party ends, kids open them, lose pieces, and cry about missing items for the rest of the afternoon. Save everyone the trouble.
15. The Color Palette Trap (And How Not to Fall Into It)
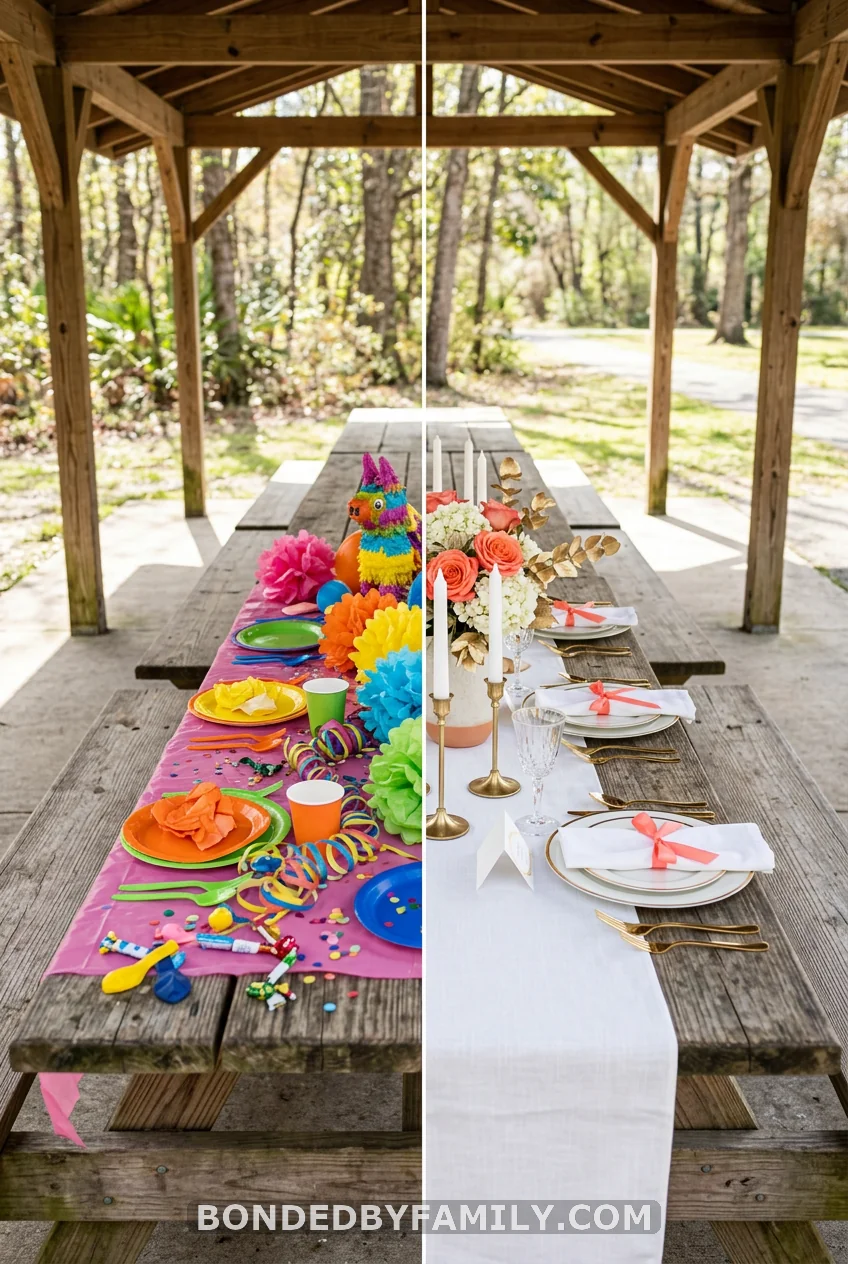
Most park party planning posts skip over the one thing that makes park parties look cheap: too many colors.
Not the location. Not the picnic tables. Not the lack of a venue. The colors.
What most people think: More color = more festive = better party.
What happens instead: When you buy pink plates, blue balloons, green streamers, and yellow tablecloths because they were each 25% off in separate aisles, your shelter looks like a clearance bin exploded. Every element competes. Nothing reads as intentional.
What works: Pick three colors. One main color, one accent, one neutral. That’s it.
For a park setting, the neutral almost always works best as white or kraft brown — both of which contrast well against green grass and wood pavilion structures. Your main color does the heavy lifting (tablecloths, banner, big balloons). Your accent shows up in smaller pieces (ribbon, small balloon clusters, paper flowers). Your neutral ties everything together (plates, napkins, favor bags).
Before I learned this: My daughter’s fifth birthday at our local pavilion used purple plates, teal balloons, yellow streamers, and a pink banner because I bought whatever was on sale. In photos, it looks like we decorated in the dark. The pavilion itself looks dated and messy when it’s a perfectly nice structure.
After: My son’s seventh birthday used navy blue, white, and gold. Navy tablecloths clipped down, white plates and napkins, gold balloon clusters, gold pennant banner, white string lights. Total decoration cost: $58. Three separate people asked me if I hired someone.
Three colors. Every time.
16. Bring a Bluetooth Speaker
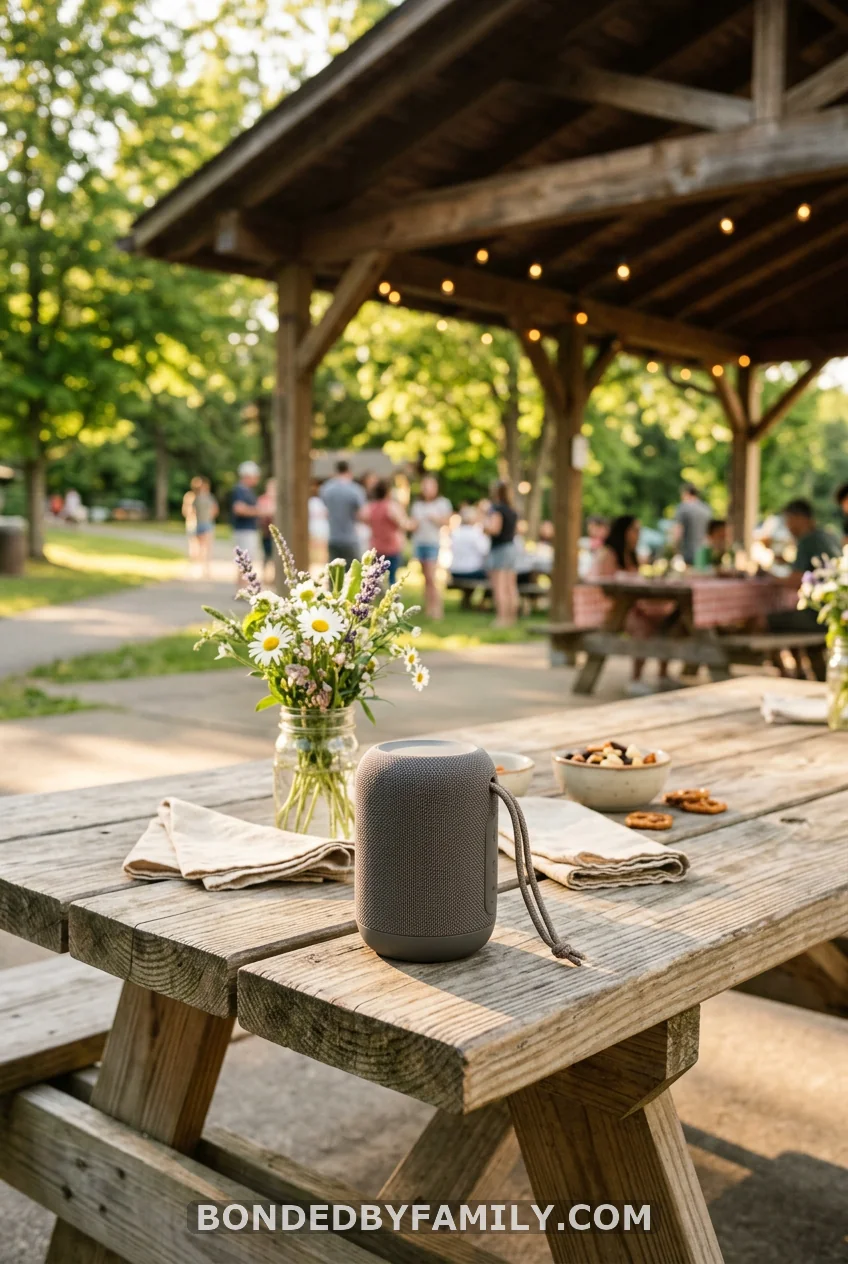
Set your party playlist before you leave the house. Press play when you arrive. Music running under a park birthday changes the energy of the space more than any decoration.
A JBL Clip 4 ($50 at Best Buy) clips to a bag, runs 10 hours on a charge, and is loud enough for a pavilion without being loud enough to annoy the family two shelters over.
17. Plan Your 30-Minute Setup Window
The single biggest source of park party stress isn’t decoration decisions. Its arrival time.
Most parents arrive 15 minutes before guests are supposed to show up and spend the first 30 minutes of the party still setting up, while kids and adults stand around looking uncomfortable. Then the birthday child is distracted, and the host is still hanging the banner when the first “Happy Birthday” is sung.
Arrive 45 minutes before the party start time. No exceptions. Use this breakdown:
- Minutes 1–10: Claim the space. Lay tablecloths, clip them down, set chairs.
- Minutes 11–20: Hang the banner, place balloon clusters, set out favor table.
- Minutes 21–30: Set up food station, unpack cooler, put out plates and napkins.
- Minutes 31–40: String lights, if using them. Set up lawn games.
- Minutes 41–45: Breathe. Check the space. Put on music.
When guests arrive at the 45-minute mark, you are done. You’re standing at the entrance greeting people, not sprinting around with tape in your teeth.
The teardown plan matters too. Leave a trash bag at each picnic table end. Designate one adult helper specifically for the 15-minute teardown window after guests leave. Your job in teardown: deflate balloons, gather tablecloths, collapse the food station into the cooler. Their job: collect trash and stack chairs back how you found them.
Leave the shelter cleaner than you found it. The next family reserving it will appreciate it. And your parks department will be more likely to have nice things in it the next time you’re back.
Wrapping Up
A park shelter birthday party doesn’t need to apologize for not being a rented event space. It has something a rented event space doesn’t: open air, real grass, room for kids to run, and the kind of relaxed energy that makes a birthday feel like a celebration instead of a performance.
Seventeen ideas sound like a lot. Pick eight. Do them well. Leave time to talk to the people you invited.
Frequently Asked Questions
How much does it cost to throw a park shelter birthday party?
Most park shelter reservations run $25–$75 for a half-day or full-day booking. Add $50–$80 for food and $30–$50 for decorations and you’re looking at $105–$205 total for a 20-guest party. That compares to indoor venue averages of $300–$600 for the same guest count, not including food.
What decorations hold up at an outdoor park shelter?
Fabric banners outlast paper ones in any humidity or breeze. Latex balloons anchored to table legs (not floating on helium) stay put. Tablecloth clips are non-negotiable. String lights on battery packs require zero outlets. Avoid paper decorations, loose confetti, and anything with glitter outdoors.
Do I need a permit to decorate a park shelter for a birthday party?
You need a reservation for exclusive use of the shelter, which most city parks departments offer online. Some parks also require a special event permit if you’re bringing in a bounce house, PA system, or catering setup. Call or check your local parks department website before your party — rules vary significantly by city.
What food works best for a park shelter birthday party?
Food that travels cold and requires no cooking on-site is the most reliable. A build-your-own sandwich/wrap station, individual chip bags, fruit bowls, and lemonade in an insulated dispenser cover all your bases. If your park has working grills, hot dogs are a crowd-pleaser — but assign a dedicated grill adult, so you’re not managing the grill and the party simultaneously.
What do I do if the shelter is already taken when I arrive?
This is why reservation confirmation matters. If you have a reservation, show it to the other group. They will move — most people are simply unaware that a reservation was made and will apologize and clear out immediately. If you don’t have a reservation, send someone ahead 30 minutes early to claim the shelter and hold the space until you arrive with supplies.