My daughter was seven months old, strapped into her high chair, and she was going after a single puff. She raked it across the tray with her whole hand. It rolled away.
She raked again. Then she scowled at me like I had personally moved it.
If that scene feels familiar, you’re in the right place. These pincer grasp activities for babies need no fancy toys and almost no setup. Each one is matched to a grasp stage, so you know which idea fits your baby today. Every one comes with a safety note too.
What the Pincer Grasp Is and Why It Matters
The pincer grasp is a pinch. The thumb and the tip of the index finger meet and pick up something small.
It starts as a reflex. Newborns clamp down on anything that touches their palm. Over the next months the hand opens up, and the grip moves through four stages:
- Palmar reflex: a fisted hand that closes on its own.
- Raking grasp: the whole hand scrapes objects closer.
- Immature pincer: the pads of the thumb and finger meet.
- Mature pincer: the fingertips meet, and tiny crumbs become fascinating.
This is more than a hand skill. Your baby is also solving a problem on purpose: “I see it, I want it, here’s how I get it.” The same grip later handles spoons, crayons, buttons and zippers.
When Babies Develop the Pincer Grasp
Every baby moves at their own pace. Here is the usual order.
- Newborn to 3 months: Hands stay fisted. The grasp is a reflex.
- 4 to 6 months: Your baby reaches on purpose, rakes toys closer and passes things between hands.
- 8 to 9 months: The immature pincer shows up. The finger pads meet.
- 10 to 12 months: The mature pincer arrives, with fingertips meeting.
Anywhere from 7 to 12 months is normal. If you see no pincer grasp by 12 to 15 months, mention it to your pediatrician. More on that near the end.
1 Safety Rules Before You Start
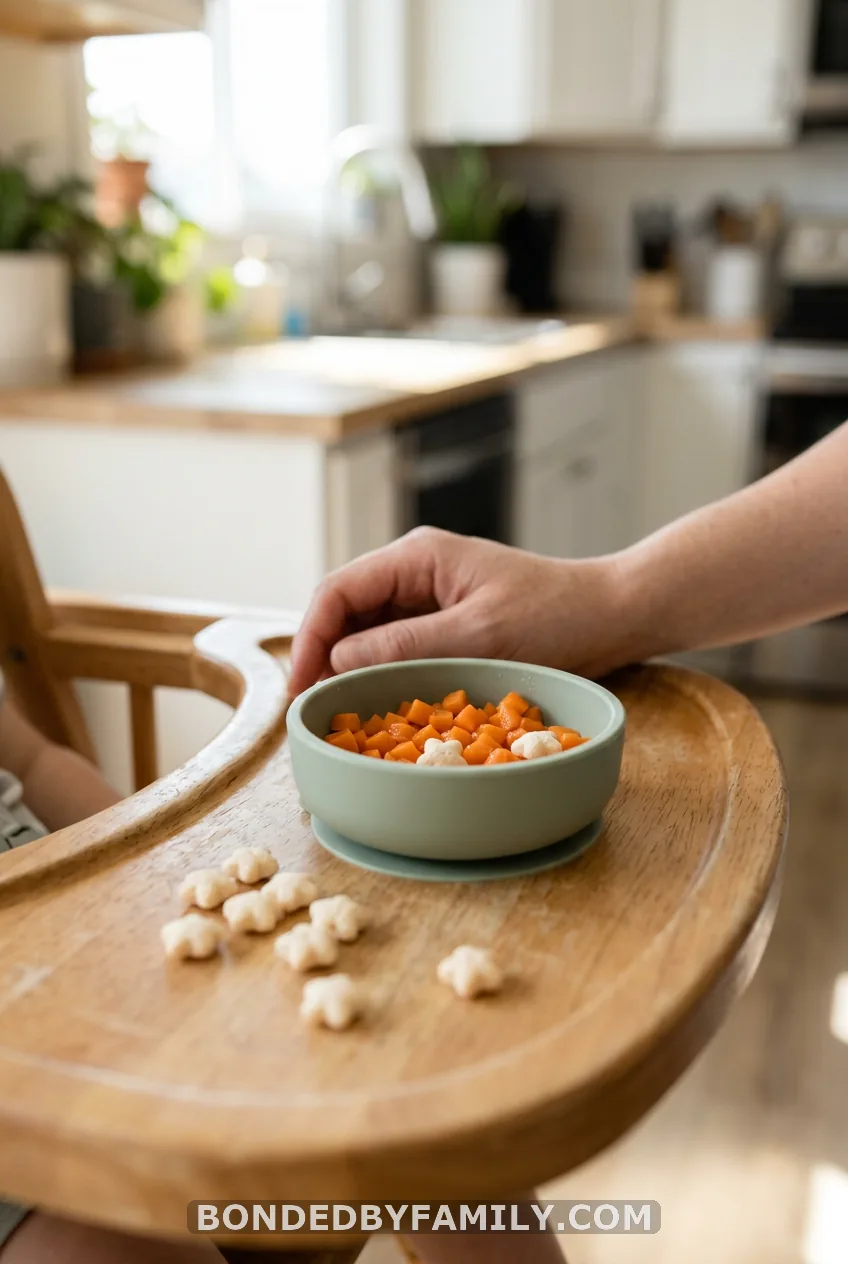
Small things are the whole point of this skill. They are also the risk.
- Stay within arm’s reach every time. No “I’ll just fold laundry nearby.”
- If an item fits through a toilet paper tube, it needs your eyes on it.
- Skip whole grapes, whole nuts and firm blueberries, even after the pincer appears.
- Use the floor, not the high chair, for small non-food items. If your baby mouths everything, pick the larger or edible swap listed in each activity.
Babies under four should never play with small items unsupervised. Stop the activity if anything goes in the mouth that shouldn’t.
2. Muffin-Tin Puff Pickup
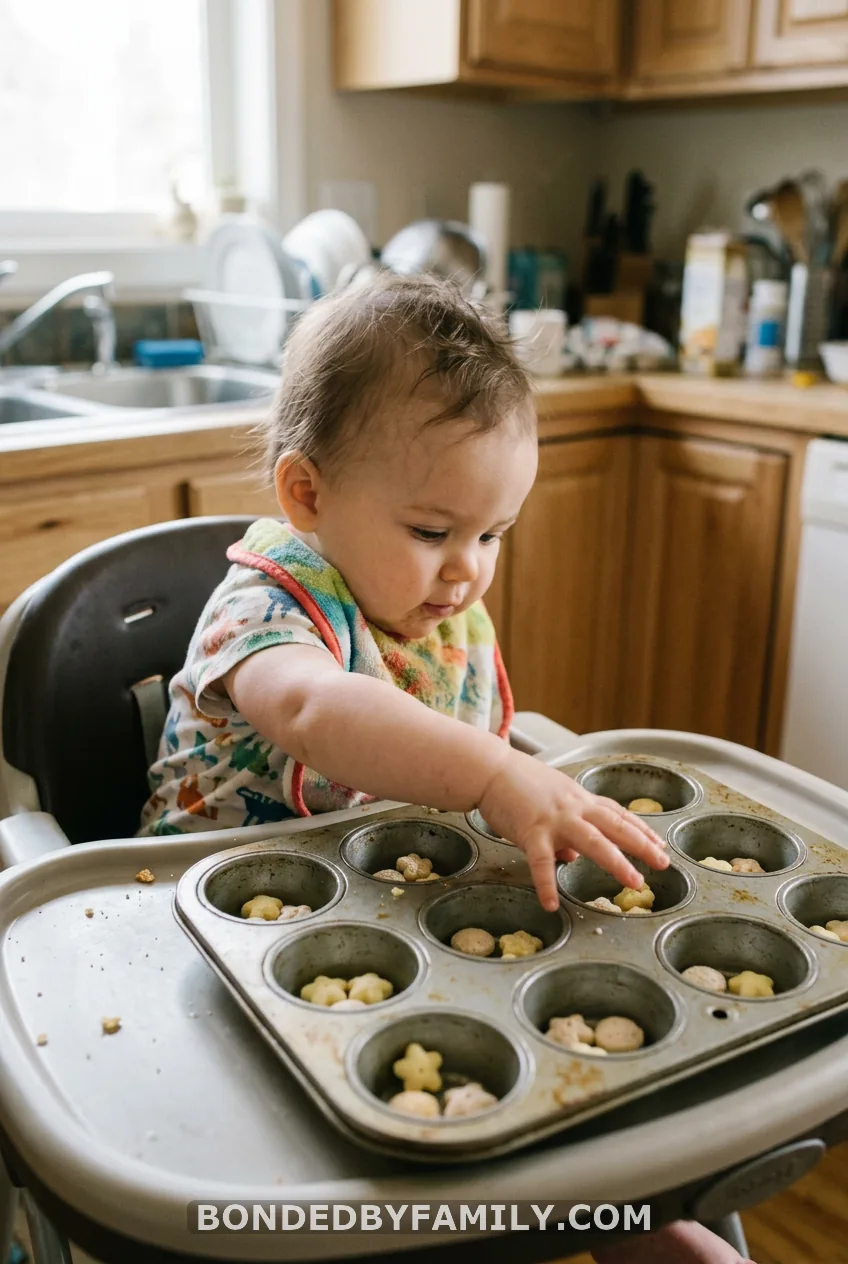
Grab a muffin tin or an ice cube tray. Put two or three dissolvable puffs in each well. The walls of the cup hold the food still, so your baby has to pinch one piece at a time.
Best for 8 to 9 months, when the immature pincer first appears. Safety: use puffs that dissolve, or soft cooked veg cut small, and stay beside the tray.
Cost reality:
Free if you own a muffin tin. A box of puffs runs about $4 to $6.
3. Tissue Box Pull
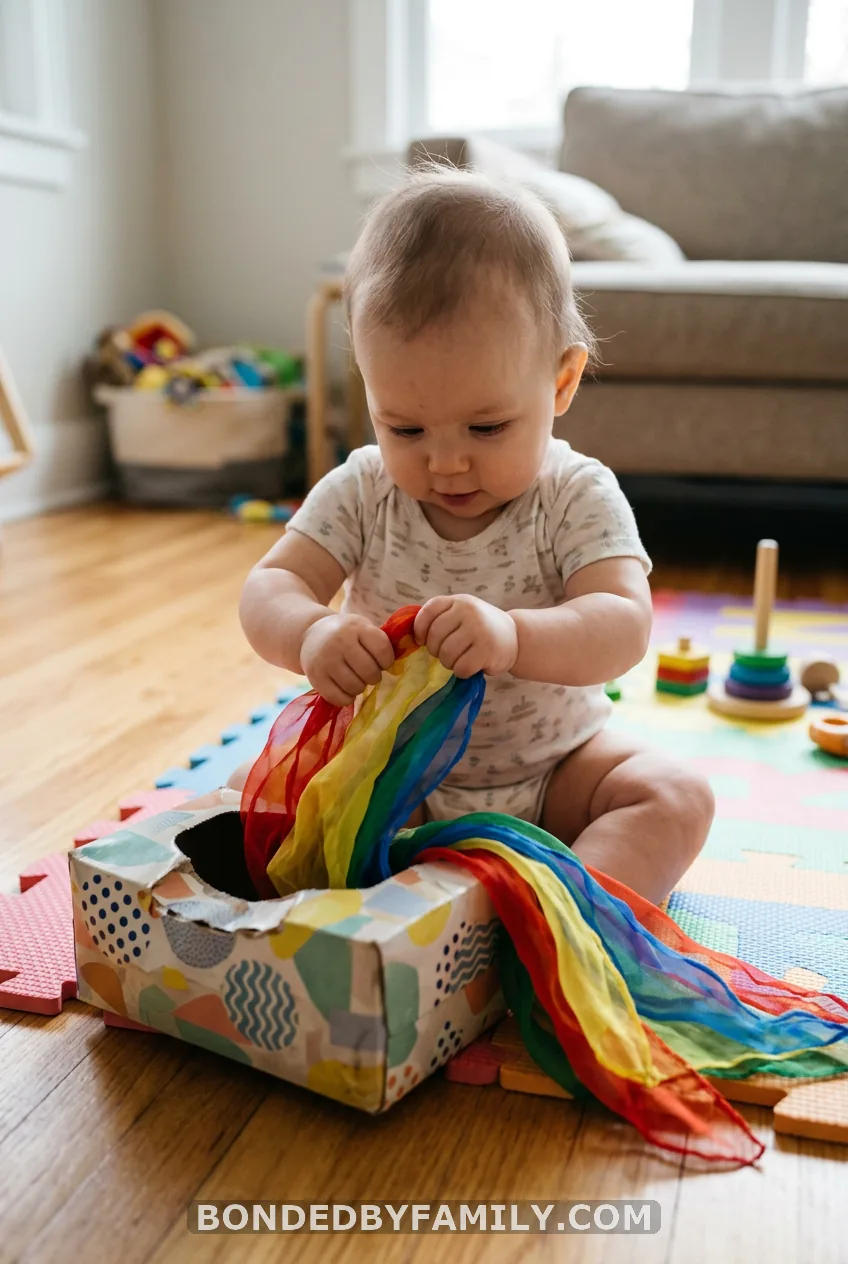
Stuff an empty tissue box with scarves or soft fabric squares. Let the tips poke out. Your baby pulls, the fabric comes, and the game repeats.
Pulling a corner isolates the thumb and index finger. Best for 6 to 9 months, before the true pinch. Safety: no loose threads, and take the fabric away if it heads for the mouth.
4. Peeling Tape Off the High Chair Tray
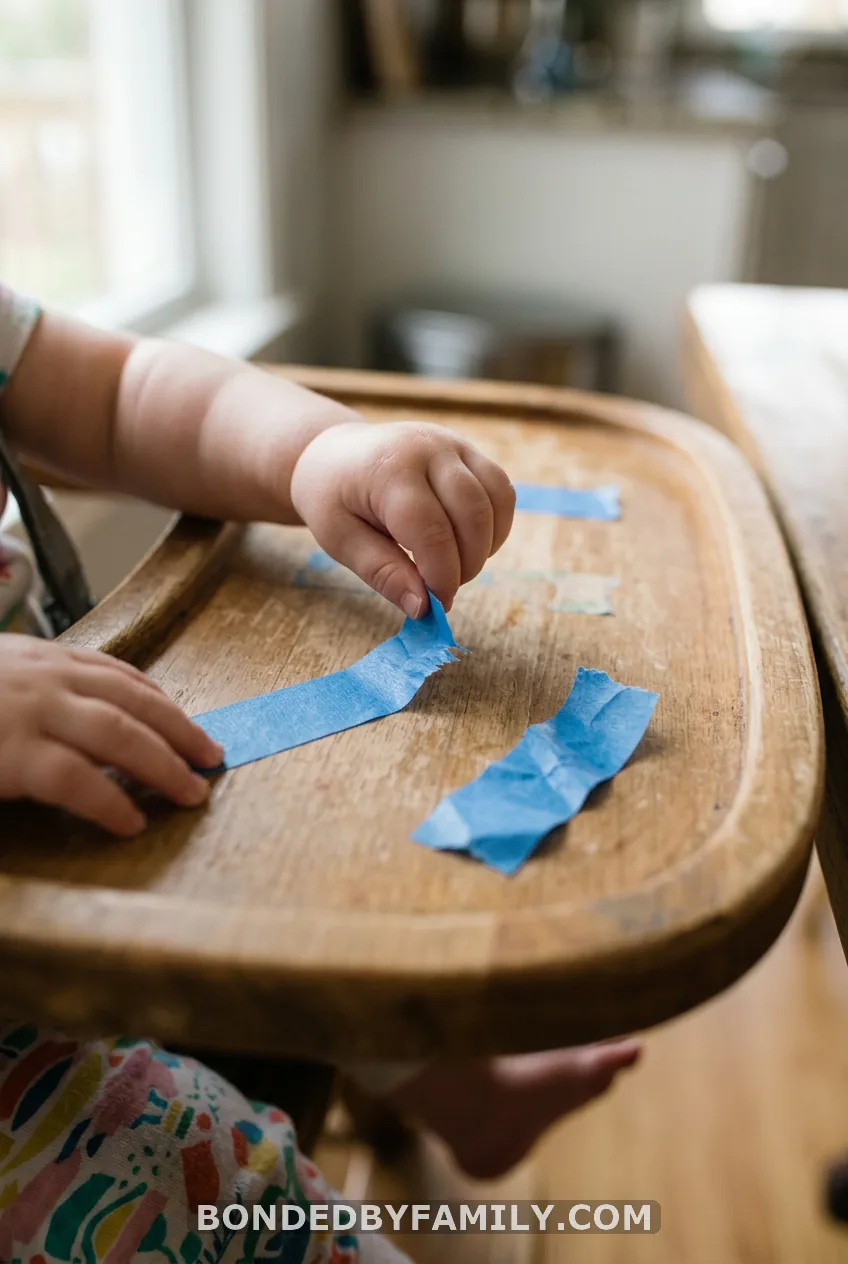
Press four or five strips of painter’s tape onto the tray. Fold one end over so there’s a tab. Your baby peels, you press it back, and the loop goes on.
It builds hand strength as well as finger control. Best for 8 to 10 months. Safety: tape goes in mouths. Take it away the moment it does, and toss any chewed piece.
5. Contact-Paper Sticker Peel
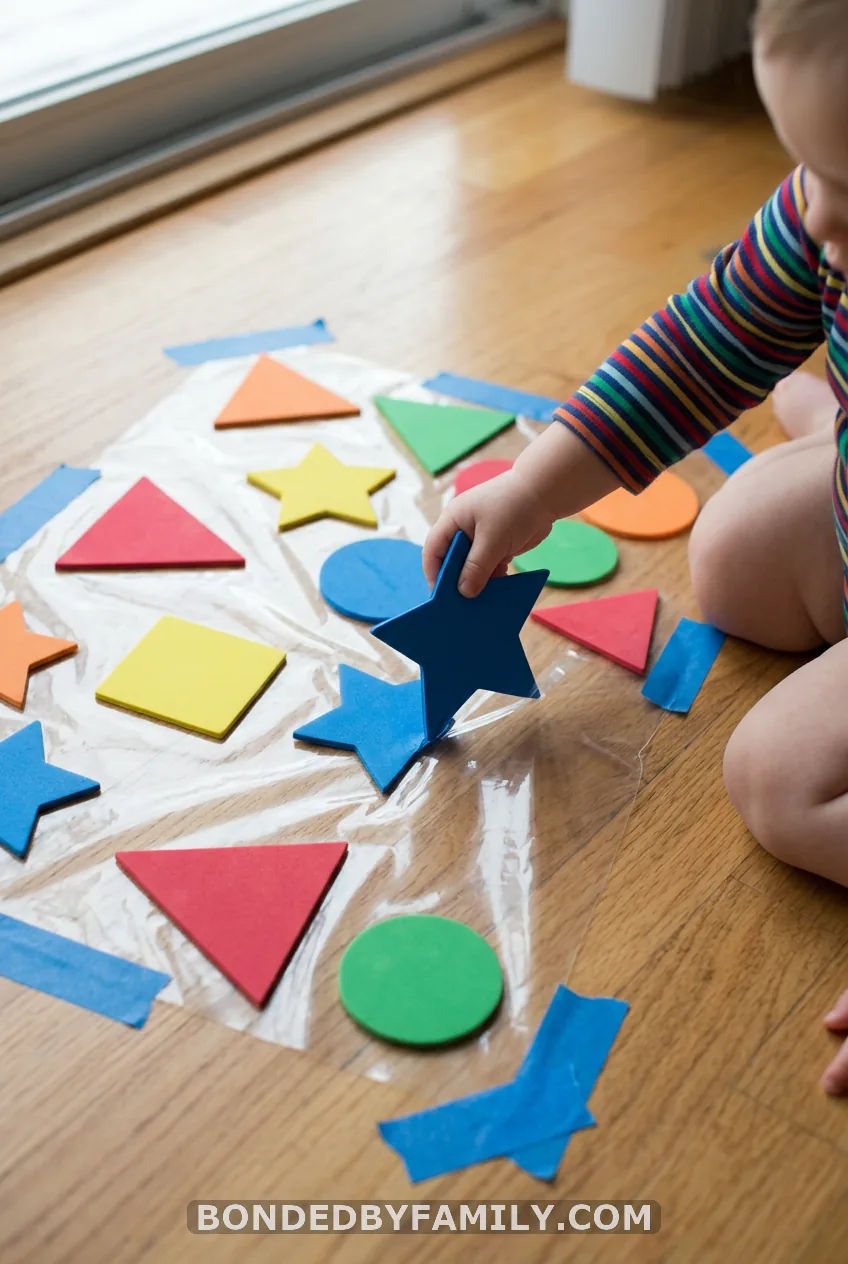
Tape a sheet of contact paper to the floor, sticky side up. Add large foam shapes. Your baby peels them off and sticks them back, endless reps and no wasted stickers.
Best for 9 to 12 months, to refine where the finger pads land. Use shapes bigger than a toilet paper tube opening.
6. Pom-Pom Whisk Pull
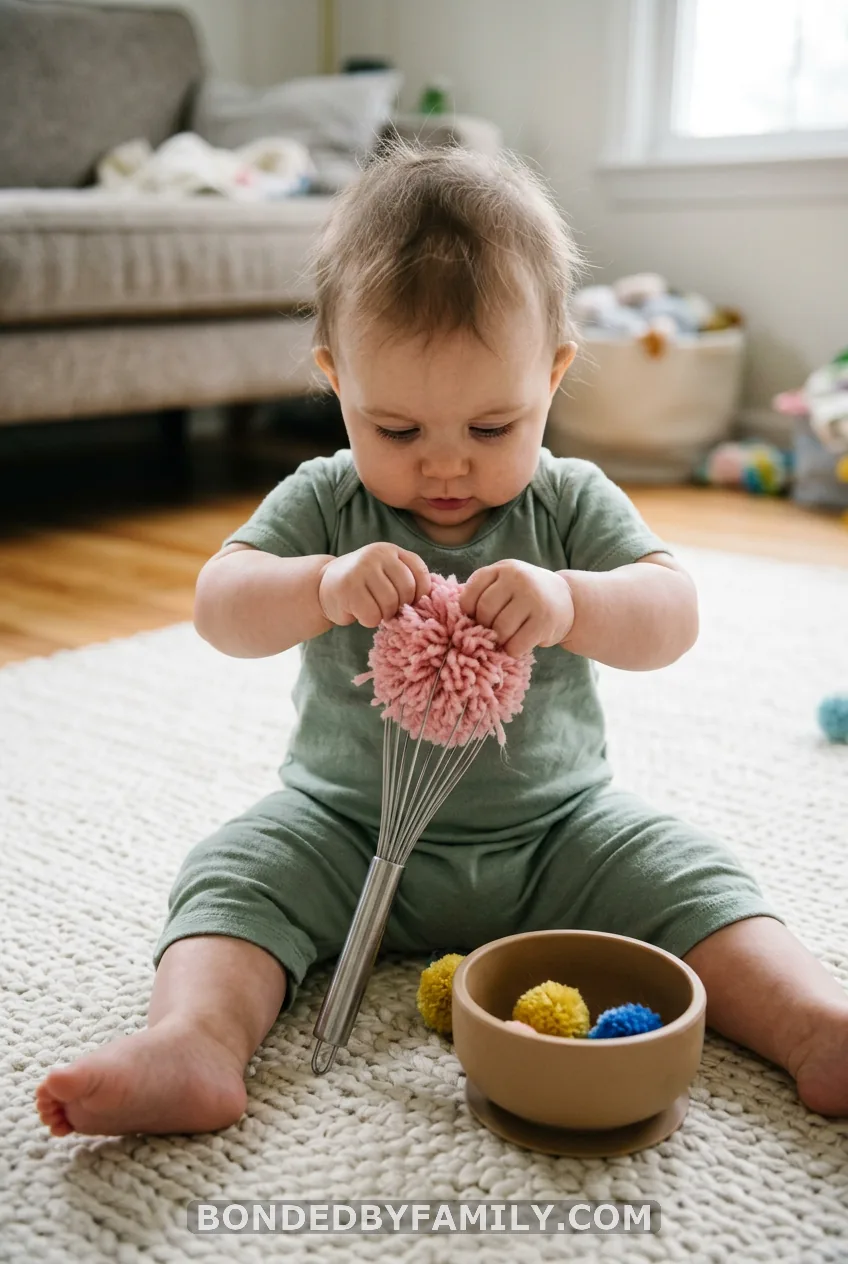
This is the classic occupational therapy go-to, and it earns the spot.
What you need
- A kitchen whisk
- 5 or 6 large pom-poms, about 1 inch across
- A bowl or cup nearby
How to set it up
- Sit on the floor with your baby.
- Push each pom-pom between the wires so it sticks.
- Hold the whisk steady while your baby pinches one out.
- Show how to drop it in the bowl. That uses both hands together.
Best for 8 to 11 months. Time to set up: two minutes.
The catch:
Pom-poms are a choking hazard. Use them only on the floor with hands-on supervision. If your baby still mouths everything, swap in cotton balls or large cereal pieces.
7. Clothespin and Peg Board Drop
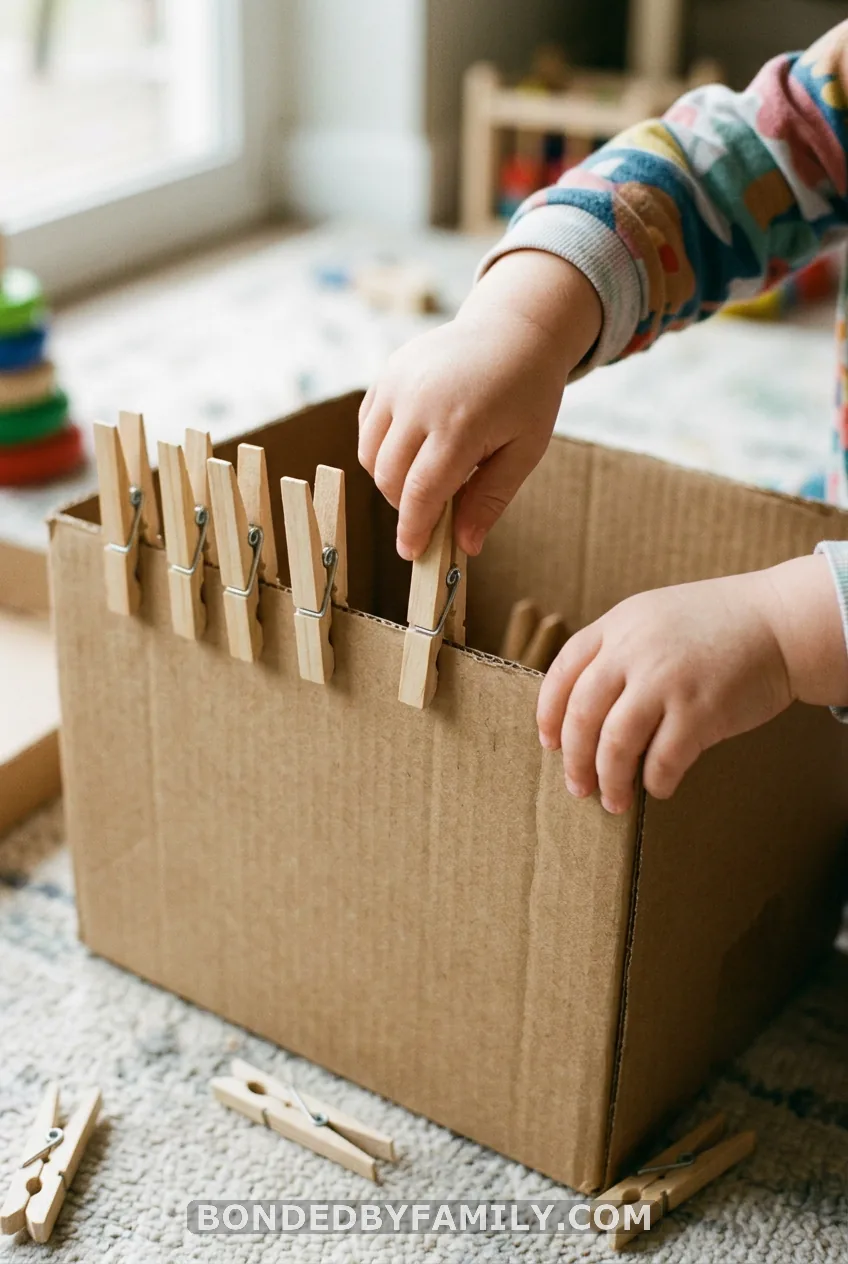
Clip spring clothespins onto the edge of a cardboard box. Your baby pulls them off or squeezes them open. Squeezing open and letting go uses the same muscle pattern as a mature pincer.
Best for 10 to 14 months. Safety: clothespins are small parts and a choking hazard for babies under 4. Use this only with hands-on supervision, and skip it if your baby still mouths objects. Use the plain wooden kind with no splinters, and keep the pins away from fingers that are still learning to squeeze.
8. Coin-Slot Drop (Baby-Safe Version)
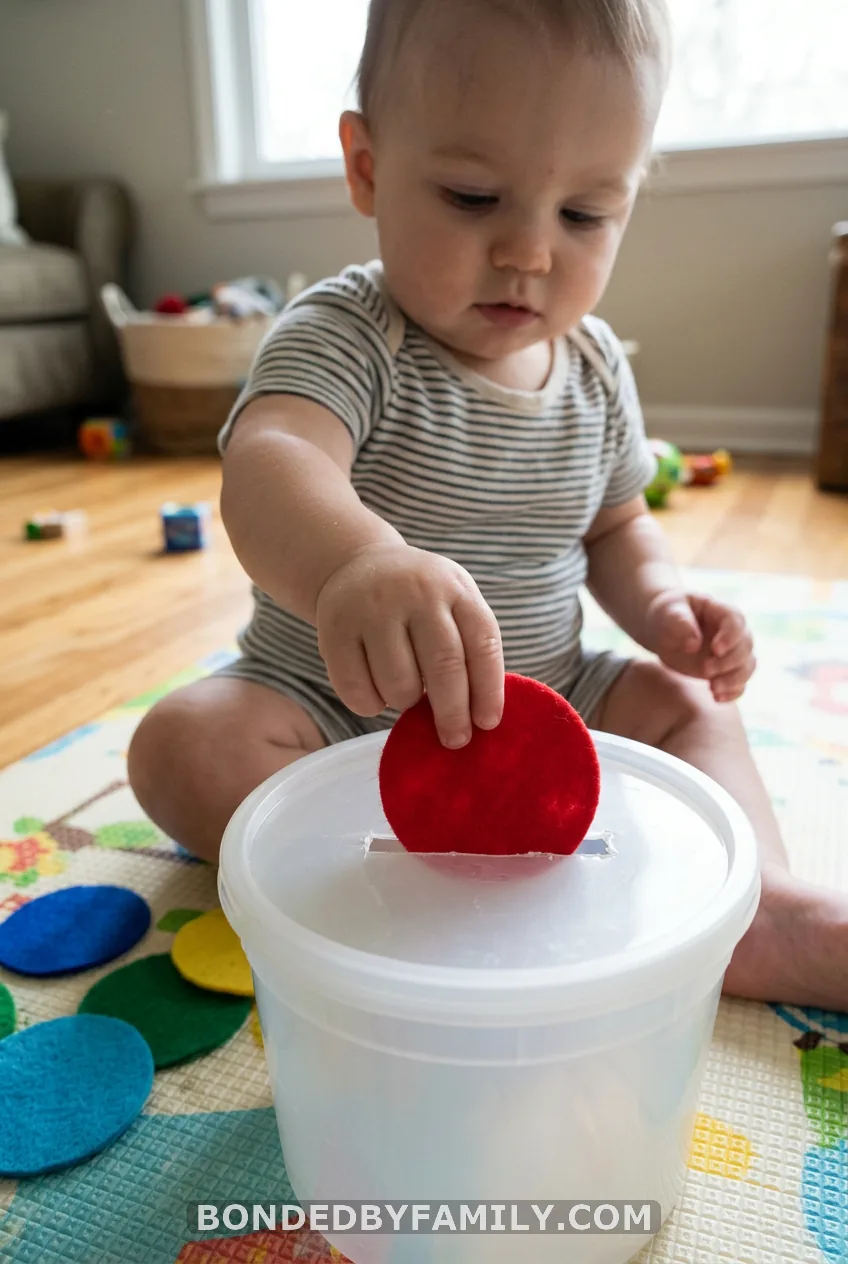
Cut a slot in the lid of a plastic tub. Use big plastic lids, poker chips or felt circles as the “coins.” Never use real coins.
Posting an item and watching it vanish adds an object permanence game. Best for 10 to 12 months. Every disc must be too big to swallow.
9. Poke the Play-Dough
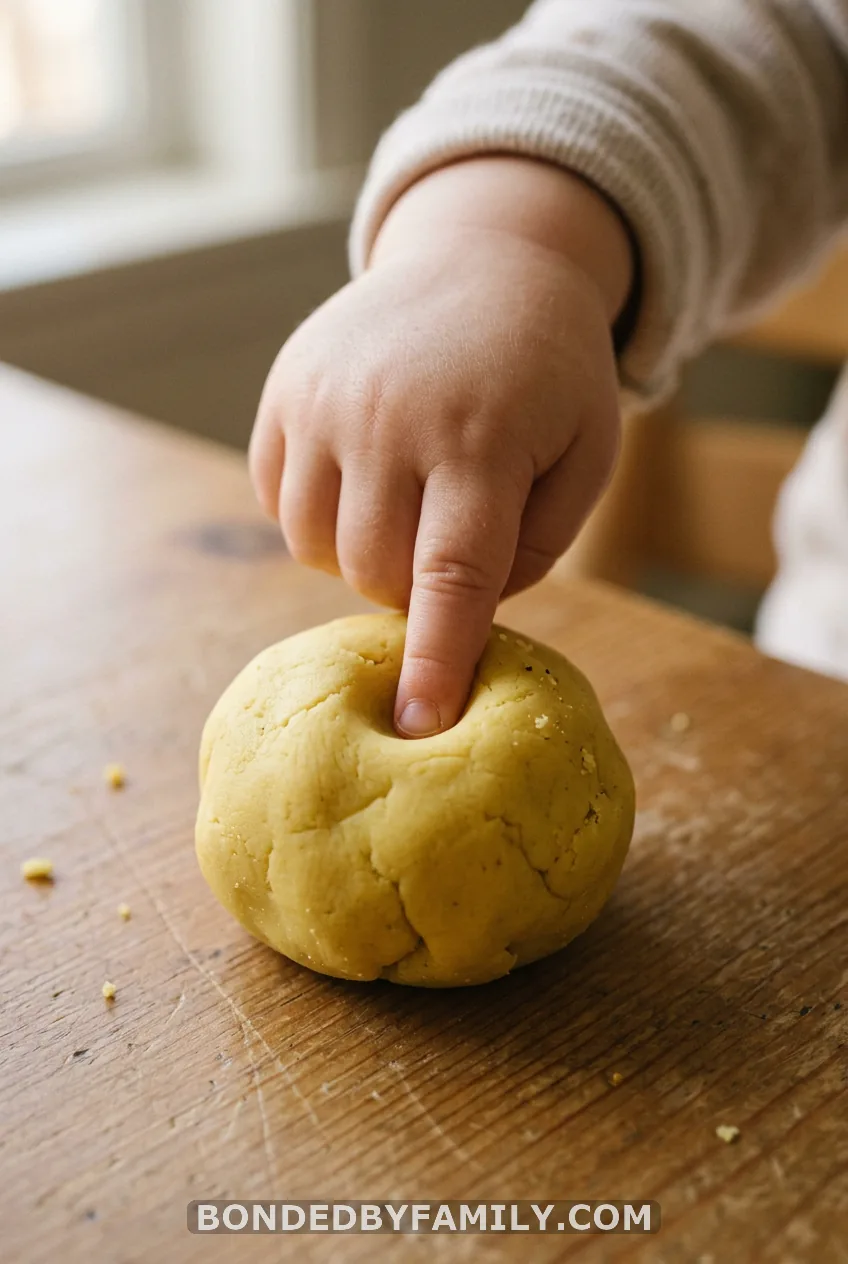
Flatten a ball of play-dough. Show your baby how to poke a hole with one finger. Isolating the index finger is the groundwork for the pinch.
Best for 7 to 10 months. Safety: dough is not food. Use a homemade, low-salt batch if mouthing is still a thing, and watch closely.
10. Pom-Pom Transfer Between Bowls
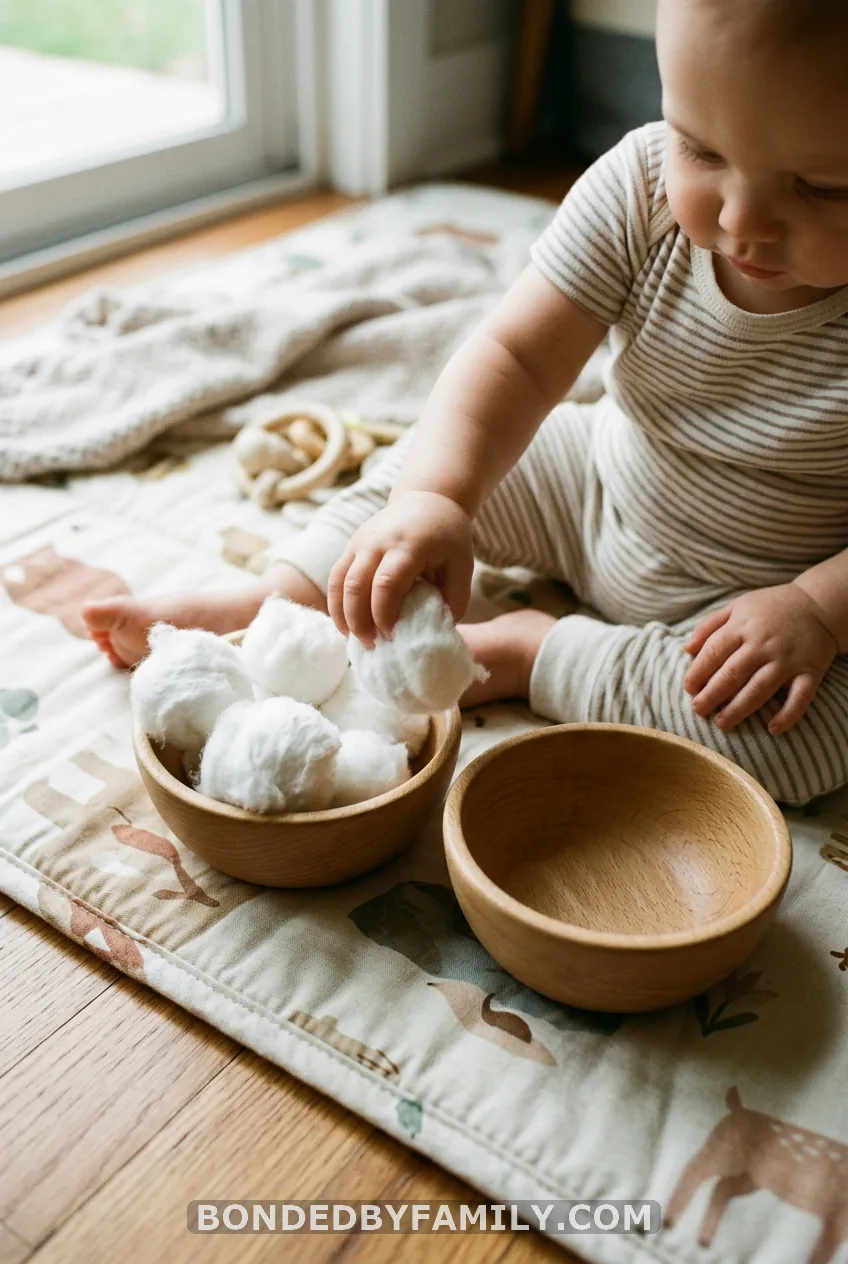
Two bowls. One full of large pom-poms or cotton balls, one empty. Your baby moves them across, one at a time.
Best for 9 to 12 months. Toddlers can graduate to kitchen tongs. Same safety rules as the whisk pull.
Make Any Activity Easier or Harder
Use this dial to grow each idea with your baby.
- Easier: Use bigger objects, rest items on a raised surface, or half-peel the sticker.
- Harder: Use smaller objects, a narrow opening, or ask for two hands.
Try the 80% rule. If your baby can’t manage it four out of five tries, it’s too hard today. Go back a step and try again in a week.
A 5-Minute Pincer Station
Keep it small. One tray, one bowl, one target container. Rotate three items each week.
Offer it after a nap, when your baby is happy and fed. Five to ten minutes is plenty. No batteries, no screens, no shopping.
When to Talk to Your Pediatrician
Call if your baby has no pincer grasp by 12 to 15 months. Also call if your baby keeps fisting, uses only one hand, or loses a skill they had.
Chewing and mouth skills often lag behind the hands. That can make mealtimes feel scary even when development is fine. Mention it anyway. In most US states, an early intervention evaluation is free.
Frequently Asked Questions
When do babies develop a pincer grasp?
Most show an immature pincer around 8 to 9 months and a mature fingertip pincer between 10 and 12 months. Anything from 7 to 12 months is considered normal.
What if my 12-month-old isn’t using a pincer grasp yet?
Some babies are simply later. If there’s still no pincer by 12 to 15 months, ask your pediatrician. An early intervention evaluation is free in most US states.
Are pom-poms safe for babies?
Only with constant, hands-on supervision on the floor. Skip them for a baby who still mouths everything, and use cotton balls or large cereal pieces instead.
Can I just use food to practice the pincer grasp?
Yes, and it’s the most natural way. Puffs, Cheerios, soft cooked peas and shredded cheese on the high chair tray are built-in practice. Keep pieces soft and small, and stay close.
Your Turn
Which of these ten could you set up before your baby’s next nap ends?