The clock reads 9:14 a.m. The kids have already asked for a screen twice, and you are out of ideas for summer STEM activities for kids that won’t cost a fortune. School is out, the days are long, and your brain is fried before lunch. I have been there on the kitchen floor, coffee going cold, wondering how to fill the next ten weeks without buying a single plastic kit.
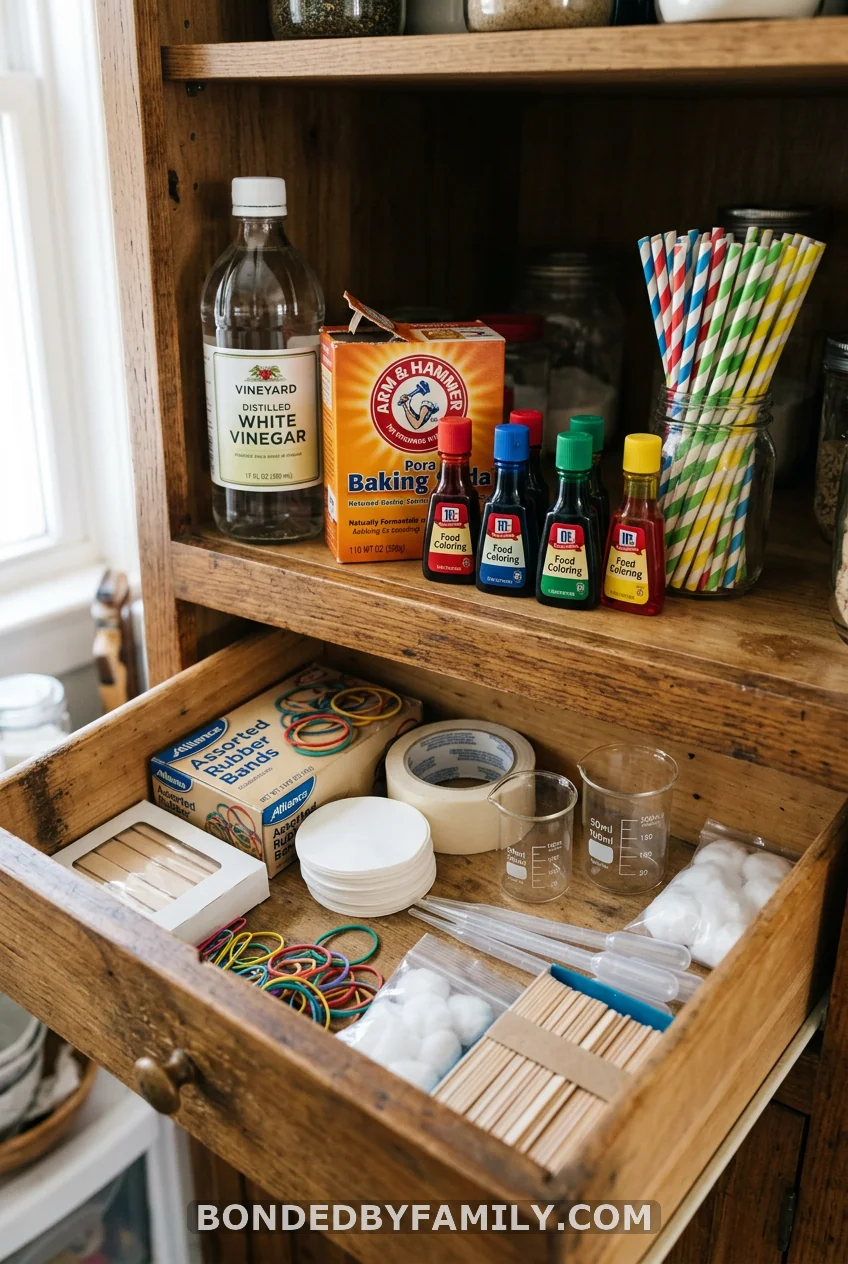
Here is what I learned: the best summer STEM activities for kids almost never need a store run. They need a pizza box. A handful of pipe cleaners. Some sunscreen and a sheet of dark paper. Science is hiding in your laundry cupboard and your recycling bin.
This list pulls together fifteen projects my kids beg to repeat. Some take five minutes. One takes an afternoon and teaches real thermodynamics. Every single one runs on things you likely own right now. Stick with me to the end, and you will have a no-shopping plan for the whole summer.
1. Grow Borax Crystals on Pipe Cleaners
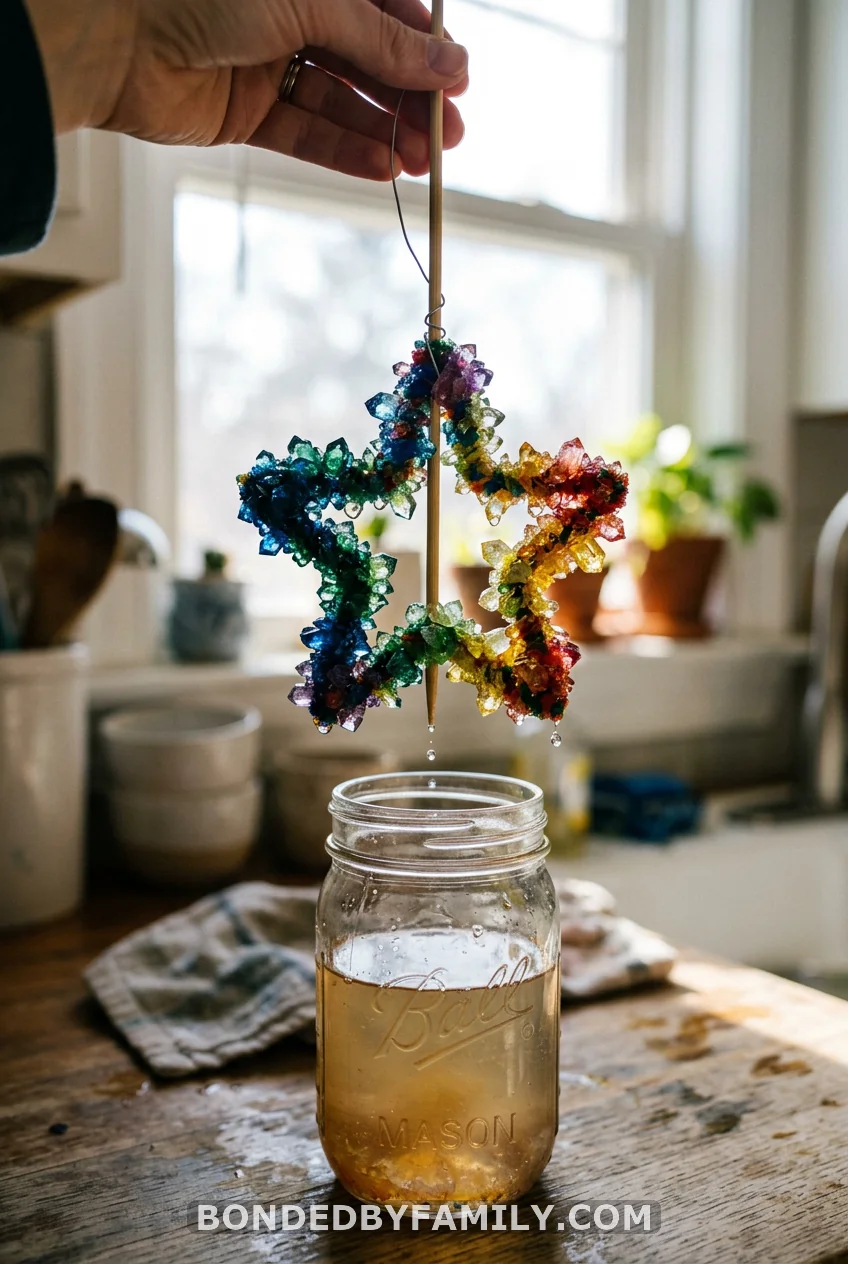
Bend a pipe cleaner into a star or heart. Tie it to a popsicle stick with a string and lower it into a jar. Now make the magic happen: stir borax into boiling water until no more will dissolve, pour it over the shape, and walk away.
By morning, glittering crystals coat every fiber. The science is supersaturation. Hot water holds far more borax than cold, so as the jar cools, the extra borax has nowhere to go but onto your star. Kids watch matter change shape overnight. Use more borax for chunkier crystals, and let the jar sit somewhere safe so nobody knocks it.
2. Paint Secret Pictures With Sunscreen
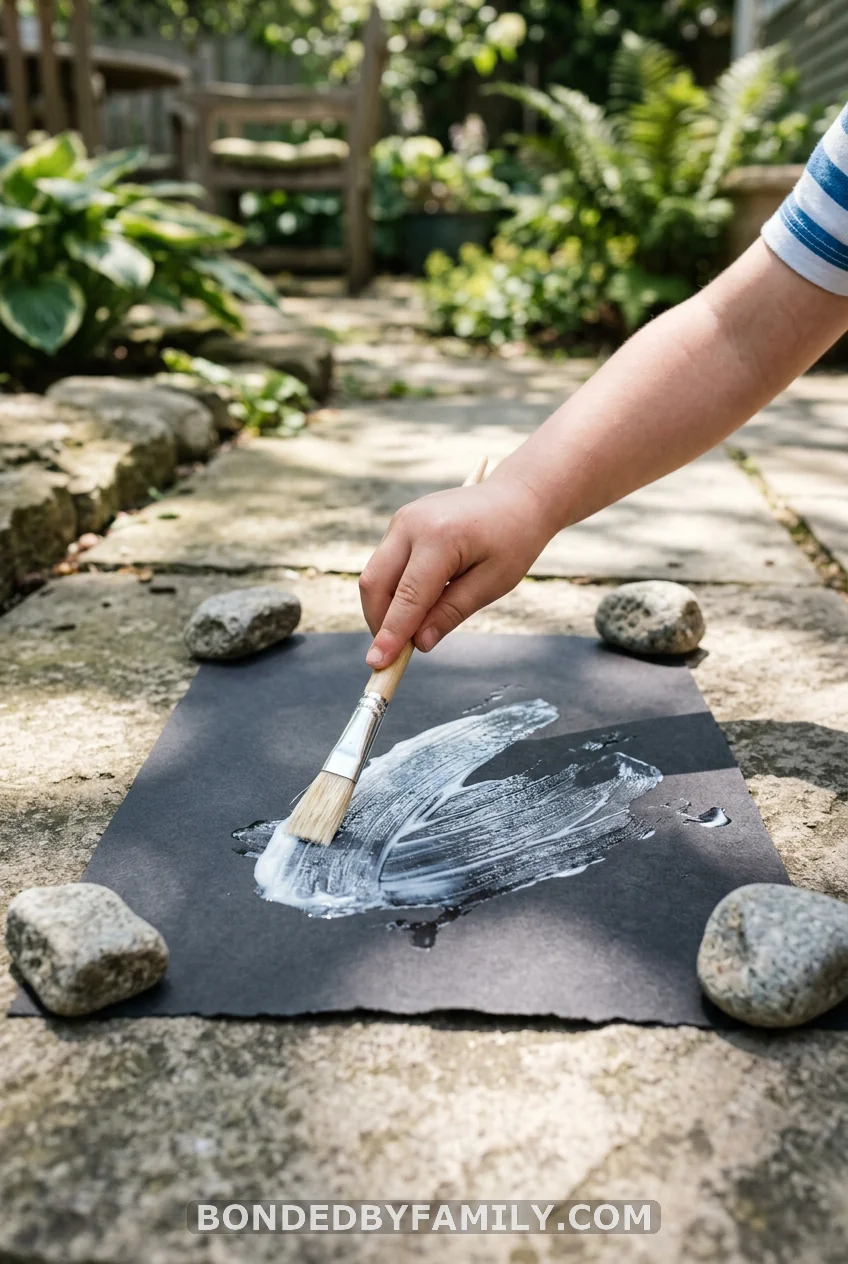
Squeeze sunscreen onto a paper plate and hand your child a brush. They paint a picture on a sheet of dark paper, then carry it outside into full sun. Weigh the corners with rocks so it stays put.
A few hours later, the secret reveals itself. The bare paper fades pale, while the sunscreen “paint” stays dark. UV waves break the chemical bonds in the dye, and sunscreen blocks those waves. It is the same barrier you smear on their noses. Mine were far more willing to wear sunscreen after seeing this.
3. Launch Straw Rockets
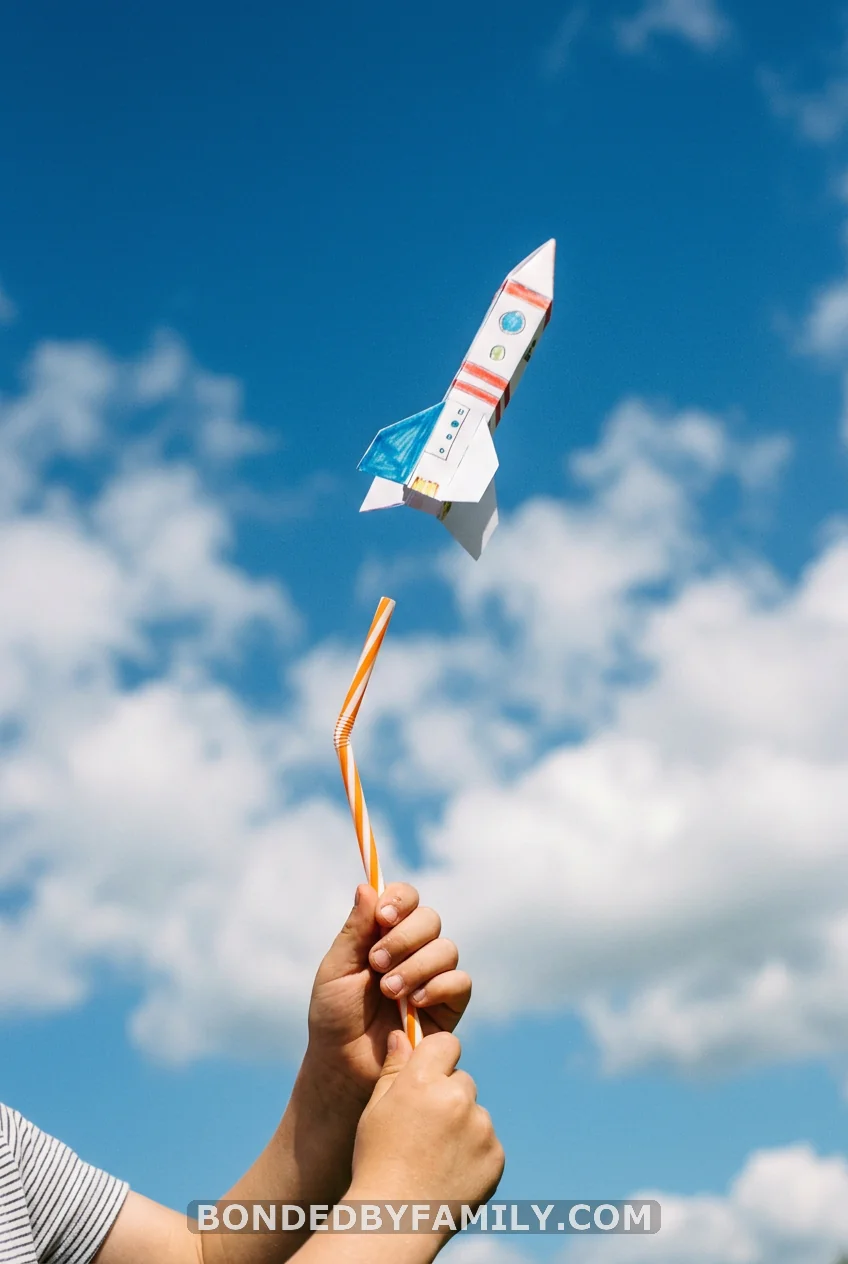
Roll a paper tube around a pencil, fold and tape one end shut, and slide it over a straw. Blow hard. The rocket flies across the yard. Tweak the fins and the nose, then measure whose flies farthest. Free, loud, and over fast.
4. Build a Pizza Box Solar Oven (and Cook Real S’mores)
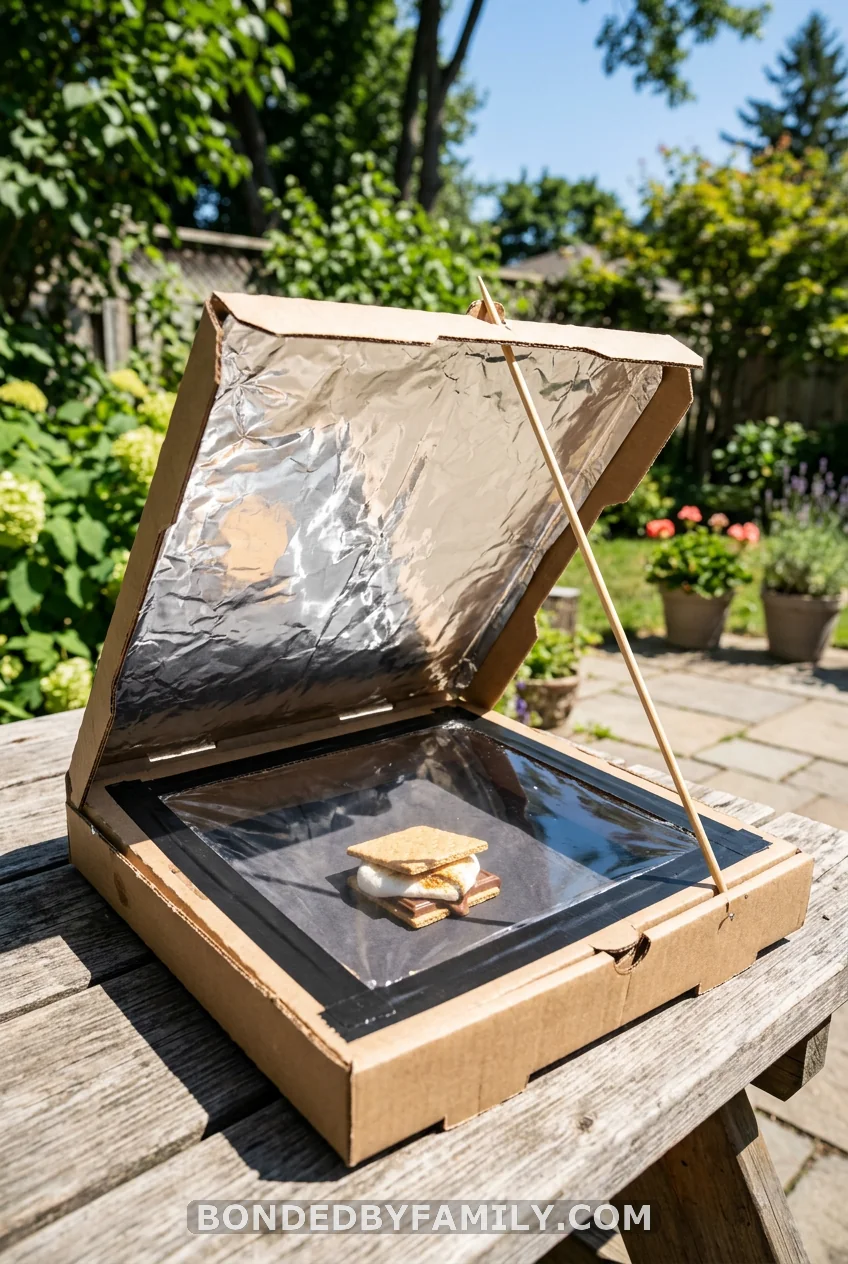
This is the one project worth a whole afternoon. It cooks food with nothing but sunlight, and it teaches reflection, absorption, and insulation in a way no worksheet ever could. My kids still talk about the summer they “baked” without a stove.
Why It Works
Sunlight enters through the clear plastic window. The foil flap bounces extra rays inward. Black paper soaks up that light and turns to heat. The plastic traps the warmth like a greenhouse, and rolled newspaper keeps it from leaking out. Put together, those four jobs push the inside of a cardboard box to 150–200°F on a clear day.
What You Need (and What It Costs)
- One clean pizza box — free from any pizza shop
- Aluminum foil — about $2 a roll, you have it
- Black construction paper — roughly $4 a pack
- Clear plastic wrap — about $3, already in your drawer
- Newspaper for insulation — free
- Tape, a ruler, a marker, and a wooden skewer to prop the flap
Total out-of-pocket: often $0. Most homes have all of it.
Step by Step
- On the box lid, draw a square with a one-inch border on all sides. Cut along three sides only, then fold the flap up so it stands.
- Line the underside of that flap with foil, shiny side out. Smooth it flat and tape the edges. This is your reflector.
- Open the box. Glue or tape black paper across the inside bottom. This is the cooking surface.
- Roll several sheets of newspaper into tubes. Tape them along the inside walls to form a sealed border. The lid should still close.
- Stretch plastic wrap tight across the opening under the lid and tape it down. This is your heat-trapping window.
- Assemble a s’more on the black paper: graham cracker, chocolate, marshmallow.
- Take it outside between 11 a.m. and 3 p.m., when the sun sits high. Prop the foil flap with a skewer and angle it to bounce the most light inside.
- Close the lid and wait. Marshmallows soften in 30–45 minutes; full melt takes a bit longer.
Turn It Into a Real Experiment
Change one thing and measure the result. Does black paper beat white? Does a steeper flap angle cook faster? Drop a thermometer inside and chart the temperature every ten minutes. Now you have a science-fair project, not just a snack.
Common Mistakes to Avoid
- Cloudy day. This needs direct sun. Clouds tank the temperature. Wait for clear skies.
- Loose plastic wrap. Gaps let heat escape. Pull it drum-tight.
- Skipping the newspaper. Without insulation, the box never holds enough heat. Do not leave it out.
- Wrong time of day. Early morning and late afternoon sun sit too low. Aim for midday.
Pro Move
Keep a control oven beside the test one. Same s’more, same sun, one variable changed. Side-by-side results turn a fun build into evidence that kids can defend.
5. Make Fizzing Sugar-and-Vinegar Fireworks
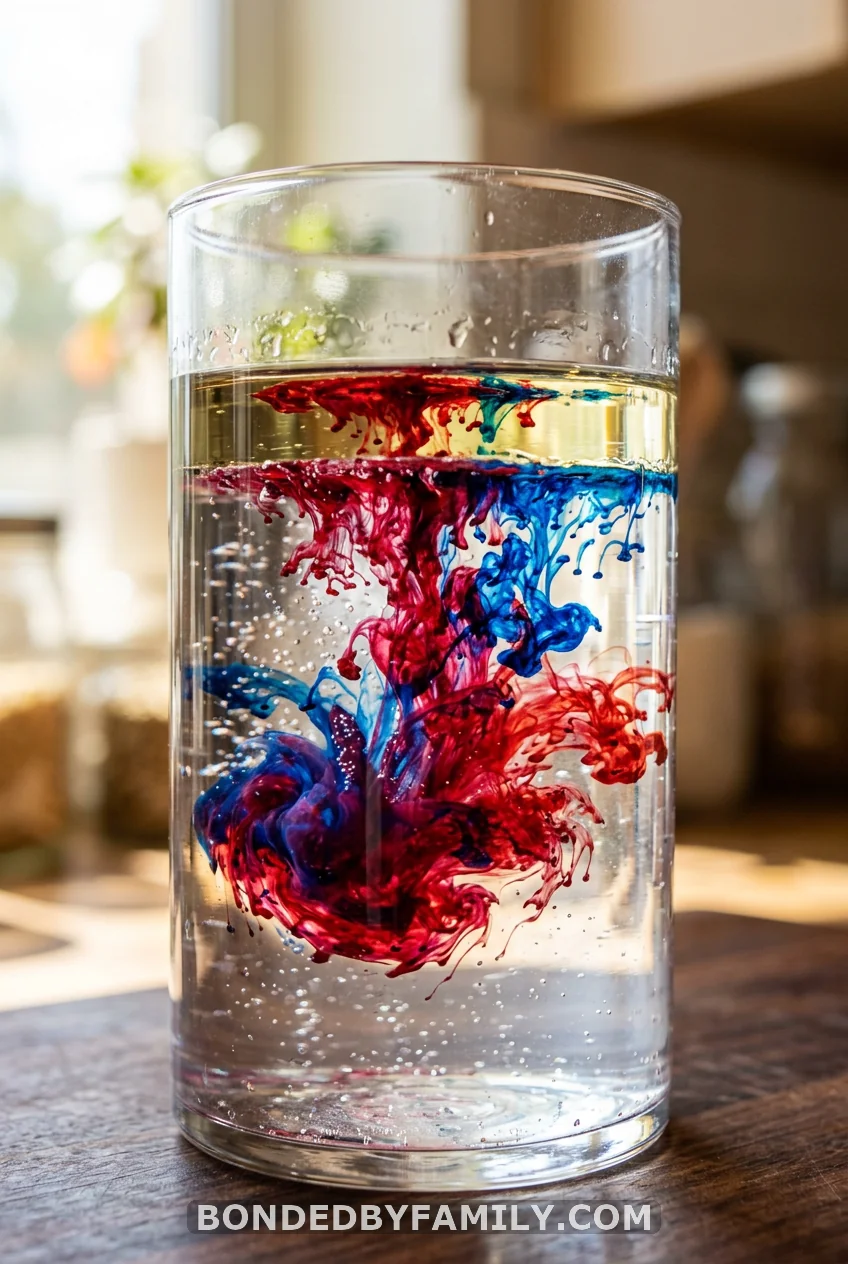
Float a spoon of oil dotted with food coloring on top of water, then watch the colors burst downward like fireworks. Add a vinegar-and-baking-soda fizz underneath for extra motion. Big visual payoff, zero cleanup stress. Five minutes, kitchen ingredients only.
6. Save Fred the Worm

Here is a puzzle that turns into a wrestling match with logic. Fred the gummy worm sits on top of an overturned cup. His life preserver, a gummy lifesaver, is trapped underneath. The rule: rescue him and get him into the ring, using only two paper clips. No fingers allowed.
It sounds quick. It is not. Kids flip the cup, drop the worm, groan, and try again. They learn that engineering means failing, adjusting, and failing better. The first success feels enormous.
Run it as a team challenge with a timer, or let one kid wrestle it solo. Either way, the conversation afterward matters most. Ask what worked, what didn’t, and what they would try with a third paper clip. That reflection is the real lesson.
7. Fold Paper Helicopters

Cut a strip of paper, split the top into two flaps, fold them in opposite directions, and clip the bottom. Drop it from a chair. It spins like a maple seed. Add or remove a paperclip, and the spin speed changes. Quick lesson in air resistance and balance.
8. Filter Dirty Water With a Solar Still
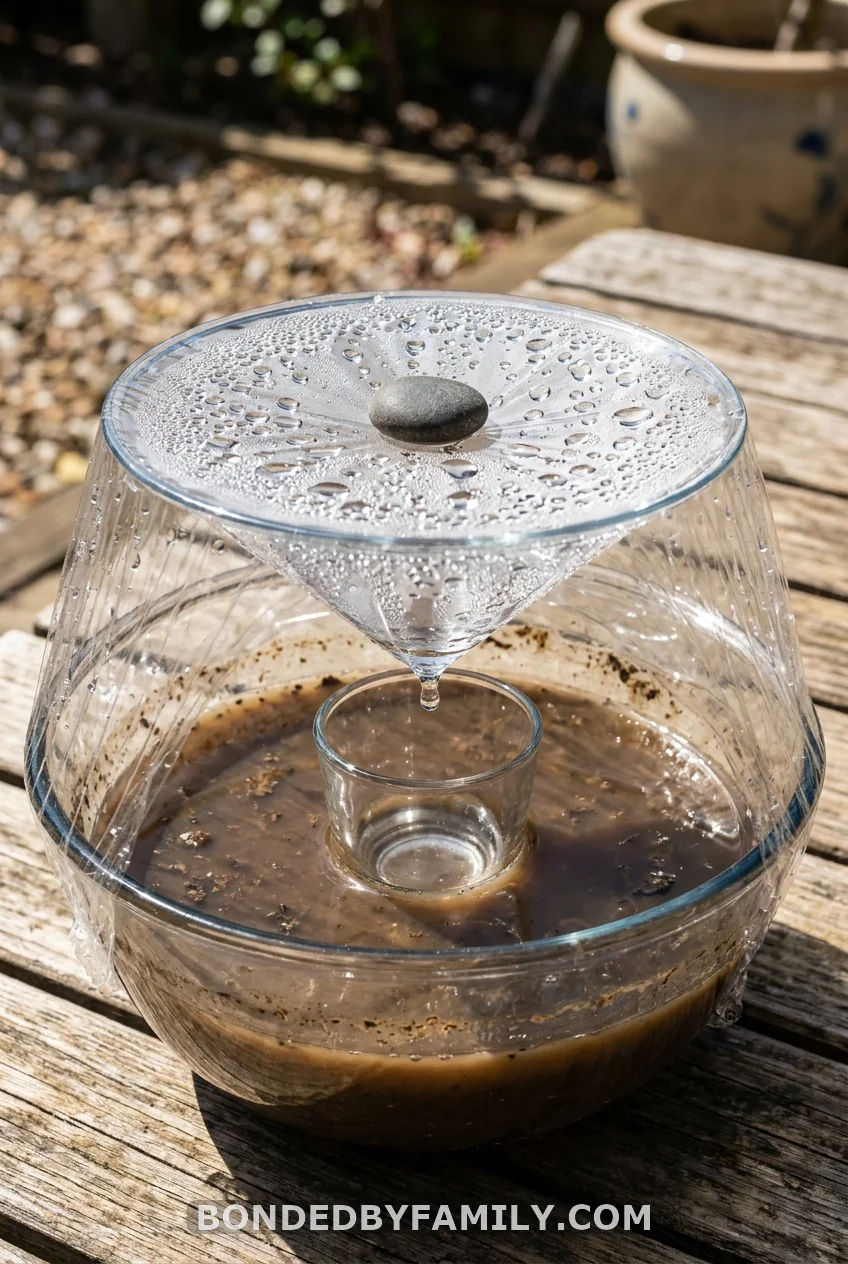
Pour muddy or salty water into a wide bowl and set an empty cup in the center, taller than the water line. Stretch plastic wrap over the bowl and place a small stone over the cup so the wrap dips toward it.
Leave it in full sun. Water evaporates, hits the cool plastic, and drips down into the cup as clean drops. The dirt and salt stay behind. Kids see the water cycle in miniature: evaporation, condensation, and collection. It also opens a real talk about how people find safe water in a crisis.
9. Run a “Floor Is Lava” Engineering Challenge
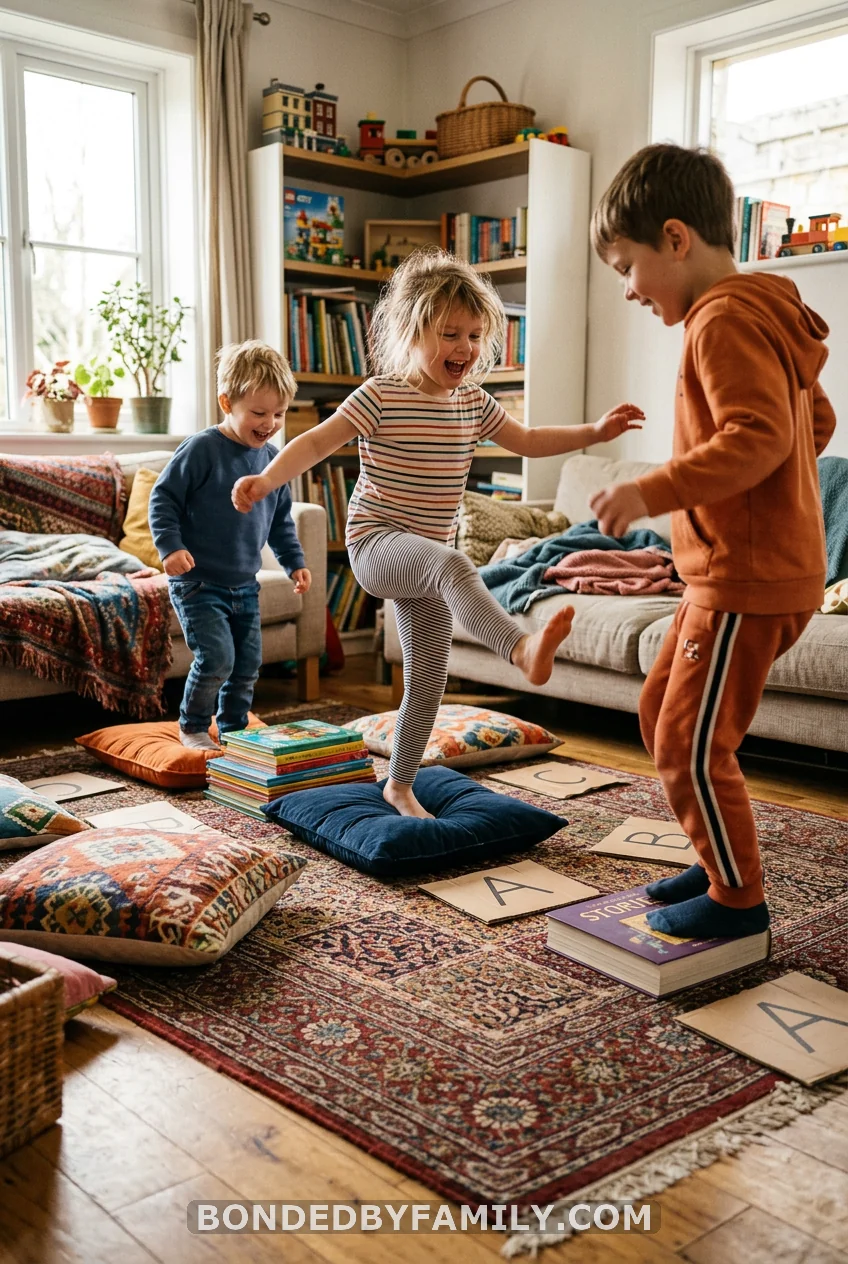
Scatter cushions, books, and cardboard across the floor. The rule: cross the room without touching the ground. Then add a constraint — carry a cup of water, or use only three “islands.” Now it is a planning problem, not just a game. Pure engineering, hidden inside chaos.
10. Build a Stick Raft That Floats
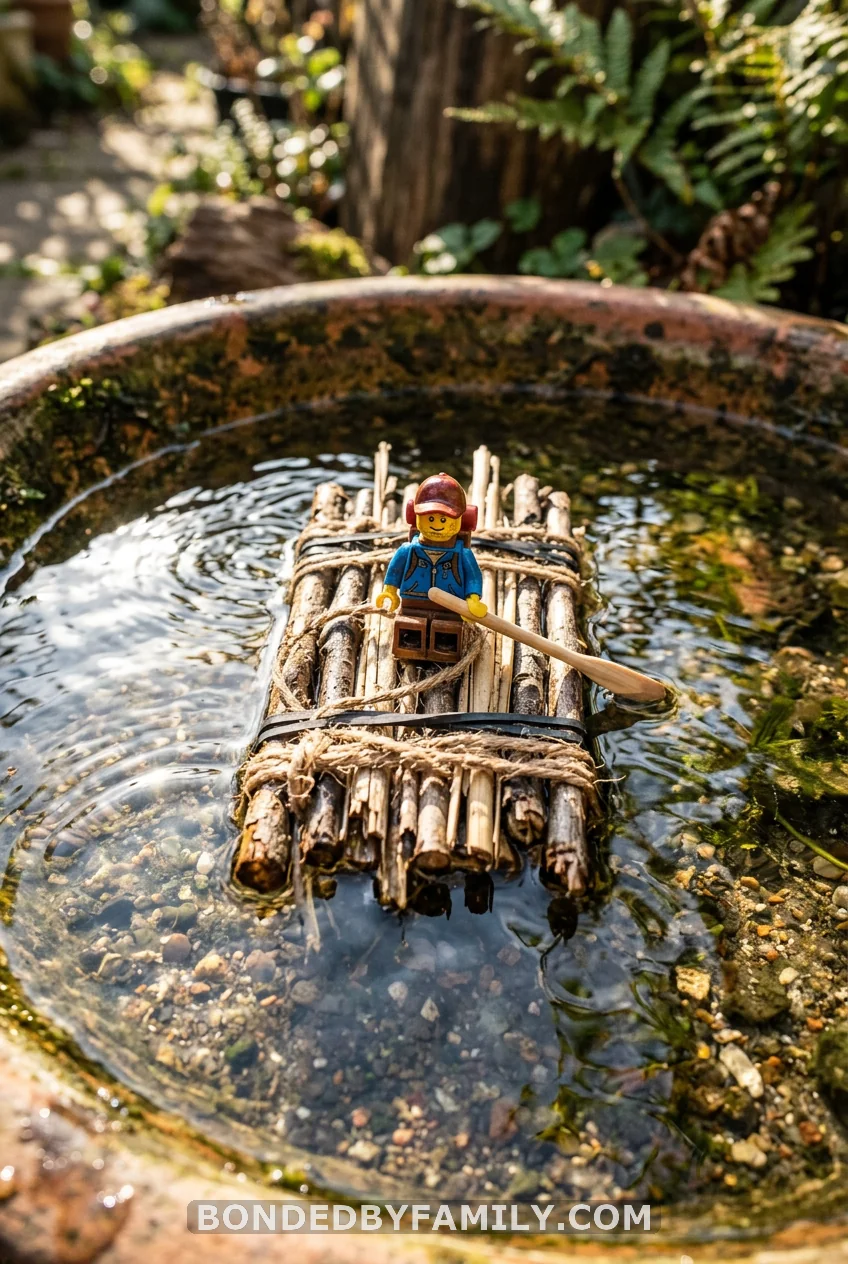
Gather twigs from the yard and lash them into a raft with string or rubber bands. Test it in a basin or the bath. Does it float? Does it hold a toy passenger? Kids learn that flat, balanced designs ride higher than lumpy ones, and they redesign on the spot when their raft tips.
11. Make DIY Bouncy Balls
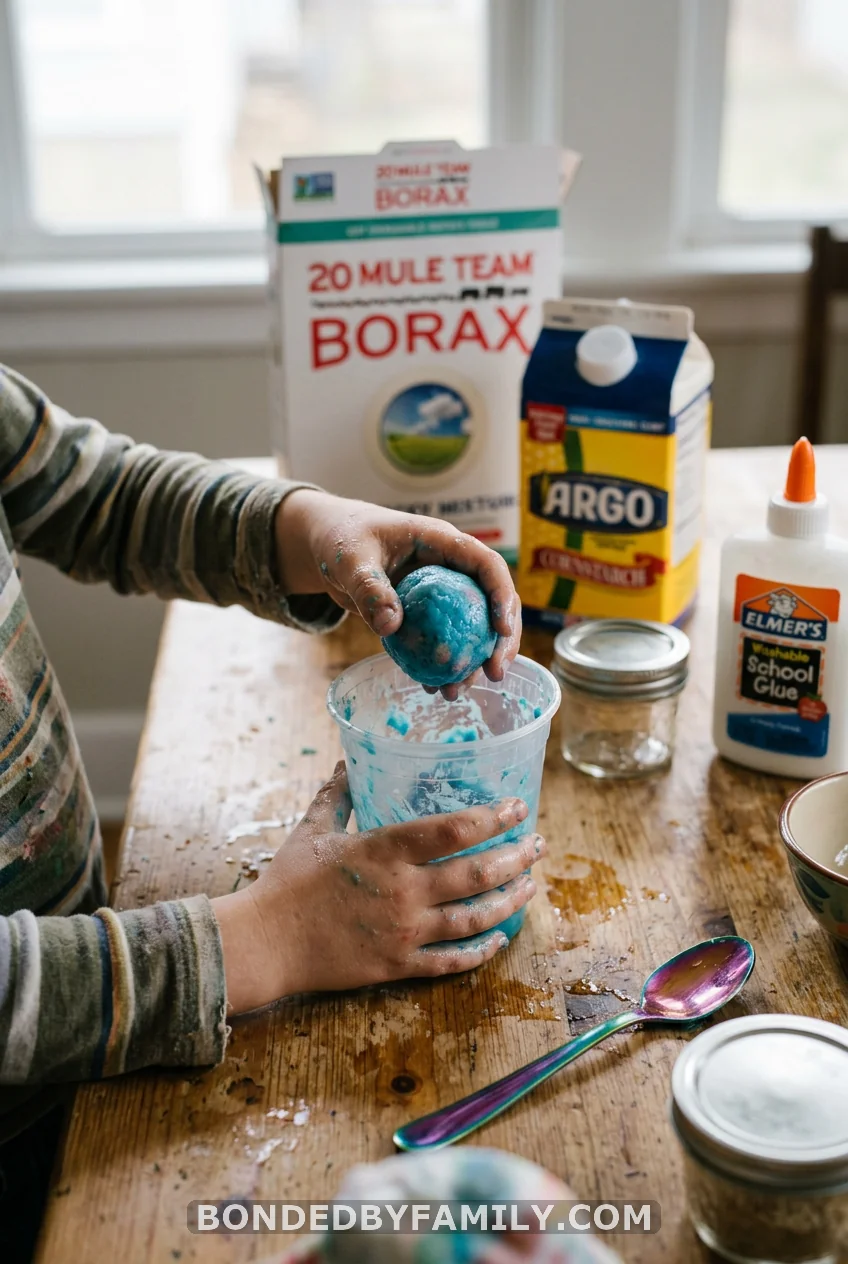
Mix glue, a little borax dissolved in warm water, and cornstarch, then knead the goop into a ball. Within minutes, it firms up and bounces. The science is polymers: the borax links the glue molecules into long, springy chains.
This one shines for ages six and up because the ratios matter. Too much glue and it stays sticky; too much borax and it crumbles. Kids tweak, test the bounce, and tweak again. The result is a toy they made from scratch, which beats anything from a vending machine.
12. Race a Balloon Rocket on a String
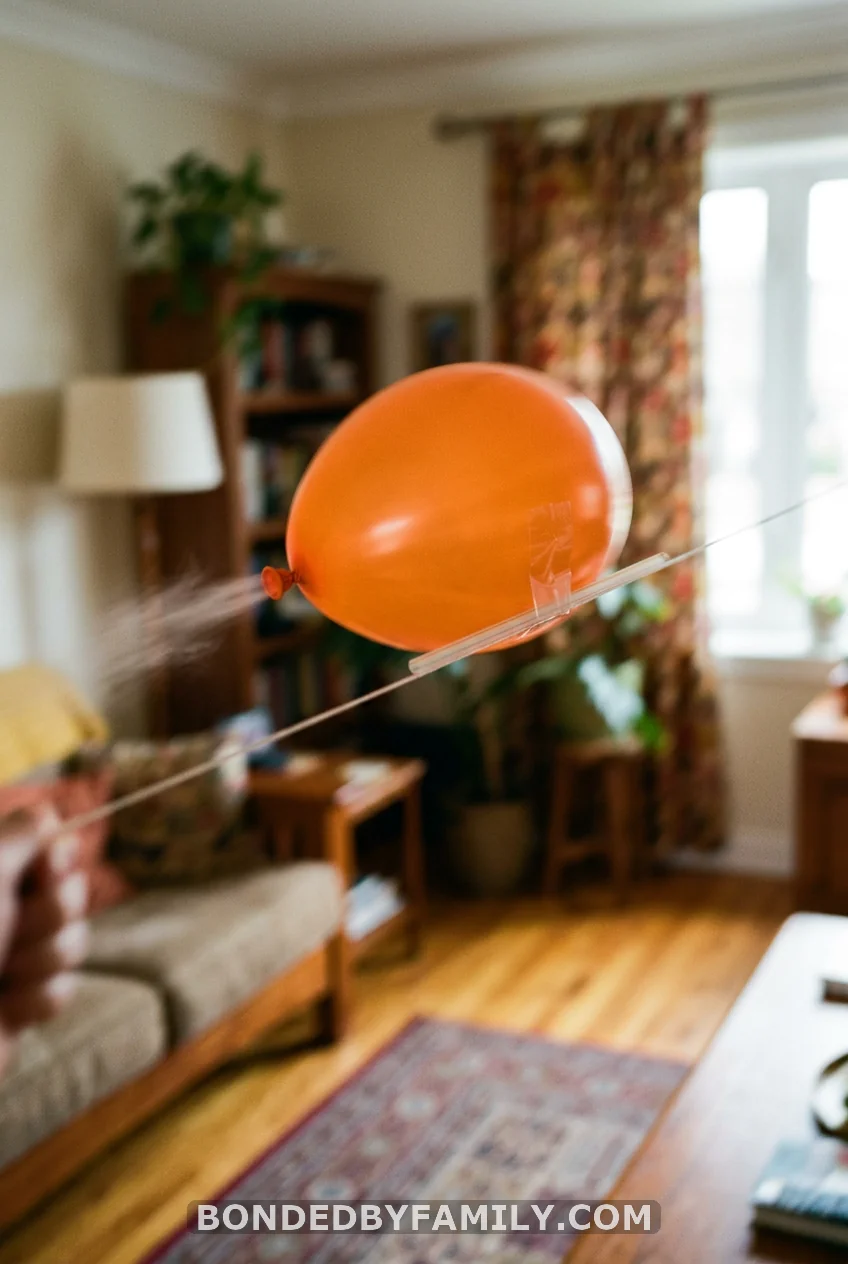
Thread a string through a straw and tie it tight across the room. Tape an inflated, un-knotted balloon to the straw, let go, and watch it shoot down the line. That is Newton’s third law in your hallway. Try different balloon sizes and chart the distance.
13. Catapult Pom Poms
Stack a few craft sticks, bind them with rubber bands, and rig a plastic spoon as the launching arm. Load a pom pom and press. The pom pom flies.
Then make it a study. Pull the arm back farther, and the pom pom goes farther — stored energy becoming motion. Move the fulcrum, and the launch angle shifts. Set up cups as targets and let the kids dial in their aim. It is potential and kinetic energy, disguised as a contest.
14. Fly a Hoop Glider
Tape a small paper hoop to one end of a straw and a larger hoop to the other. Throw it small-hoop first. It glides instead of tumbling, because the two hoops balance lift and drag. It looks wrong and flies right, which is exactly why kids love it.
15. Skip the Kit Entirely
Most people think STEM means a boxed kit with glossy instructions and a $30 price tag. That belief keeps a lot of good projects from ever happening.
The reality runs the other way. A boxed kit gives one result, one time, then sits in a closet. A pizza box and a question give your child a method they can repeat with anything. The skill you want them to build is not “follow the steps.” It is “change one thing, watch what happens, change it again.” That mindset costs nothing.
So before you add a kit to your cart, look in your recycling bin and your spice rack. The straw, the baking soda, the dark paper — that is the lab. Curiosity is the only part you cannot buy, and your kids already have it.
A Quick Word Before You Start
You do not need a plan for all ten weeks today. Pick one project for this afternoon. Pull out the borax, or grab a pizza box, and let the kids lead from there.
The mess washes off. The “wait, why did that happen?” sticks around. That question is the whole point of summer STEM activities for kids, and you can spark it with the contents of your kitchen and a sunny window. Have fun with it.
Frequently Asked Questions
What are good summer STEM activities for kids with no special supplies?
Borax crystals, a pizza box solar oven, straw rockets, sunscreen painting, and balloon rockets all use household items. Most cost nothing beyond what you keep in your kitchen, laundry cupboard, and recycling bin.
What age are these summer STEM activities for kids best suited for?
Most work for ages 4 to 12 with light help. Younger kids enjoy the visual ones like sunscreen painting and fizzing fireworks, while older kids dig into the solar oven and bouncy balls, where the ratios and variables matter.
How do I make these activities feel educational and not just play?
Add one question and one change. Ask what will happen, change a single variable, and measure the result. That small step turns any project into the scientific method without feeling like school.
Are these summer STEM activities safe to do at home?
Yes, with normal supervision. Borax and the solar oven need an adult nearby — borax should not be eaten, and a hot oven box can warm up in the sun. Keep solutions away from little ones who put things in their mouths.
How long do these summer STEM activities take?
Most run 5 to 20 minutes of active time. A few, like borax crystals, need overnight growing, and the solar oven needs an hour or more of sun. You can match the project to the time you have.