A bakery will charge you $50, sometimes $90, for a cake that hides one secret. That secret – pink or blue dye – costs about $3 a bottle at any craft store. Everything else on top of that price tag is labor you can absolutely do yourself with a $2 box of Betty Crocker mix and a Sunday afternoon.
I’ve made four of these cakes now, for my sister, two cousins, and a coworker who insisted her cake “had to look like Pinterest.” None of them were bakers. None of them owned piping bags before that week. If you can stir, tint, and stack, you can make one of the twelve gender reveal cakes below – and I’ve ranked them from stupid-simple to genuinely impressive, so you can pick based on how much time you actually have, not how much you wish you had.
Why DIY Beats Ordering One
Here’s the real math: a two-box vanilla cake mix, a tub of shortening, powdered sugar, vanilla extract, and gel coloring adds up to roughly $18-$25 depending on your grocery store. Compare that to a custom bakery order, which usually starts at $50 and climbs fast if you want a filled center or fondant work. You’re not just saving money – you’re controlling the exact shade of blue, the flavor inside, and the precise second the reveal happens.
You also don’t need cake-decorating classes. Several of the ideas below use nothing but a butter knife and a boxed mix. Others use a piping bag, but even those are more forgiving than they look once the whole cake is frosted white.
One more thing worth saying out loud: if you’re baking this for someone else and don’t want to know the answer yourself, hand the coloring or the envelope off to one trusted person – a sister, a best friend, whoever isn’t going to blab. Everyone else stays out of the kitchen until the cake is crumb-coated and boring-looking again.
What You’ll Need Before You Start
Stock up on the basics first: a white or vanilla boxed cake mix (Betty Crocker and Duncan Hines both work fine), eggs, oil, water, a stick or two of unsalted butter, confectioners’ sugar, vanilla extract, and pink and blue gel food coloring – not the little liquid drops from the grocery store spice aisle, gel. Liquid coloring waters down your batter and gives you a washed-out, grayish pink instead of true color.
Pan-wise, a 9-inch round works for a party of 12-16 people, while 6-inch rounds make a smaller cake that still serves about a dozen. Grab a serrated knife for leveling, a round cookie cutter (a 2.5-inch biscuit cutter is perfect) if you’re doing a filled cavity, a piping bag with a star tip for rosettes, an offset spatula, and a sturdy cake board.
Bake your layers up to two days ahead, wrap them tightly in plastic while they’re still slightly warm, and freeze or refrigerate. Frozen layers are actually easier to frost – less crumbing, less domed shrinkage. Assemble and do your final frosting coat the day before the party.
Pro tip:
Chill your crumb-coated cake for 20 minutes before the final white layer goes on. That first coat traps any stray pink or blue crumbs so they don’t bleed through the top layer and spoil the surprise early.
Foolproof Cakes for First-Timers
1. The Single-Color Layer Cake
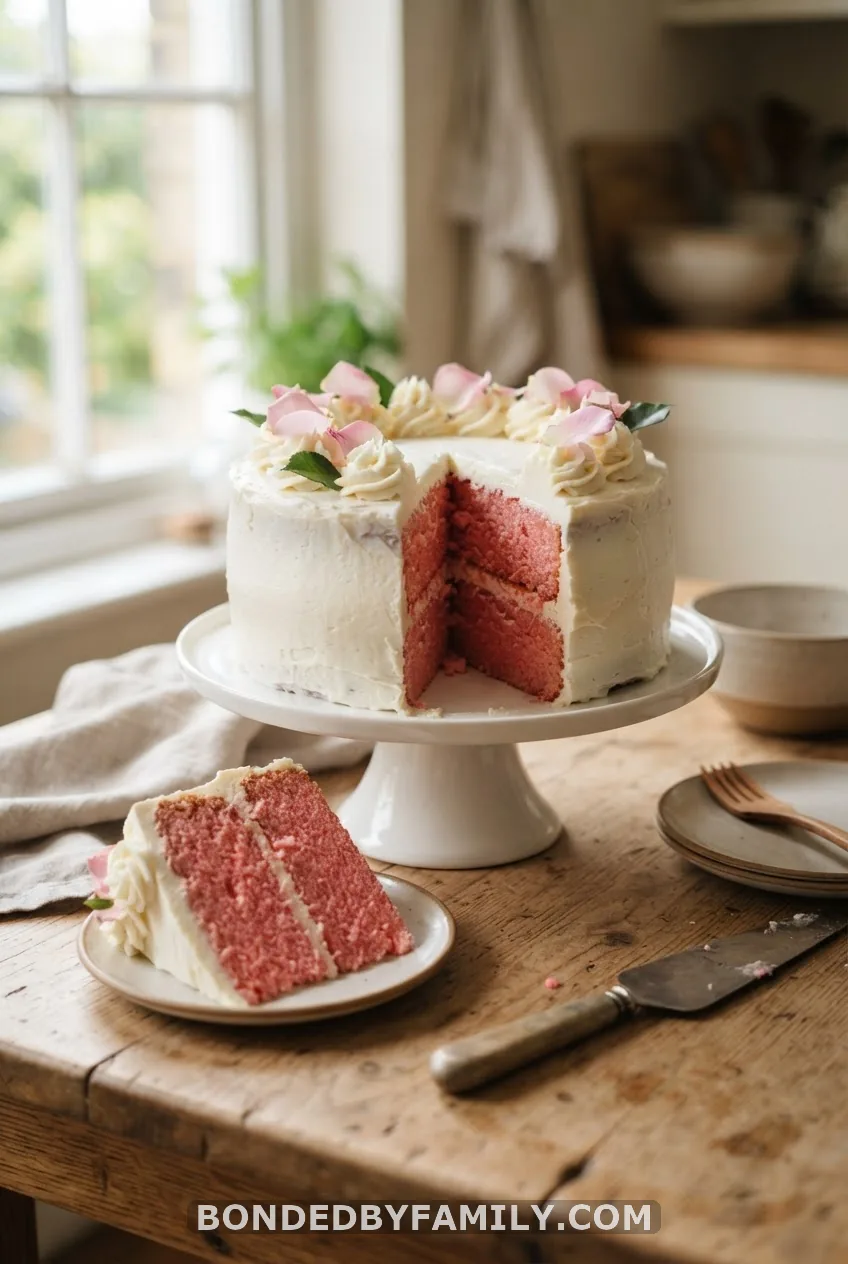
This is the one to make if you’ve never decorated a cake in your life. Mix your entire batter with gel coloring before you pour it into the pans – no hollow center, no cutting anything out. Frost the outside plain white, add white sprinkles or a question-mark topper, and you’re done. There’s nothing to mess up, because the reveal is baked into every crumb.
2. The Classic Candy-Filled Cake
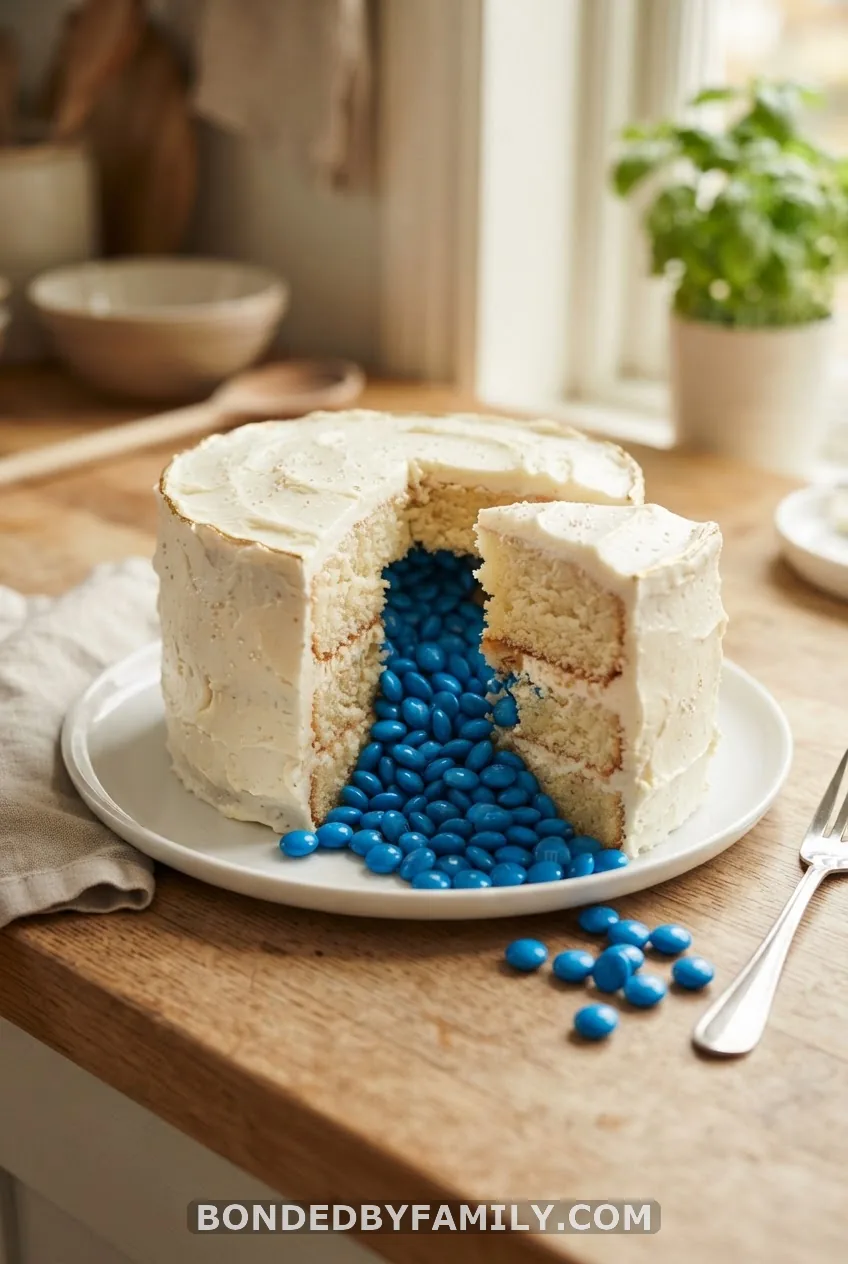
This is the cake in nearly every Pinterest pin titled “how to make a gender reveal cake,” and it earns the reputation. It takes more steps than the color-only method, but nothing in it requires special skill – just patience.
Ingredients and tools
You’ll need two 9-inch cake layers (a double box of vanilla mix does it), a batch of buttercream (2 sticks unsalted butter, 4 cups confectioners’ sugar, 2 tablespoons vanilla, 2-3 tablespoons milk), a 2.5-inch round cookie cutter, a serrated knife, an offset spatula, and about 2 cups of pink or blue M&M’s or mini candy-coated chocolates.
Step by step
- Bake and fully cool both layers – warm cake tears when you cut into it.
- Level the domed tops off each layer with your serrated knife so they stack flat.
- Set one layer on your cake board. Using the cookie cutter, press straight down through the center and remove the circle of cake, leaving about an inch of wall around the cavity edge.
- Do the same to the second layer if you want a deeper pocket, or leave the second layer solid to sit on top as a “lid.”
- Fill the cavity generously with candy, mounding it slightly since it settles.
- Stack the second layer on top, cut-side down, sealing the candy inside.
- Crumb coat the whole cake in a thin layer of white buttercream and chill for 20 minutes.
- Apply your final, thicker coat of white buttercream, smoothing with the offset spatula.
- Slice into the very center at the reveal moment with a long knife, in one clean motion, so the candy tumbles rather than trickles.
Common mistakes to avoid
Don’t cut the cavity too close to the outer edge – a wall thinner than half an inch cracks under the weight of the frosting. Don’t skip the crumb coat; skipping it is the single most common reason colored crumbs show through the white frosting and ruin the surprise early.
Pro tip:
Do a test cut on the back side of the cake, away from where you’ll do the real reveal cut, to check the candy is settled and not visible from the side before the party starts.
This method scales beautifully – swap M&M’s for confetti, colored sprinkles, or even small wrapped candies, and you’ve essentially built the base for several other cakes on this list.
3. The Ombre Layer Cake
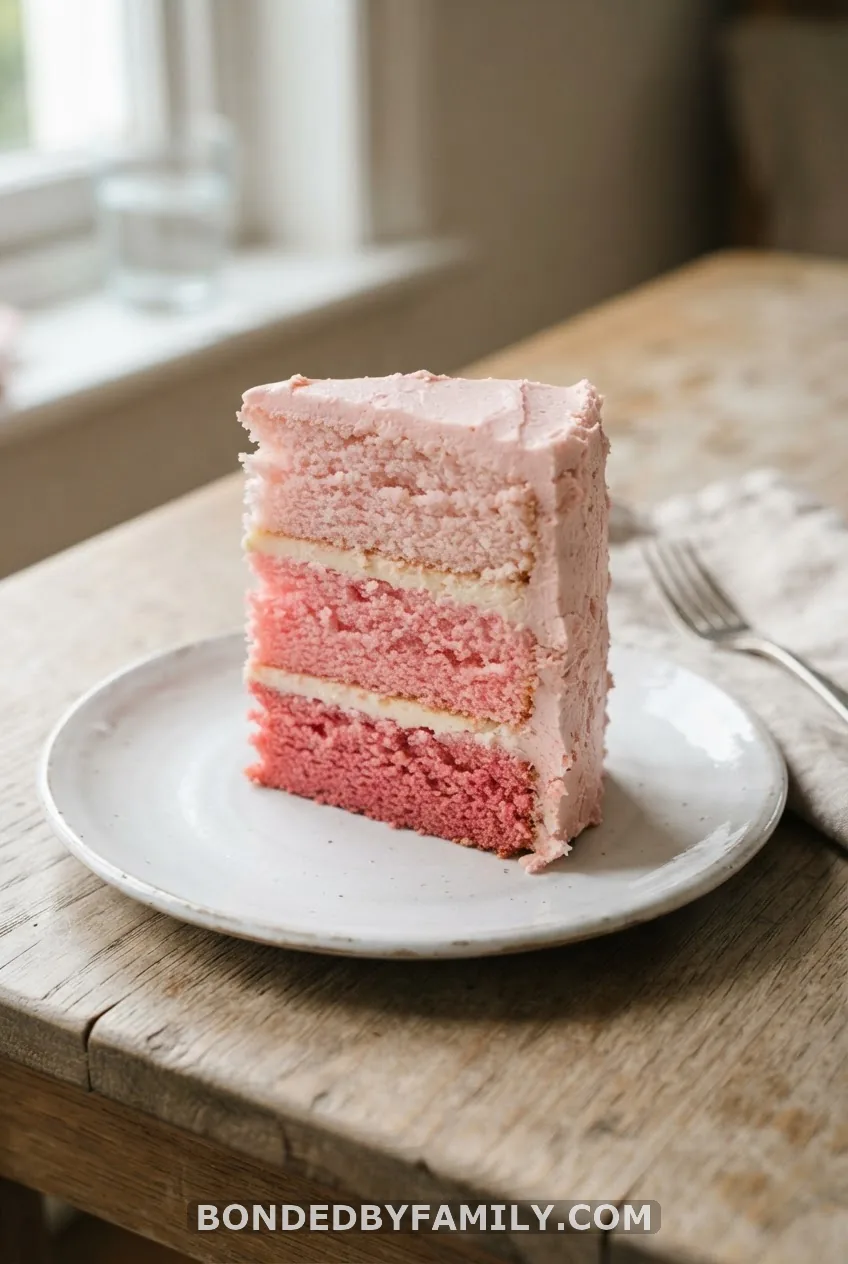
Split your white batter into three bowls after mixing. Tint the first with a single drop of gel color, the second with two or three drops, and the third with a heavier hand for the darkest shade. Bake all three as separate thin layers, then stack them darkest to lightest. Frost the outside plain white and let the graduated cut do all the talking – this is one of the prettiest inside reveals on this whole list, and it’s genuinely no harder than baking three thin cakes instead of one thick one.
4. The Bundt Cake Reveal
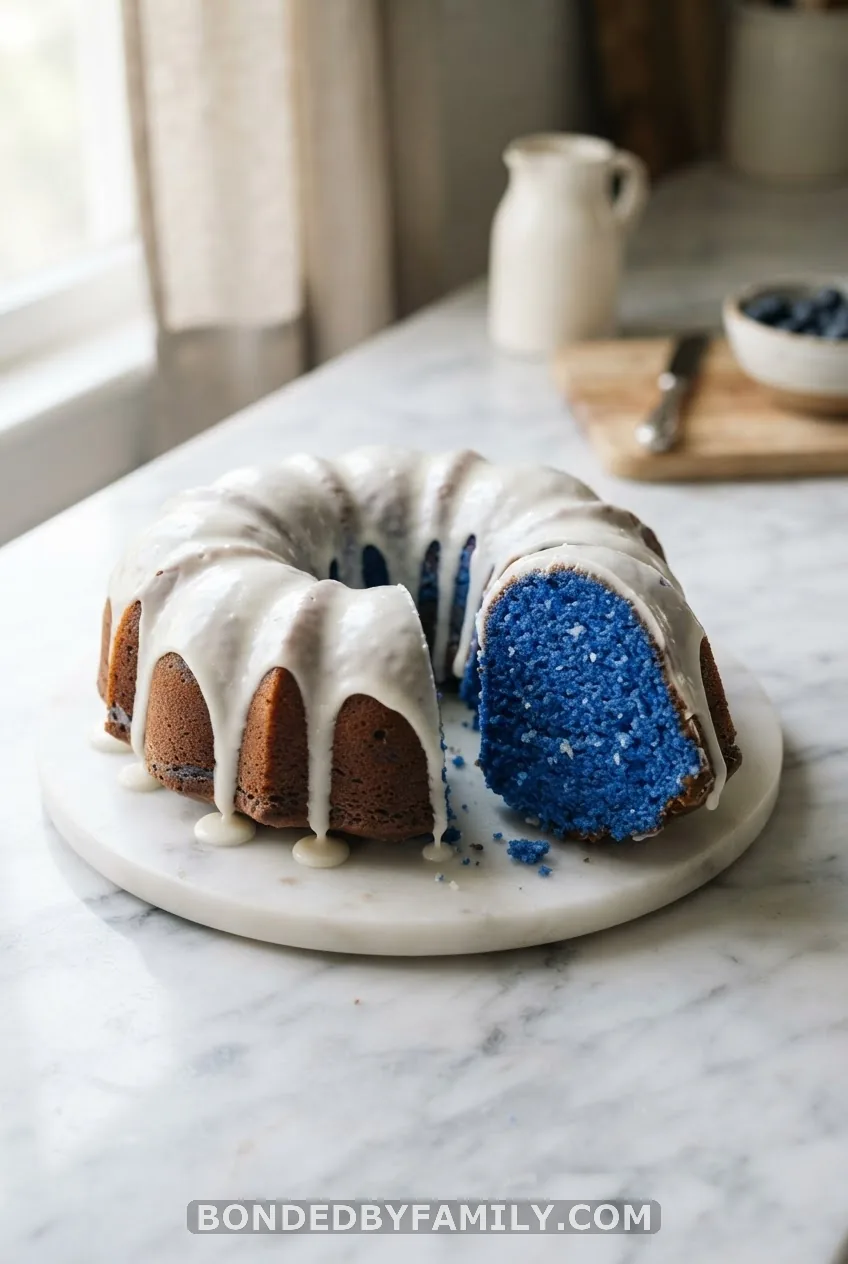
Skip the layering entirely. Tint your whole batter, pour it into a greased bundt pan, and bake as directed on the box. Once cooled, drizzle a simple powdered-sugar glaze or melted white chocolate over the top. The pan’s ridges do the decorating for you, so there’s zero piping involved and the reveal shows the moment someone slices in.
Showstopper Cakes Worth the Extra Effort
5. The Rosette Gender Reveal Cake
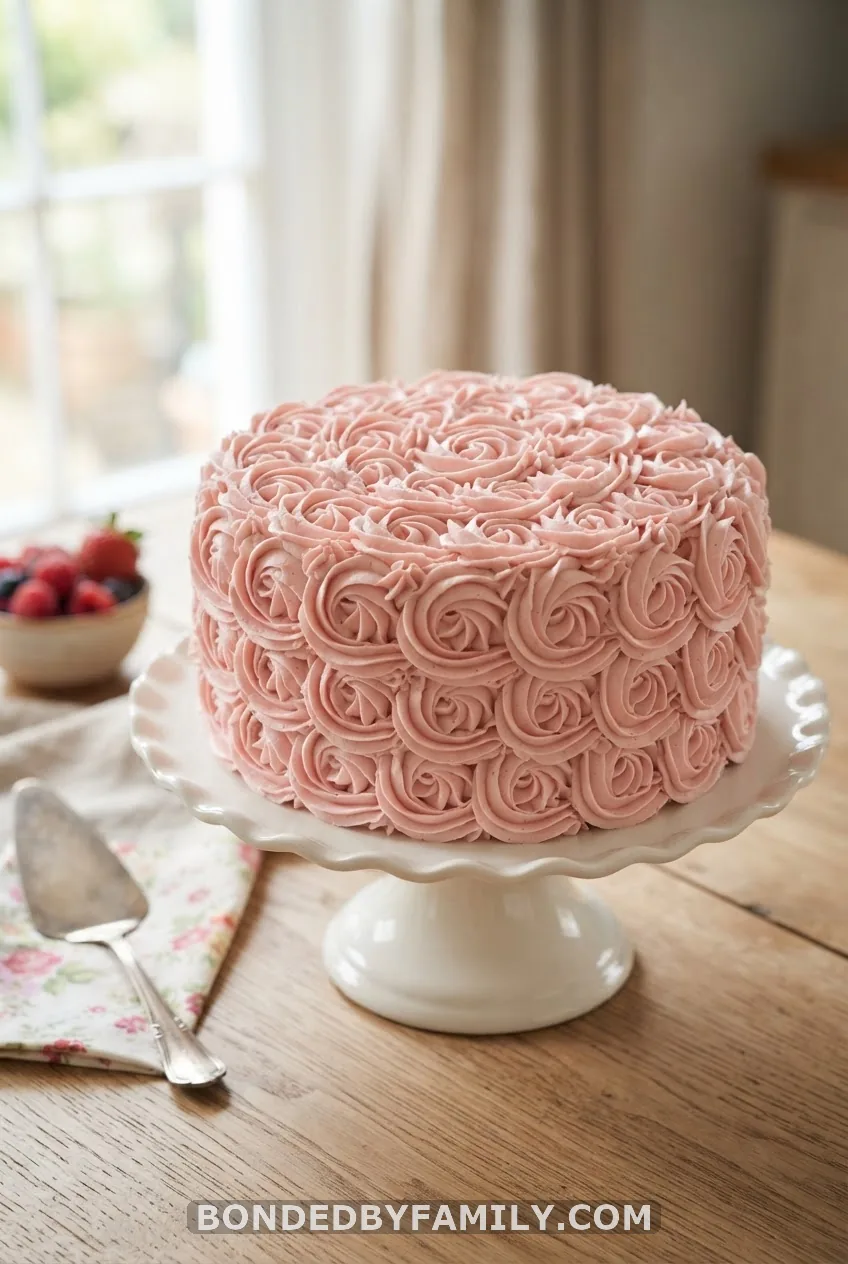
Rosettes are the decorator’s best trick because they hide every uneven bit of frosting underneath. Fit a piping bag with a large star tip (Wilton 1M is the standard choice), fill it with pink or blue buttercream, and pipe small swirling circles over the entire outside of the cake, working bottom to top in overlapping rows. Pair this exterior with either a candy-filled center or colored layers inside – either way, the outside now looks like something from a proper bakery case. Mix leftover colored frosting with white for a softer pastel version if the bright shade feels like too much.
6. The Sprinkle Explosion Cake
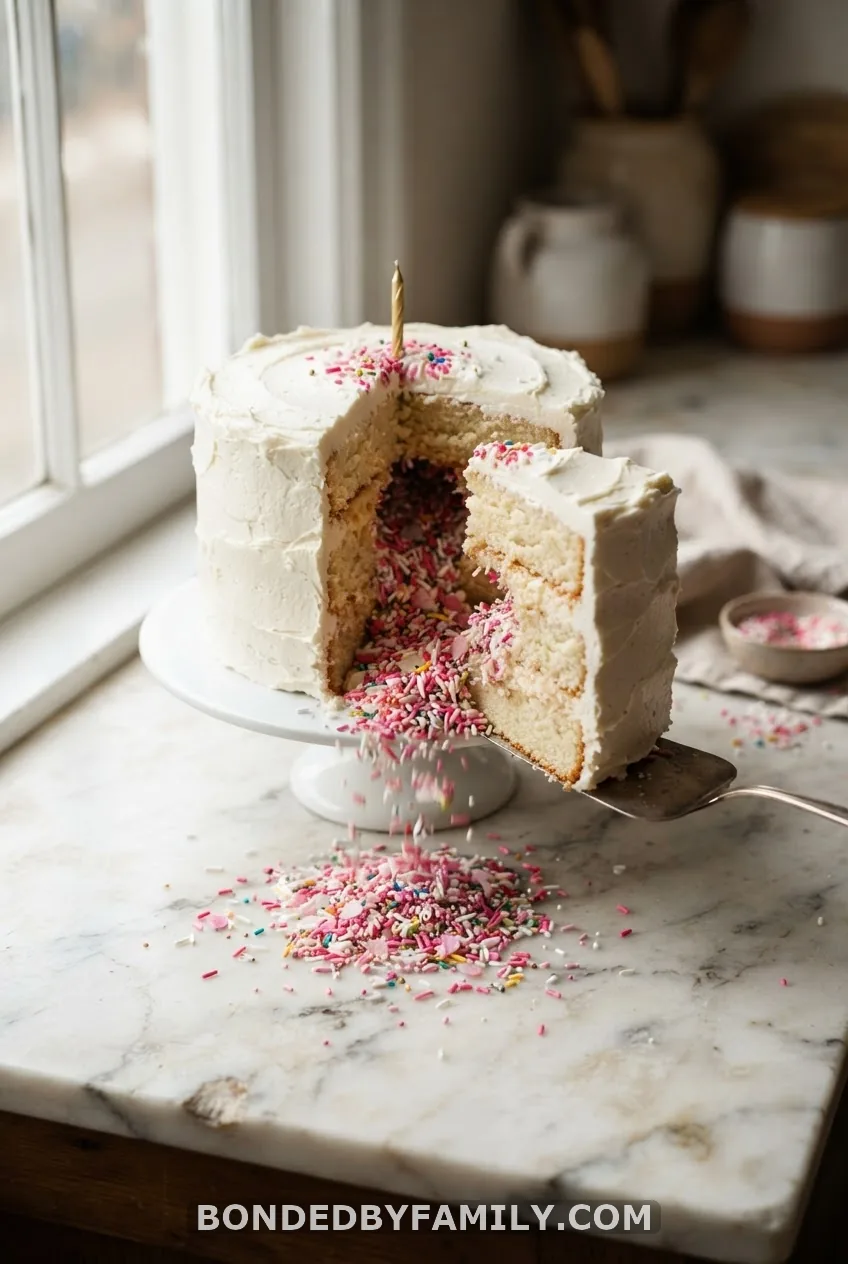
This is the home version of the viral Flour Shop-style surprise cake. Build it exactly like the candy-filled method, but leave more layers hollow – cut the center out of three of your four layers instead of just one, so the cavity runs taller. Fill that whole column with sprinkles, jimmies, or small confetti dots rather than heavier candy. Leave your top layer solid to act as a lid. When it’s cut, the lighter sprinkles cascade rather than plop, which photographs and films dramatically better for the reveal video everyone’s inevitably recording.
7. DIY Gender Reveal Cake Pops
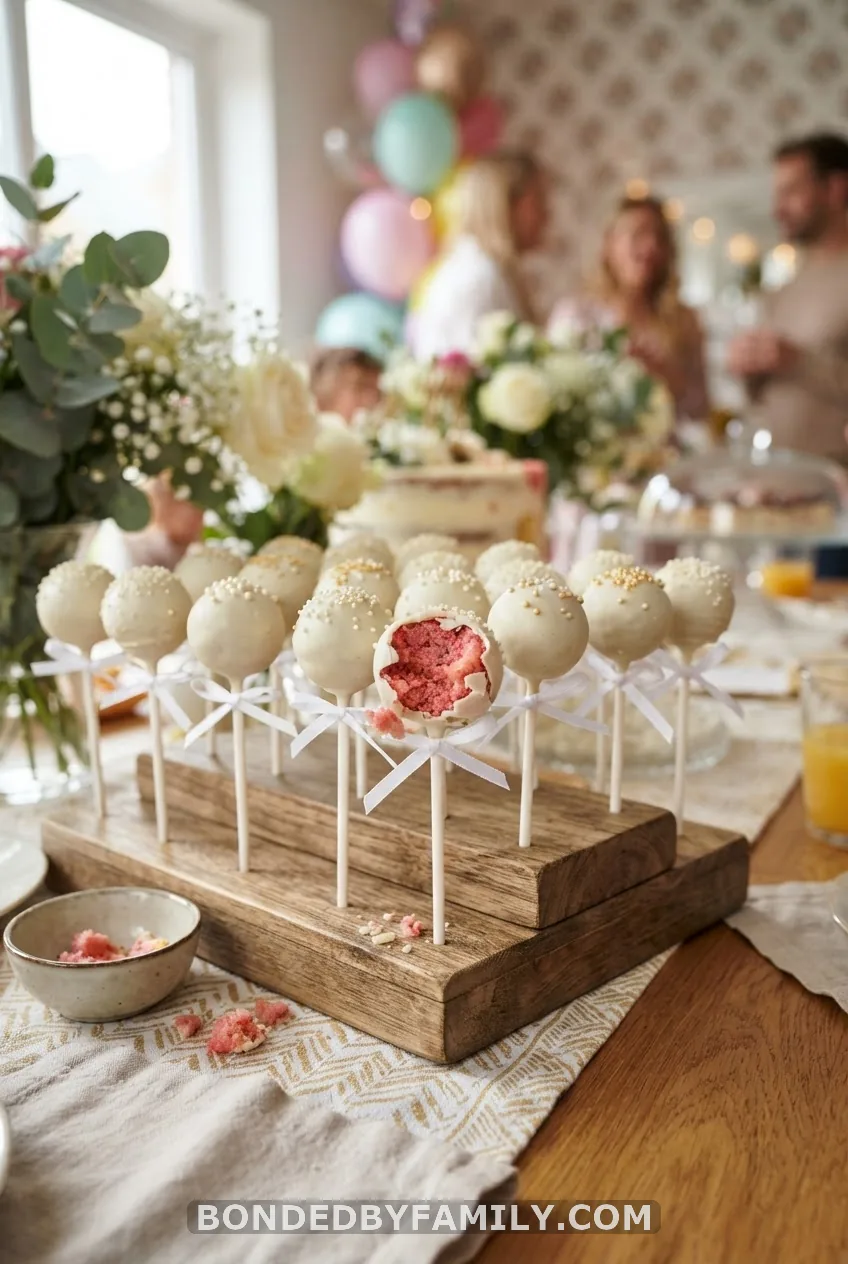
Bake and cool a plain white cake, then crumble it into a bowl and mix with about a half cup of vanilla frosting until it holds together like dough. Divide the mixture and tint it pink or blue, roll into balls, and chill for 15 minutes before inserting lollipop sticks. Dip each pop in melted white candy melts so the colored center stays hidden until someone bites in. For a bigger visual moment, arrange the finished pops into a pull-apart shape on a board so it reads as one giant cake from across the room.
8. The Sweet Simple Onesie Cake
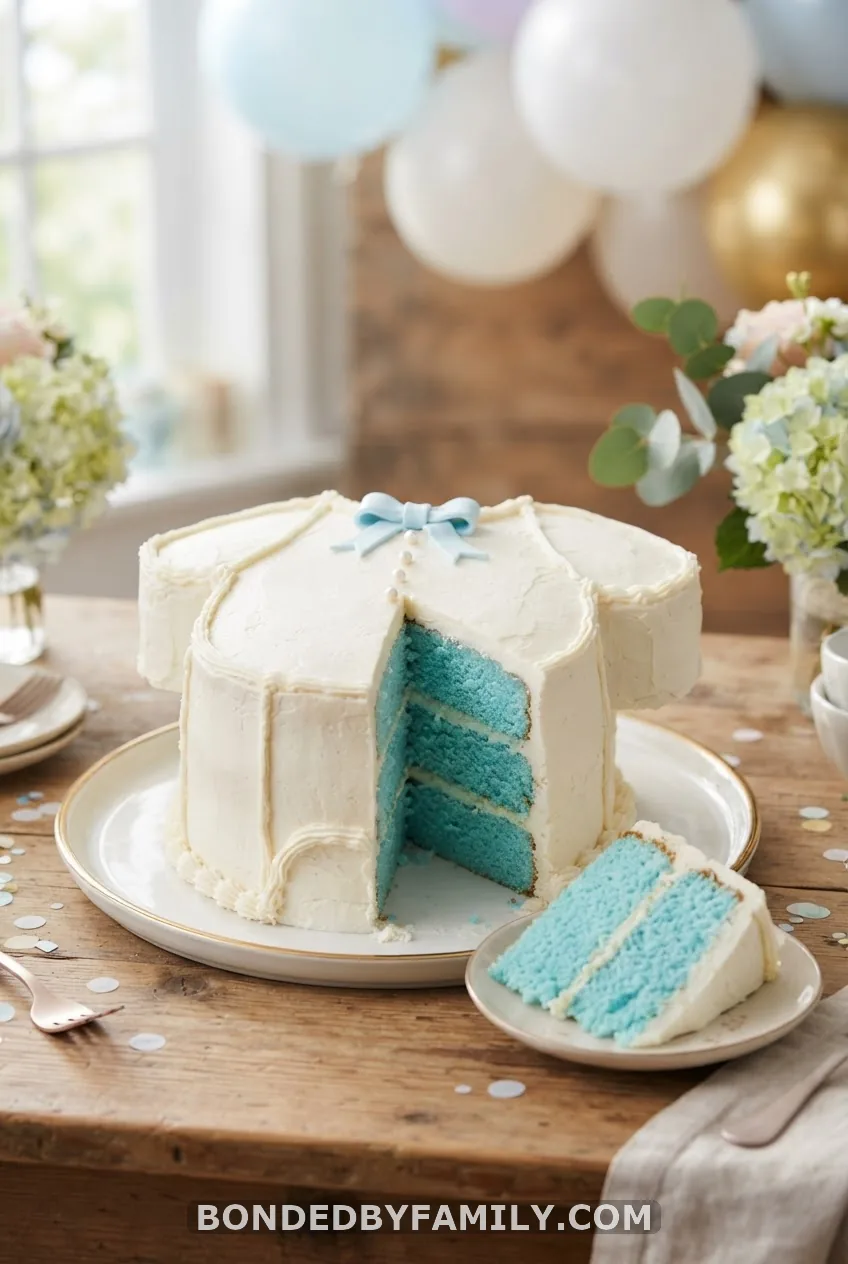
Grab a onesie-shaped cake pan, or cut a baked sheet cake into the shape using a paper stencil and your serrated knife. Tint the batter before baking so every slice shows the color. Frost it white, add a tiny ribbon bow or a diaper-pin cake topper, and you’ve got one of the most-saved gender reveal cake ideas on Pinterest, because it’s genuinely both cute and simple to pull off in one afternoon.
Beyond the Layer Cake
9. The Heart-Shaped Surprise Cake
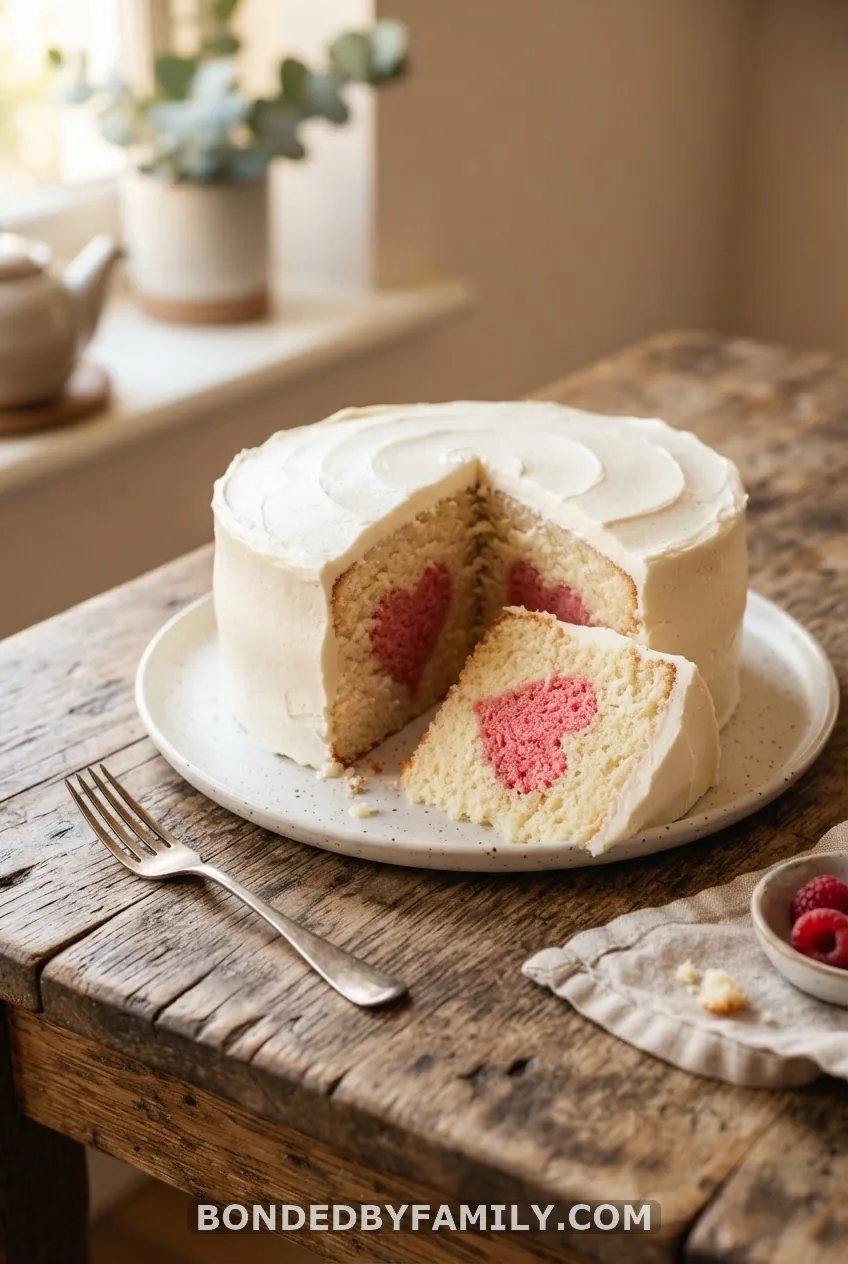
Bake a small heart-shaped mini cake in tinted batter, then nestle it into the center of a larger round or loaf pan and pour plain white batter around it before baking the whole thing together. Every slice shows a colored heart sitting in the middle of white cake. If a heart-shaped pan feels like overkill, the shortcut version works too: bake a heart-shaped layer cake with tinted layers underneath white frosting.
10. The Pull-Apart Cupcake Cake
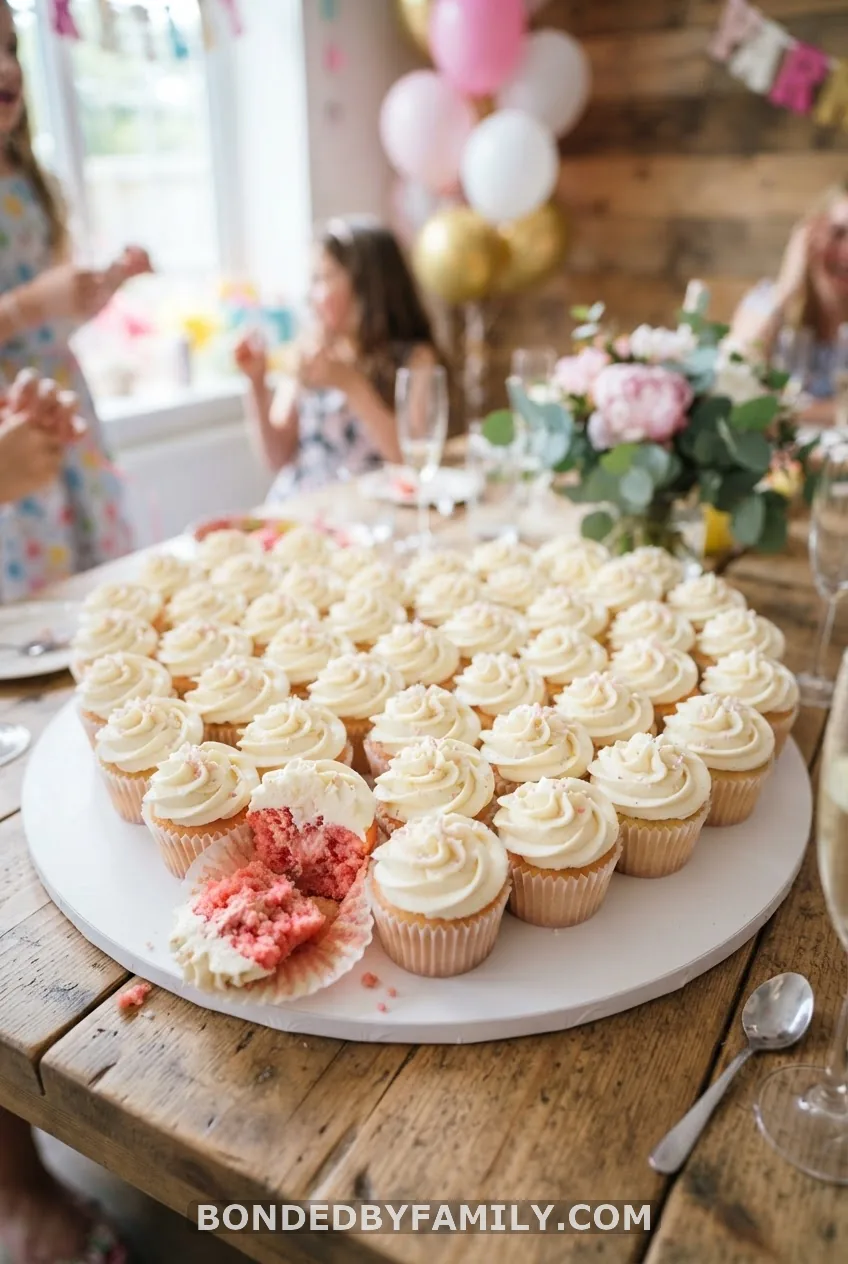
Arrange a dozen or two frosted cupcakes on a cake board in a round or heart formation so they read as one large cake from a distance. Tint the batter or hide a colored candy in the center of each cupcake before frosting over it. When it’s reveal time, guests just pull a cupcake apart – no cutting, no serving plates needed, which makes this the easiest option for a bigger crowd.
11. Cake Toppers and Free Printables
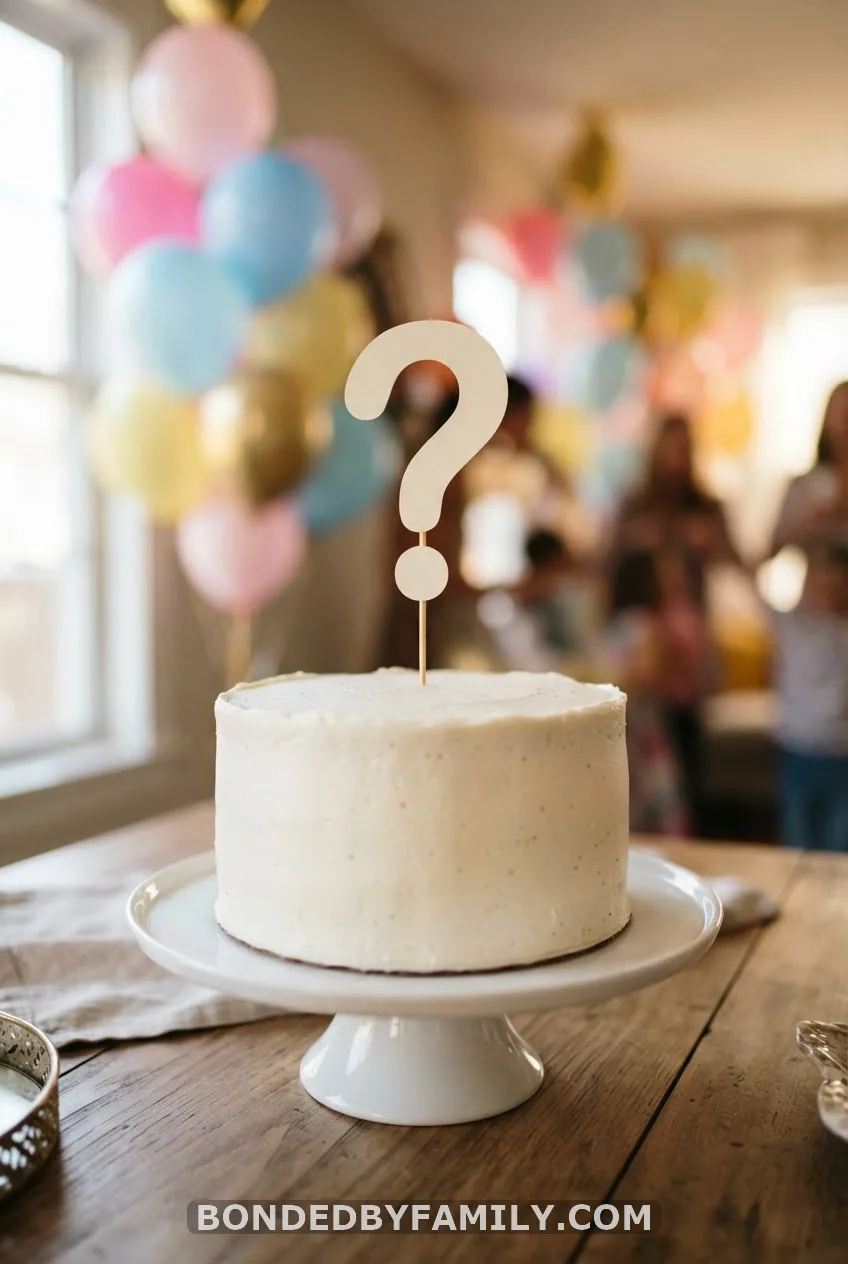
Skip decorating altogether and let a topper do the work. Question marks, baby feet, tiny rattles, or “boy or girl?” signs cut from cardstock and taped to paper straws or wooden skewers cost under $5 total. Plenty of crafting blogs offer free printable toppers you can cut out at home in ten minutes. Match the color to your reveal, or stay neutral with white, gold, or soft pastel tones if you’d rather keep the cake itself a surprise until the very last second.
12. The Almost-Ruined Reveal: A Cautionary Tale
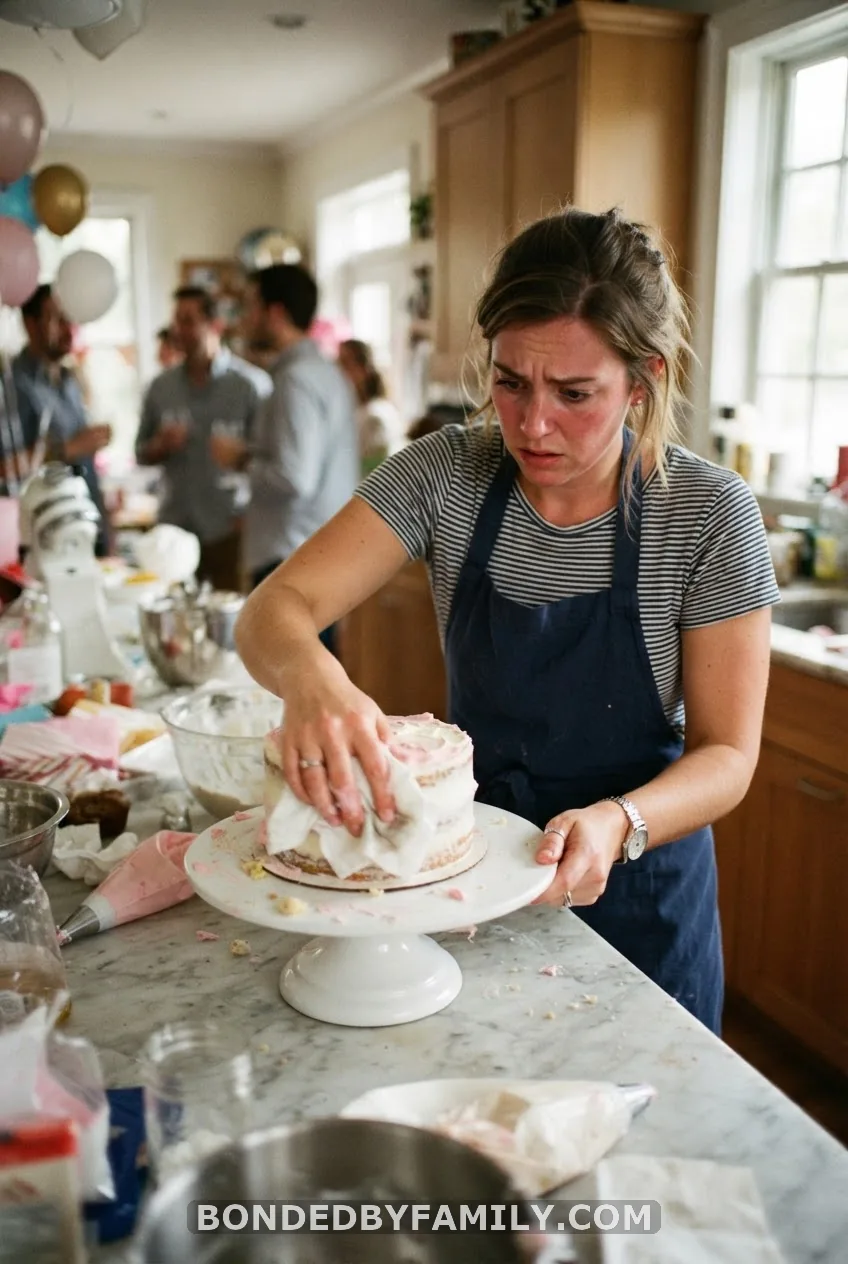
My cousin’s mother-in-law baked her cake, left the mixing bowl with pink-tinted frosting sitting on the counter, and forgot the expecting couple was coming over an hour early to help set up chairs. The mom-to-be walked straight into the kitchen for a glass of water. Disaster, barely averted – the bowl got shoved into a cabinet with two seconds to spare.
The lesson: treat your kitchen like a crime scene until the cake is finished. Wash colored bowls immediately. Tuck candy wrappers into an outside trash bag, not the kitchen one. If someone’s dropping off ultrasound results for you to tape inside a cabinet, do it the night before, not while guests are already arriving. And keep a backup plain cake in the fridge, just in case someone cuts in before you’re ready – it’s happened at more than one party I’ve been to.
Worth knowing:
The riskiest twenty minutes are always the hour before guests arrive, when the kitchen is busiest and everyone’s underfoot. Do your final frosting coat the night before so there’s nothing left to hide by party time.
DIY Gender Reveal Cake FAQ
Is a DIY gender reveal cake actually cheaper than a bakery order?
Yes, by a wide margin. A boxed cake mix, buttercream ingredients, and gel food coloring run about $18-$25 total, while bakery gender reveal cakes typically start around $50 and climb from there for filled centers or fondant details.
What’s the easiest DIY gender reveal cake for a total beginner?
The single-color layer cake wins here – tint the whole batter before baking, frost the outside plain white, and there’s no cutting, filling, or piping involved at all. It’s nearly impossible to mess up.
How far in advance can I bake the cake?
Bake your layers up to two days ahead, wrap them tightly while slightly warm, and freeze or refrigerate them. Frost and assemble the cake the day before the party, and keep any candy-filled version cool until serving time so the filling doesn’t shift.