The pumpkin split down the middle. Right through the word “Due,” which now read as two useless halves sitting in a Target parking lot at 8pm the night before a family photo shoot. My friend Casey had spent forty minutes carving her due date into a sugar pumpkin instead of a sturdier carving variety, and the thin walls just gave out. No backup pumpkin. No backup plan. Just a soggy orange mess and a very confused toddler asking why Mommy was crying over a vegetable.
That’s the thing nobody tells you about a pumpkin pregnancy announcement: the idea is easy, the execution has landing mines. Wrong pumpkin type. Wrong marker. Wrong lighting. A due date spelled out in Sharpie that bleeds the second it touches condensation.
This list fixes that. You’re getting 16 pumpkin pregnancy announcement ideas, sorted by who you’re telling first, with the exact materials, costs, and mistakes to dodge so your version doesn’t end up in a parking lot puddle.
1. Free Editable “Our Little Pumpkin Is on the Way” Sign
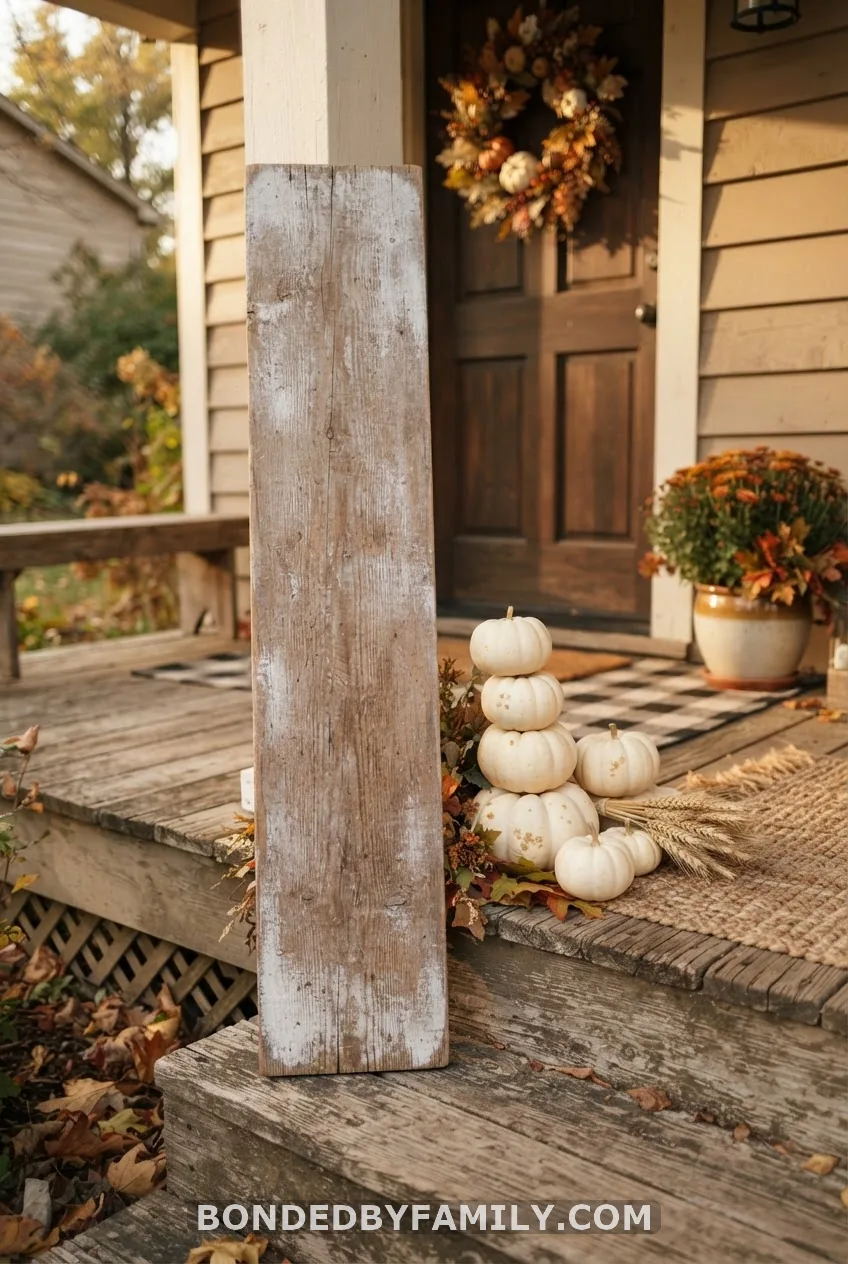
Skip the DIY lettering headache and grab a free editable template from Canva instead. Search “little pumpkin pregnancy announcement” inside Canva’s template library, swap in your due month and year, and export as a PDF in about five minutes. If you want something fancier, Etsy sellers and Templett both offer instant-download editable PDFs for $4 to $12 that you personalize right in your browser, no software download required.
Print on 8.5×11 cardstock at home, or take the file to a Staples or FedEx print counter for a sturdier 5×7 card, usually under $2. Prop it beside a carved pumpkin, tuck it into a pumpkin patch bin, or lean it against your baby’s future car seat for a lived-in, candid feel.
Cost reality:
Free if you only need the digital Canva version and print at home. Budget $15 to $25 total if you go with a paid Etsy template plus professional printing on heavier cardstock.
2. Pumpkin Patch Family Photo Lineup
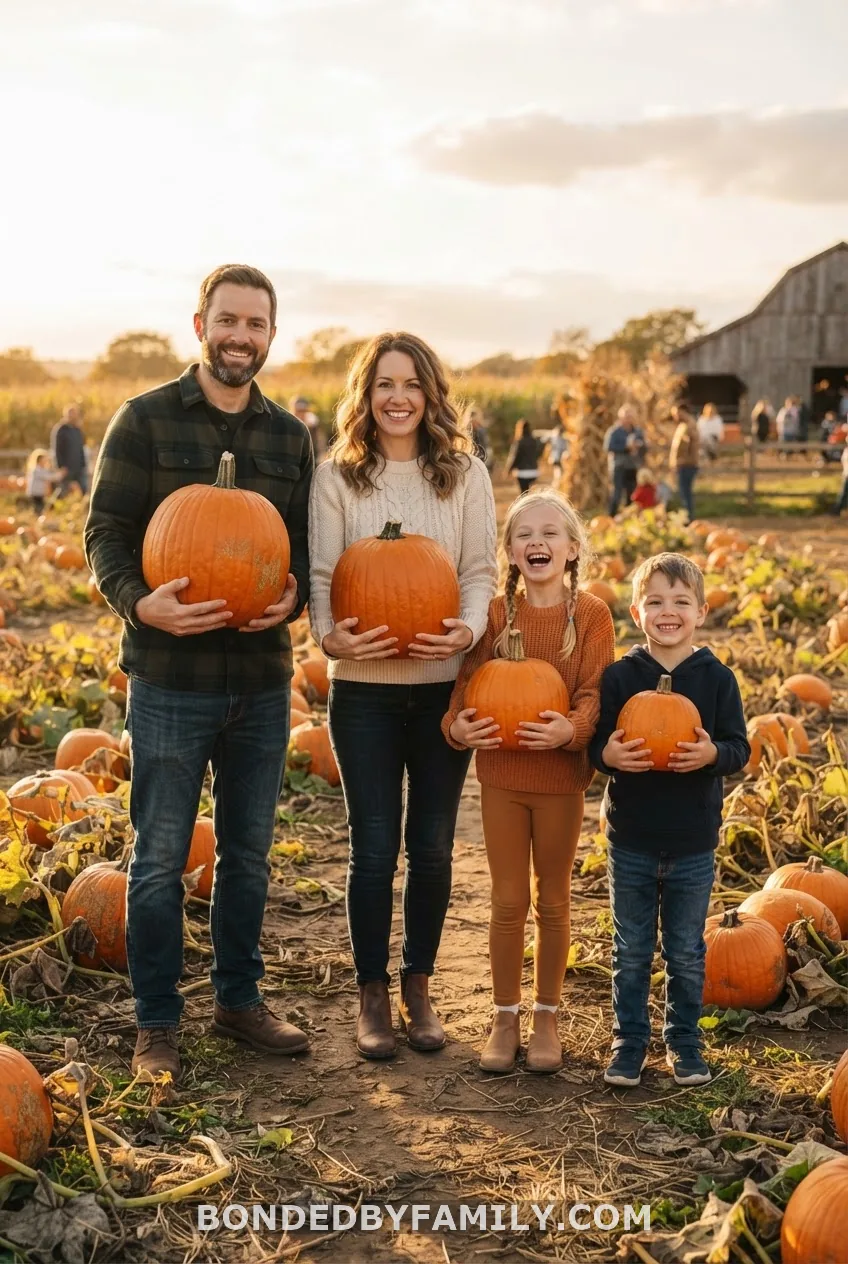
Assign one pumpkin per family member, arranged largest to smallest like a size chart, then add a tiny fifth pumpkin at the end of the row. It’s a visual gag that reads instantly on Instagram: everyone already knows what that extra little pumpkin means before they finish scrolling.
Add a letterboard with your due date propped near the smallest pumpkin for context, and coordinate your outfits in warm neutrals so the orange pumpkins pop instead of competing with busy prints. Most local pumpkin patches charge $8 to $15 per person for entry, which usually includes unlimited photo time.
Cost reality:
Entry fees run $30 to $60 for a family of four, plus $10 to $20 if you want to keep the pumpkins afterward for carving.
3. Big Sister or Big Brother Pumpkin
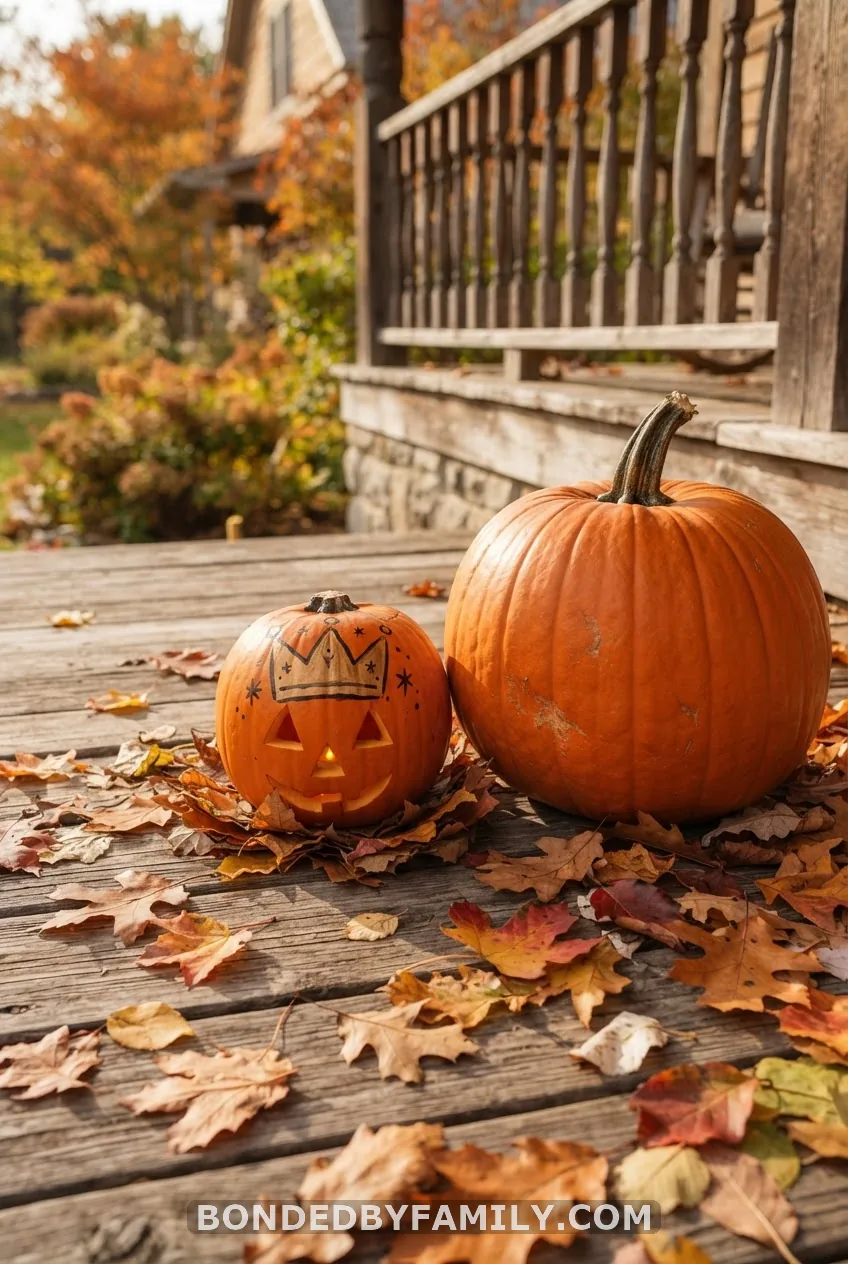
Paint or carve “Big Sister” or “Big Brother” onto a medium pumpkin and let your current kid hold it proudly next to a much smaller one labeled with the due month. Kids under five usually need zero coaching for this – they just like holding pumpkins.
Acrylic paint pens ($6 for a pack of five at Michaels) work better than Sharpie here since kids’ hands smudge regular marker. Let it dry for twenty minutes before the shoot.
4. Ultrasound Photo Tucked Inside a Mini Pumpkin
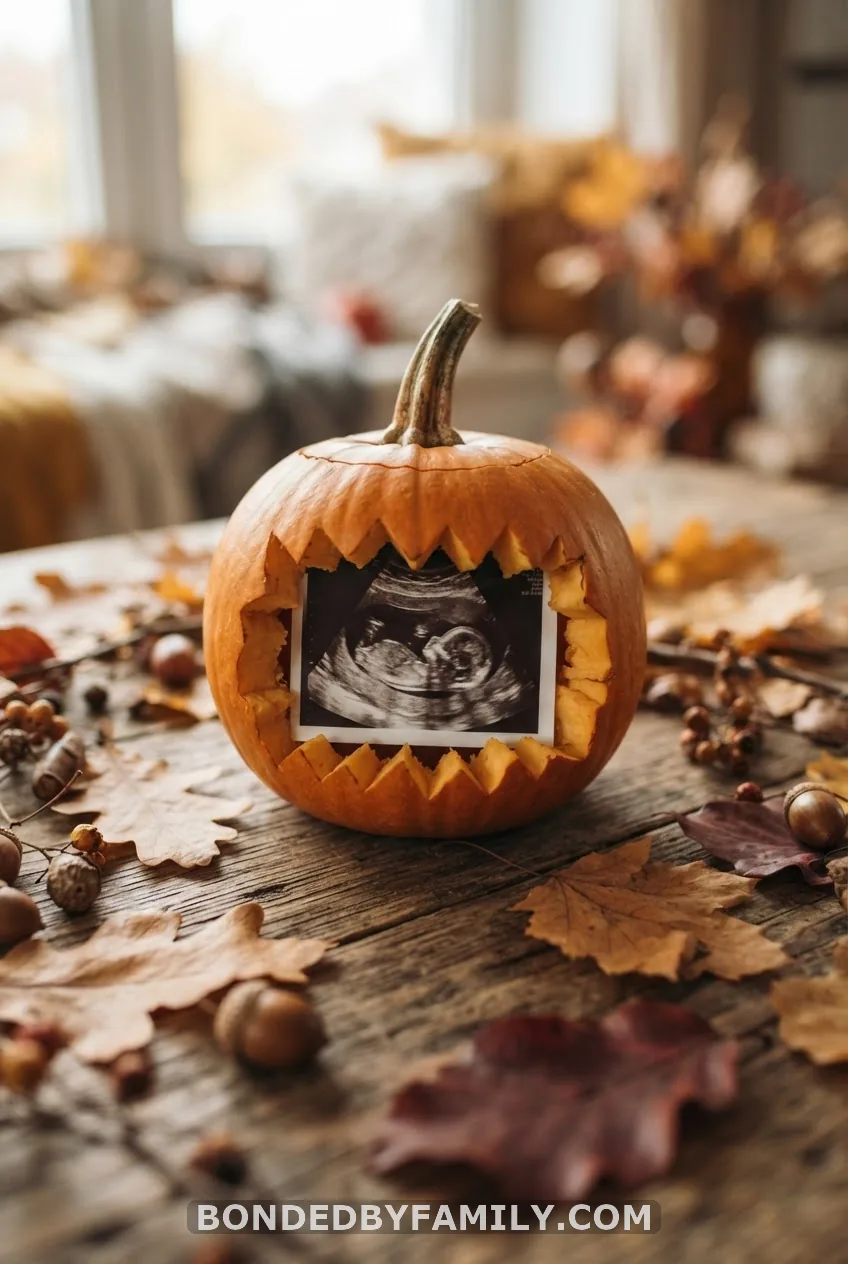
Cut a small window into the side of a mini pumpkin, about 2 inches by 3 inches, and slide a printed ultrasound photo inside so it peeks through the opening. Print the ultrasound at a drugstore photo kiosk for around $1.50, and use a paring knife rather than a full carving kit since mini pumpkins have thin walls.
This one does double duty – it works as a standalone photo prop and as a keepsake you can preserve later by resin-coating the pumpkin or simply photographing it before it starts to soften. Grandparents especially respond to this version because the medical image makes the news feel undeniably real, not just symbolic.
5. Carve the Due Date Into a Pumpkin (Full Walkthrough)
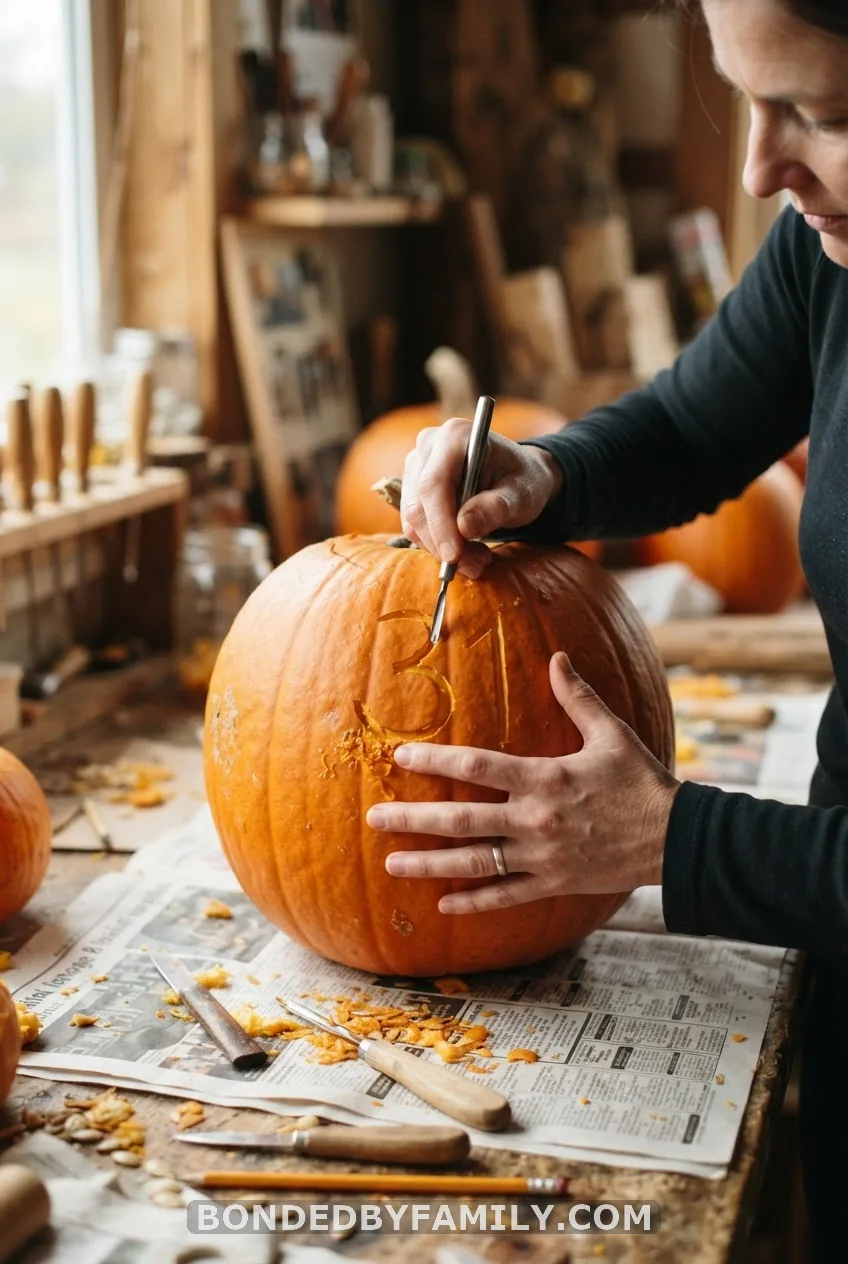
This is the announcement idea everyone attempts and half of them botch, so here’s the version that actually survives a photo shoot.
What you need:
– One field pumpkin, 10 to 14 inches wide (not a sugar pumpkin – the walls are too thin and split under detail work)
– A basic pumpkin carving kit, like the Pumpkin Masters 5-piece set, around $8 at Target or Walmart
– A dry-erase marker for sketching your text before cutting
– A damp towel for wiping shavings as you go
– Petroleum jelly to rub over cut edges, which slows browning by a day or two
Step by step:
1. Wipe the pumpkin dry. Wet skin makes your marker slip.
2. Sketch your due date or “Baby [Lastname]” lightly in dry-erase marker across the widest, flattest face of the pumpkin.
3. Use the small etching tool from your kit, not the saw, to shave away just the top layer of orange skin – you’re not cutting through, just scraping the surface for a shallow, controlled reveal.
4. Go over each letter twice. The first pass removes color, the second cleans up rough edges.
5. Wipe the whole surface with your damp towel to clear shavings so the text photographs crisp.
6. Rub petroleum jelly along every etched line to seal it.
Common mistakes to avoid: Carving too deep punches straight through the flesh, which collapses the pumpkin’s structure within hours, exactly what happened to my friend Casey. Using a full-size kitchen knife instead of a proper etching tool also over-cuts almost every time. And doing this the same day as your shoot is risky – carve it the night before so you have a backup pumpkin ready if the first one cracks.
Why this works: Etched carvings photograph with soft shadow lines that read beautifully in natural light, without the harsh black cutout look of a jack-o’-lantern face. It also lasts three to five days outdoors in cool fall weather, giving you a buffer for rescheduling if it rains.
Cost reality:
Under $15 total for the pumpkin and carving kit if you already own a marker and towel at home.
6. No-Carve Paint Pen Pumpkin Message
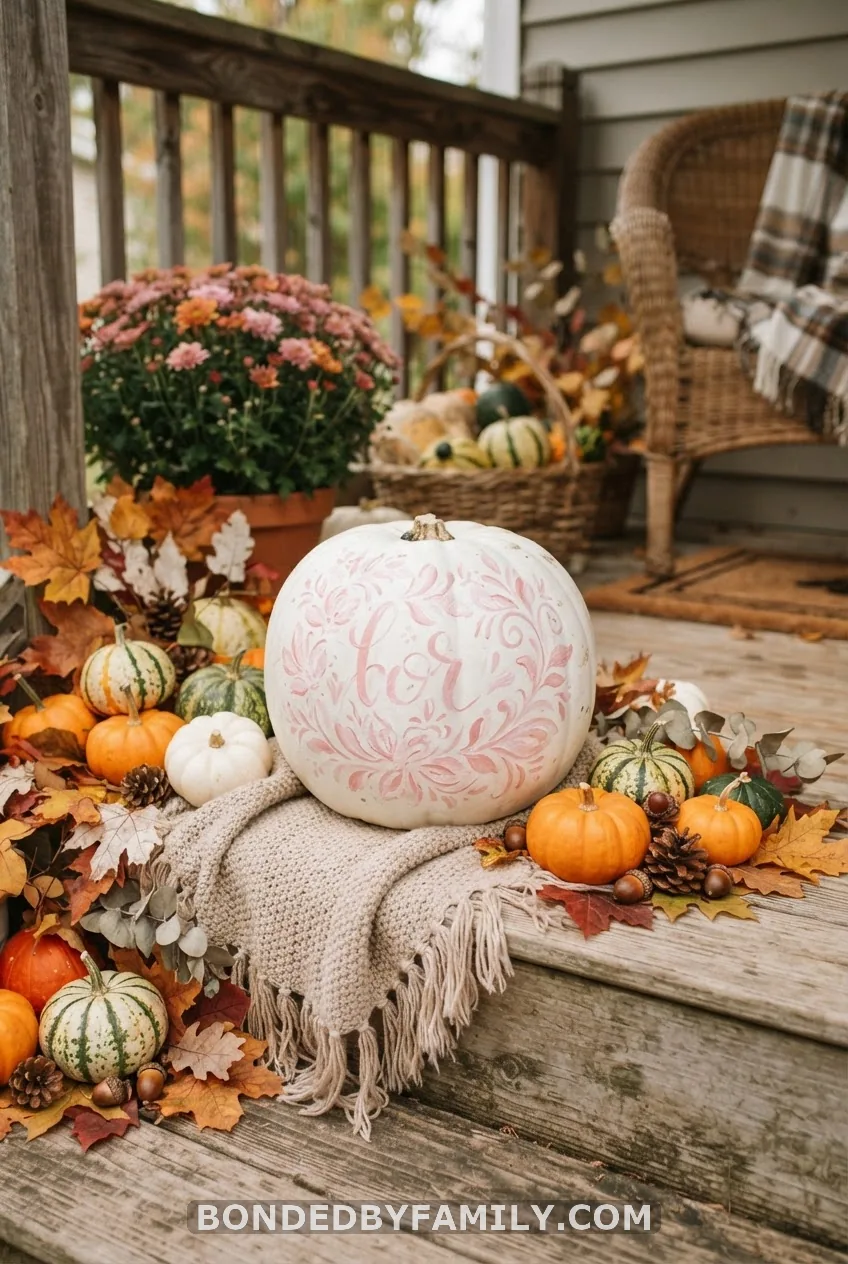
If knives near a pregnant belly sound like a bad idea, paint pens solve it. Posca or DecoArt acrylic paint pens, roughly $9 for a two-pack at Michaels, write cleanly on both orange and white pumpkins without bleeding.
Sketch your message lightly in pencil first, then trace over it with the paint pen and let it dry flat for 30 minutes before touching or photographing it. White pumpkins in particular make dark script pop, which is why so many Pinterest pins default to that combo instead of orange.
7. Pink Pumpkin, Blue Pumpkin: The Gender Reveal Twist
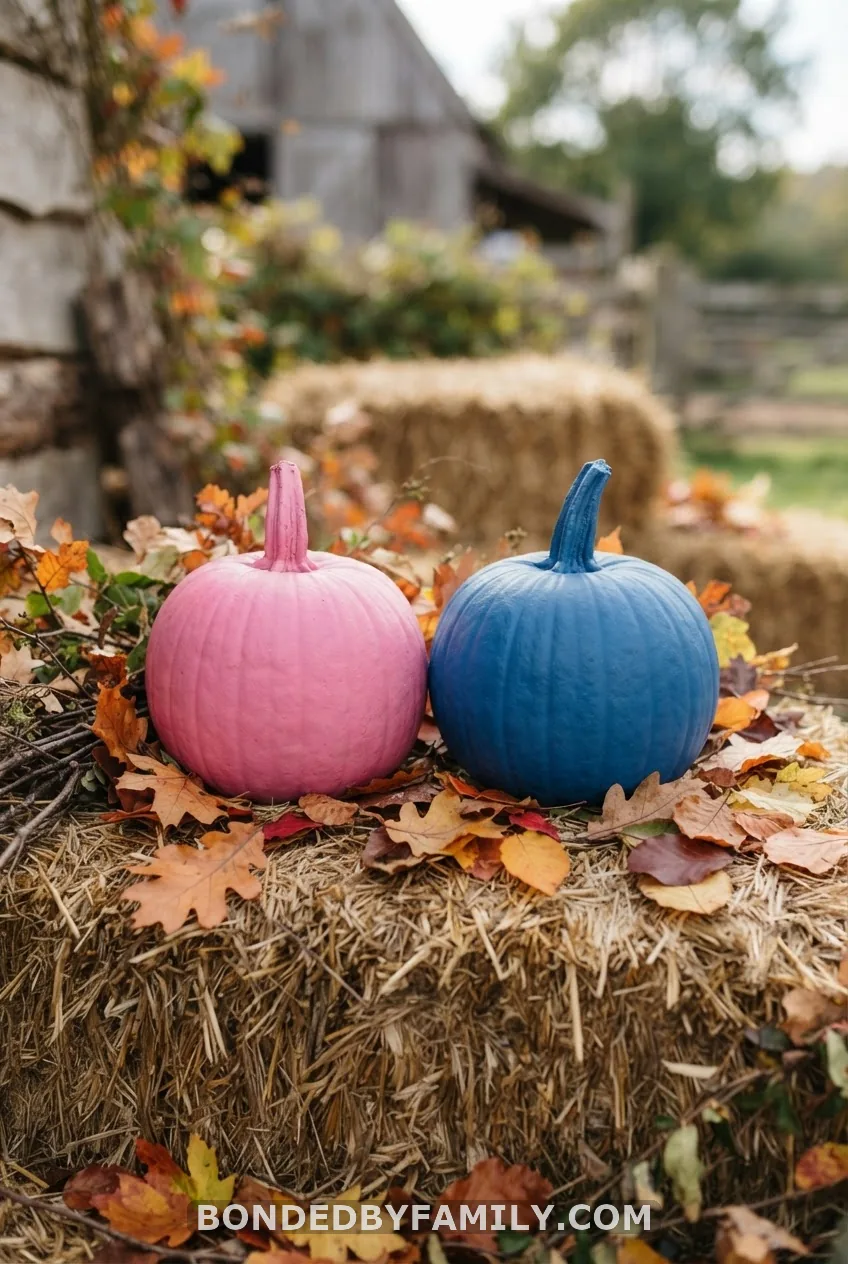
Combining a pregnancy announcement with a gender reveal saves you from doing two separate posts. Spray-paint one pumpkin pink and set it beside a plain orange one, letting the color alone signal the news – Rust-Oleum’s satin spray paint runs about $6 a can and covers a medium pumpkin in two light coats.
For a bigger reveal moment, hollow out a pumpkin and fill the inside with pink or blue confetti, then cut a small door in the back that swings open on camera. If you have an older sibling, hand them the “reveal pumpkin” so they get to crack it open in the video – it shifts the emotional focus onto them, which grandparents love.
Some families skip paint entirely and go with color-dyed pumpkin seeds scattered across a table, spelling out “boy” or “girl” in seed clusters. It’s slower to set up, roughly 20 minutes, but it photographs unlike anything else in this list.
Cost reality:
Spray paint version costs under $10. A confetti-fill build with a hinged back panel runs closer to $20 once you add glue, hinges, and confetti.
8. Confetti Pop Pumpkin Reveal

Hollow a small pumpkin, fill it with confetti, and balance the lid loosely on top so it pops off when someone lifts it fast. Ten dollars of confetti and a $6 pumpkin gets you a reveal video with real movement instead of a static photo – which matters if this is going on Instagram Reels or TikTok instead of a still Pinterest pin.
9. “A Little Boo Is on the Way” Halloween Pumpkin
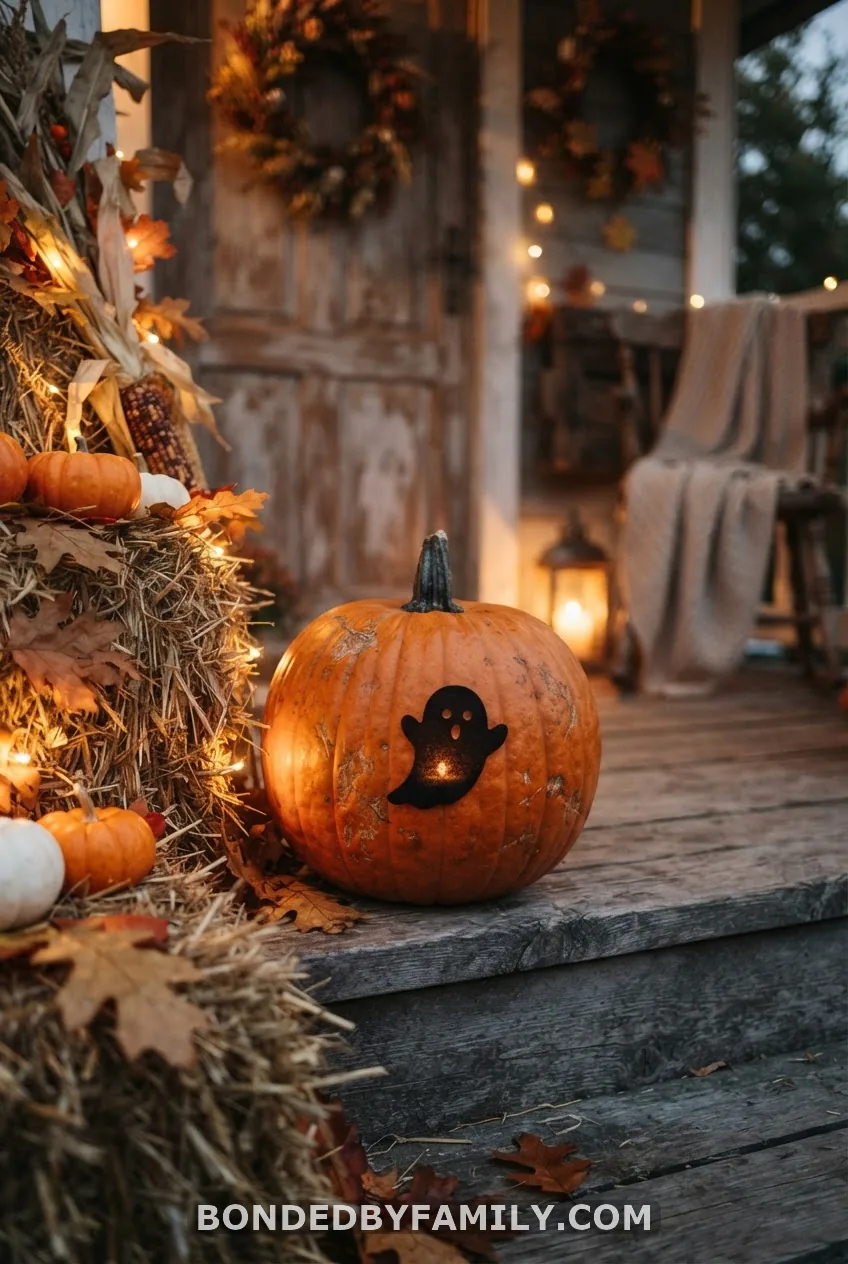
Paint “A little boo is on the way” across a white pumpkin in black script for an instant Halloween crossover. It leans on the classic ghost pun everyone already knows from Hocus Pocus season, so the caption practically writes itself for your Instagram post.
10. Skeleton Family Costume Pumpkin Reveal

Dress the whole family in matching skeleton costumes and add one tiny extra skeleton pumpkin to the lineup, painted with a bone pattern using a white paint pen. It works especially well if your announcement is landing close to Halloween itself, since you get to double it as your actual costume photo for the day.
Mummy-wrapped parents-to-be holding a plain baby pumpkin swaddled in gauze is the gentler alternative if full skeleton makeup feels like too much for a maternity photo. Either version pairs naturally with a caption like “no tricks, just a treat – baby [Lastname] arriving [month].”
11. Carve “Dad” Into a Pumpkin – What Not to Do

Here’s a cautionary version, because this idea goes sideways more often than any other on this list. A reader named Priya wrote in describing her plan: carve “DAD” into a jack-o’-lantern, light it with a tea light, and leave it on the porch for her husband to find after his night shift.
What actually happened: the tea light scorched the inside of the pumpkin within an hour, filling the porch with smoke and setting off her doorbell camera’s smoke alert, which pinged her husband’s phone at work with a “check your home now” notification. He called the fire department before he ever saw the carving.
The fix is almost embarrassingly simple. Use a battery-operated LED tea light instead of an open flame – a 6-pack runs about $9 at Dollar Tree and produces zero smoke. Set it up right before he’s due home, not hours ahead, so the pumpkin still looks fresh and hasn’t started collapsing inward. And if you want drama, record his reaction from inside a cracked door rather than a doorbell camera, since doorbell footage tends to trigger exactly the wrong kind of alert.
Once she switched to the LED version two days later, the reveal went exactly as planned – tears, a stunned laugh, and a video she actually got to keep instead of a fire department visit.
12. Hide the Positive Test Inside the Pumpkin
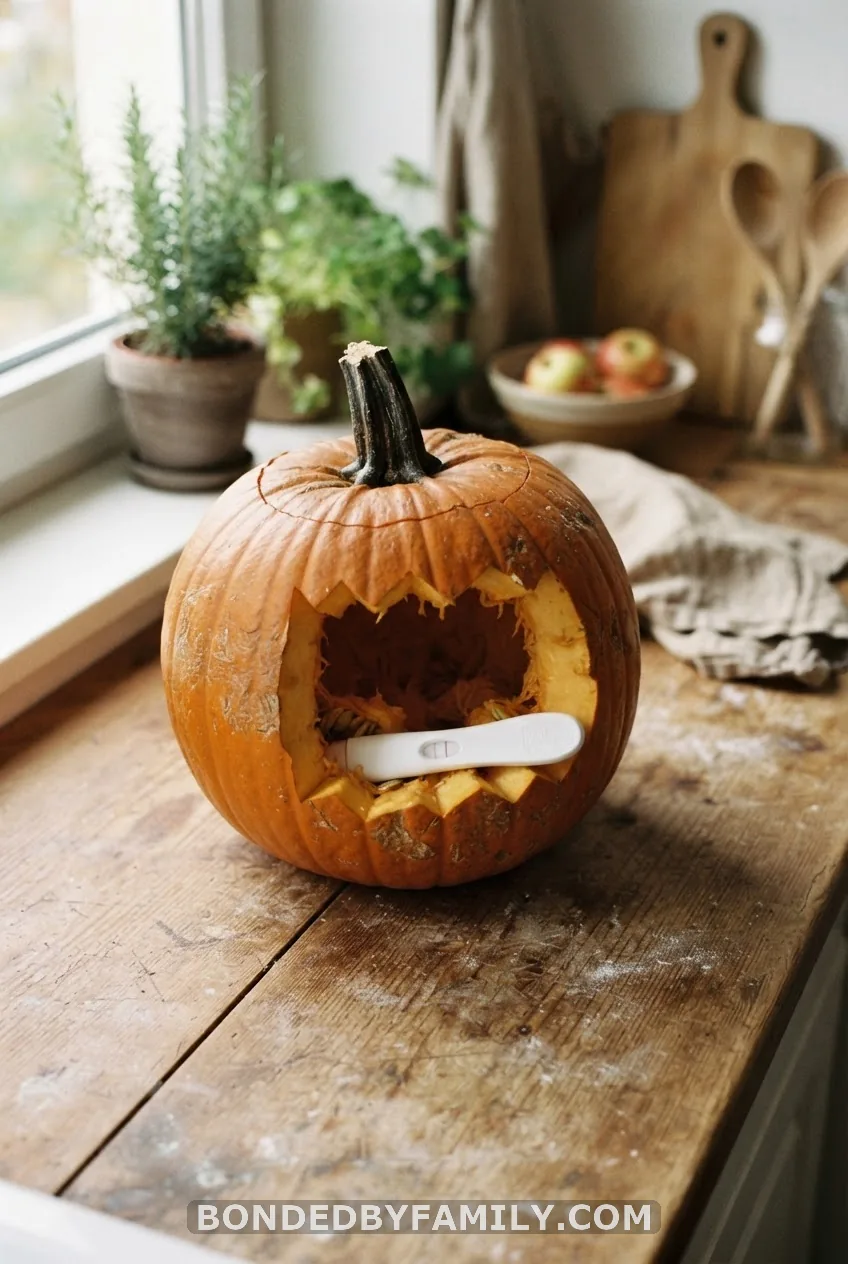
Cut a small flap into the back of a pumpkin and tuck your positive pregnancy test inside, angled so it’s visible the moment he looks in. Pair it with a note that just says “look inside.” It takes two minutes to set up and delivers the most unfiltered reaction of any idea on this list, since he’s finding actual proof, not a hint.
13. Dog “Big Brother” Pumpkin Bandana
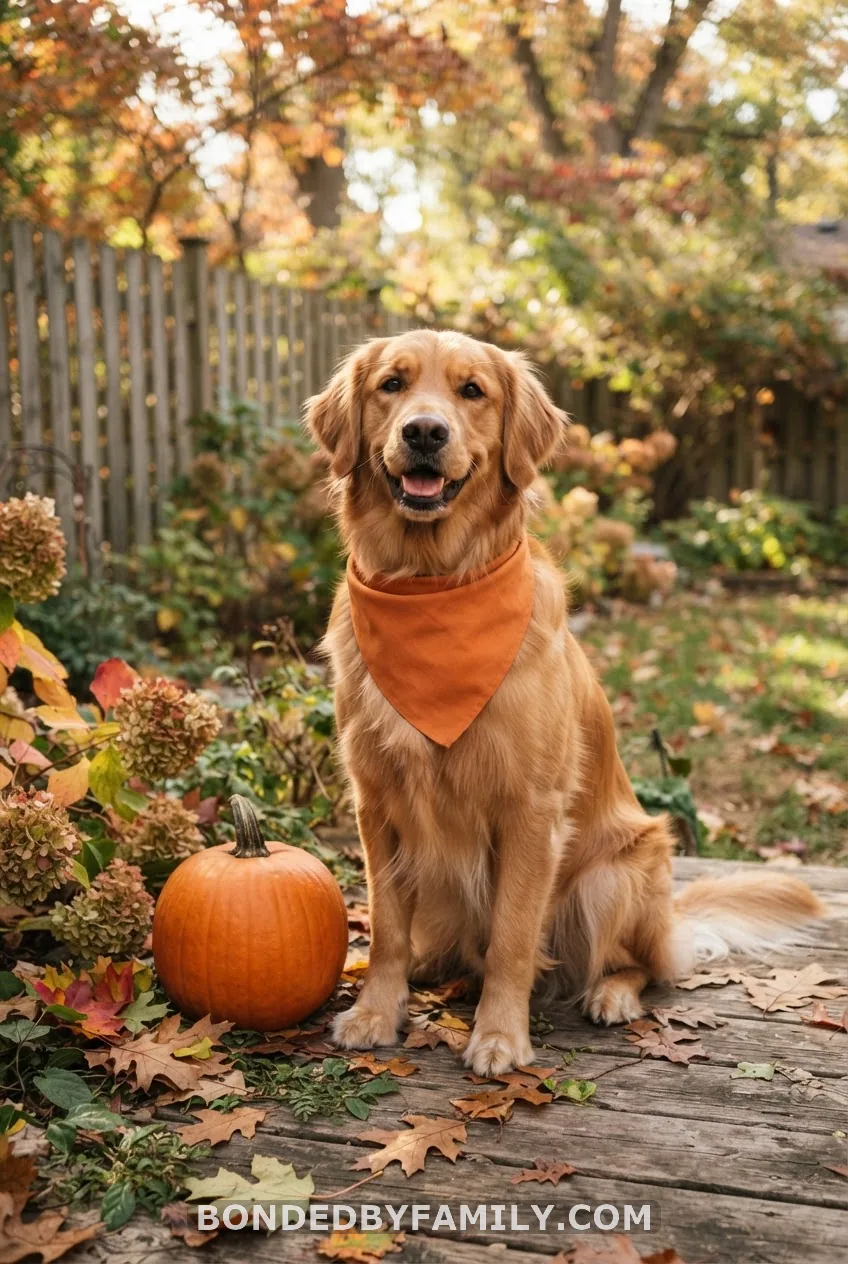
Slip a “Big Brother” or “Big Sister” bandana on your dog, about $10 on Amazon or Etsy, and sit them next to a baby-sized pumpkin for the photo. Keep pumpkin seeds, stems, and any paint or glitter well out of reach – raw pumpkin flesh is fine in small amounts for most dogs, but the decorative extras aren’t, and a curious nose near wet paint pens is a mess you don’t want mid-shoot.
14. Golden Hour Belly Bump Pumpkin Photoshoot

Shoot this one hour before sunset, when the light turns amber and forgiving instead of flat and harsh. Hold a small pumpkin directly against your bump, or set a larger one resting on top of it if you’re far enough along for it to balance.
Black-and-white pumpkins arranged around your feet add contrast without stealing attention from your silhouette. If you want the ultrasound woven in, tuck the printed photo half-visible from a pocket or basket beside you rather than holding it directly, since two focal points in one frame usually competes rather than complements.
A phone camera handles this fine. Shoot in portrait mode if your phone has it, stand with the sun behind the photographer rather than behind you, and take at least fifteen frames – golden hour lighting shifts fast, and your best shot is rarely the first one.
Cost reality:
Free if you’re shooting with a phone in your own backyard or a public field. Budget $150 to $300 if you hire a local photographer for a 30-minute mini session.
15. “Little Pumpkin Loading” Family Shirts
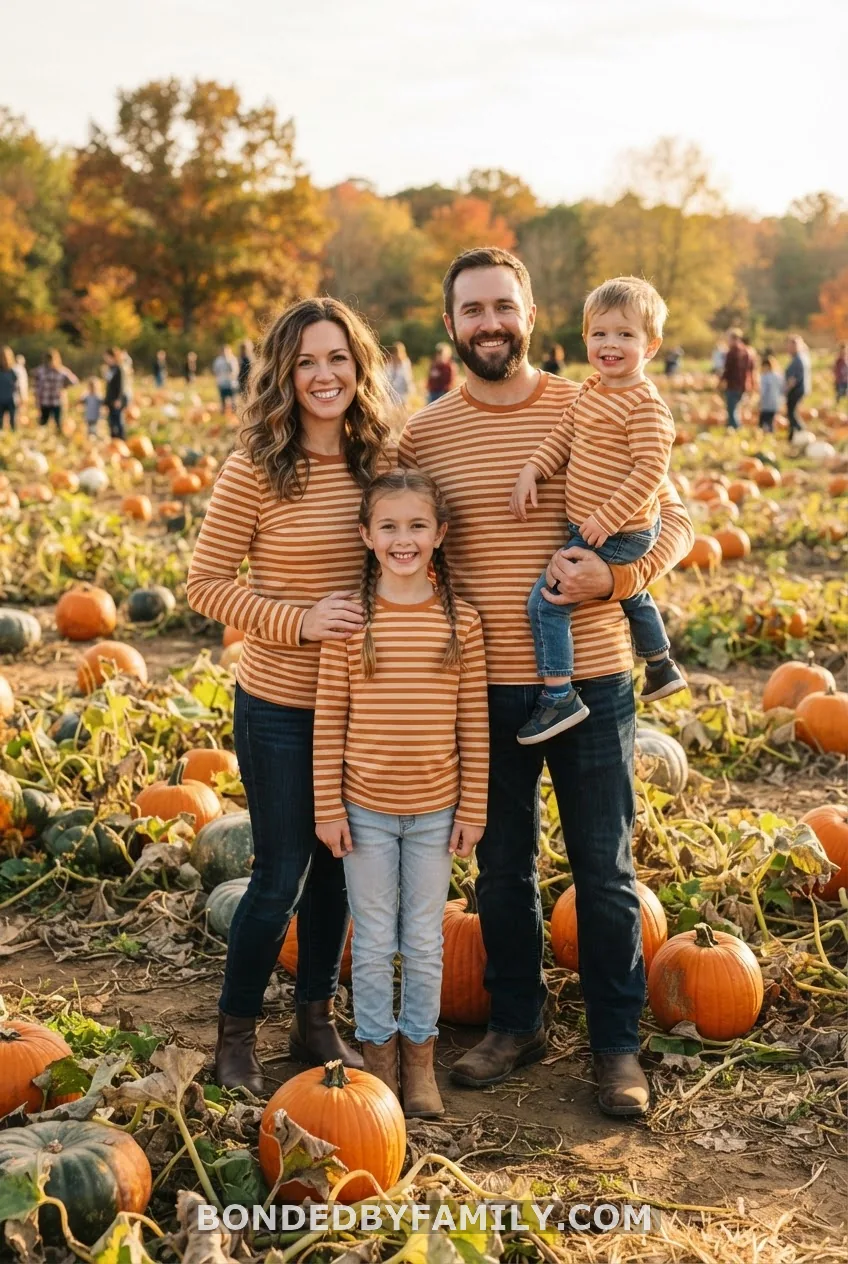
A “Little Pumpkin Loading” maternity shirt paired with matching sibling and dad shirts turns your announcement into a walking photo shoot you can wear anywhere, not just a staged setup. Etsy sellers sell these premade for $18 to $28 each, or you can cut your own with a Cricut Maker and heat transfer vinyl for about $4 per shirt if you’re outfitting a family of four or more.
Choose a bump-friendly cut – an A-line or empire waist tee gives the design room to stretch without warping the letters as you grow. Iron-on vinyl needs 30 seconds under a hot iron with firm, even pressure, and you should let it cool fully before peeling the backing sheet.
16. Steal-Worthy Captions & Hashtags for Your Pumpkin Reveal

Your photo does the heavy lifting, but the caption is what gets saved and shared. A few that consistently perform well on Instagram and Pinterest:
- “Our little pumpkin is on the way – due [month].”
- “We’re adding another pumpkin to our patch this [season].”
- “No tricks, just a treat: baby [Lastname] arriving [month] [year].”
- “Feeling extra grateful this fall – our pumpkin arrives [month] [year].”
For Pinterest specifically, put your due month right in the pin title rather than burying it in the description – pins like “OUR LITTLE PUMPKIN IS ON THE WAY, DUE APRIL” consistently outperform vaguer titles because they answer the reader’s first question before they even click. Pair your post with hashtags like #PumpkinPregnancyAnnouncement, #LittlePumpkin, and #FallBabyAnnouncement, and if you’re posting a carousel, lead with your best single image, not your group shot – the first frame is what determines whether anyone taps through to see the rest.
If you’re choosing between all sixteen, start with who you’re telling first. Announcing to your husband calls for something private and quiet, like the hidden test or the LED-lit carving. Announcing to the internet calls for something that photographs in one frame, like the pink pumpkin or the sibling lineup. And if Halloween is still weeks off but the news won’t wait, the printable sign is the only idea on this list you can finish in the next ten minutes.
So which pumpkin is speaking for you this fall – the carved one, the painted one, or the one with a surprise tucked inside?
FAQ
When is the best time to do a pumpkin pregnancy announcement?
September through October is peak season for pumpkin availability and that golden fall light everyone’s chasing for photos. Many parents wait until after the first trimester, so if your due date lands in spring, an early-to-mid fall announcement usually lines up naturally.
What should I write on a pumpkin pregnancy announcement?
“Our little pumpkin is on the way” and “we’re adding another pumpkin to our patch” are the two most-used lines, and both work whether you’re carving, painting, or printing a sign. Adding your due month and year, like “due April,” gives friends and family a concrete detail to react to.
How do I make a pumpkin pregnancy announcement sign?
Grab a free editable template from Canva or a paid one from Templett or Etsy, type in your due date, and export it as a PDF. Print on cardstock at home or at a shop like Staples, then set it beside a real pumpkin for the photo.
Can I include my dog in a pumpkin pregnancy announcement?
Yes – a “Big Brother” or “Big Sister” bandana on your dog next to a small pumpkin is one of the easiest additions on this list. Just keep pumpkin seeds, paint, and glitter away from your pet during the shoot.
How do I announce my pregnancy to my husband with a pumpkin?
Carve “Dad” into a pumpkin using a battery-operated LED light instead of a real flame, or cut a small flap in the back and hide your positive test inside for him to find. Both work best as a surprise set up right before he gets home, not hours in advance.