The pumpkin cracked in half on my kitchen table, right down the middle, ten minutes before my in-laws arrived. I’d carved “Baby Anderson, April 2027” into the shell like some kind of confident pumpkin-carving expert, except I pressed too hard on the “B” and the whole thing split like a fault line. My husband found me standing there with two pumpkin halves and a Sharpie, whisper-yelling that our entire announcement was ruined. It wasn’t ruined. We propped the halves back together with a skewer, threw a strand of fairy lights around the crack, and nobody noticed a thing in the photos. That near-disaster taught me something every mom-to-be needs to hear before October 1st: a Halloween pregnancy announcement doesn’t need to be flawless. It needs a plan, a backup, and a caption ready to go.
That’s what you’re getting here. Sixteen ideas, sorted by who you’re telling and what’s in your hands when you tell them, each one with a copy-paste caption and a prop note you can execute the same afternoon. No vague “get creative” advice. Just the exact sign wording, the exact costume pairing, and the exact spot to stand.
Pumpkin and Patch Announcements
1. Nesting Pumpkins
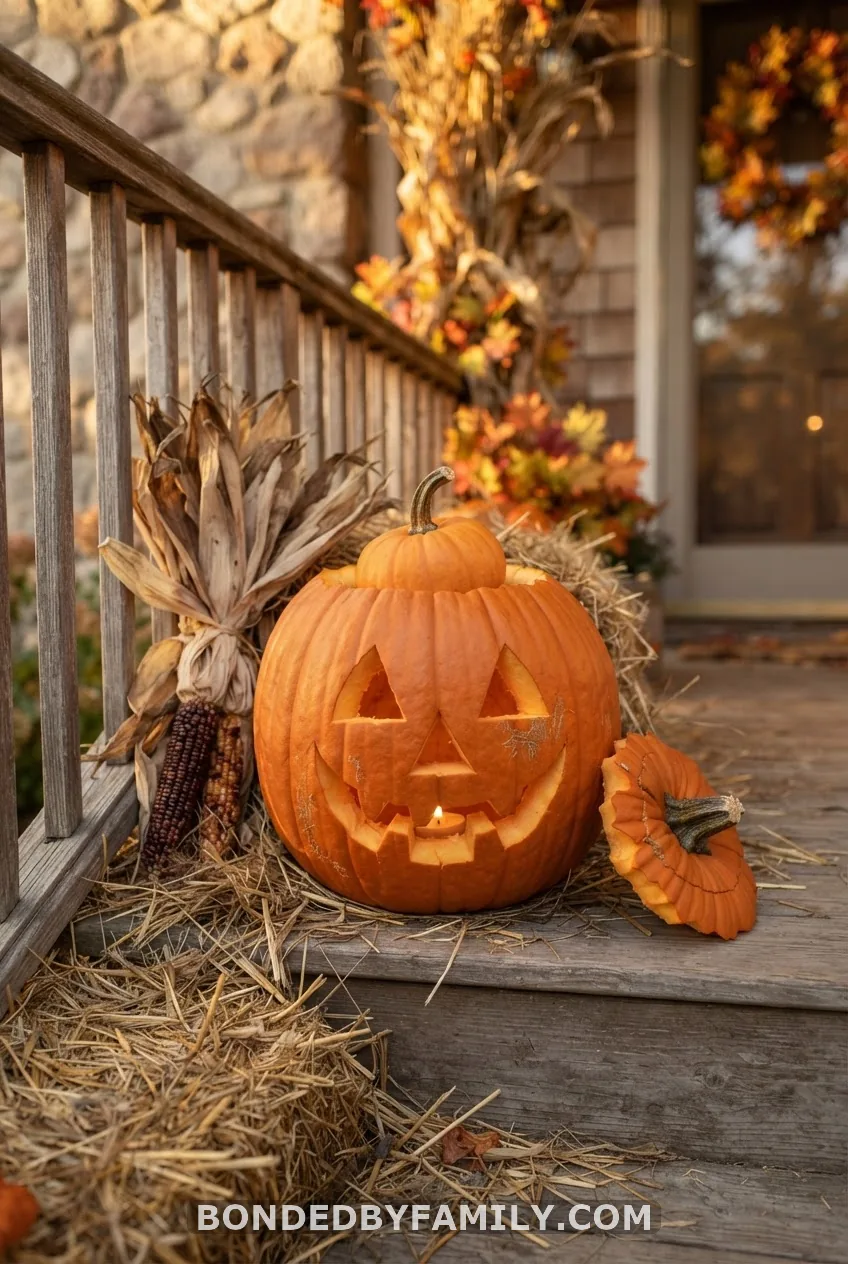
Carve a medium pumpkin, hollow it out like normal, then tuck a miniature pumpkin – the kind Target and Trader Joe’s sell for a couple bucks each in October – right inside the opening like an egg in a nest. Photograph it from slightly above so both pumpkins read clearly. Caption: “We’re adding a little pumpkin to our patch.” It reads as pregnancy-coded without a single word of text needed, which makes it perfect for people who want the photo to work even before anyone reads the caption.
2. Due Date Carved Pumpkin
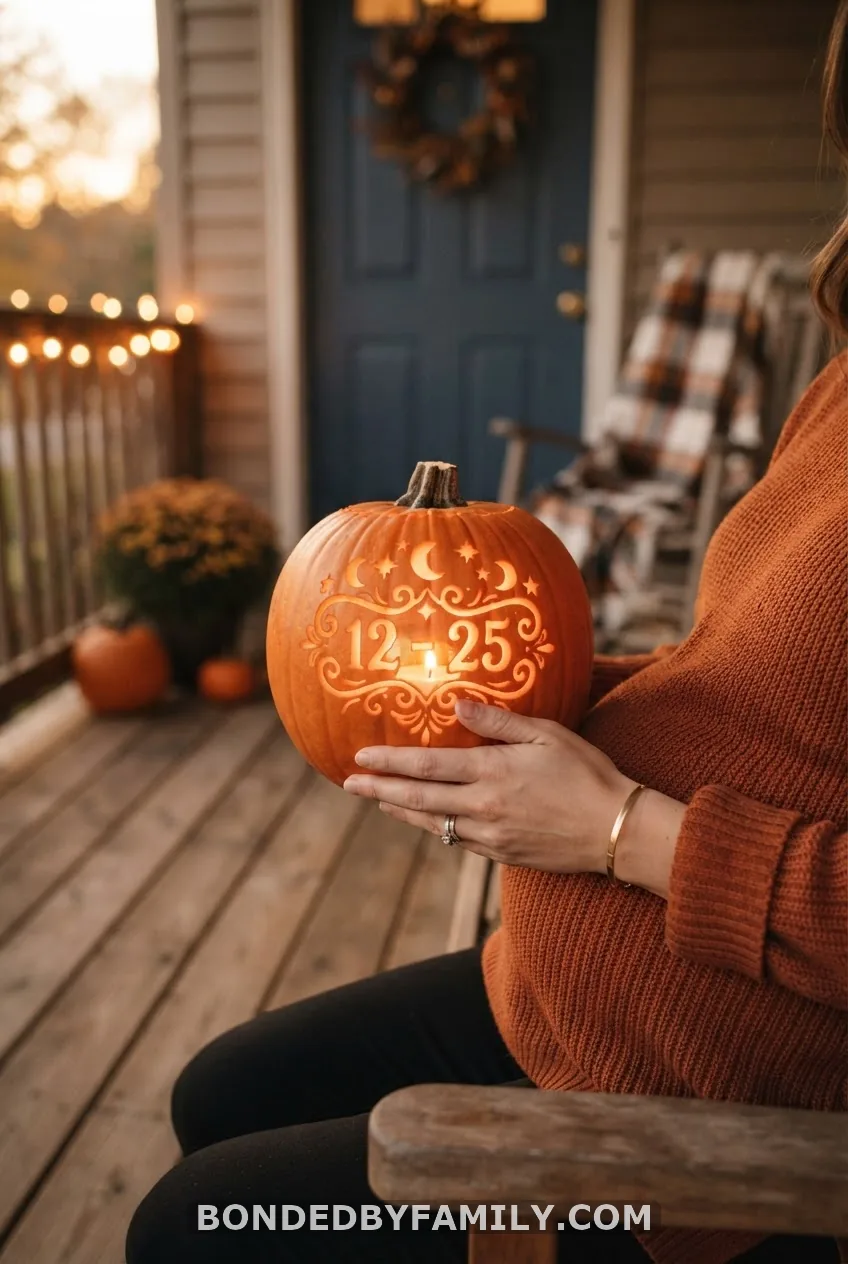
Skip the illustration and carve the due date straight into the flesh – “04.2027” reads cleaner than a full sentence and there’s less room for a Sharpie slip like mine. Use a linoleum-cutting tool instead of a kitchen knife if you can; Michaels sells a $12 pumpkin carving kit with a fine-tip gouge that handles small numbers far better than a chef’s knife does. Caption: “Circle the date. One very big story starts here.” If you’re worried about the pumpkin drying out and shrinking the numbers before your event, carve it the morning of, not three days ahead – carved pumpkins start collapsing within 48 hours at room temperature.
3. Family Pumpkin Patch Lineup
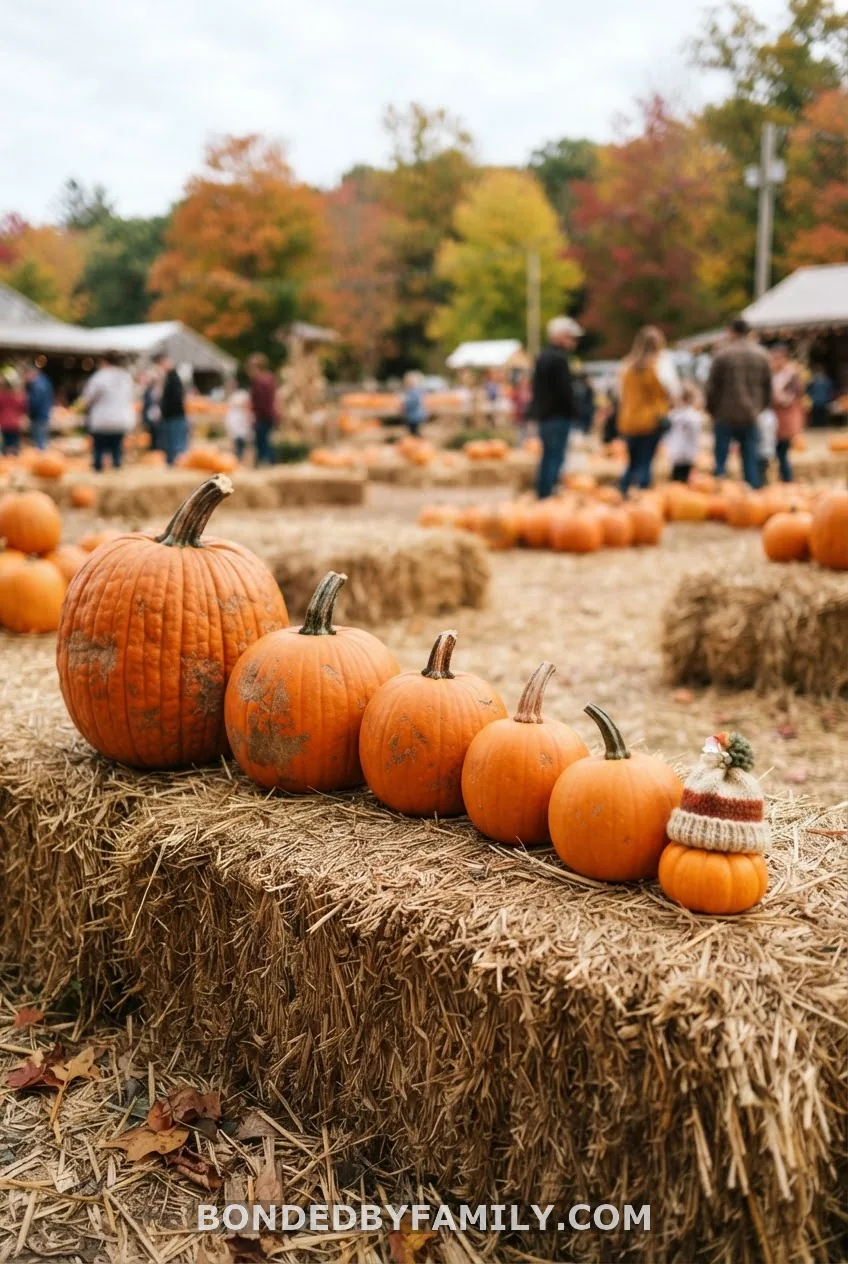
Line up pumpkins by size to represent your existing family, then add one new, smallest pumpkin at the end wearing a tiny knit baby hat or with a pacifier resting against it. Caption: “Our patch is growing by one.” This works especially well as a real pumpkin patch photo, since most patches already have the hay bale staging built in – you’re not setting anything up, you’re just adding a prop.
4. Painted Pumpkins for a Non-Orange Aesthetic
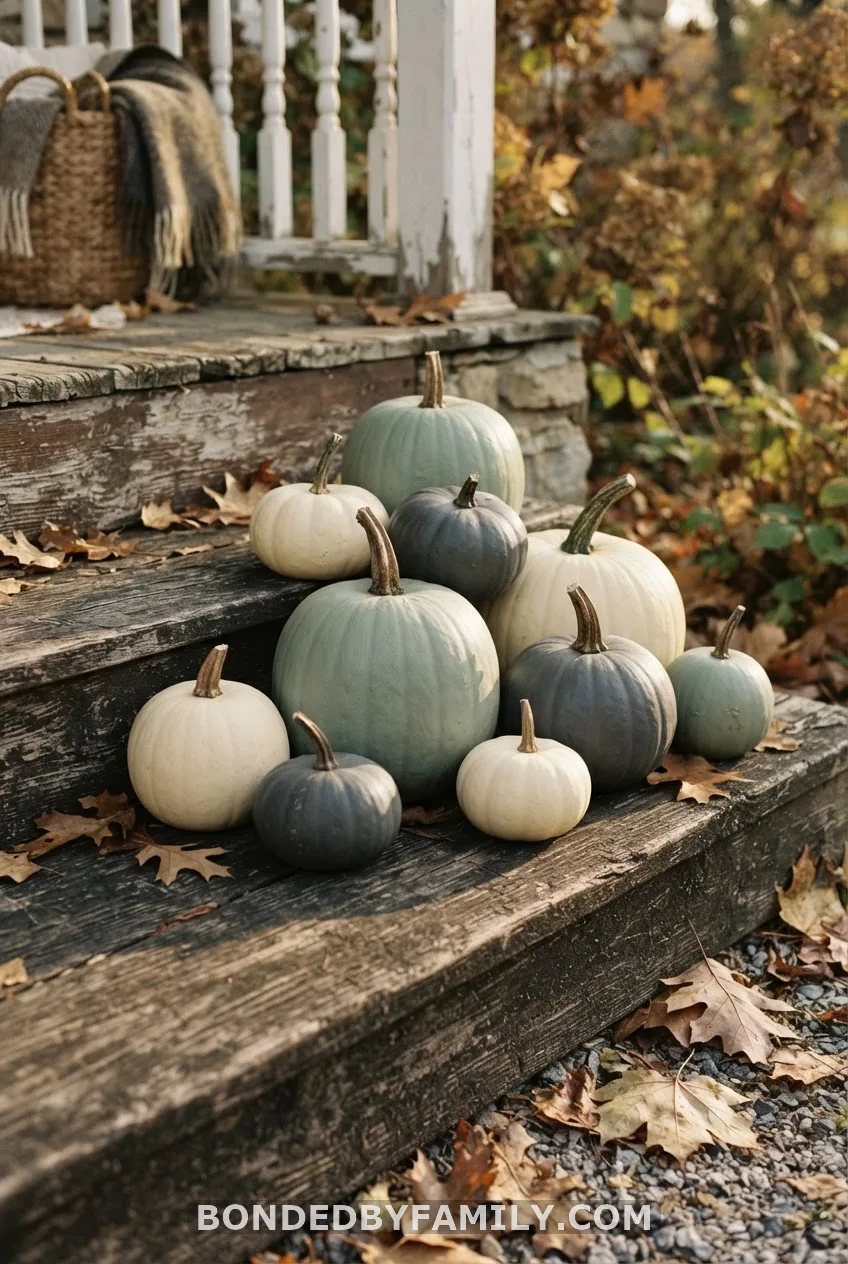
Not everyone wants the classic orange look, and that’s fine. Paint pumpkins white, black, or sage green with acrylic craft paint from Hobby Lobby, then letter the due date on in gold paint pen. It photographs more like a modern nursery than a Halloween store. Caption: “No tricks. Just a tiny treat, arriving May 2027.”
5. “Don’t Eat the Pumpkin Seeds” Sign
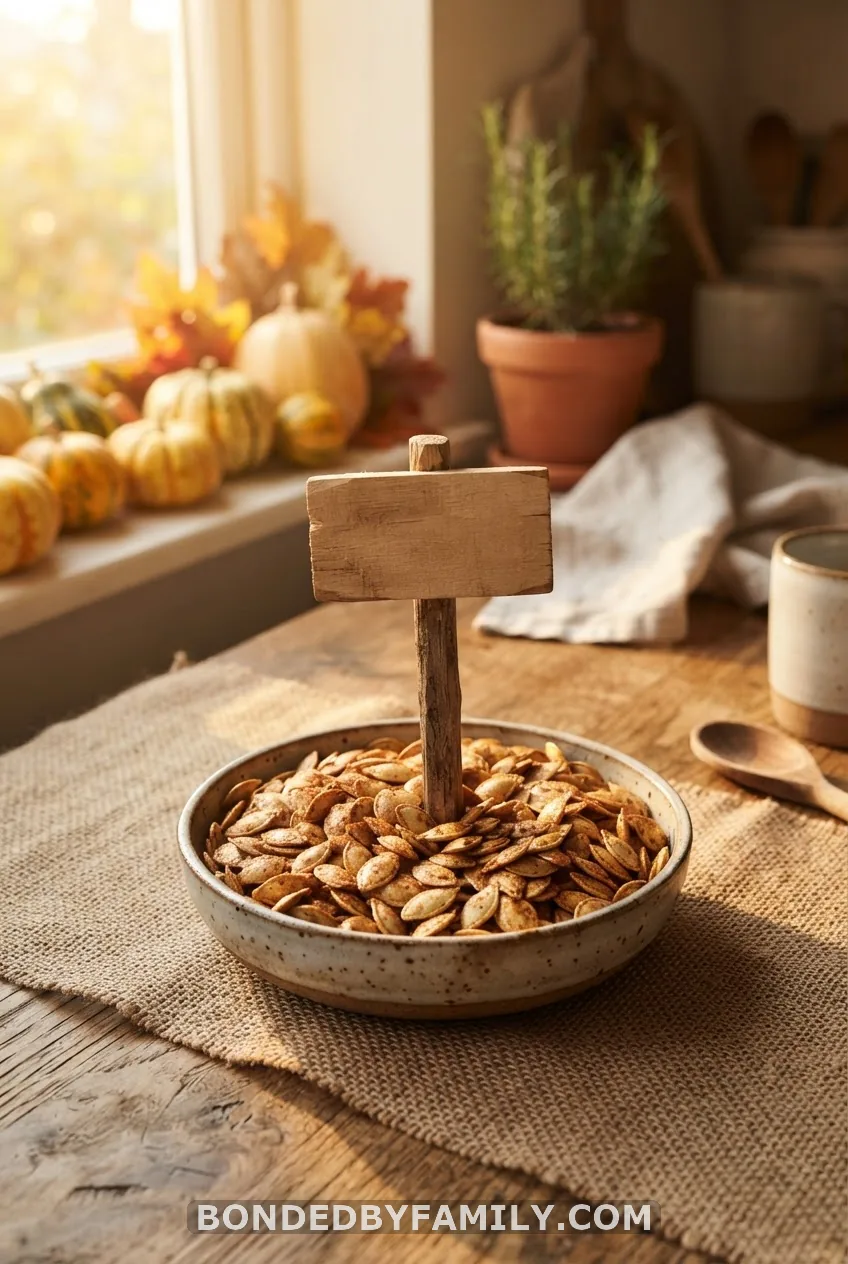
Prop a small chalkboard sign against a pumpkin reading “Don’t eat the seeds – we’re growing a person, not a garden.” It’s a one-liner, it photographs fast, and it doesn’t require any carving skill at all. Caption: “One very big story, one very small seed.”
6. Ultrasound Photo on a Hay Bale
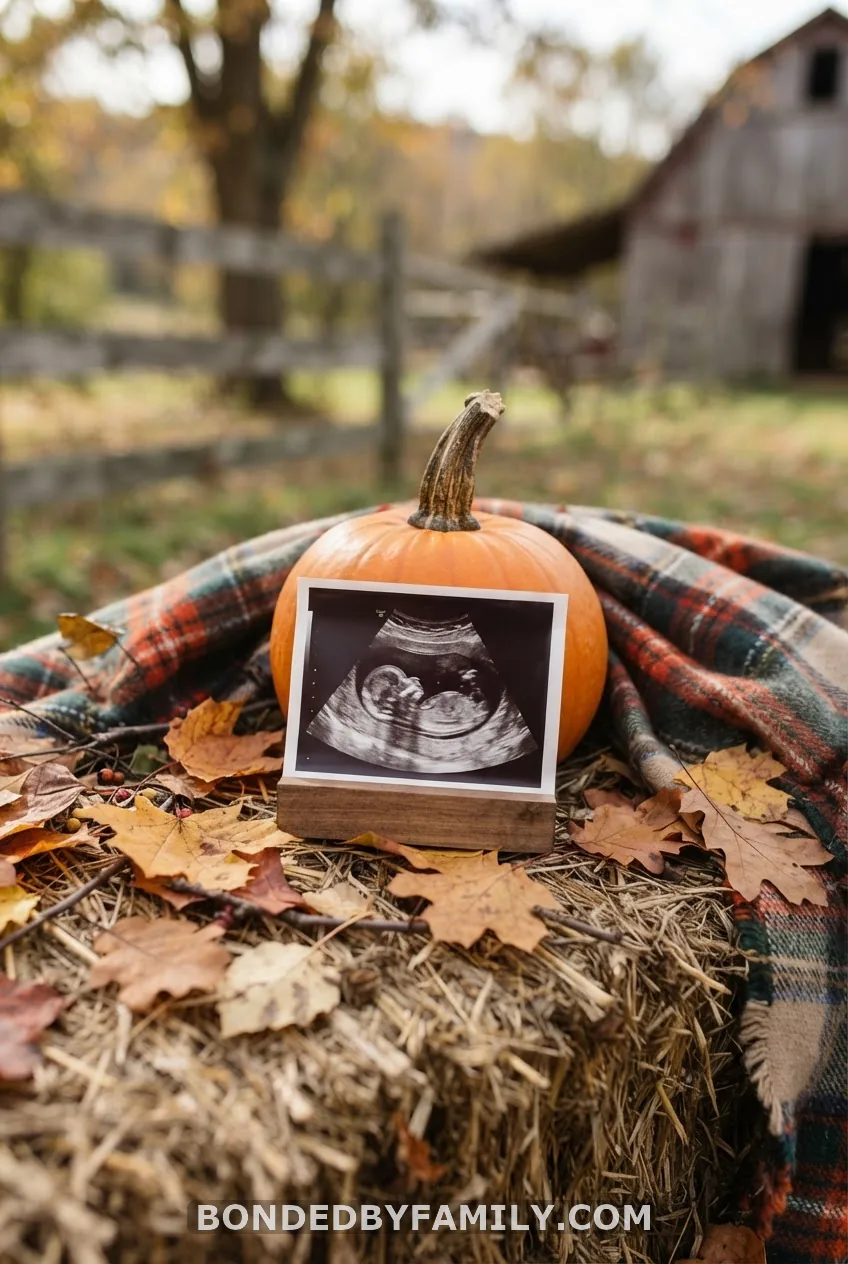
Prop your actual scan photo against a mini pumpkin, drape a plaid blanket underneath, and scatter a few dried leaves for texture. Shoot close, so the scan is legible but not the whole frame. Caption: “The evidence is in. One little boo, expected 2027.” Cost is basically zero if you already have the blanket and a pumpkin from the grocery store.
7. Paint Pen vs. Sharpie vs. Vinyl Lettering
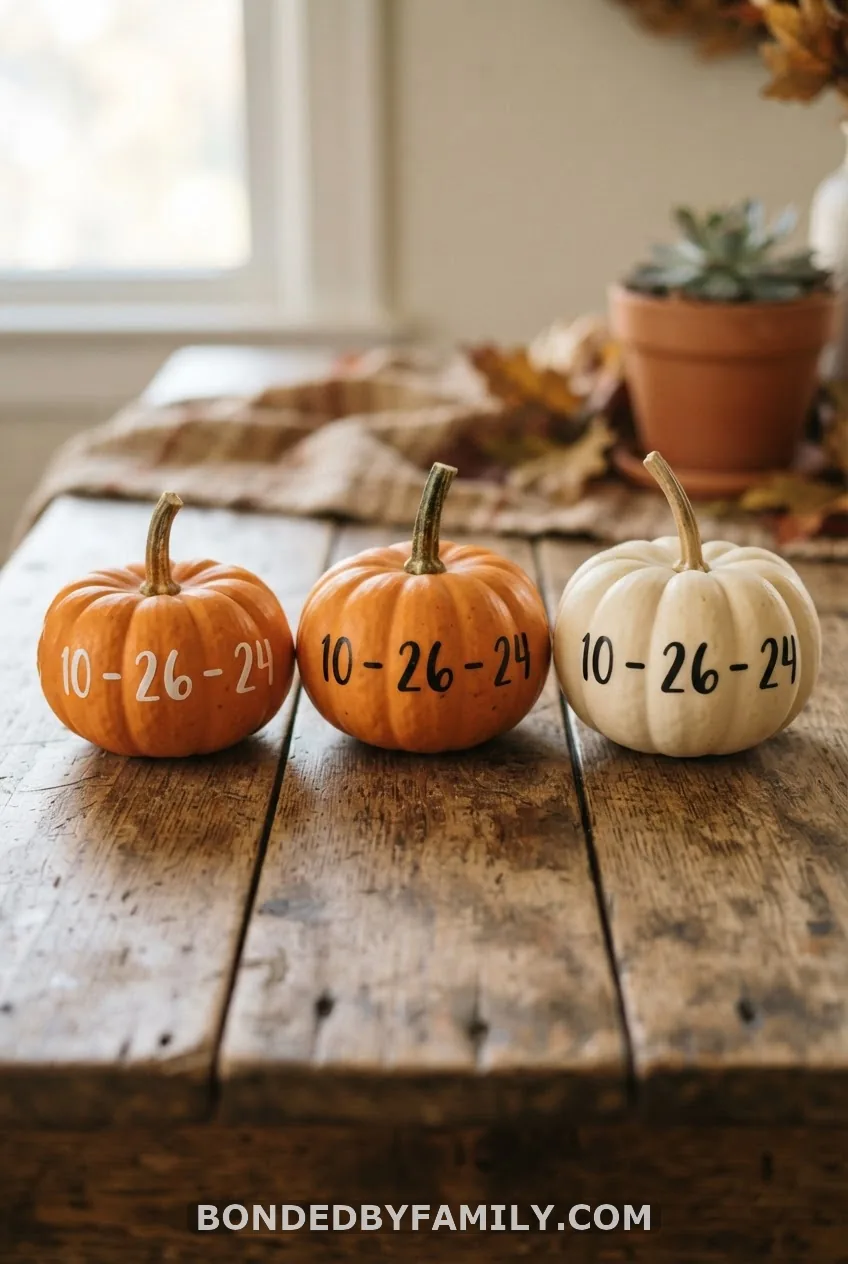
This one’s less a photo idea and more a decision you need to make before any of the others work. A paint pen (Posca brand is the one crafters swear by, around $3 a marker) gives opaque, clean lines on any pumpkin color and dries in about 10 minutes. A plain Sharpie bleeds into the pumpkin skin within a day and fades fast under any humidity. Vinyl lettering, cut on a Cricut Joy, looks the most polished but only sticks well to a smooth, dry pumpkin and needs to go on the morning of your shoot. If you’ve got zero Cricut experience, don’t attempt vinyl the night before your reveal – I’ve watched a friend spend forty-five minutes weeding a single word off vinyl backing at 11 p.m. Go paint pen if you want reliability over polish.
Costume Announcements
8. Skeleton Family X-Ray Reveal
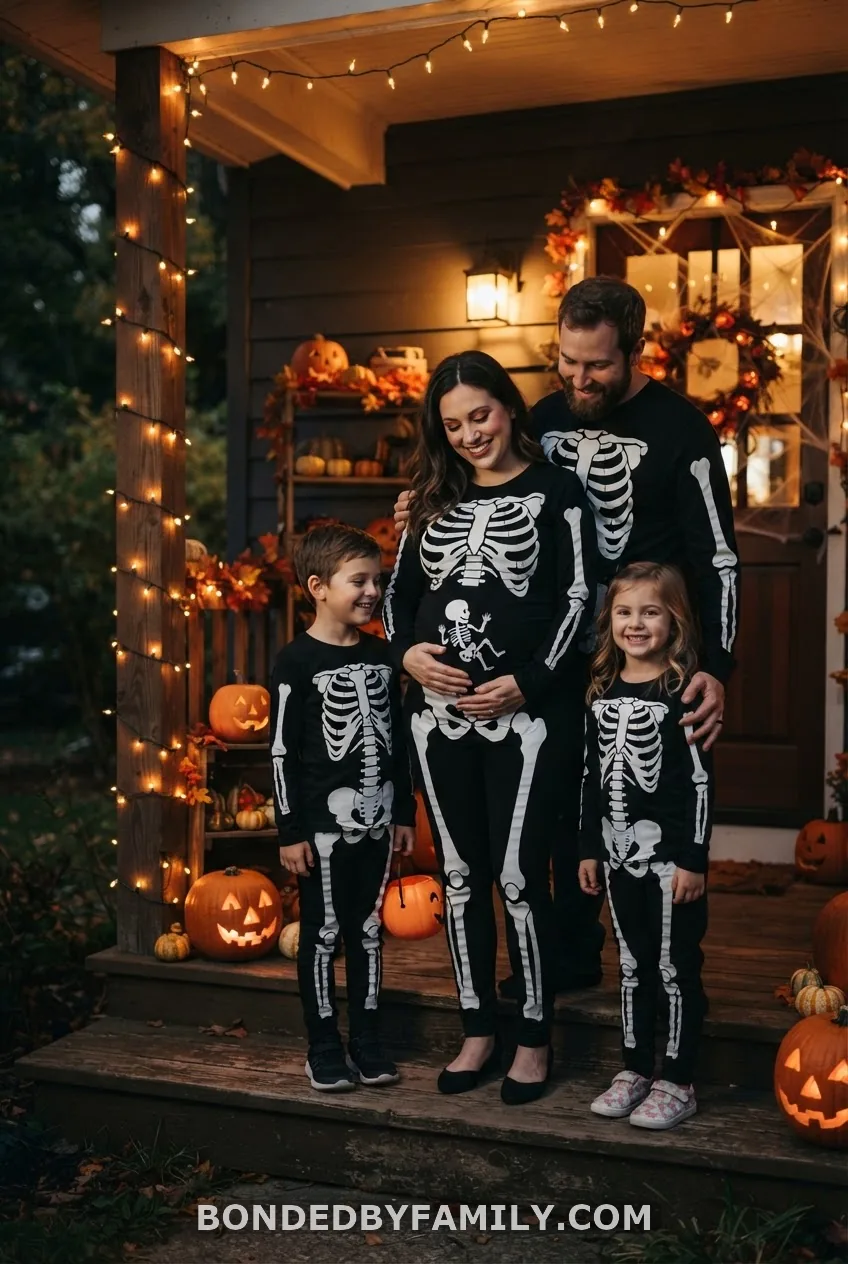
Buy a plain black skeleton bodysuit, then have a tiny skeleton silhouette printed onto white iron-on transfer paper and press it directly over the belly area – Cricut’s iron-on vinyl works fine here, or order one custom on Etsy from a shop like MDLittlesCo for around $15. The rest of the family wears matching adult and kid skeleton shirts, but only your shirt has the second skeleton. Caption: “Bone to be loved. Arriving April 2027.”
9. Bun in the Oven Baker Costume
Wear a baker’s apron and chef hat, then hold an actual literal bun – a dinner roll works – with a small sign taped to it reading “bun in the oven.” Caption: “This one’s not for eating. Little Anderson, coming spring 2027.” It’s silly, it’s fast, and it doesn’t need a photographer to land.
10. Prego Sauce Jar Costume
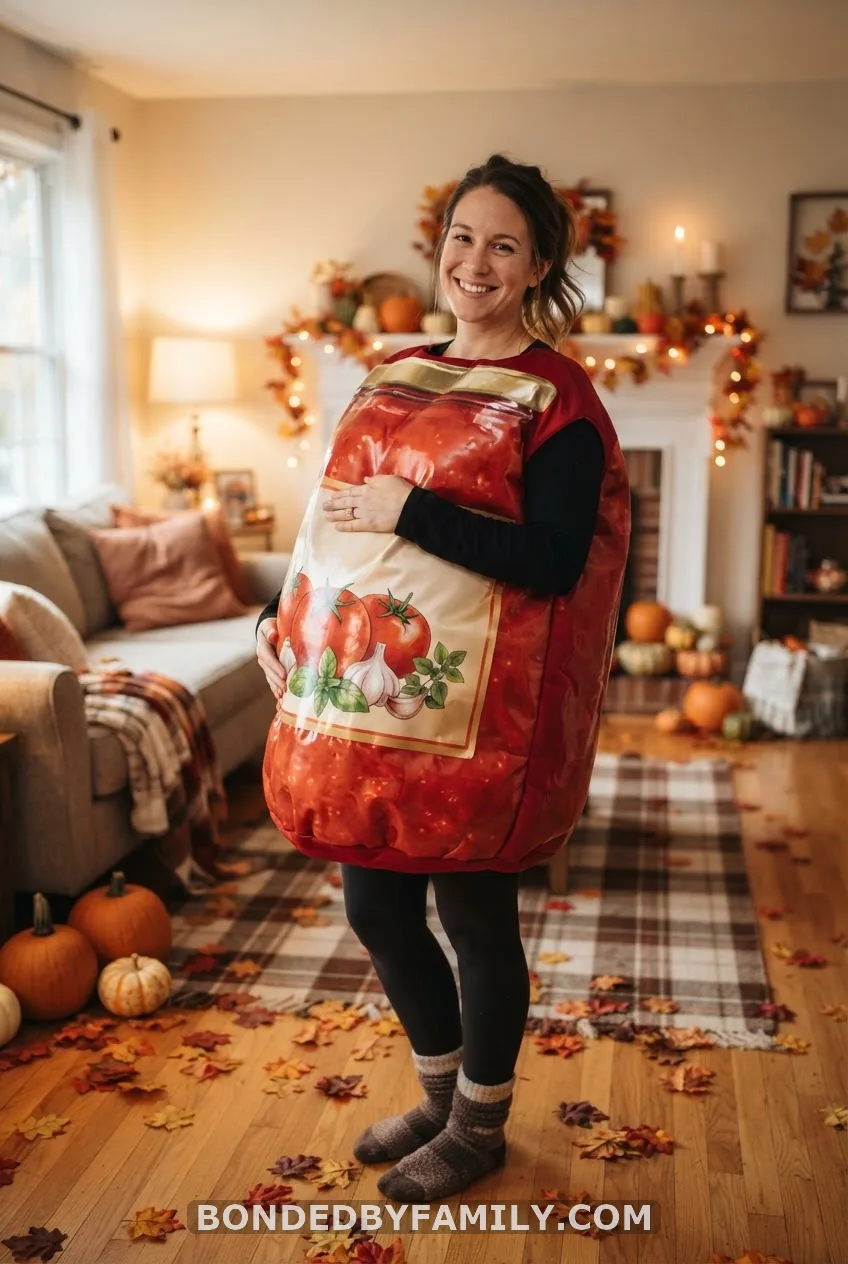
Buy a Prego pasta sauce jar (empty, cleaned, and repurposed), wear a red dress or shirt, and hold the jar next to your belly. Caption: “Prego? Yes, actually.” It’s a pun-forward idea, so it works best for couples who already lean silly in their social captions rather than sentimental ones.
11. Pregnant Scarecrow
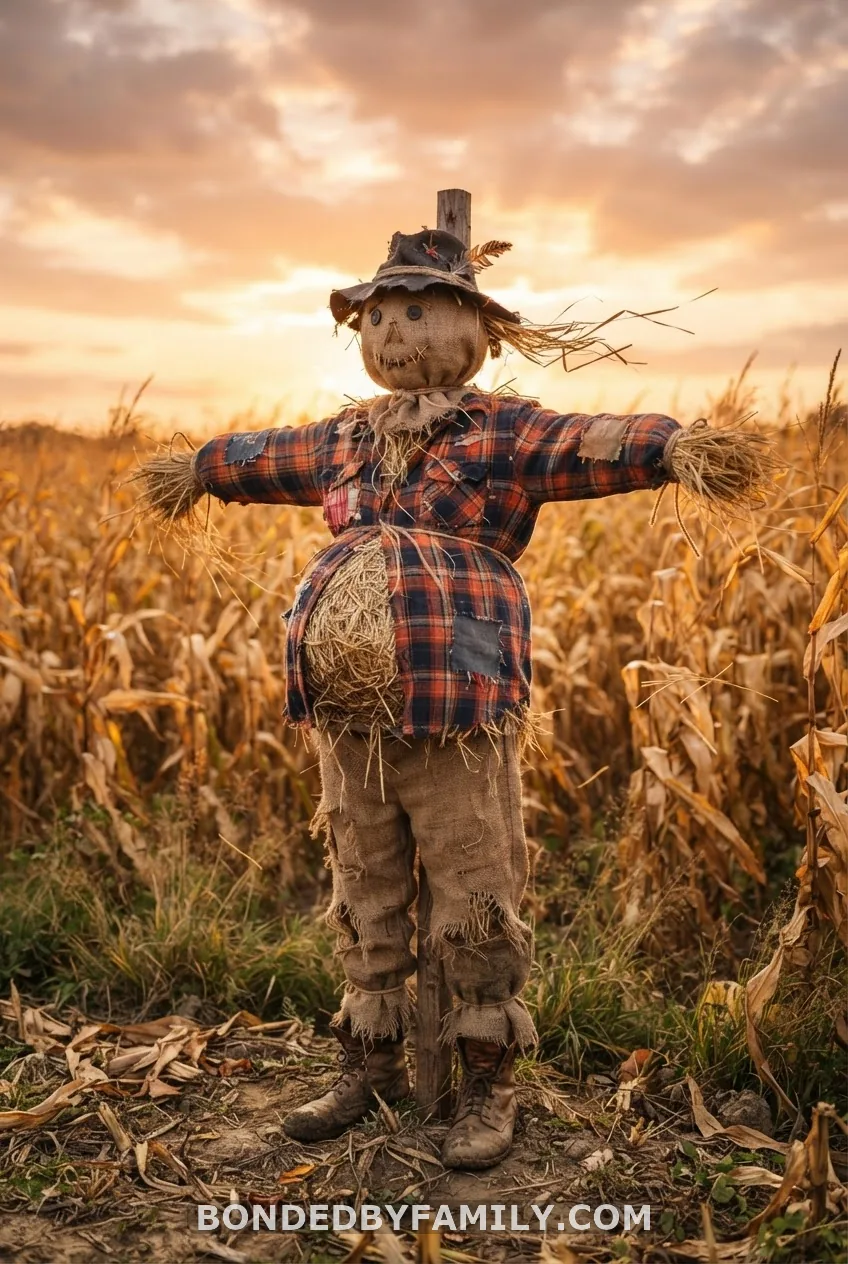
Dress in flannel and denim overalls, straw poking from the sleeves, then position a small round pumpkin under the shirt where the belly would be. Caption: “Something’s growing in this patch, and it’s not corn.” This idea photographs beautifully outdoors against a barn or fence, since the scarecrow aesthetic needs a rustic backdrop to read correctly – a living room couch will undercut the whole joke.
12. Mummy and “Deady” Matching Costumes
Wrap yourselves in gauze bandages, and have your partner’s shirt read “Deady” instead of “Mummy” – a $10 iron-on letter kit from Michaels handles this in about fifteen minutes. Caption: “Mummy and Deady, coming for real in 2027.”
13. Hocus Pocus Sanderson Sisters Trio
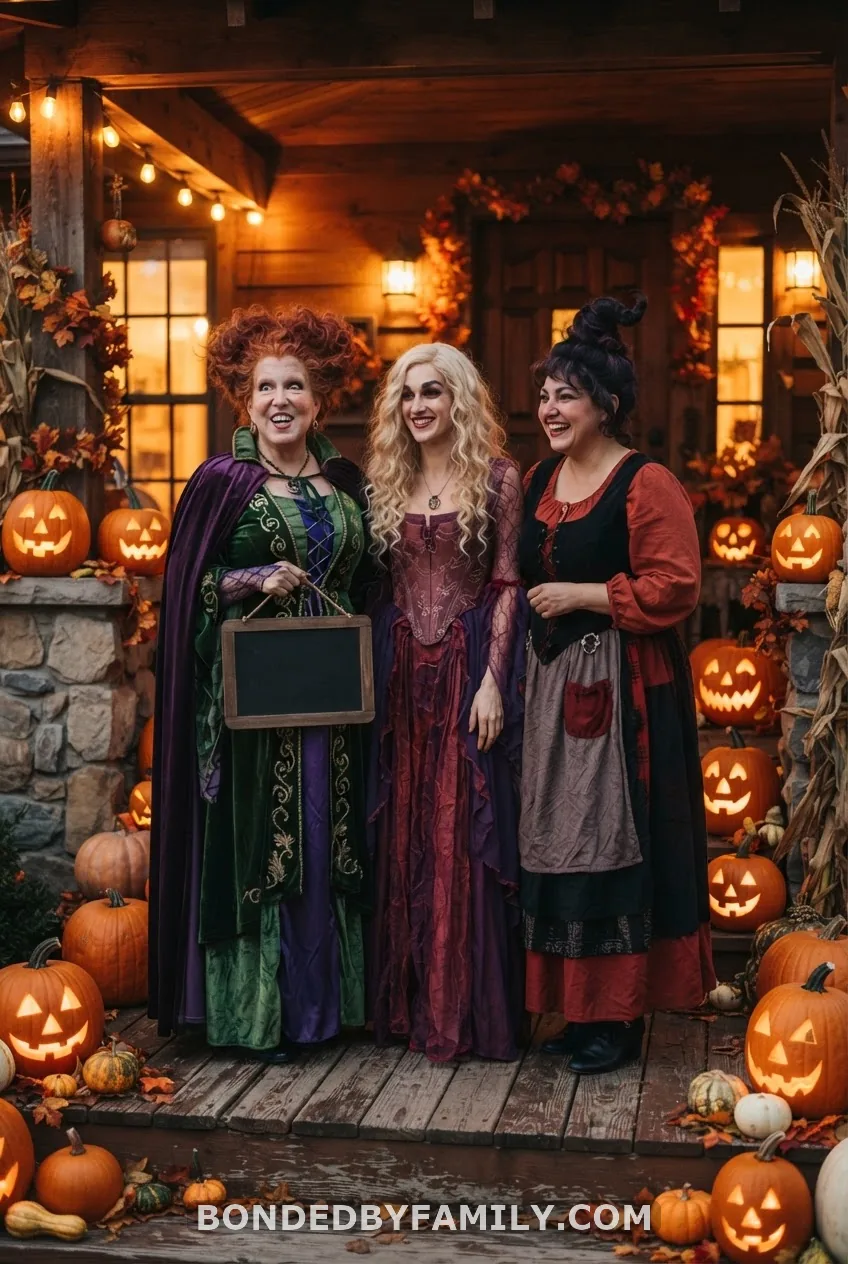
Recruit your sisters or best friends, dress as Winifred, Sarah, and Mary Sanderson, and have one of them hold a sign reading “Winnie, I smell children.” Caption: “We put a spell on you: baby Anderson, spring 2027.” This one takes more coordination than most on this list – costumes, three people’s schedules, a location – so plan it a full week ahead of Halloween, not the morning of.
14. Costume Logistics for Concealing a First-Trimester Bump
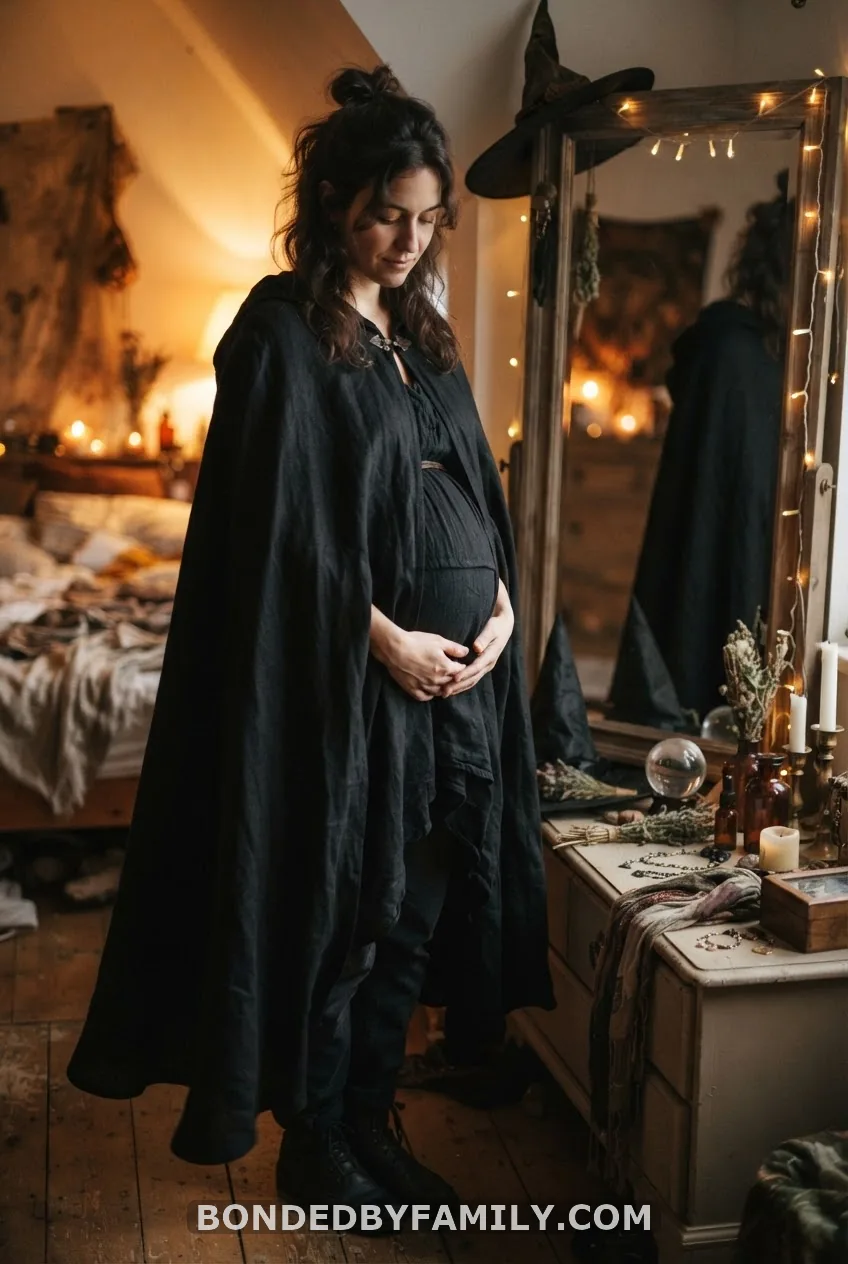
If you’re announcing before you’re visibly showing, structured costumes hide more than you’d think. A-line dresses, capes, and layered witch or ghost costumes create shape without clinging fabric. Avoid anything with a fitted waistband for the photo itself, then loosen it right after for comfort. Time the shoot for early evening when you’re less bloated than after a big lunch, and keep the reveal prop (test, sonogram, sign) in frame instead of relying on a bump that isn’t there yet.
Reveals for Your Partner
15. Haunted Positive Test Box

Line a small gift box with fake cobweb material from Amazon (a $6 bag stretches surprisingly far), tuck the positive test inside, and write “something wicked cute this way comes” on a tag. Hand it over on a normal evening, not during a party where you’ll have an audience for his reaction. Caption, if you post the reaction later: “He had no idea. Neither did the cobwebs.”
16. Trick-or-Treat Bag Reveal
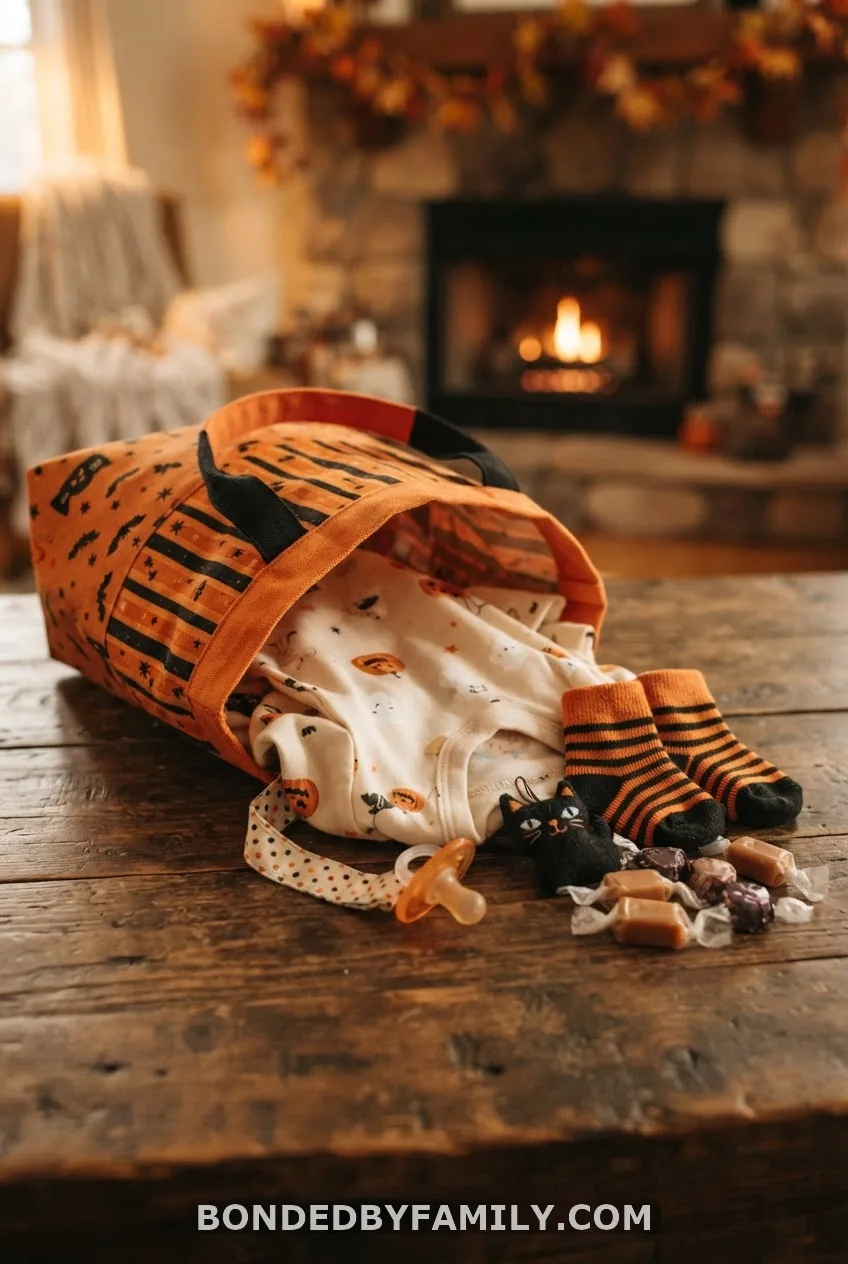
Fill an actual trick-or-treat bag with candy on top, then a onesie, pacifier, and newborn socks underneath. Hand it to your partner and say “go ahead, dig for your treat.” Caption: “Trick-or-treating just got a plot twist.” Keep the bag light enough that nothing crinkles suspiciously before the reveal moment – a stiff onesie tag can give it away if he feels around too soon.
Beyond your partner, tell parents next, ideally in person or over video, before anything goes near social media. A mailed Halloween card with a printed scan photo works well for out-of-state grandparents – record the call when they open it, because that reaction is worth more than any staged photo you’ll take all month. For siblings and toddlers, a “promoted to big sister” trick-or-treat bucket or a witch costume labeled “big sister in training” gets them involved without requiring them to understand what’s happening; just keep the shoot under five minutes since that’s about the cooperation window for most toddlers before the pumpkin becomes a toy instead of a prop.
Don’t skip the captions across your whole set: “boo, you’re going to be grandparents” for the older generation, “our little witch just got promoted” for a sibling announcement, and a simple hashtag set – #halloweenpregnancyannouncement #littleboo #pumpkinonboard – ties your whole feed together if you’re posting more than one photo. If a bakery order fits your timeline, a Halloween-themed cake with a colored center or a “little pumpkin” topper from a local baker makes a strong food-based alternative, but order at least a week out since October bakery calendars fill fast with Halloween party orders. And if you want something ready-made instead of DIY, Etsy shops and Canva templates both offer editable Halloween announcement cards for $2 to $5 that print or post in minutes.
Here’s my unpopular opinion after doing this myself and watching a dozen friends do the same: the “perfect” Pinterest-worthy Halloween announcement, the one with the professional photographer, the color-coordinated cobwebs, and the flawless calligraphy pumpkin, isn’t actually the one people remember. The cracked pumpkin held together with a skewer is the one my mother-in-law still brings up at Thanksgiving. Skip the pressure to make it flawless. Make it yours, make it fast, and let the story be a little messy – that’s the part people actually want to hear about later.
Frequently Asked Questions
When should I announce my pregnancy at Halloween?
Most people wait until the end of the first trimester, around 12 to 14 weeks, which lines up naturally with October if conception happened in July or August. If your due date lands between May and July, Halloween sits right inside that safer window most doctors recommend for going public.
How do I announce my pregnancy to my husband on Halloween?
Make it something he has to physically discover rather than something you say out loud – a cobweb-lined box with the test inside, a pumpkin he has to carve or flip around, or a trick-or-treat bag with a onesie buried under the candy all work well. Pick a quiet moment at home rather than in front of a group so his real reaction isn’t performed for an audience.
What should I write on a pumpkin for a pregnancy announcement?
Short and simple wins: “a little pumpkin is on the way,” “baby Anderson arriving April,” or just the due date on its own. A paint pen gives the cleanest, most legible lines; carving looks more dramatic but leaves zero room for a mistake once the knife’s in.
Can I include my toddler or dog without a meltdown?
Yes, and it usually improves the photo. Dress them in something simple – a “big sister in training” shirt or a “guard dog on duty” bandana – hand them a mini pumpkin, and shoot fast in daylight with treats or a favorite toy just out of frame to hold their attention for the thirty seconds you need.
What if I’m not showing yet?
Lean on props instead of a bump: hold a swaddled pumpkin like a baby, wear a skeleton shirt with a tiny skeleton silhouette over your belly, or stand behind a chalkboard sign with your hands resting where the bump will eventually be. A sonogram photo held in frame reads as pregnancy-coded even without any visible change to your body.