I’m standing at my kitchen counter with a hot glue gun in one hand and a tiny knit bootie in the other. The bootie keeps slumping sideways. The faux snow is already on the dog. This is how my first baby it’s cold outside centerpiece went, and it taught me everything in this guide.
You can build one in an afternoon. This tutorial gives you one repeatable formula, exact supplies, costs, and a make-ahead plan. You can restyle it in pink, blue, or neutral without starting over.
What Makes a Baby It’s Cold Outside Centerpiece Work
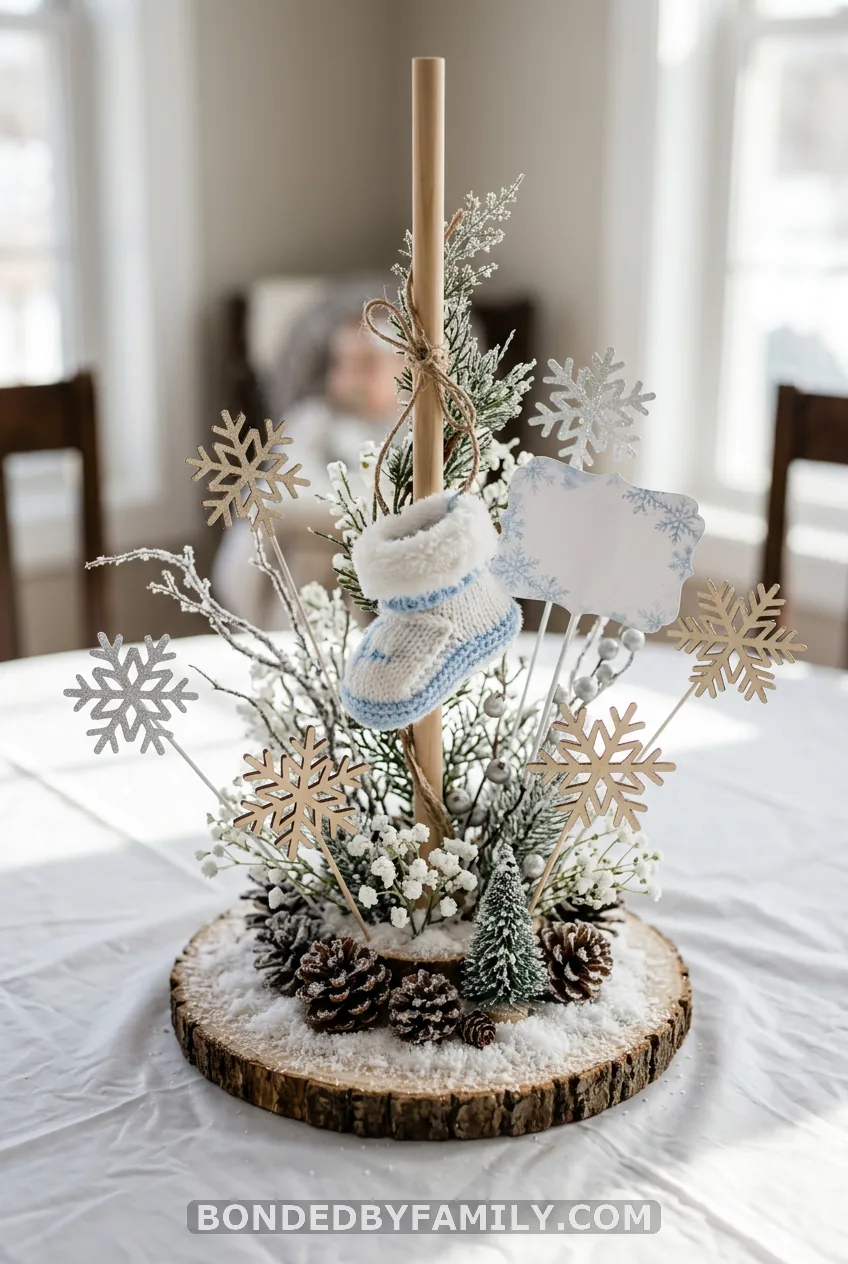
Every good one uses the same five pieces. Base, height, focal point, faux snow, and a sign. Skip one and the centerpiece looks unfinished.
The five-part formula
Here is the order we will build in:
- Base: an 8-inch disc that anchors everything.
- Height: a dowel or foam column that lifts the piece to 15 to 18 inches.
- Focal point: mini booties, mittens, or a small baby figure.
- Faux snow: the layer that makes it look cold.
- Sign: the “Baby It’s Cold Outside” phrase.
Height matters most. A tall piece with one clear focal point photographs better than a flat scatter of snowflakes. Guests also see it across the table.
Pick your palette
Choose colors before you buy anything.
- Boy: icy blue, silver, and white.
- Girl: blush pink, white, and a touch of silver.
- Neutral: white, evergreen sprigs, and silver.
Pro tip: Keep it to three colors
Three colors and one shiny metallic look planned. Five colors look like a craft-store clearance bin.
Gather Your Supplies and Know the Cost
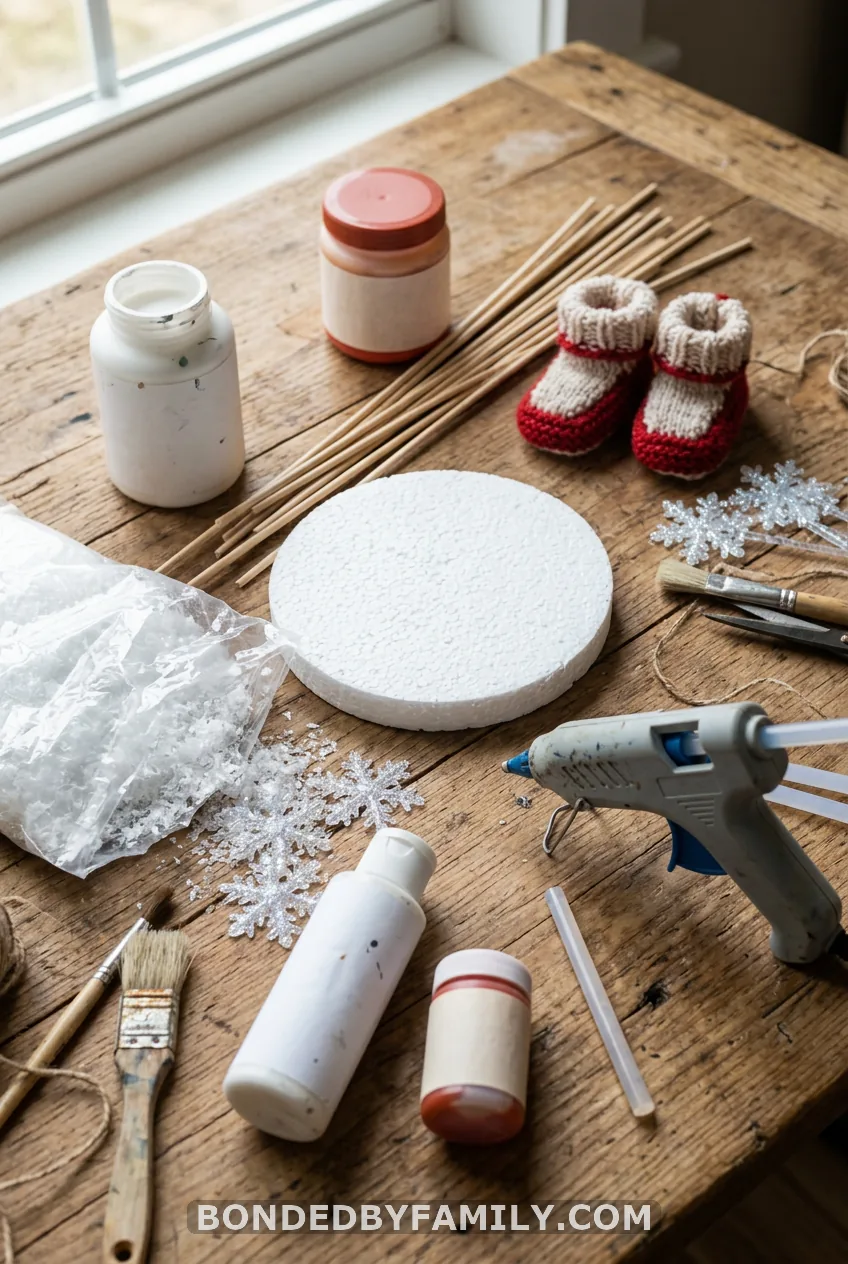
The core list
For one centerpiece, you need:
- One 8-inch styrofoam disc (about $1.25 at Dollar Tree) or an 8-inch wood round from Michaels or Hobby Lobby
- One 12-inch wooden dowel, 1/2 inch thick
- One pair of mini knit booties or mittens
- Faux snow, such as Buffalo Snow
- Plastic snowflake picks or cutouts
- White or silver acrylic paint
- Mod Podge
- Hot glue gun and glue sticks
- Cardstock for the sign
- Ribbon, floral wire, and a few pennies or washers for weight
What it costs
My total came to about $9 to $12 per centerpiece. That covers the disc, dowel, booties, a share of one snow bag, snowflakes, and ribbon. Buying booties and snow in multipacks keeps it low.
Custom ones sold online run $30 to $40. Etsy and Amazon both carry them, but you pay for someone else’s afternoon.
Pro tip: Buy for the whole room once
Make a single supply run. Snow, glue sticks, and paint are cheaper per piece when you split one bag across six tables.
How many you need
Plan one per round table. On a long table, set one every 3 to 4 feet. Add one more for the dessert or gift table.
Steps 1 and 2: Paint the Base and Build the Height
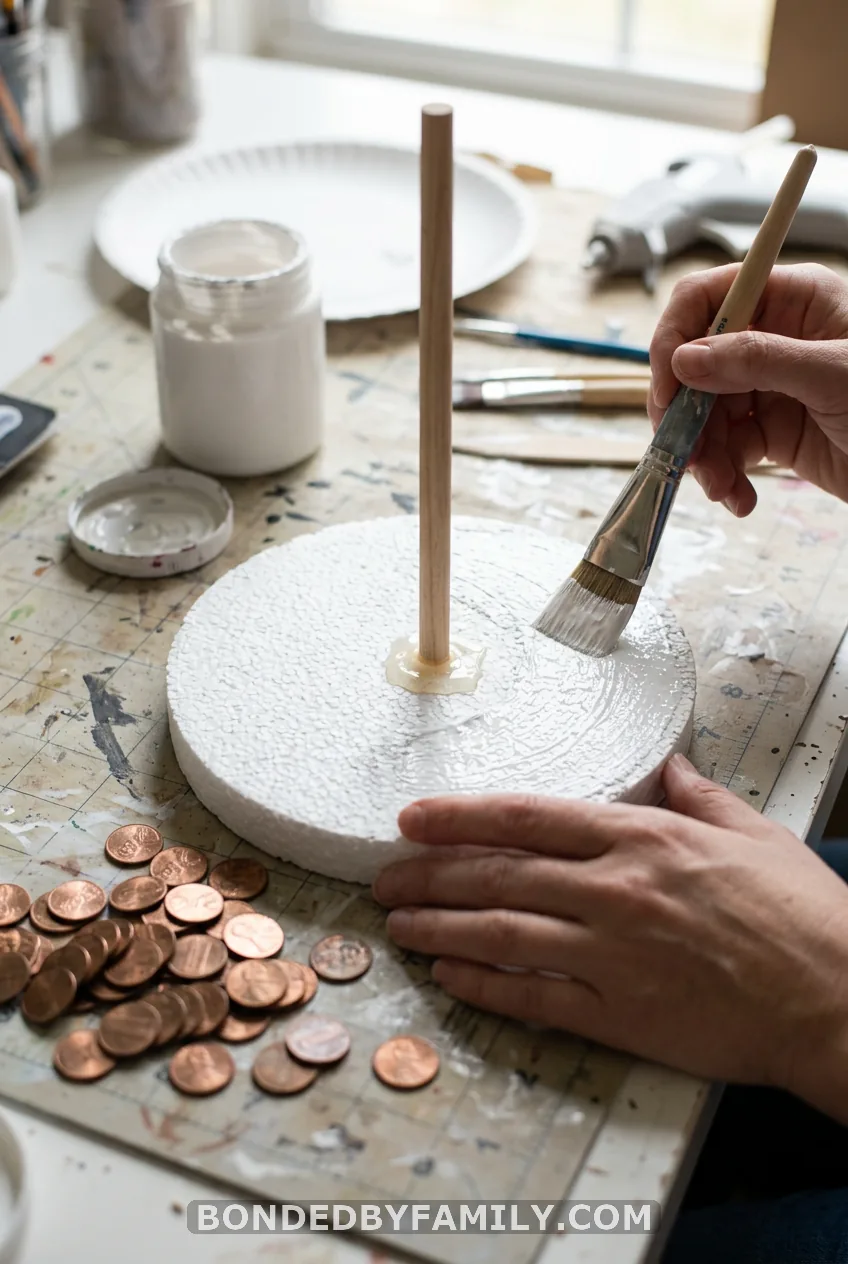
Step 1: Prep and paint the base
Paint the disc white or silver. Two thin coats beat one thick coat. Let each dry for about 30 minutes.
Brush on a coat of Mod Podge once the paint dries. This seals it so paint does not flake under the snow. You can also wrap the disc in buffalo-check ribbon instead.
Pro tip: Add lift with a stand
Set the finished disc on a cake stand or pedestal. It adds 3 to 4 inches of height and gives you a prettier table look.
Step 2: Build the height
Poke a hole in the center of the disc with the dowel. Fill it with hot glue and push the dowel in. Hold it straight for a full minute.
A dowel is the lightest option. Floral foam works if you want a wider column. Stacked styrofoam shapes look chunky but carry more snow.
Aim for a finished height of 15 to 18 inches. That clears plates and cups without blocking faces across the table.
Weight the base
Top-heavy pieces tip when someone reaches for a napkin. Glue 8 to 10 pennies or flat washers under the foam disc, or use a wood round, which is heavy already. Test it by tapping the top.
It should wobble a little and settle. Keep pennies, washers and other small pieces such as booties and snowflake picks out of reach of children under 4.
They are choking hazards. For a table with young children, use a wood round or a single heavy weight that cannot come loose.
Step 3: Attach the Focal Point
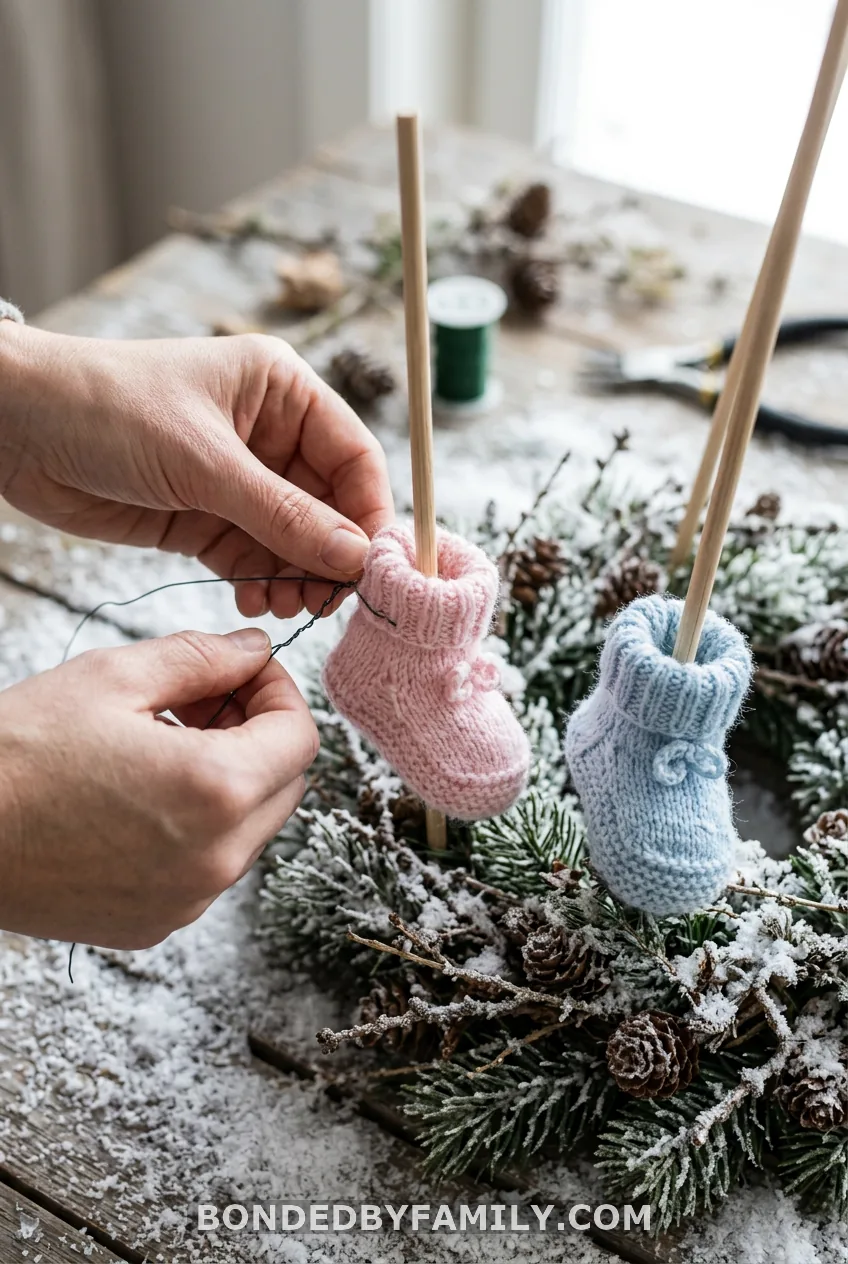
This is the piece guests remember. Mini knit booties, mittens, a small doll, or a bundled onesie all work.
Attach without ruining the item
Use floral wire to cinch the bootie to the dowel. Wrap it around the ankle and twist the ends out of sight. If you do not mind a permanent hold, put hot glue on a hidden spot, like the back seam.
A doll needs a doll stand or a wire loop around the waist. Save keepsake items, like a family bootie, for wire only.
Boy, girl, and neutral versions
- Boy: pale blue booties, silver snowflakes, and a white base.
- Girl: blush booties, pink-and-white ribbon, and pearl picks.
- Neutral: two white mittens and a tiny enamel mug, with evergreen sprigs.
Pro tip: Tilt the focal point
Angle the bootie slightly toward the room, not the sky. It reads as a cute little character, not a stiff ornament.
Step 4: Add Faux Snow and Snowflakes
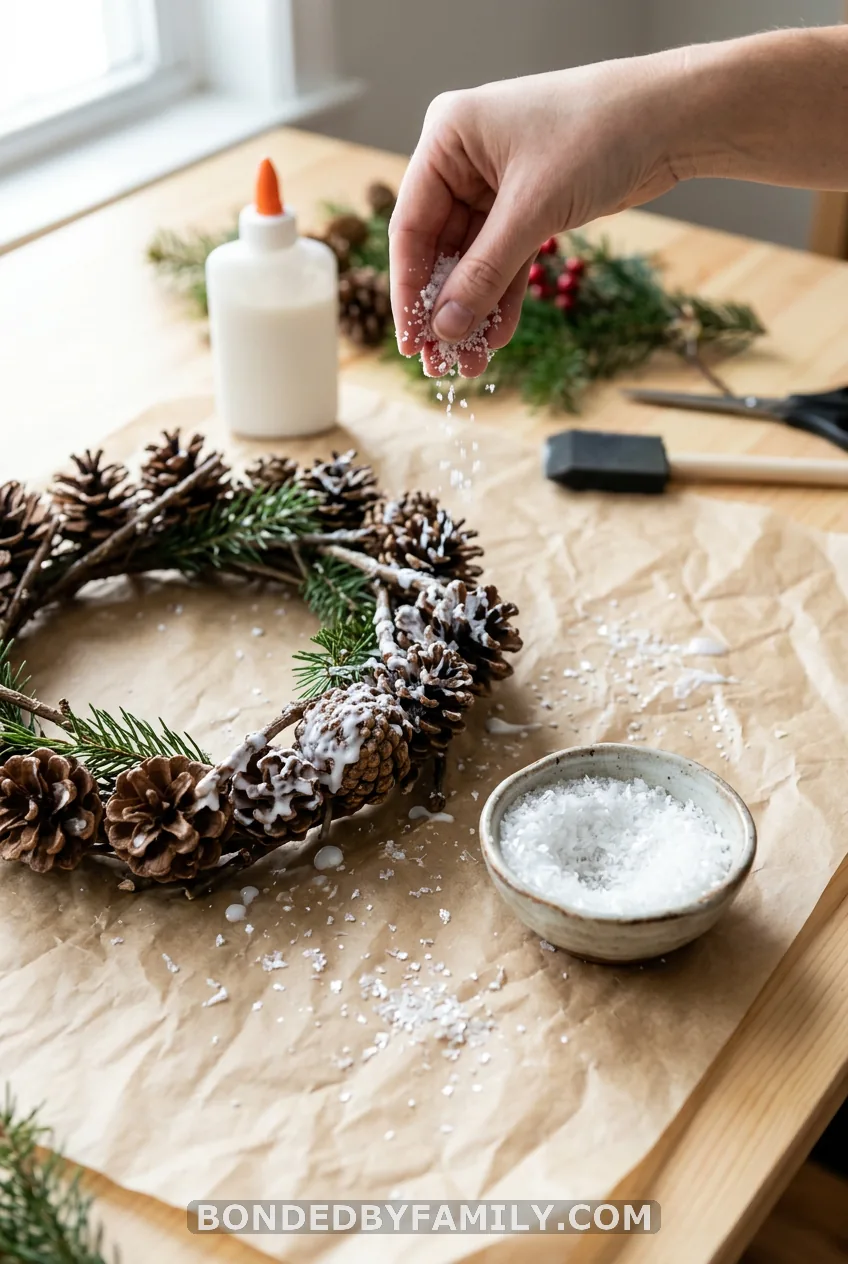
Snow is the defining look, so choose it carefully. Buffalo Snow or a coarse flake product holds its shape and sheds less. Fine glitter sticks to hands and tablecloths.
Layer it in two passes
Work over parchment paper or a baking sheet. Brush Mod Podge onto the base and the dowel. Sprinkle on snow and let it set for 10 minutes.
Add a second pass in thin spots. Then tap off the extra. Two layers give you depth, and you will not see glue through them.
Keep snow away from the bootie’s face if you want the knit to show. A light dusting on the toe looks natural.
Add sparkle without the mess
Push plastic snowflake picks or crystal picks into the foam. Hot glue a few flat cutouts along the dowel. They add shine with no shedding.
Pro tip: Seal the snow
Skip hairspray on foam. Some formulas melt styrofoam. A second thin brush of Mod Podge over the snow is safer.
Step 5: Add the Baby It’s Cold Outside Sign
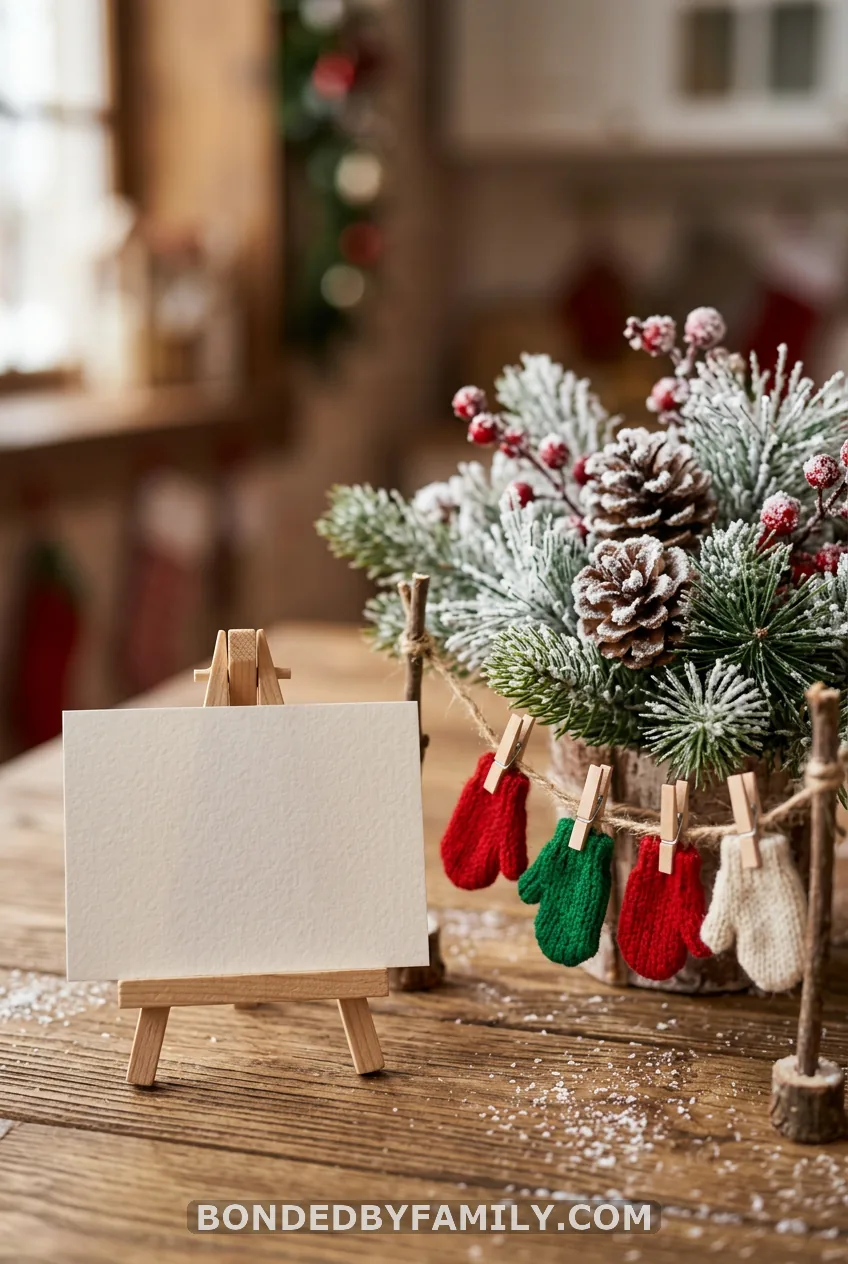
Print the phrase on white cardstock at home. A 3 by 5 inch sign suits a table piece. Use 4 by 6 for a dessert table.
Three ways to mount it
- Mini easel: a $1 craft easel stands next to the base.
- Dowel flag: glue the sign to a skewer-free craft stick, then tape it behind a snowflake. Keep it clear of small children.
- Mitten clothesline: string twine between two picks and clip on mini mittens, with the sign in the middle.
Make it reusable
Cut vinyl letters with a Cricut, or use sticker letters on a wood plaque. Then you can reuse the sign for a sprinkle or a birthday. Let sticker letters set for an hour before you move the piece.
Finishing Touches, Timeline and Fixes
Tie it into the table
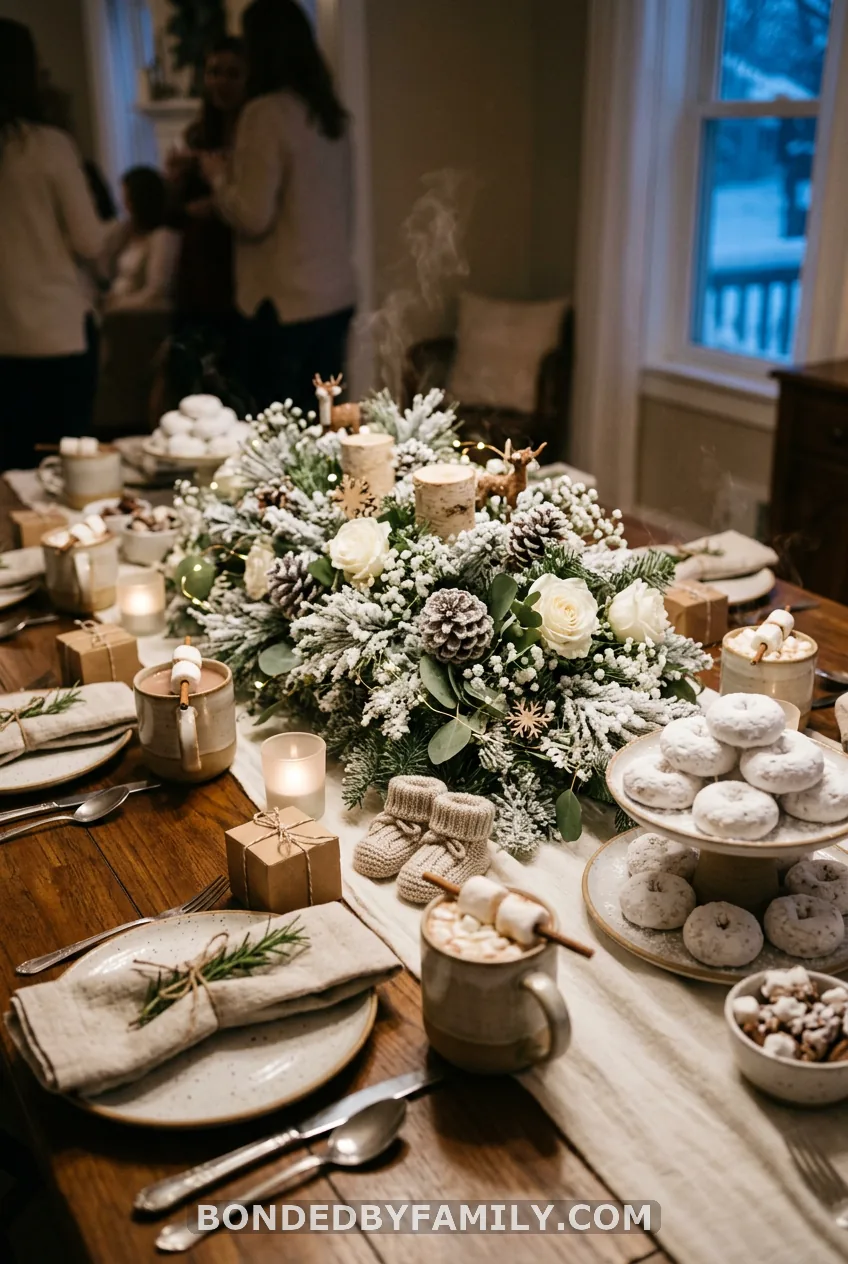
Set the centerpiece beside a hot chocolate bar. Add marshmallow stirrers and a plate of powdered donuts. The white sugar echoes the snow.
Wind a battery fairy light string around the dowel. Hide the pack behind the base or under a snow-covered ribbon. Match napkins and place cards to your palette, and hang a snowflake garland behind the table.
Your make-ahead timeline
- One week before: paint, seal, build the dowel, and attach the focal point.
- Two days before: add snow and the sign.
- Day of: wire in the lights and set them out.
Transport each piece in a box with crumpled paper around the base. Lay it flat or upright, never stacked. Store them in the same boxes for a later sprinkle or birthday.
Fix common problems
- Glue shows through snow: brush on more Mod Podge and add another pass.
- It tips: add more washers under the disc.
- Snow sheds: seal with a thin brush coat.
- Sign smears: reprint on a fresh sheet. Let ink dry before handling.
- Doll will not stand: wire it to the dowel.
If you need more than ten centerpieces and have no time, a $35 custom one may be cheaper than your evening.
Your Next Plan
Next time, I will paint every disc and glue every dowel in one sitting, then do the snow in a second round. That batch method cut my work time nearly in half. I will also test the lights the night before, not the morning of.
Start with one prototype this weekend. Once the first one stands without wobbling, repeat the formula for each table.
FAQ
How tall should a baby shower centerpiece be?
Aim for 15 to 18 inches total. It stays visible above cups and plates without blocking sightlines across the table.
How many centerpieces do I need for a baby shower?
Plan one per round table, or one every 3 to 4 feet on a long table. Add one more for the dessert or gift table.
Can I make these centerpieces ahead of time?
Yes. Assemble the base, height, and focal point up to a week ahead. Add faux snow and the sign within a day or two of the shower so nothing sheds or crushes.
What colors work for a baby it’s cold outside centerpiece?
Icy blue and silver suit a boy. Blush pink and white suit a girl. White with evergreen and silver works for a neutral winter look.