A Christmas tree is wide at the bottom and narrow at the top. That one fact is why it works so well for little hands. Kids start on the roomy branches with big, forgiving movements and work up to the tight tip, where they need real control.
That is the idea behind all of these christmas tree fine motor activities. Every one uses the tree shape, and every one names the exact skill it builds. You will also see how much prep it takes and what to swap for a toddler.
Pick the skill you want, grab what is in your drawer, and you are set. Most of these use clothespins, pom poms, dot stickers, playdough and paper.
How to Read the Skill Labels in This List
Each activity has a short label line right under the picture. It looks like this: Skill / Prep / Toddler swap. Here is what the skill words mean.
- Pincer grasp: thumb and index finger pinching small things. This is the grip for picking up a Cheerio, a bead or a pencil tip.
- Hand strength: the squeezing, pressing and pulling muscles in the palm and fingers.
- Tripod grasp: thumb, index and middle finger holding a tool like a pencil, golf tee or crayon.
- Scissor control: opening, closing and steering scissors along a line.
- Bilateral coordination: both hands doing different jobs, like holding the lace with one and the card with the other.
- Hand-eye coordination: the eyes guiding the hands to a target.
Prep tells you how long setup takes. “None” means you can hand it over now. “5 minutes” means a little cutting or taping.
Toddler swap is the change that makes it safe and doable for ages 18 months to 3. A good rule for every item: if a piece fits through a toilet paper tube, it is a choking hazard for kids under 4. Stay in the room for the whole activity.
1. Dot Sticker Christmas Tree
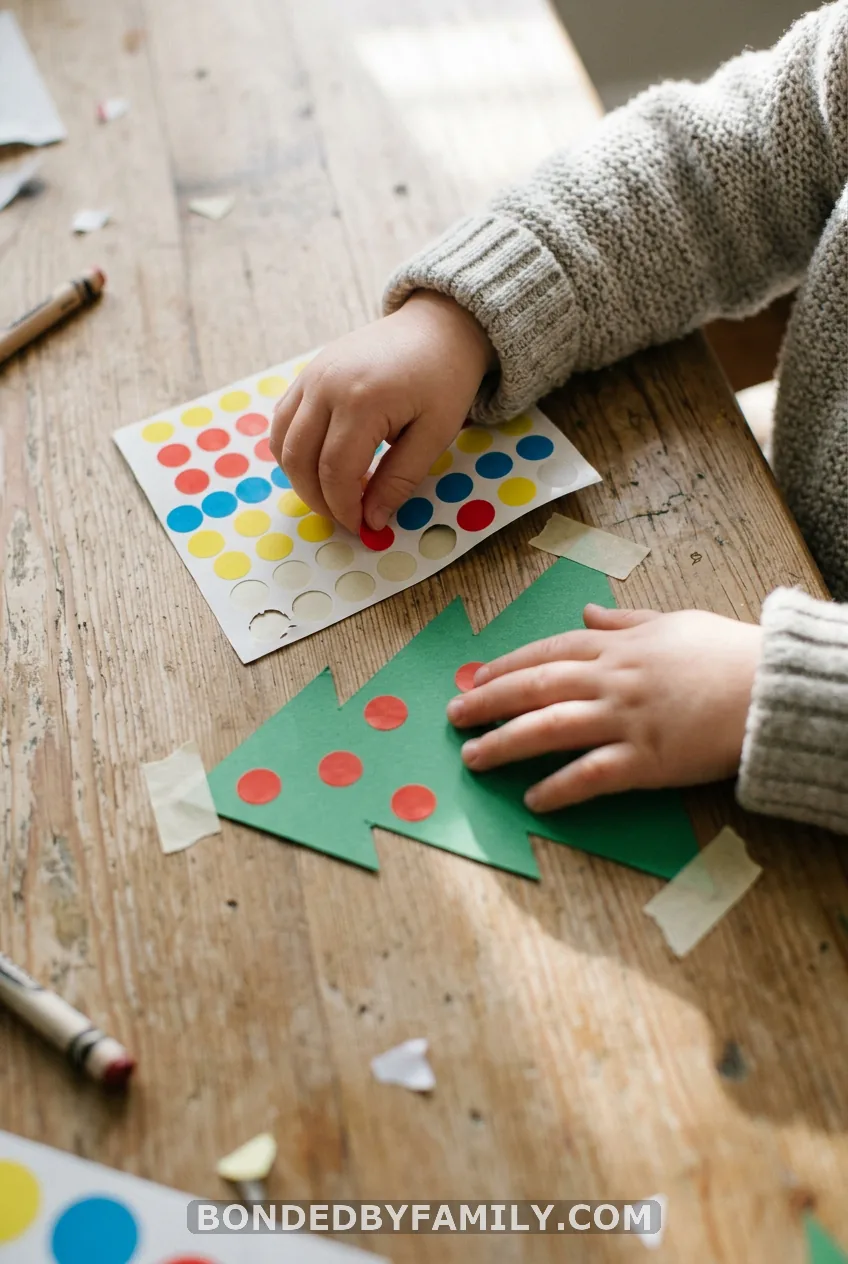
Skill: pincer grasp | Prep: none | Toddler swap: big 1-inch stickers
Draw a big tree on green paper, or cut one out. Give your child a sheet of round dot stickers and let them peel and place “ornaments.”
Peeling is the hard part, and it is the real workout. Lift one corner for them at first, then stop helping.
2. Christmas Tree Poke-Along Page
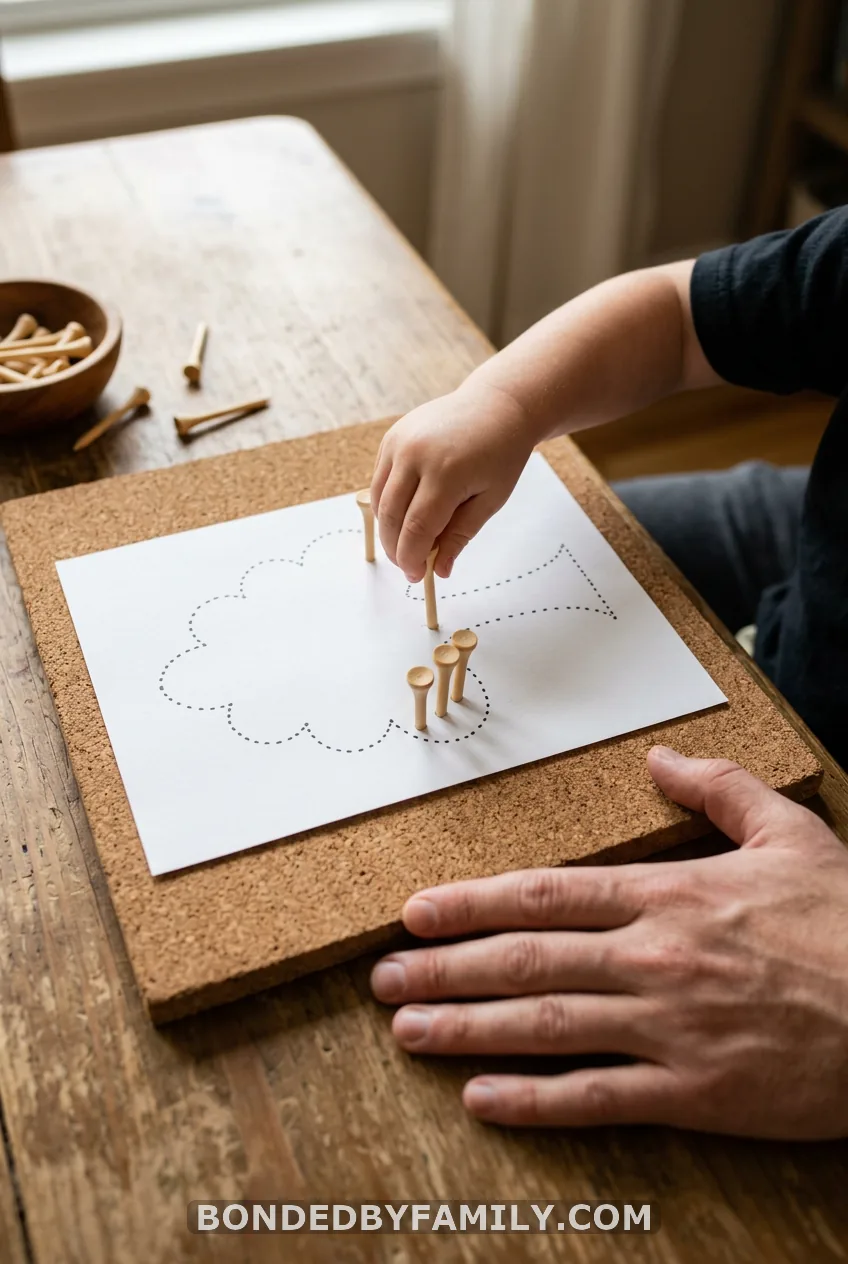
Skill: tripod grasp, hand strength | Prep: 5 minutes | Toddler swap: finger-paint dots instead of poking
Draw a tree outline with dots about half an inch apart. Place the page on a cork board or a folded towel. Your child pokes along each dot with a golf tee or a push pin. Hold it up to a window afterward and the tree glows with tiny lights.
This one builds the grip they need for a pencil. A golf tee is the better start because the tip is blunt.
The catch: poking tools are for supervised kids aged 4 and up
Push pins are sharp. Use them only with older preschoolers sitting beside you, and count them back into the box when you are done. Younger kids can press a fingertip into washable paint to make each dot instead.
3. Tree Bell Trace
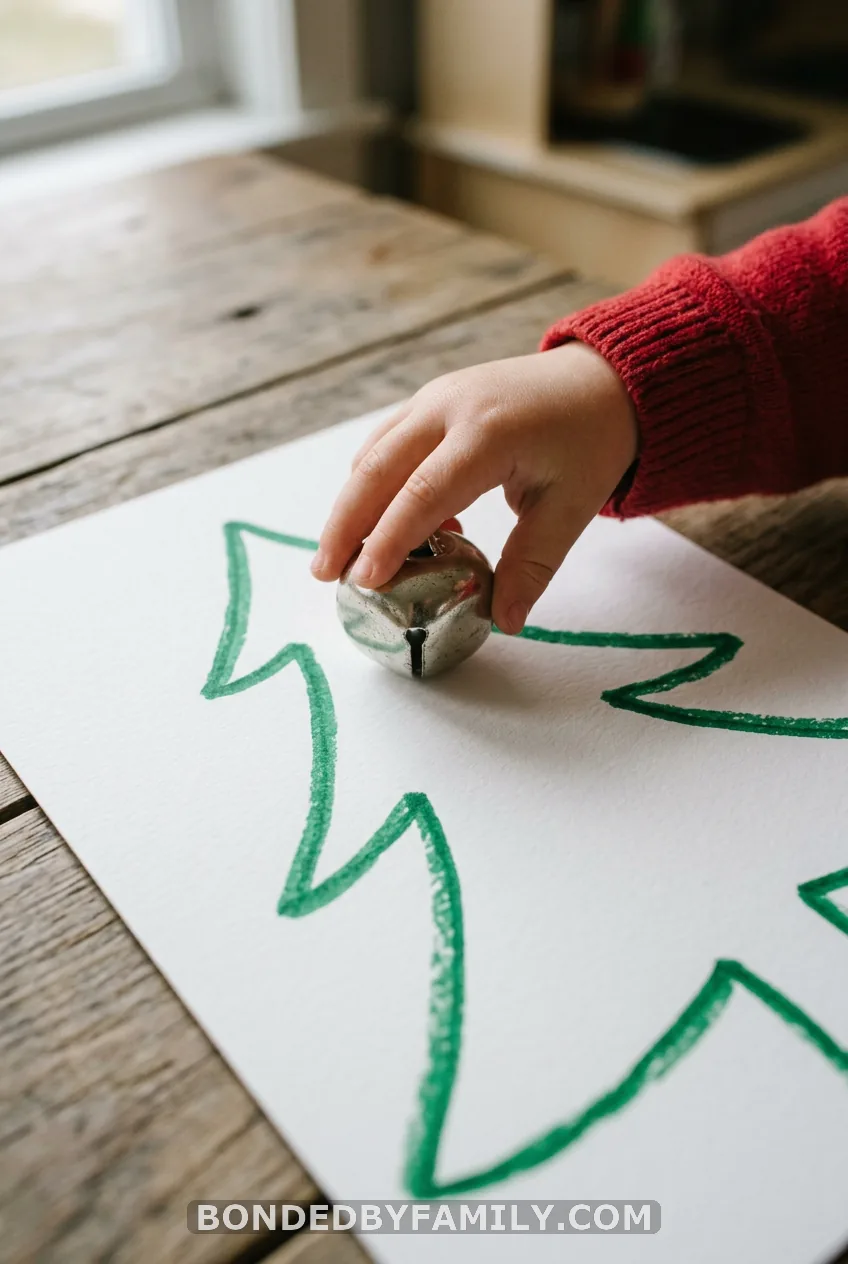
Skill: graded grasp, hand-eye coordination | Prep: 2 minutes | Toddler swap: use a wooden block or a large bell on a ribbon handle
Draw a thick tree outline. Your child holds a jingle bell and “rings” it along the line from the trunk up. The jingle gives instant feedback. Press too hard and the bell goes quiet or jerks.
It is a sneaky way to practice a light, steady grip. A big bell tied to a ribbon is safer for the youngest kids.
4. Christmas Tree Ball Drop
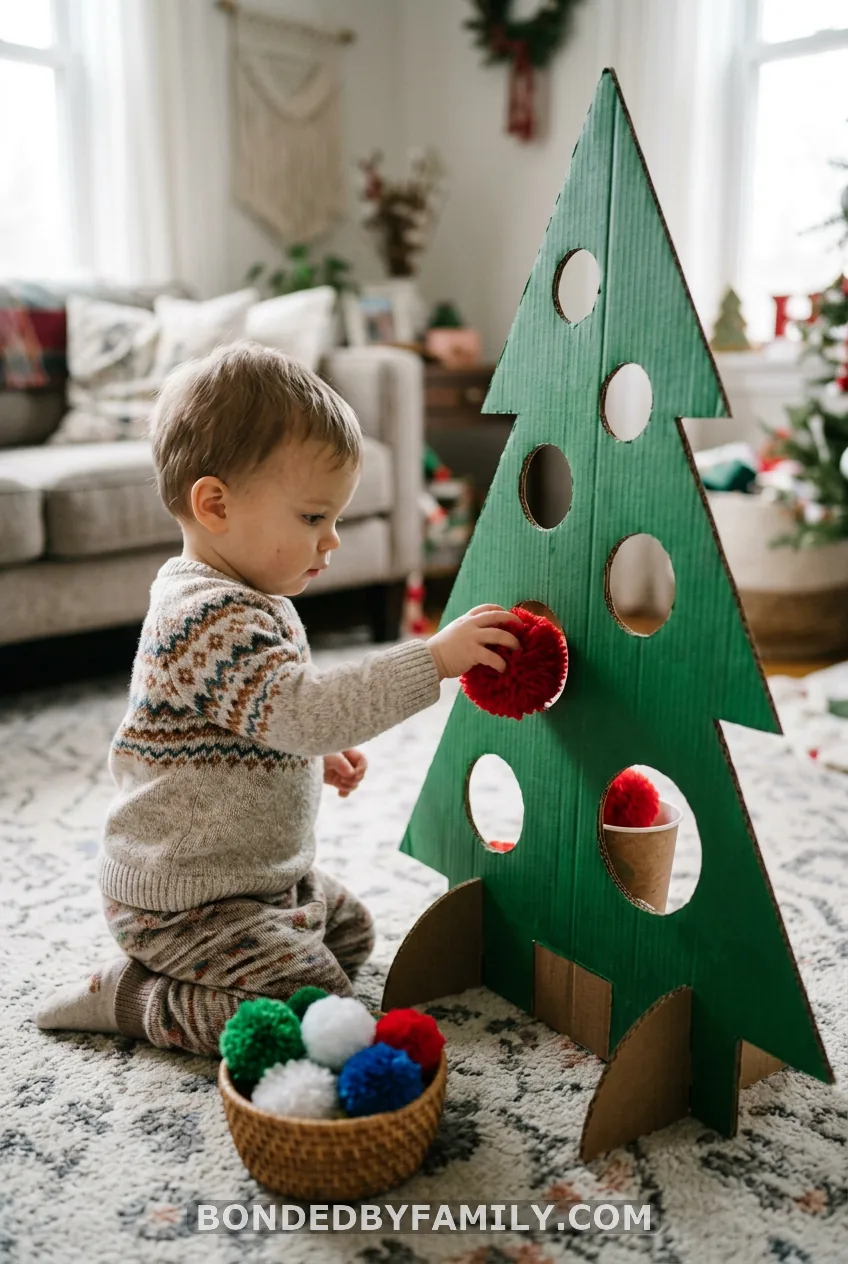
Skill: pincer grasp, hand-eye coordination | Prep: 10 minutes | Toddler swap: 2-inch pom poms and holes cut 3 inches wide
Cut a tree from a sturdy cardboard box, about 12 inches tall. Cut 5 to 6 holes in it. Prop it up against a wall with a cup or bowl behind it. Kids drop pom poms or large bells through the holes.
It is quiet, it resets in seconds, and it keeps a toddler busy for a good while. Make the holes smaller for older kids so the aim has to be better.
5. Hole Punch Christmas Tree
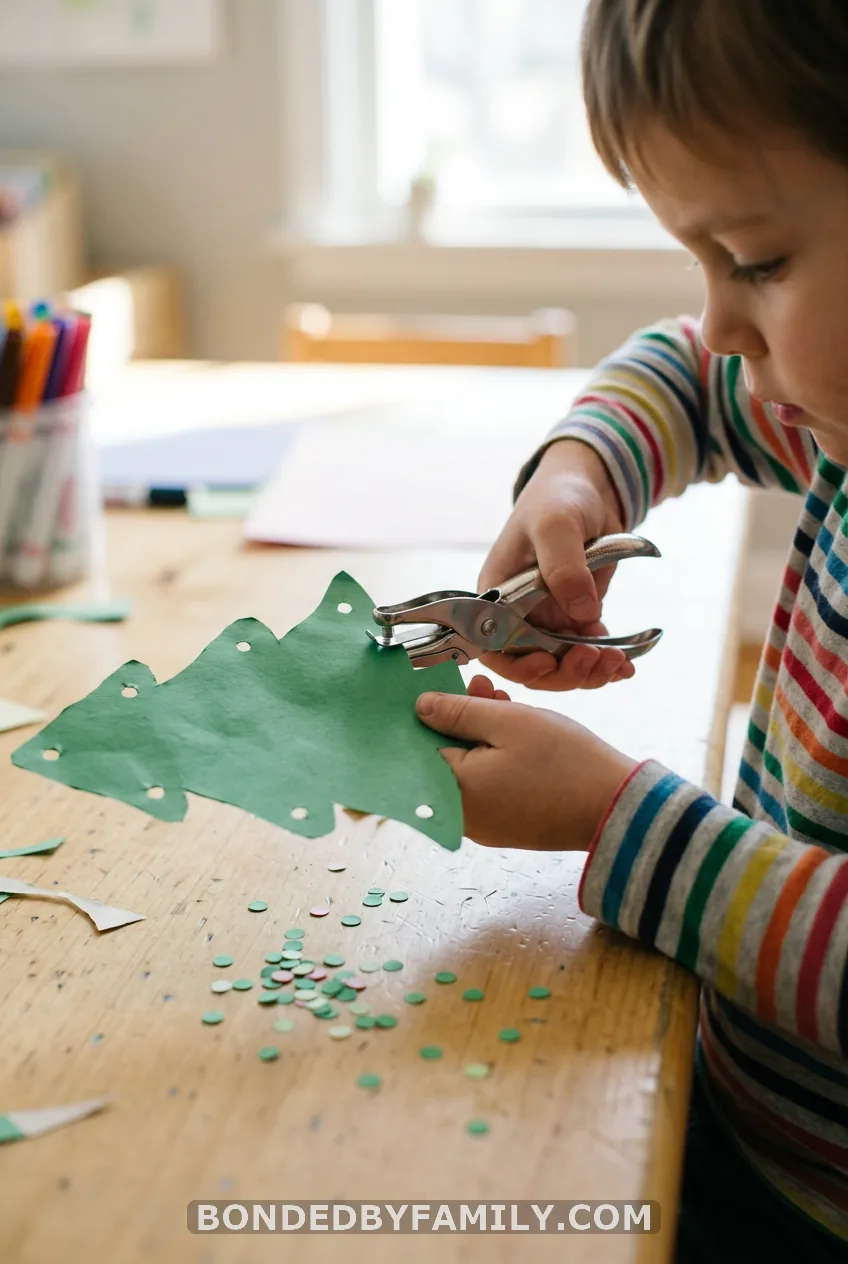
Skill: hand strength, bilateral coordination | Prep: 5 minutes | Toddler swap: skip the punch and use the lacing card in item 11
A single-hole punch is a hand-strength gym in disguise. Squeezing it builds the same muscles used to hold a pencil for long stretches. It also gives you two activities in one.
Here is how to set it up.
- Cut a tree from cardstock, about 8 by 6 inches. Thick paper punches cleaner than copy paper.
- Draw a dot every inch around the edge with a marker.
- Show your child how to slide the edge into the punch so the dot sits in the center of the hole.
- Squeeze with one hand while the other hand holds the paper steady. That is the bilateral part.
- When the holes are done, thread yarn through them like a lacing card.
A standard single punch needs about 5 to 10 pounds of squeeze. Some preschoolers cannot manage it yet. If they struggle, use a lighter craft punch or hold the paper for them and let them squeeze.
Common mistake: punching too deep from the edge. Keep the dot about a quarter inch in, or the paper tears.
Save the paper dots in a jar. They make good “snow” for a glue craft later.
6. Clothespin Clip Tree
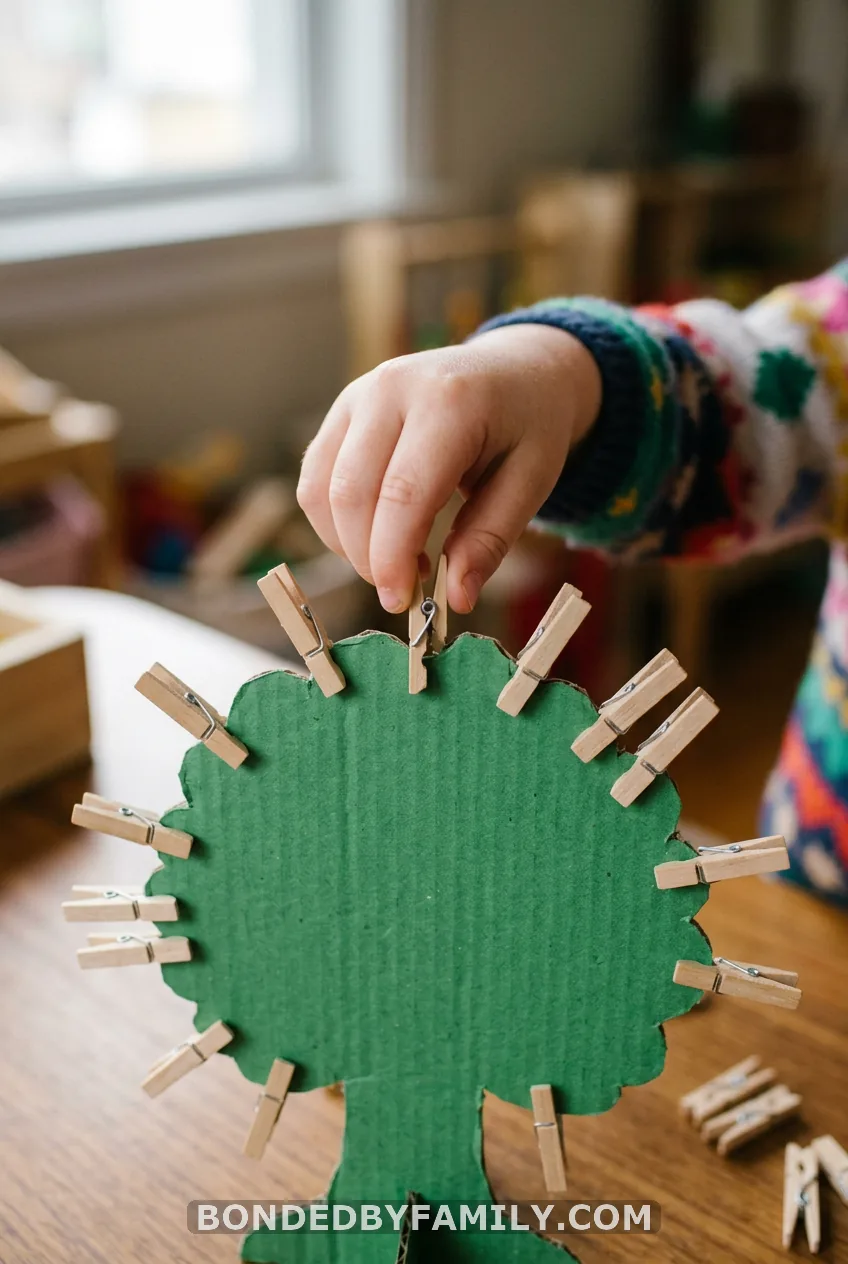
Skill: hand strength, web-space control | Prep: 3 minutes | Toddler swap: full-size clothespins on a thick cardboard edge
Cut a tree from cardboard. Hand your child a pile of clothespins in red, gold and white, and have them clip all the way around the edge. For children under 4, use full-size clothespins only.
Mini clothespins are a choking hazard for under-4s, so keep them for older children. Stay close and supervise throughout.
Pinching a clothespin open uses the small muscles between the thumb and fingers. That space needs to be strong and flexible for a good pencil grip. Spring tension varies, so test one yourself first.
7. Golf Tee Peg Board Tree
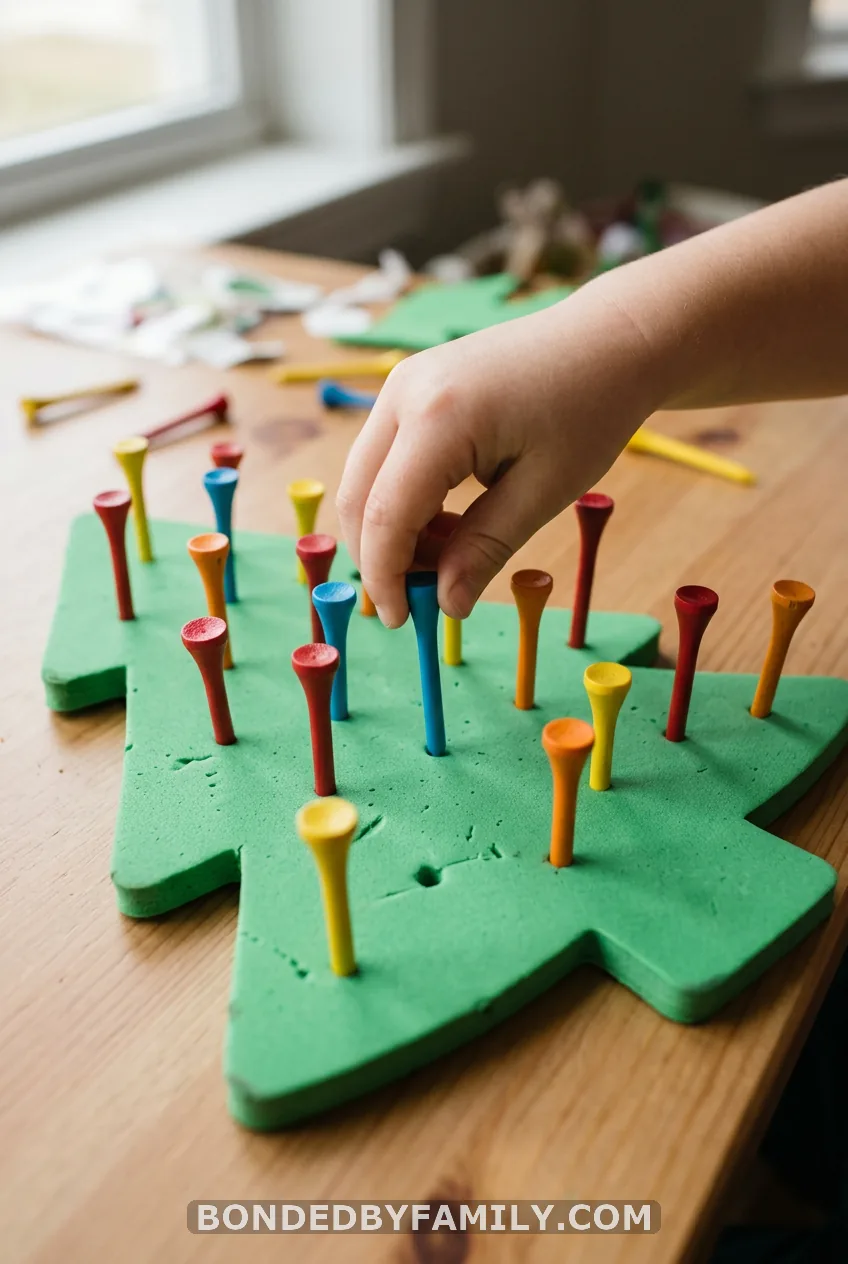
Skill: tripod grasp, hand-eye coordination | Prep: 5 minutes | Toddler swap: chunky dowel pegs in a thick foam block, with an adult nearby
Cut a tree from a craft foam block or a thick foam sheet, at least 1 inch thick. Draw dots where the “ornaments” go. Your child pushes in a golf tee at each dot.
Make it a game. “Put a tee on every dot in the bottom row,” then the next row up. The rows get shorter, so the counting gets easier as they climb.
Add colored rubber bands around the tees for a “garland” and you add a stretching skill.
8. Trace the Lines to Hang the Decorations
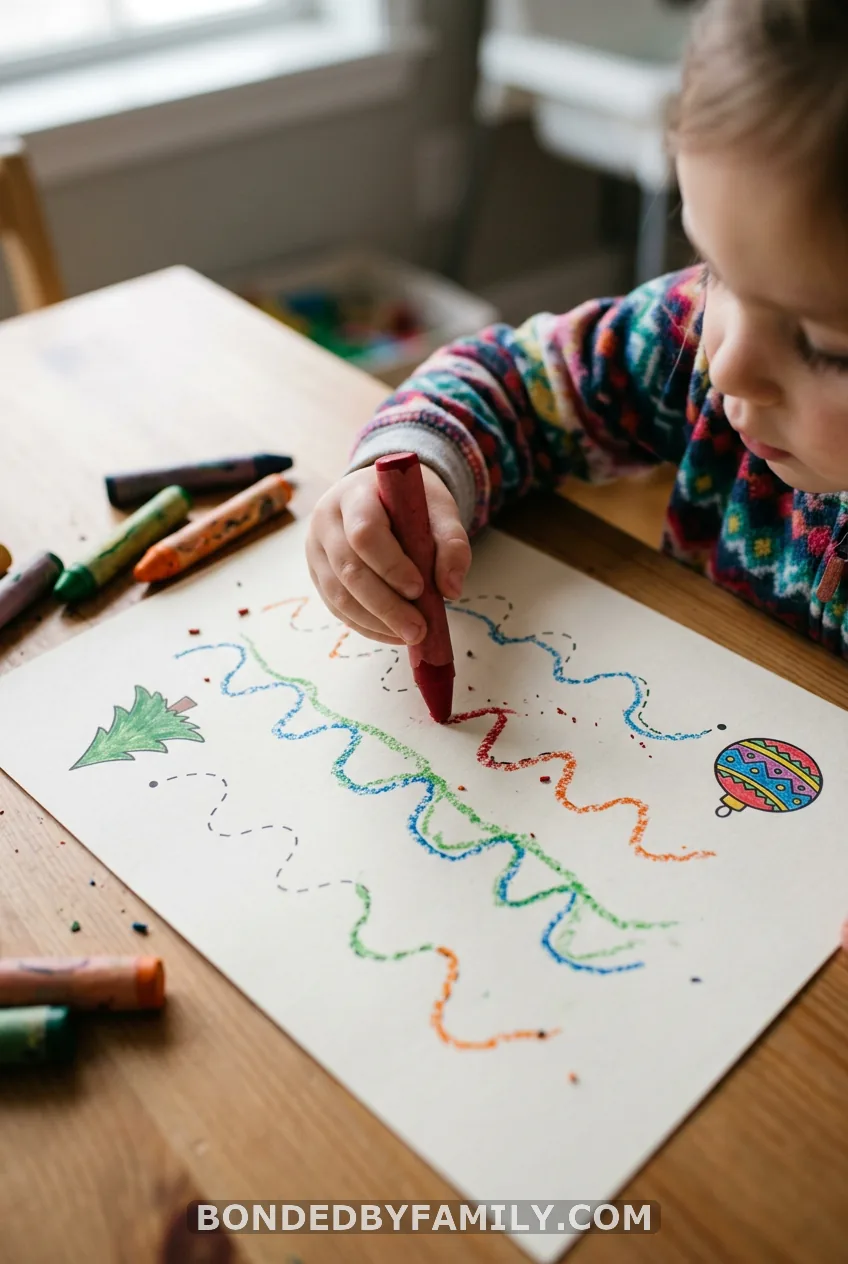
Skill: pencil control, pre-writing | Prep: 5 minutes | Toddler swap: wide lines and a chunky crayon
Draw a tree on a sheet. Put ornaments floating on either side. Connect each ornament to the tree with a different line: straight, curved, zigzag, loopy. The child traces each path “to hang the decoration.”
Start with straight lines. Zigzags come last because the sharp turns need the most control. For kindergartners, turn the page into a maze with a winding path from the star to the trunk, with a few dead ends.
9. Cut-and-Fold Spiral Christmas Tree
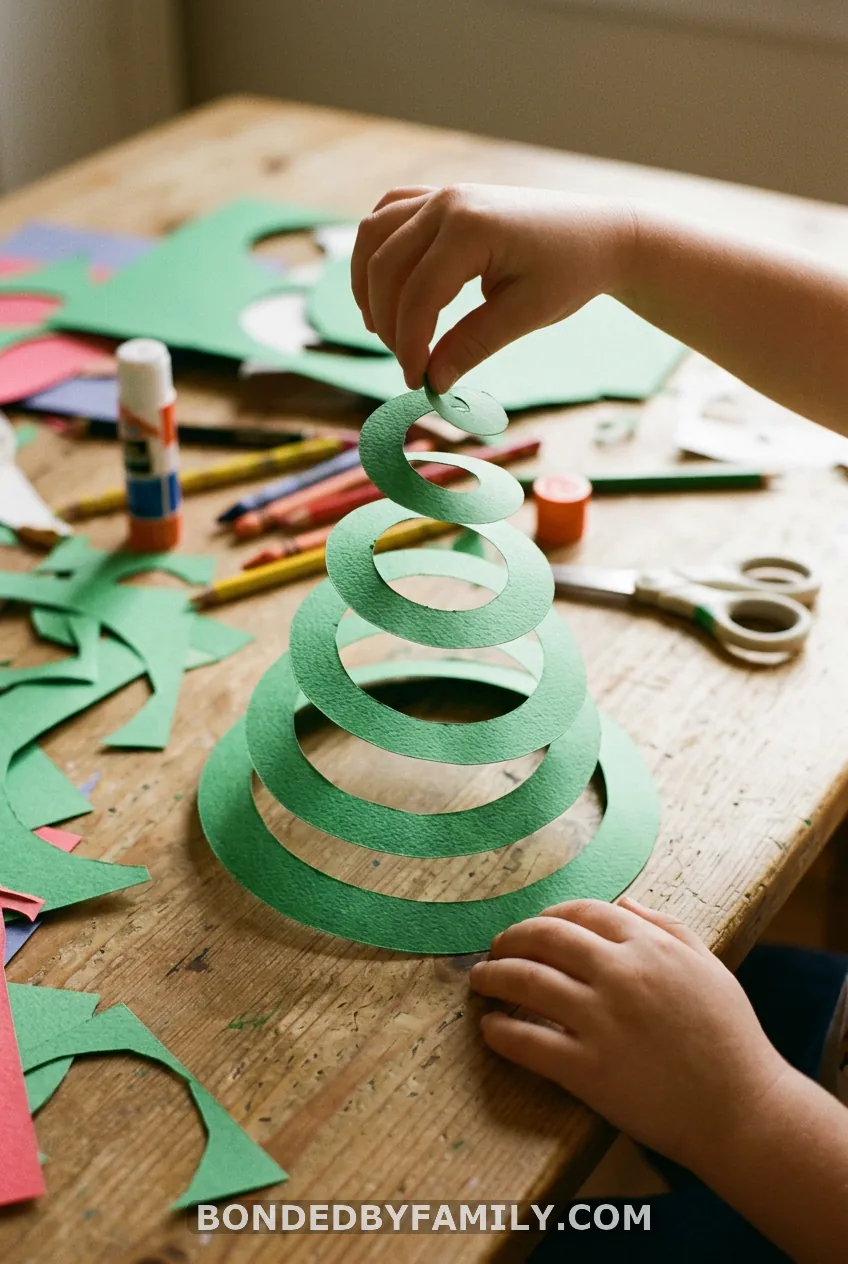
Skill: scissor control | Prep: 5 minutes | Toddler swap: an adult cuts, the toddler decorates and lifts
Draw a spiral on green paper, starting from the outside edge and winding toward the center. Draw a small star at the center. Your child cuts along the line. Lift the star, and the spiral unrolls into a tree that hangs or stands.
The reveal is the reward. Scissor-resistant kids will keep cutting just to see it pop up. Use a thick line and a spiral about 8 inches across for a first try.
10. Snip-the-Branches Strips
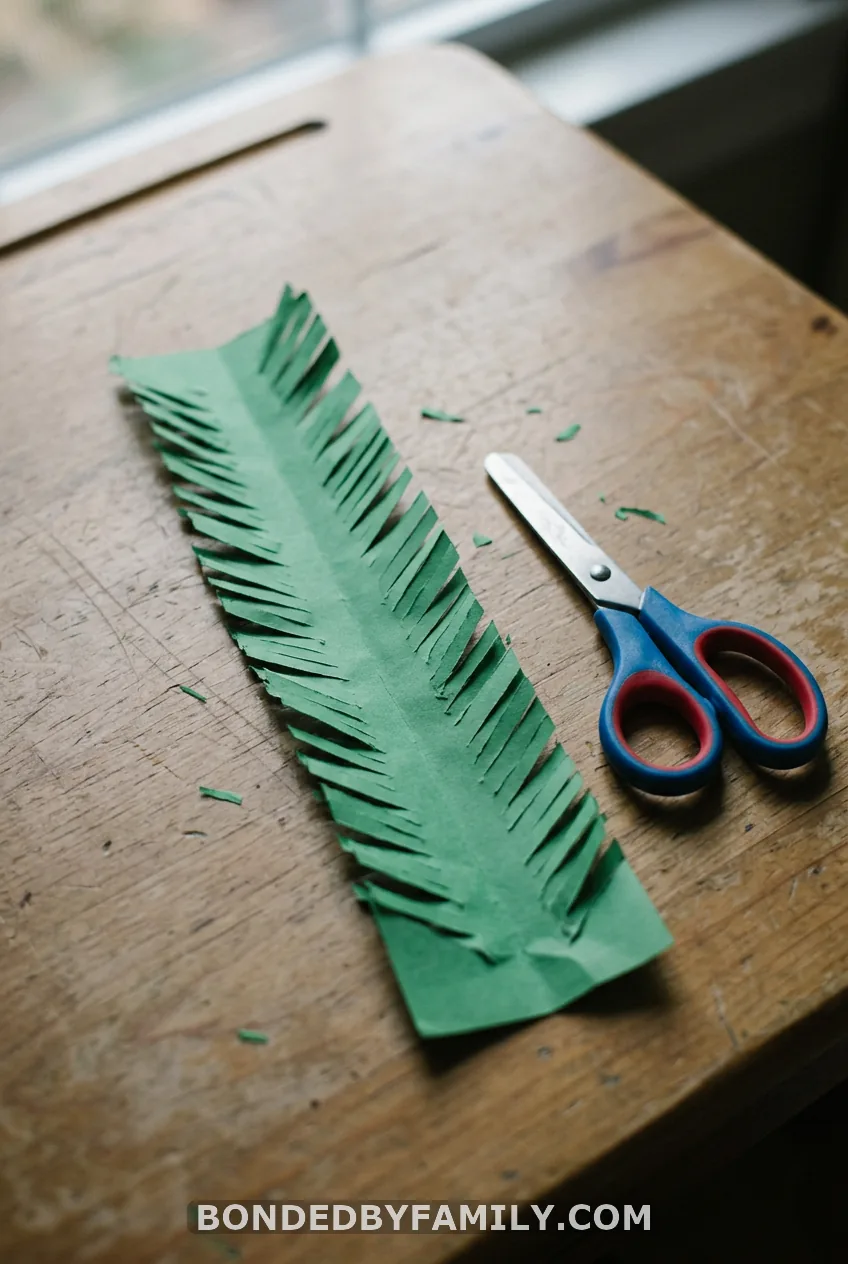
Skill: scissor control (first snips) | Prep: 2 minutes | Toddler swap: play-dough “snipping” with safety scissors
Cut a green paper strip about 2 inches wide and 8 inches long. Draw short lines inward from each edge, a half inch long. Your child makes one snip per line and ends up with a fringed branch.
Single snips are the first scissor skill. Glue the strip on a brown trunk to make a tree. This is the best place to start before the spiral.
11. Christmas Tree Lacing Card
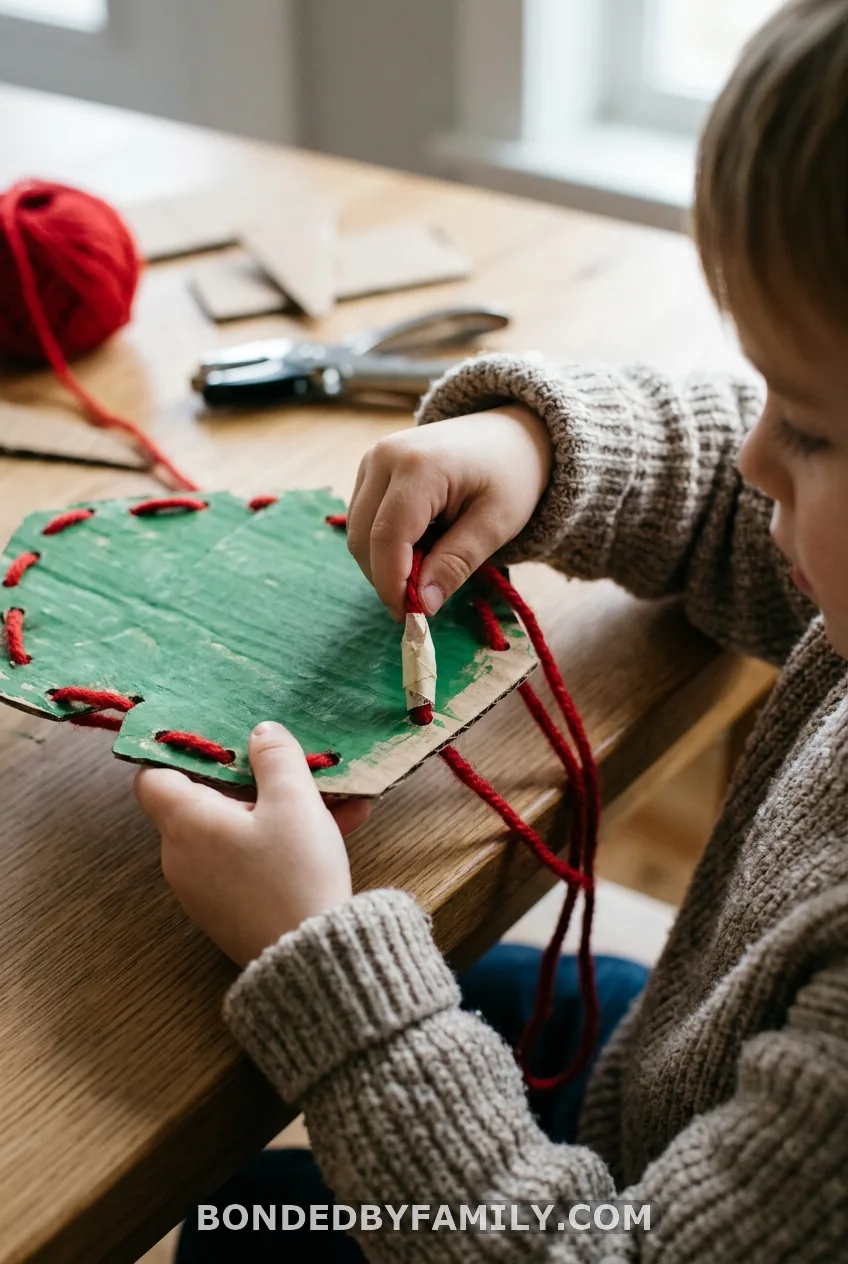
Skill: bilateral coordination, pincer grasp | Prep: 10 minutes | Toddler swap: big holes and a shoelace with a stiff tip
Cut a tree from a cereal box. Punch holes every inch around the edge. Wrap tape around one end of a yard of yarn to make a stiff “needle.”
One hand holds the card. The other pulls the lace through. That is the whole bilateral skill. Tie a big knot at one end of the lace so it does not slip out.
A stiff plastic shoelace works better than yarn for kids who get frustrated.
12. Pony Bead and Pipe Cleaner Tree
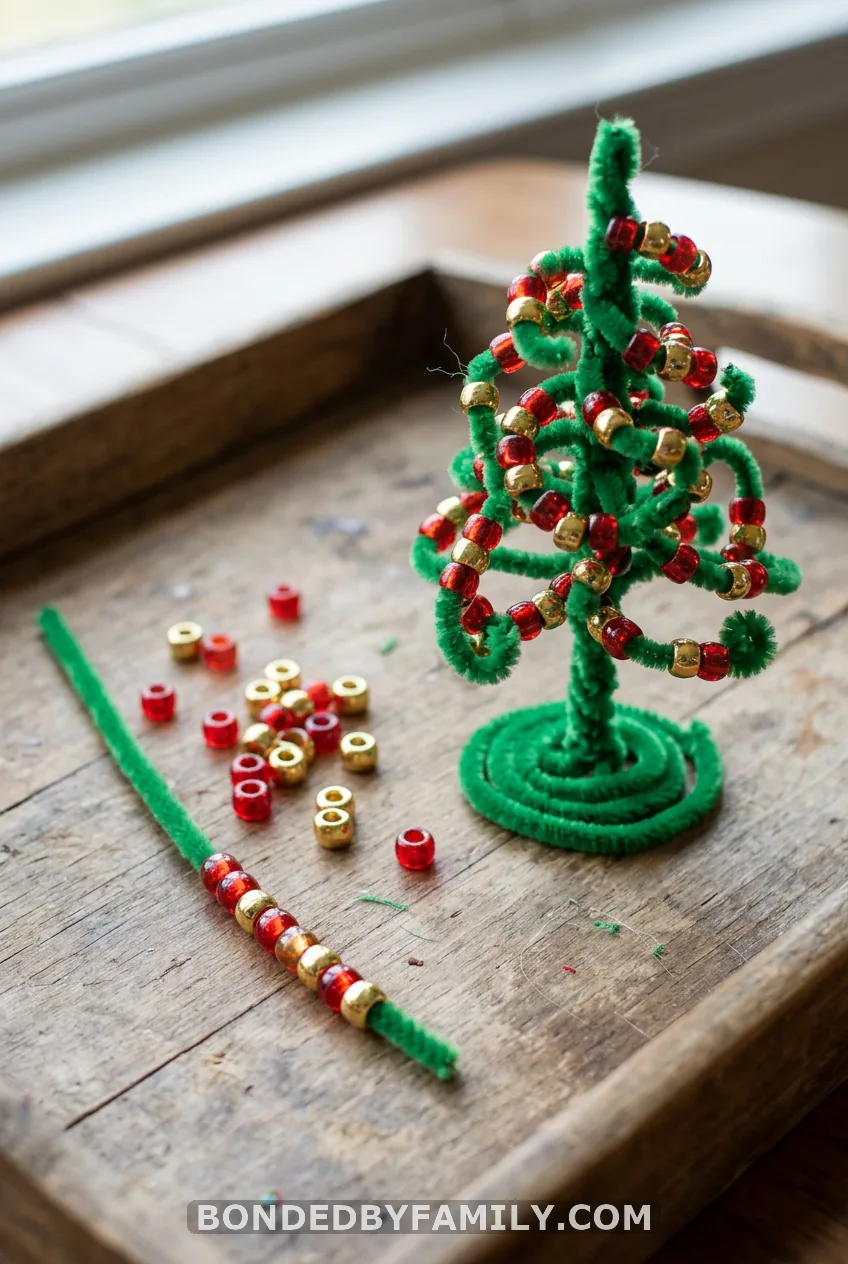
Skill: pincer grasp, bilateral coordination | Prep: 3 minutes | Toddler swap: jumbo beads, cut pool noodle slices or big straw pieces
Give your child a green pipe cleaner and a bowl of pony beads. Thread the beads on, leaving 2 inches at the top. Twist the pipe cleaner into a tree shape, or zigzag it back and forth.
Add pattern practice. “Red, gold, red, gold.” Pony beads are a choking hazard for under-4s, so swap for chunky pieces and stay close.
13. Fill-the-Tree Tweezer and Tongs Transfer
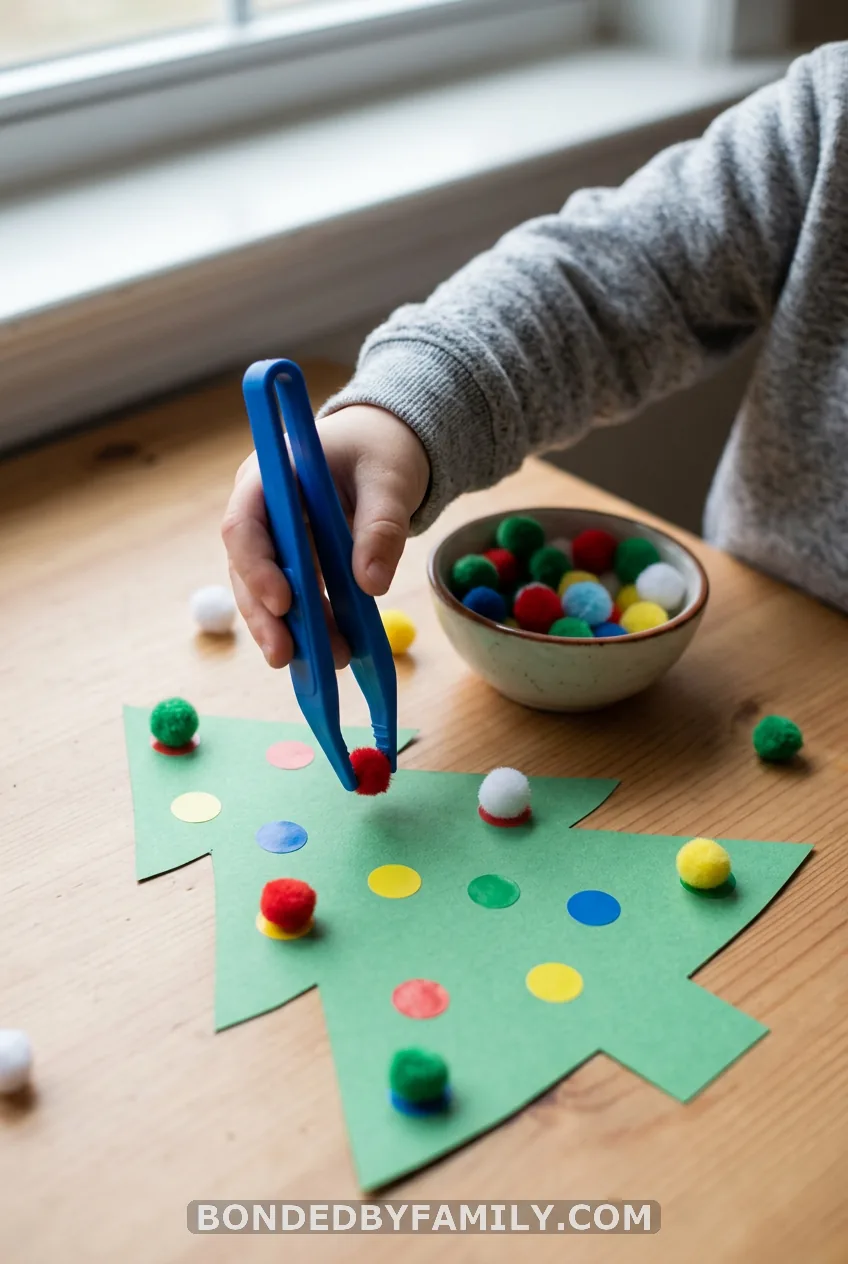
Skill: pincer grasp | Prep: 5 minutes | Toddler swap: kitchen tongs and 2-inch pom poms
Stick dot stickers all over a paper tree. Put pom poms in a bowl. Your child uses tweezers to carry each pom pom to a dot.
Here is the myth: tweezers are for every preschooler. Reality: many 2-year-olds do better with big tongs, which need a whole-hand squeeze. Move to child tweezers around age 3 or 4. The sticker dots keep the pom poms from rolling away.
Use pom poms larger than a toilet paper tube hole for anyone under 4.
14. Christmas Tree Sensory Bin
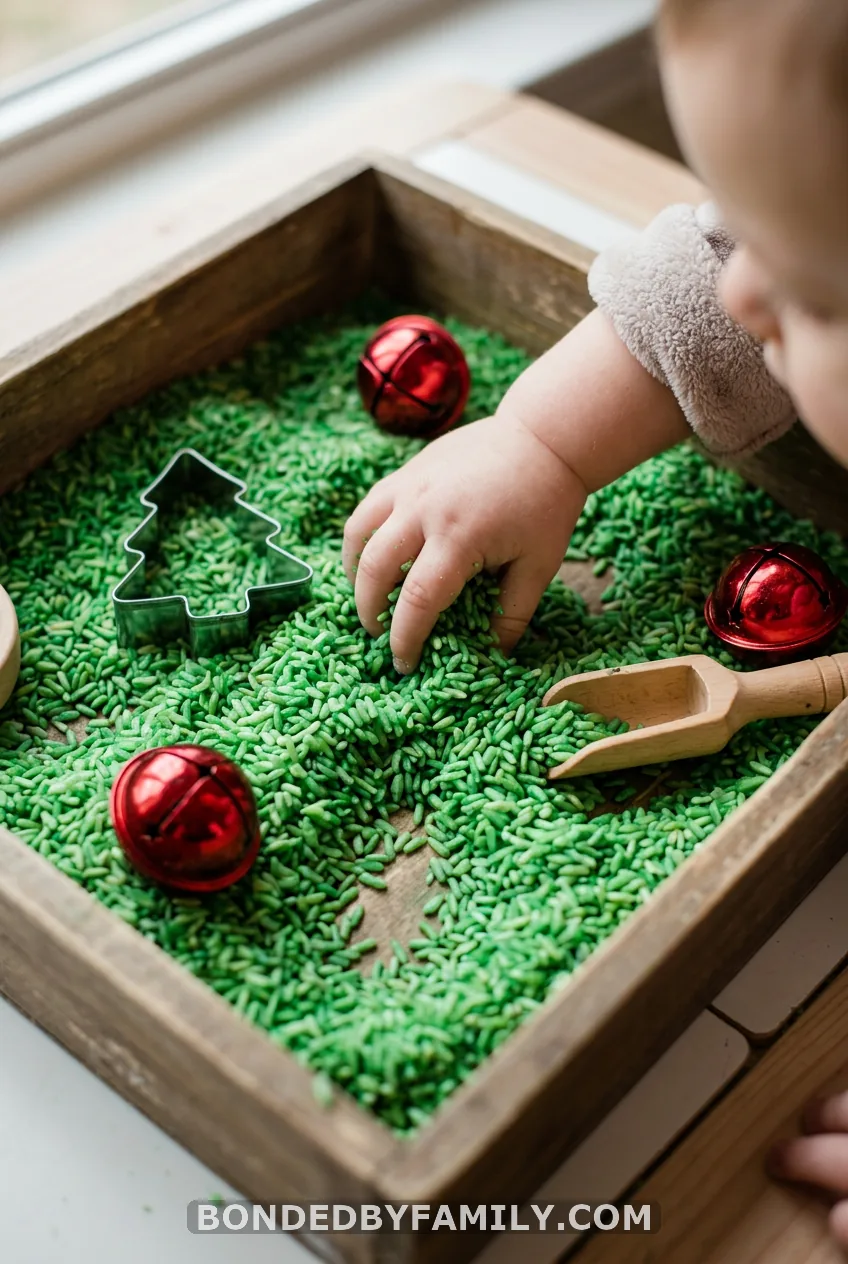
Skill: hand strength, scooping, pinching | Prep: 10 minutes | Toddler swap: dry oats or shredded paper instead of rice, with large toys
Mix 4 cups of uncooked rice with a tablespoon of white vinegar and a few drops of green food coloring. Spread it on a tray to dry for about an hour. Pour it into a bin with scoops, large ornaments and a tree cookie cutter.
Kids scoop, pour, pinch and bury. Hide plastic ornaments and have them dig them out.
One caveat: rice on the floor
Rice scatters. Put the bin on a bedsheet or a shower curtain, and sweep as you go. Toddlers who still mouth things should use oats instead, with an adult sitting right there.
15. Magnetic Tree Decorating
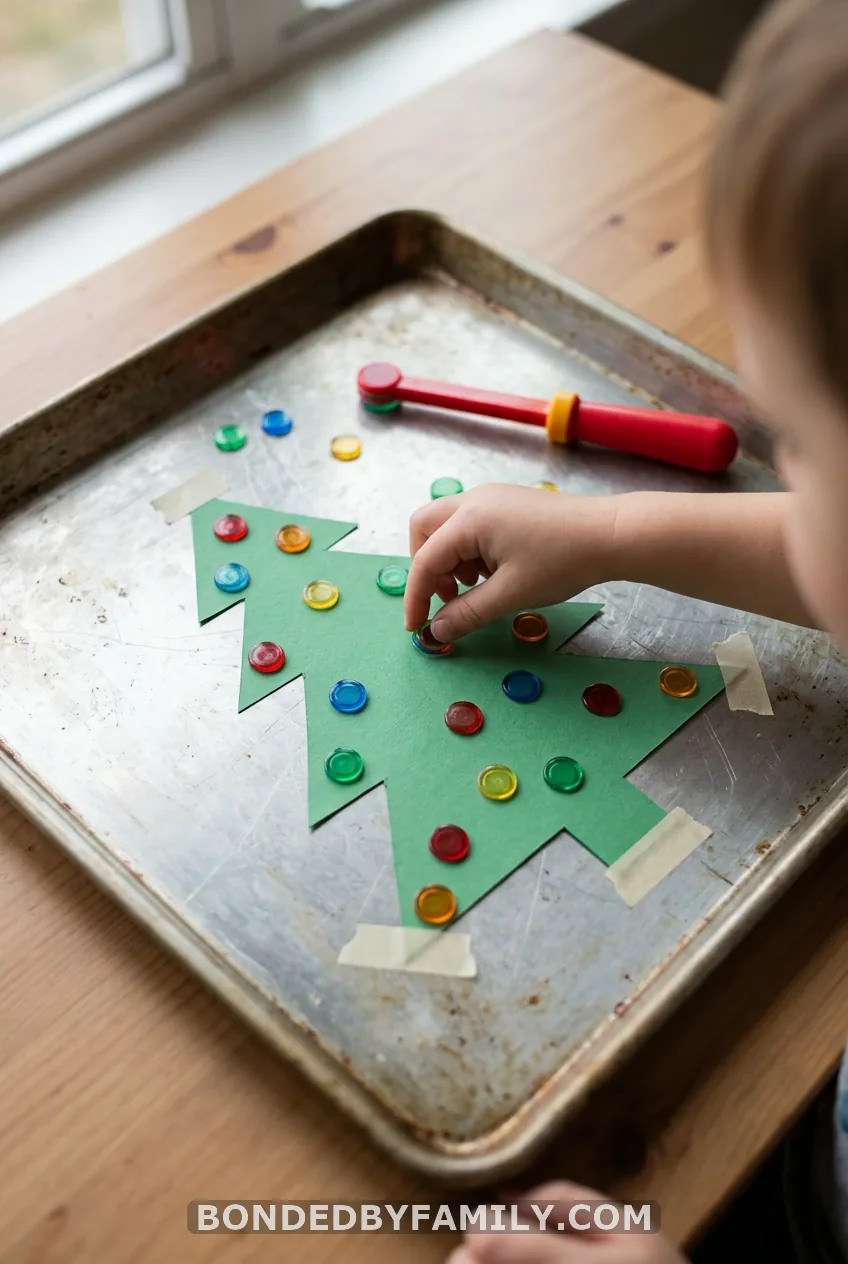
Skill: pincer grasp, hand-eye coordination | Prep: 3 minutes | Toddler swap: big magnets only, at least 2 inches wide
Tape a paper tree on a metal baking sheet. Give your child magnetic circles, or craft magnets, to “decorate” it. A magnet wand picks them up for a bonus.
The tray stands up on a counter, so the work happens on a slight tilt. Never use small or strong magnets with young children. Swallowed magnets are dangerous.
16. Playdough Christmas Tree
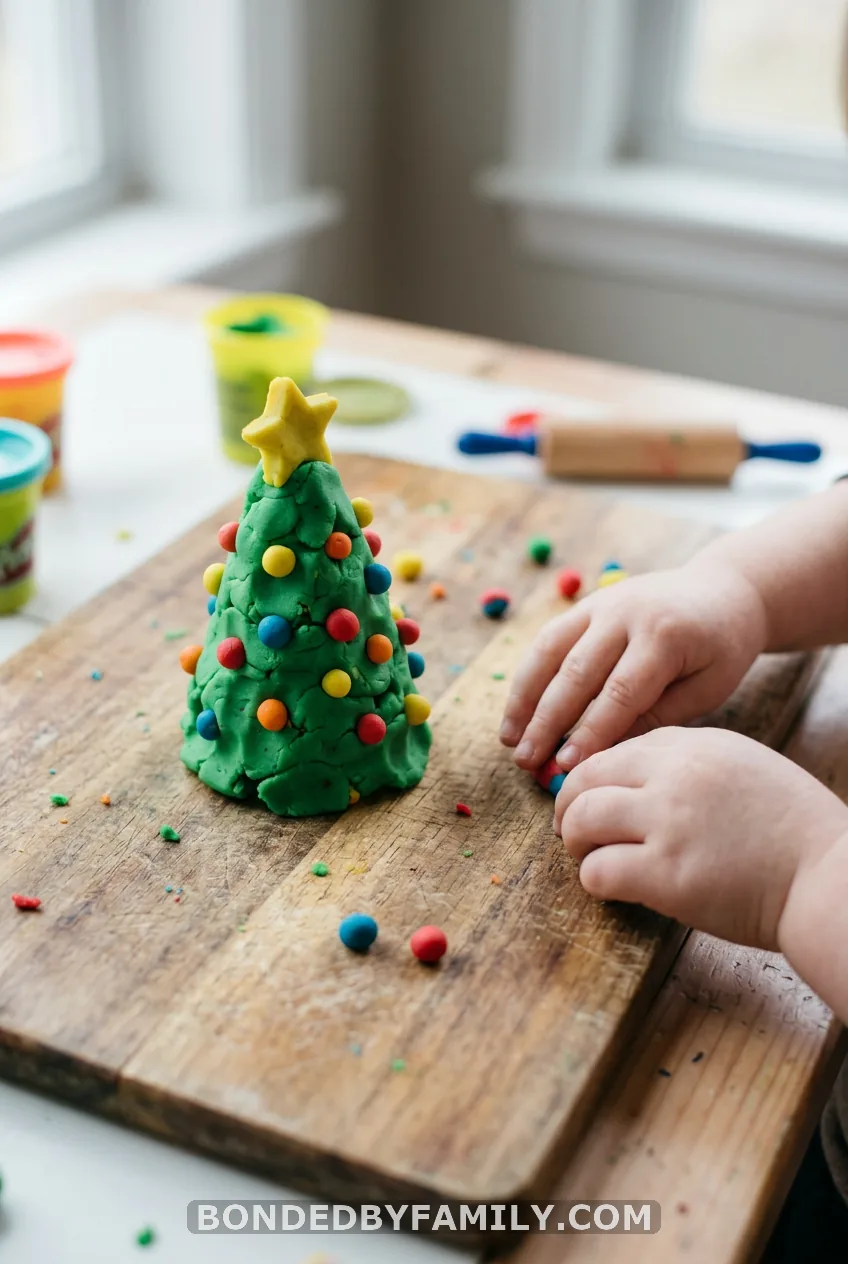
Skill: hand strength, pinch and roll | Prep: none | Toddler swap: large dough balls only, no loose parts
Hand over green playdough. Your child rolls a long snake, then flattens and shapes it into a triangle. Smaller balls of red and yellow dough become ornaments. Press them on with a fingertip.
For a tray, add loose parts like beads, bells, mini lights and pinecones, so the tree gets decorated. Roll dough into the outline of a tree on a laminated shape mat to build hand arches. For a scented tree, mix cinnamon into the dough.
Rolling and pinching dough builds more hand strength than almost anything on this list. A 2-inch dough snake takes real push.
17. Tear-Art Christmas Tree Collage
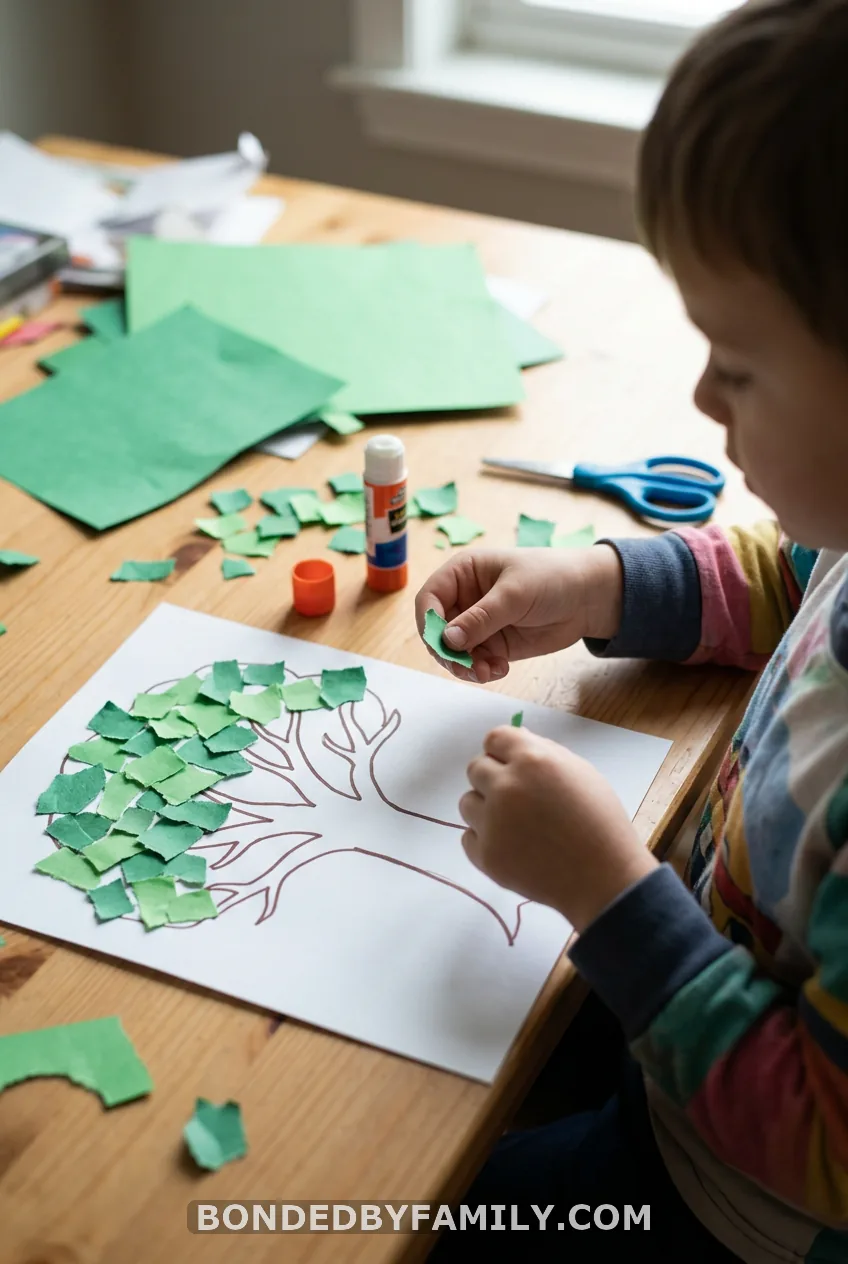
Skill: hand strength, bilateral coordination | Prep: 3 minutes | Toddler swap: glue stick instead of liquid glue
Draw a tree outline. Give your child green paper and let them tear it into pieces. Glue the pieces inside the tree.
Tearing paper uses both hands in opposite directions. That is why it beats cutting for the smallest kids. Offer different shades of green for a layered look. If liquid glue bothers a child, switch to a glue stick.
18. Q-Tip Painted Christmas Tree
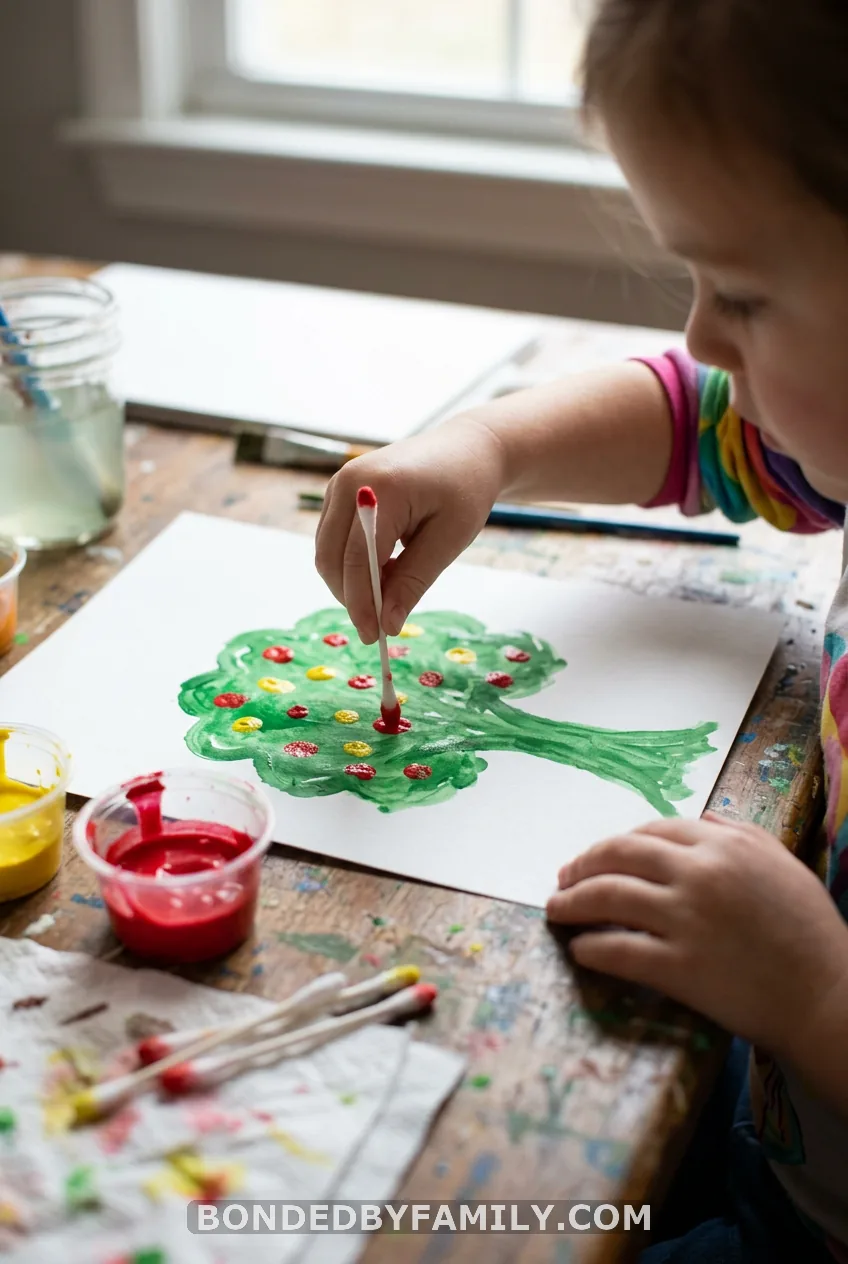
Skill: tripod grasp, control | Prep: 5 minutes | Toddler swap: big dabbers or fingertips
Paint or color a green tree. Dip a Q-tip in washable paint and dot “lights” all over it. For a texture bonus, press a pony bead into each wet dot with older preschoolers.
A Q-tip is skinny, so it asks for a tripod grip. Use non-toxic washable paint and keep an adult close. Q-tips and toddlers should not mix without supervision.
19. Spray Bottle Resist Tree
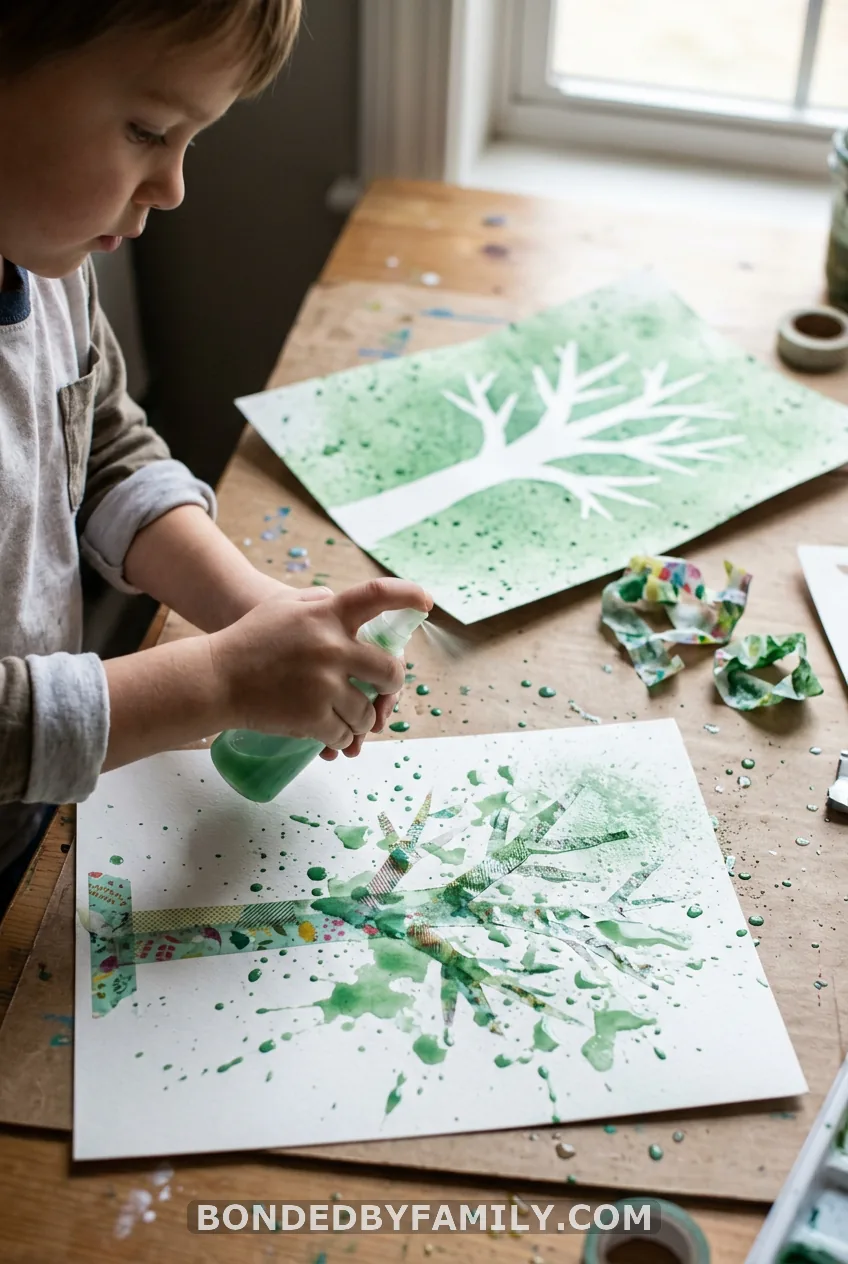
Skill: hand strength | Prep: 5 minutes | Toddler swap: a spray bottle with a light trigger, outdoors
Use washi tape to make a tree shape on paper. Fill a small spray bottle with water mixed with a few drops of non-toxic paint. Your child sprays the whole sheet. Peel the tape and a white tree appears.
Squeezing the trigger works the same muscles as clothespins, but with a big payoff. Do it outside or over a tray, and tell kids to spray at the paper only.
20. Christmas Tree ABC Match and Count-and-Clip
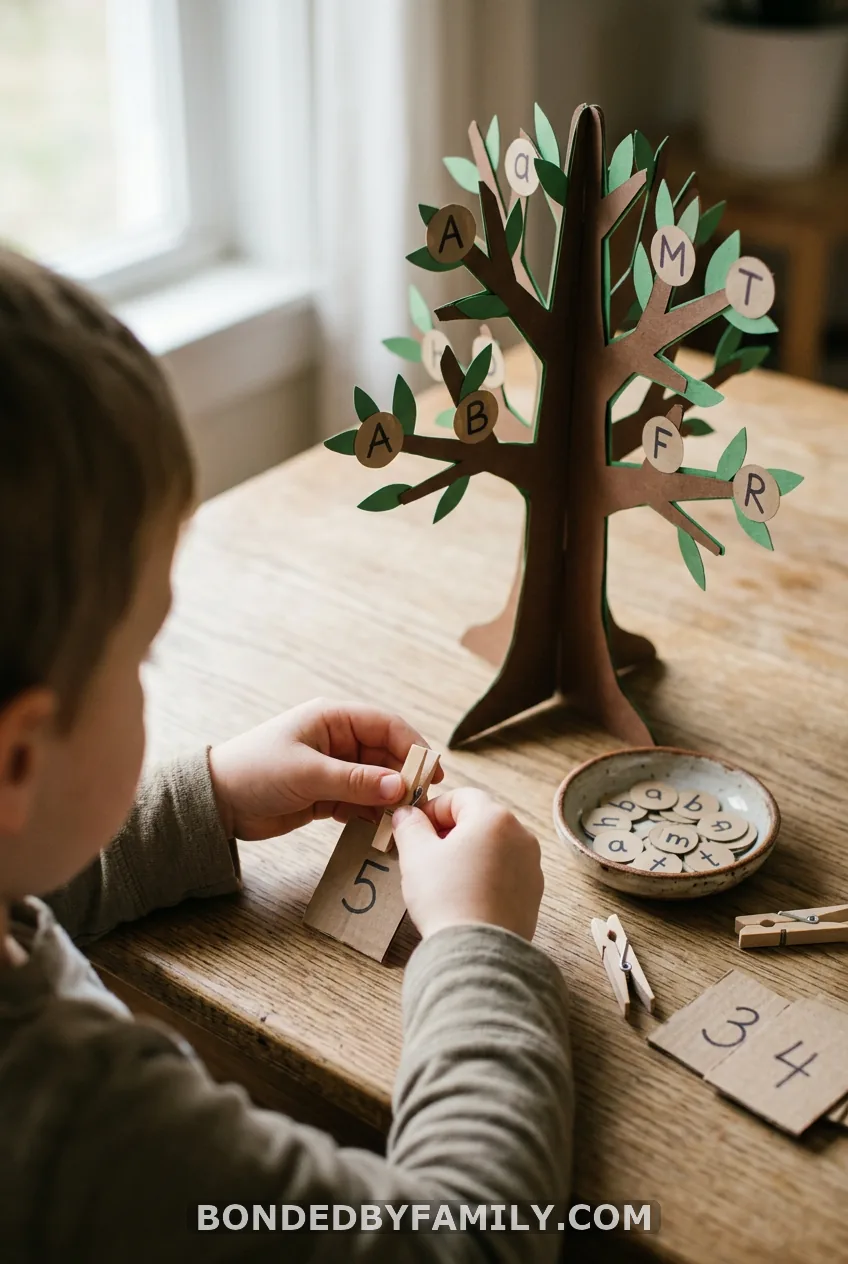
Skill: pincer grasp, hand strength, early literacy | Prep: 15 minutes | Toddler swap: match colors or shapes instead of letters
Two games share one tree.
ABC match: write uppercase letters on the tree’s branches. Cut paper ornaments with lowercase letters. Your child places each ornament on its match.
Count-and-clip: write numbers 1 to 10 on card strips. Add that many dots to each. Your child clips a clothespin onto the right number.
You can laminate both or tuck them in contact paper. They last for years. For chain-link practice, link one paper chain loop per branch number.
21. Geoboard or LEGO Christmas Tree
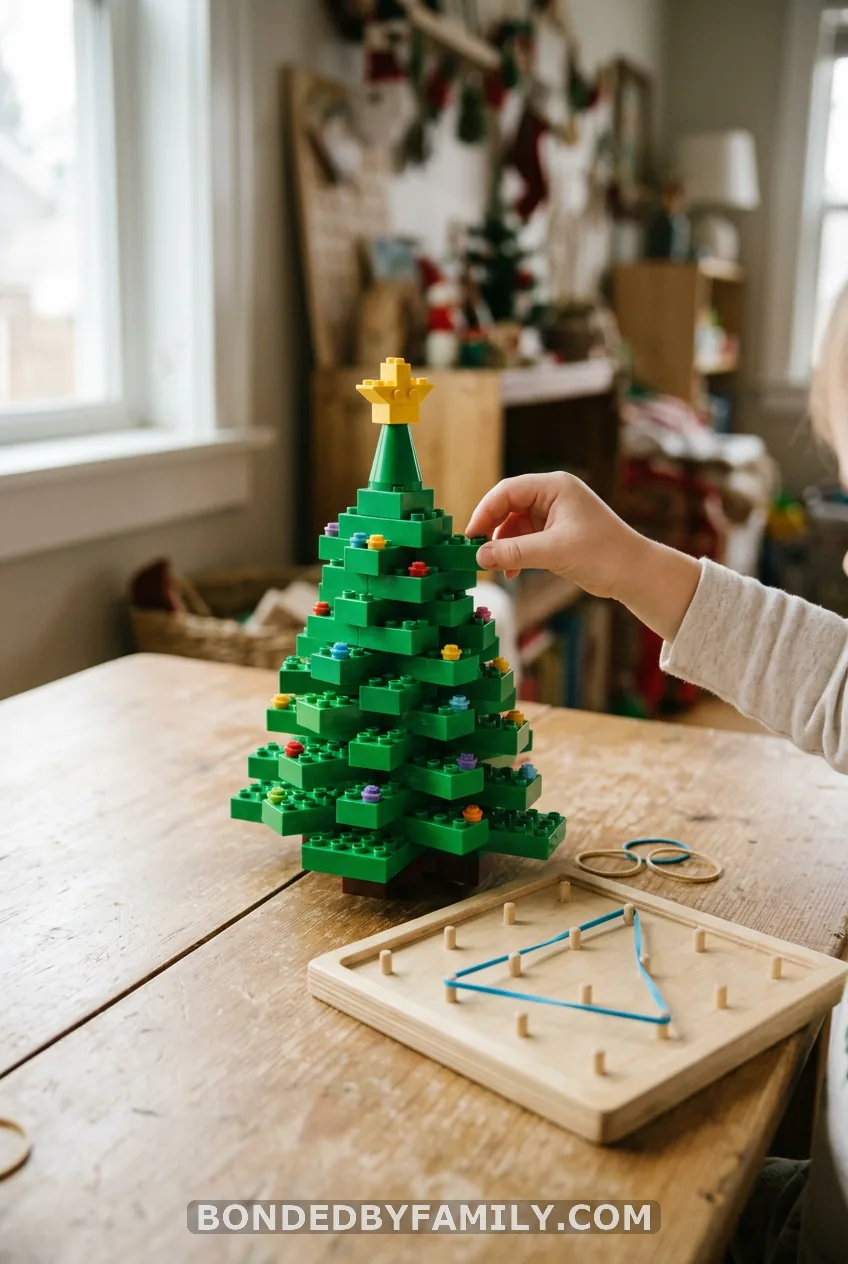
Skill: pincer grasp, planning, hand strength | Prep: none | Toddler swap: DUPLO bricks, which are large enough to be safe
Challenge your child to build a tree from bricks. Start with a wide row of 8 bricks at the bottom. Make each row shorter by one brick. They end on a single yellow brick for the star.
On a geoboard, stretch a rubber band into a triangle, then add small bands as ornaments. Pressing bricks together builds hand strength. Planning the rows builds thinking.
Standard LEGO bricks are not safe for kids under 4. Stick to DUPLO.
How to Set Up a Christmas Tree Fine Motor Station
You do not need a classroom. A tray on a table works.
Try one tree activity per tub, and swap weekly. Four tubs cover December. Keep a “fine motor kit” in a shoebox: tweezers, tongs, clothespins, dot stickers, a hole punch, golf tees and lacing strings.
Tape a paper tree to a wall or easel for some activities. Working upright builds shoulder and core stability, and it puts the wrist in a better position for pencil grip. A felt tree on a vertical flannel board is a great decorate-and-redecorate option.
For busy bags, put each activity in a zip bag. Add a laminated tree and a few supplies. They are great for restaurants and car rides.
Label bags and store them in a bin. Next December you will be ready in five minutes.
Choosing the Right Activity by Age and Ability
Match the task to the hand, not the calendar.
- 18 months to 3 years: big pieces, no beads, no sharp tools. Try items 1, 4, 6, 14 and 16.
- 3 to 4 years: tweezers, snipping, dot stickers and simple lacing. Try items 10, 11, 13, 17 and 18.
- 4 to 6 years: cutting on lines, hole punching, beading and pencil paths. Try items 2, 5, 8, 9 and 12.
For special education and OT sessions, grade each task up or down. Make the target larger, the tool chunkier, or the number of items fewer to go easier. Shrink the target, use tweezers instead of tongs, or add a pattern to go harder. For kids who dislike sticky glue, use dot stickers, clothespin-held pom poms or contact paper.
Start with a warm-up. Have your child push hands together hard for 10 seconds, do wall push-ups or carry a heavy basket. Then do the fine motor task.
Safety, Mess and Clean-Up Notes
Beads, bells, pom poms and golf tees are choking or poking risks for under-4s. Check each item against the toilet paper tube rule. Adults should supervise every activity here.
Use non-toxic, washable paint. Keep Q-tips, spray bottles and push pins to supervised older preschoolers.
To make things last, laminate tree cards or cover them with clear contact paper. Felt and foam trees stand up to dozens of uses. Store small parts in labeled jars out of reach.
Back to That Tree
Remember the tree that is wide at the bottom and narrow at the top? That is the whole plan. Start your child on the roomy bottom with big, forgiving moves like dot stickers, dough and clothespins.
As the month goes on, move them toward the tip, where the work gets small and careful. By the time the star goes on top, those hands will be stronger than they were on December 1.
Frequently Asked Questions
What are the best Christmas tree fine motor activities for toddlers?
Start with large, safe tasks: dot stickers, the ball drop, clothespin clipping, playdough trees and a sensory bin with oats. Use big pieces and stay nearby. Skip beads, push pins and tiny magnets until after age 4.
How do I build pincer grasp with a Christmas tree theme?
Use dot stickers, tweezer transfers with pom poms, and pony bead threading. Start with large objects and tongs, then move to tweezers and smaller items. A few minutes a day beats one long session.
What can I use instead of printables?
Cut a tree from cardboard, felt or foam. Draw a triangle on paper. Most of these activities need only a marker and household items like clothespins, rice and rubber bands.
Which activities help with scissor skills?
Snip-the-branches strips come first, then the cut-and-fold spiral. Snipping single lines builds the open-and-close motion. Follow with cutting along straight, then curved, lines on a tree outline.
How long should a fine motor activity last?
Toddlers usually give 5 to 10 minutes, and preschoolers 10 to 20. Stop when the focus fades, and bring it back another day. Short, happy sessions build more than long, frustrated ones.