Sensory bins are not magic. I said it. The Pinterest-perfect rainbow rice tray with the matching wooden scoops? Cute. Not necessary. Your six-month-old will get just as much brain-building joy squishing yogurt in a sandwich bag as she would from a $60 sensory table, and honestly, she won’t know the difference until she’s old enough to compare notes with her cousins.
Here’s what infant sensory activities actually are: anything that gives your baby’s brain something to touch, see, hear, smell, taste, or feel through movement. That’s it. Seven senses (yes, seven – add in vestibular balance and proprioception, the body-awareness one), and every single activity below hits at least one of them using things you probably own right now.
You’ll get fifteen ideas, organized by age band, from newborn high-contrast cards all the way up to twelve-month stamp painting. Every item tells you the mess level, how long setup takes, and whether it’s safe for a baby who still mouths everything in sight – because that last one matters more than any of the others.
What Actually Counts as Sensory Play (And What Doesn’t)
Sensory play is any activity that fires up your baby’s touch, sight, hearing, smell, taste, or movement systems. Every time your baby tracks a scarf, squishes cold gelatin, or hears a pot clang, new neural pathways get wired. That wiring is literally how babies learn cause and effect, how to visually track a moving object, and eventually how to talk, because language development rides on the same sensory foundation.
What this list is not: no water beads (they’re a choking and swelling hazard if swallowed), no raw dry rice for a heavy mouther, and nothing smaller than a golf ball anywhere near a baby under one. If an activity isn’t taste-safe or size-safe, it didn’t make this list.
Safety Rules You Only Need to Read Once
Supervise every activity, every time, full stop. Keep sessions to 5-15 minutes and stop the second your baby looks away, arches their back, or starts fussing – that’s their nervous system tapping out. Introduce one new food-based material at a time in case of allergies, and if you’re running a daycare room, sanitize bins between babies and never let two mouthing infants share the same rice bin.
Sensory Activities for 0-3 Months (Passive Explorers)
1. High-Contrast Cards
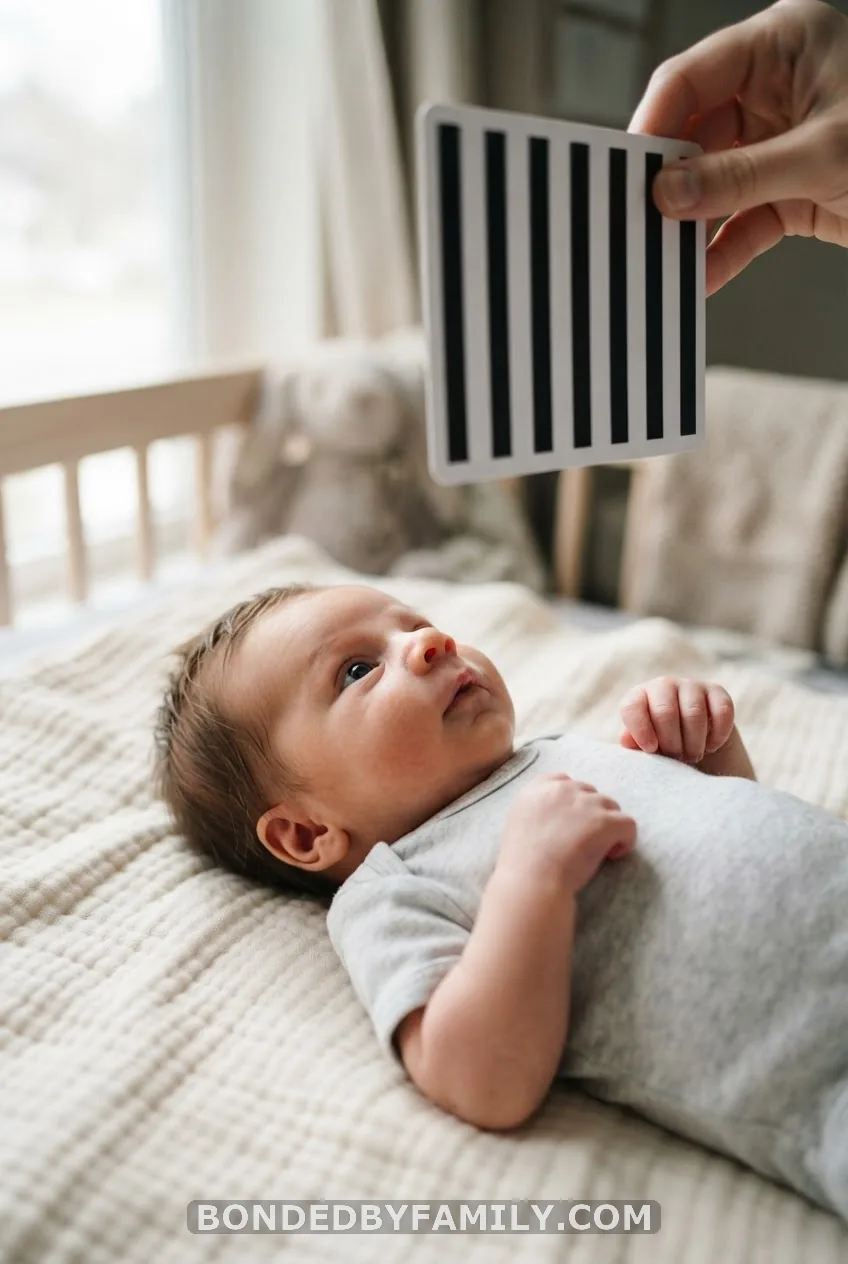
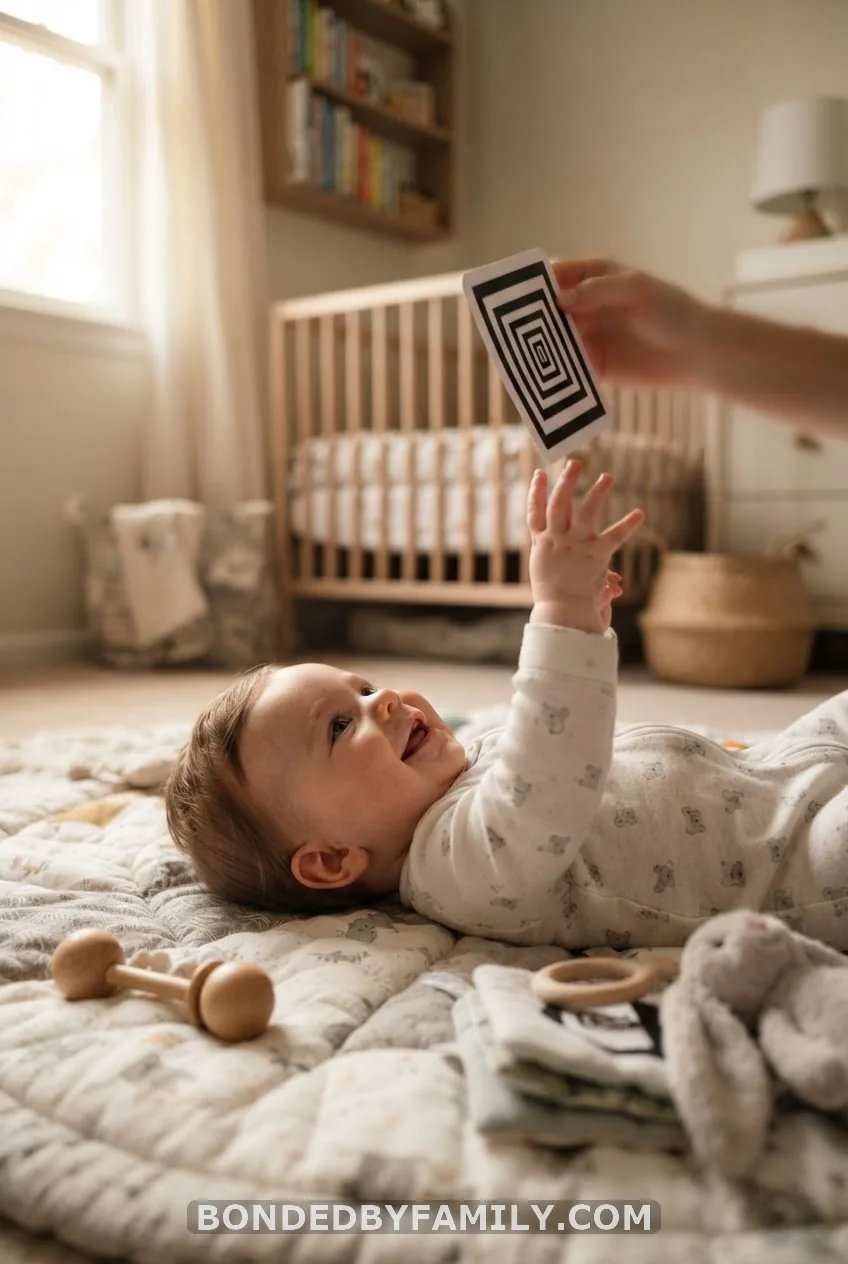
Newborn vision is blurry and mostly black-and-white sensitive for the first few months. Print or buy a set of high-contrast cards – black, white, and red patterns – and hold one 8 to 12 inches from your baby’s face for a minute or two. Zero mess, zero cost if you print your own, and it’s one of the only activities newborns can actually engage with.
2. Mirror Tummy Time
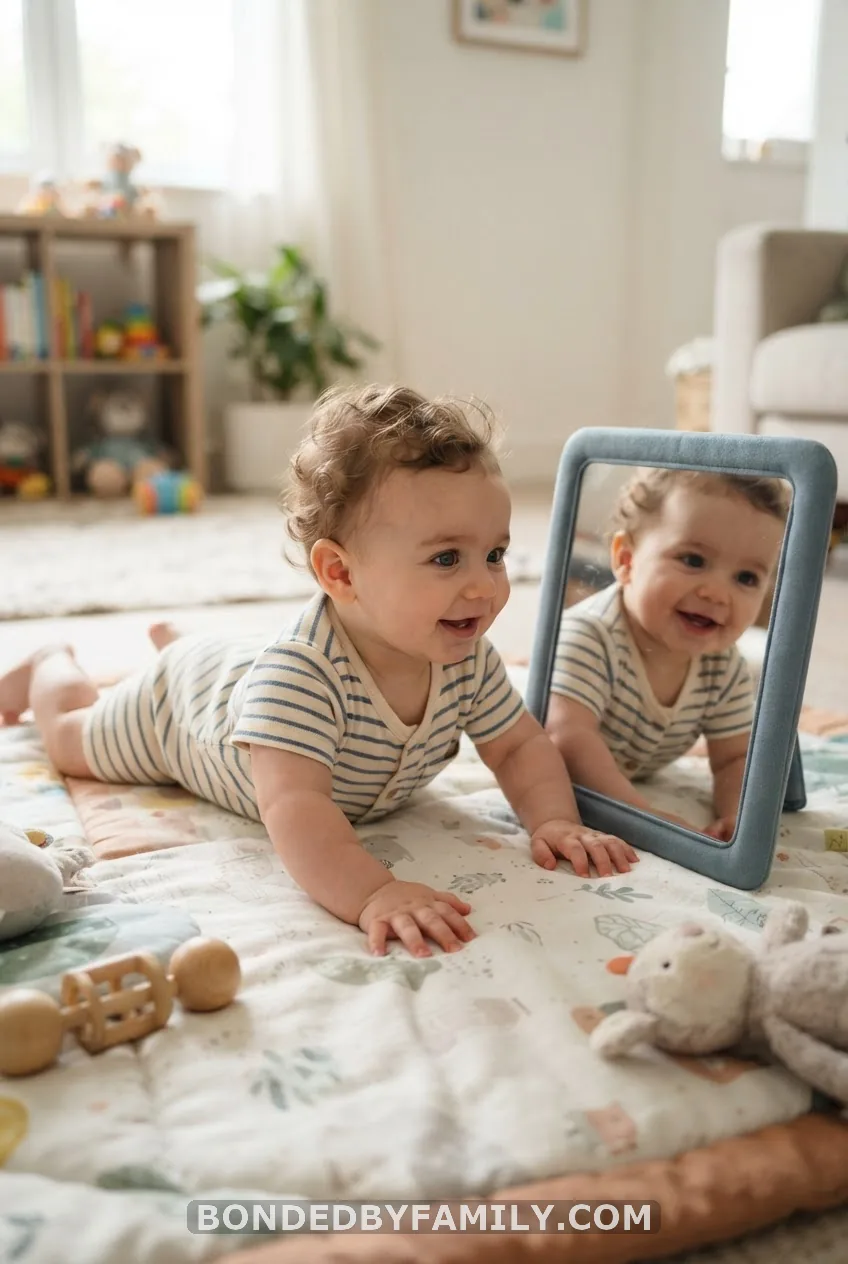
Prop an unbreakable acrylic mirror in front of your baby during tummy time and watch what happens. Babies are fascinated by the moving face staring back, and that fascination buys you extra minutes of neck and shoulder strength-building that a bored baby would never give you. Fold a towel under baby’s chest if they’re brand new to tummy time – it grades the difficulty down so it doesn’t feel like a workout on day one.
Budget note: A $6 acrylic baby mirror lasts through multiple kids and doubles as a bath toy later.
3. Scarf Tracking
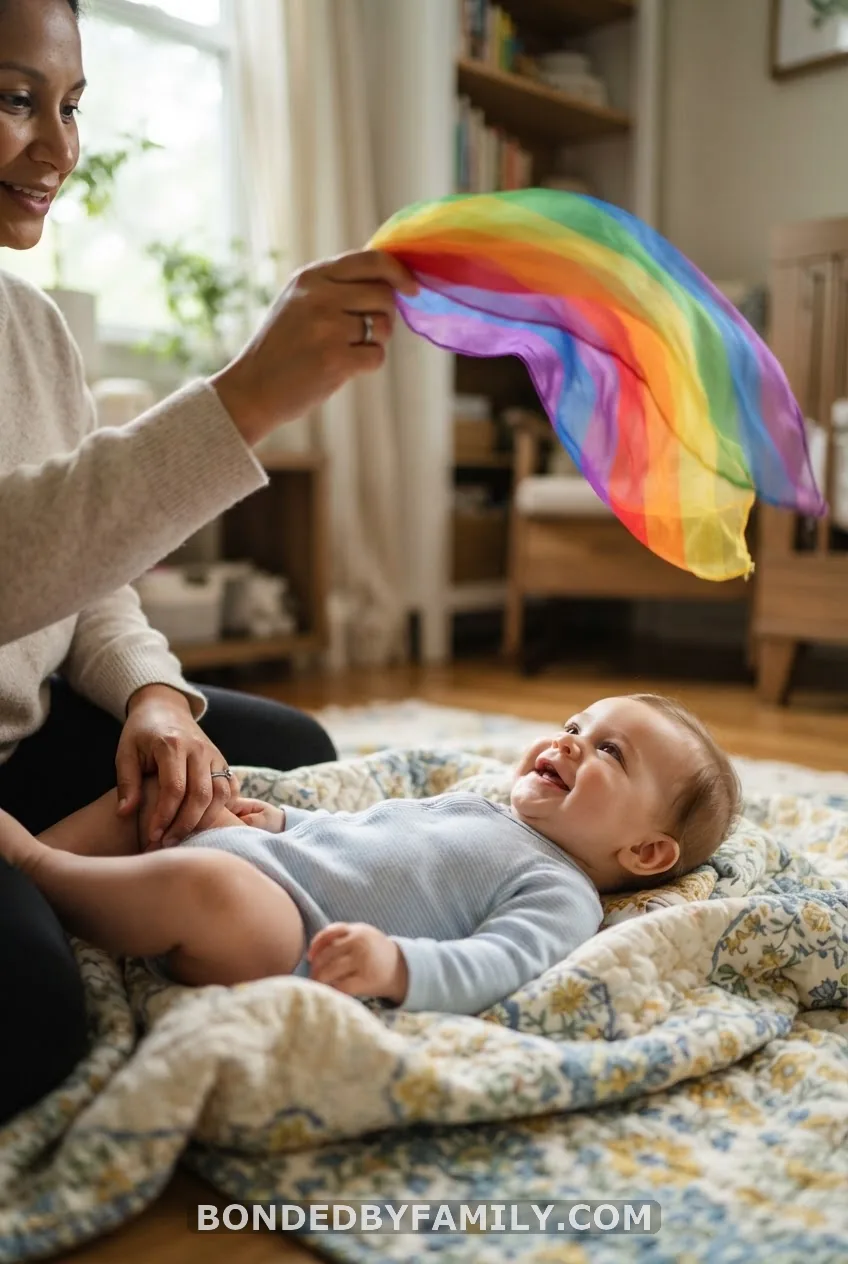
Grab a lightweight silk scarf and slowly wave it side to side, 12 inches above your baby’s face. Their eyes will lag behind at first, then start catching up – that’s visual tracking developing in real time. Thirty seconds a few times a day is plenty.
Sensory Activities for 3-6 Months (Reaching and Grabbing)
4. DIY Texture Board
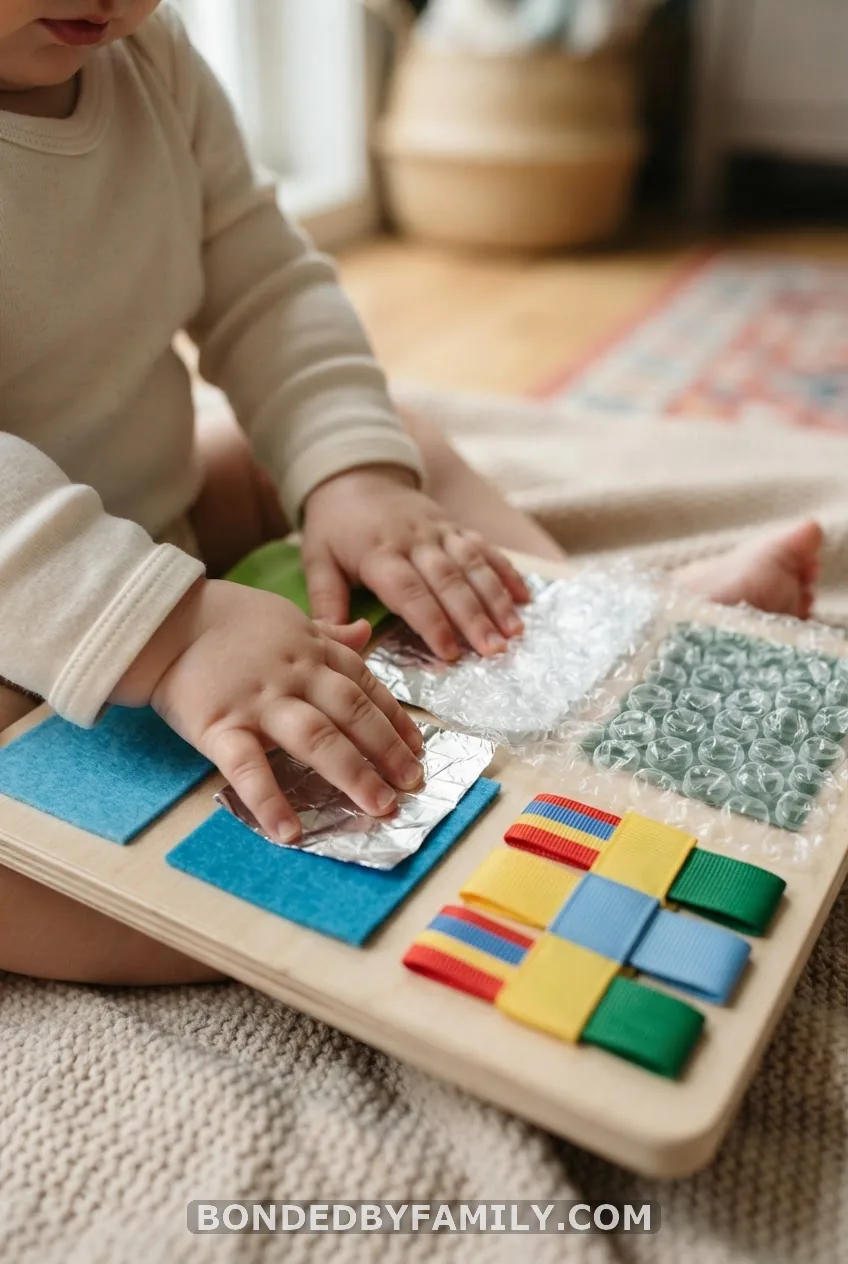
This is the one worth doing properly, because it pays off for months. Grab a piece of sturdy cardboard, roughly 12×18 inches – a flattened diaper box works fine – and hot-glue five or six different textures onto it in a grid.
What you need: cardboard, hot glue gun, a scrap of felt, a square of aluminum foil, a section of bubble wrap, a length of grosgrain ribbon, a cosmetic sponge, and a strip of faux fur if you have it. Total cost, if you’re buying from a dollar store: under $8.
Step 1: Cut your textures into roughly 3×3-inch squares.
Step 2: Lay them out on the cardboard before gluing anything, so you can space them evenly with a little border between each.
Step 3: Hot-glue each square down flat, pressing the edges so nothing lifts and becomes a mouthing hazard.
Step 4: Let it cool fully – hot glue stays tacky-hot for a few minutes and will burn a curious finger.
Step 5: Present it flat on the floor during supervised floor time and let your baby pat, drag, and grab at each texture.
Why this works: at 3-6 months, babies are developing their grasp reflex into intentional reaching. Different textures under the same small hand teach the brain to distinguish rough from smooth, which is early tactile discrimination – a building block for later fine motor skills like holding a spoon or a crayon.
Common mistakes: using textures that shred (tissue paper turns into a choking hazard fast), gluing on anything smaller than a poker chip, and leaving the board unsupervised once your baby starts sitting and pulling at the edges.
Cost reality: Under $8 if you shop the dollar store bin, free if you use packaging you already have lying around from a recent Amazon order.
5. Crinkle Box Scarf Pull
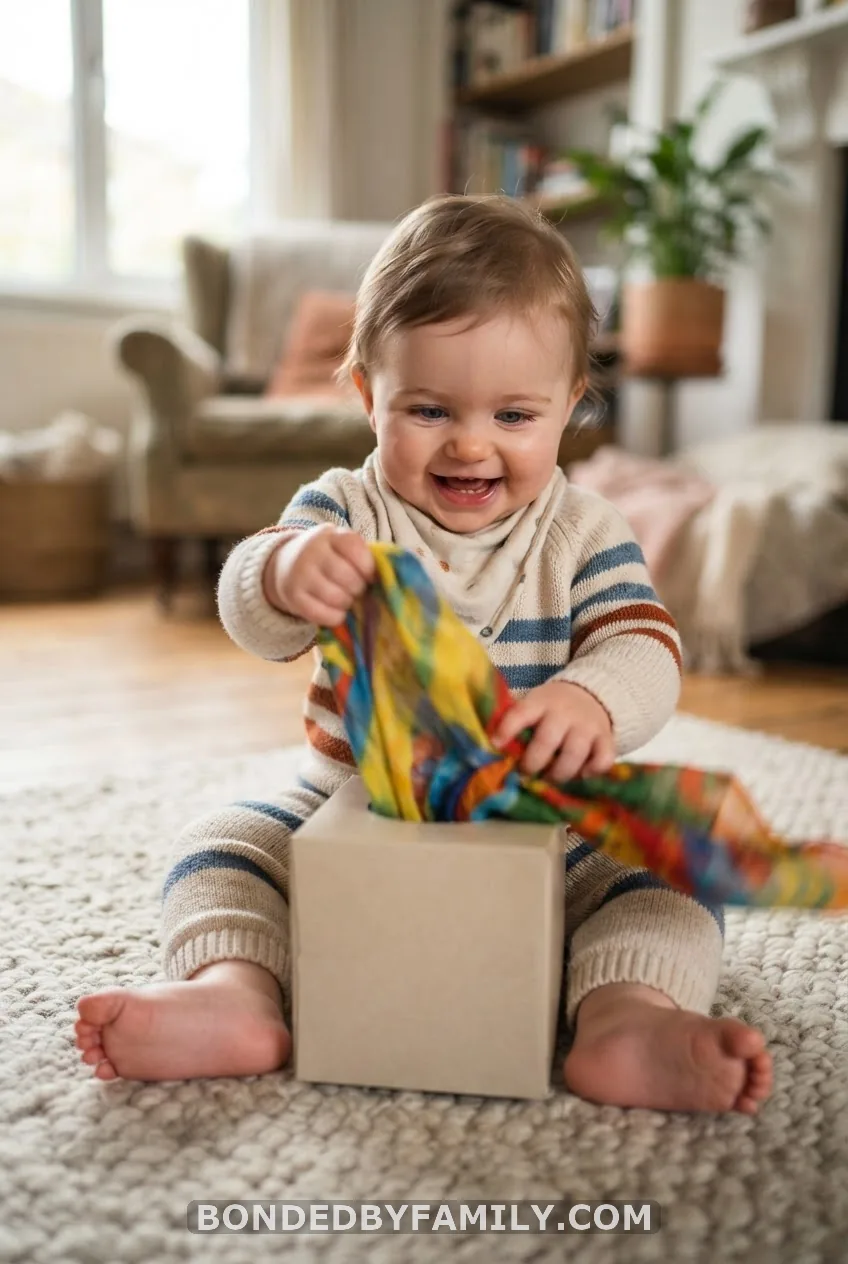
Stuff a few silk scarves into an empty tissue box and let your baby pull them out one at a time. The resistance builds hand strength, the reappearing scarf teaches object permanence, and the crinkle sound of the box itself is a bonus for auditory input. Setup takes under a minute and costs nothing if you already have an empty box in the recycling.
6. Bubble Foam Tray
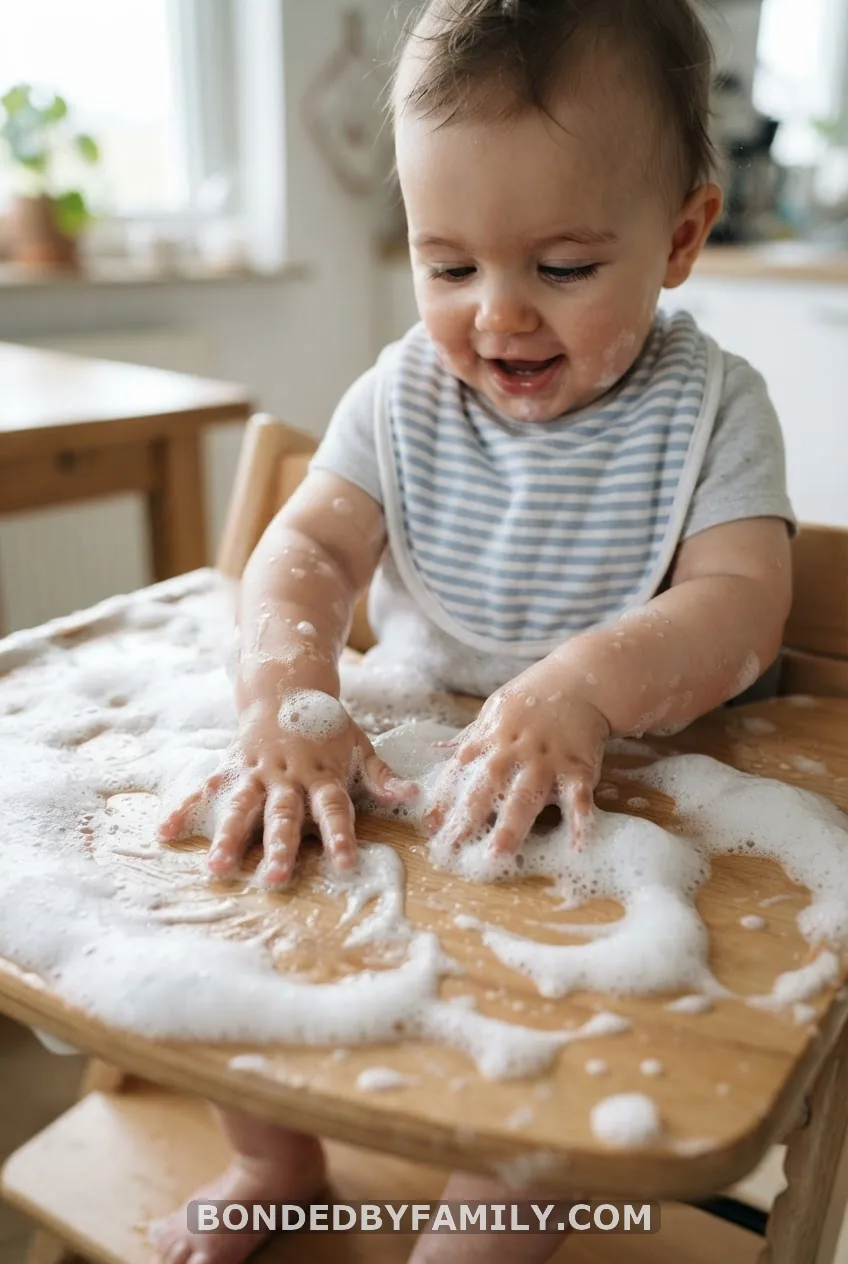
Whip a few drops of tear-free baby wash or dish soap with a tablespoon of water using a hand mixer or milk frother until it turns into stiff, shaving-cream-like foam. Spread it thin on the high-chair tray. It’s not a snack, but it’s mild enough that a lick won’t hurt anyone – just don’t let it become the main event.
Budget note: Fifty cents of soap makes enough foam for three or four sessions if you store the extra in a sealed jar in the fridge for a day or two.
7. Sponge Squeeze Water Bin
Fill a shallow bin with an inch of warm water, drop in a couple of natural sea sponges, and let your baby squeeze, soak, and splash. It’s a two-minute setup, mess level stays low if you keep the bin shallow, and watching water disappear into a sponge and reappear when squeezed is baby’s first real physics lesson.
Sensory Activities for 6-9 Months (Sitting, Poking, Mouthing)
8. The Yogurt Paint Bag Everyone Gets Wrong
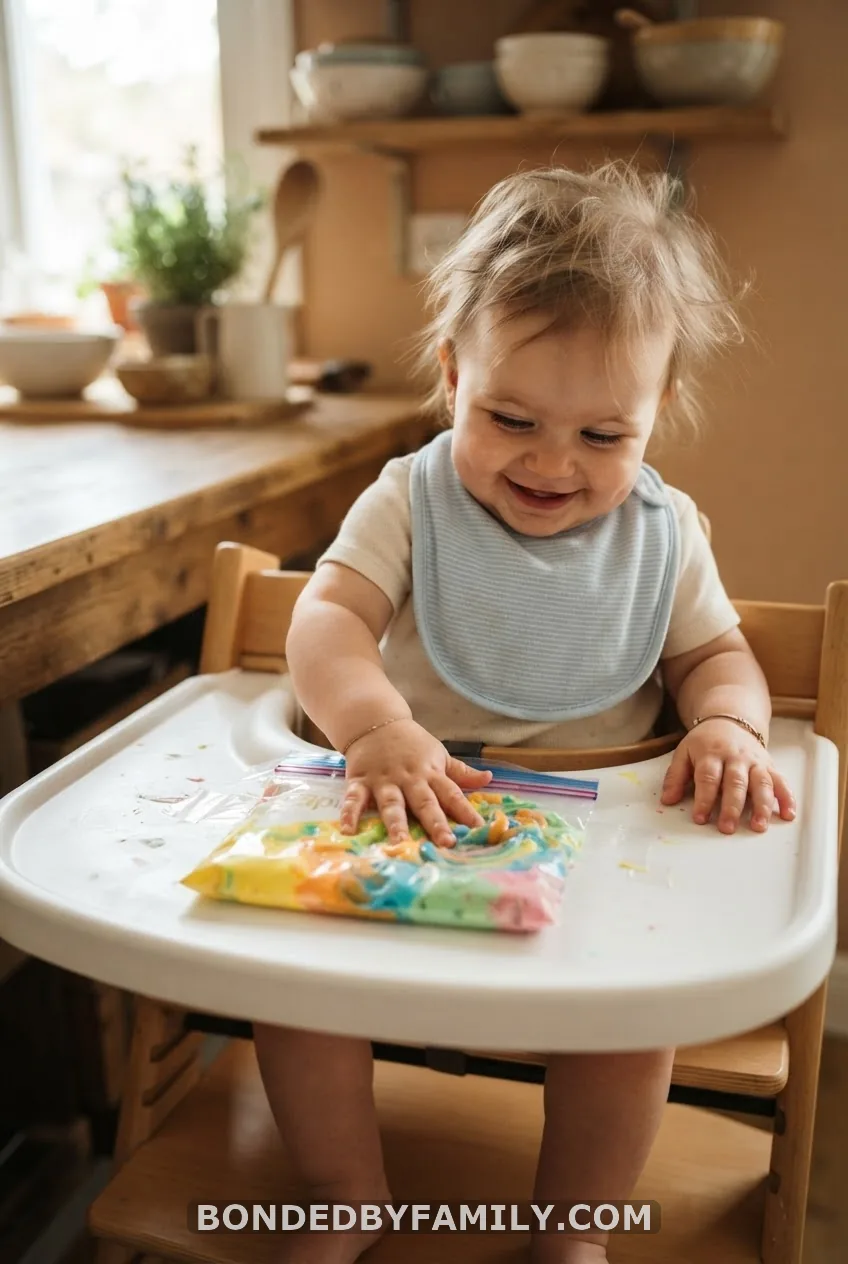
What most parents think: squeeze plain yogurt straight onto the tray, add food coloring, let baby fingerpaint directly. What actually happens: a baby covered head to toe in dyed yogurt, a highchair that needs to be hosed down, and a parent who swears off “sensory activities” for a month.
The fix that Pinterest keeps calling the no-mess hack: spoon plain full-fat yogurt into a gallon Ziploc bag, add three or four drops of food coloring per color zone, press the air out, seal it tight, and tape all four edges down to the high-chair tray or a section of floor with painter’s tape. Your baby pats, presses, and smooshes the colors together through the plastic – full sensory and visual input, zero yogurt under the fingernails.
The catch: the bag needs a genuinely tight seal and secure tape on every edge, or a determined nine-month-old will find the one weak corner within ninety seconds. Test it upside down over the sink before you hand it over.
9. Gelatin Rescue Bin
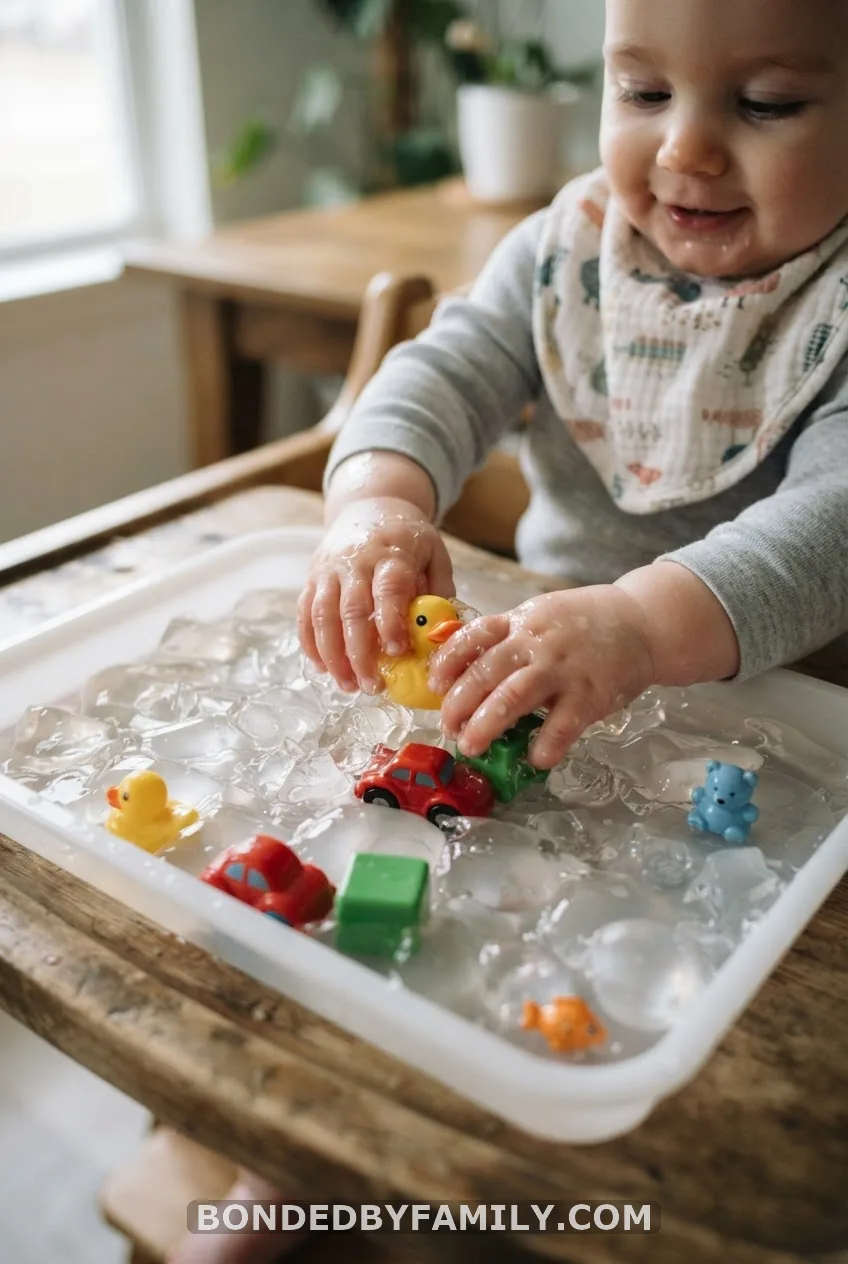
Dissolve four packets of unflavored gelatin in two cups of hot water, pour it into a shallow tray, drop in a few silicone teethers or waterproof toys, and refrigerate for two hours until it sets into a wobbly, taste-safe slab. Your baby digs, squishes, and “rescues” the toys buried inside. It’s fully edible if a piece ends up in a mouth, and the wobble itself is a sensory experience most babies have never felt before. Store leftover gelatin in the fridge for up to two days before it starts breaking down.
10. Colored Rice Bin (With a Taste-Safe Backup)
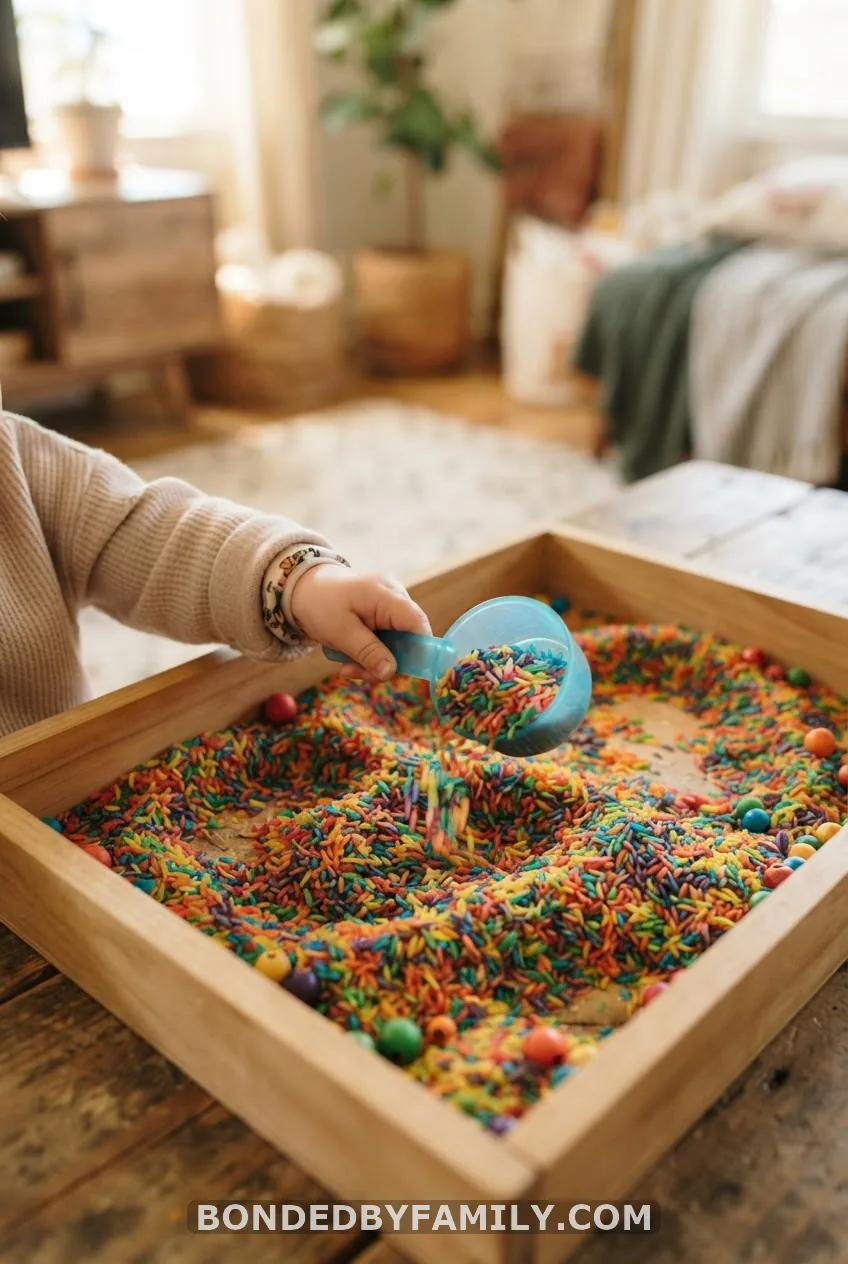
Mix two cups of rice with a tablespoon of white vinegar and a few drops of food coloring, spread it on a baking sheet to dry for an hour, and you’ve got a vibrant sensory filler. For a sitter who’s past the heaviest mouthing phase, this is a five-minute setup that keeps a baby occupied for a solid ten minutes with scoops and cups. For a baby who still puts fistfuls in their mouth, swap the rice for the oat play dough below instead – same color, same scoop-and-pour fun, actually digestible if swallowed.
11. Baking Sheet Water Play
Lay a rimmed baking sheet on a towel, add an inch of water, hand your baby two measuring cups, and step back. It contains the splash zone, it costs nothing, and the pouring motion is straight-up fine motor and hand-eye coordination practice disguised as play.
Sensory Activities for 9-12 Months (Finding, Filling, Dumping)
12. Sensory Bottle
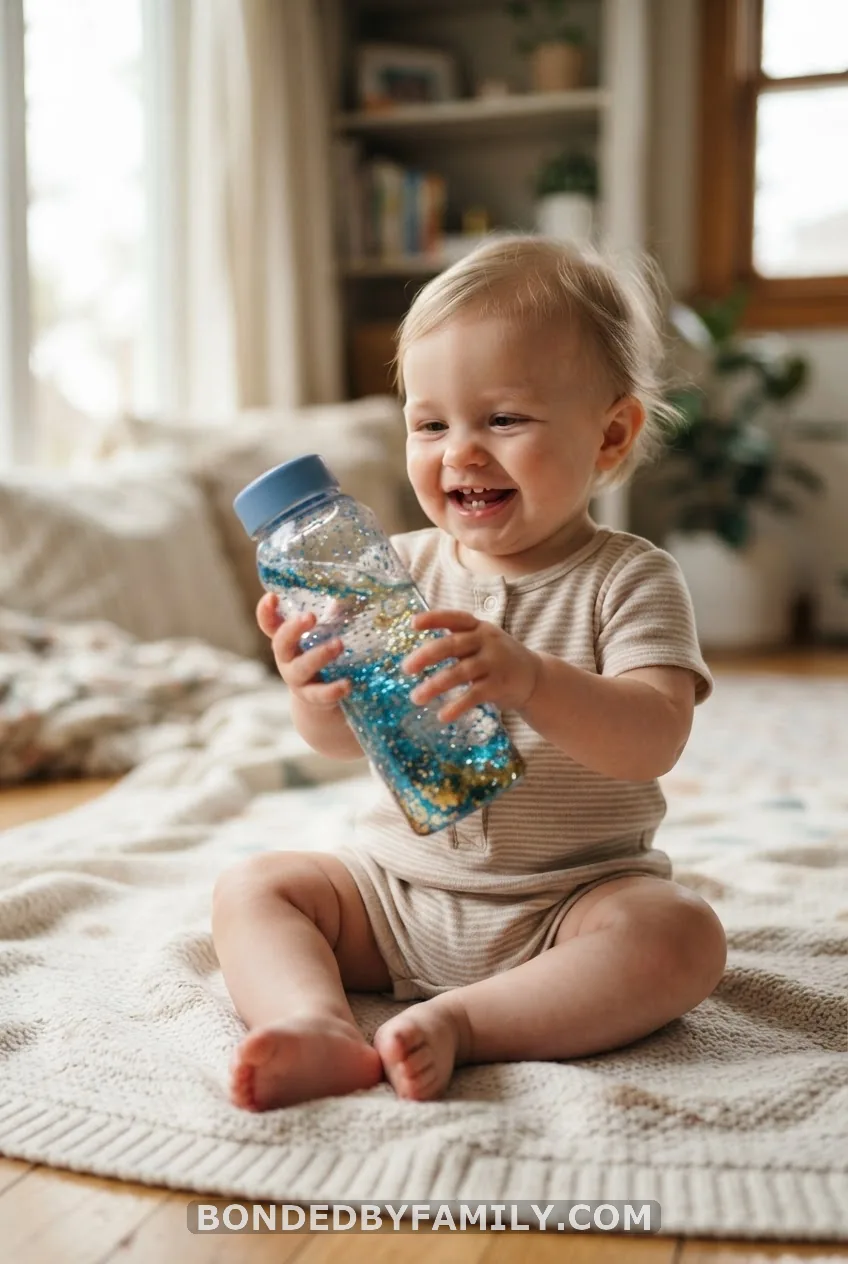
Fill an empty, cleaned water bottle a third full of water, add baby oil until it’s nearly full, drop in a pinch of glitter or a few small waterproof beads too big to swallow, and glue the lid on with hot glue before wrapping the cap in packing tape. Shake it, roll it, watch the glitter drift – it’s mesmerizing, unbreakable, and completely sealed, so it’s safe even for the most determined chewer.
13. Taped-Down Squish Bag
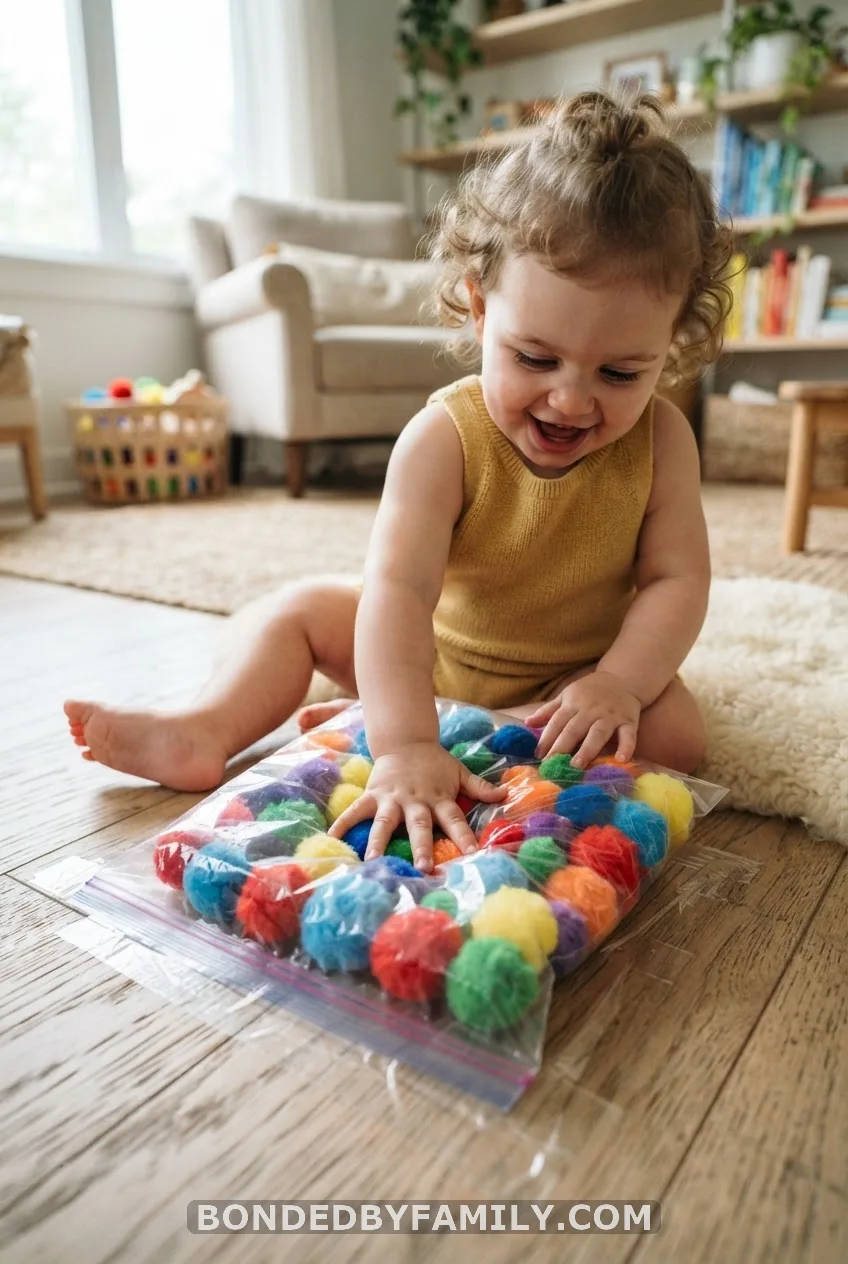
Double-bag a handful of large pompoms with a few tablespoons of hair gel, seal both bags, and tape the whole thing to the floor. Baby presses, drags, and squishes the pompoms around inside without a single loose piece ever reaching a mouth. It’s the no-mess toolkit’s MVP for anyone who dreads cleanup.
14. Potato and Sponge Stamp Painting
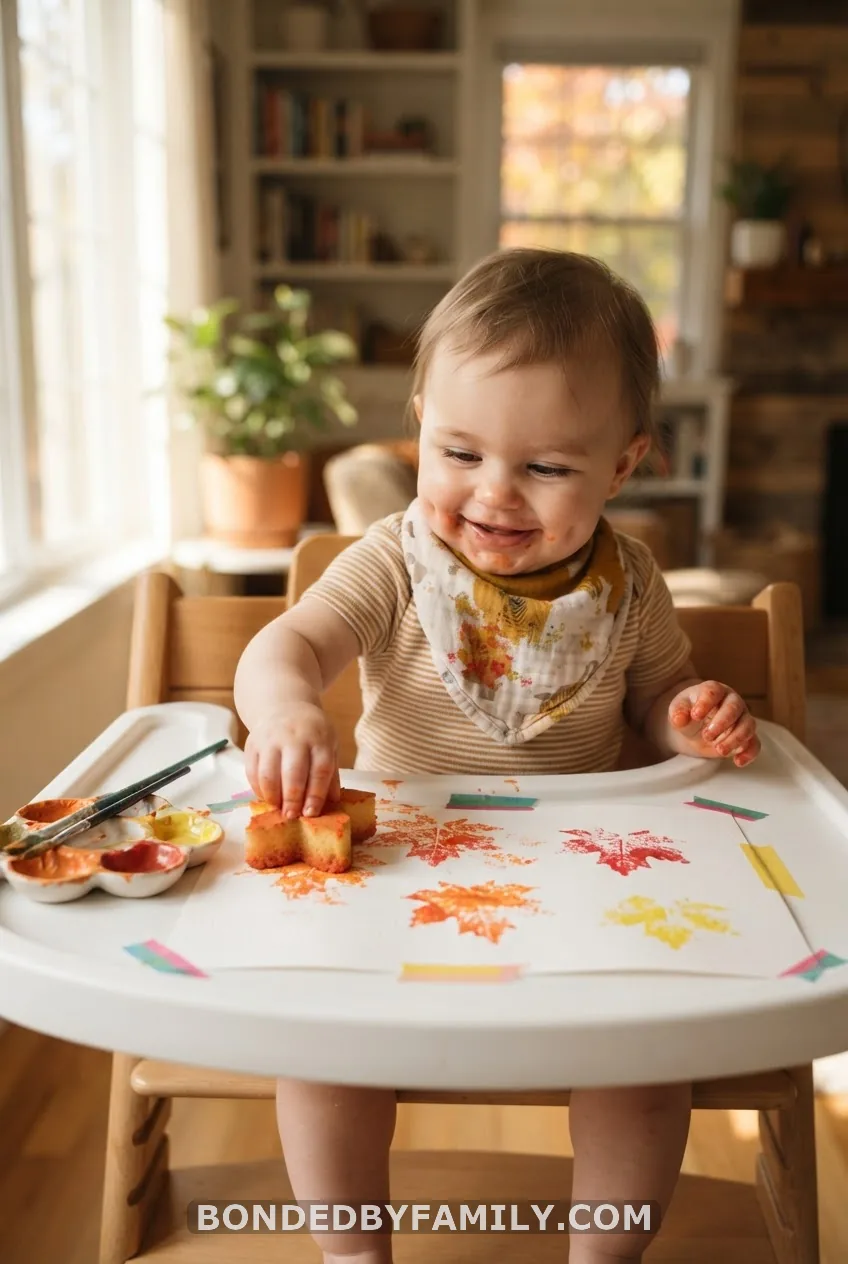
Cut a potato in half, carve a simple shape like a heart or a star into the flat side, or just use a pre-cut sponge shape from the craft aisle. Dip it in taste-safe yogurt paint, press it onto cardstock taped down to the tray, and let your baby experiment with pressing, dragging, and stamping. It builds hand-eye coordination and gives you an actual keepsake, unlike most sensory play that vanishes the second the wipes come out.
Cost reality: A potato costs about 30 cents, sponge shapes run $3 for a pack of six, and cardstock is pennies a sheet.
15. Barefoot Texture Walk
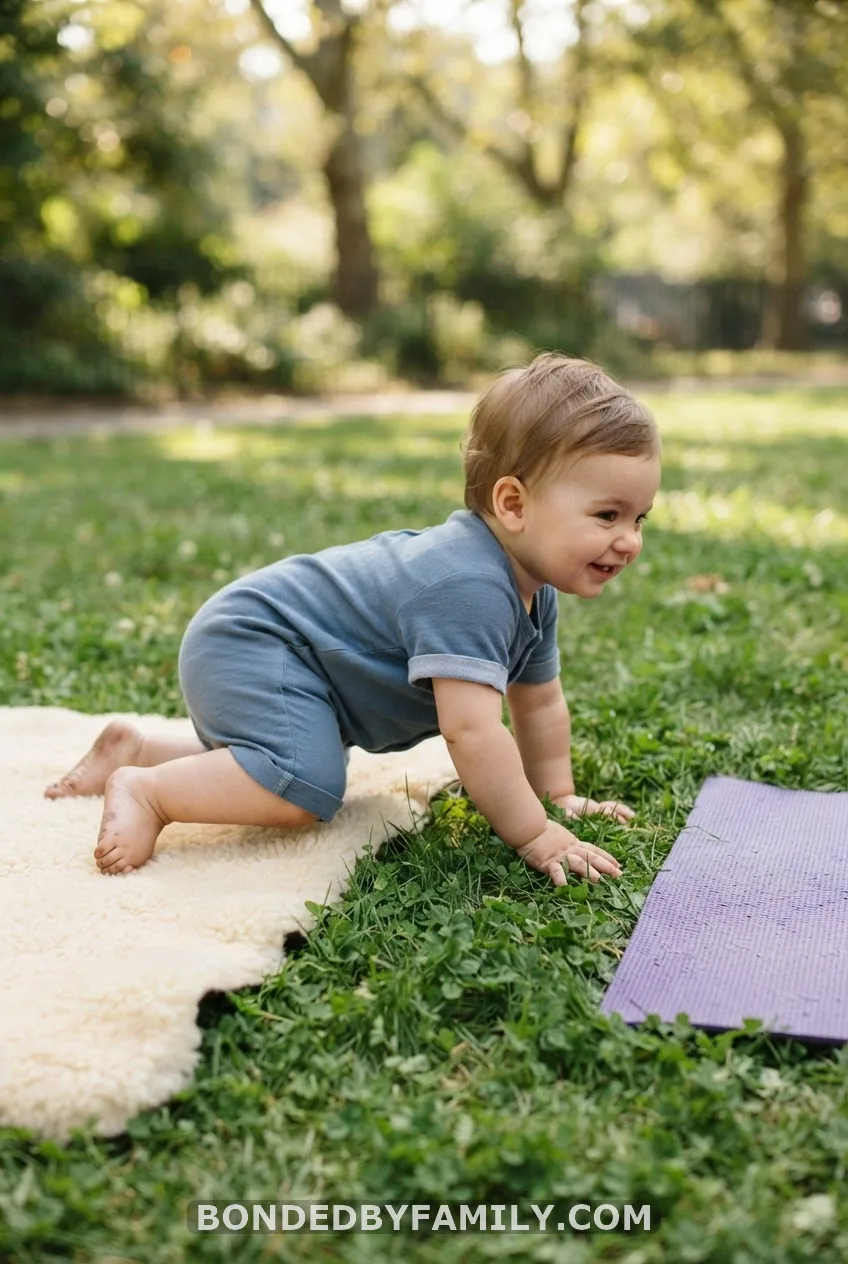
Lay out a fuzzy blanket, a patch of grass, a yoga mat, and a cool tile floor in a row and let your baby crawl or scoot across each one barefoot. The changing surface under tiny feet builds body awareness fast, and it costs you exactly nothing if you already own a blanket and live near a patch of grass.
The Under-$20 Supply List (Shop Your Kitchen First)
Before buying anything, check your cabinets: oats, flour, rice, plain yogurt, unflavored gelatin, food coloring, dish soap, an ice cube tray, a muffin tin, measuring cups, and a baking sheet cover more than half this list already. From there, a roll of painter’s tape, a box of gallon Ziploc bags, a sheet of contact paper, a couple of natural sponges, and one silk scarf round out the rest for under $15 total. Skip water beads entirely, skip anything smaller than a golf ball, and you’ve basically skipped every genuine hazard on this list.
Seasonal Swaps for Every Holiday Search
Same bones, different dressing. Swap plain yogurt paint for pumpkin puree in fall, dye rice red and green with peppermint extract at Christmas, tint yogurt pink for Valentine’s hearts, and trade the texture board’s fabric for mittens and a scarf in winter. In summer, take the baking sheet water play outside and let the sun do the warming for you.
Nobody Needs a Sensory Toy Subscription Box
Here’s my unpopular opinion: those $40-a-month sensory subscription boxes are solving a problem you don’t have. Your kitchen drawer already has everything a baby under one needs to build fine motor skills, visual tracking, and cause-and-effect thinking – a whisk, a sponge, a bag of rice, and fifteen minutes of your undivided attention beat a curated box every single time. Save the subscription money, buy the gelatin packets instead, and watch your baby learn just as much from a Ziploc bag of yogurt as she would from anything shipped to your door.
Frequently Asked Questions
When can I start sensory activities with my baby?
From day one. Newborns start with high-contrast visuals, skin-to-skin contact, and your voice, then move into reaching, grabbing, and messier play as their motor skills catch up around three to six months.
My baby mouths everything – which of these are actually safe?
Stick to the taste-safe options like yogurt paint, gelatin rescue bins, and oat dough, and always supervise. Skip anything smaller than a golf ball, and swap colored rice for oat dough if your baby is still a heavy mouther.
How long should one of these sessions last?
Five to fifteen minutes is plenty for an infant. Watch for the first sign of fussing, arching, or turning away – that’s your cue the session’s done, no matter how cute the setup looked on Pinterest.