Most nativity sets sit on a shelf where nobody can touch them. I think that’s backwards. A nativity sensory bin lets your kids pick up Mary, scoop hay, and tell the story with their own hands.
This guide walks you through one supply list and five build steps. Then you get three versions: toddler-safe, preschool story retelling, and a no-craft bin made from things you already own.
What You Need to Build a Nativity Sensory Bin
What a nativity sensory bin is
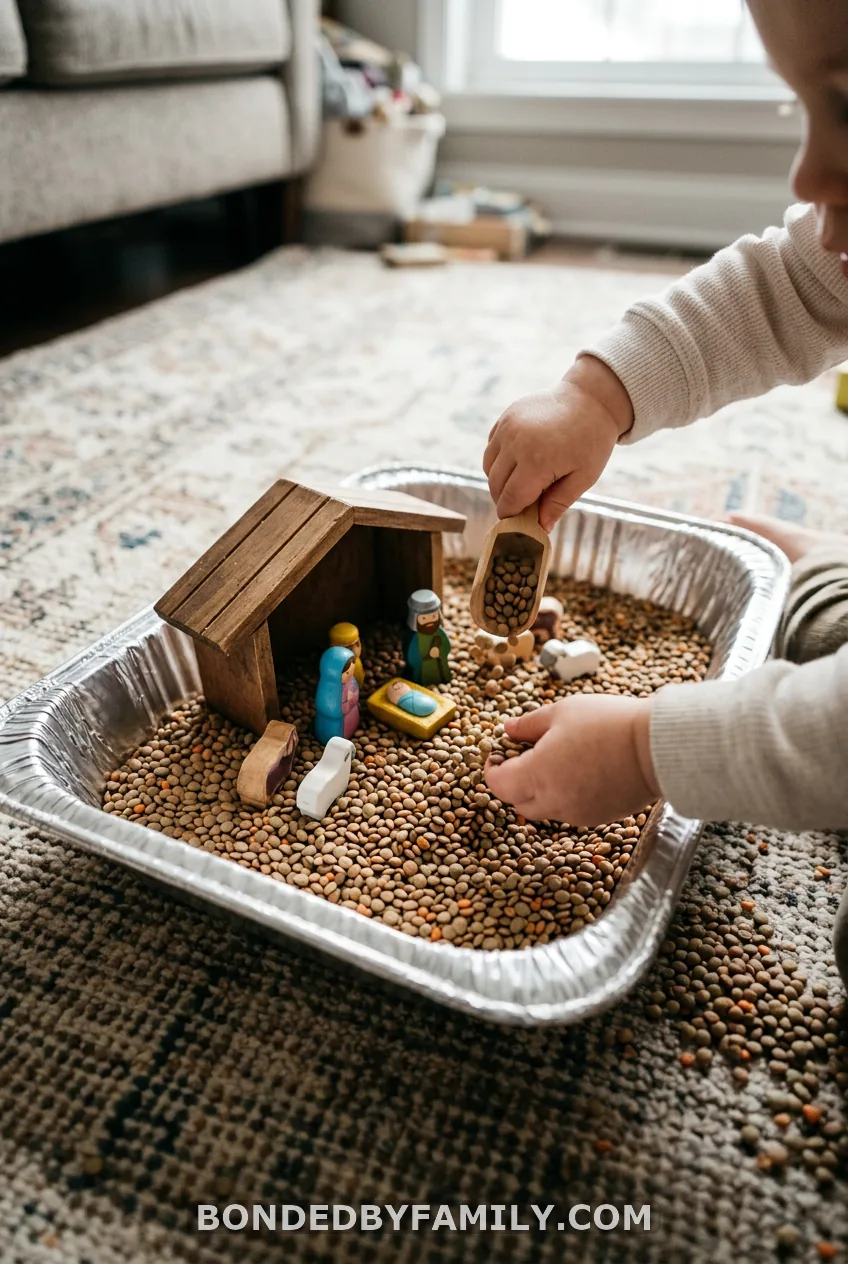
It’s a shallow container filled with a textured base, plus a stable and nativity figures. Kids scoop, bury, find, and move the pieces while you tell the Christmas story.
The play builds fine motor skills through scooping and pinching. It also gives little ones a calm, hands-on way to meet the story of Jesus’ birth. There’s no wrong way to play, which is the point.
Supplies
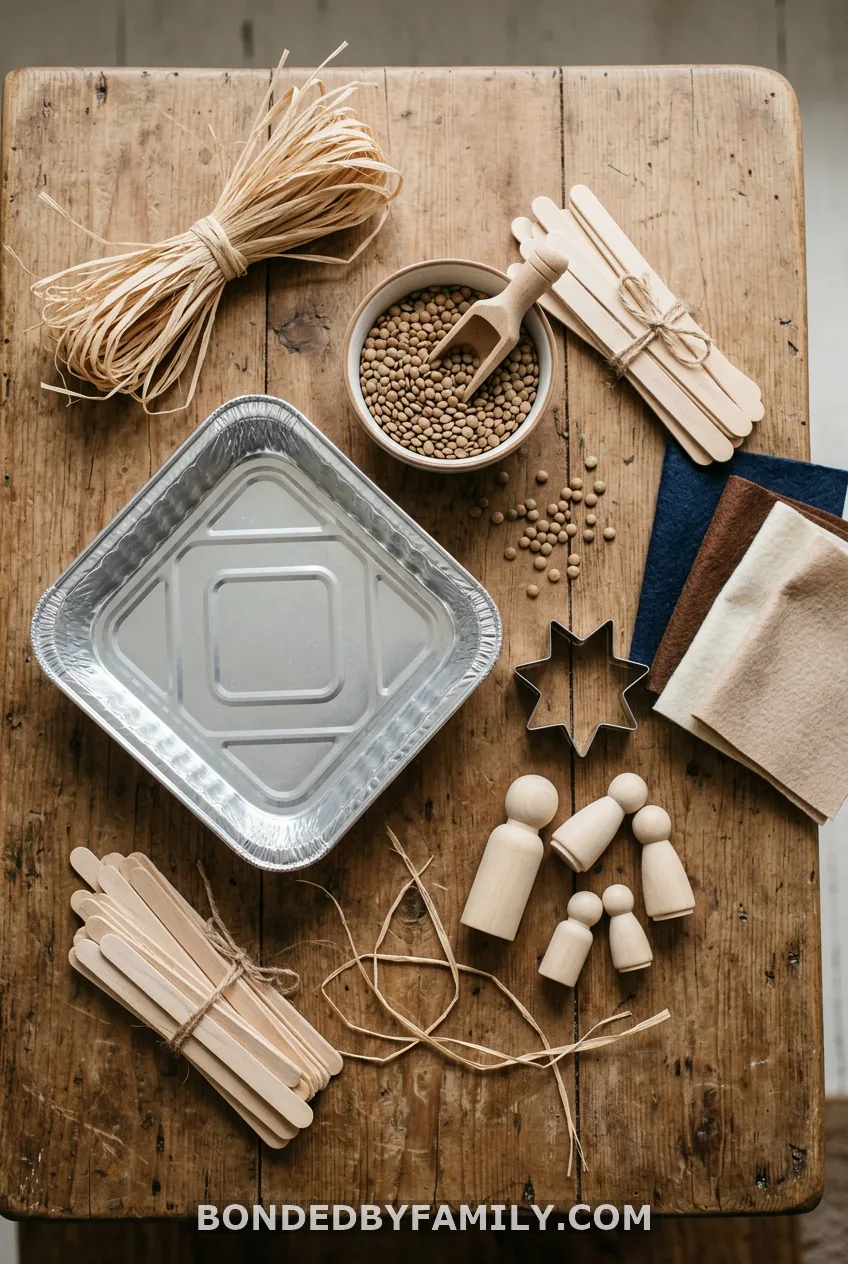
Here is the full list. You won’t need every item for every version.
- Container: a wooden activity tray, foil roasting pan, plastic tub, or large round bowl
- Base: lentils, black beans, plain rice, crinkle paper, raffia, or real hay
- Figures: a kid-friendly nativity set, dollar-store figures, or wooden peg people
- Story extras: a star, an angel, farm animals, three wise men, a camel, and a few small gift boxes
- Tools: a scoop, measuring cups, and small bowls
- For crafting: jumbo craft sticks, a hot glue gun, a shoe box, brown paper lunch bags, felt, and pipe cleaners
- Props: a star cookie cutter and an angel cookie cutter
Expect to spend about $5 to $15 if you buy a dollar-store set and a bag of lentils. A foil roasting pan costs about a dollar or two.
Build the Bin in Five Steps
Step 1: Choose a toddler-safe sensory base
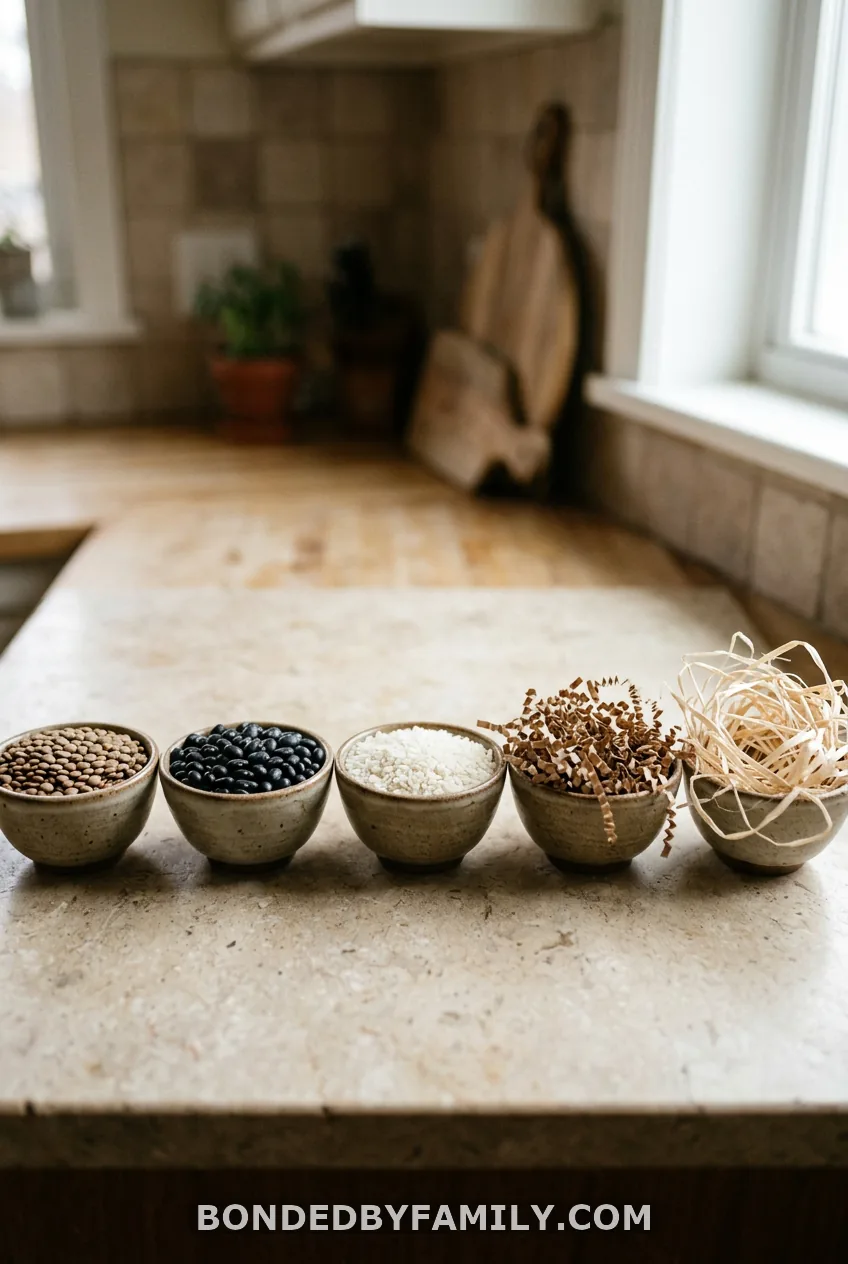
Each base feels and behaves differently. Here is how they compare.
- Lentils: Light, quiet, and easy to scoop. Medium mess. Good for ages 3 and up.
- Black beans: Make a dark “night sky” look. They are heavier and louder to pour. Ages 3 and up.
- Plain rice: Soft and cheap, but it travels across the floor. Ages 2 and up with supervision.
- Crinkle paper: Almost no mess and fun to crunch. Good for ages 18 months and up.
- Raffia or real hay: Looks like a real stable. It is scratchy and a little dusty, so test it on your child’s hands first.
For allergies or kids who still mouth everything, skip the dry beans and grains. Use crinkle paper or large felt scraps that are too big to swallow. Dry grains of any kind, including rice, lentils, beans, and oats, are not safe for children under 4.
Fill the container 1 to 2 inches deep. A 9×13 pan takes about 8 to 16 cups. Any deeper and the figures vanish. Any shallower and the filler flies out.
The catch: lentils and beans are not taste-safe for the youngest kids
Dry beans and lentils are hard and can be a choking risk. They can also hurt if pushed into a nose or ear. If your child is under 3, pick crinkle paper, oats, or rice, and stay beside the bin.
Step 2: Make or choose a manger and stable
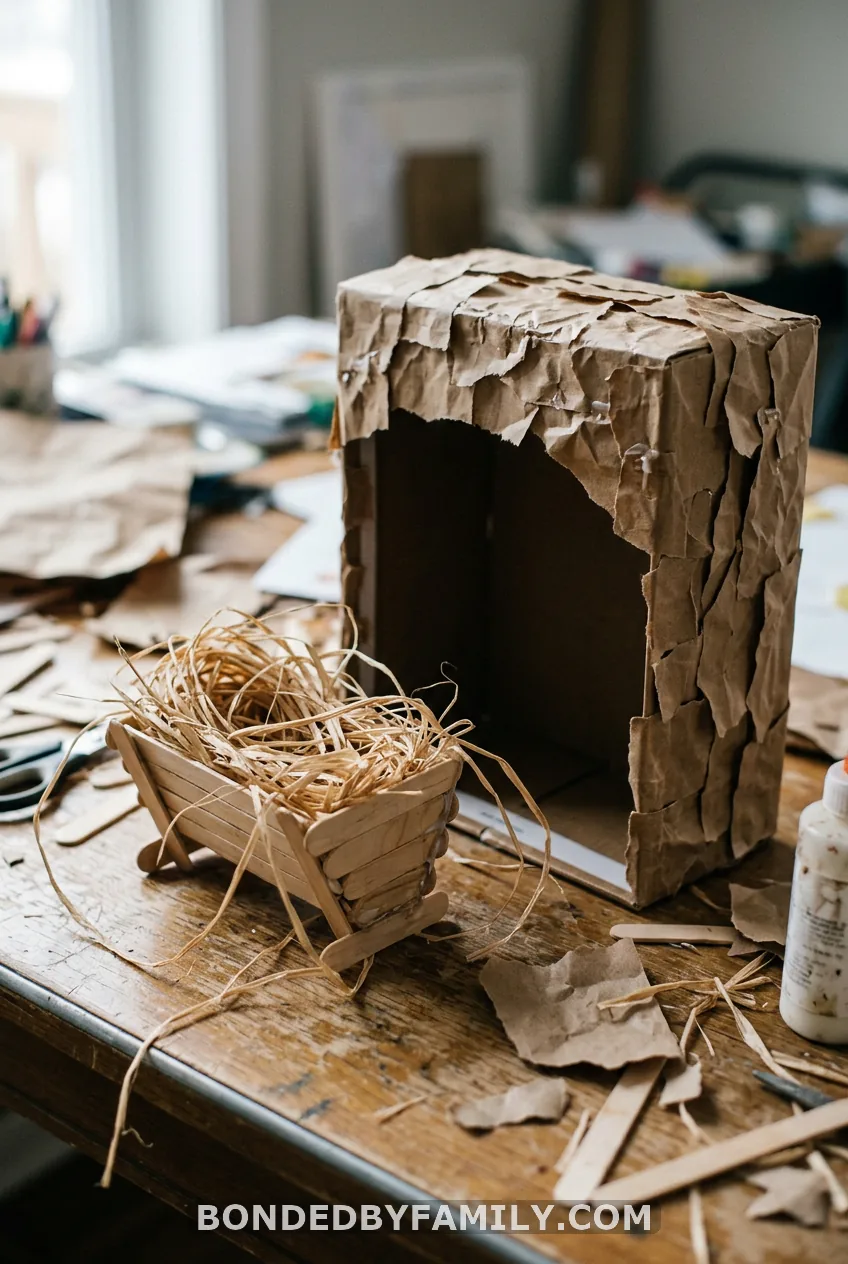
You have three options. Pick the one that matches your energy level.
Craft stick manger (adult step):
- Glue two jumbo craft sticks into an X shape. Make a second X.
- Stand both X shapes about 3 inches apart.
- Glue three more jumbo sticks across the top as the bed.
- Let the glue cool and dry for 10 minutes. Tuck in a pinch of raffia.
An adult handles the hot glue gun. Kids can press the cooled sticks together or stuff in the raffia.
Shoe-box stable: Turn a shoe box on its side. Tear brown paper lunch bags into strips and glue them on with a glue stick for a thatched look.
No-craft stable: Use the one from your existing nativity set. Done.
Step 3: Add figures kids can touch
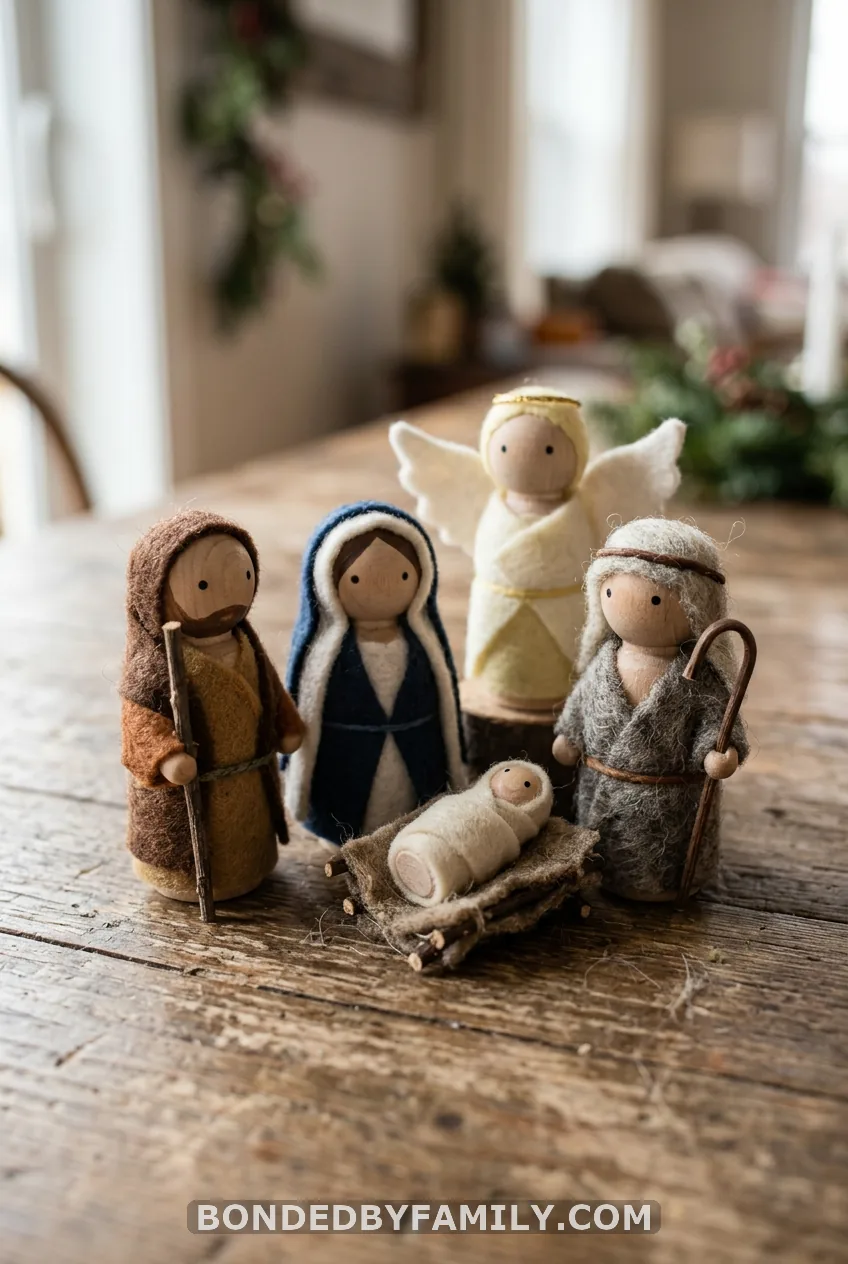
A kid-friendly nativity set or a dollar-store set works fine. Check that the paint isn’t flaking and that no piece is small enough to fit through a toilet paper tube.
To make your own, wrap wooden peg people in felt scraps and tie them with thread or a pipe cleaner belt. Mary gets blue. Joseph gets brown.
The angel gets white with a pipe cleaner halo. Baby Jesus can be a tiny felt bundle, as long as it’s larger than a toddler’s fist.
One caveat: skip tiny pieces for children under 4
Wise men crowns, tiny sheep, and gift boxes are often small. Leave them out for little ones, or use bigger versions.
Step 4: Add the storytelling details
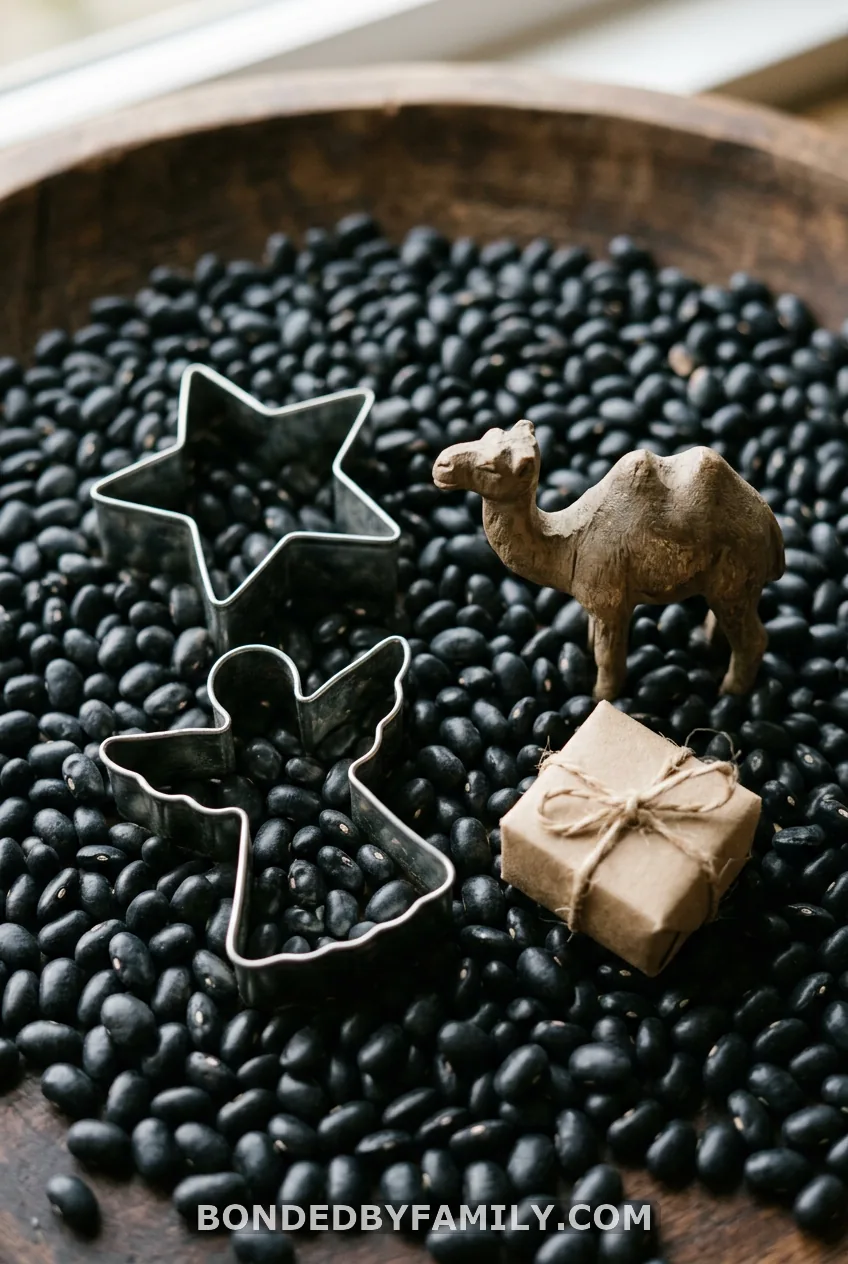
Set the star cookie cutter above the stable. Lay the angel cookie cutter nearby. Both work as props.
Metal cookie cutters can have sharp edges, so only let kids lift them out to scoop with while an adult is watching. Skip them for toddlers.
Add farm animals, a camel, three wise men, and gift boxes. Hide the wise men at the far end of the bin. Kids “travel” to find them, just like the story.
Step 5: Set up the invitation to play
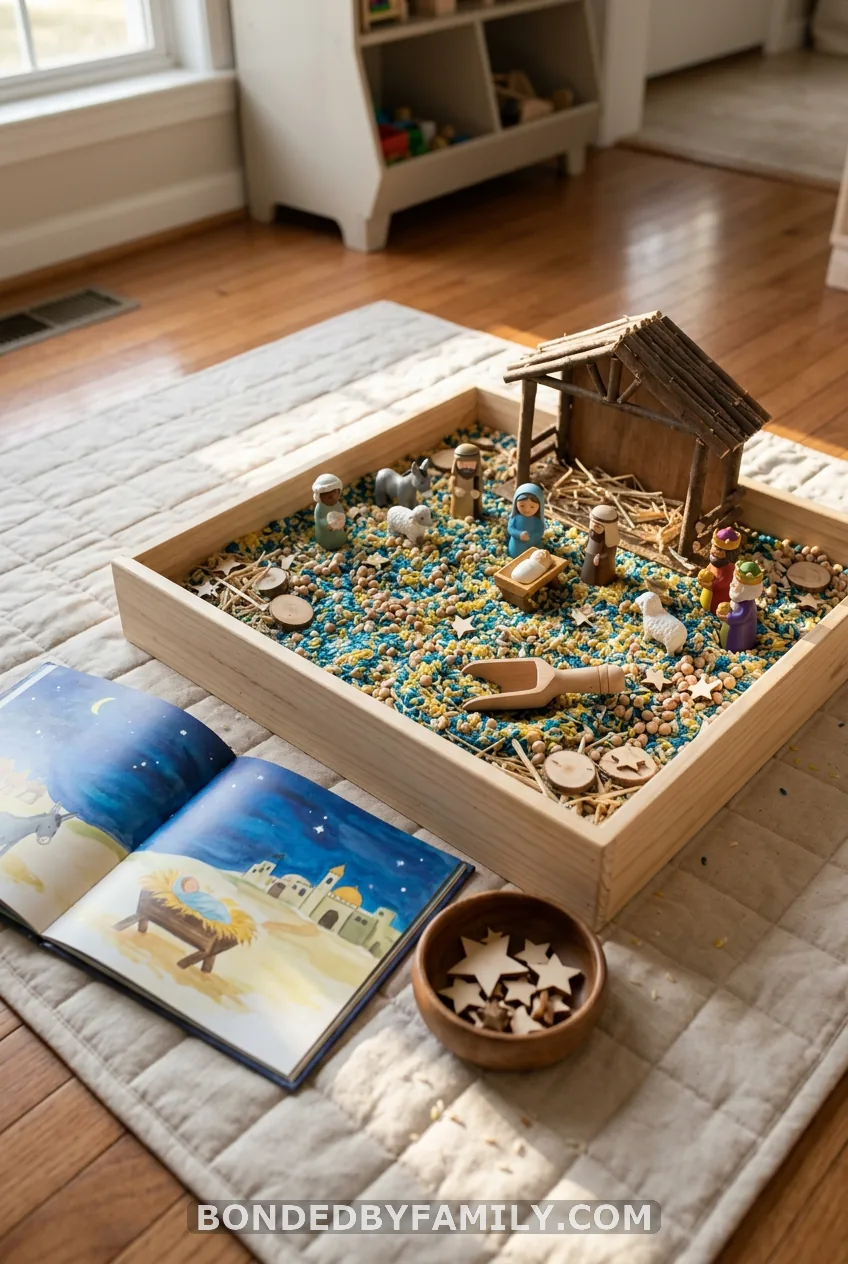
Put the stable in the middle. Mound the base around it. Lay the scoop on one edge.
For toddlers, start with only Mary, Joseph, Baby Jesus, and two animals. Add more figures over the next few days. Lean a nativity picture book against the tray so the story is right there.
Play, Retell, and Choose Your Version
Retell the nativity story
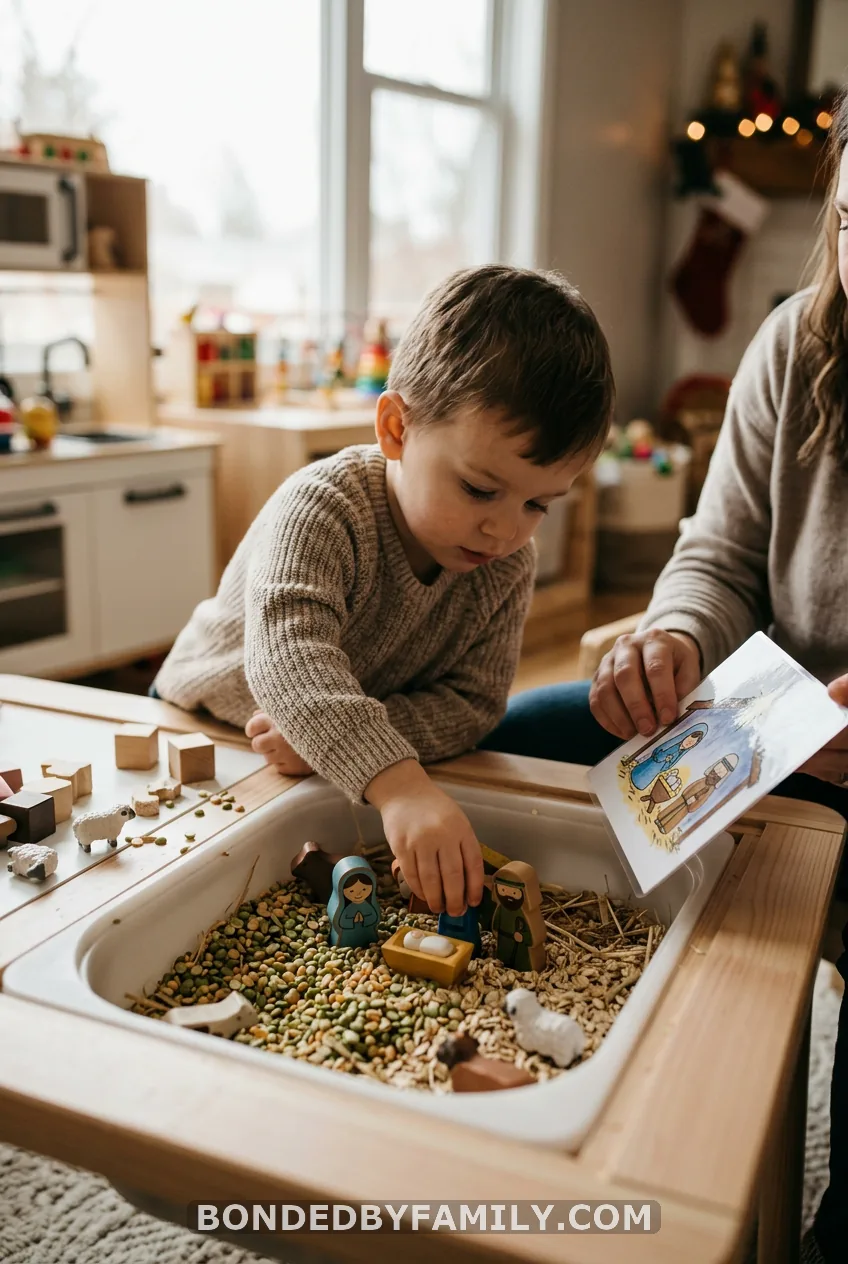
Keep prompts short and open:
- “Who is Mary holding?”
- “Where is Baby Jesus sleeping?”
- “Who followed the star?”
- “Can you find the shepherds?”
For preschoolers, draw or print six story cards: the angel visits Mary, the trip to Bethlehem, the stable, the angels and shepherds, the star, and the wise men. Mix them up and let your child put them in order, then act out each card in the bin.
Don’t correct the play. If the camel visits the stable before the angel does, let it. You can retell the story gently when they finish.
Three versions to match your child
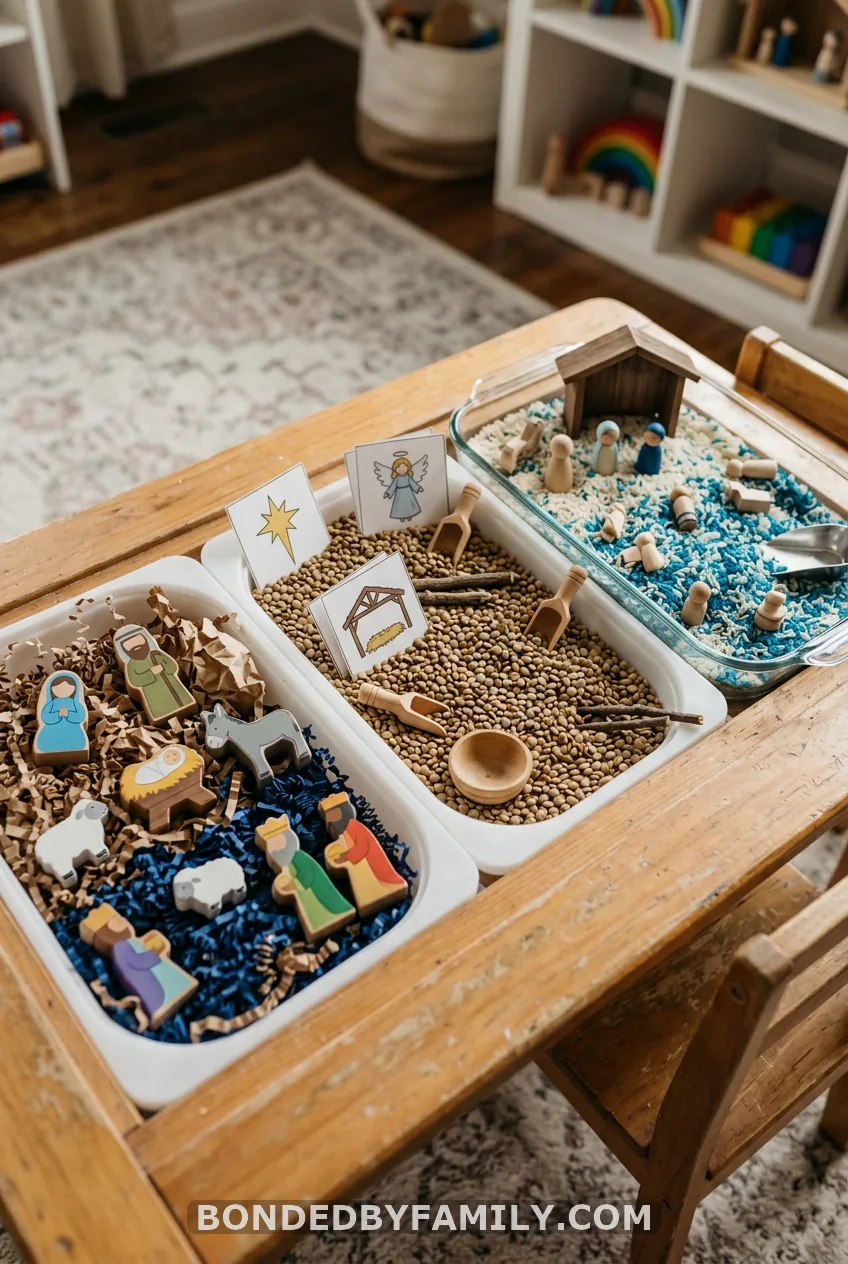
Toddler-safe (ages 18 months to 3). Use crinkle paper or oats. Use only large figures and a sturdy stable. Stay within arm’s reach the whole time.
Preschool story-retelling (ages 3 to 5). Use lentils or black beans, the full cast, a picture book, and the story cards. Add measuring cups so kids can scoop “hay” for the animals.
Budget no-craft. Pour 4 cups of plain rice into a baking dish. Add the nativity set you already own and a star cookie cutter. Five minutes, almost no cost.
Safety, Clean-Up, and Storage
Always supervise. Beans, rice, and small figures are choking hazards for children under 4, and no child should play alone with the bin.
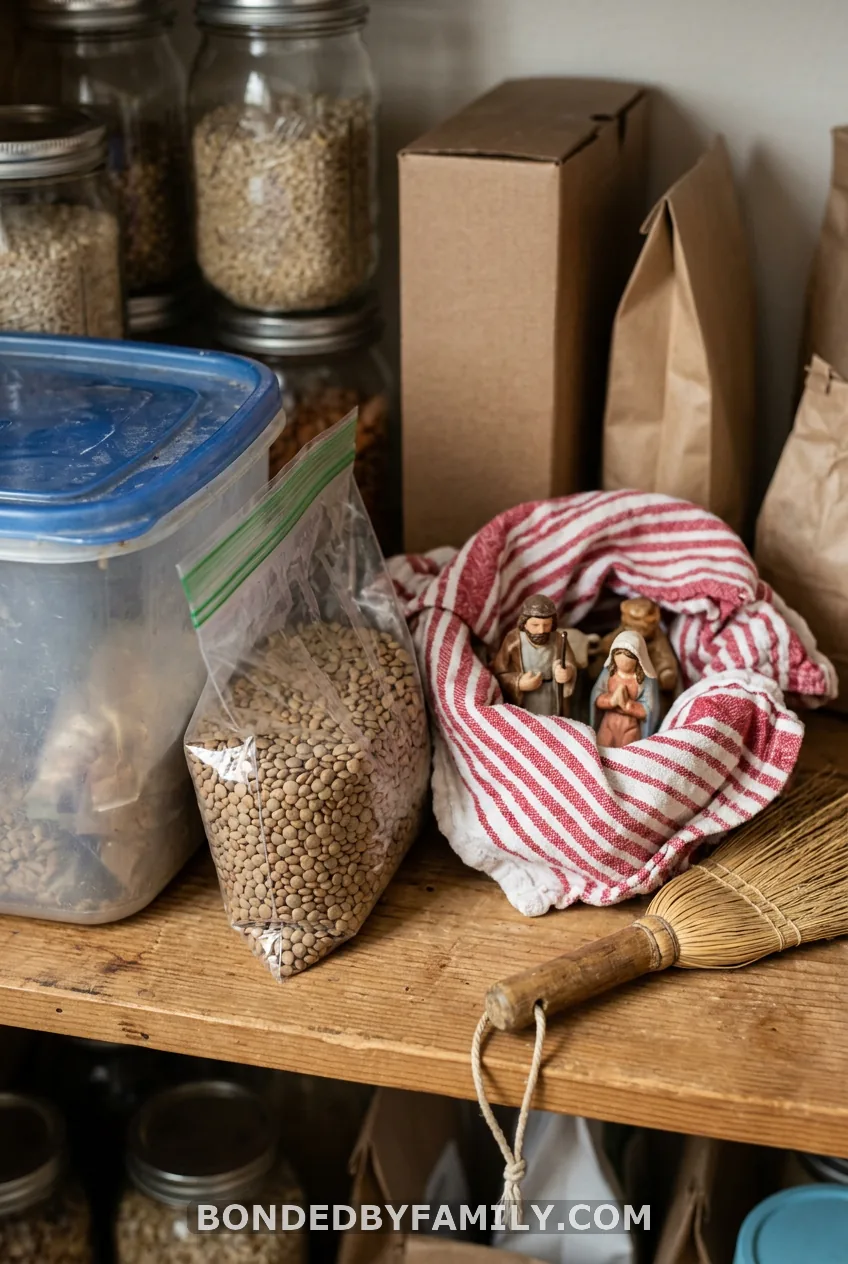
For clean-up, play on a flat sheet or beach towel. Keep a hand broom close. Set one rule: dumping the whole bin ends playtime.
To store it, pour the base into a zip-top bag or lidded tub. Wrap the figures in a dish towel. Write “Nativity bin” on the lid, and it’s ready next December.
The catch: raffia and real hay can get dusty
If anyone in your house has allergies or asthma, swap them for crinkle paper or felt scraps.
So, Which Version Will Your Family Build First?
You now have a base, a stable, a cast, and a way to tell the story. Whether you grab a foil pan and a bag of rice tonight or craft a whole felt cast this weekend, the bin will do its job. What part of the nativity story do you think your child will act out first?
FAQ
What age is a nativity sensory bin for?
It works best for ages 2 to 5 with an adult nearby. For children under 3, use large figures and a base like crinkle paper or oats, and leave out any small pieces.
What can I use instead of lentils or beans?
Plain rice, crinkle paper, raffia, shredded paper, felt scraps, or oats all work. Choose based on your child’s age, allergies, and how much mess you can handle.
How do I store a nativity sensory bin?
Keep the base in a zip-top bag or lidded tub, and wrap the figures in a towel in a separate bag. Label the lid so you can pull it out quickly next December.