My first sensory bag for babies lasted four minutes. I zipped a thin storage bag full of baby oil, taped it to the floor, and walked off to grab a burp cloth. I came back to an oil slick and a very happy, very slippery baby.
I’ve since made dozens of these, and the leaks are fixable. Below you’ll find a sealing method that works, a safety checklist, and seven bags labelled by age. Each takes about five minutes and uses things from your cupboard.
What a Sensory Bag Is (and Why It Beats a Bin)
A sensory bag is a sealed, taped pouch that babies press, squish and watch. Nothing spills and nothing goes in a mouth. That makes it a good fit for the mouthing phase, when a sensory bin turns into a snack.
Bags help with fine motor skills, hand-eye coordination, visual tracking and cause and effect. They also give babies a reason to enjoy tummy time. Expect one to ten minutes of real interest. That counts as a win.
How to Make a Sensory Bag That Won’t Leak
Follow these four steps for every bag below.
- Pick the right bag. Use a gallon freezer bag from a brand like Ziploc or Hefty. Storage bags are too thin. Double-bag anything wet.
- Fill it lightly. Use 2 to 3 cups of filler at most, and never go past two-thirds full. Press out all the air before you zip.
- Seal twice. Run duct tape over the zip. Then fold the zip end over and tape it again.
- Tape it down. Stick all four edges to the floor, a low table or a window with painter’s or washi tape.
Cost reality: about $1 per bag
A freezer bag costs around 15 to 25 cents. The roll of tape is the main expense, and it lasts for months.
Use painter’s tape on wood floors. Duct tape left for days can leave sticky residue. If you get some, rub it with a drop of cooking oil and a warm cloth.
Safety Checklist: Read This Before Bag One
Supervision is the whole safety system. Go through this list every time.
- Never leave your baby alone with a bag, even taped down.
- Check for leaks, tears and soft spots before each use.
- Trim your baby’s nails. A sharp corner is the most common cause of splits.
- Use nothing pointy and nothing small enough to choke on if the bag splits.
- Skip beads, marbles, small buttons and loose glitter in water.
- Test any warm or cold bag on your wrist first.
1. Rainbow Water Bag (Best First Bag)
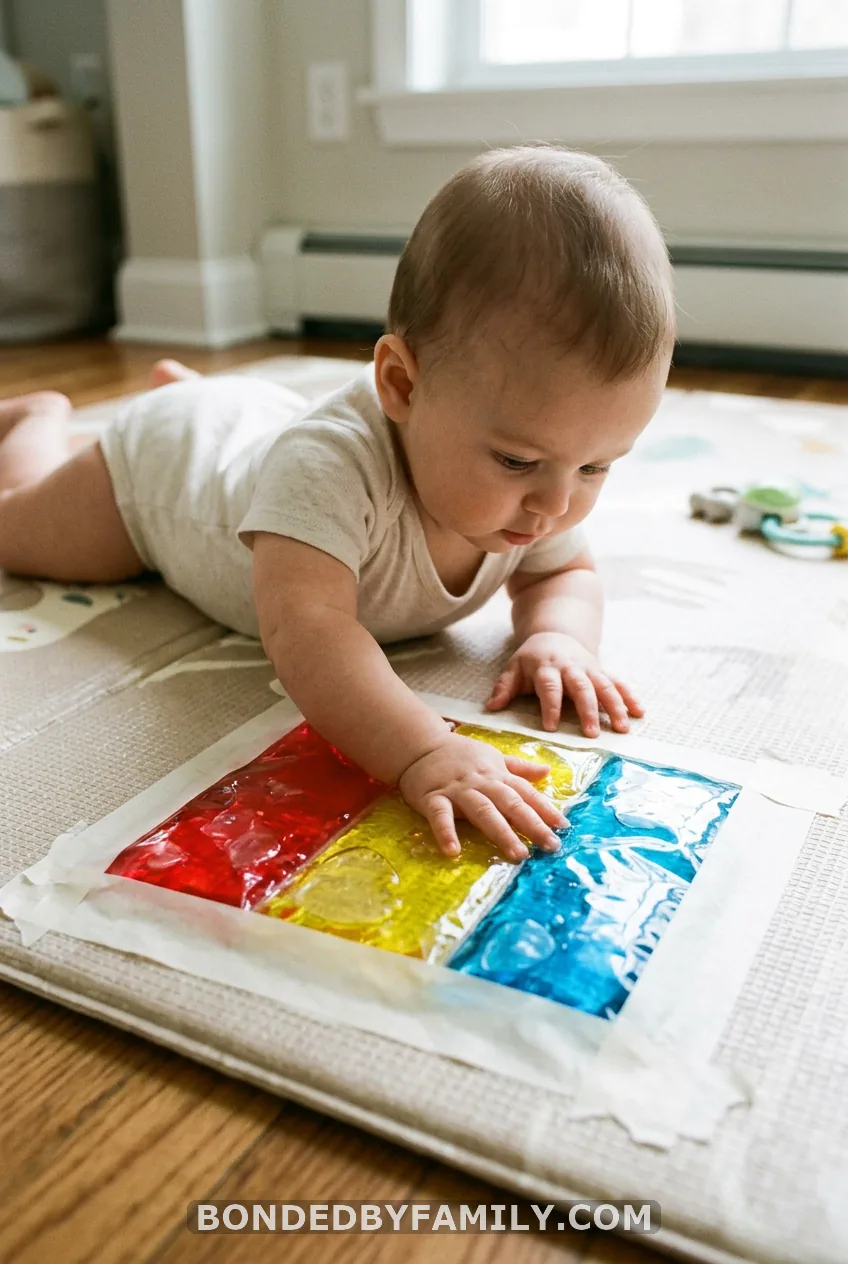
Age: 3-6 months, tummy time.
Mix 3 drops of food colouring into ½ cup of water, three times, in three colours. Pour each into its own section of a double-bagged freezer bag. Use tape to make the dividers, pressing it firmly across the bag.
Skip the glitter on your first try. Bold colour and slow movement give a young baby plenty to follow with their eyes. Tape it down at arm’s reach and let them swipe.
2. Oil and Water Lava Lamp Bag
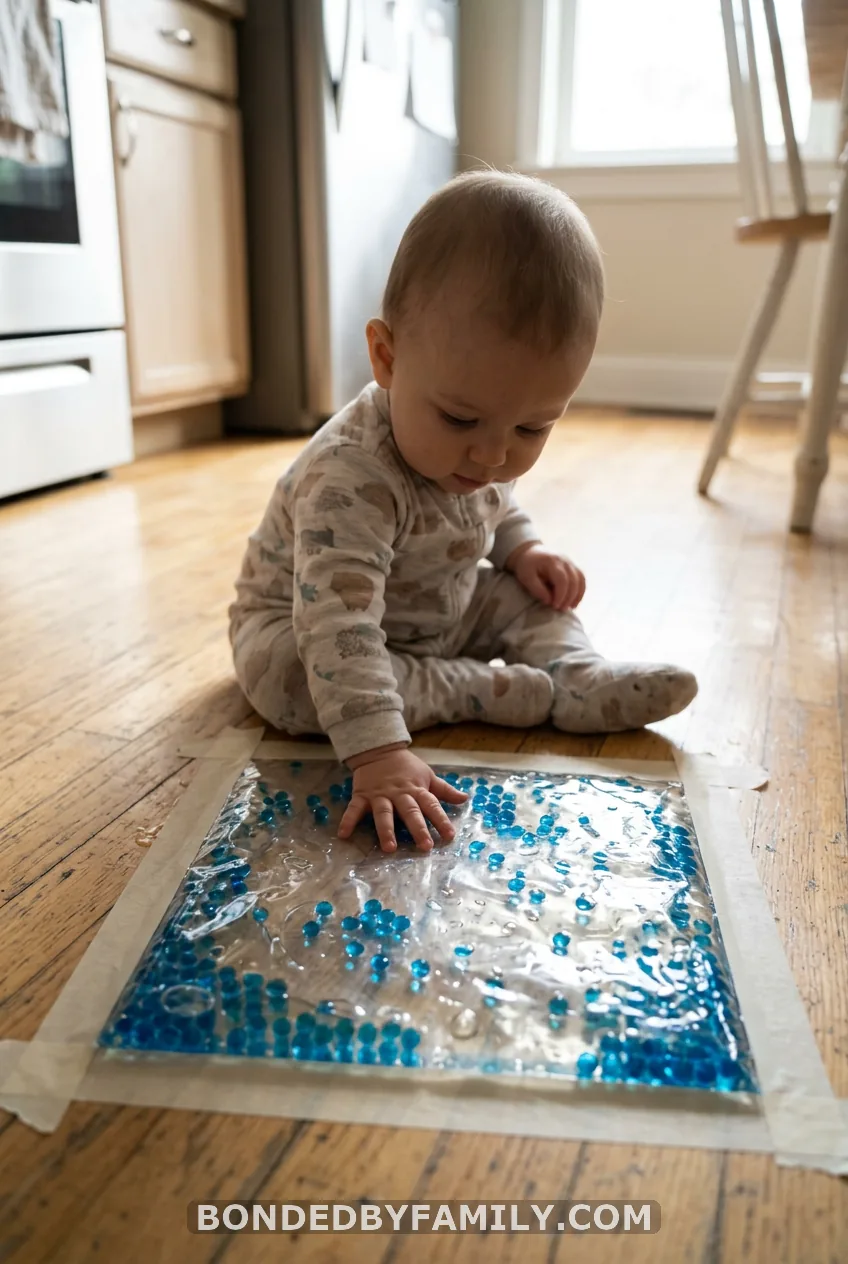
Age: 6-12 months seated, 3-6 months taped down.
This is the bag that holds a baby’s attention longest. The slow drift looks like a lava lamp. It’s also the one that leaked on me, so follow every step.
You’ll need:
- 2 cups canola, vegetable or baby oil
- ½ cup water
- 4 drops food colouring
- 2 gallon freezer bags
- Duct tape and painter’s tape
Steps:
- Stir the colouring into the water.
- Pour the oil into one bag, then add the coloured water.
- Squeeze out the air and zip. Slide the bag into the second bag and zip that too.
- Tape both zips, fold the end over, and tape again.
- Tape all four edges down.
The common mistake is a thin bag with only the zip taped. Wet fillers find the weak spot first. Tape all four edges and check the corners before every use.
Budget note: about $2
A bottle of cooking oil makes several bags. Colouring and tape you likely own already.
3. Blue Ocean Foam Bag
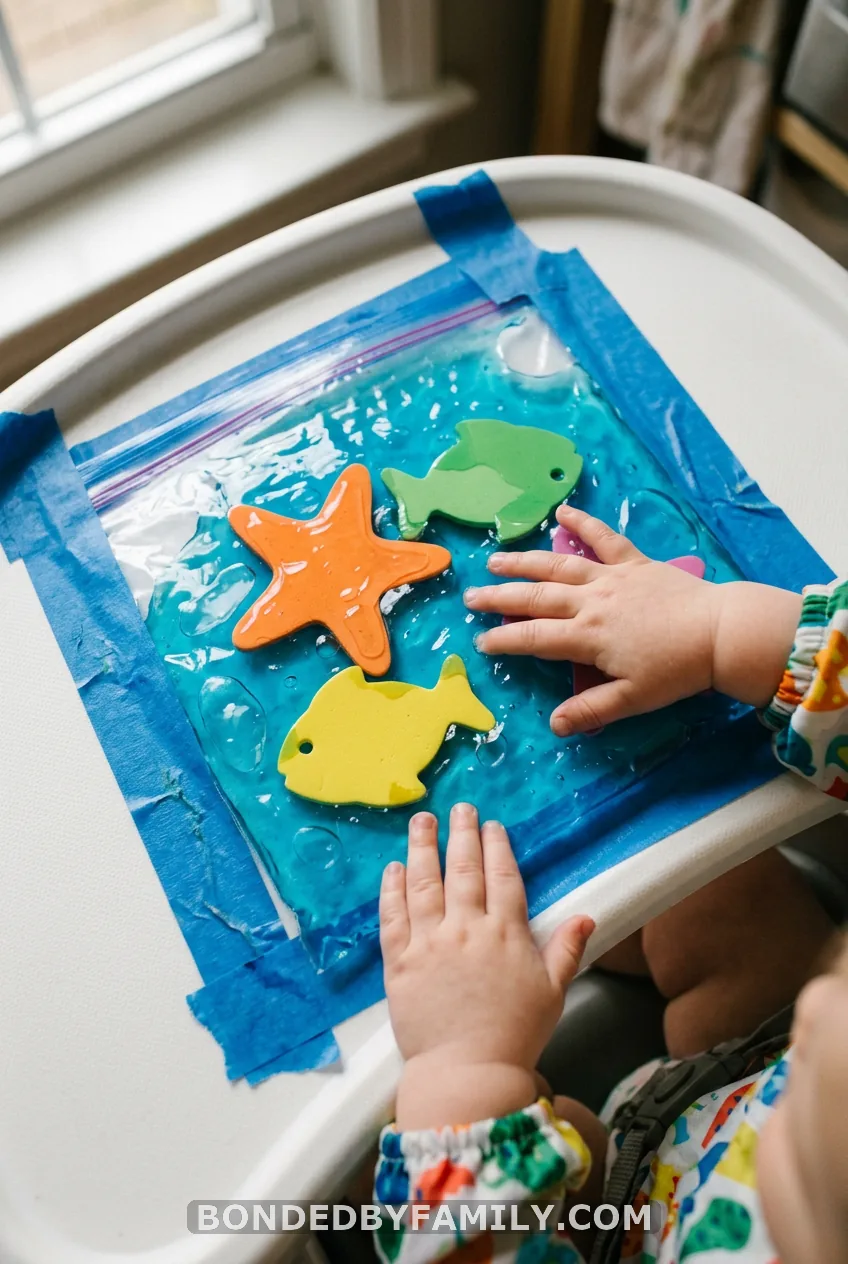
Age: 3-6 months.
Squeeze clear hair gel into the bag and tint it with a drop of blue colouring. Add large, flat foam sea shapes. Keep them bigger than your baby’s fist. Small cut-outs are out.
Themed bags get reused, especially if they match a nursery or a bedtime book.
4. Pom-Pom Push Bag
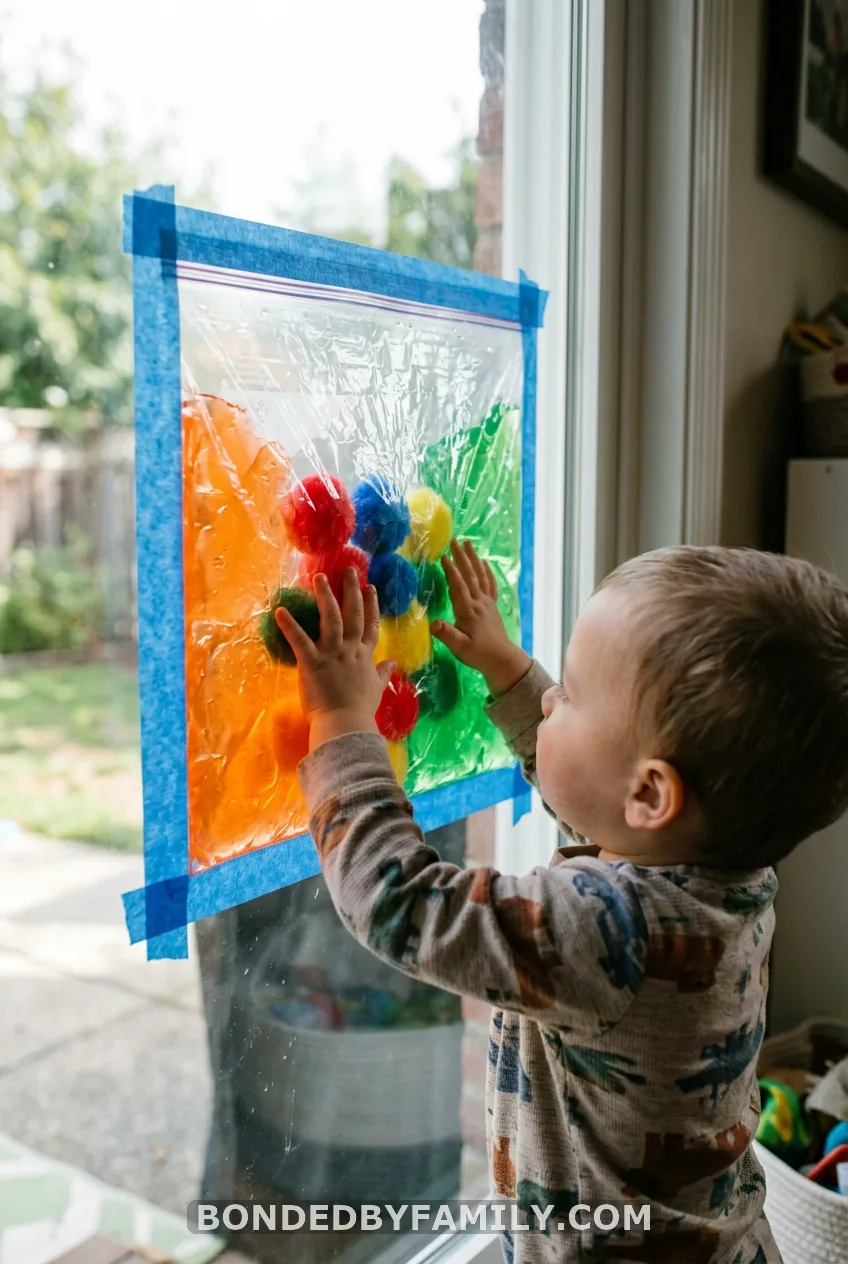
Age: 6-12 months.
Fill one half of the bag with orange-tinted gel and the other with green. Add five big craft pom-poms, at least an inch wide. Babies love pushing them across the divide.
Name each colour out loud as it moves. “Orange, orange, now green!” Your baby hears the words while they press. Tape the bag to a window at chest height for seated play.
5. Frozen Pea Bag
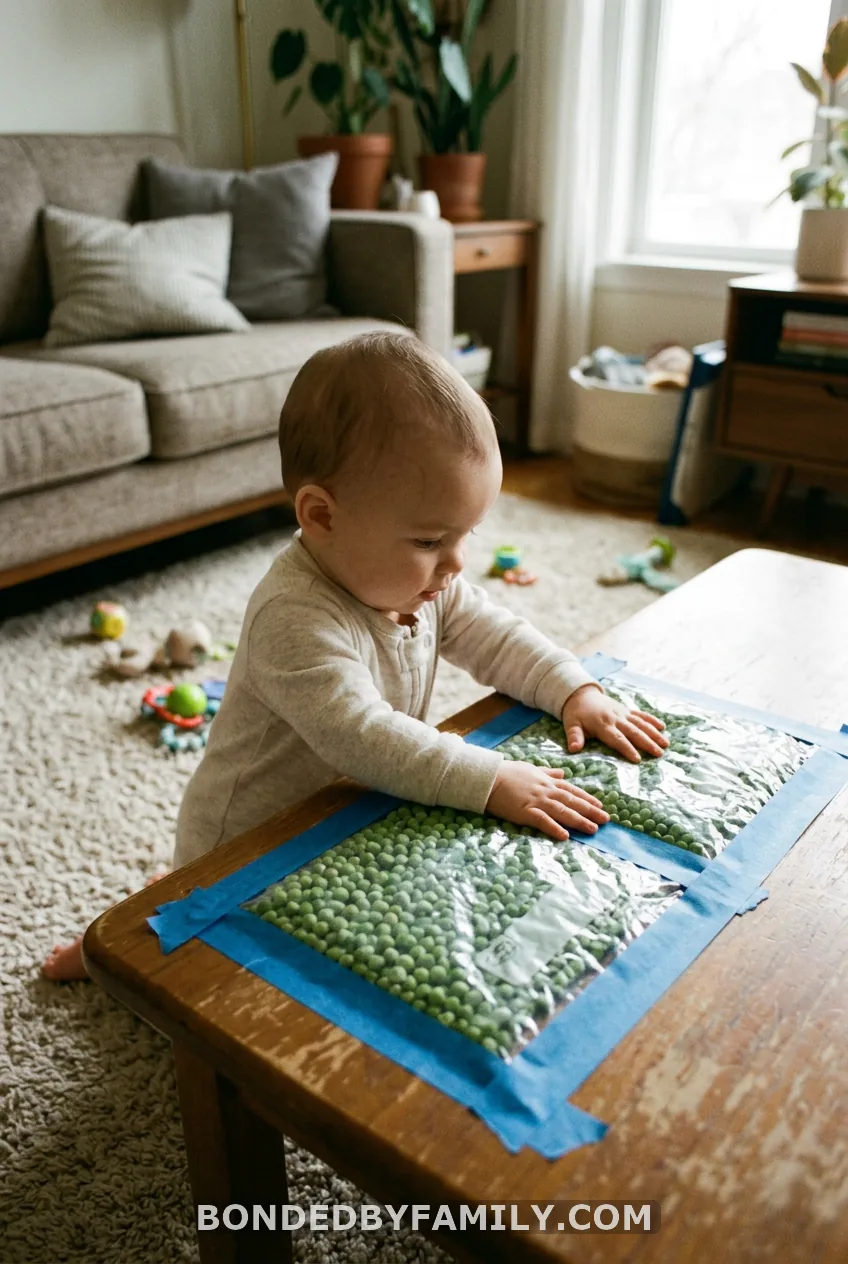
Age: 6-12 months.
Add 1 cup of frozen peas and a splash of water, then double-bag it while still cold. The gentle chill is a new sensory input. Check the temperature against your wrist first, and swap the bag when it warms up.
6. Googly Eye Gel Bag (A Cautionary Tale)
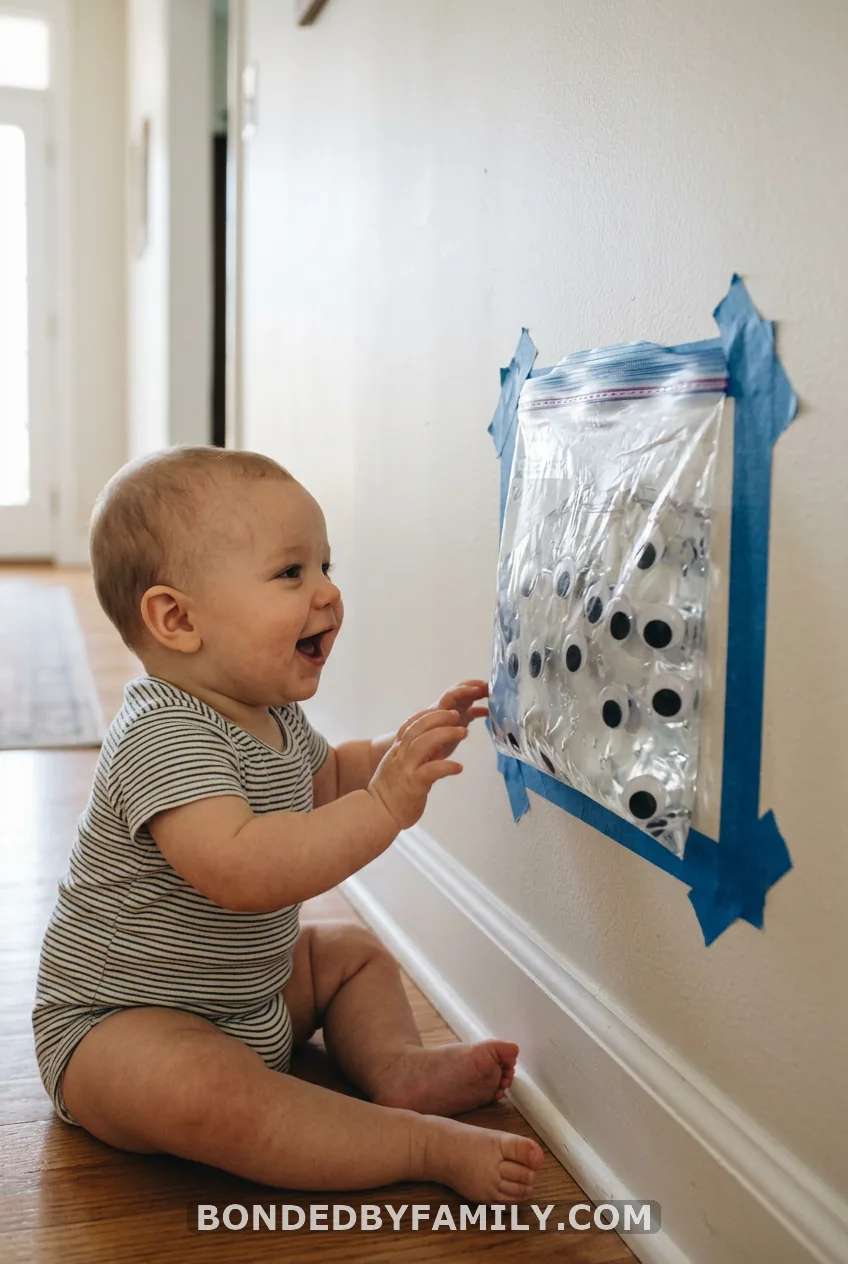
Age: 6-12 months.
My first googly-eye bag used a handful of tiny 12 mm eyes. Then my daughter pressed a corner with a sharp nail and I spent the next ten minutes picking them off the floor. I got lucky that none went near her mouth.
Now I skip googly eyes for babies and toddlers. Instead I use large foam shapes, each bigger than a toilet paper tube is wide, in clear hair gel. They glide and tilt.
Clear gel shows them off better than shaving cream does. Trim nails first, and tape the bag at the corners.
Safety: googly eyes and other small items are a choking hazard for children under 4. Never use them in a bag for a baby or toddler. Always supervise, and throw the bag out if it leaks or tears.
Older siblings can play a count-and-find game with the same bag.
7. Autumn Leaf Bag
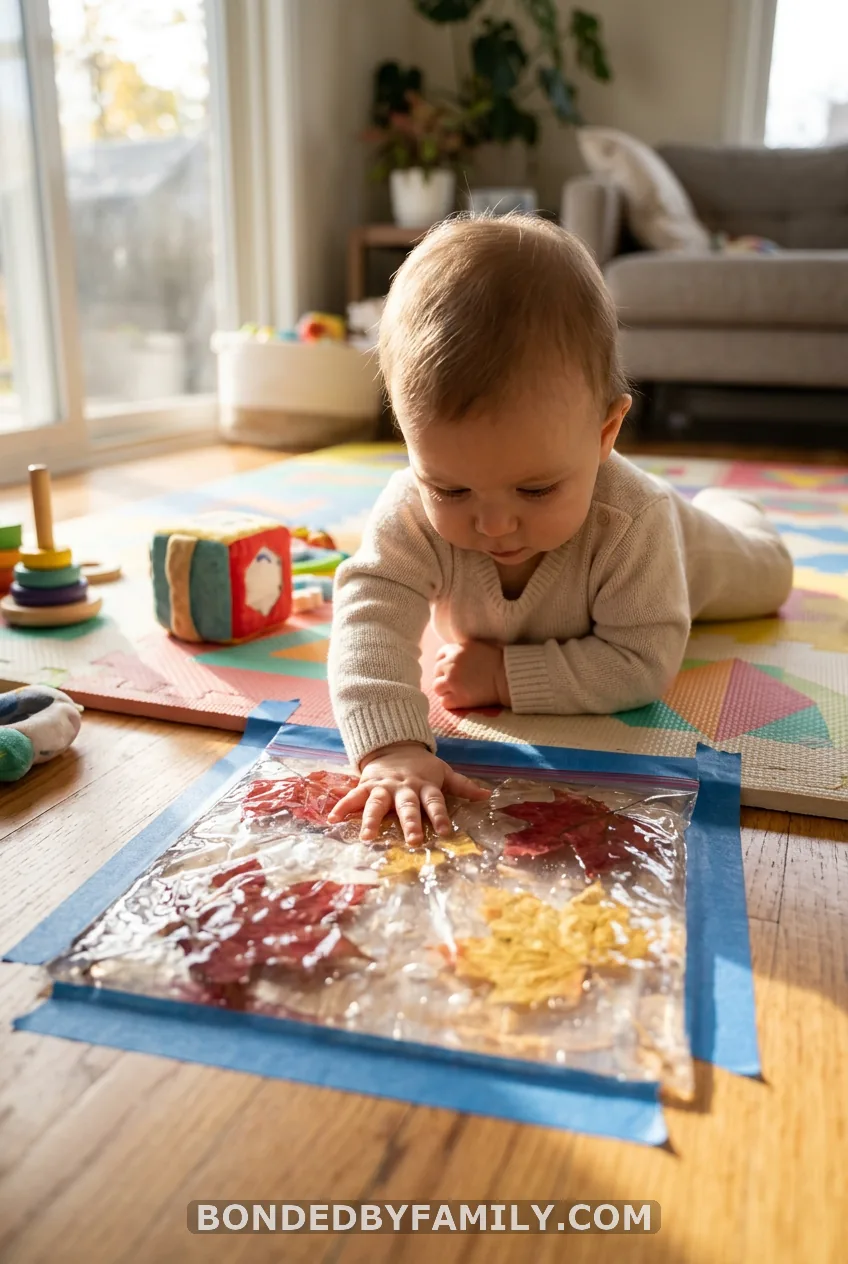
Age: 6-12 months.
Collect large, smooth leaves on a walk. Press them flat in clear gel so no sharp edges poke the bag. Make it fresh the same week, because leaf colour fades fast. Swap in flower petals in spring.
How Long Sensory Bags Last
Water bags last 3 to 5 days. Gel and oil bags last 1 to 2 weeks. Store them sealed in the fridge between sessions, and bin any that go cloudy or smell off.
If your baby loses interest in 90 seconds, rotate three bags through the week. Familiar bags feel new again.
FAQ
What age can babies start using sensory bags?
Around 3 to 5 months during tummy time, though you’ll see swipes rather than real play. From 5 to 9 months, reaching becomes deliberate and the bag teaches cause and effect.
Are sensory bags safe if my baby mouths everything?
Yes, with constant supervision. The sealed, taped bag holds the filler in. Check for leaks before each use and never leave your baby alone with it.
How much filler should go in a sensory bag?
Use 2 to 3 cups in a gallon bag, no more than two-thirds full. Overfilling strains the seams and is the top reason bags split.
Can I tape sensory bags to a window or the floor?
Yes. Painter’s or washi tape on all four edges works on floors, low tables and windows. Painter’s tape lifts off wood cleanly, while duct tape can leave residue.
Start with the rainbow water bag, double-bag it, tape all four edges, and stay beside your baby while they explore.