What is your toddler actually doing when they’re elbow-deep in a bin of rice for the third time this week?
Turns out, quite a lot. Every scoop, pinch, and squeeze is wiring up the small muscles in their hands and wrists – the same muscles they’ll need later to hold a pencil, button a coat, or zip a jacket. That’s the whole idea behind a fine motor sensory bin: a container of tactile filler paired with tools that force those little hands to work in new ways.
I’ve built dozens of these bins over the years, and I’ll be honest – most of them cost less than a fast food meal. Below are 12 that actually target something specific, not just “sensory play” in a vague sense. Each one tells you exactly which skill your kid is practicing, what to fill it with, and which dollar-store tool makes it work. Grab a bin, and let’s get those hands moving.
What Is a Fine Motor Sensory Bin, Anyway?
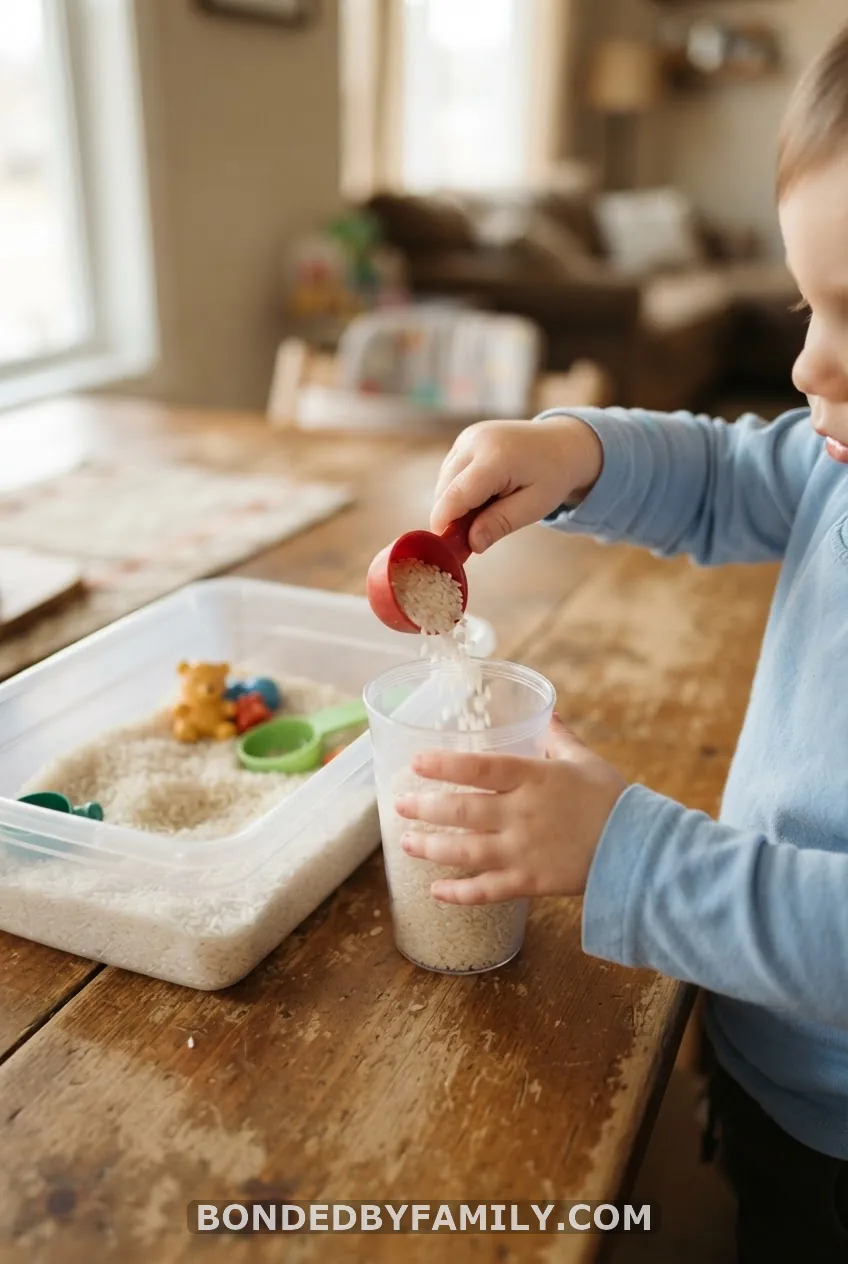
Fine motor skills are the small, precise movements made by the muscles in your hands, fingers, and wrists – think pinching, gripping, twisting, and squeezing. A sensory bin is just a container filled with some kind of tactile material (rice, beans, water, sand) that invites your child to dig in with their hands or a tool.
Put those two things together, and you get a low-mess, low-cost way to build hand strength without your child ever knowing it’s “practice.” It’s also sneaky good for language development (naming colors, textures, and objects), calming an overstimulated nervous system, and giving your child a chunk of independent play while you make dinner.
Here’s what makes this list different: instead of a pile of vague ideas, every single bin below is tagged with the exact skill it targets – scooping, pinching, threading, clipping – so you know precisely what you’re building.
1. Scooping & Pouring Rice Bin
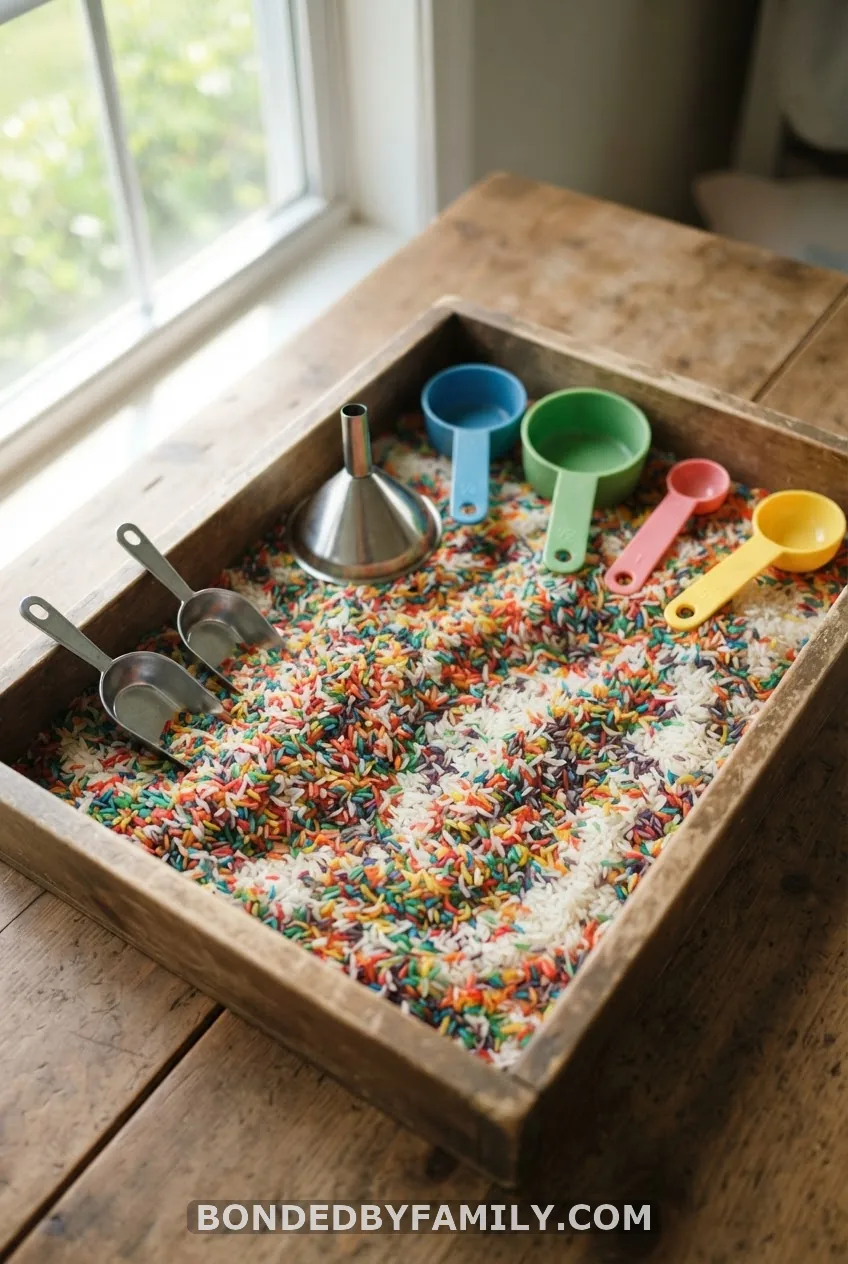
This is the starter bin, the one you build when you’re not sure where to begin. Fill a shallow plastic tub – something like a $4 Sterilite storage bin works fine – with two to three pounds of dry rice, plain or dyed with a few drops of food coloring and a splash of vinegar. Toss in a couple of metal scoops, a small funnel, and a few plastic cups.
Skill targeted: scooping, pouring, and hand-eye coordination. The wrist rotation needed to pour rice from a scoop into a narrow cup is the same motion kids will later use to pour their own cereal milk.
Want to level it up? Bury a dozen small toys in the rice and turn it into a rescue mission – more on that idea next.
2. Rescue the Animals from a Beans-and-Pasta Bin
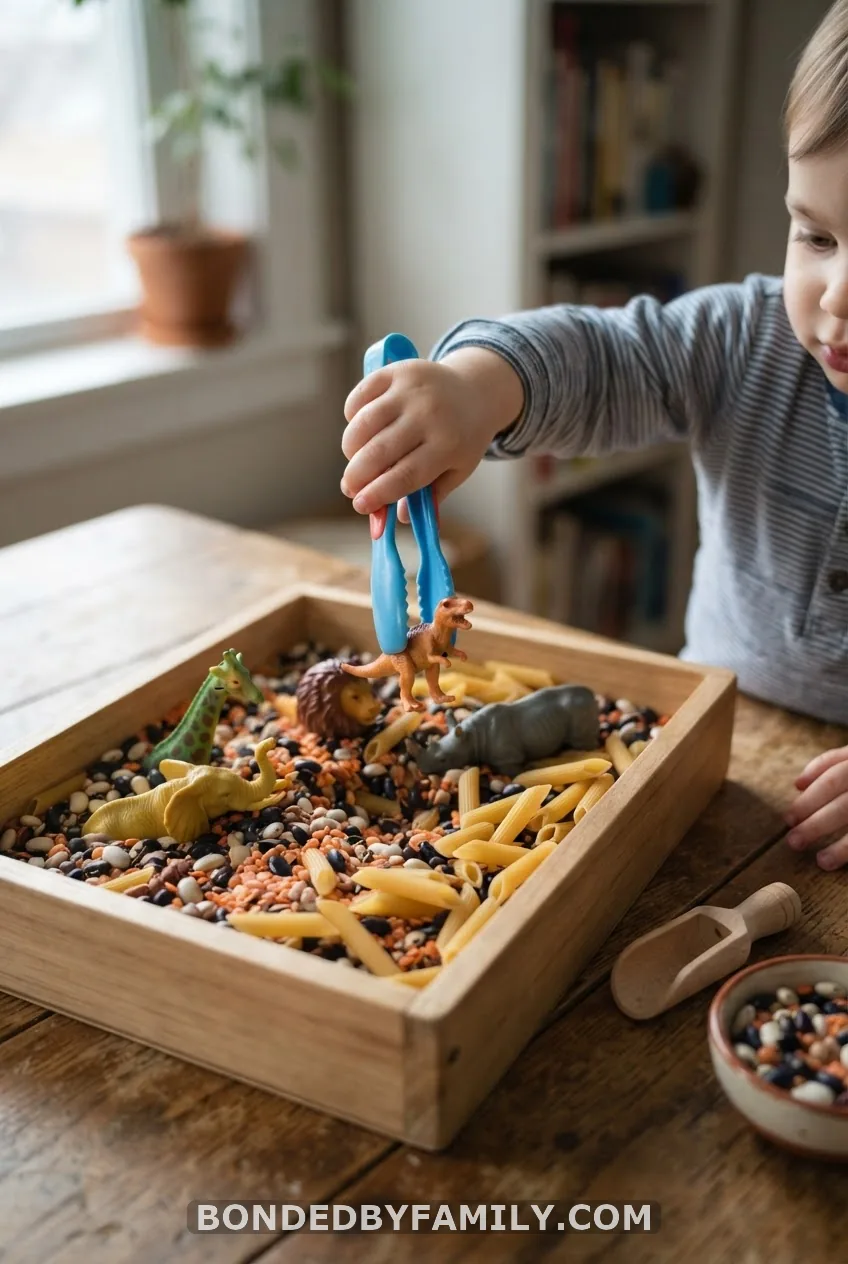
This one’s inspired by the “Rescue the Animals” safari sensory bin that’s all over Pinterest right now, and there’s a reason it keeps getting saved – it turns a fine motor drill into a story. Fill a bin with dry lentils, dried beans, or uncooked penne pasta, then bury a dozen small plastic animals or dinosaurs.
Hand your child a pair of kid-safe tongs or tweezers and tell them the animals need rescuing before the “flood” (aka bedtime) comes. Every extraction works the same tripod grasp your child needs for holding a crayon correctly.
Skill targeted: tool use, tripod grasp, pincer grip, and sustained attention – this bin holds interest longer than almost any other on this list because there’s a goal attached.
3. Pom Pom Sorting With Tweezers
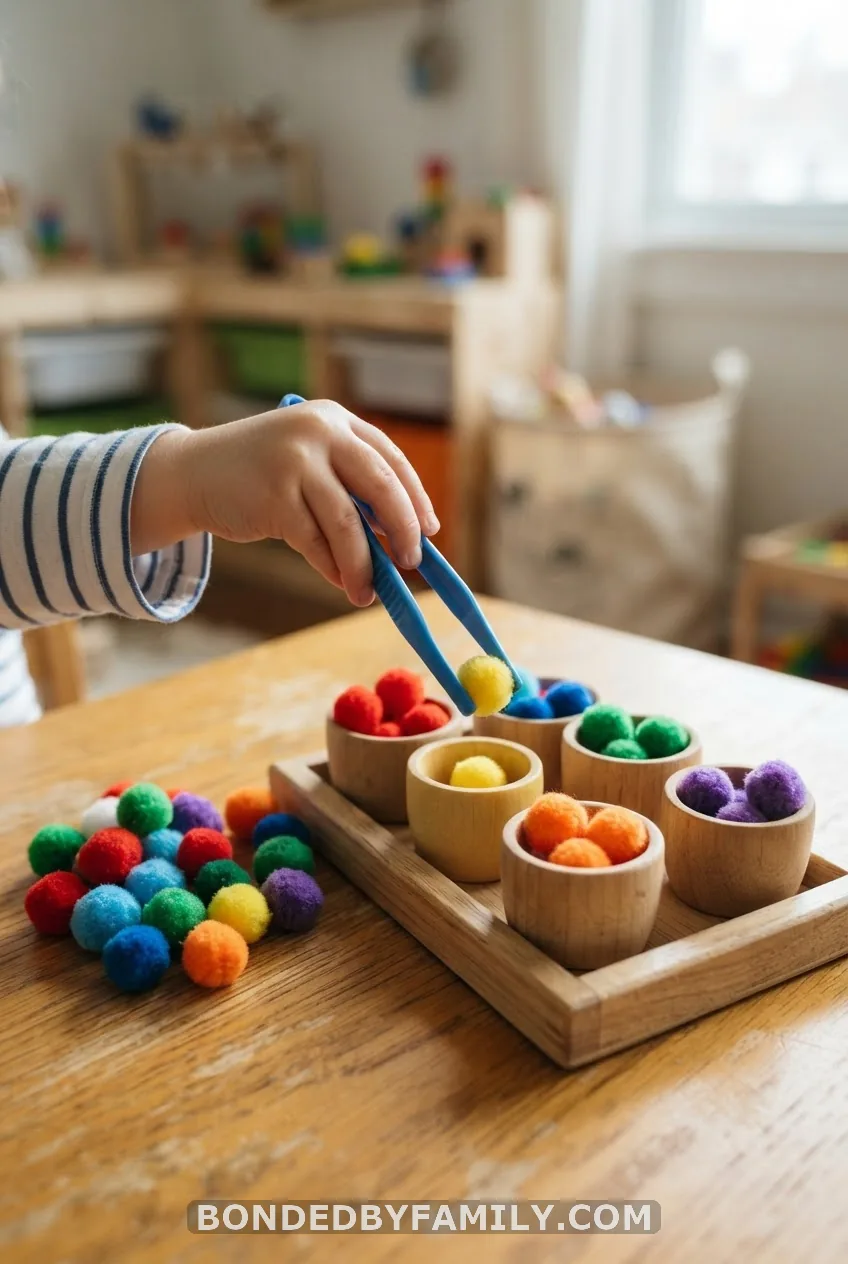
Short and sweet, this one. Fill a small tray with colorful pom poms, set out an ice cube tray or a muffin tin, and hand over a pair of child-safe tweezers.
Skill targeted: pincer grasp and color sorting. Swap in tiny pom poms instead of jumbo ones once your child masters the big size – smaller equals harder equals more growth.
4. Button Sorting Into Cups
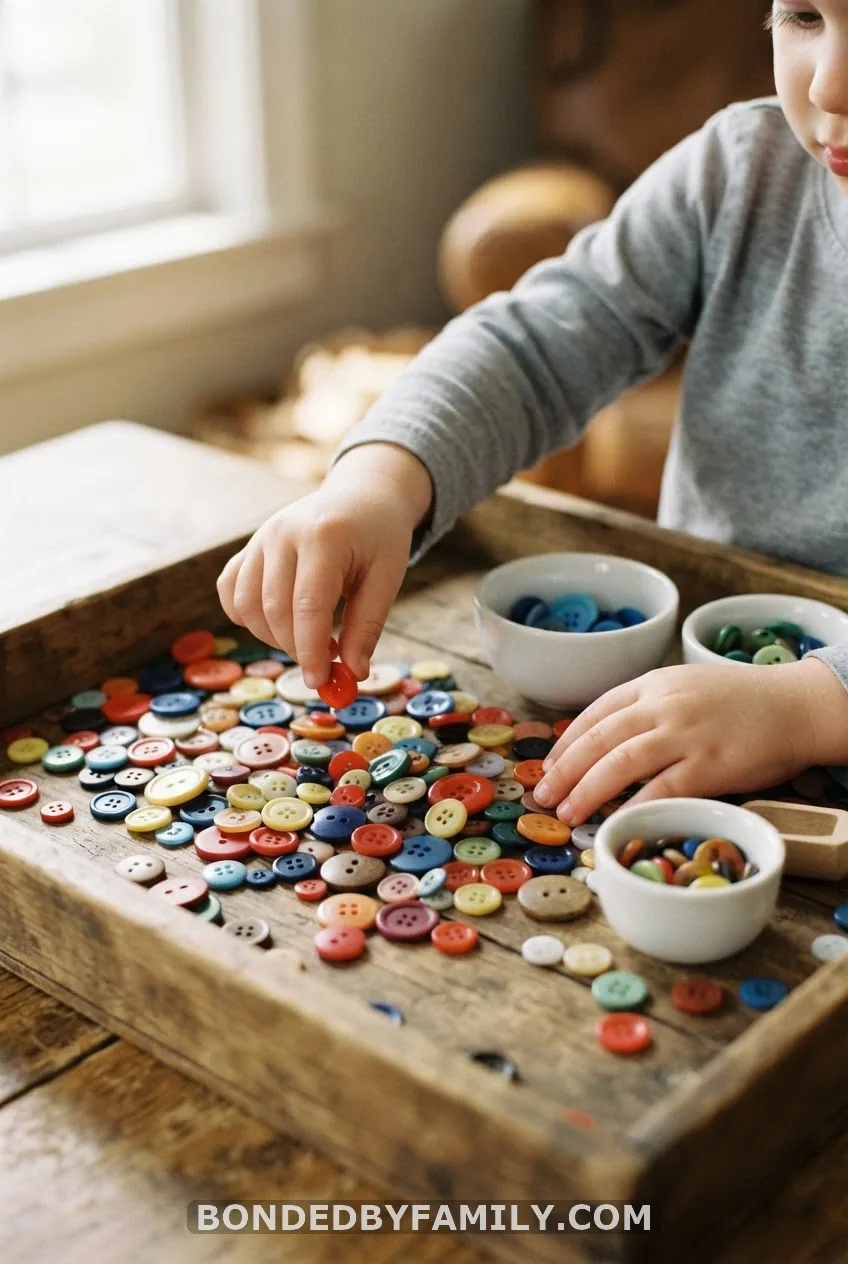
Dump a mixed bag of buttons into a shallow bin and set out a few small cups or bowls labeled (with a sticker or marker) by color. Ask your child to sort each button into its matching cup.
Skill targeted: pincer grasp, visual discrimination, and bilateral coordination – one hand steadies the cup while the other places the button, which is trickier than it sounds for a 2-year-old.
One caveat here: buttons are a genuine choking hazard. This bin is for supervised play only, and it’s not appropriate for any child still mouthing objects. Skip it entirely if you’ve got a younger sibling crawling around nearby.
5. Pipe Cleaners Through a Colander
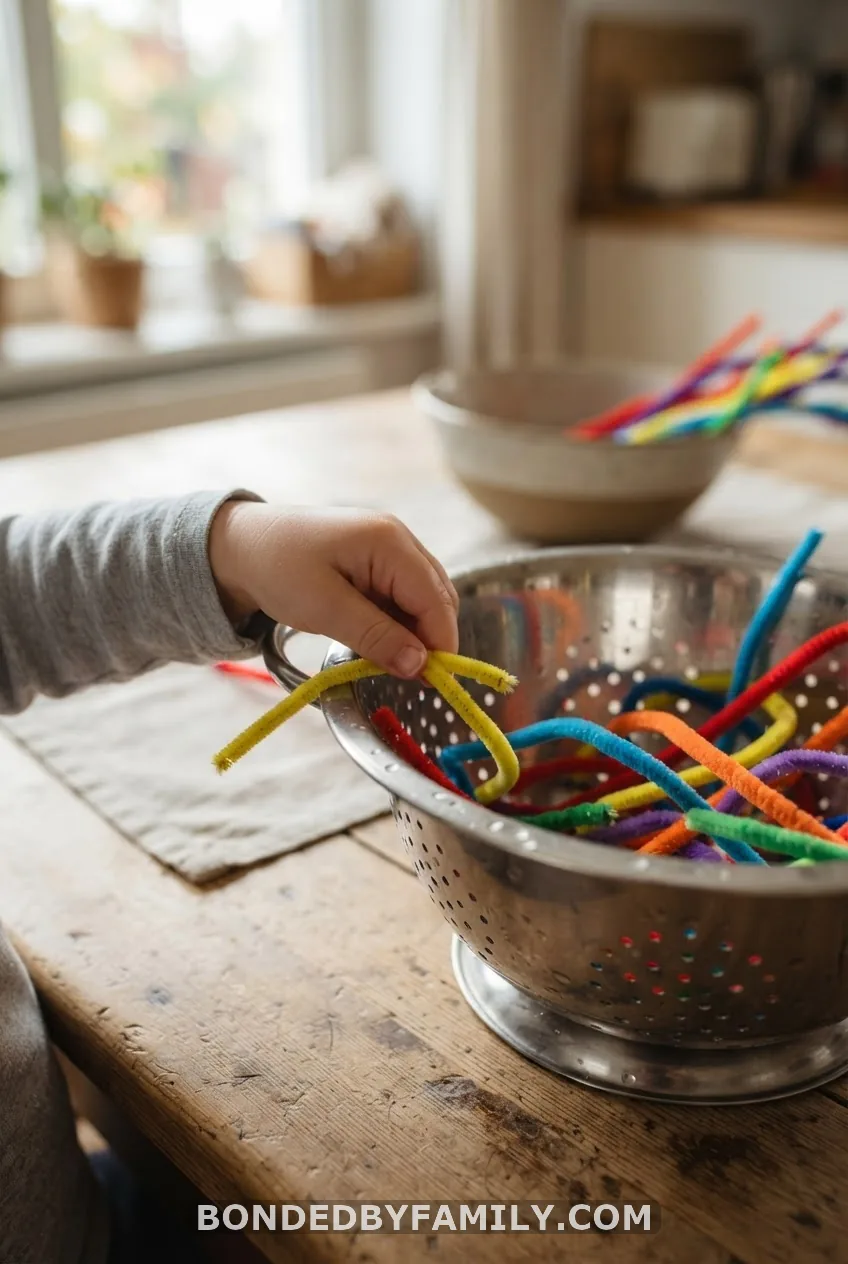
Flip a plastic colander upside down, hand your child a fistful of pipe cleaners, and let them poke each one through a hole. That’s the whole activity, and it’s genuinely mesmerizing for a three-year-old.
Skill targeted: threading and finger dexterity. The pincer grip needed to guide a floppy pipe cleaner into a small hole is surprisingly demanding – way harder than it looks for adult hands, let alone toddler ones. When they’re done, you’ve got an accidental sculpture that looks like a colorful porcupine.
6. Straw Poke Into a Covered Box
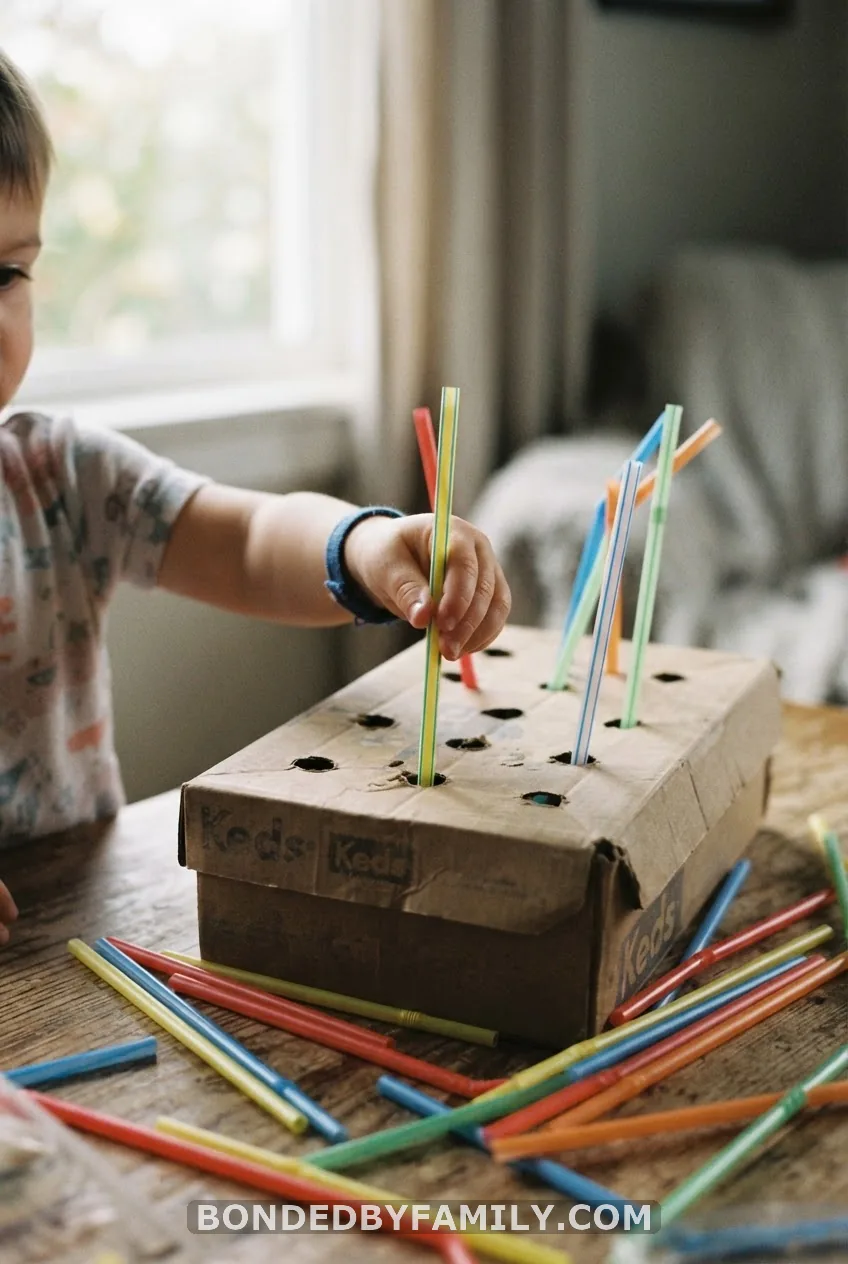
Poke a row of holes into the plastic lid of a shoebox or a coffee can lid using a box cutter (you do this part, not them). Cut some drinking straws into 3-inch pieces and let your child push each one through a hole.
This sounds almost too simple to matter, but the precision required – lining up a thin straw with a small hole and pushing it through with steady wrist control – is exactly the kind of movement that later translates into holding scissors correctly. Add a number sticker next to each hole and count together as pieces go in.
Skill targeted: wrist stability and precision grip.
7. Clothespin Clip and Match
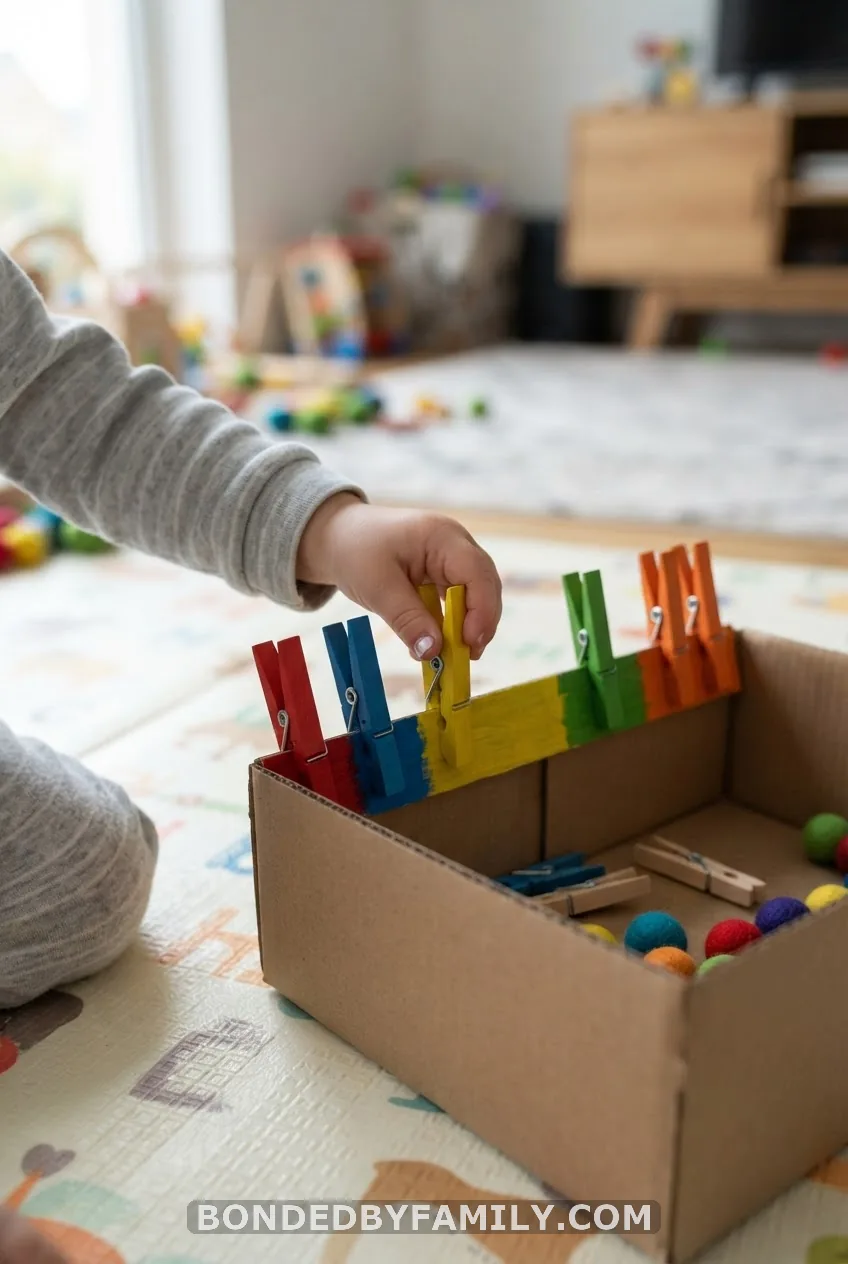
Clip wooden clothespins around the rim of a paper plate or cardboard box lid. Write a letter, number, or color dot on each clothespin, then a matching set around the plate’s edge.
Skill targeted: finger strength and pinch grip. Clothespins work the same muscles used for a mature pencil grasp, and this game is one of the fastest ways I’ve found to build that strength – most kids need real effort to squeeze that spring open the first few tries, and that struggle is the point.
8. Rubber Bands Around a Ball
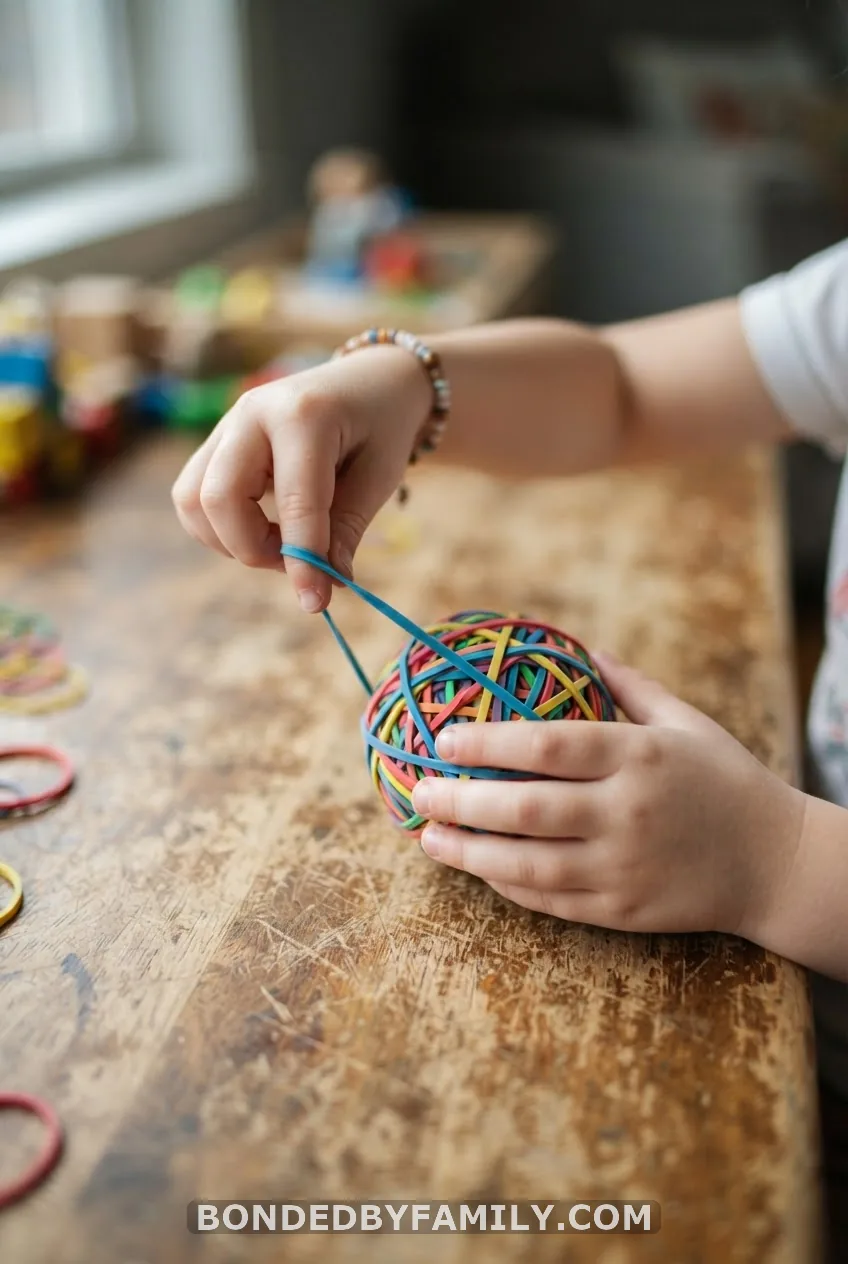
This is one of those bins that looks like nothing and works like magic. Set a small rubber ball, a globe, or even a round oatmeal container in front of your child along with a bowl of rubber bands. Their job: stretch each band around the object.
Skill targeted: grip strength and finger isolation. Stretching a rubber band wide enough to fit over a ball works the intrinsic hand muscles – the tiny ones between the knuckles – harder than almost anything else on this list.
9. Sponge Squeeze and Scoop Water Bin
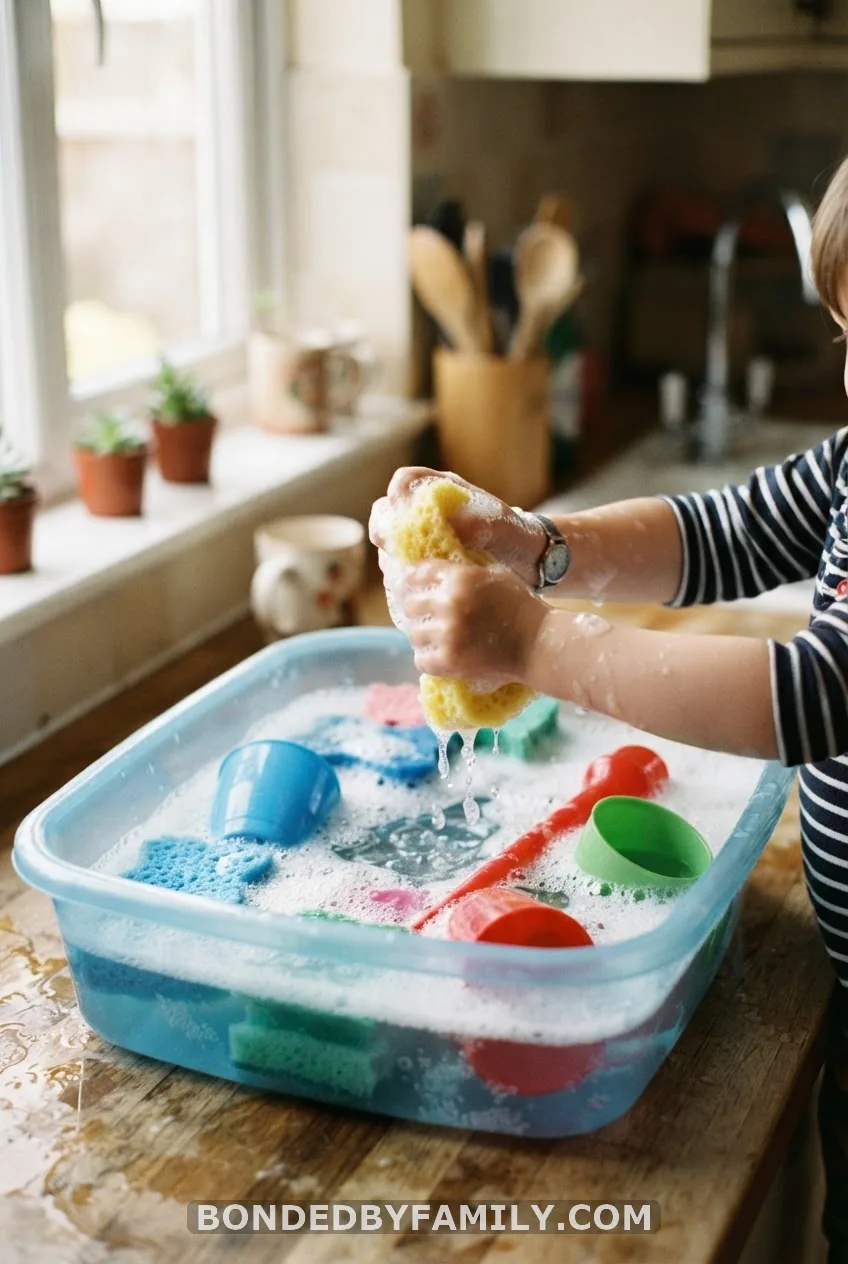
Fill a shallow tub with a couple inches of warm, soapy water. Toss in a few sponges, a turkey baster, and a stack of empty cups. Set it up on a towel, or better yet, take the whole thing outside.
Skill targeted: squeezing and bilateral coordination. Wringing out a soaked sponge takes real hand strength, and using a baster to transfer water from one cup to another builds the same muscle control needed to eventually work a syringe-style medicine dropper. This is also, hands down, the messiest bin on this list, so plan your location accordingly.
10. Taste-Safe Cheerio Bin for Babies and Young Toddlers
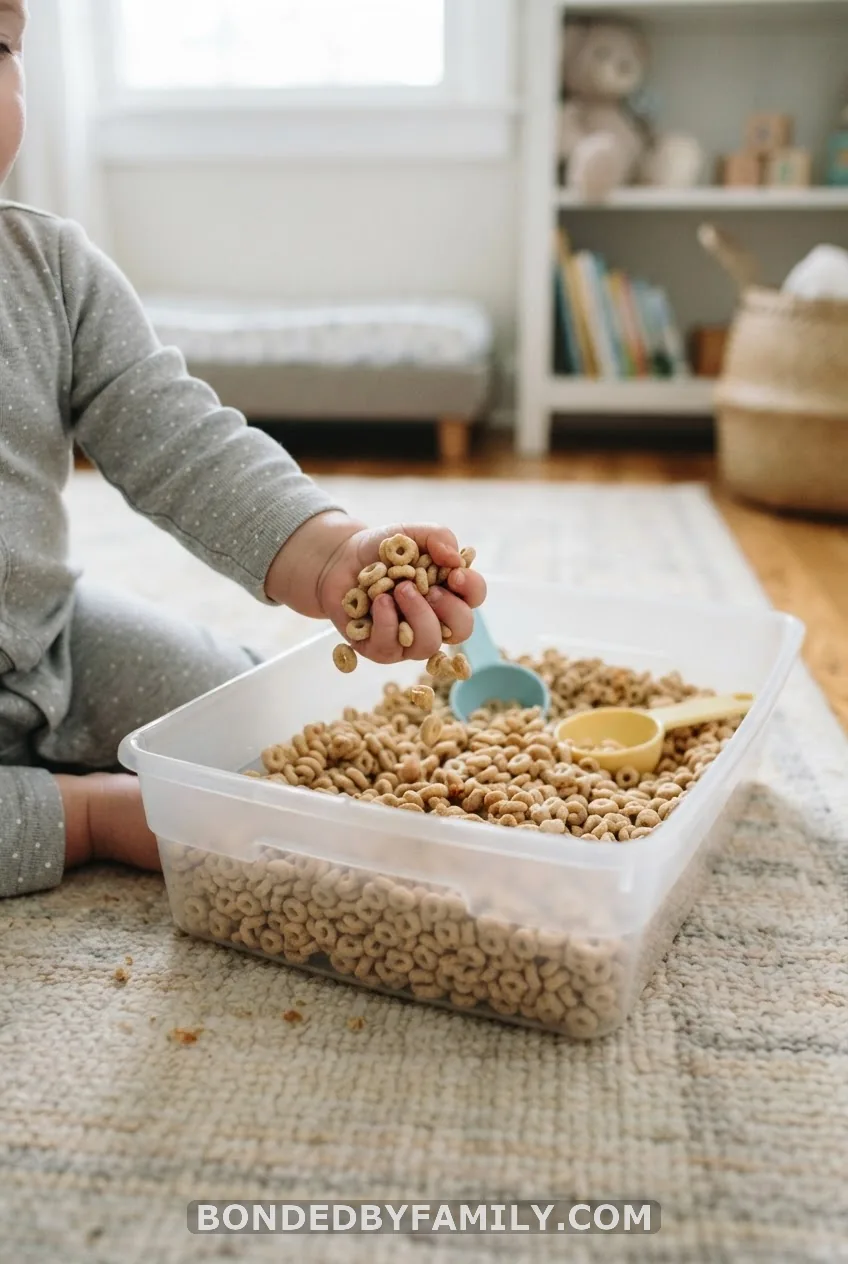
For babies around 10 months and up who still put everything in their mouths, fill a bin with plain Cheerios or another large O-shaped cereal. Add a couple of chunky scoops and shallow cups.
Skill targeted: early pincer grasp and scooping – plus, since it’s edible, there’s zero panic when a fistful ends up in their mouth instead of the cup. Supervise closely anyway, since Cheerios can still be a choking risk for babies under 6 months or anyone not yet sitting independently.
11. Find the Treasures in a Seasonal Themed Bin
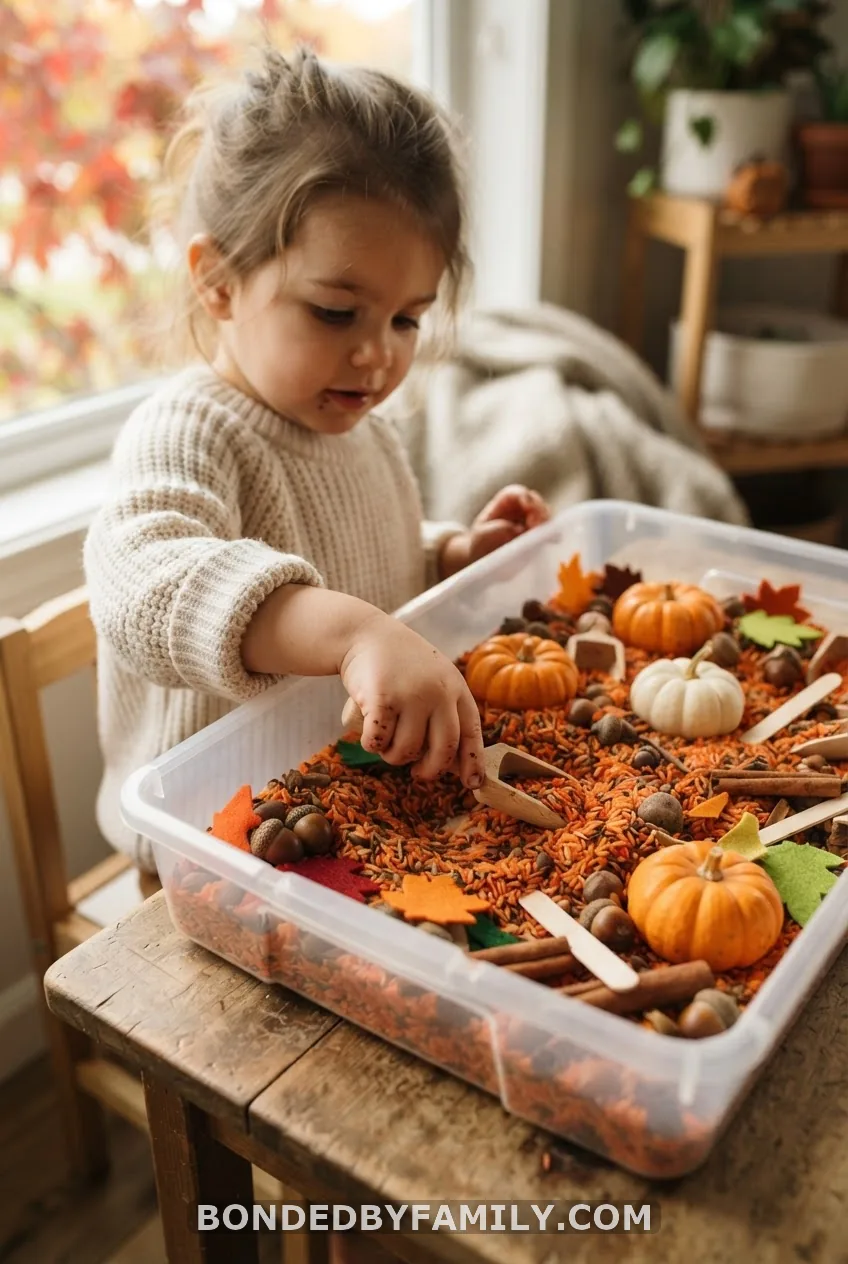
This is where sensory bins get genuinely fun for you, not just the kids. Rotate your filler by season: dyed green rice with plastic shamrocks for spring, white rice “snow” with tiny pinecones and jingle bells for winter, orange rice with mini pumpkins and craft-stick “sticks” for fall.
Bury small themed treasures – plastic gems, ornaments, mini erasers, or wooden buttons – and let your child dig them out with a scoop or their bare hands. Beyond the fine motor digging and tool use, seasonal bins are a sneaky vocabulary builder. You’re naming new words constantly: pinecone, acorn, ornament, gem. Some parents build a full 12-month rotation using nothing more than food coloring, rice, and a bag of dollar-store trinkets bought right after each holiday clears out – those post-holiday clearance bins are basically free sensory bin material waiting to happen.
Skill targeted: tool use, sustained digging, and vocabulary alongside fine motor development.
12. How to Build a Fine Motor Sensory Bin on a Budget
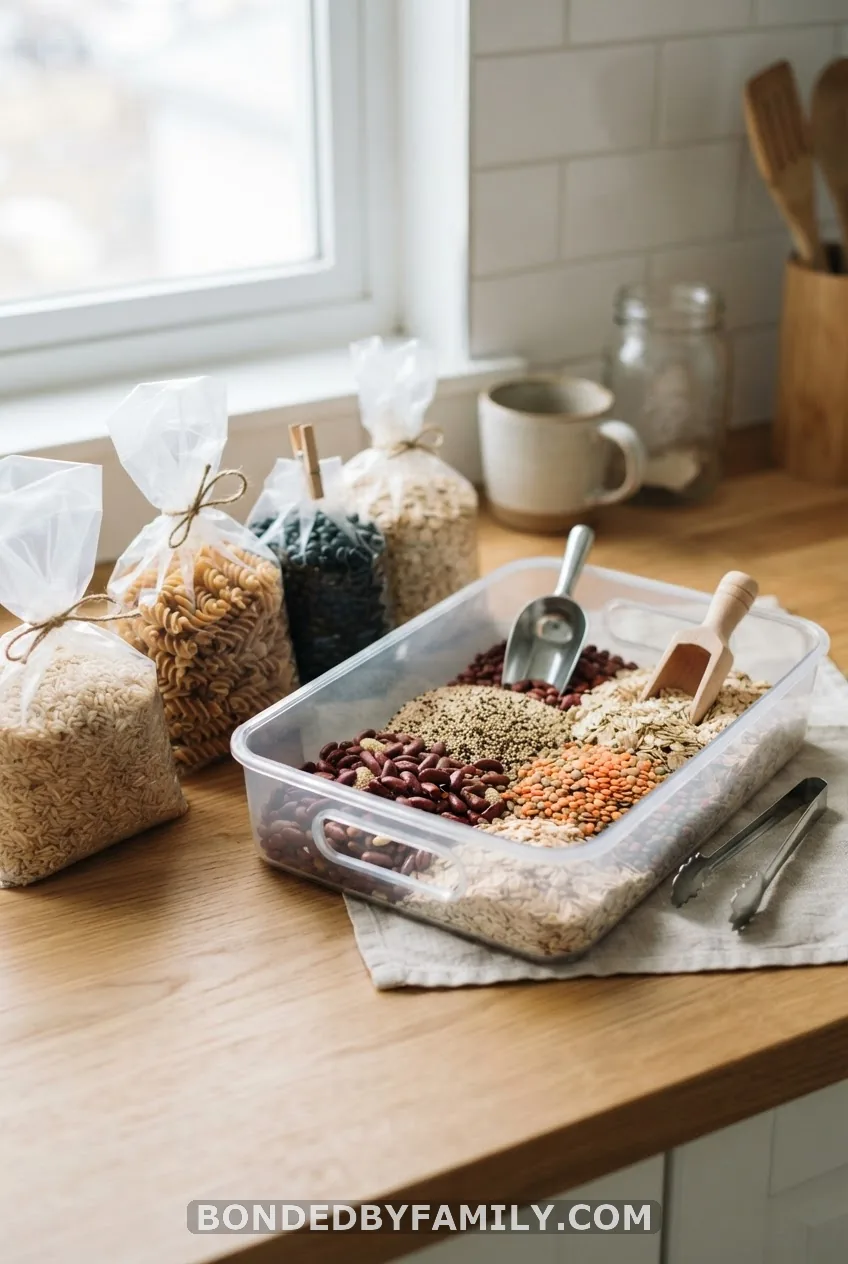
You don’t need a Pinterest-perfect setup to start. Here’s the entire formula.
Container: any shallow plastic tub, an old shoebox, or even a large mixing bowl you already own works fine. You want something with a wide, low profile so little arms can reach in easily – roughly 3 to 5 inches deep is the sweet spot.
Cheap fillers (pick one): dry rice, dry beans, lentils, rolled oats, uncooked pasta, or play sand. A 4-pound bag of rice runs about $3 and fills a medium bin with room to spare, and you can reuse the same batch for months if you store it in a sealed container between uses.
Dollar-store tools: tweezers, kitchen tongs, small scoops, a turkey baster, a muffin tin, an ice cube tray, a funnel. Most of these run $1.25 to $5 at a dollar store or already live in a kitchen drawer somewhere in your house.
The rotation trick: don’t buy new filler every week. Instead, swap the small objects hidden inside – plastic animals one week, buttons the next, seasonal trinkets after that – while reusing the same base filler. Store dry fillers in a labeled gallon zip bag or a $5 plastic bin with a lid, and you’ve got a sensory bin system that costs almost nothing to maintain long term.
Fine Motor Sensory Bin Safety Tips Every Parent Should Know
Sensory bins are low-risk, but not zero-risk, and a few rules keep them that way.
Always supervise this kind of play, full stop – no walking away to answer the phone, especially with kids under 3. Skip choking hazards like water beads, buttons, dry beans, and small craft pieces for any child who still mouths objects; water beads in particular are dangerous if swallowed because they expand. For babies and young toddlers, stick to taste-safe fillers like Cheerios, cooked and cooled spaghetti, or plain oats. If you’re using pasta or wheat-based filler, double-check for gluten or wheat allergies in your household or playgroup first. And when playtime wraps up, sweep up spills right away and store the bin somewhere out of reach – a top shelf or closet works better than under the crib.
What I’m Trying Next in Our Sensory Bin Rotation
Next up on our list is swapping the rice bin for a bean-and-tongs rescue mission, since my youngest has finally figured out how to squeeze tweezers without mashing her whole fist closed. I’m also stashing a bag of dyed rice in a sealed container right now so the winter “snow” bin is ready to go the second the first cold snap hits. That’s the real trick with these bins – you don’t need twelve tubs and a Pinterest board. You need one bin, one skill, and about ten minutes to set it up before your kid notices you’re gone.
FAQ
What is a fine motor sensory bin?
It’s a container filled with tactile material like rice, beans, or water, paired with small tools or objects that strengthen the small muscles in a child’s hands and fingers through scooping, pinching, squeezing, and sorting.
At what age can I introduce a fine motor sensory bin?
Babies can start with a taste-safe bin, like the Cheerio bin above, around 6 to 10 months with close supervision. Most toddlers do well with scooping and pouring bins starting around 12 months, then move into tweezer and clothespin activities around ages 2 and 3.
What are the best fillers for a sensory bin on a budget?
Dry rice, dry beans, pasta, oats, and play sand are the cheapest options, usually $2 to $5 per bag, and you can reuse the same batch for months by storing it in a sealed container between play sessions.
How do I stop my child from eating the sensory bin filler?
If your child still mouths objects, switch to taste-safe fillers like Cheerios, plain oats, or cooked and cooled spaghetti, and stay close enough to redirect them if needed. Non-edible fillers like rice or beans should wait until your child reliably keeps materials out of their mouth.