The playdough was fine. It was the scissors that ruined my Tuesday.
My four-year-old, Wren, had decided she was ready for “real cutting” while I answered one text message. One. By the time I looked up, she’d sliced a chunk out of the couch cushion, a curtain, and – impressively – her own sleeve, all while announcing “I’m STRONG now, Mommy.” I stood there holding a dustpan of foam bits, wondering how something meant to build hand strength had nearly redecorated my living room.
That afternoon sent me down a rabbit hole. Turns out, fine motor activities for preschoolers don’t need worksheets, fancy kits, or unsupervised scissors near soft furnishings. They need small hands, a few household items, and about ten minutes of your attention. That’s it.
Below are 16 activities I’ve actually tested on my own kids – some brilliant, some messy, one that involved a lot of apologizing to my rug. Every one of them strengthens the same muscles your child needs for holding a pencil, buttoning a coat, and zipping their own backpack someday. Let’s get those little hands working.
Why Fine Motor Skills Matter More Than You Think
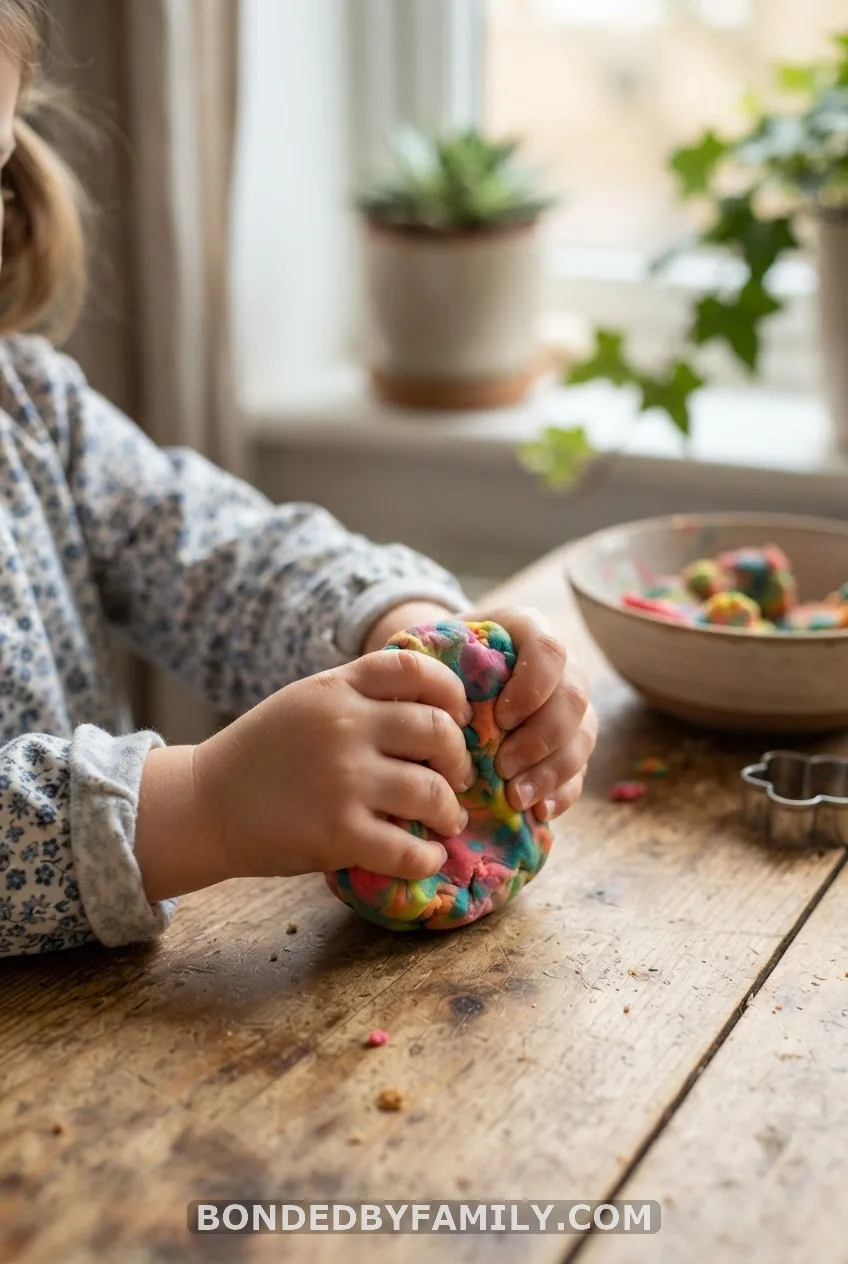
Fine motor skills aren’t just about handwriting readiness, though that’s part of it. They’re the muscles behind zipping a jacket, holding a fork steady, turning a doorknob, and pulling up pants after using the bathroom. These are the tiny wins that build a preschooler’s whole sense of independence.
Short, playful sessions beat long structured ones every time. Five to ten focused minutes of squeezing, pinching, or threading does more for hand strength than twenty minutes of a bored kid staring at a worksheet. Keep it low-pressure, keep it short, and celebrate the effort – not the perfection.
1. Playdough Roll, Pinch, and Squeeze
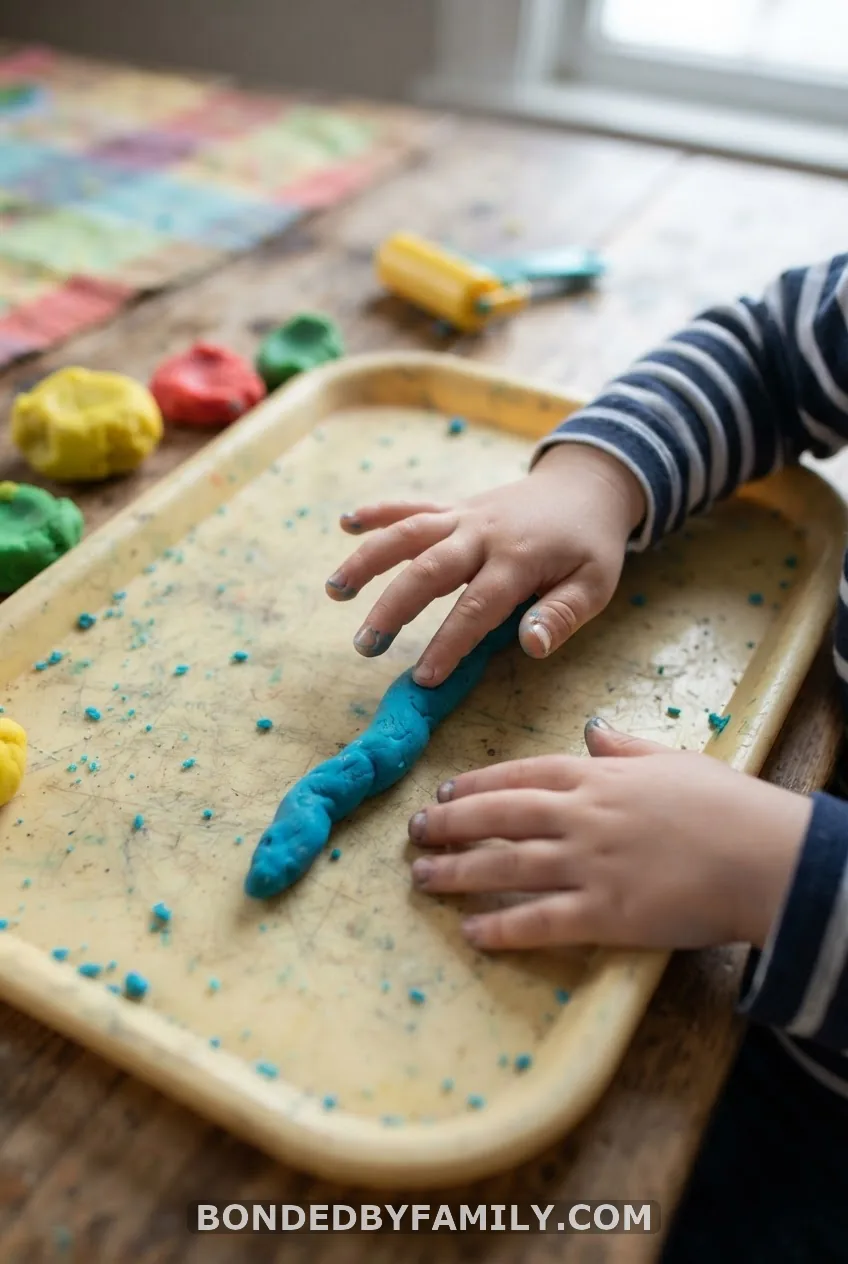
Play-Doh is the original fine motor tool, and honestly, it still beats half the fancy toys on the market. Rolling balls and snakes works the whole hand. Pinching off small pieces and flattening them with a thumb targets the exact muscles used for holding a pencil.
Add a plastic knife, a mini rolling pin, or a few cookie cutters, and you’ve got a station that can occupy a preschooler for twenty minutes straight. Store-bought Play-Doh works fine, but homemade dough (flour, salt, water, a splash of oil) is cheaper and just as squeezable.
The catch:
Playdough left out overnight turns into a crusty science experiment stuck to your table. Keep it in an airtight container between uses, or it dries out within a day or two.
2. Paper Tear and Glue Collage
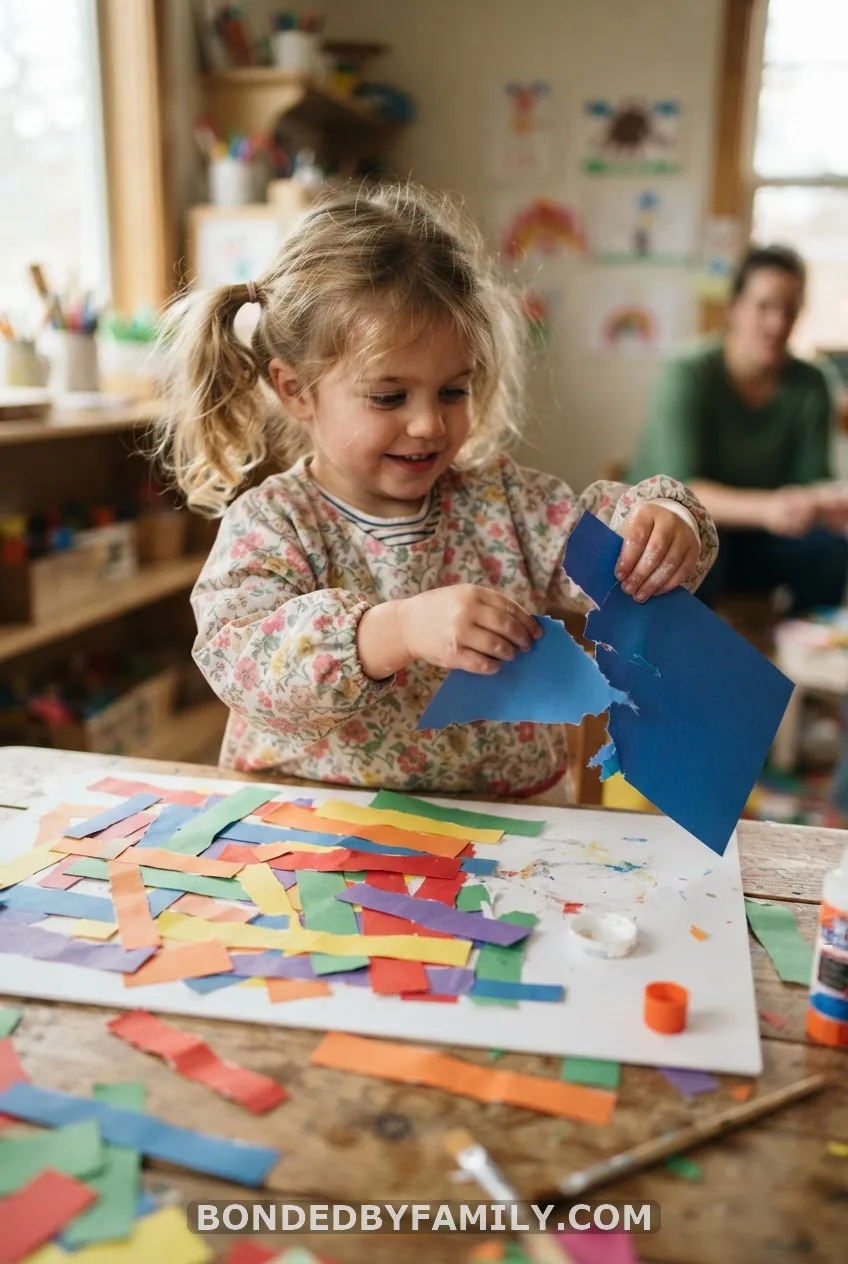
Tearing paper sounds too simple to count as “activity,” but it’s doing real work. Each tear requires two hands moving in opposite directions – that’s bilateral coordination, a skill kids need before they can tie shoes or button shirts.
Give your child scraps of construction paper and let them tear strips or chunks, then glue the pieces onto a poster board to build a mosaic. A glue stick works for older three-year-olds; younger ones do better dabbing liquid glue with a cotton swab. Try a nature version too – tear tissue paper into leaf shapes, or glue actual leaves and grass onto a paper background collected on a walk.
3. Sticker Peeling and Placing
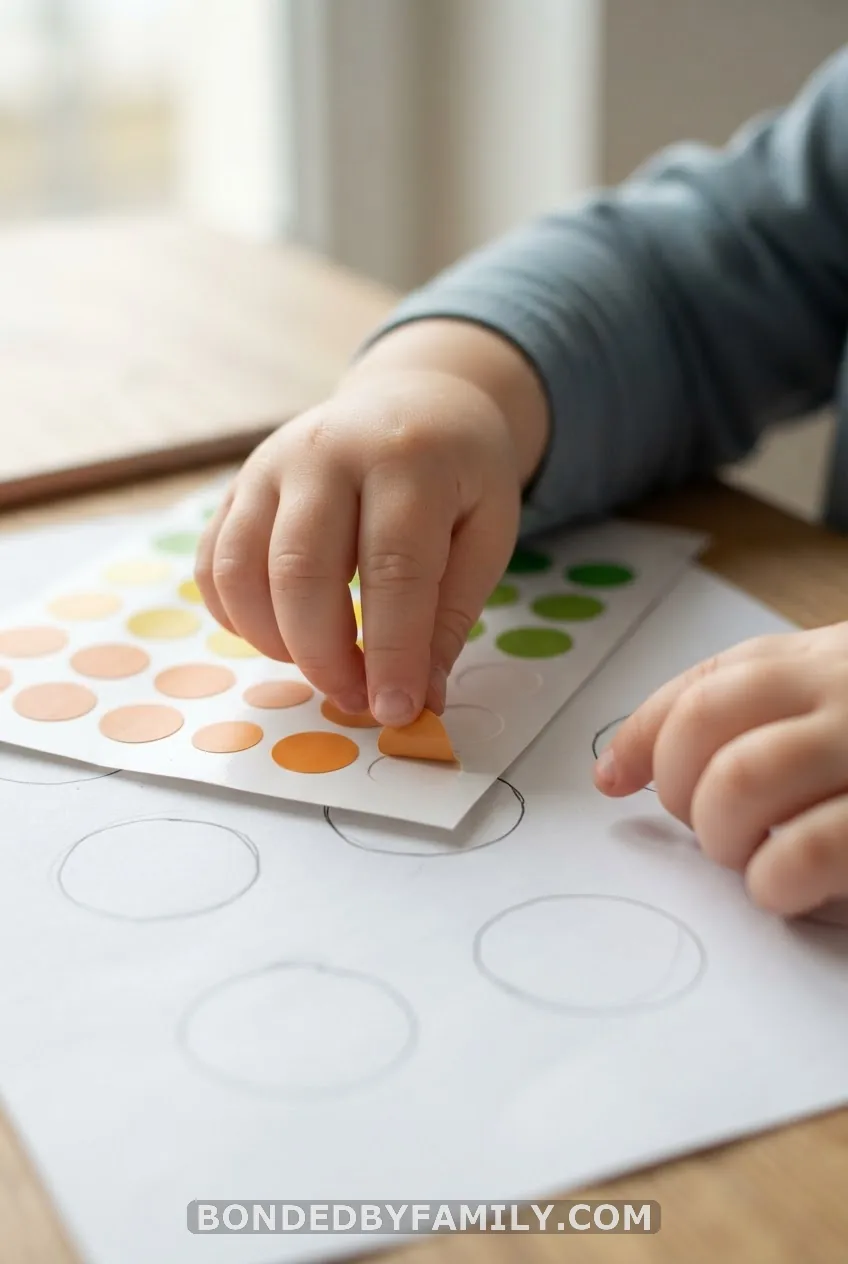
Peeling a sticker off its backing takes real pincer grasp – the same pinch used later for buttoning and zipping. Draw a handful of open circles on paper and have your child fill each one with a sticker.
This one is calming, quiet, and genuinely useful for car rides or waiting rooms. Try dot stickers for a fine-tuned challenge, or line stickers up along a drawn path for early tracing practice.
4. Pasta and Bead Threading
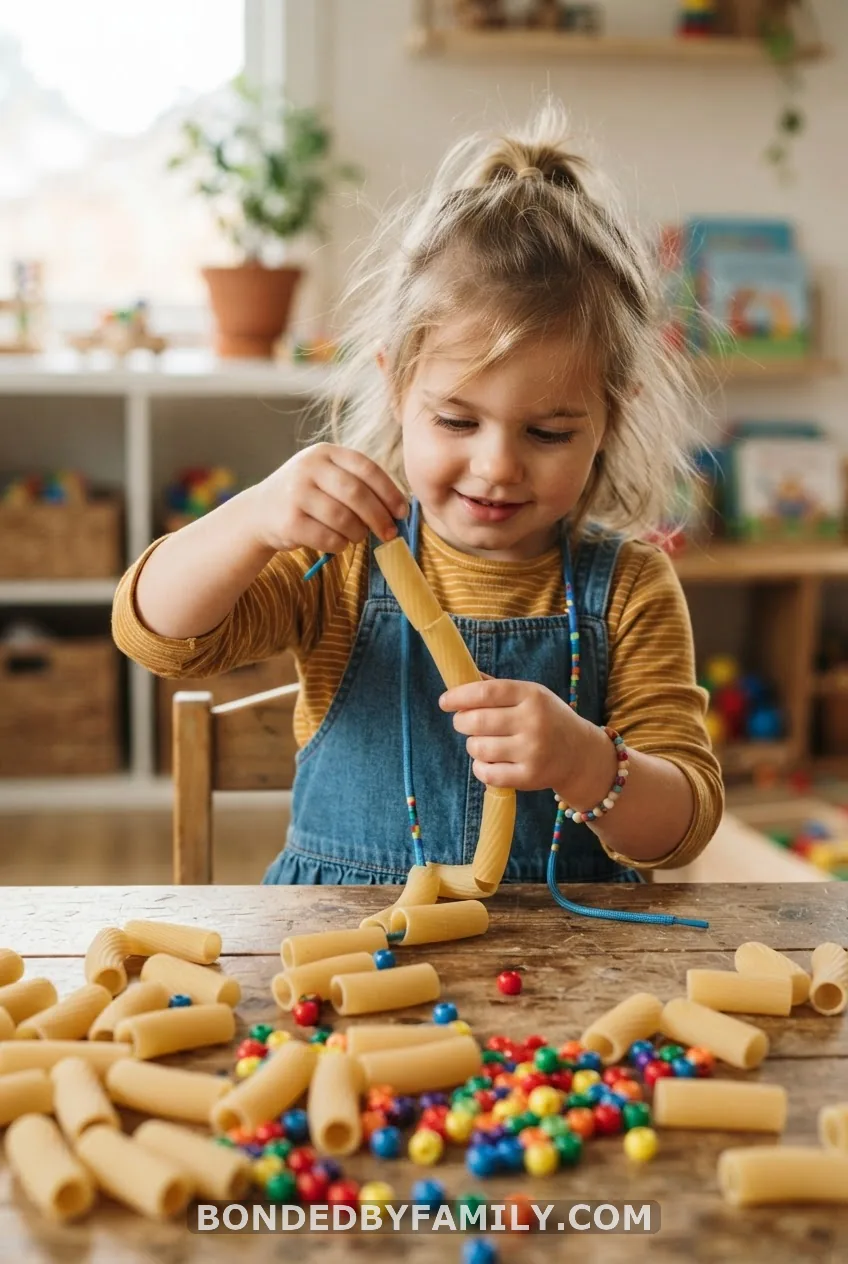
Threading is where hand-eye coordination really gets a workout. Grab uncooked penne or ziti, a shoelace or thick pipe cleaner, and let your child string the pasta on. Cut straws work too, and they slide onto yarn just as easily.
Start with thicker items and progress to pony beads and thinner string once your child has the hang of it. For preschoolers on the older end, ask them to thread a repeating pattern – red, yellow, red, yellow – which adds a sequencing challenge on top of the physical one.
5. Cutting Practice With Child-Safe Scissors (My Couch-Cushion Confession)
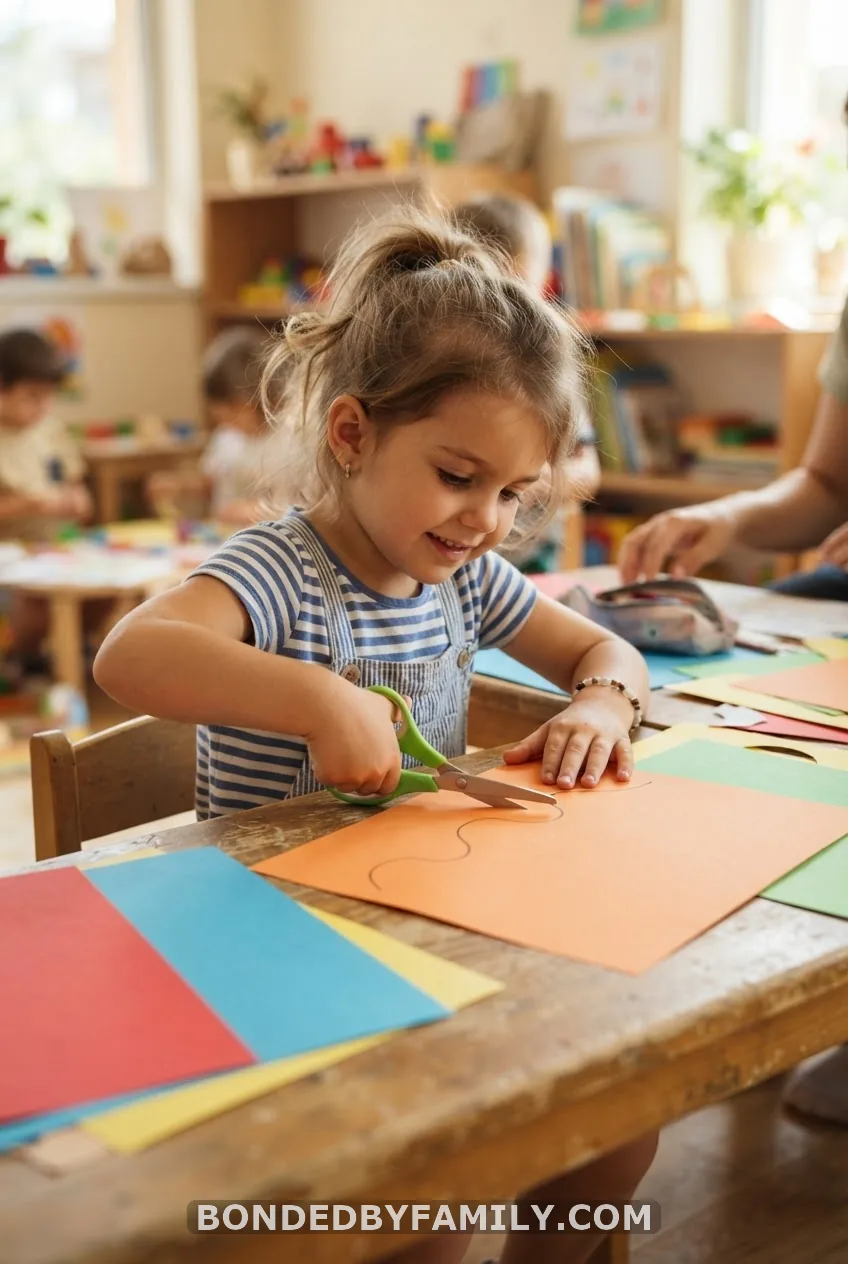
Here’s my honest, slightly embarrassing take on scissors: don’t skip the setup steps just because your kid is excited. My couch cushion disaster happened because we jumped straight to “cut whatever,” with zero guided practice first. Lesson learned, expensively.
Start with child-safe scissors – Fiskars’ blunt-tip preschool scissors work well – and have your child snip playdough first. It builds the open-close motion without the risk of ruining anything. Once that motion feels natural, move to strips of cardstock about one inch wide, snipping straight across in one or two cuts.
From there, draw a thick straight line on paper and ask your child to cut along it. Progress to wavy lines, then zigzags, over several sessions rather than one sitting. A nature cutting station works too – collect a few soft leaves or blades of grass and let your child snip those instead of paper for variety.
Common mistakes to avoid:
– Handing over scissors with zero supervision, even “safe” ones
– Skipping the playdough-snipping warm-up
– Expecting straight lines before wavy ones are mastered
– Using paper that’s too thin, which bunches instead of cutting cleanly
Cutting practice strengthens the exact thumb and forefinger muscles preschoolers need for holding a pencil correctly, and it’s one of the clearest predictors teachers look for in kindergarten readiness. Give it real time, not just a five-minute pass.
6. Pom-Pom Transfer With Tongs or Tweezers
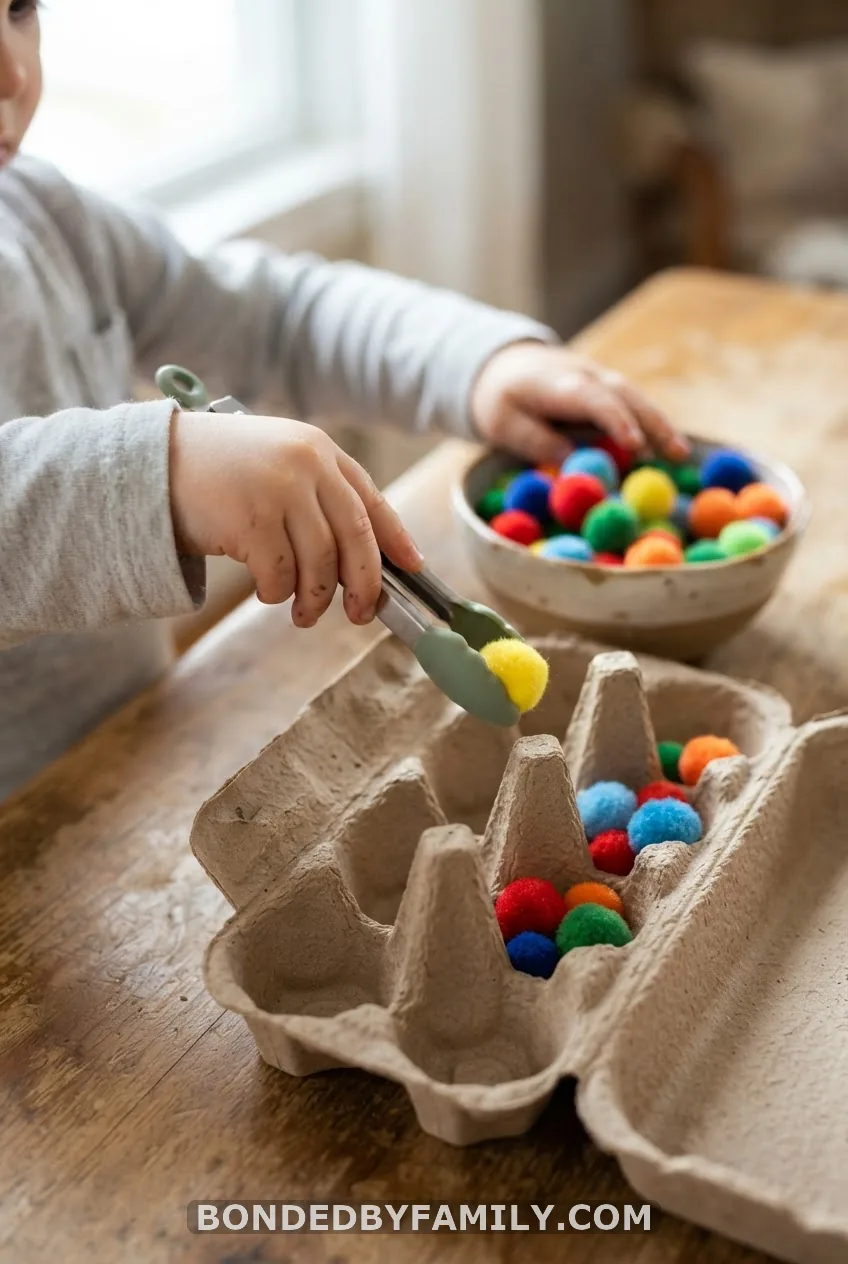
Grab a bag of craft pom-poms, a pair of kid-friendly tongs, and two bowls. Have your child transfer pom-poms one at a time from bowl to bowl using only the tongs. Sort by color into an egg carton for an added challenge.
Once tongs feel easy, switch to tweezers for a tighter pincer grip, or try wet cotton balls, which are heavier and slipperier.
7. Tracing Lines and Pre-Writing Paths
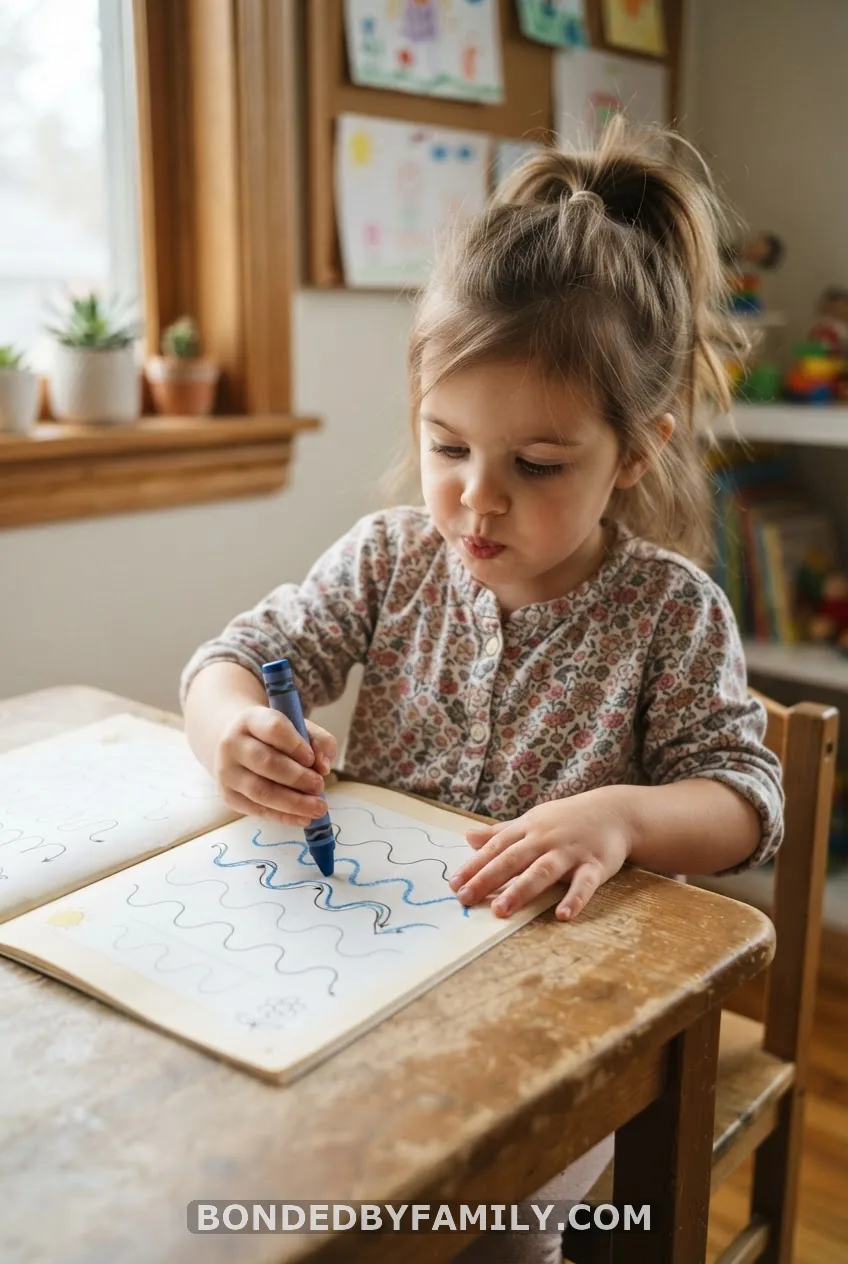
Before letters come lines. Draw straight, curved, zigzag, and wavy lines on paper and have your child trace over them with a finger first, then a crayon or dot marker.
A salt tray makes this way more fun than it sounds – pour a thin layer of salt or sand into a baking tray and let your child trace shapes with a finger, shaking it flat to start over.
8. Clothespin Clipping Games
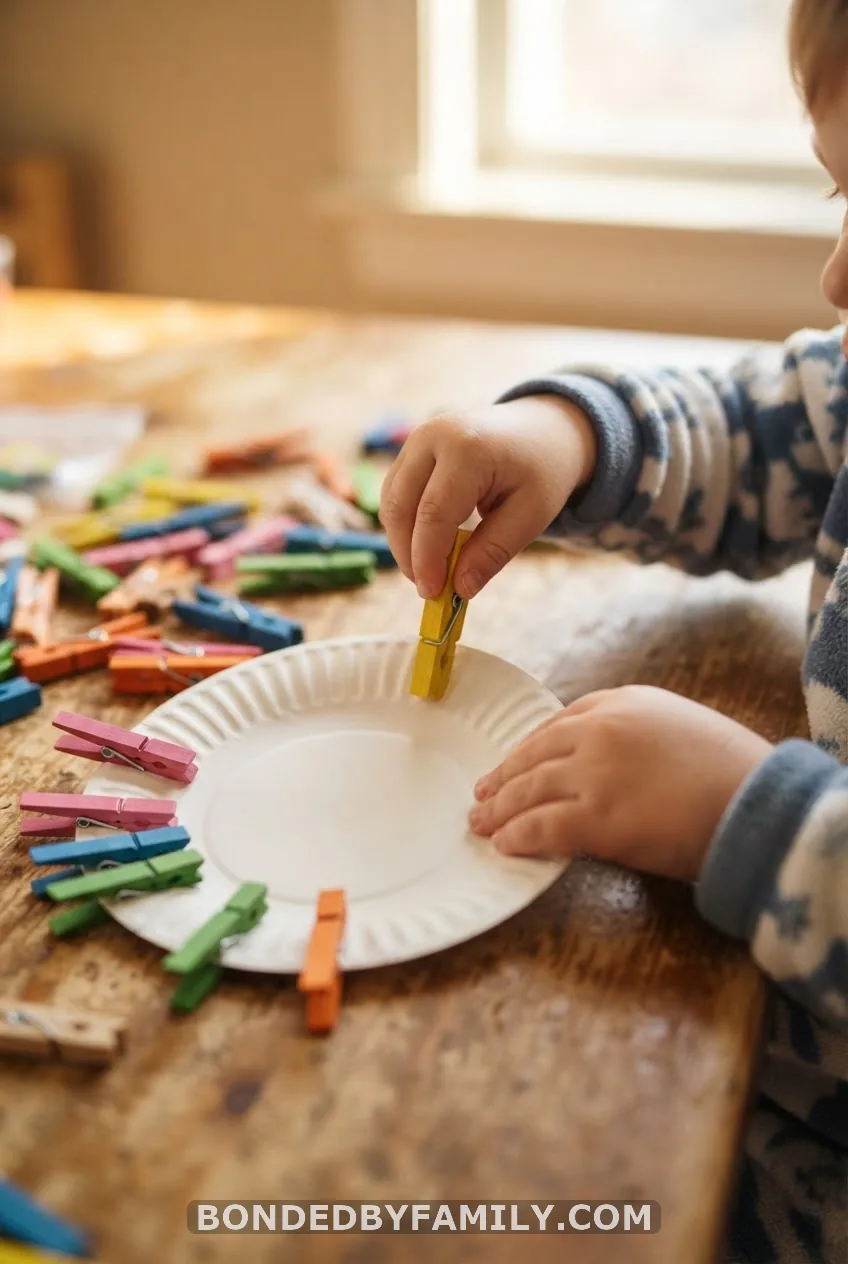
Clipping clothespins onto a box, plate, or mini clothesline works the exact pinch muscle needed for scissors and pencil grip. String a piece of yarn between two chairs and let your child hang doll clothes or felt shapes with clothespins.
Matching games raise the stakes: write letters or numbers on clothespins, then have your child clip them next to a matching sticker on a shoebox.
9. Scoop, Spoon, and Sort
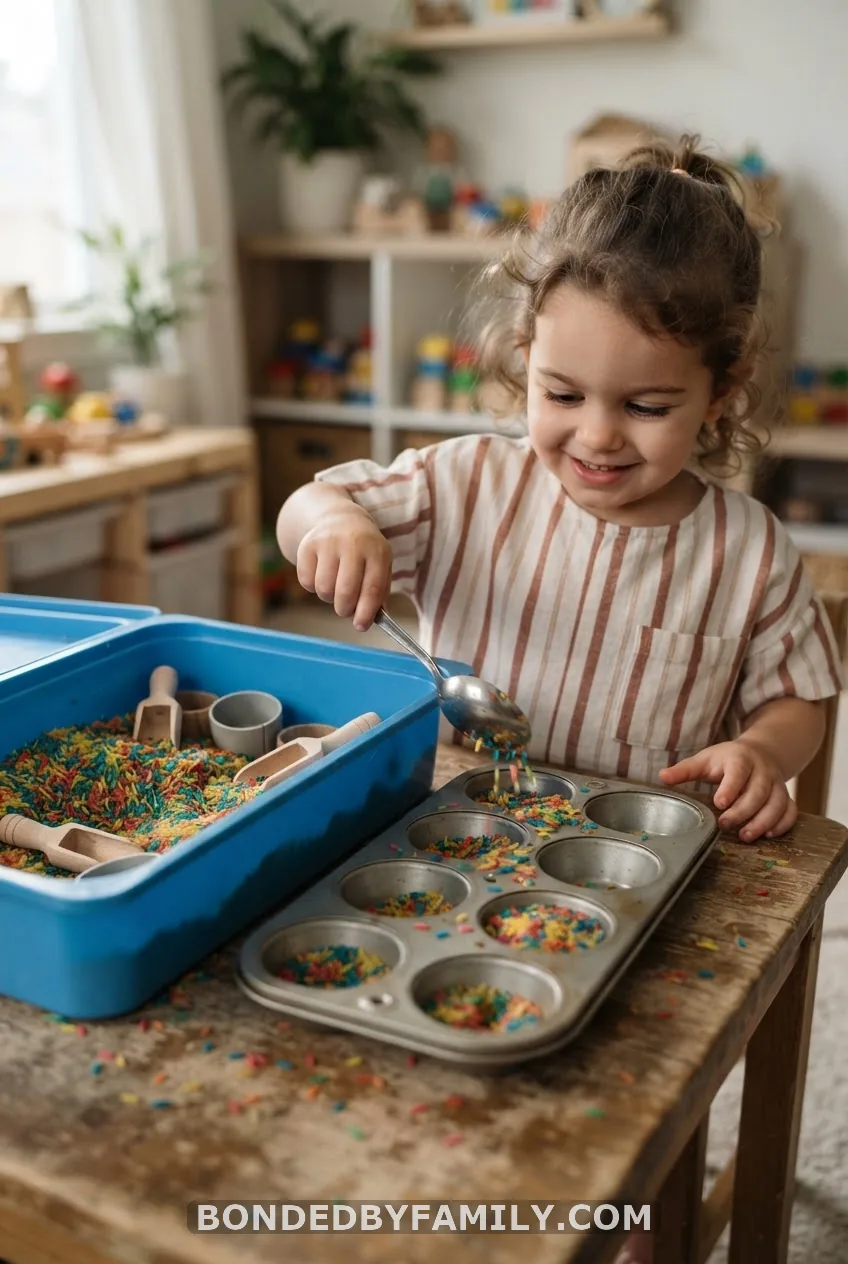
Give your child a spoon or small measuring cup and a bin of dry rice, beans, or pasta. Scooping and pouring between containers builds the same controlled wrist movement used later for pouring milk without a spill (mostly).
Add a sorting layer: buttons, coins, or pom-poms divided by color or size into a muffin tin turn a simple scoop into a small sorting project.
10. Finger Painting and Dot Making
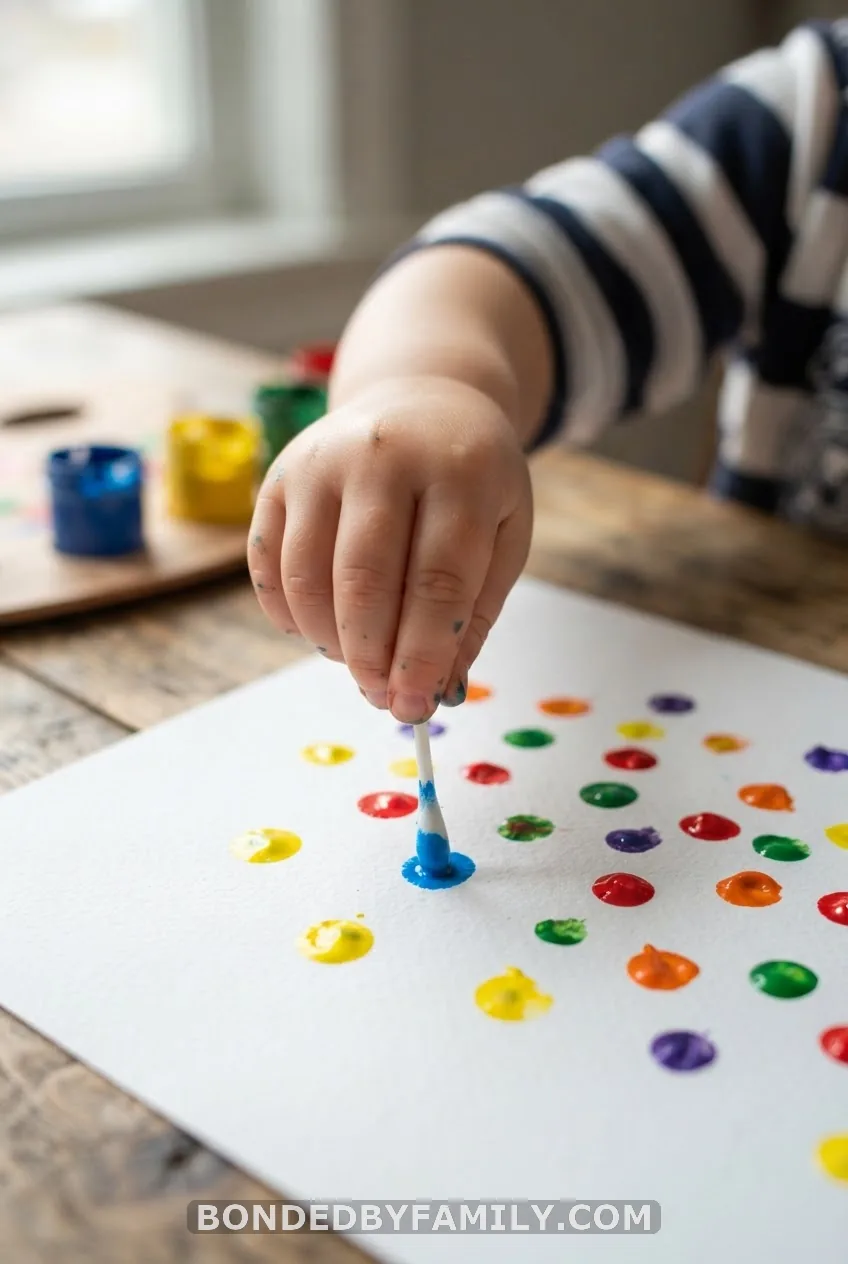
Finger painting isn’t just an art activity – pressing, poking, and smearing paint strengthens finger isolation, meaning your child’s ability to move one finger independently of the others. That skill matters more than it sounds, since it’s what lets a child eventually point, pinch, and hold a pencil with control instead of a full-fist grip.
Q-tips dipped in washable paint let you narrow the challenge to dot-making, which is great prep for dot-to-dot worksheets later. Use a paper towel roll to catch drips, and stick to washable paint brands like Crayola for easy cleanup on hands and tables.
11. Lacing Cards and Cardboard Sewing
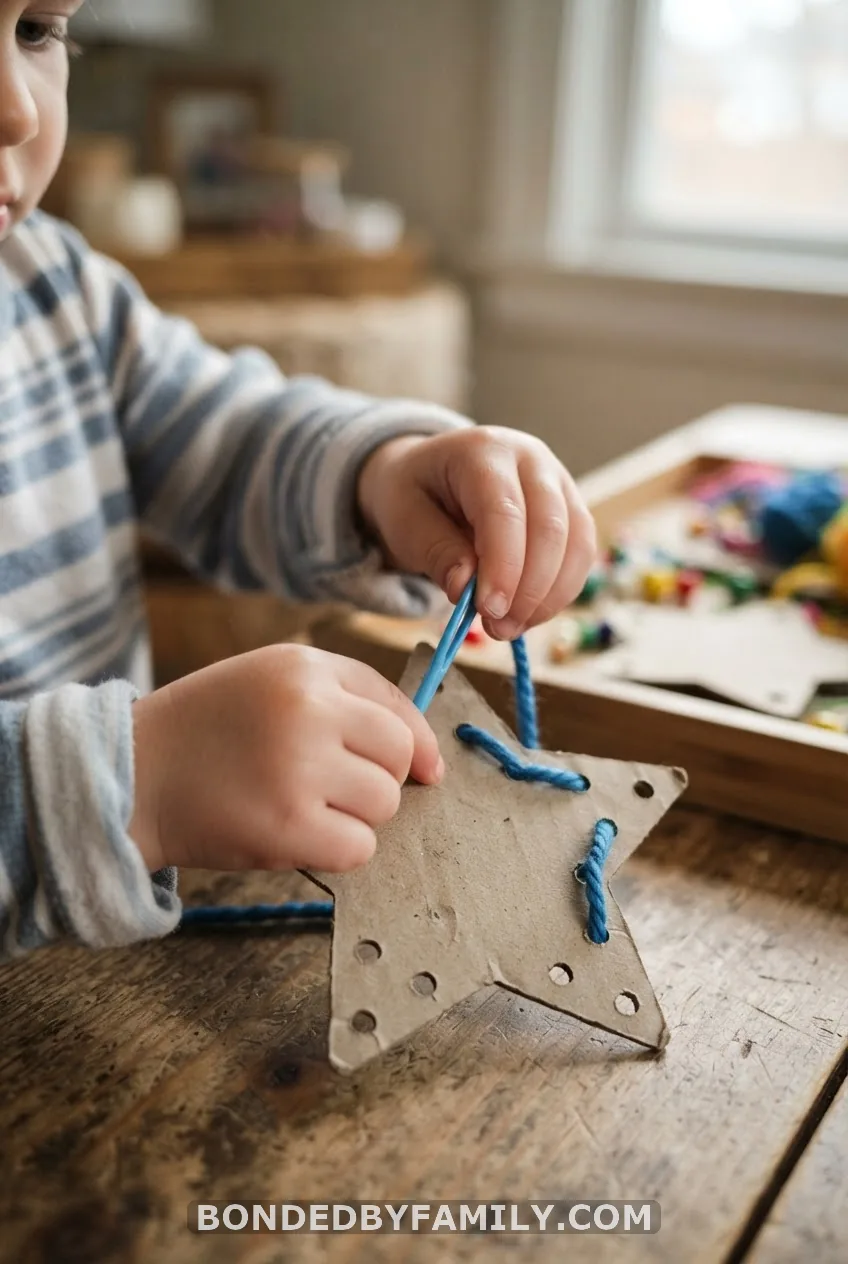
Punch holes around the edge of a poster board shape using a regular hole punch, then hand your child a shoelace or yarn taped stiff at one end. Threading through the holes builds the same coordination needed for shoe tying later on.
A styrofoam plate works as a simpler starting point – a plastic yarn needle pushes through the foam easily, letting younger preschoolers “sew” without frustration.
12. Coin Drop and Piggy Bank Play
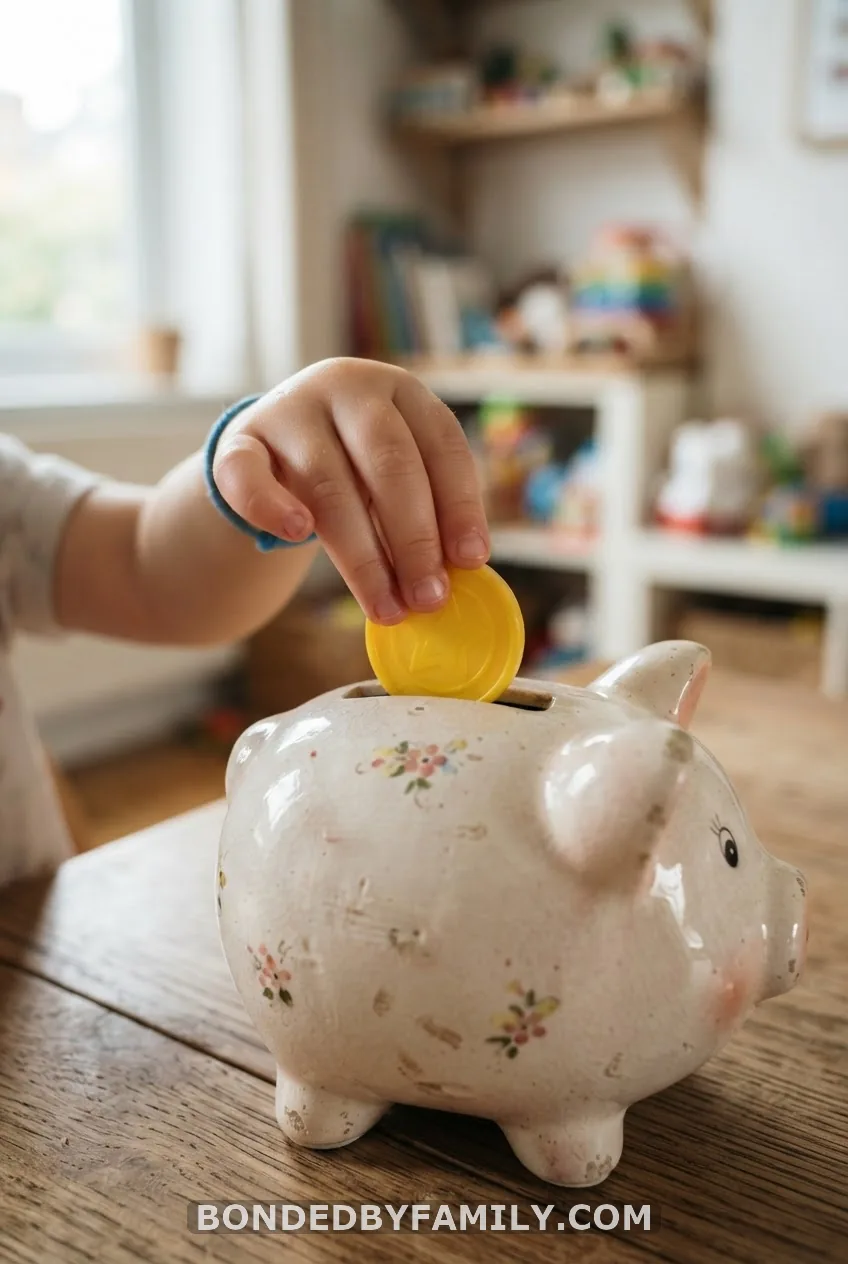
Picking up a coin and aligning it with a slot takes real pincer precision. Use a piggy bank, or cut a slot into a shoebox lid for the same effect. Large play coins or tokens work better than real ones for smaller hands.
One caveat:
Small coins are a genuine choking hazard for kids under three. Stick to jumbo play coins or poker chips, and always supervise this one closely – no exceptions.
13. Sensory Bin Fine Motor Play
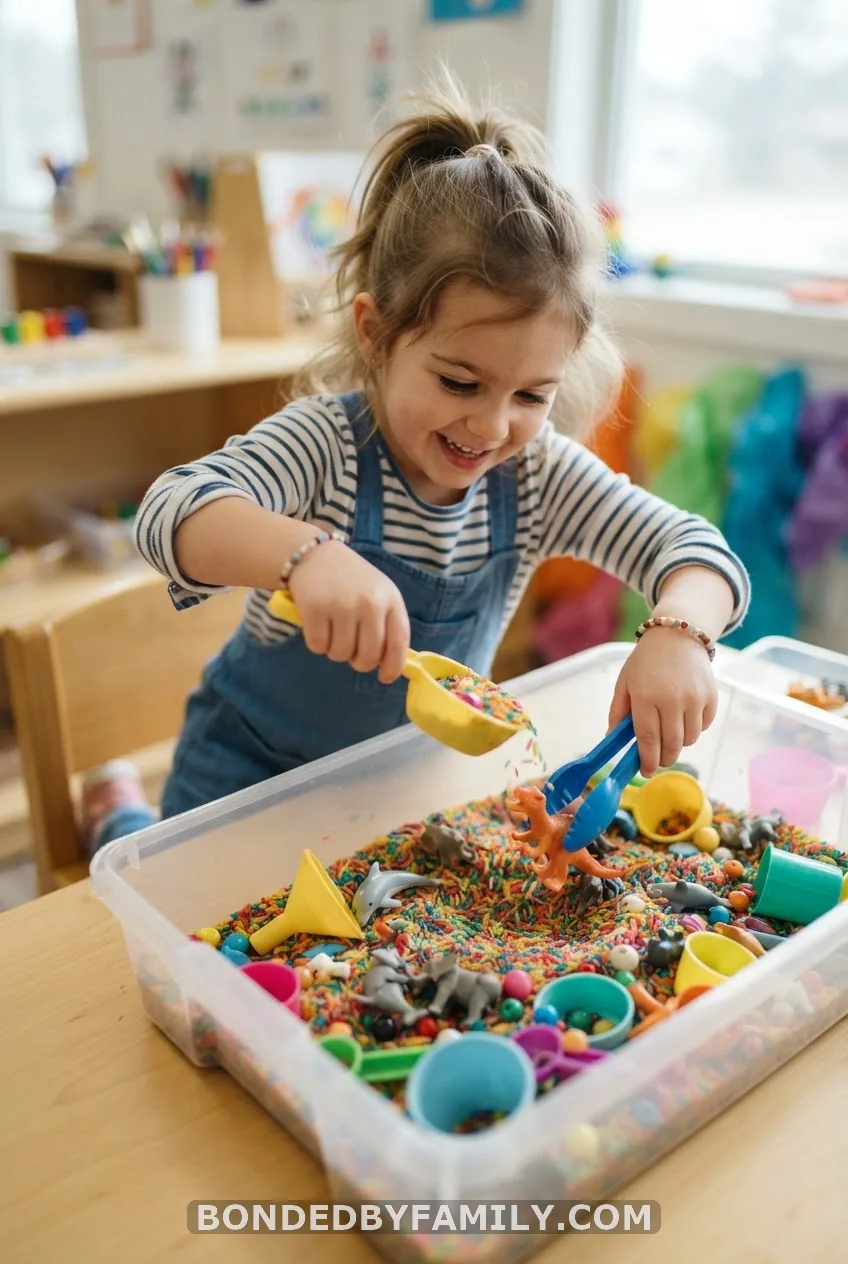
Fill a shallow bin with dry rice, dried beans, or pasta, then bury small toys, buttons, or pom-poms inside. Hand your child a scoop, tongs, and a few small containers, and let them dig, sort, and transfer at their own pace.
This one covers almost every skill on this list at once – grasping, scooping, transferring, and sorting – while keeping a preschooler occupied for a genuinely long stretch of time.
14. Paper Clip Cardboard Cards
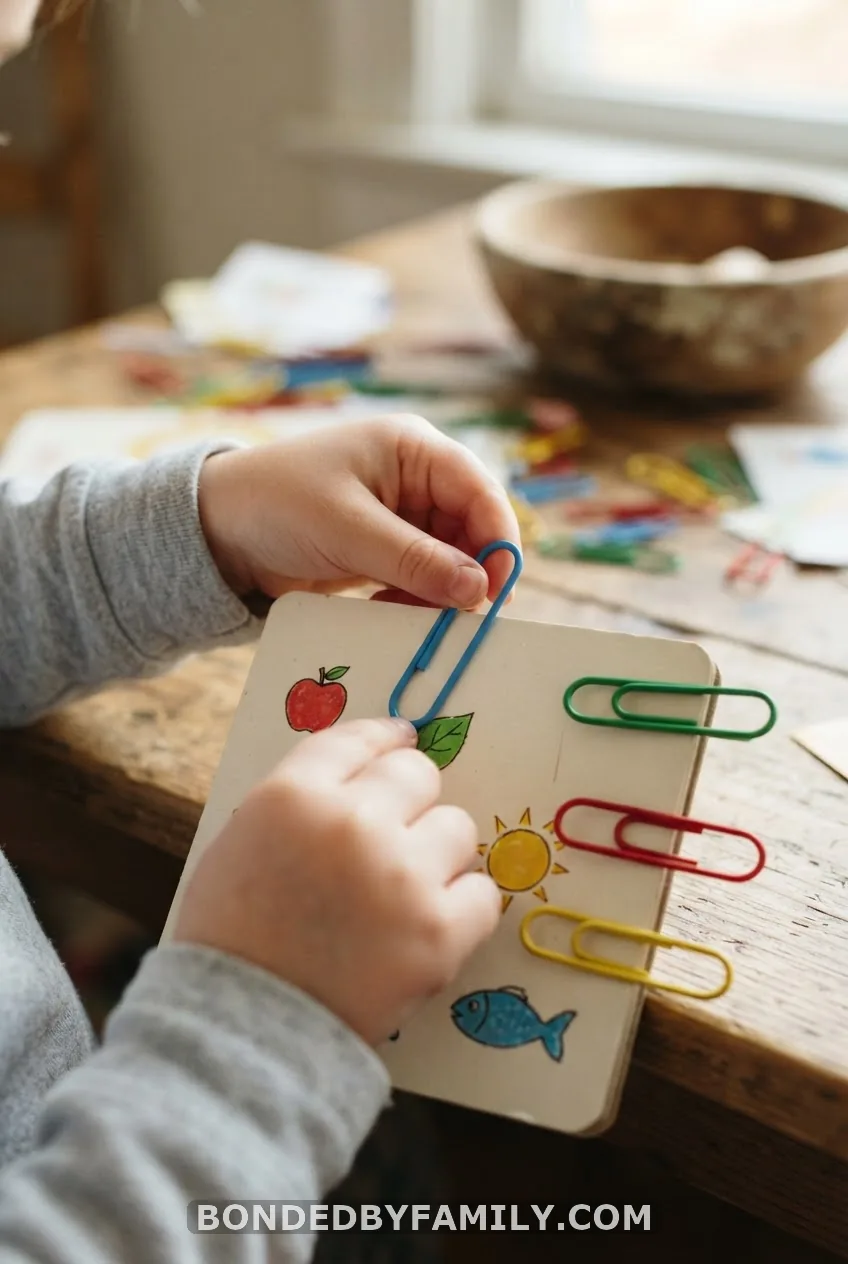
Cut cardboard into simple shape cards and let your child attach large paper clips around the edges. It’s a smaller, trickier pinch than clothespins, so save it for kids who’ve already got clothespin clipping down.
15. Fruit Peeling Practice
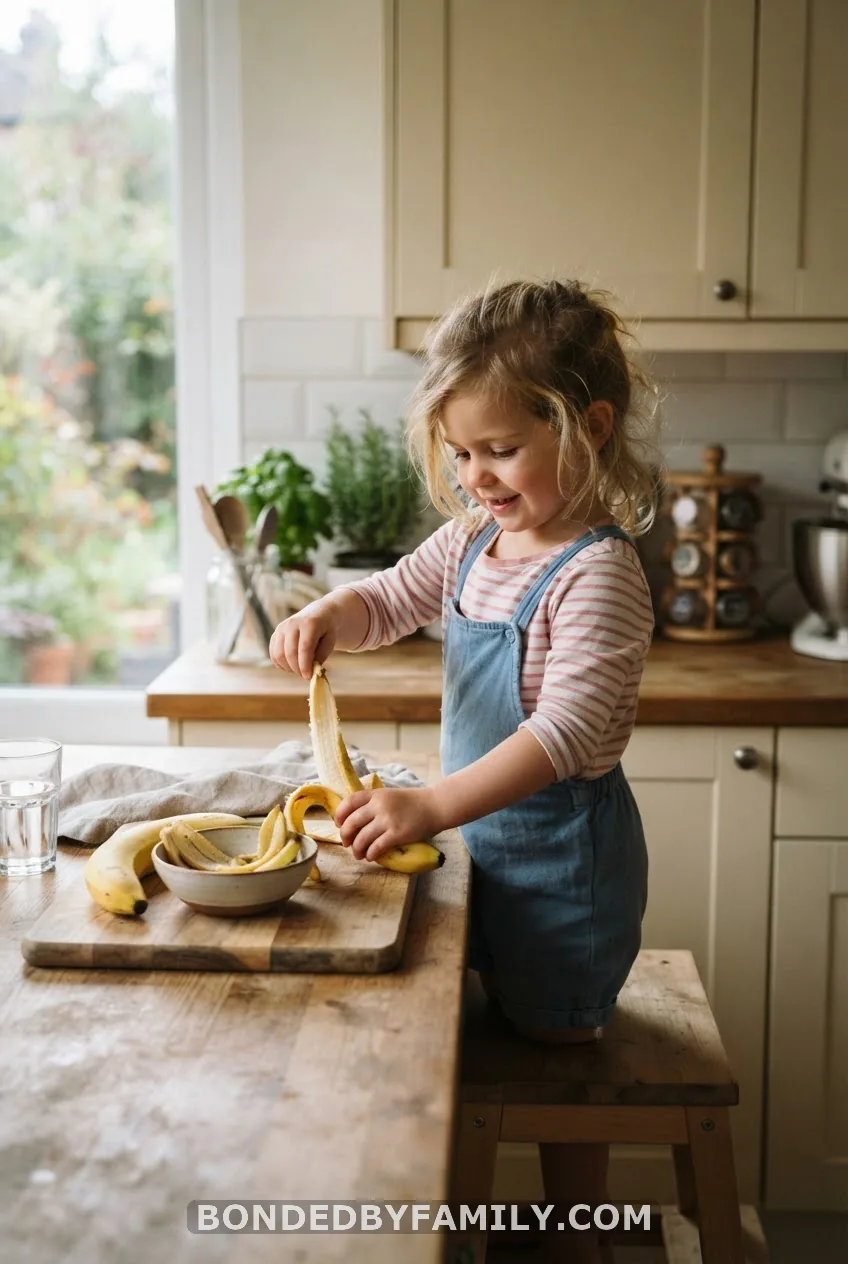
Peeling a banana or a clementine works both hands in opposite directions at once – genuine bilateral coordination, and it comes with a snack at the end. Let your child struggle a little before stepping in; the wrestling match with a banana peel is doing more for their hand strength than you’d think.
16. Helper Tasks: Zippers, Snaps, and Laundry Sorting
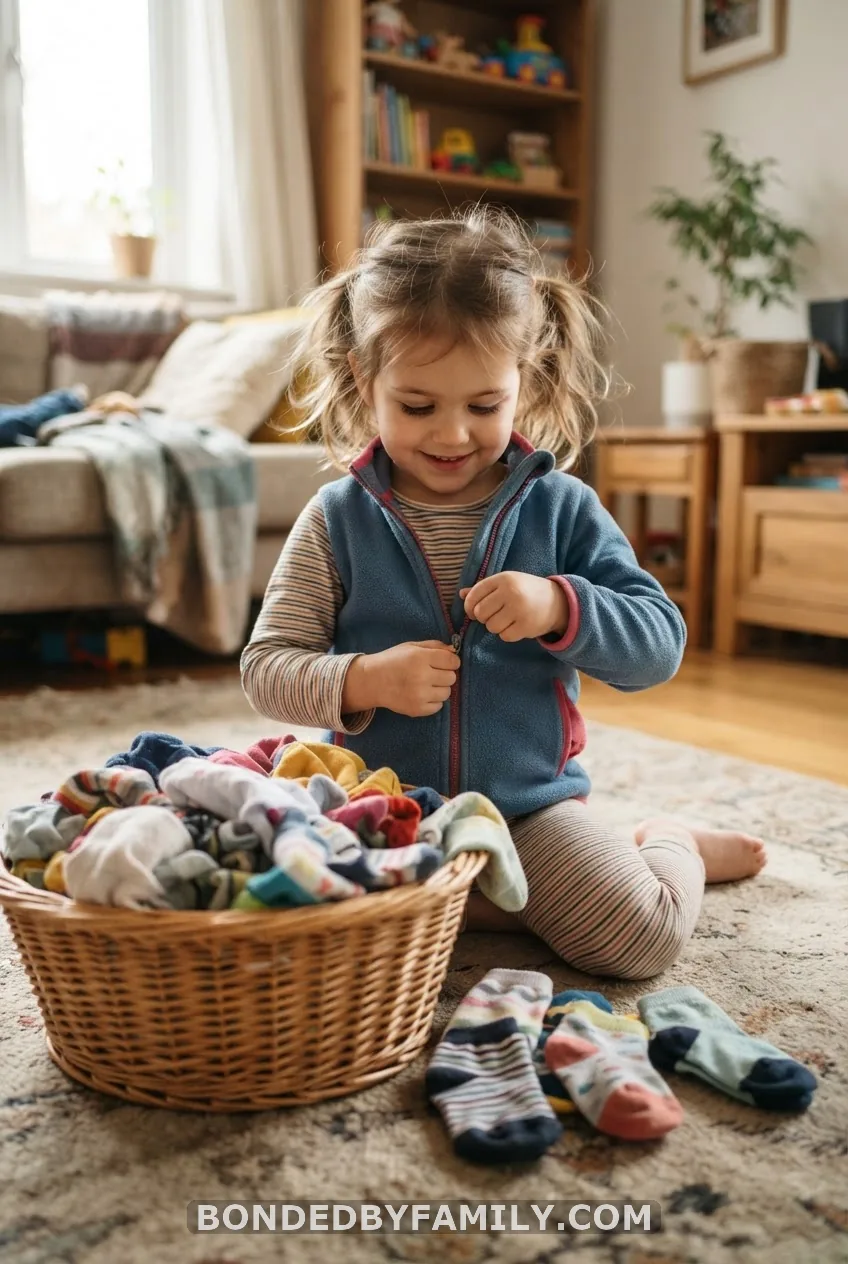
What most people think: fine motor practice needs a dedicated activity, toys, and setup time.
Reality: some of the best practice happens folded into chores you’re already doing. Let your child zip and unzip their own coat, snap buttons, or practice Velcro shoes solo. Matching socks from a laundry basket builds the same sorting and pinching skills as any store-bought toy, and it saves you five minutes of folding.
Make Fine Motor Time a Family Feeling
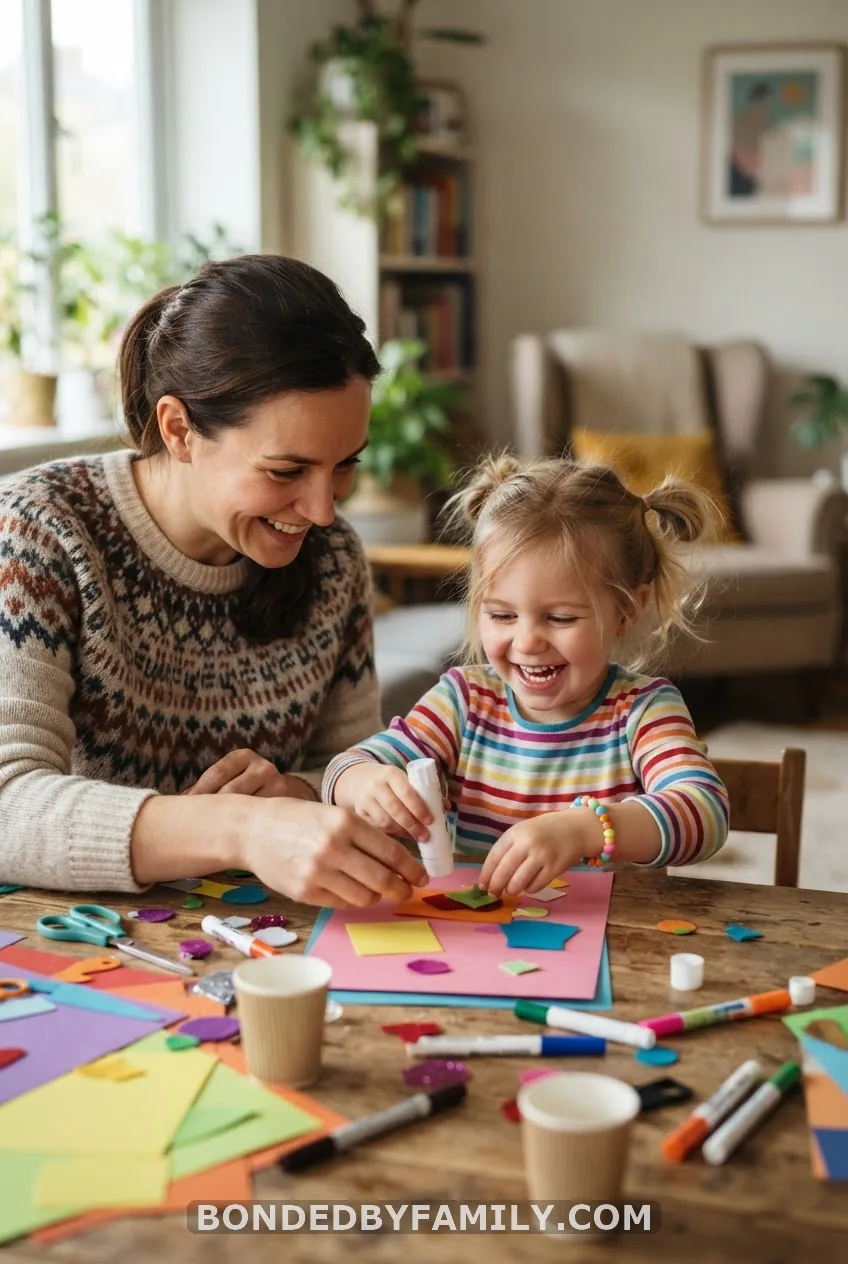
None of this needs to feel like homework. Set activities up as an invitation, not an assignment – a tray on the table with playdough and cookie cutters says “come play” way louder than “let’s practice your fine motor skills” ever will.
Sit beside your child while they work instead of hovering over them. Ask easy questions – “what color are you gluing next?” – rather than correcting technique. Drop the time pressure entirely. A five-minute sticker session that ends happily beats a twenty-minute one that ends in tears.
Every torn piece of paper, every wobbly cut line, every dropped pom-pom is still progress. Little hands get strong through repetition, not perfection, and they get strong faster when the person next to them is someone they love.
Frequently Asked Questions About Fine Motor Skills Activities
At what age should I start fine motor activities with my preschooler?
Simple tasks like tearing paper or squeezing playdough work fine around age two. Most of the activities above are built for ages three to five and scale up or down depending on your child’s current grip strength and patience.
How long should a fine motor activity last?
Aim for five to ten focused minutes with younger preschoolers. If they’re locked in and want to keep going, let them, but always end the session on a win rather than pushing until frustration sets in.
My preschooler avoids fine motor tasks. What can I do?
Offer a choice between two activities instead of assigning one, and sit down to do it alongside them rather than directing from across the room. Kids who feel pressured to “get it right” shut down fast; kids who feel like they’re playing with you rarely do.
When should I be concerned about fine motor development?
If your child struggles to hold everyday objects, avoids using one hand entirely, or is noticeably behind peers on dressing and feeding themselves, mention it to your pediatrician. A referral to a pediatric occupational therapist is a normal, low-stakes next step, not a red flag.
I still find foam bits from that cushion sometimes, wedged behind the couch pillows like little reminders. But Wren can cut a straight line now, no supervision panic required, and she zips her own coat before I’ve even found my keys. Turns out the couch was a fair trade for that. Mostly.