You don’t need a bakery degree to pull off a gender reveal cake that stops the room. Honestly, some of the prettiest reveal cakes I’ve seen came from a kitchen table, a box mix, and a bottle of gel food coloring. The fancy bakery versions on Pinterest look impressive, sure. But they also come with a $200 price tag and someone else holding your secret.
Here’s what you actually need: a plan, a few tools you probably already own, and one person who’s willing to keep the ultrasound results locked in a vault. That’s it. This list walks through 13 gender reveal cake decoration ideas, ranked from stupid-simple to genuinely involved, so you can pick the one that matches your patience level and your Saturday afternoon.
1. Classic Pink & Blue Ombre Buttercream Cake
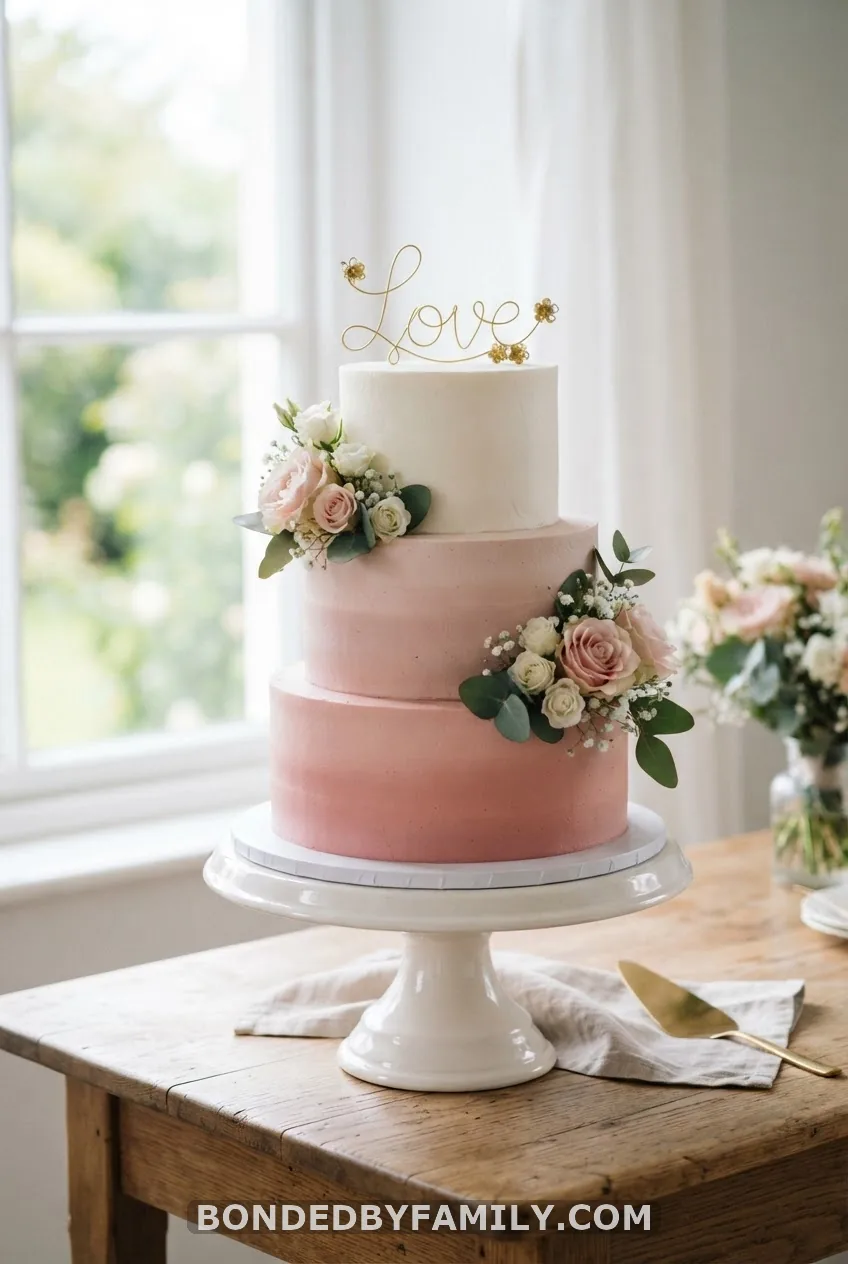
This is the cake most people picture when they hear “gender reveal.” You frost the base coat white, then blend three shades of pink or blue buttercream in horizontal bands, smoothing them together with a bench scraper while the cake spins on a turntable.
Start with your darkest shade at the bottom and work up to nearly white at the top. Use gel food coloring, not liquid drops – Americolor or Wilton gel both hold color without watering down your frosting. The blending happens fast, in under a minute per section, so keep a damp cloth nearby to wipe your scraper between passes.
Beginners do fine with this one. The blending forgives small mistakes because blurry lines actually look intentional here.
2. White Chocolate Drip Cake with Sprinkles
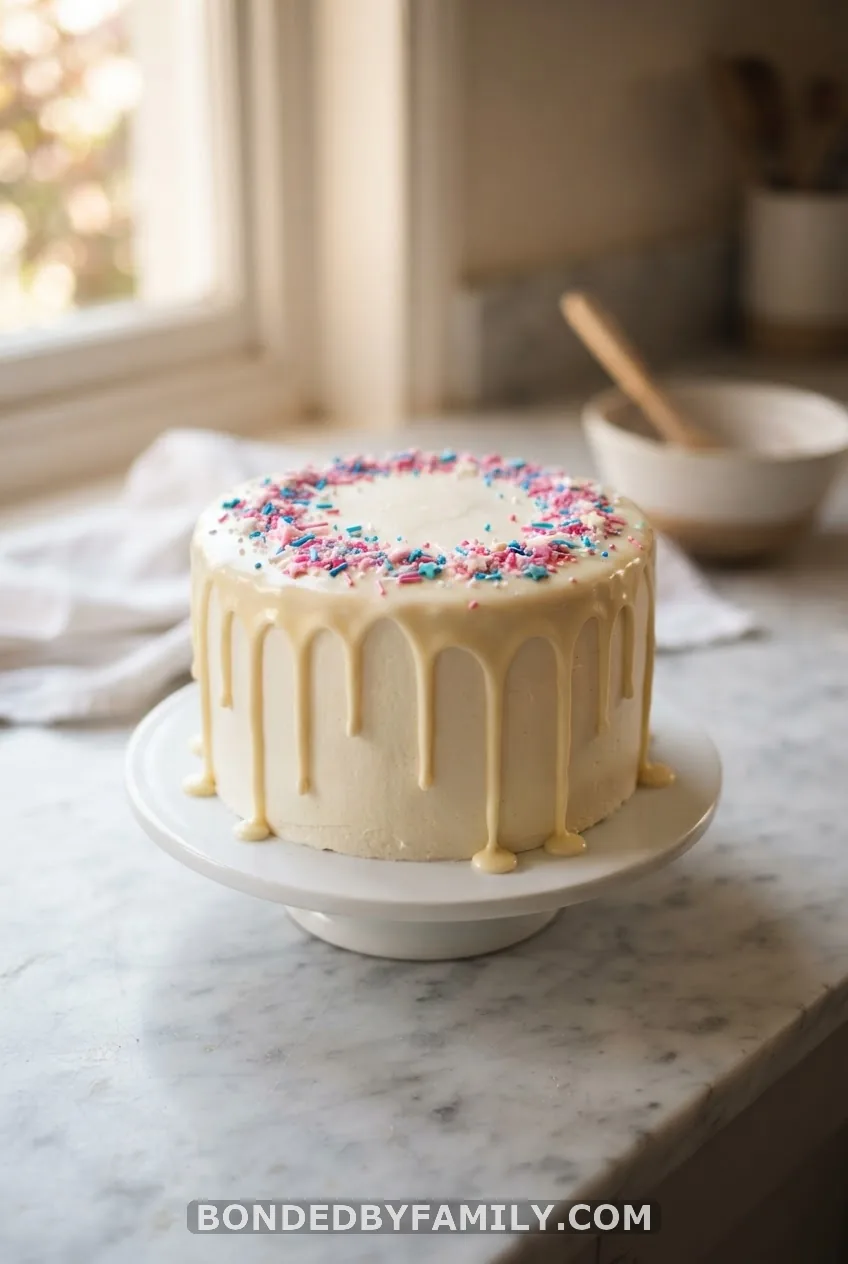
Melt white chocolate chips with a splash of heavy cream, tint it pink or blue, and let it cool to lukewarm before spooning it over the edge of a chilled cake. Chilled is the key word – a cold cake slows the drip down so it clings instead of racing straight to the plate.
Finish with a handful of pink and blue sprinkle mix (Sweetapolita and Fancy Sprinkles both sell reveal-specific blends) pressed gently into the top. This whole decoration takes maybe 20 minutes and photographs beautifully for the table setup.
3. Inside-Out Surprise Cake
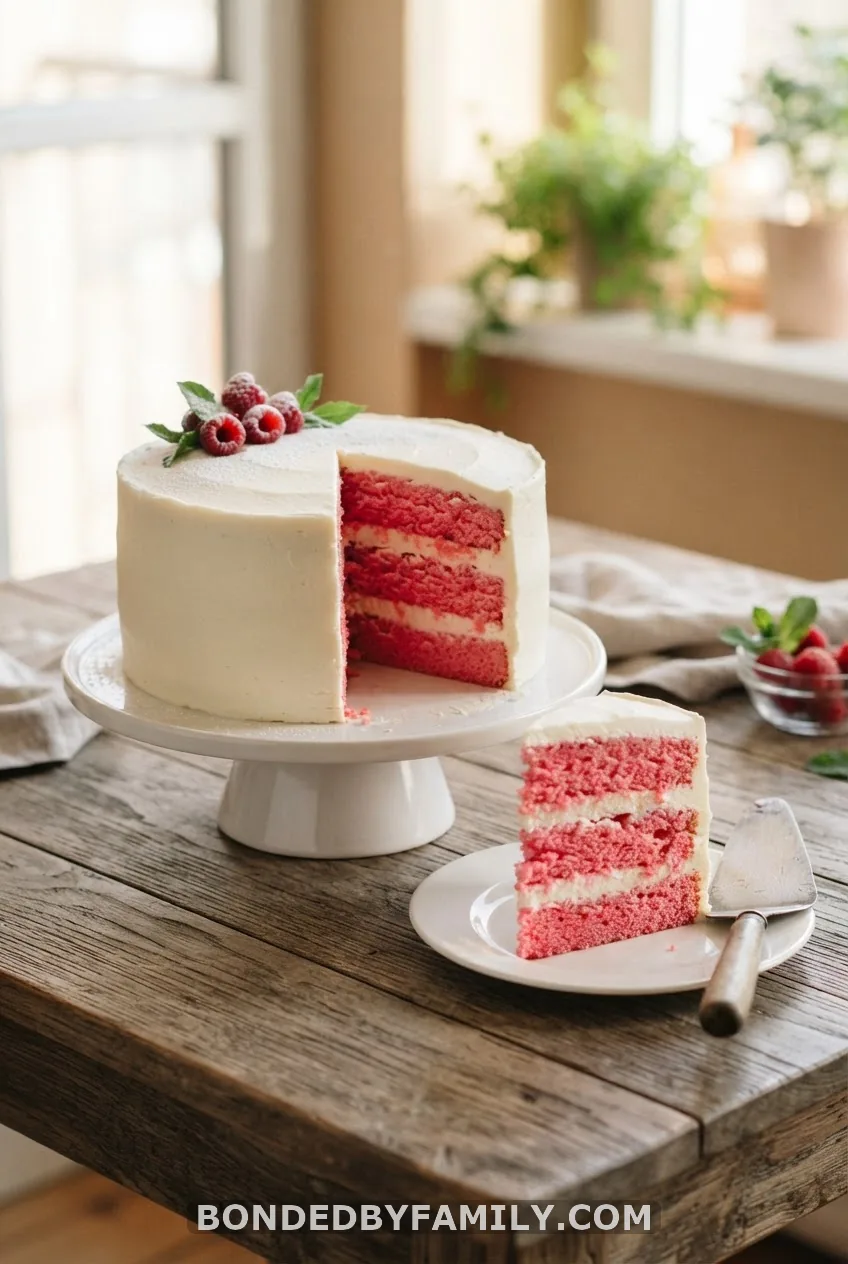
This is the cake that actually delivers the reveal – everything else on this list is decoration, but this one is the moment itself. The outside stays completely neutral. White, gold, cream, whatever you want. The surprise lives inside, in the crumb.
Baking the colored layers. Make your favorite vanilla or white cake batter (box mix works fine – Duncan Hines and Betty Crocker White both take color evenly). Split it into two bowls and stir in gel food coloring until you hit a solid, opaque shade. You want the color saturated enough that it reads clearly against a fork, so don’t be shy with the gel.
Baking specifics. Pour into two 8-inch round pans, filled about two-thirds full, and bake at 350°F for 28-32 minutes, or until a toothpick comes out clean. Let the layers cool completely on a wire rack, at least an hour, before stacking. Warm layers crumble when you frost them, and crumbly layers ruin the clean slice you need for the reveal photo.
Assembly. Stack the two colored layers with a thin buttercream filling between them, then crumb coat the entire outside in white. Chill for 20 minutes, then apply your final smooth coat. Nobody looking at the outside should have any clue what’s underneath.
The reveal cut. Cut from the center outward with a long serrated knife, in one clean pull rather than a sawing motion. A single clean slice, lifted and turned to face the camera, is what makes this decoration idea actually function as a reveal instead of just a nice cake.
Common mistakes to avoid. Don’t use liquid food coloring – it thins the batter and mutes the color after baking. Don’t skip the cooling step. And don’t slice before your guests are gathered; once that first cut happens, the secret is out for everyone in the room, invited or not.
Why this works. Unlike a topper or a filling that only the parents see up close, an inside-out cake creates a shared moment. Everyone watching the cut experiences the reveal at the same second. That’s the whole appeal.
4. Neutral Minimalist Cake with Fresh Flowers
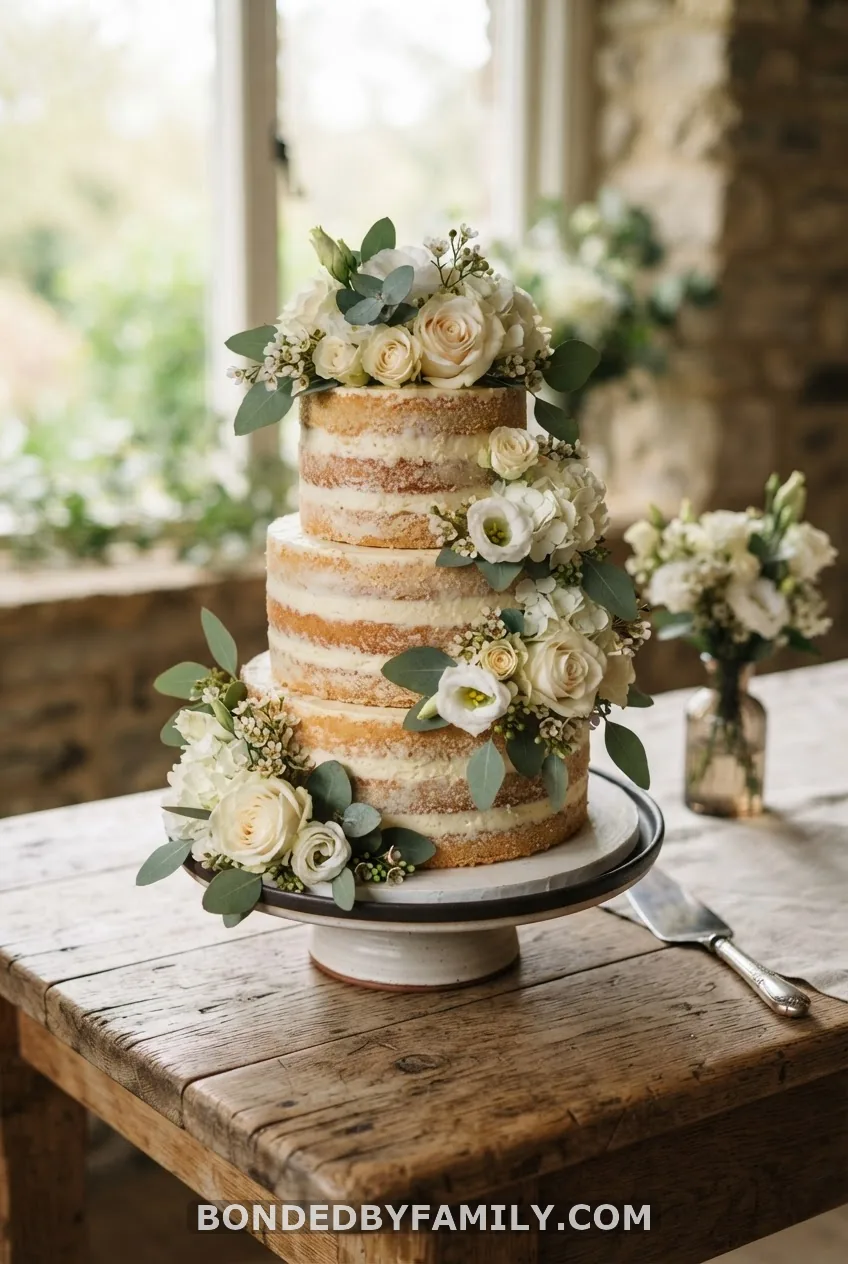
Skip the pink-and-blue cliché entirely. A naked or semi-naked cake in cream and beige, topped with pesticide-free flowers like ranunculus or garden roses, looks like it came from a wedding blog. Tuck the actual gender surprise into a filling or a separate cutting cake, and let this one just be pretty on the dessert table.
5. “Who Will You Bee?” Bumblebee Cake
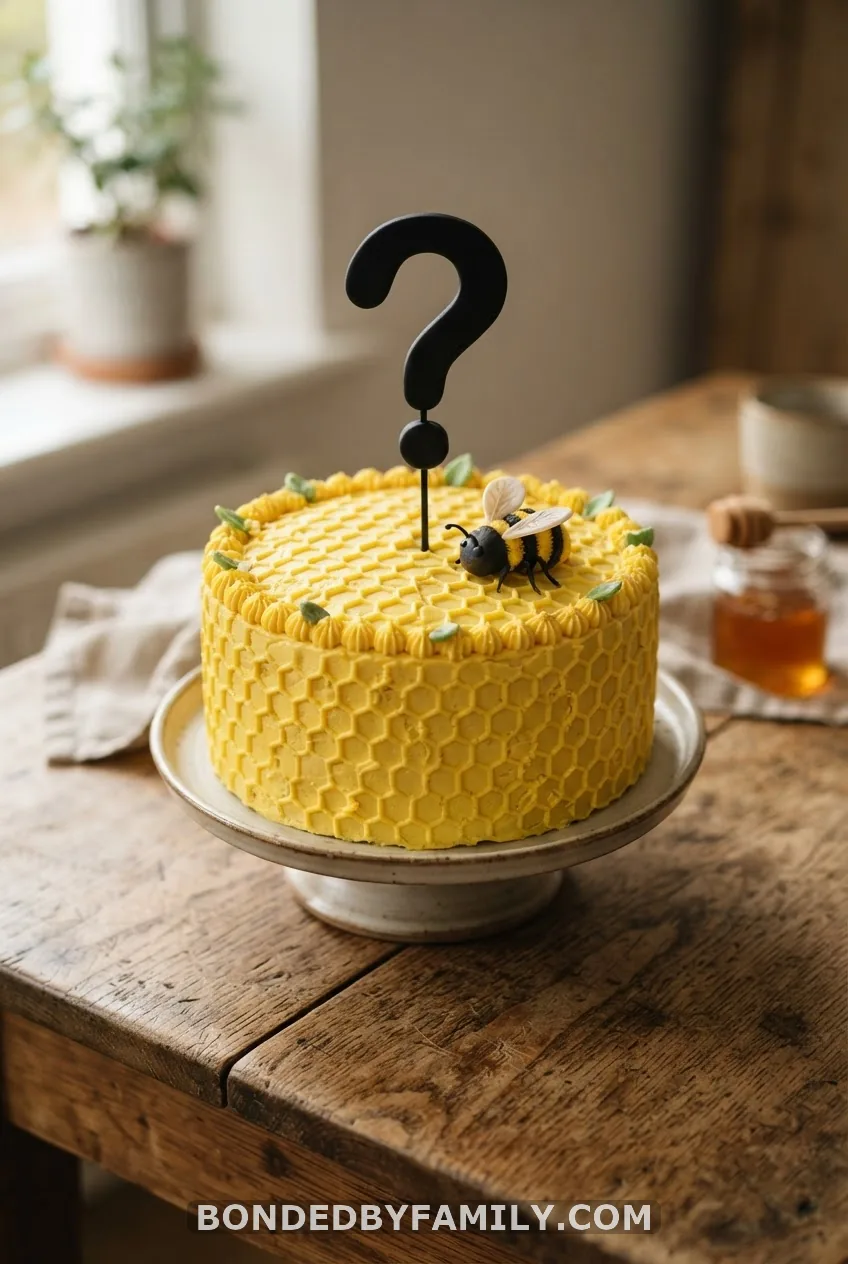
Bee themes solve the problem of wanting something festive without leaning on pink or blue at all. Pipe a honeycomb pattern using a small round tip and yellow buttercream, then add a fondant or store-bought bumblebee topper and a giant question mark pick front and center.
The color reveal still happens – just move it to the filling, a drip underneath the honeycomb, or a smash-cake layer served alongside. The bee theme carries the party decor, table runners, balloons, banners, without giving anything away visually.
6. Half Pink, Half Blue Split Cake with Custom Topper
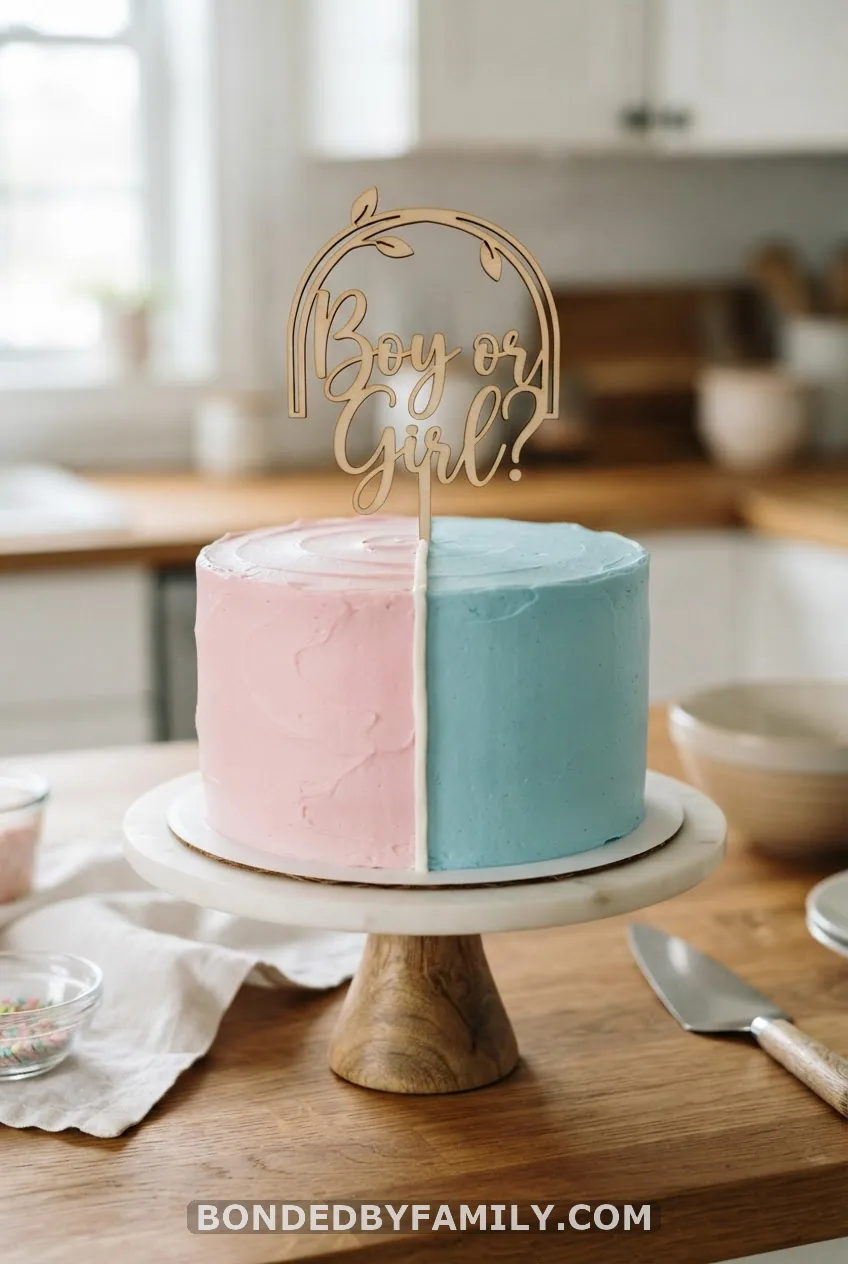
Frost one half of the cake pink and the other blue, using a straight edge or piece of parchment as a guide to keep the dividing line crisp. Add a custom topper reading “Boy or Girl?” or a simple set of baby shoes in gold acrylic (Big Dot of Happiness sells both).
This design lets guests vote before the cut, which stretches the fun out over the whole party instead of ending it in one bite. It also photographs well from directly overhead, which matters if you’re planning a Pinterest-style flat-lay of the dessert table.
7. Rainbow Layered Surprise Cake
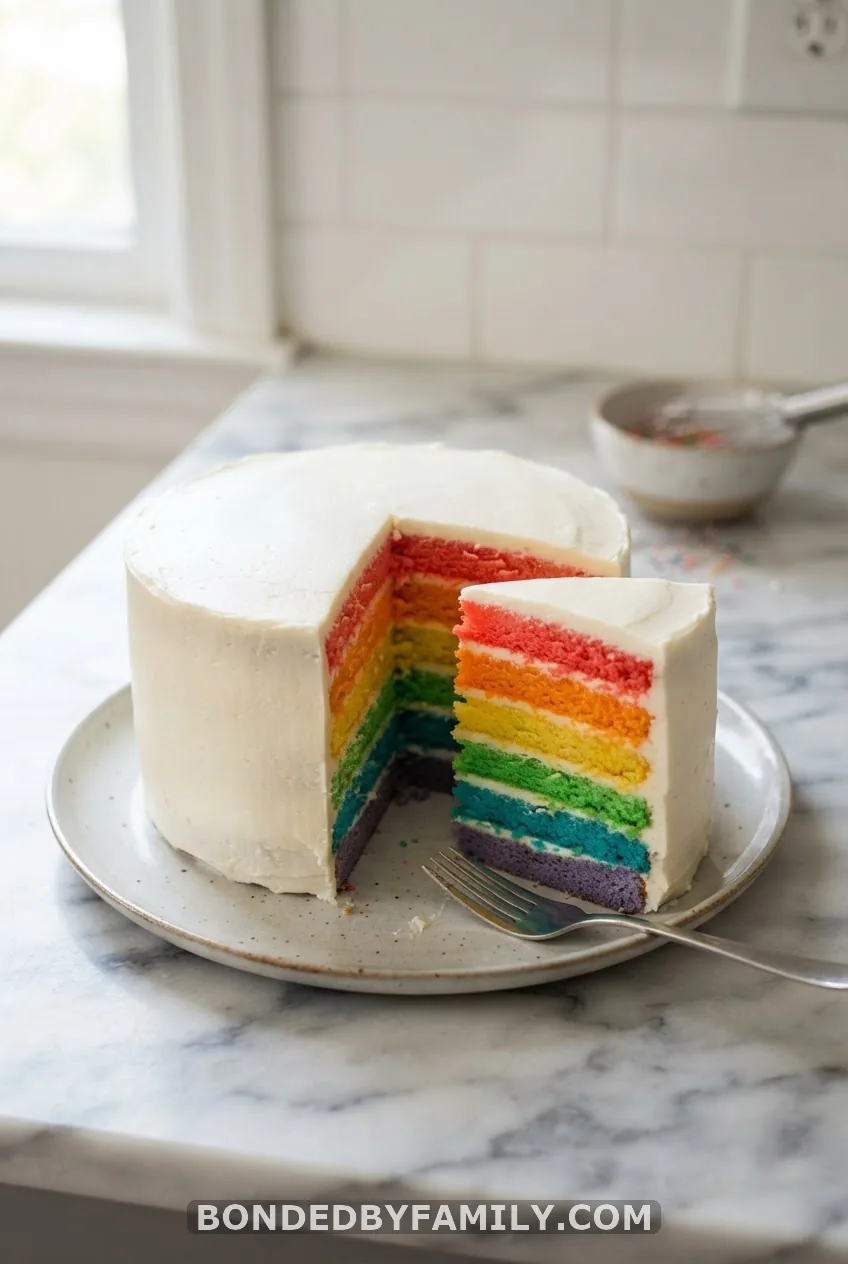
For families celebrating a rainbow baby after loss or a long road to pregnancy, a rainbow-layered interior means more than a color reveal. Split your batter into as many bowls as colors you want, tint each one, and layer them in a stack under a plain white or pastel exterior. One or two of those layers can carry the pink or blue announcement while the rest just celebrate the moment itself.
8. Cream Puff & Donut Tower “Cake”
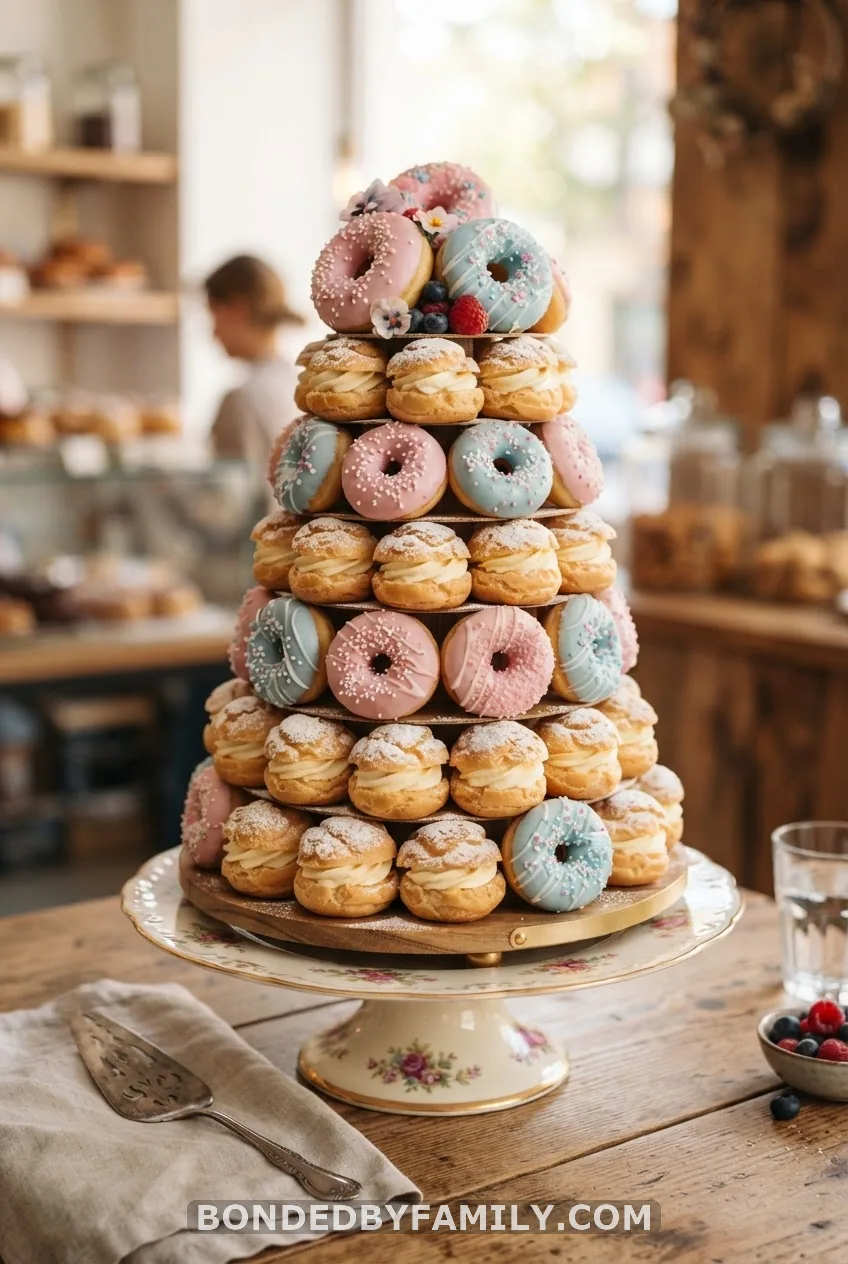
No oven required if you’re short on time. Stack store-bought cream puffs, mini donuts, or macarons on a tiered stand, alternating pink and blue as your color scheme. Croquembouche-style cones hold their shape with a little melted sugar or chocolate as glue between pieces.
9. Giant Cupcake Reveal (A Cautionary Tale)
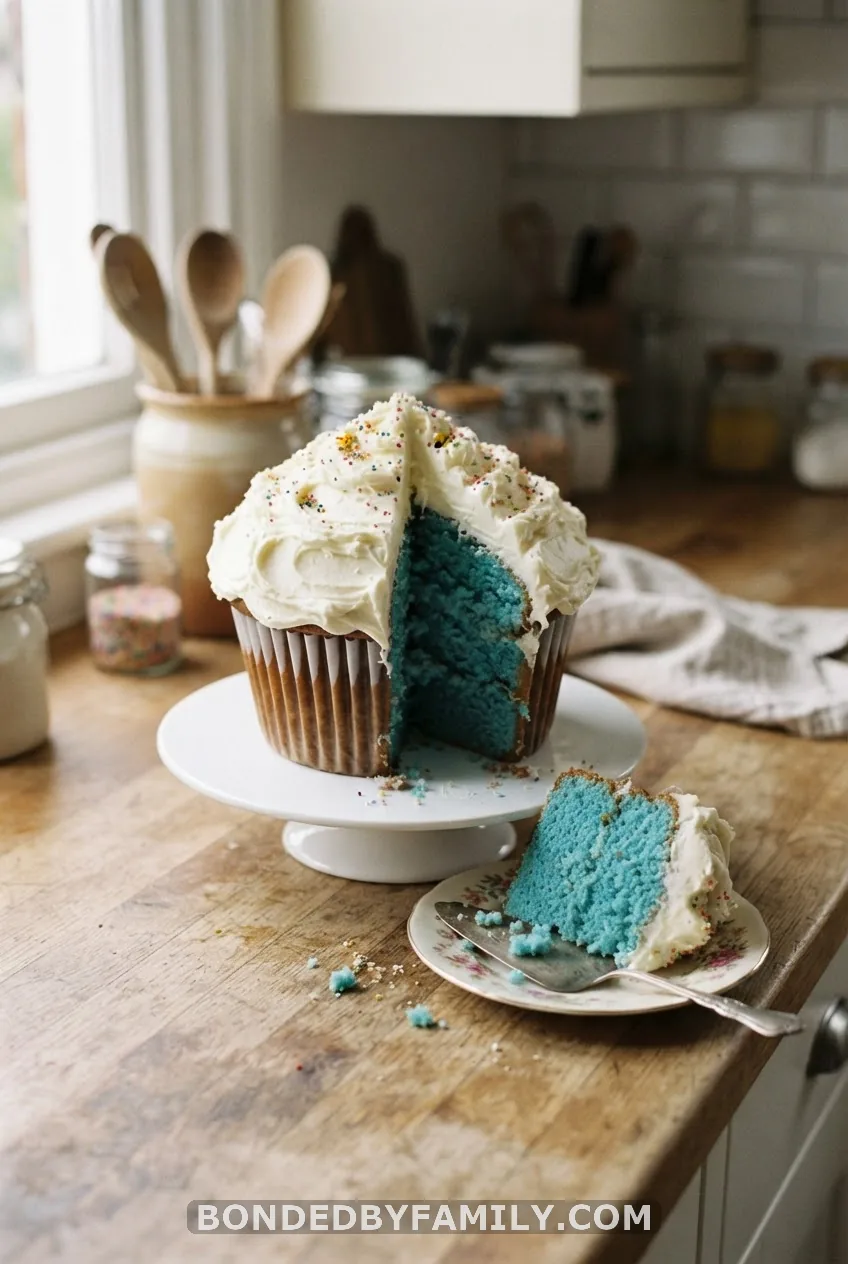
A friend of mine made a giant cupcake pan cake for her reveal and swore it would be the easy option. It wasn’t, and here’s why. The Wilton giant cupcake pan bakes the “cup” base and the “top” swirl separately, and the base needs nearly double the bake time of a standard pan – closer to 50 minutes at 325°F rather than the 30 minutes she planned for.
She pulled it early. The center sank the moment it cooled, and the whole reveal moment turned into an awkward joke about the cake looking “a little tired.” The frosting swirl on top also cracked because she tried to pipe it onto a cake that was still warm in the middle.
What she’d do differently: bake a full day ahead, test with a skewer in the dead center (not just near the edge), and let the base cool completely, wrapped, in the fridge overnight before frosting. The pan itself is a great idea – it just punishes anyone who rushes it. If your timeline is tight, this isn’t your cake. If you’ve got two days to spare, it’s a genuinely fun, nontraditional shape that stands out from every round layer cake on the table.
10. Target/Arrow Hidden-Filling Cake
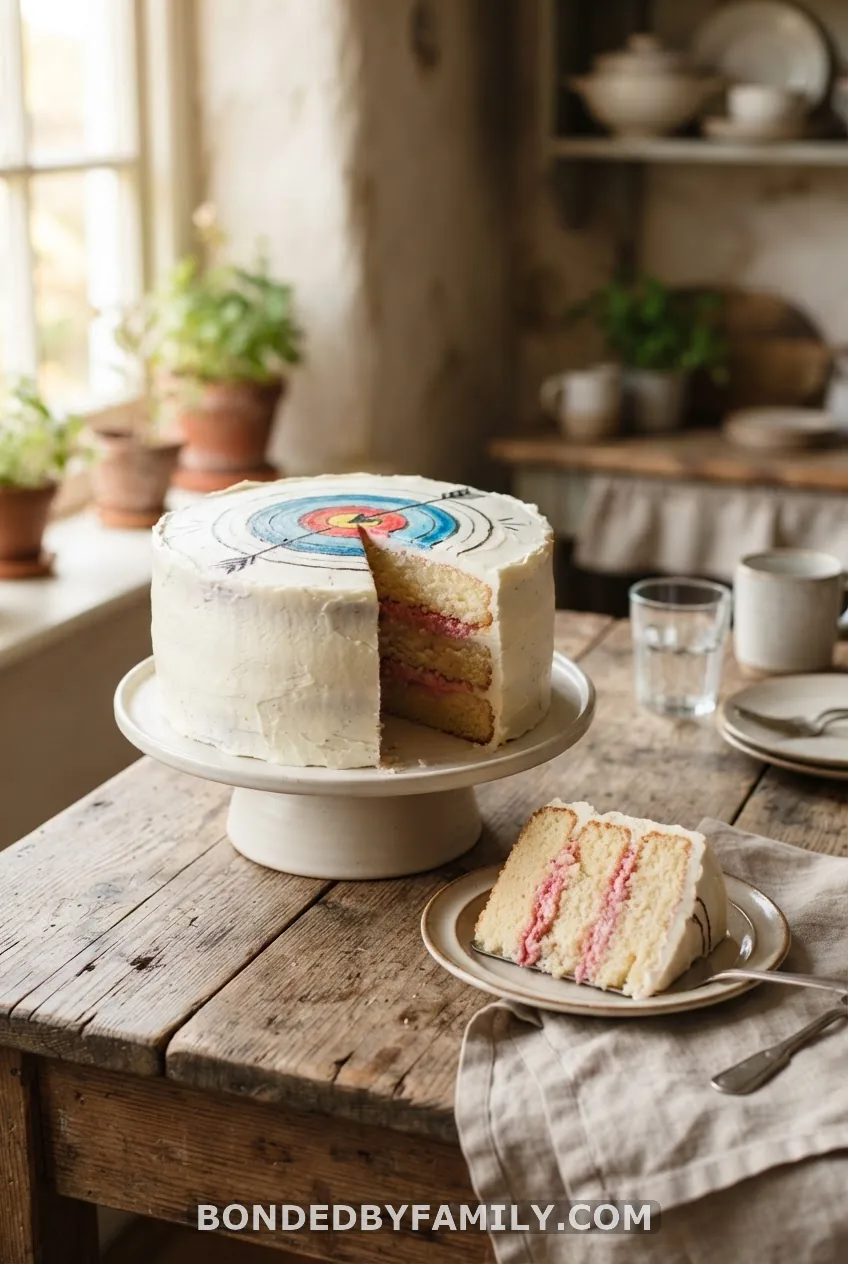
Frost the cake white and pipe or paint a simple bullseye pattern with a fondant arrow stuck through the center, like the cake itself is the target of the big question. The filling between layers, tinted pink or blue, is the actual reveal.
For the interactive version, hand the parents a knife together and have them cut the very first slice as a couple. It’s a small staging trick, but it reads well on camera and gives you a natural photo moment instead of one person cutting alone.
11. Geometric Modern Cake with Gold Leaf Accents
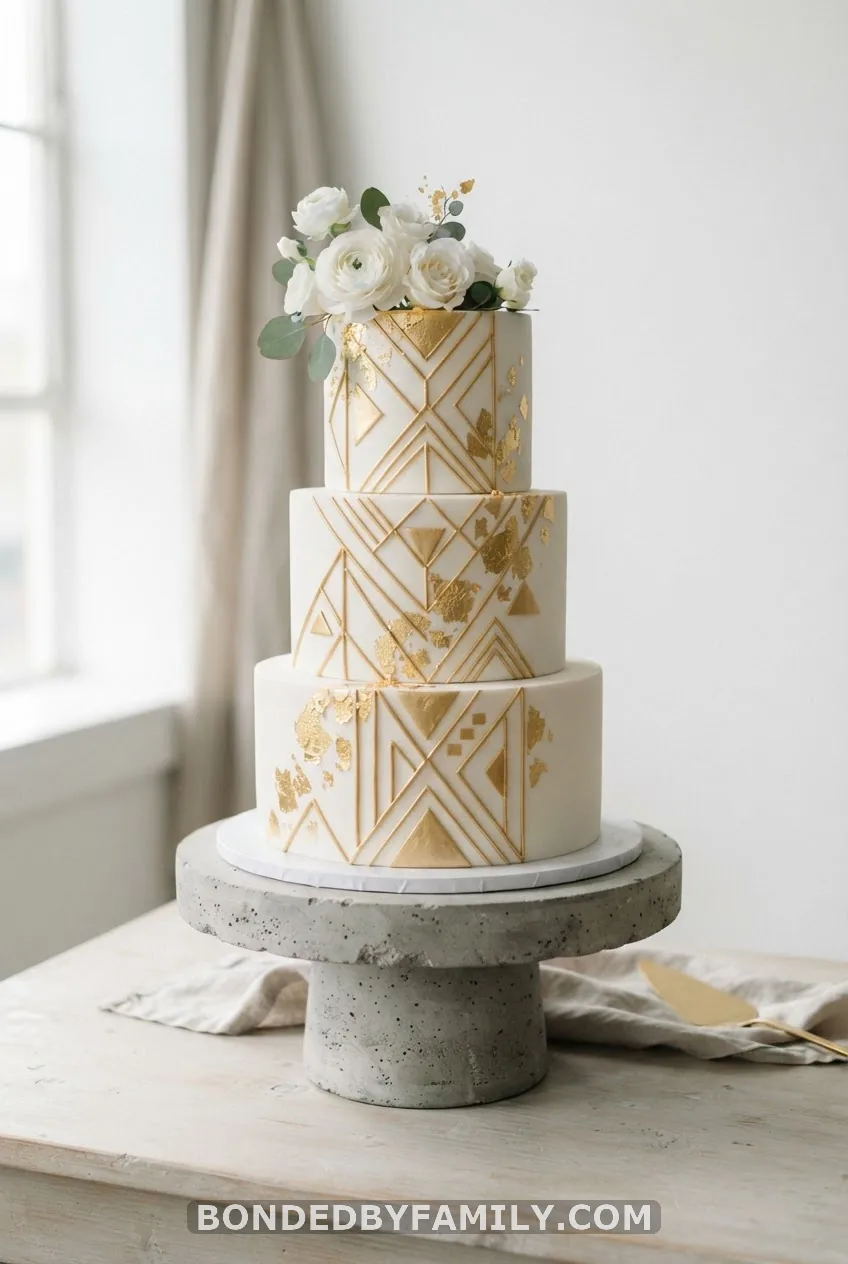
Not every parent wants pastel and balloons. A geometric fault-line cake, cracked open with edible gold leaf spilling out, gives you a modern look that still hides pink or blue candy inside the crack. Edible gold leaf sheets run about $8-10 at most craft stores and cover a full cake with room to spare.
12. Confetti Pop Two-Tier Cake
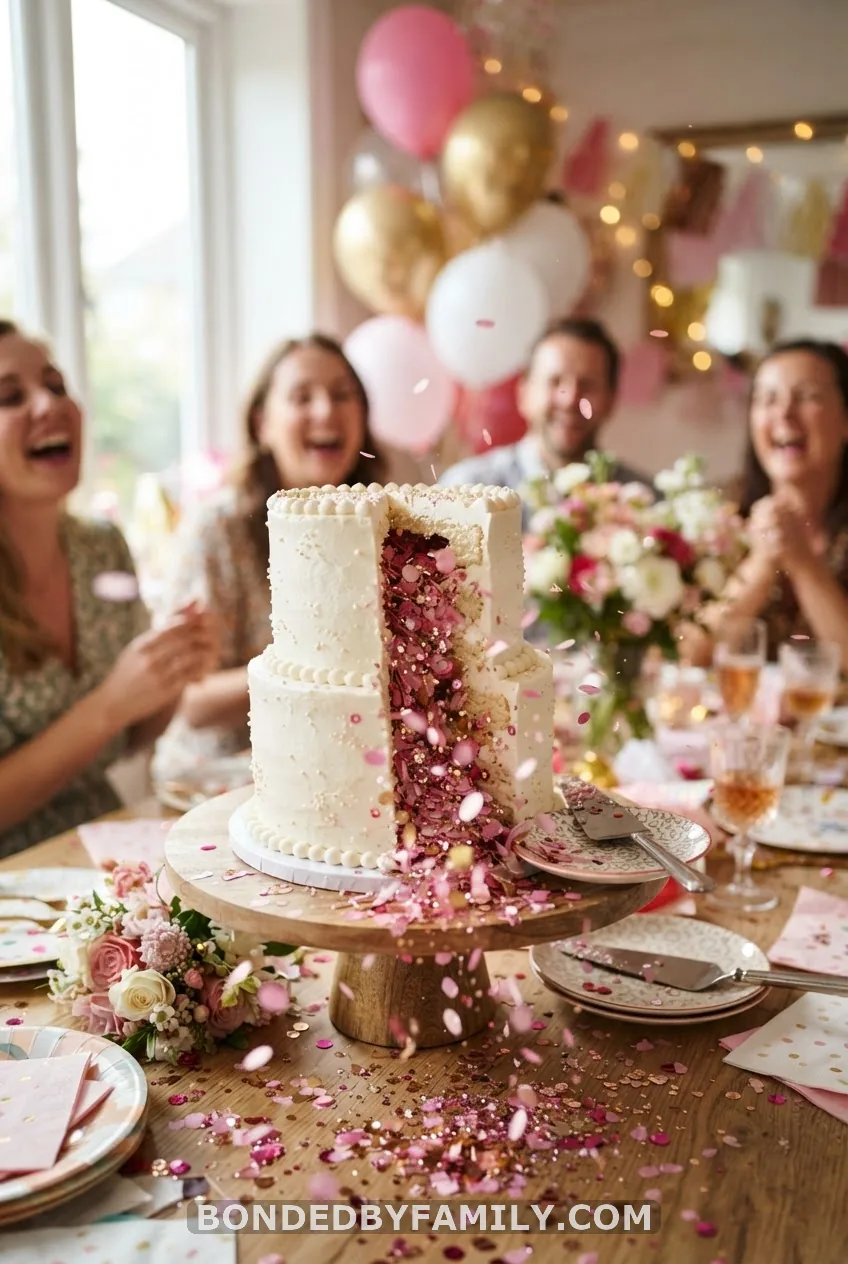
Hollow out the top tier of a two-tier cake, fill the cavity with pink or blue mini confetti, and seal it back with a thin cake round before frosting over the seam. When the top slice comes off, confetti spills across the table instead of just sitting quietly in a crumb.
Keep the confetti tissue-paper based rather than plastic glitter – it’s food-adjacent and won’t leave sharp bits near the actual cake people are eating.
13. Question-Mark Shaped Showstopper Cake
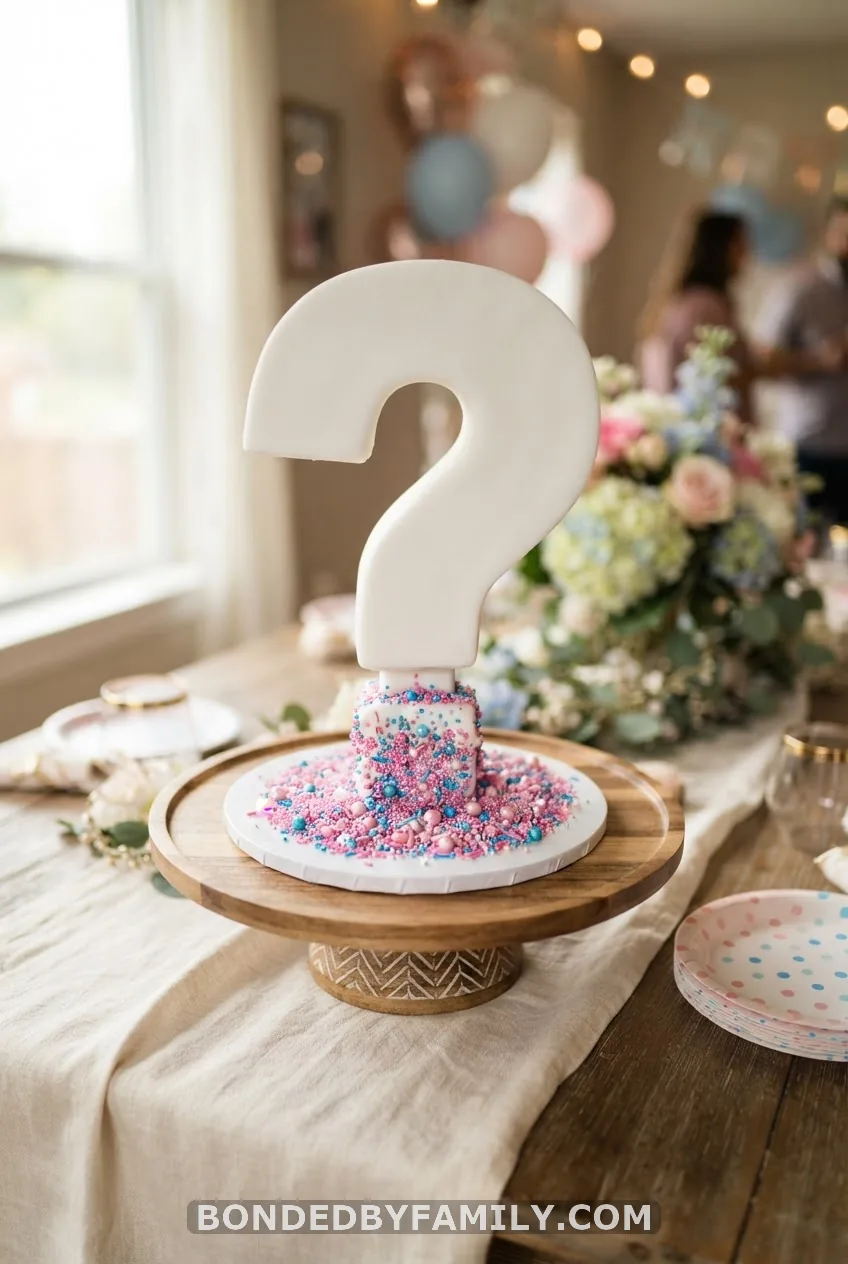
Carve a sheet cake into a question mark shape using a paper template as your cutting guide, then crumb coat and cover in fondant or smooth buttercream. It takes more carving skill than any other cake here, but it’s also the single most on-theme shape you can put on a dessert table.
DIY Supplies and Tools You’ll Need
You don’t need a full cake supply store. Here’s the actual short list: an offset spatula for smoothing frosting, a bench scraper for clean sides, a set of piping bags with a few round and star tips, and gel food coloring in your two chosen shades. Americolor and Wilton both sell starter kits under $15.
For toppers, Big Dot of Happiness and Etsy shops carry “Boy or Girl?” signs, question marks, and baby shoe picks. Target and Walmart stock sprinkle mixes and disposable piping bags in the party aisle, usually near the balloons. If fondant intimidates you, skip it – buttercream does 90% of what’s on this list just fine.
Tips for a Stress-Free Decoration & Reveal
Practice your technique on a plain cake a few days before the party, especially if you’re attempting the drip or the ombre blend for the first time. Keep a backup box mix in the pantry just in case.
Only one person should know the actual gender before the cut – usually whoever picks up the color from the bakery or bakes the inside layers. Everyone else, parents included, should be guessing right alongside the guests.
And honestly, the best part of all of this isn’t the cake. It’s turning the decorating into a family activity – grandparents piping frosting, older siblings adding sprinkles, everyone arguing over who gets to hold the piping bag. That’s the memory that outlasts the photos.
Next time around, I’m starting with the inside-out layer cake a full two days early, because rushed cake layers are the one mistake that no amount of pretty frosting can fix. Pick one idea from this list, give yourself more time than you think you need, and let the actual reveal moment do the heavy lifting.
FAQ
How do I make a gender reveal cake where the inside is pink or blue?
Bake a white or vanilla cake, split the batter into bowls, and stir gel food coloring into each until the color is fully opaque. Frost the outside in a neutral shade like white or cream so the colored crumb stays a surprise until the first slice.
What supplies do I need to decorate a gender reveal cake at home?
An offset spatula, a bench scraper, piping bags with a couple of basic tips, and gel food coloring cover almost everything on this list. Add sprinkles and a cake topper from Target, Walmart, or an Etsy shop for the finishing touch.
What are some gender-neutral gender reveal cake decoration ideas?
Bee themes, rainbow layers, geometric fault-line designs, and elegant white cakes with fresh flowers all work without leaning on pink or blue on the outside. The actual color reveal moves to the filling or a separate cutting cake.
How can I keep the baby’s gender a secret while baking?
Have someone other than the parents, usually a friend or the ultrasound tech, deliver the color information directly to whoever’s baking. Or order a store-bought cake and give the bakery written instructions on which filling color to use, sealed in an envelope they open alone.
Can I use a cake mix and still make it look professional?
Absolutely. A boxed mix like Duncan Hines or Betty Crocker bakes evenly and takes color well. Focus your effort on leveling the layers, chilling before frosting, and keeping your piping lines clean – that’s what actually reads as “professional,” not the recipe underneath.