Here’s something that might surprise you: a baby’s palm print changes so fast that the handprint you take in January won’t even resemble the one you take in June. Pediatric occupational therapists use that fact to track growth – but for parents, it means every single infant craft idea you try becomes a tiny time capsule you can never recreate.
That’s the whole point of this list. Instead of a random grab-bag of infant craft ideas, you’re getting a calendar – fall through summer, holiday through ordinary Tuesday – paired with the taste-safe paint recipes, squirm-proof handprint tricks, and safety notes nobody else bothers to put in one place. By the end, you’ll have fifteen specific projects ready to go, plus the know-how to actually pull them off with a baby who has zero interest in sitting still.
Why Infant Crafts Look Different (and Why That’s the Point)
Babies don’t “make” crafts. They explore materials, and you capture the moment. That’s process art versus product art in a nutshell – a 3-month-old squishing yogurt paint with a fist is doing exactly what she’s supposed to do, even if the paper looks like nothing. A 12-month-old can press a palm down on request and might even babble at the color. Neither one is making Pinterest-perfect art, and neither one needs to.
What’s actually happening underneath the mess is real development: sensory input from new textures, fine motor practice from grasping a sponge, hand-eye coordination from watching a mark appear, and an early lesson in cause and effect – I did that, and something changed. Five to ten minutes of genuine engagement is a full win. If your baby licks the paintbrush and calls it a day, you still did the craft.
The Only Supply List You Need
Skip the specialty aisle. You need washable, non-toxic finger paint or tempera carrying the ACMI non-toxic seal (Crayola Washable Finger Paint is the standby for a reason), plus cardstock, freezer paper, contact paper, a butcher paper roll, canvas squares, or an old drop cloth for backgrounds. For babies who arch their backs the second paint touches skin, an inkless handprint kit is worth owning – no drying time, no tears, no scrubbing.
For taste-safe work, stock plain yogurt, baby rice cereal, puréed fruit or veg, and natural food coloring. Daycare classrooms buying in bulk should price cardstock and washable paint per-child rather than per-bottle – a gallon of Crayola tempera runs roughly $12-15 and easily covers 25-30 handprints, which beats buying single 8-ounce bottles every month.
Pro tip: Start with one or two colors per session
Mixing more than two shades of taste-safe paint turns everything brown within about ninety seconds. Pick a duo – red and yellow, blue and white – and stop there.
Taste-Safe Paint, Three Ways
Yogurt paint: two tablespoons plain yogurt plus one drop food coloring or a spoon of fruit purée. Cereal paint: baby rice cereal thinned with water, plus purée for texture and color. Pudding paint, for households that have made peace with the laundry: instant pudding mixed per package directions, tinted the same way. All three wash out of clothing and hair with regular soap.
Fall Infant Craft Ideas (September, October, November)
1. Apple Stamping Fall Tree
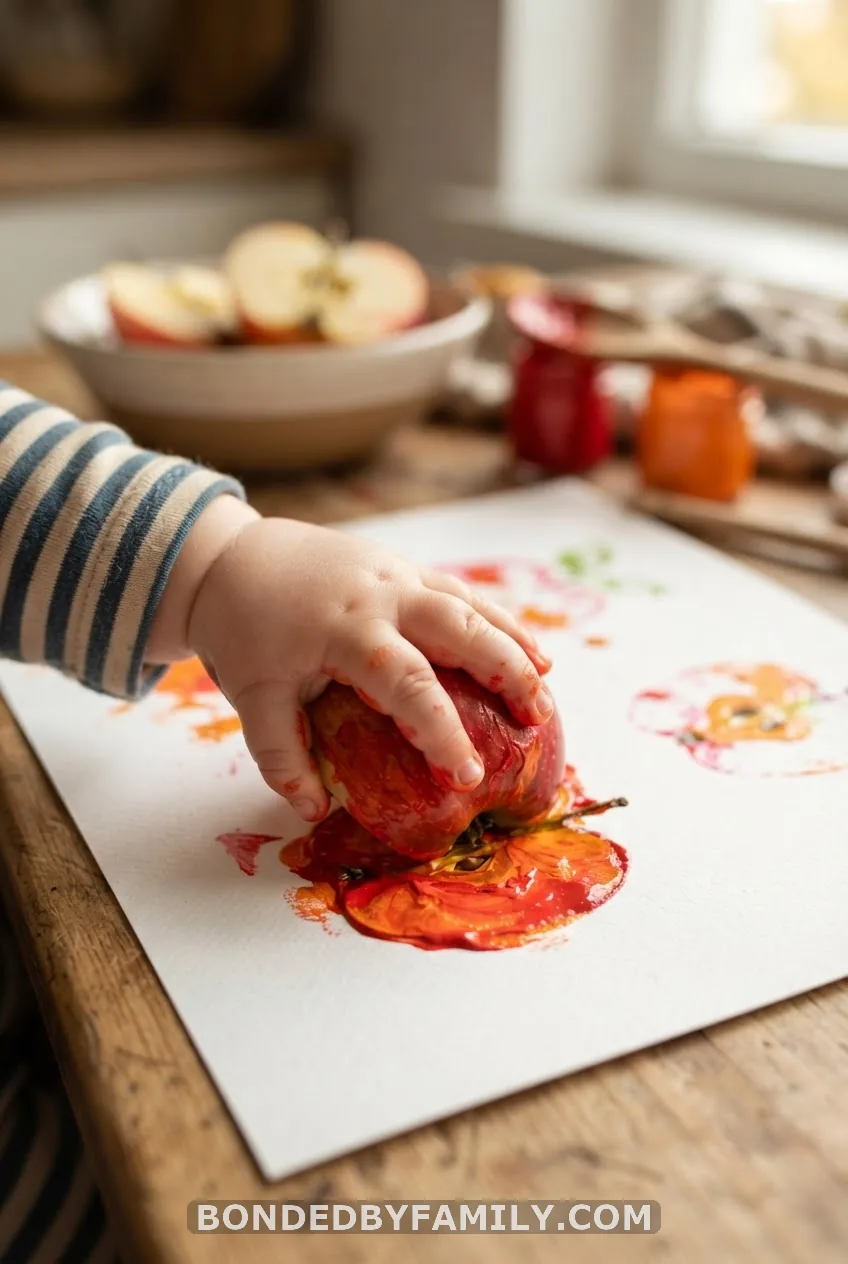
Slice an apple in half, dip the cut side in taste-safe red or orange paint, and let your baby press it onto cardstock while you steady the wrist. Add a brown handprint or forearm swipe underneath as the tree trunk, and you’ve got a fall keepsake in under ten minutes. Clean-up is one wet washcloth – no brushes involved.
2. Brown Handprint Tree With Fingerprint Leaves
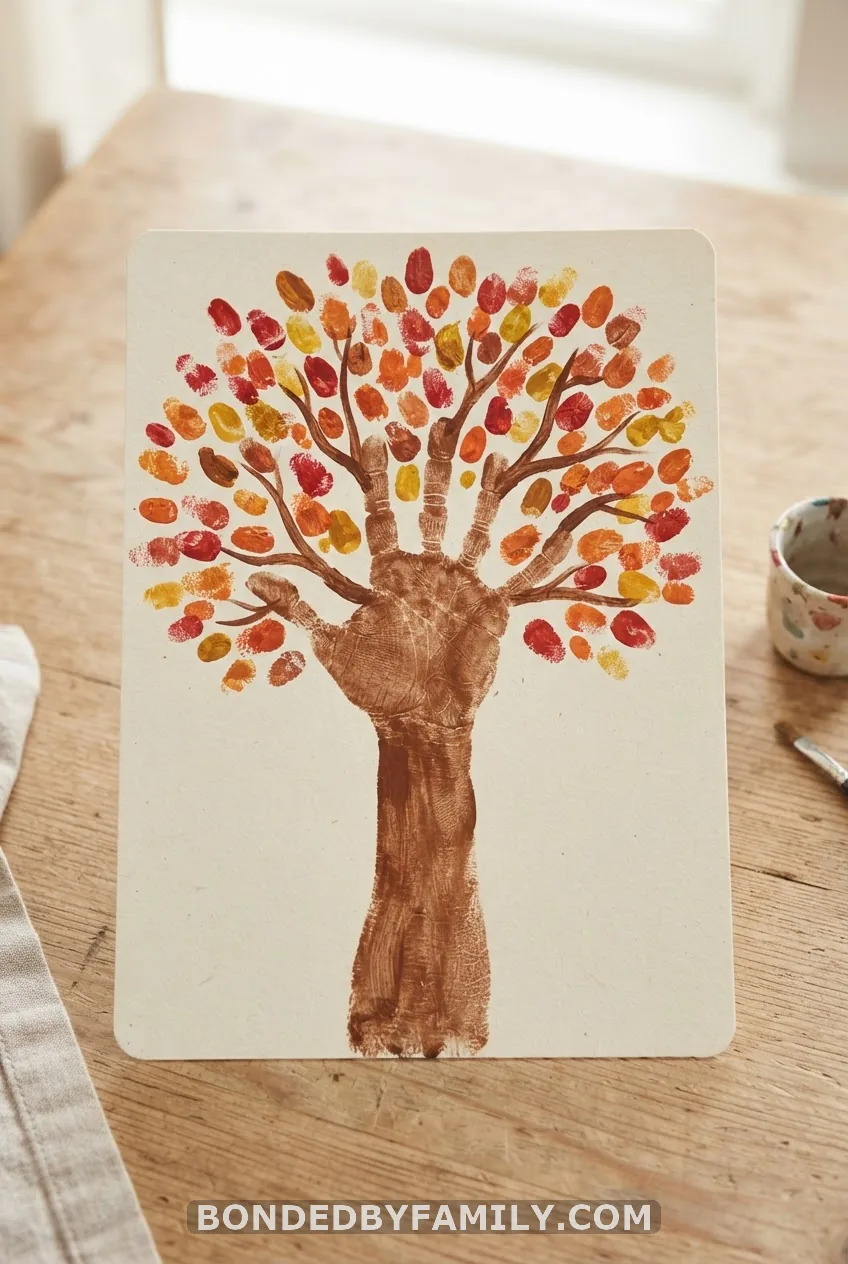
Press the whole forearm in brown paint for the trunk, then dot orange and red fingerprints above it for leaves. That’s it. Twenty minutes, zero prep beyond mixing two paint colors.
3. Pumpkin Footprint With Green Thumbprint Stem
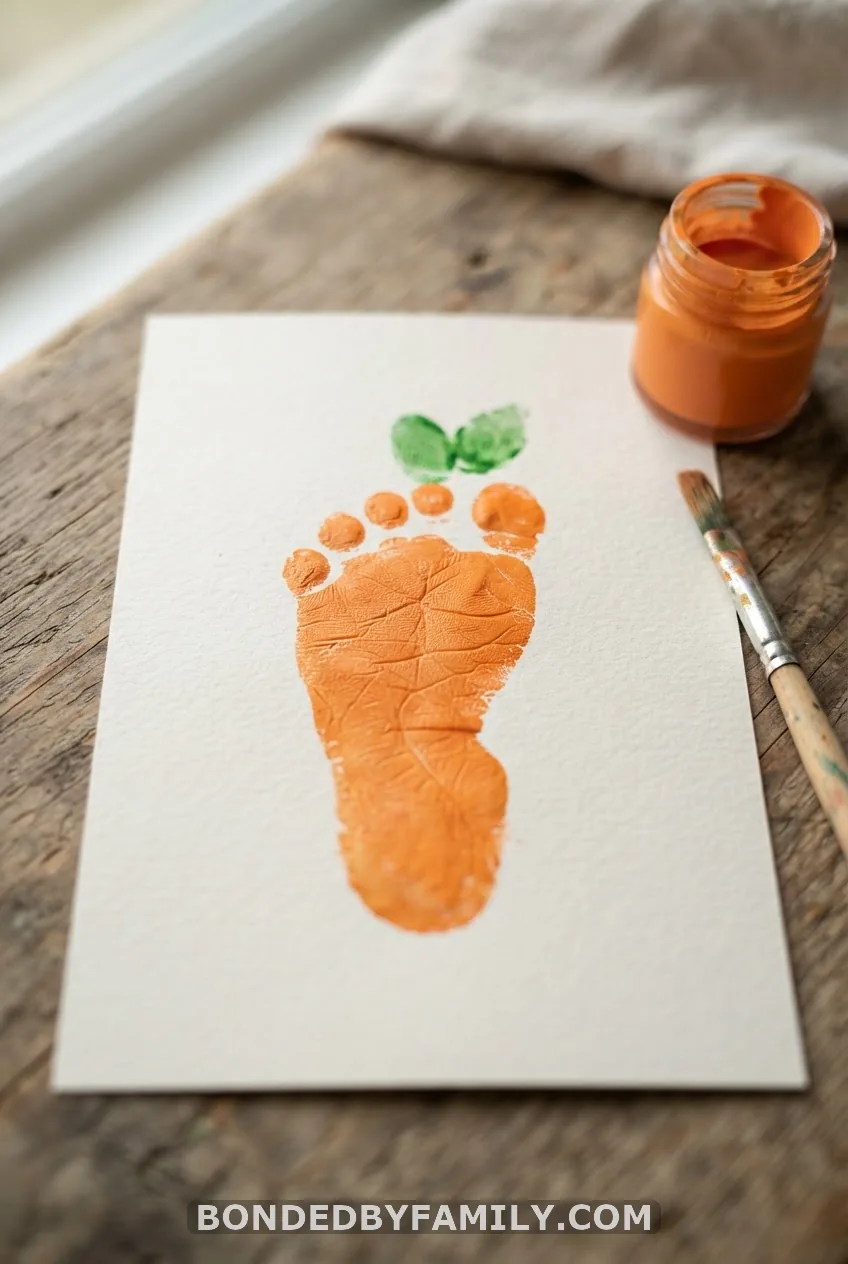
The heel of a baby’s foot, pressed sideways, makes a surprisingly convincing pumpkin shape once it’s orange. Add a green thumbprint at the top for the stem and black marker lines for ribs once the paint dries. This one doubles as a Thanksgiving table place card if you write the year underneath.
Winter Infant Craft Ideas (December, January, February)
4. Handprint Snowman Ornament
This is the one worth doing properly, because it turns into an actual keepsake ornament instead of a one-and-done paper craft.
What you need: navy or black cardstock ($4 for a 50-sheet pack), white washable tempera, two googly eyes ($2 for a bag of 100), an orange felt scrap for the nose, three buttons, Mod Podge, and a hole punch. Total cost per ornament: under $2.
Step one. Paint your baby’s palm and lower fingers white, keeping the thumb separate if you can. Press three times, stacked vertically and slightly overlapping, onto the dark cardstock – biggest print on the bottom, smallest on top.
Step two. Let it dry fully, which takes about twenty minutes for tempera on cardstock. Don’t rush this part; smudged snowmen don’t photograph well.
Step three. Glue on googly eyes and the felt nose triangle on the top print, and three buttons down the “body.” A hot glue gun works, but a squeeze of white craft glue held for thirty seconds is safer with wiggly hands nearby.
Step four. Punch a hole in the top corner, thread ribbon, and seal the whole thing with a light coat of Mod Podge for durability if it’s headed for a tree instead of a frame.
Common mistakes: using regular paper instead of cardstock (it curls once wet), skipping the drying time between stacked prints (smearing ruins the shape), and gluing eyes on before the paint is bone-dry.
Pro tip: Write the date on the back before you glue anything
Once the ornament is finished, you’ll never find a clean spot to write on again. Pencil the month, year, and your baby’s age in the bottom corner first.
5. Footprint Reindeer Card
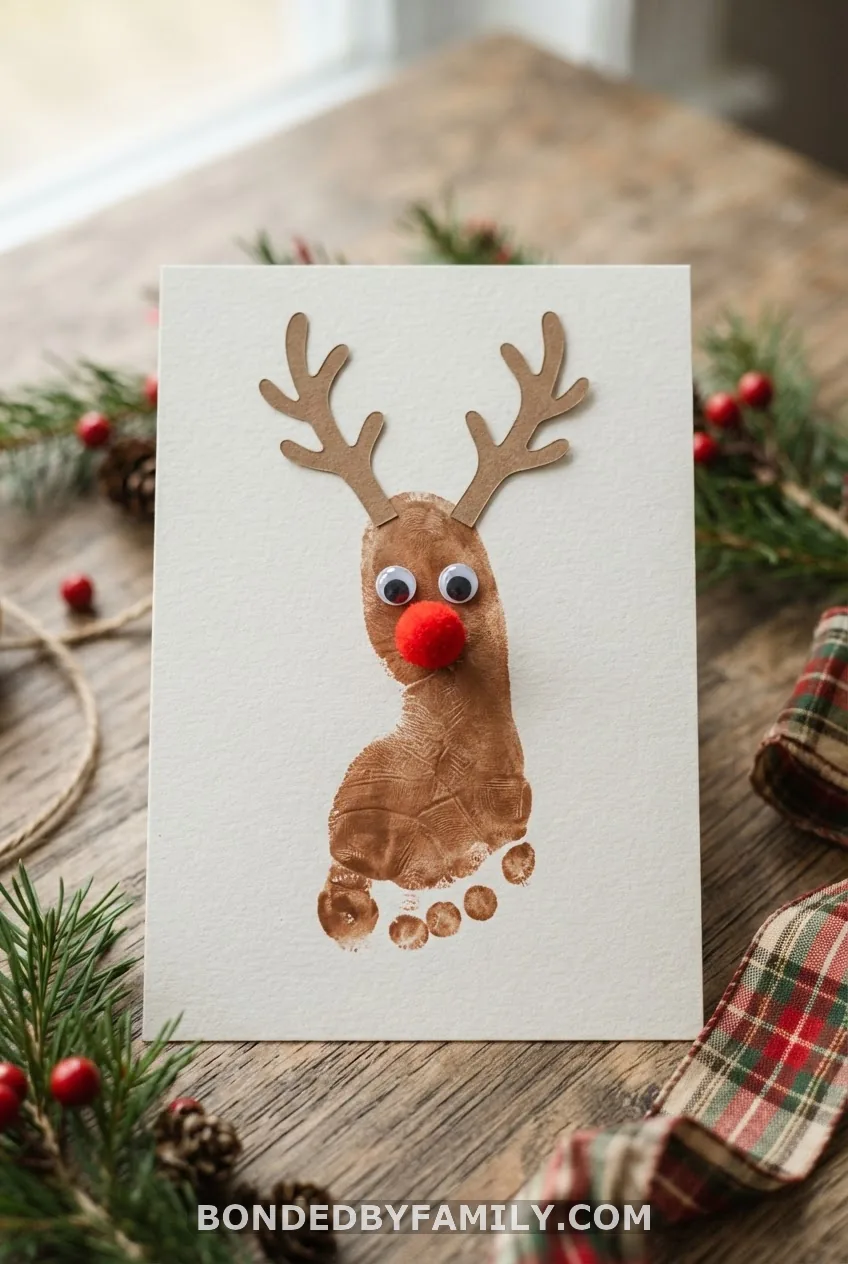
Flip a brown footprint upside down – the heel becomes the reindeer’s nose, the toes become the chin. Glue on pipe-cleaner antlers, a red pom-pom nose, and two googly eyes. Mail it as a holiday card insert; grandparents keep these for years.
6. Valentine’s “I Love You This Much” Handprint Heart
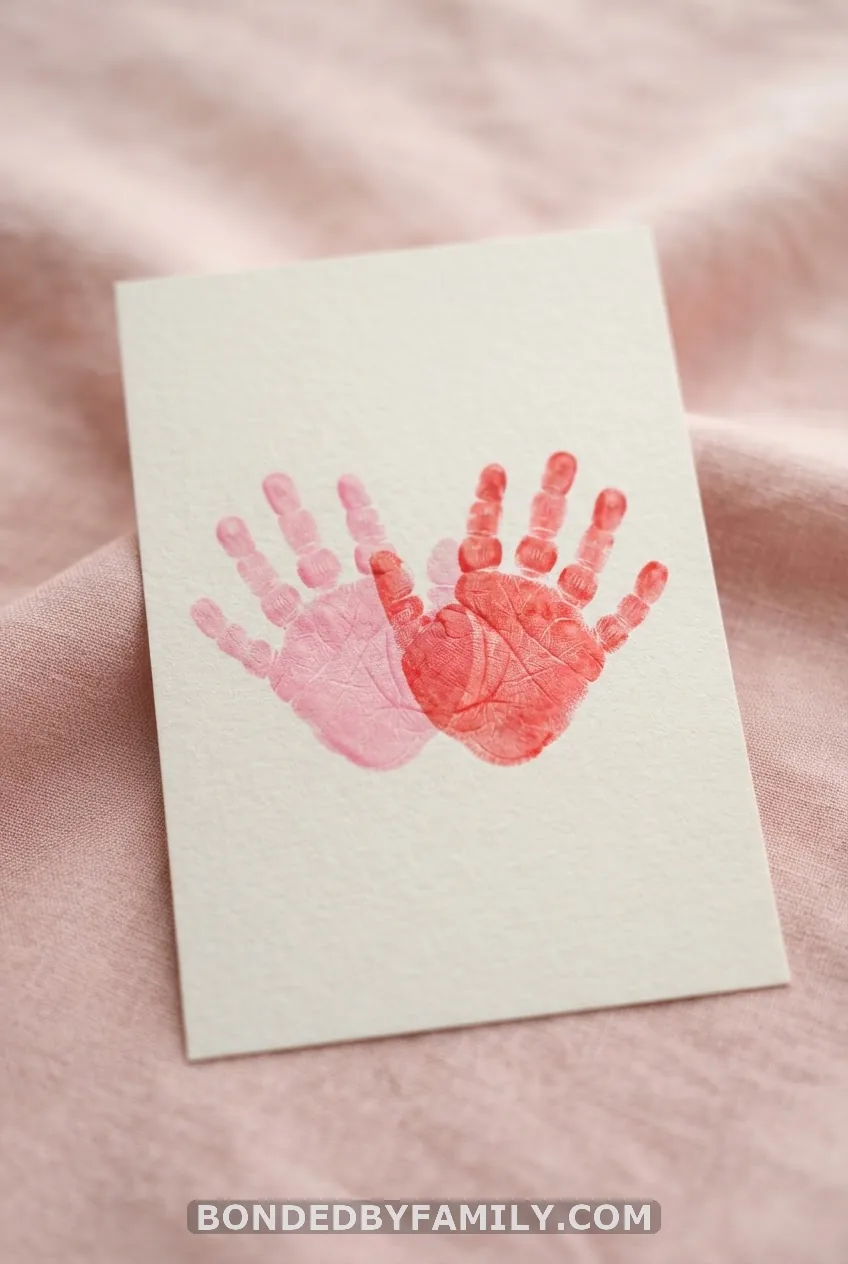
What most parents think: you just press two hands together in paint and a heart magically appears.
The reality: a baby’s fingers splay unevenly, the second print smears the first, and you end up with something that looks more like a crab than a heart – unless you know the trick. I learned this one the hard way with my own daughter, ruining four sheets of good cardstock before figuring out the fix. The move is to press each handprint separately on its own scrap paper first, let it dry, cut around the shape, then arrange the two cutouts overlapping into a heart on your final background. You get full control over the angle, and a bad first attempt costs you nothing but a spare sheet of printer paper.
Spring Infant Craft Ideas (March, April, May)
7. Handprint Flower Garden
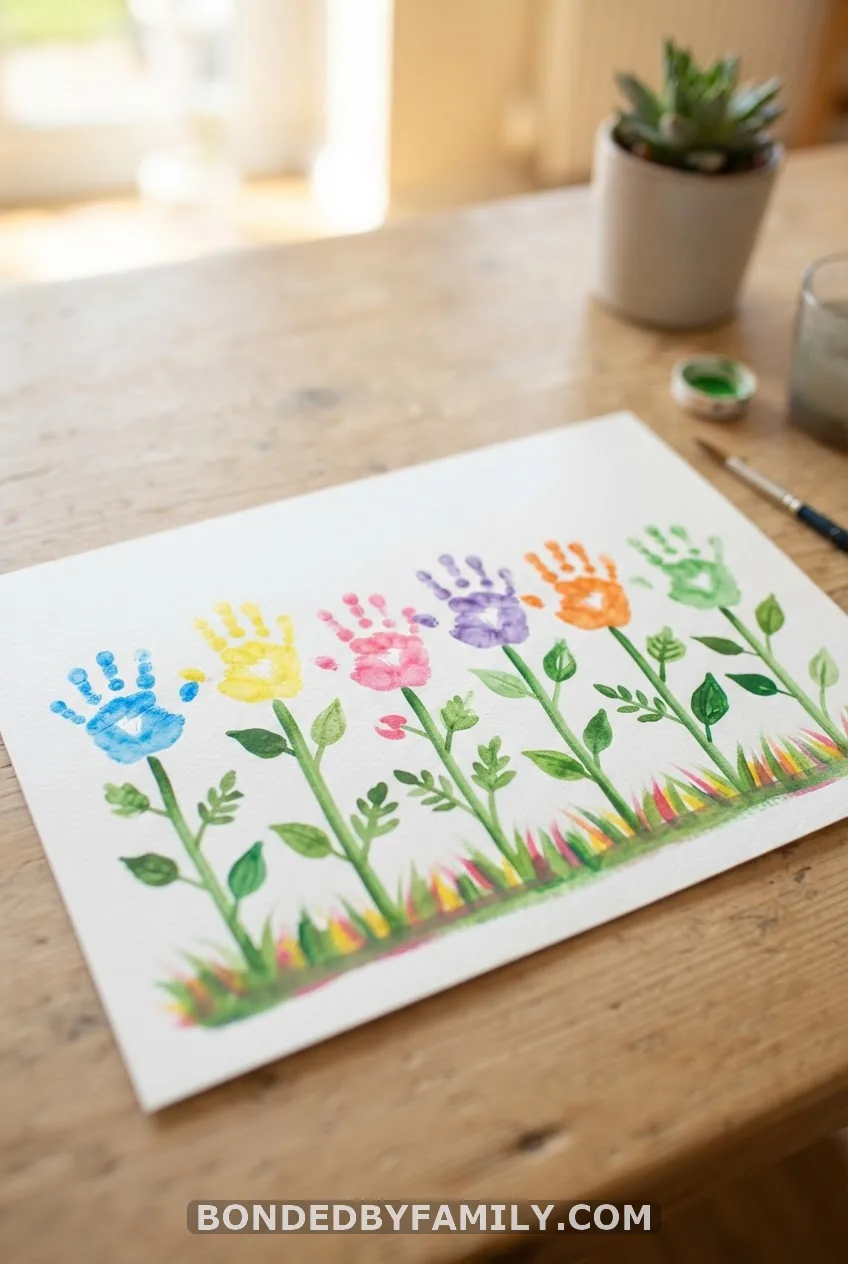
Each handprint, fingers spread, becomes a flower head once you add a green painted stem and a fingerprint or two for leaves. Pink, purple, and yellow prints in a row look like a full garden bed with almost no planning.
8. Easter Bunny Footprint and Egg Resist Painting
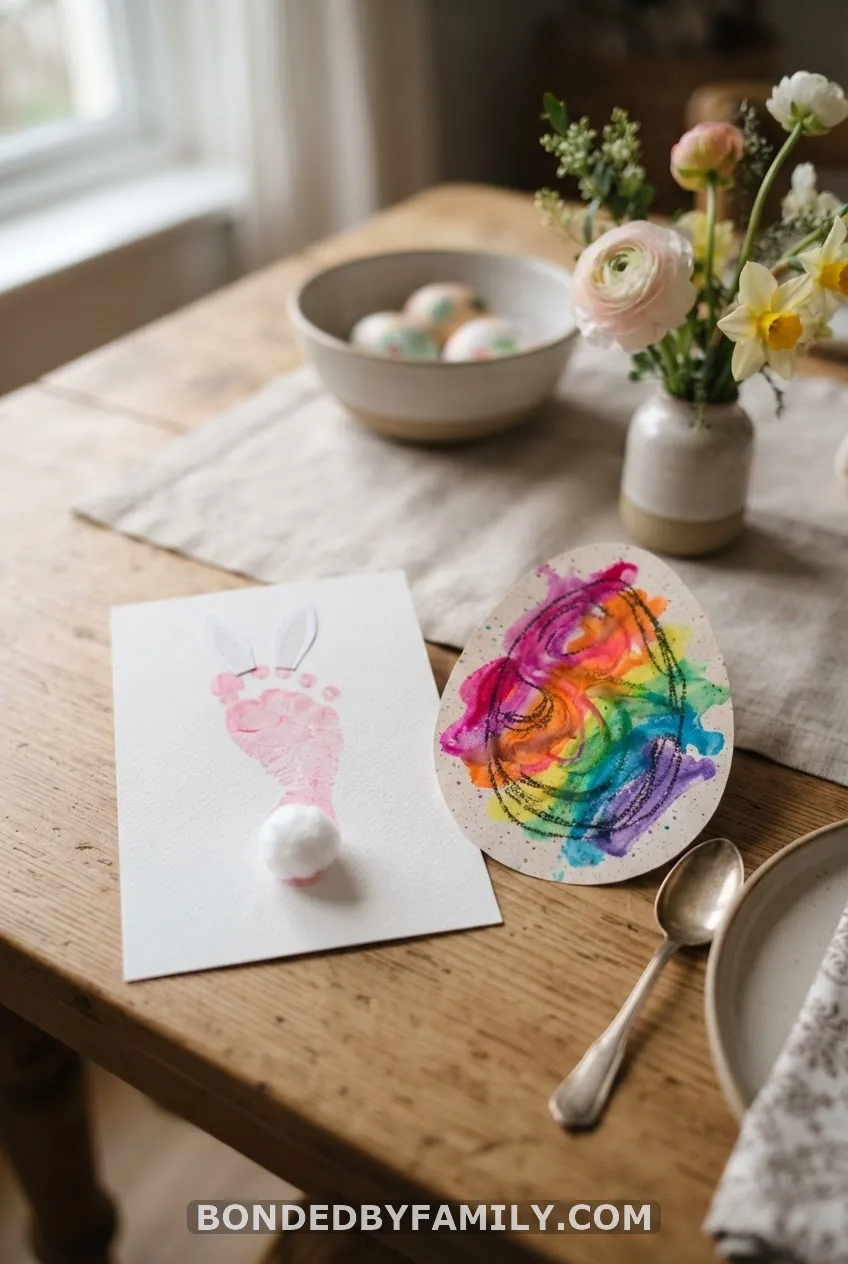
The footprint becomes a bunny face once you glue on paper ears and a cotton ball tail near the heel. For egg resist painting, draw a white crayon zigzag pattern on cardstock ahead of time, then let your baby brush thin, taste-safe watercolor over the top – the wax resists the paint and a hidden pattern appears, which is genuinely fun to watch a baby react to.
9. Handprint Bouquet and Handprint Fish Cards
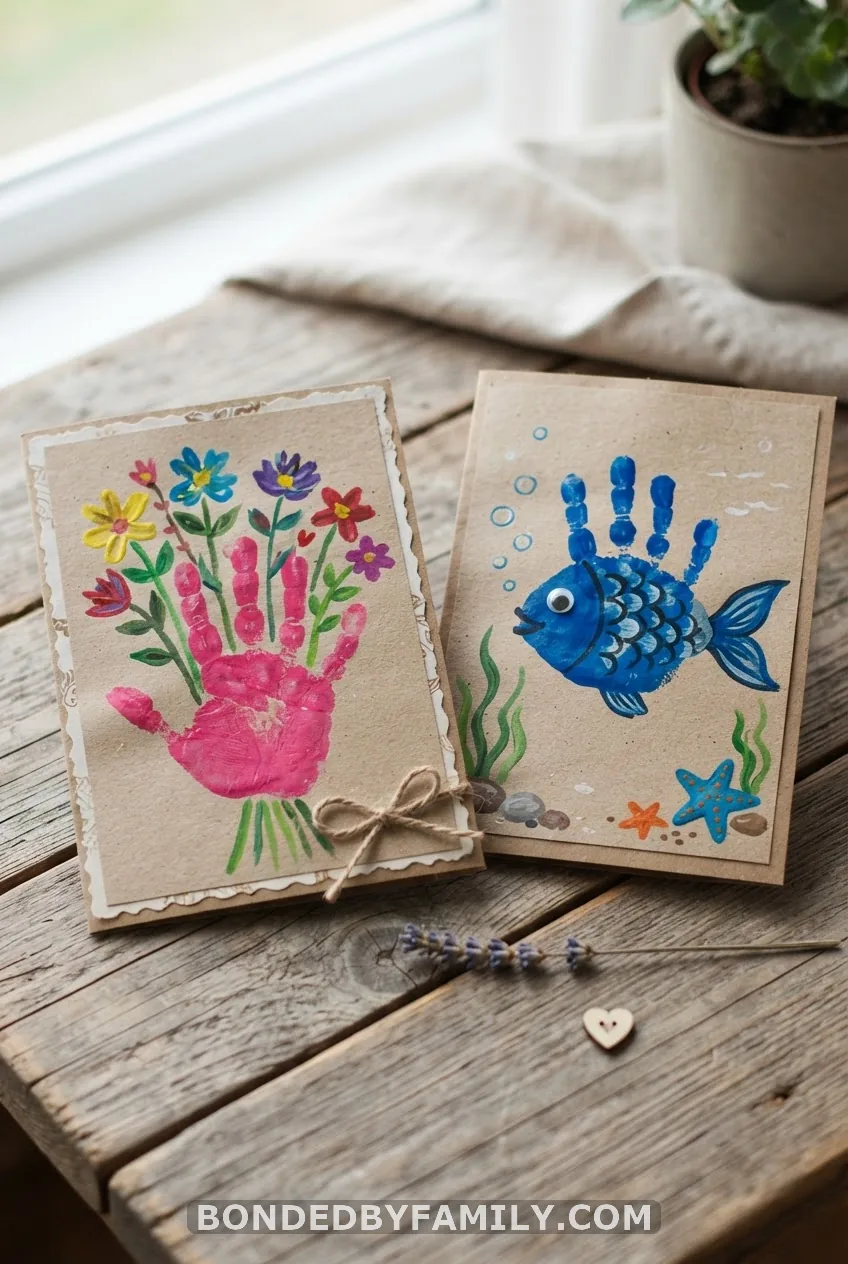
Mother’s Day: a bundle of handprint flowers glued into a “vase” shape with a ribbon. Father’s Day: a single handprint turned sideways becomes a fish body – add a googly eye and the caption “I’m hooked on you.” Both take under fifteen minutes.
Summer Infant Craft Ideas (June, July, August)
10. Ice Cube Painting
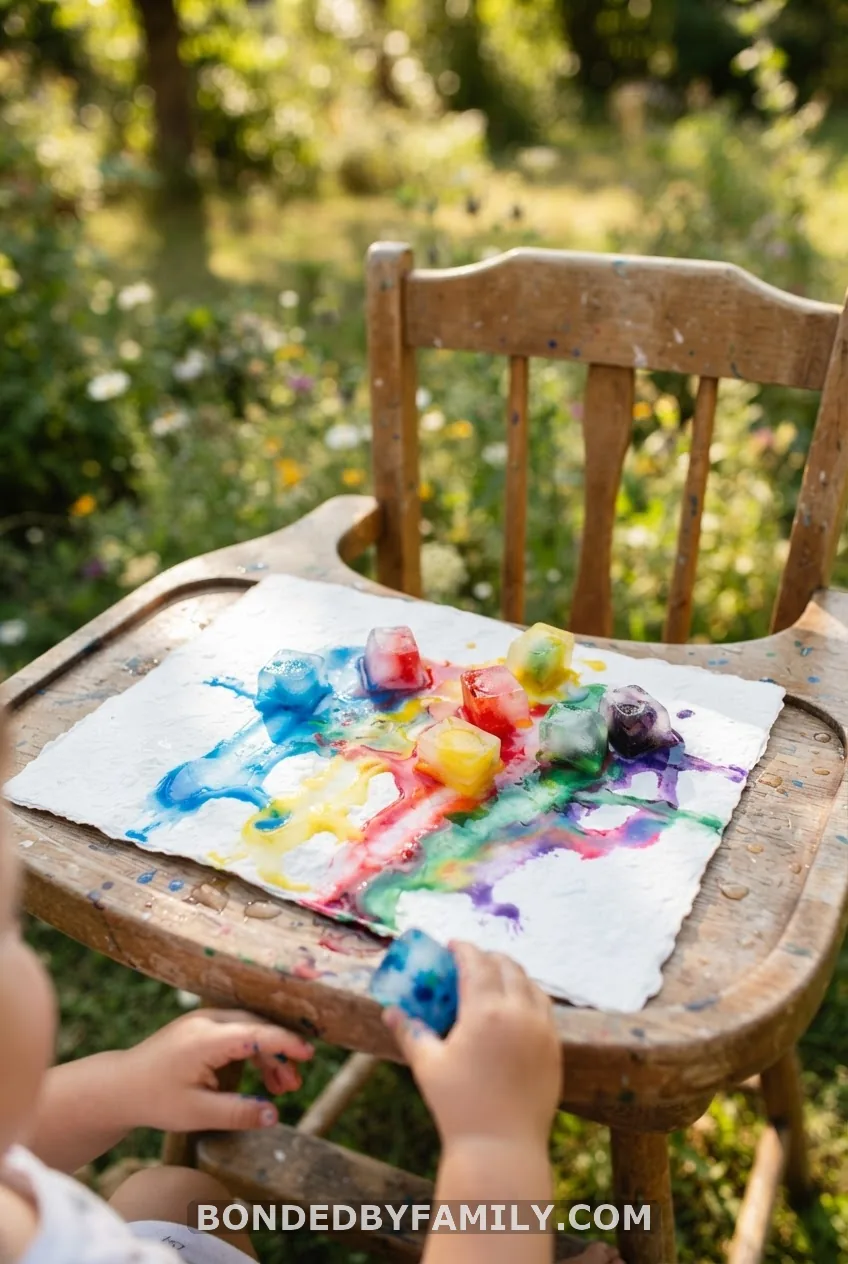
Freeze washable paint in ice cube trays with a wooden craft stick handle in each cube. On a hot day, let your baby drag the melting cube across heavyweight paper or a canvas board – the cold sensation is half the entertainment, and the mess stays contained to one tray.
11. Sand and Glue Beach Card
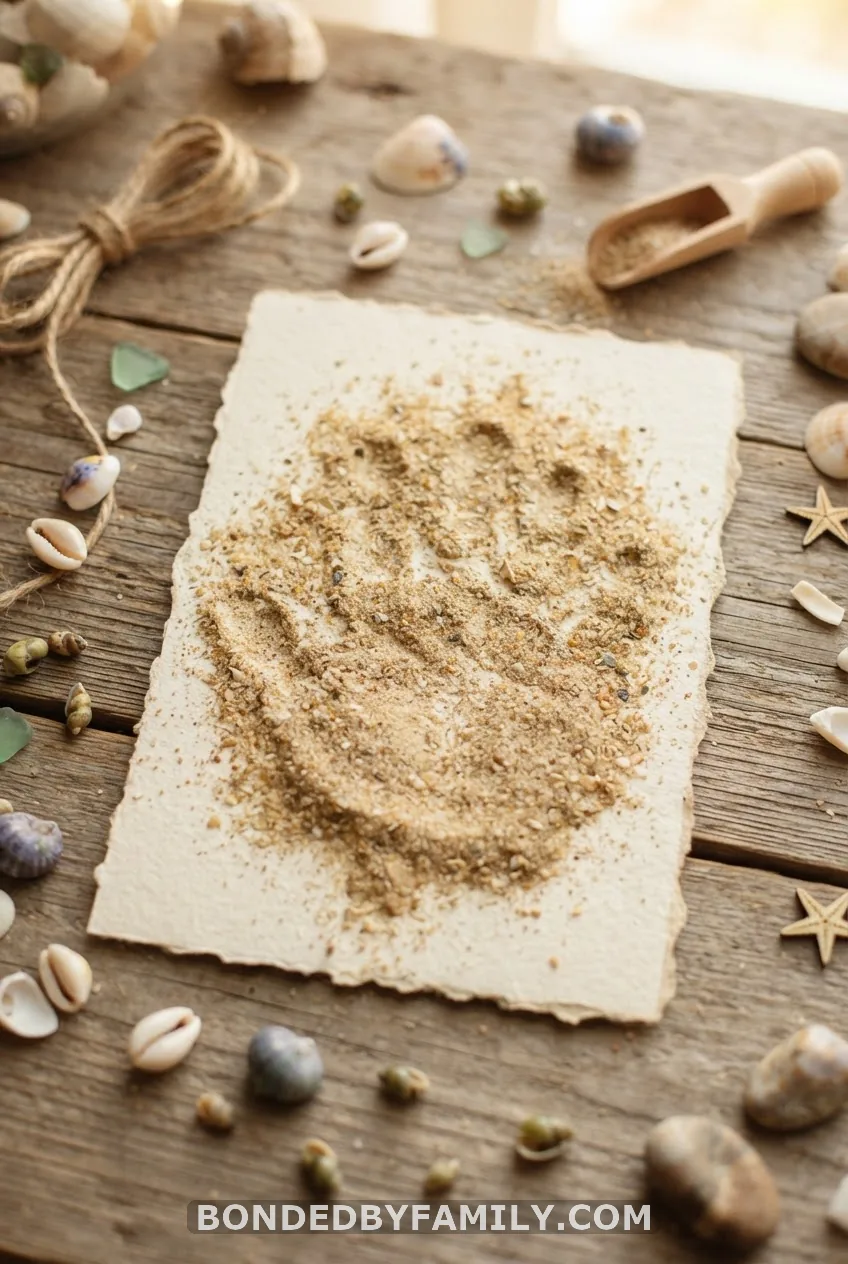
Brush craft glue over a dried handprint, sprinkle real sand over it, and shake off the excess. It’s a texture-safe alternative to glitter, which is a known choking and eye-irritation hazard around infants, and it makes a genuinely nice postcard-style keepsake from a beach trip.
12. Water Painting on the Patio
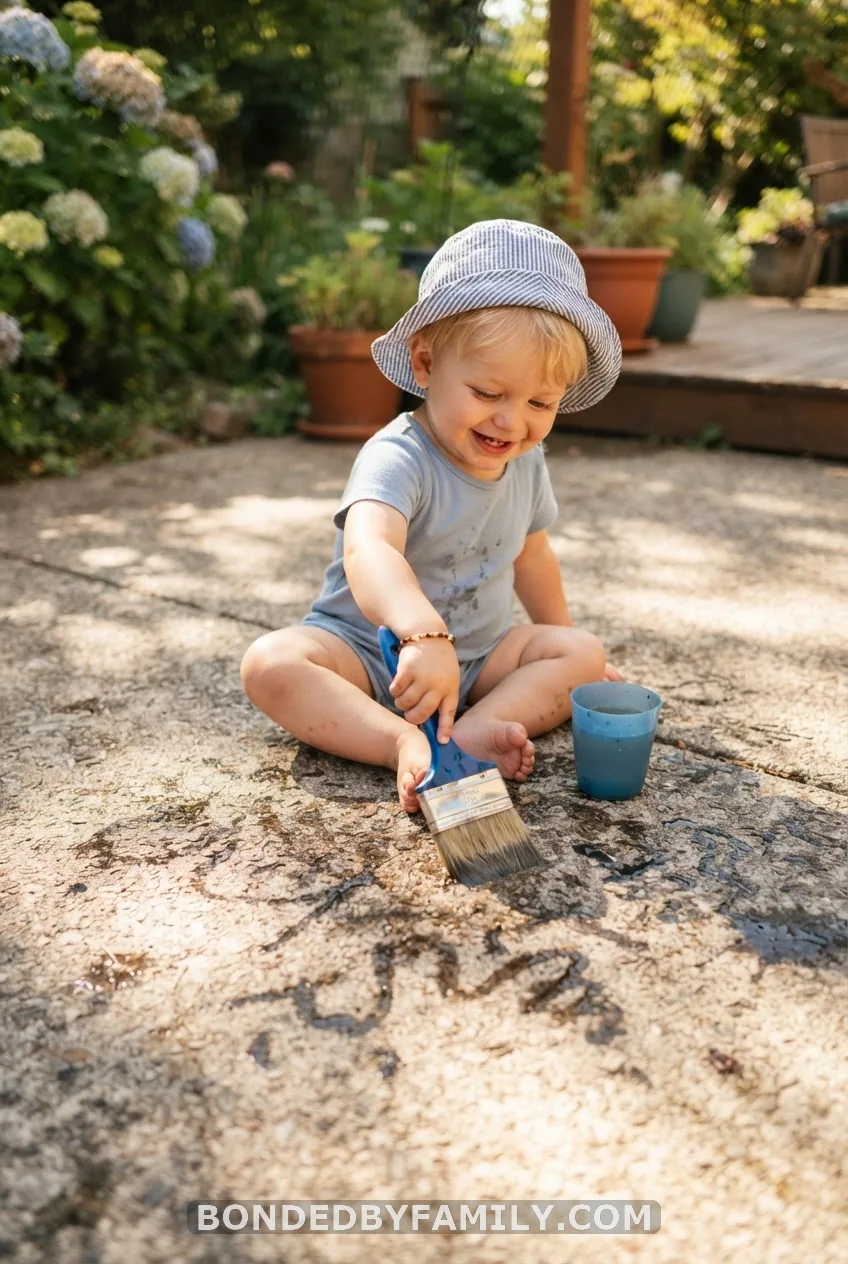
A cup of plain water and a chunky paintbrush on warm concrete gives babies the full painting experience with zero actual paint. Marks appear dark, then evaporate in minutes. No stains, no smock required.
Every-Week Sensory Art (Not Just for Holidays)
13. Edible Finger Painting on the High Chair Tray
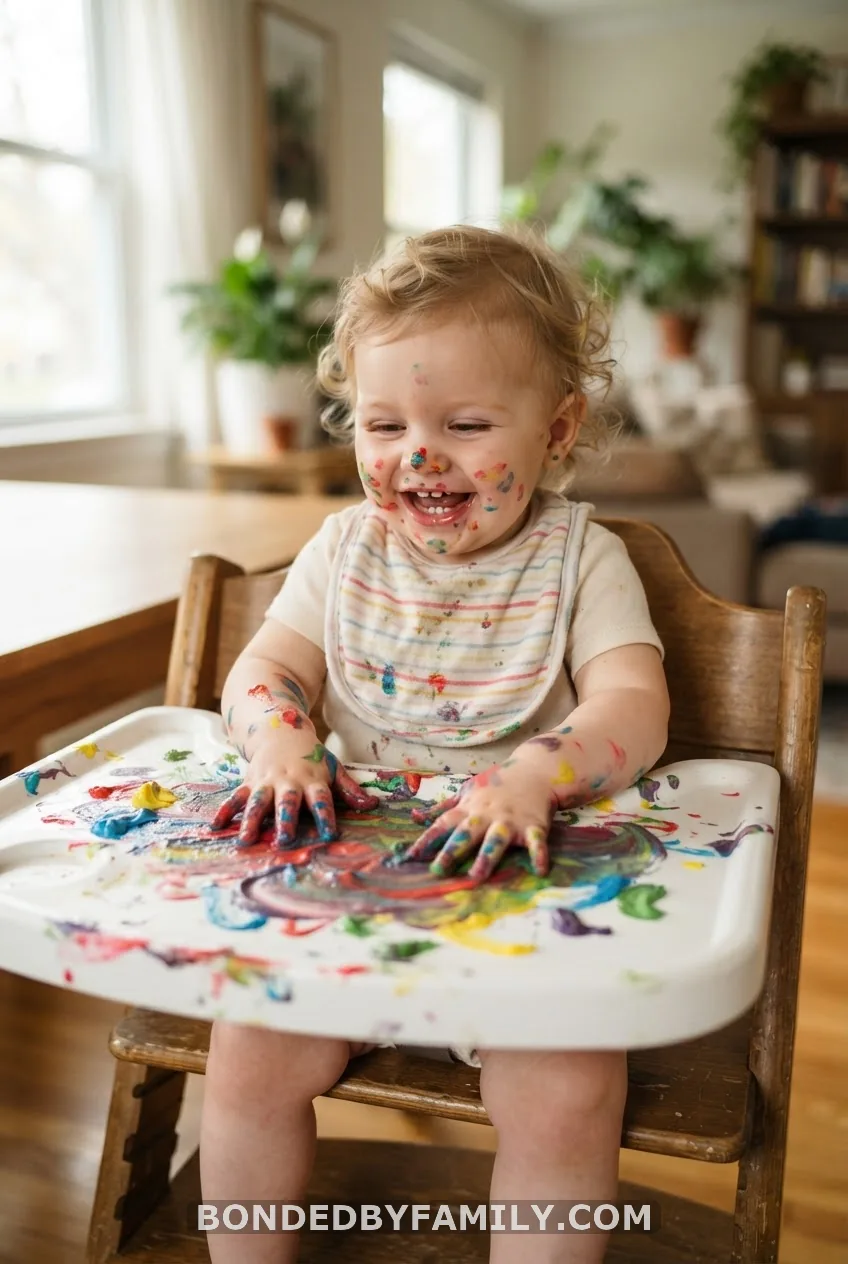
Skip paper entirely and let a baby finger-paint straight onto the tray with yogurt paint. There’s nothing to preserve, but there’s also nothing to protect – this is the lowest-stakes sensory session on the list, ideal for a rainy Tuesday with no goal beyond entertainment.
14. Spaghetti Sensory Painting
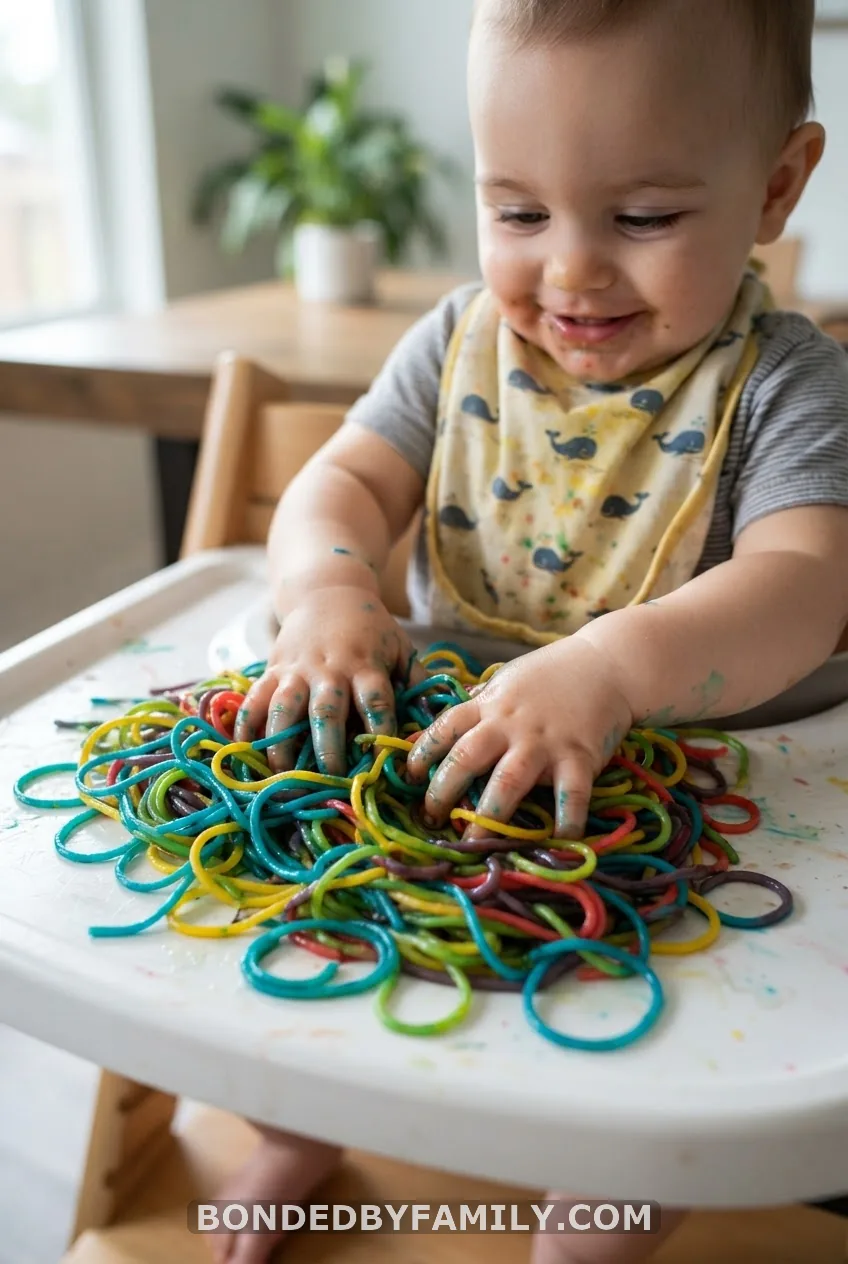
Cook spaghetti soft, cool it fully, and toss it in food coloring and a splash of oil so it doesn’t stick together. Babies squish, stretch, and inevitably taste it – all of which is fine, since it’s just noodles and dye. Ten minutes of play, and the whole batch goes in the trash after.
15. Gelatin Excavation and Squishy Sensory Bags
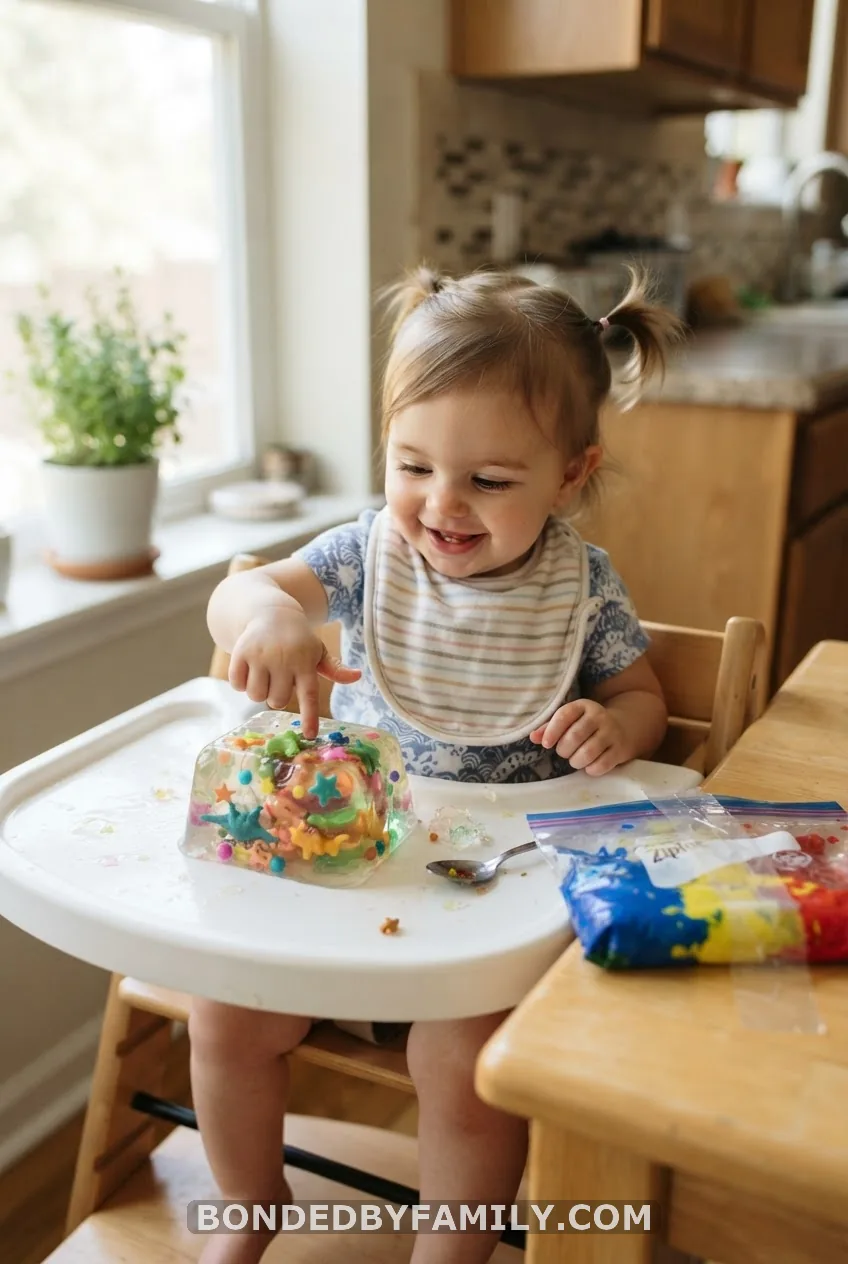
Set a firm gelatin block with small silicone toys frozen inside and let your baby dig them out with fingers – it’s taste-safe, jiggly, and endlessly fascinating for babies past six months. For a zero-mess version, spoon washable paint into a quart freezer bag, tape the seams shut, and let a baby squish colors together through the plastic.
Worth knowing: skip water beads entirely
Water beads are a serious swallowing hazard for infants – they expand once wet and won’t show up on an X-ray if inhaled or swallowed. Cooled tapioca pearls give you the same squishy texture in a sealed sensory bag without the risk.
How to Get a Handprint From a Baby Who Won’t Sit Still
Timing beats technique. The window right after a nap or a feed, when a baby is calm but not yet fussy, gets you the cleanest print nine times out of ten. Two adults work better than one – one holds the baby steady from behind, the other paints and presses. And here’s the trick nobody mentions: press the paper down onto the hand, rather than pushing the hand onto the paper. You control the pressure and the angle instead of chasing a moving fist.
Once you’ve got the print, wipe hands immediately with a fragrance-free baby wipe, then follow with lotion, since washable paint can be drying on newborn skin. If a baby genuinely refuses paint, an inkless handprint kit captures the same shape in seconds with a special paper that reacts to pressure alone – no liquid, no fuss.
Infant Craft Safety Checklist
Choking risk is the top concern with any infant craft. Skip large sponge shapes, big vegetable-stamp chunks, and anything smaller than a toilet paper tube that could end up in a mouth. Taste-safe does not mean unsupervised eating – it means a lick won’t hurt, not that a bowlful is fine. Keep a damp washcloth within arm’s reach at all times, and use only washable, non-toxic paint carrying the ACMI seal.
Strip your baby down to a diaper or use a full-coverage smock, and lay an old shower curtain or drop cloth under the high chair before you start. Before using yogurt, eggs, or any food-based dye, check for known allergies first – a craft session is not the moment to discover a dairy sensitivity.
Daycare and Group Craft Tips for Infant Classrooms
Running crafts for a full infant room means thinking in cost-per-child, not cost-per-bottle. A gallon of washable tempera split across thirty kids runs roughly $0.50 per child; cardstock adds another $0.15 each. Spread one craft per week across a five-week stretch and build toward a single group canvas – each child adds a handprint to the same piece, and by week five you’ve got a finished classroom keepsake instead of thirty separate scraps.
Print a one-page supply sheet for parent volunteers, and pair each activity with a short song so babies associate the sensory step with a familiar rhythm – it calms the ones who dislike having wet hands. When crafts go home, lay finished pieces on a sheet of freezer paper, paint-side up, until fully dry before stacking them in a folder – that one step prevents the smearing that ruins group projects at pickup time.
Turn It Into a Keepsake: Display, Date, and Gift
A handprint means nothing in five years without a date attached. Write the month, year, and your baby’s age in pencil on the back before you do anything else with the piece. Seal finished paper crafts with a thin coat of Mod Podge or run them through a laminator for extra durability, then frame, magnet-mount, or mount on canvas for a nursery gallery wall.
Bind a full year of monthly prints into a first-year keepsake book, one page per month, and you’ll have a growth chart made of tiny palms instead of pencil marks on a doorframe. For grandparents and teachers around the holidays, a framed set of two seasonal handprints, side by side with the dates, beats a store gift card every single time.
Remember that surprising fact from the start – how fast a baby’s handprint changes shape month to month? That’s exactly why this calendar exists. Every craft on this list captures a version of your baby’s hand that’s already gone by the time you finish reading this sentence. Pick one from this month’s season, grab the cardstock, and catch it before it changes again.
FAQ
What paint is safe for babies to put in their mouths?
Use taste-safe paint made from plain yogurt, baby rice cereal, or puréed fruit with natural food coloring, or a washable non-toxic finger paint carrying the ACMI non-toxic seal. Always supervise closely, since taste-safe means a lick won’t hurt, not that unlimited tasting is fine.
What age can babies start doing crafts?
Around four to six months, once a baby can sit supported and grab objects, edible finger painting and sensory bags are fair game. True handprint crafts get noticeably easier between six and twelve months once babies can tolerate having their palm held open.
How do I get a handprint from a baby who won’t hold still?
Try right after a nap or a feed when a baby is calm, work with two adults – one holding, one pressing – and press the paper down onto the hand instead of pushing the hand onto paper. An inkless handprint kit is the fastest backup option if liquid paint is a losing battle.
Are water beads safe for infants?
No. Water beads present a serious choking and internal blockage risk if swallowed, and they don’t show up clearly on an X-ray, which delays treatment. Use cooled tapioca pearls or a sealed squishy sensory bag instead for the same texture without the danger.