My kitchen counter is a graveyard of acorns. There’s a jar of “special” rocks, a wilting bunch of dandelions, and three sticks my daughter swears are wands. Sound familiar? If your kids are little collectors, you already own the supply closet for the best nature crafts for kids, and you didn’t spend a dime on it. The trick is knowing what to do with the haul before it turns to dust on the windowsill.
That’s what this list fixes. I’ve pulled together 15 projects that go from “thirty seconds and a glue stick” to “rainy Saturday afternoon,” so you can match the craft to the kind of day you’re having. Some are quiet. Some are gloriously messy. A few will end up framed on your wall. Grab the basket of treasures and let’s put it to work.
1. Leaf Butterfly Prints
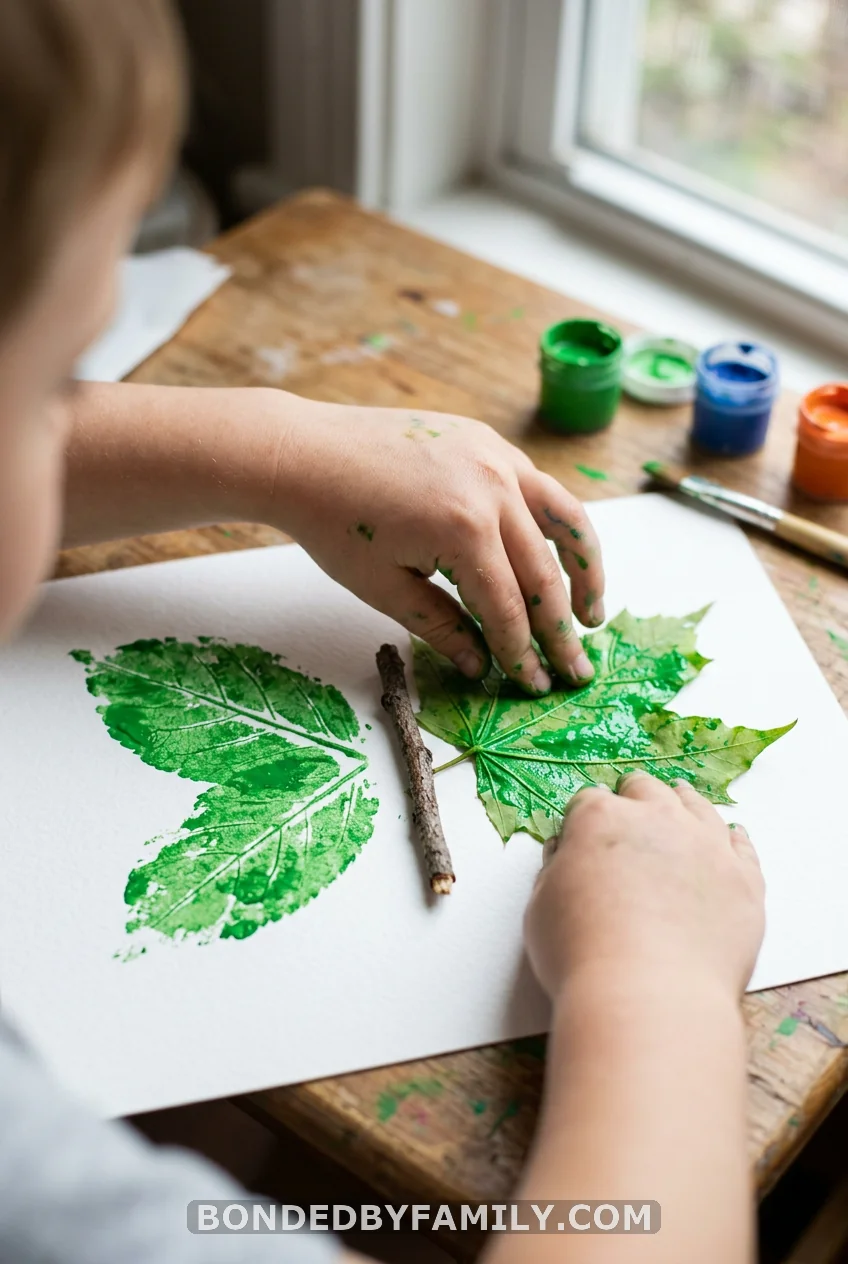
Here’s a craft that teaches symmetry without anyone noticing it’s a lesson. Paint the underside of a leaf, the veiny side, with a thick coat of bright craft paint. Press it firmly onto folded paper, peel it off, and you’ve got one perfect butterfly wing. Open the fold and the print mirrors itself.
Glue a little stick down the middle for the body, add two dots of black for antennae, and that’s it. Big leaves make big butterflies; small ones make dainty ones. Try layering two paint colors on a single leaf for a marbled wing. When the paint dries, these look gorgeous strung on a length of twine across a window.
2. Painted Tic-Tac-Toe Rocks
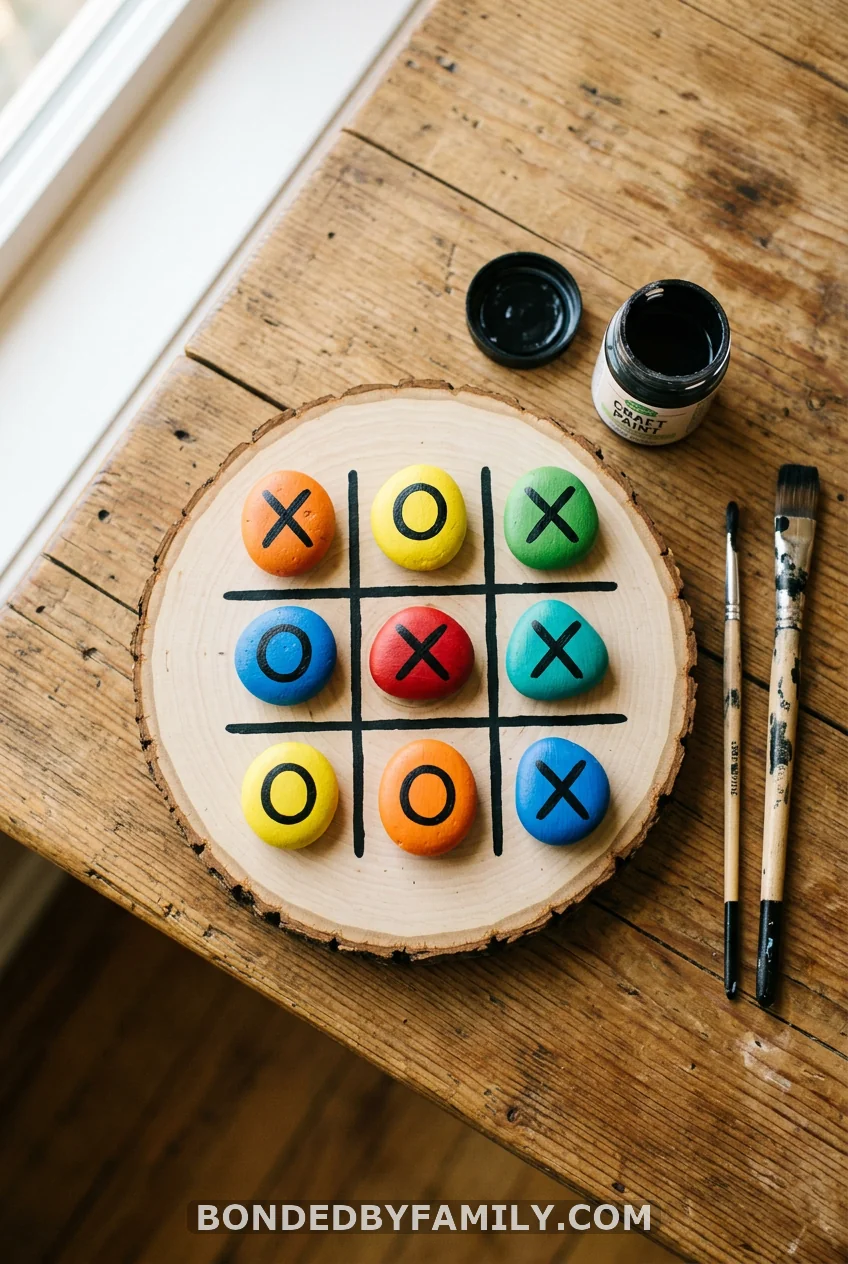
This is the one your kids will still be playing with next summer, which is exactly why it earns the most space on this list. It started as a creek walk afternoon at my house and turned into a game that lives in the car door pocket. The payoff per dollar is hard to beat.
Why this one works
Tic-tac-toe is fast, it travels anywhere, and there are no tiny pieces to vacuum up. A preschooler can play it, and so can a bored ten-year-old. Making the set is half the fun, and the finished board is sturdy enough to survive a backpack.
What you’ll need
You need ten smooth, flat rocks per board (river rocks work best, and a creek bed is free), plus craft paint in a few colors. Apple Barrel craft paints run about $1 a bottle at most craft stores. For the Xs and Os, a black paint pen makes clean lines; Artistro paint pens are kid-friendly and cost around $12 for a small set. You’ll also want a board: a wood slice from the craft store runs $3 to $6, or skip it and draw a grid with sidewalk chalk for free. A coat of Mod Podge (about $7) seals everything so the paint stops chipping, though that step is optional.
Step by step
- Collect ten flat rocks. Round and smooth holds paint better than rough and pitted. Show your kids one good example and let them hunt for matches.
- Wash the rocks with dish soap and let them dry fully outside. Wet rocks repel paint.
- Paint each rock a solid color. Little hands leave streaks, so plan on two coats and let the first dry for an hour.
- Once the base coats are dry, paint five rocks with an X and five with an O using the black paint pen.
- Let everything dry overnight, then seal with a thin coat of Mod Podge if you want the longest life.
- Paint or chalk a grid on your wood slice, and play.
Pro move
Let kids pick nine different colors instead of two. Once they’re older, you can add a house rule: every winning line has to use three different colors. It stretches the game’s lifespan by years.
Common mistakes to avoid
Don’t skip the wash step; dust under the paint causes flaking within a week. Don’t rush the base coat either, because painting an X over tacky paint smears into a gray blob. And resist sealing on a humid day, since Mod Podge dries cloudy when the air is damp.
When the set is done, you’ve got a craft, a game, and a quiet ten minutes on the porch whenever you need one.
3. Paper Nature Tree
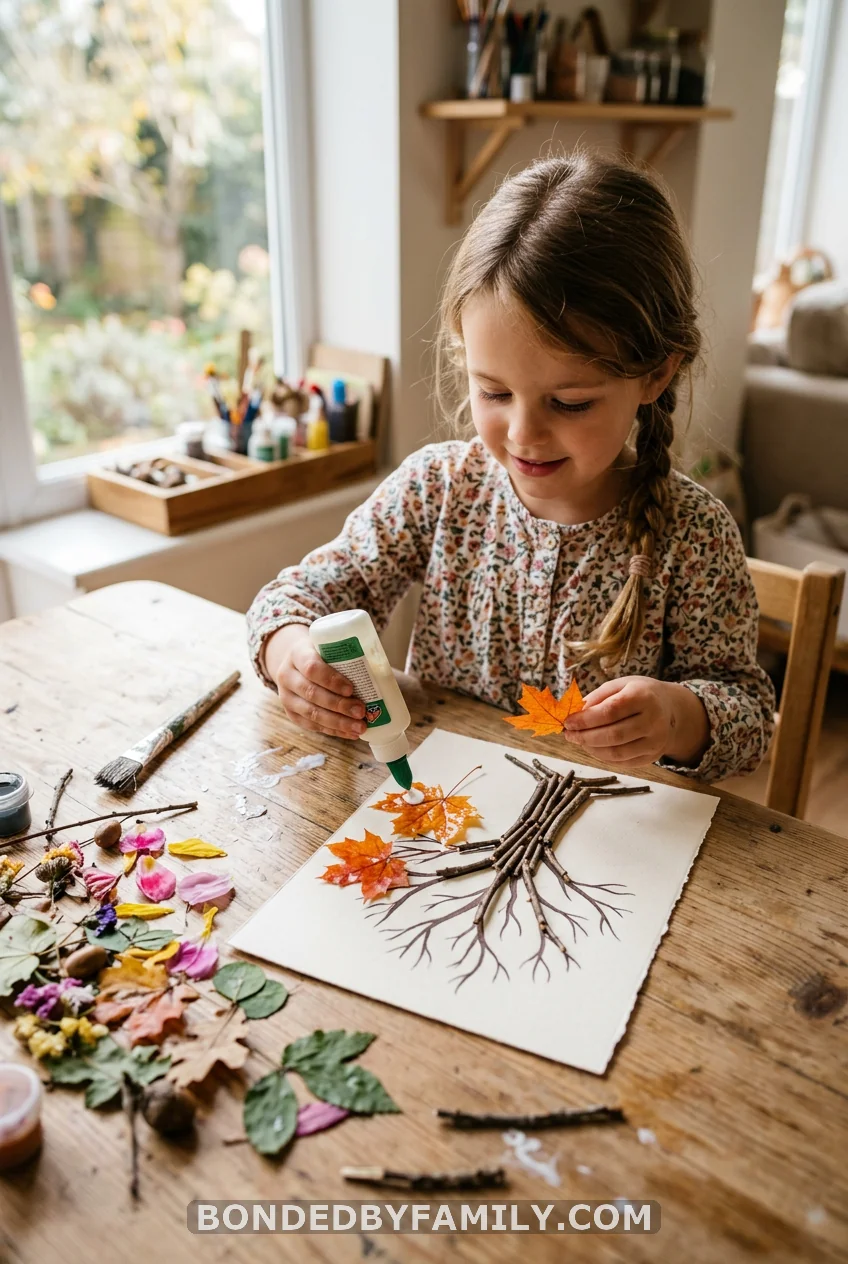
Draw a bare tree trunk on cardstock, or print one. Hand over the basket of leaves, petals, and twigs. Let them glue the “leaves” wherever they like. Done. It’s the lowest-effort, highest-pride craft on this list.
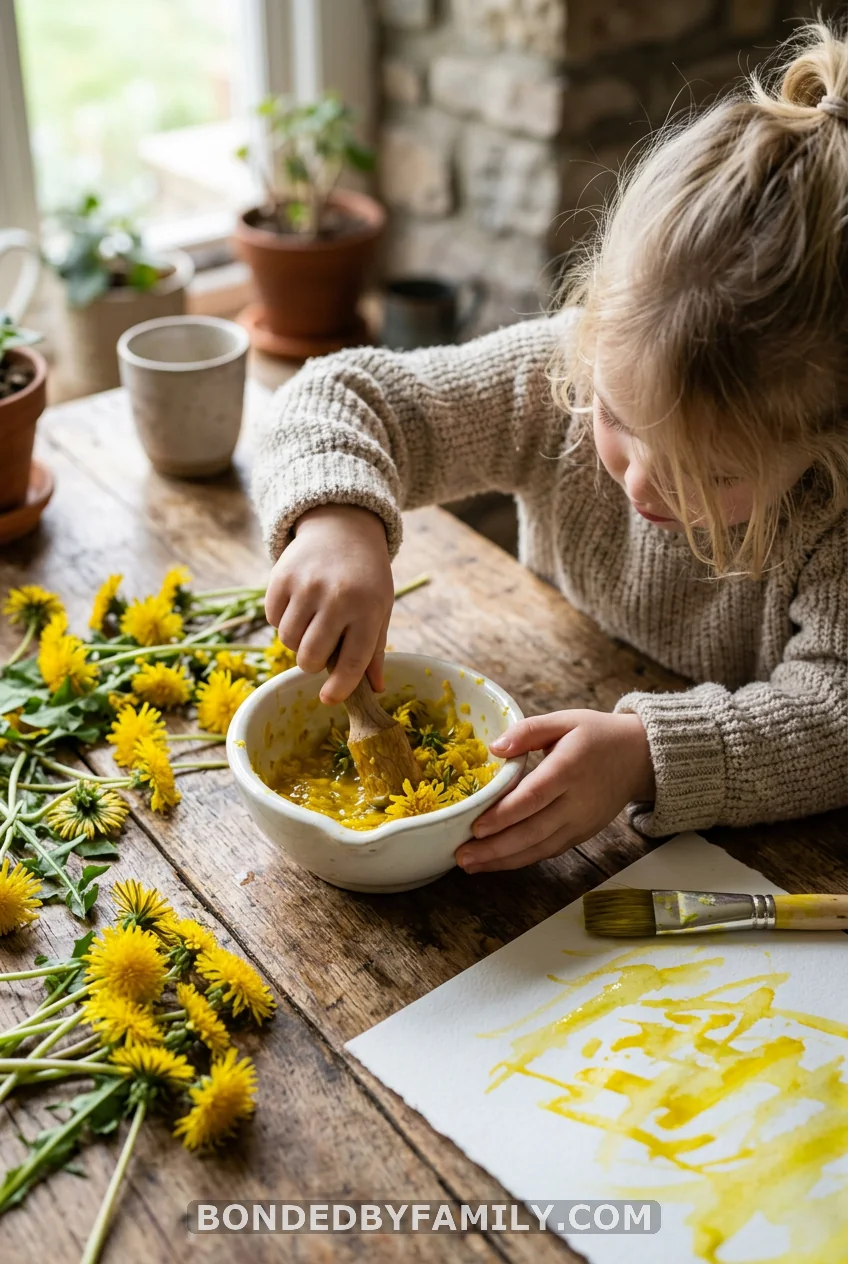
4. Dandelion and Berry Paint
This one I’m framing as a myth-bust, because the gorgeous Pinterest pins set up an expectation that real life quietly ignores.
What most people think: You crush some dandelions, get rich golden paint, and your kid produces a masterpiece worthy of the fridge gallery.
The reality: What you really make is closer to a stain or a juice than a paint. It goes on streaky, it’s more pale-yellow than gold, and it fades as it dries. The color depends on how thick you spread it, and watercolor-thin layers can take hours to fully set.
And you know what? Kids love it anyway. The magic isn’t the finished picture; it’s the discovery that a “weed” from the yard turns into color on paper. Smash the petals in a bowl with a splash of water, brush it on, and talk about where color comes from. Try crushed blackberries or beet juice for pink and purple. Just keep it on the paper and off the white couch, and set expectations as a stain, not a sunset.
5. Flower and Leaf Crowns
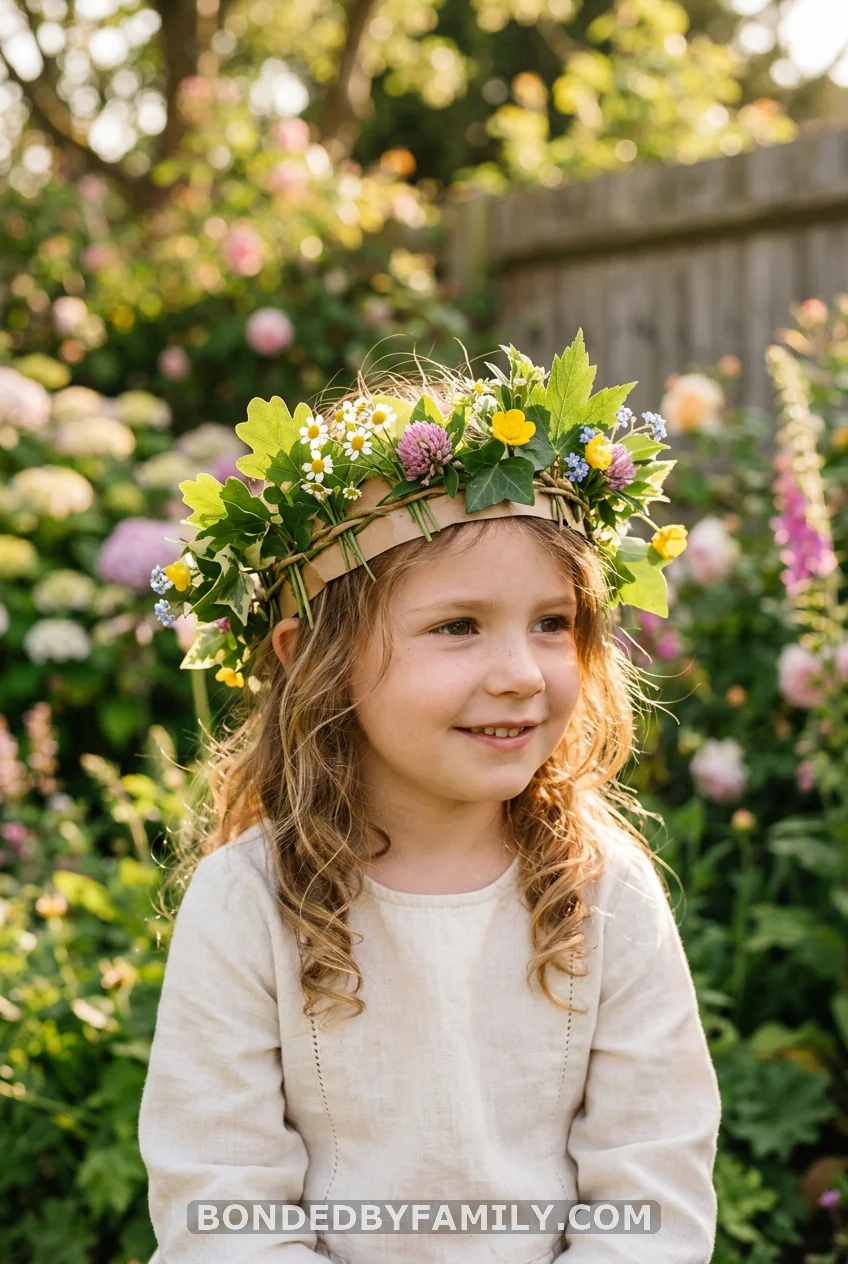
Cut a strip of cardstock to fit your child’s head and tape it into a band. Wrap a loop of tape around it sticky-side-out, or run a line of glue, then press on leaves, petals, and grasses. Royalty of the backyard, crowned in about ten minutes.
For a sturdier version, weave long flexible stems like willow or honeysuckle vine into a ring and tuck flowers between the strands. These photographs beautifully, so make one before the petals wilt.
6. Nature Wands
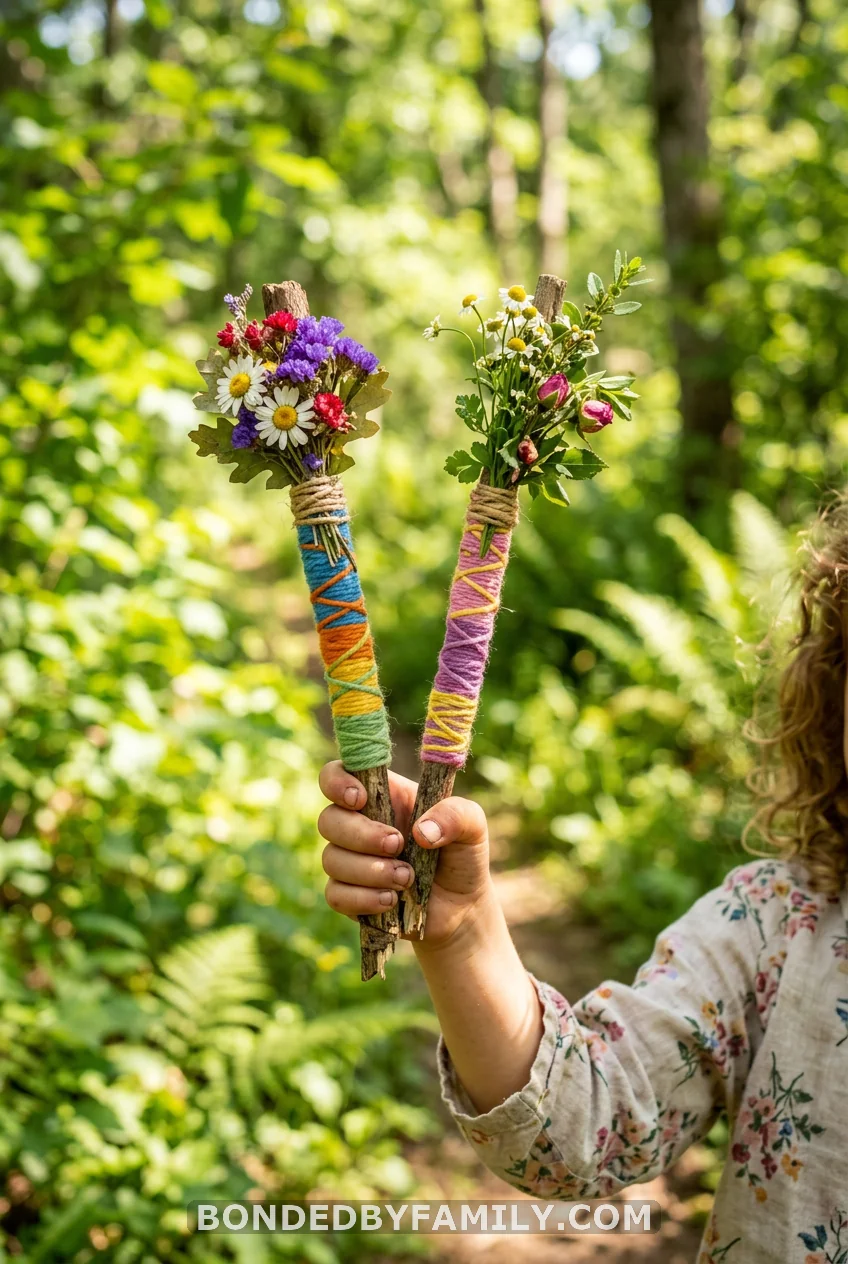
Wrap a sturdy stick in colorful yarn or washi tape. Glue a flower, a feather, or a cluster of leaves to the top. Hand it over and watch the imaginative play take off. Cheap, fast, and weirdly powerful.
7. Pressed Flower Suncatchers
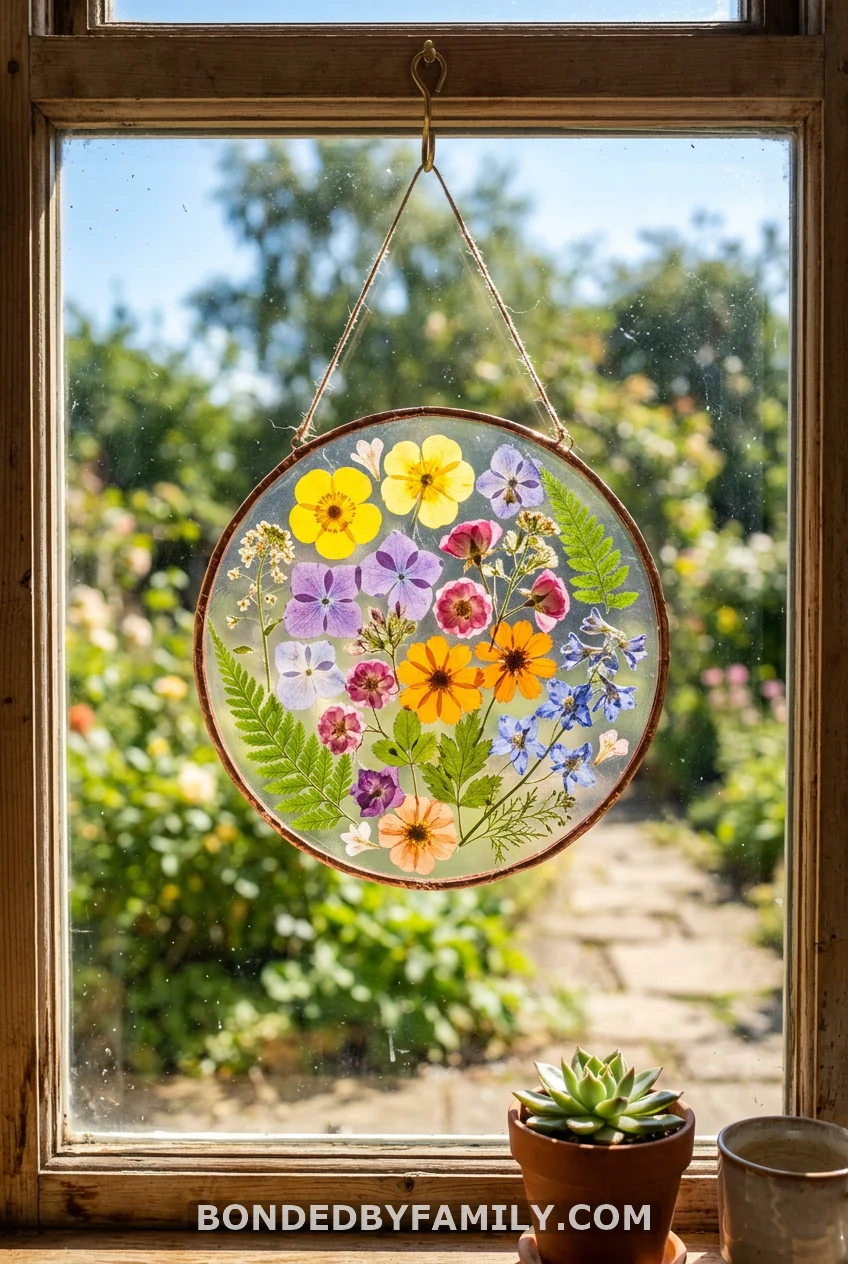
Press flowers flat for a few days inside a heavy book, or buy a small pack if you’re short on time. Lay a sheet of clear contact paper sticky-side up, arrange the pressed flowers on it, then seal a second sheet of contact paper on top. Trim it into a circle or a butterfly shape.
Tape it to a window, and the afternoon sun lights up every petal. This is a lovely way to hold onto a spring flower long after the garden has moved on. Punch a hole and string it up if you’d rather hang from a branch.
8. Air-Dry Clay Bird Nests
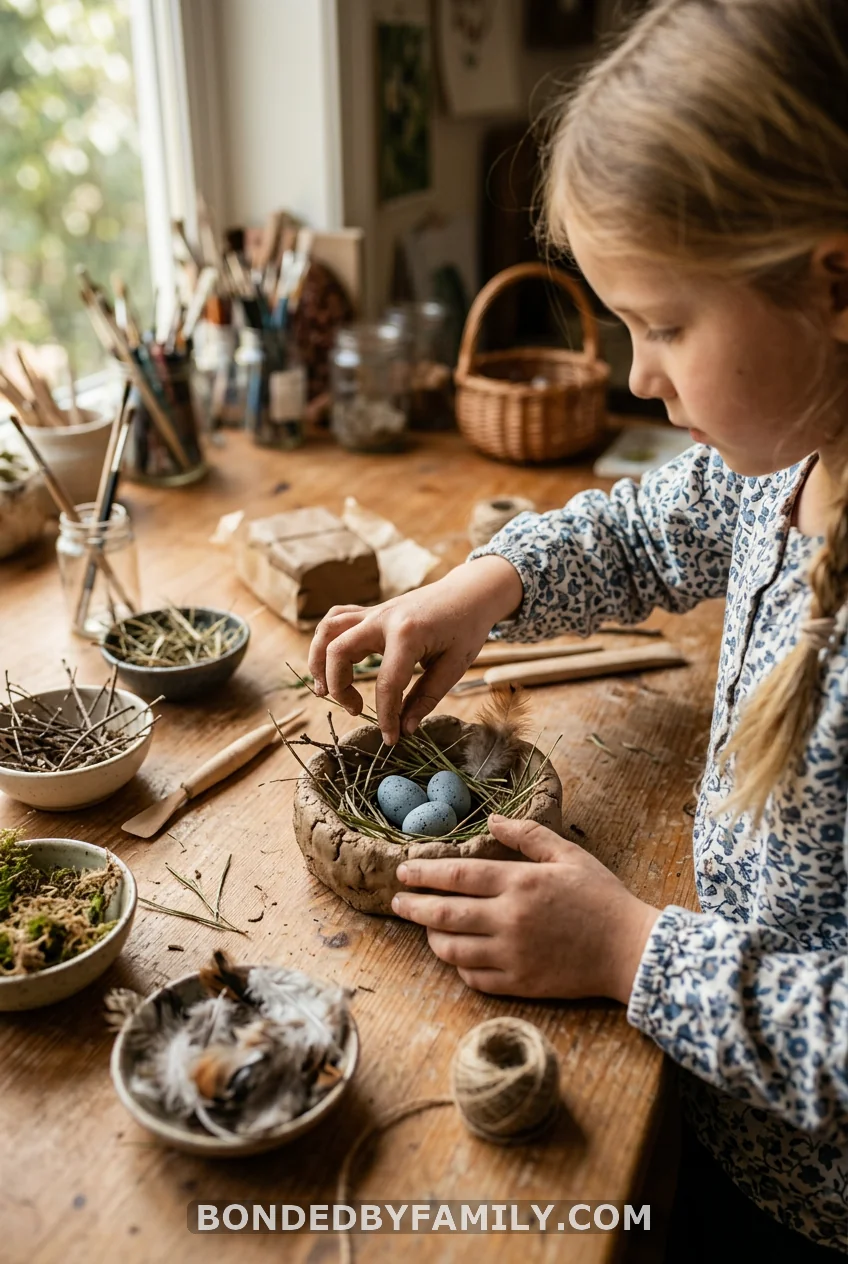
Start with a ball of air-dry clay and let your kids pinch and press it into a nest shape, thumbs working from the middle outward. While it’s still soft, push in collected twigs, dried grass, bits of bark, and a feather or two.
Roll three small clay balls for eggs. Set the nest somewhere safe to harden overnight. This one ties into a real conversation: how birds build, what they use, and why nests are shaped like little cups. Tuck the finished nest on a shelf or, if it dried sturdy, nestle it in a low branch and check it for visitors.
9. Leaf Bug Critters
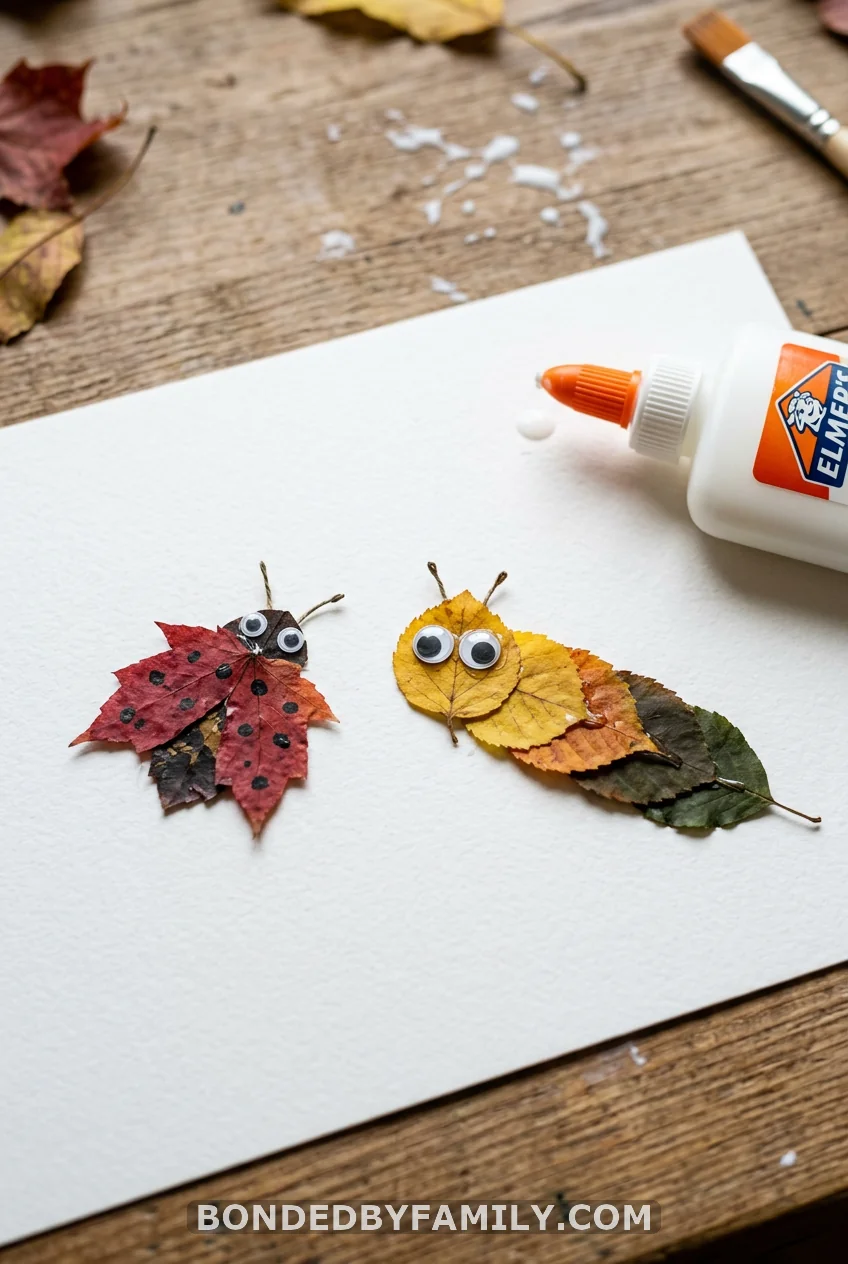
Glue overlapping leaves into a caterpillar. Round one becomes a ladybug with painted dots. Add googly eyes, and you’ve got a whole bug collection. Two minutes each, and kids will make a dozen.
10. Nature Memory Match Game
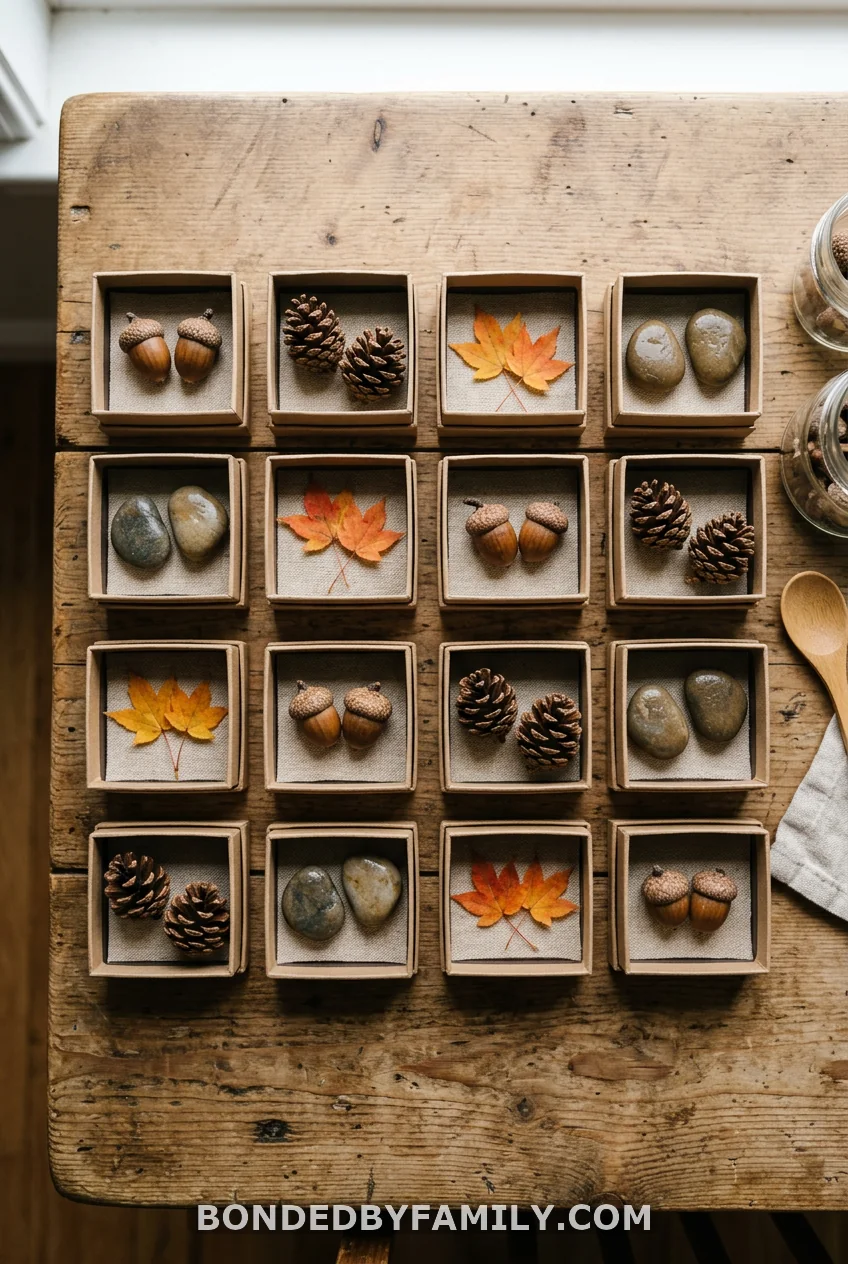
Send everyone on a hunt to collect two of every item: two acorns, two specific leaves, two smooth pebbles, two pinecones. Tuck each item into its own small box or under an upside-down cup.
Now play memory. Flip two, look for a match, and the matching pairs build real focus and recall. It costs nothing, the “cards” are different every time you play, and it works for a wide age range because the youngest players can simply pair items by sight while older ones track positions. Store the pairs in an egg carton between rounds.
11. Mud Kitchen Nature Soup
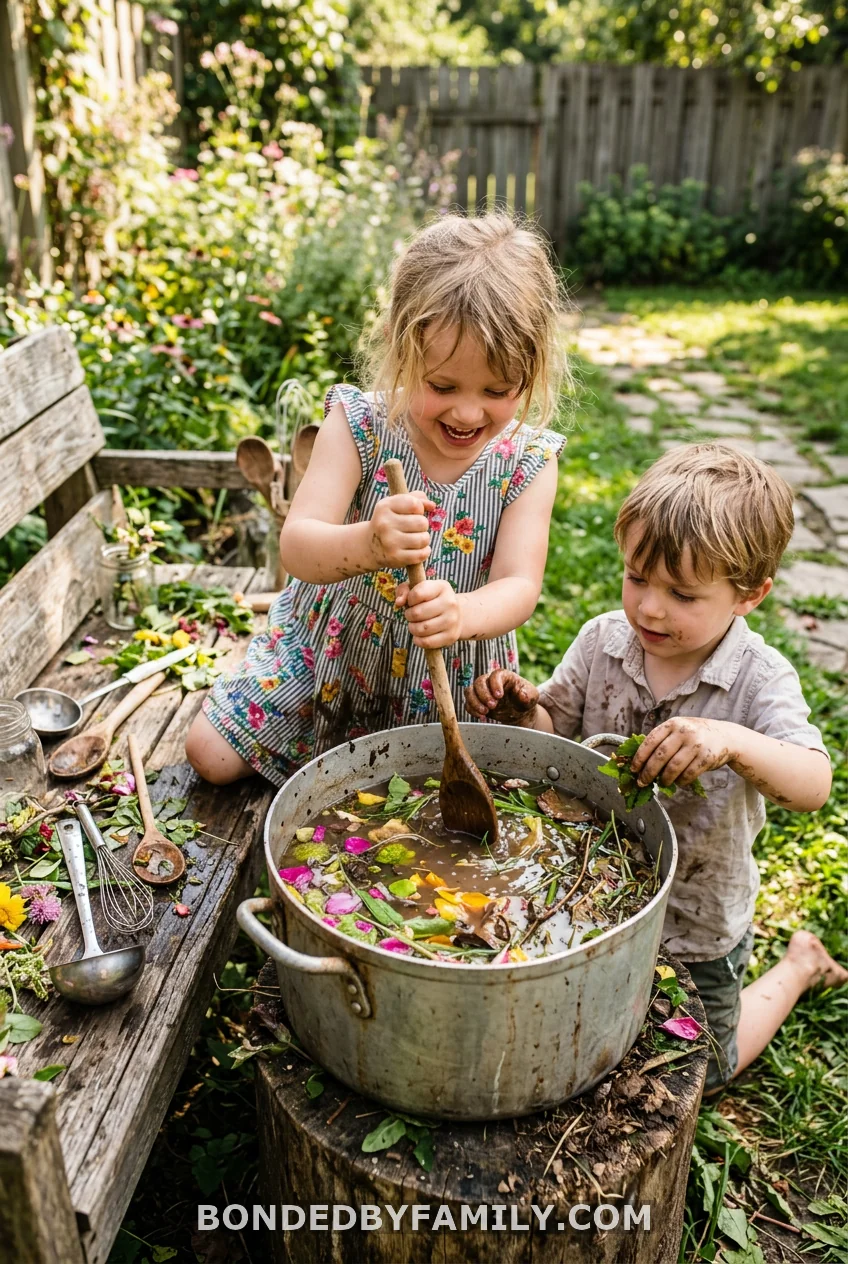
Set out old pots, a few spoons, and a bucket of water. Let them brew “soup” from petals, grass, mud, and pebbles. It’s the messiest, most loved item here. No instructions required. Just hose everyone off after.
12. Nature Journal
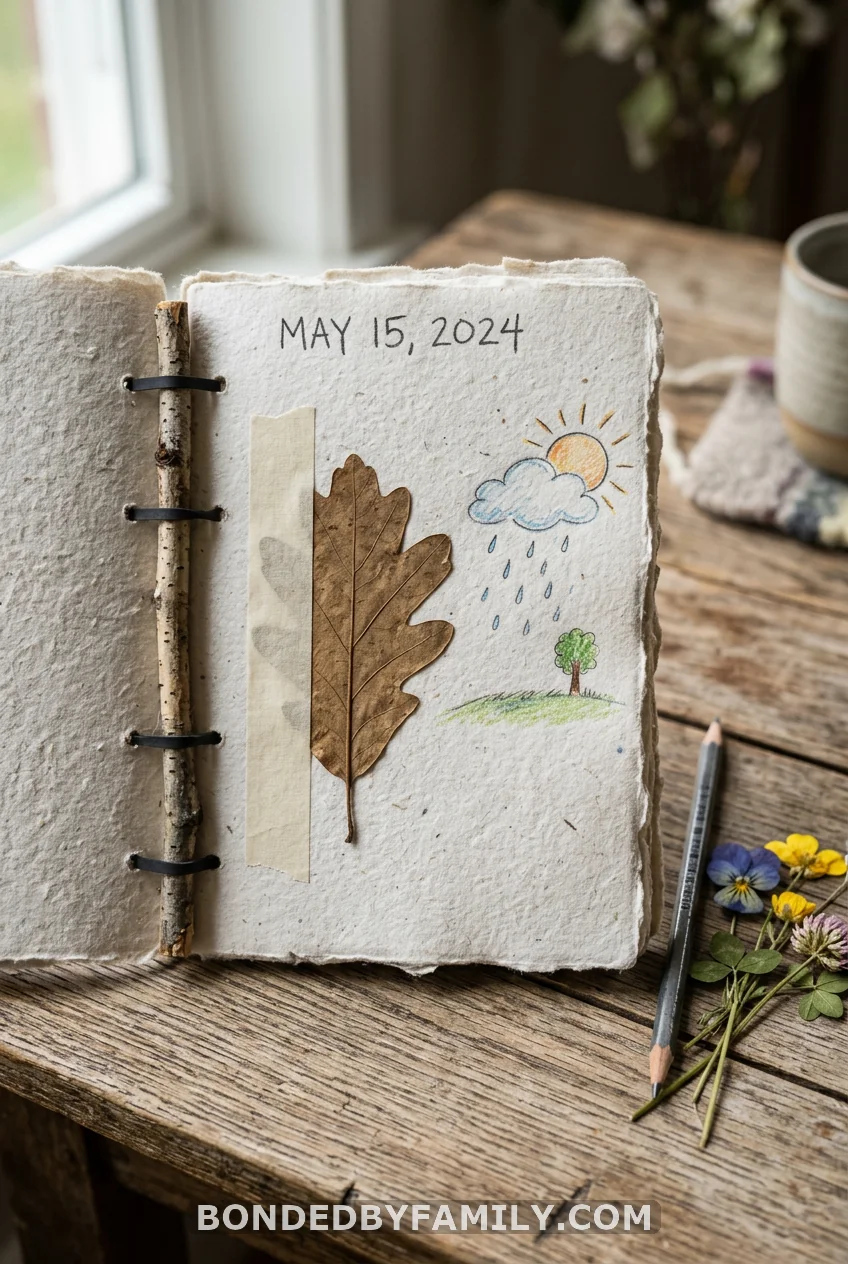
Stack a few sheets of paper between two cardstock covers. Punch two holes along the edge, find a small branch the length of the pages, and use rubber bands looped over the stick to bind it all together. You’ve made a book with a twig spine.
Each day, your child writes the date, draws the weather, and tapes in one find from a walk, a leaf, a petal, a feather. Mine turned it into a morning routine, and it became a slow, screen-free habit we both look forward to. Over a season, it fills with the changing yard, which makes it a keepsake as much as a craft.
13. Pinecone Bird Feeder
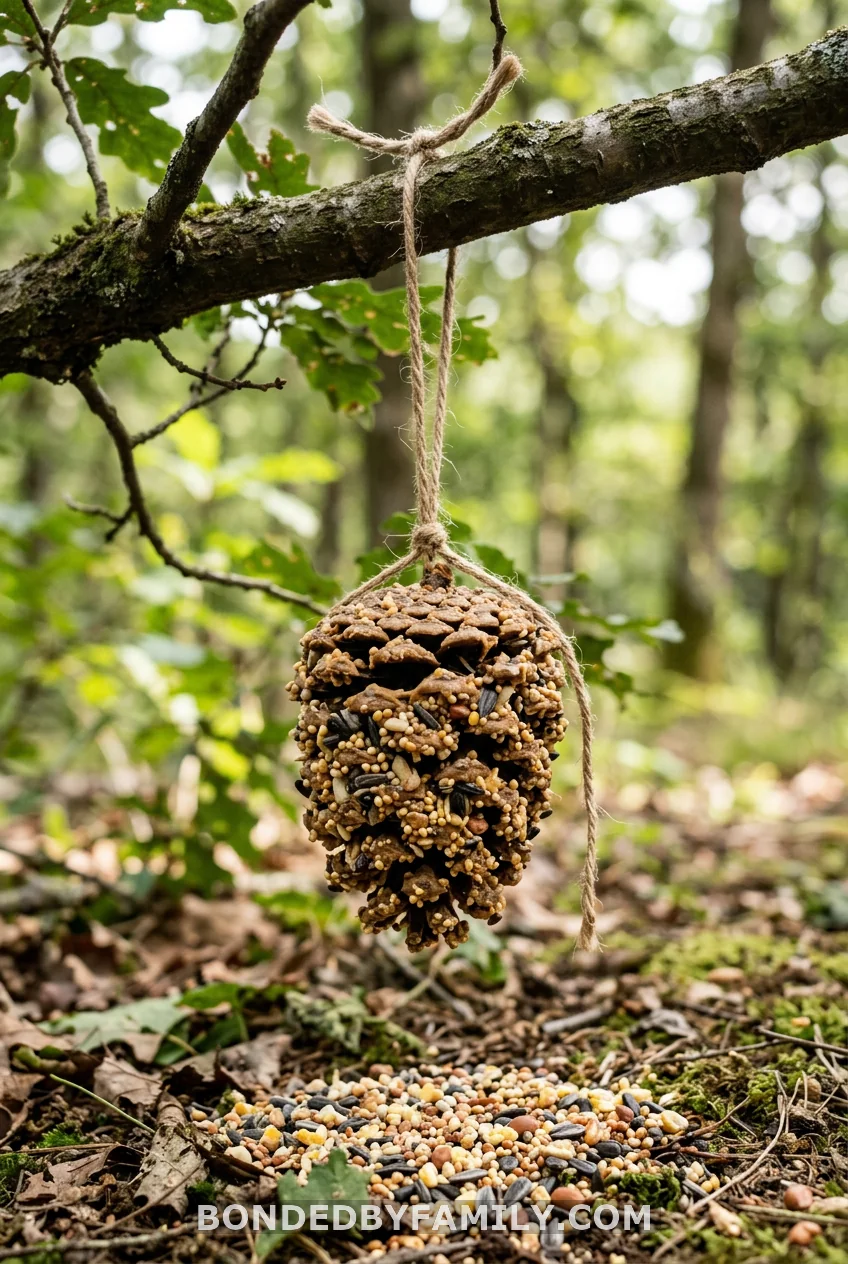
Tie a length of twine around the top of an open pinecone. Spread nut butter into all the gaps, then roll the whole thing in a plate of birdseed until it’s coated.
Hang it from a branch where you can watch from a window. Within a day or two, you’ll have visitors, and kids love checking for the regulars. One important swap: if anyone in your home has a nut allergy, use sunflower seed butter instead of peanut butter. It works just as well and removes the risk entirely.
14. Pounded Flower Prints
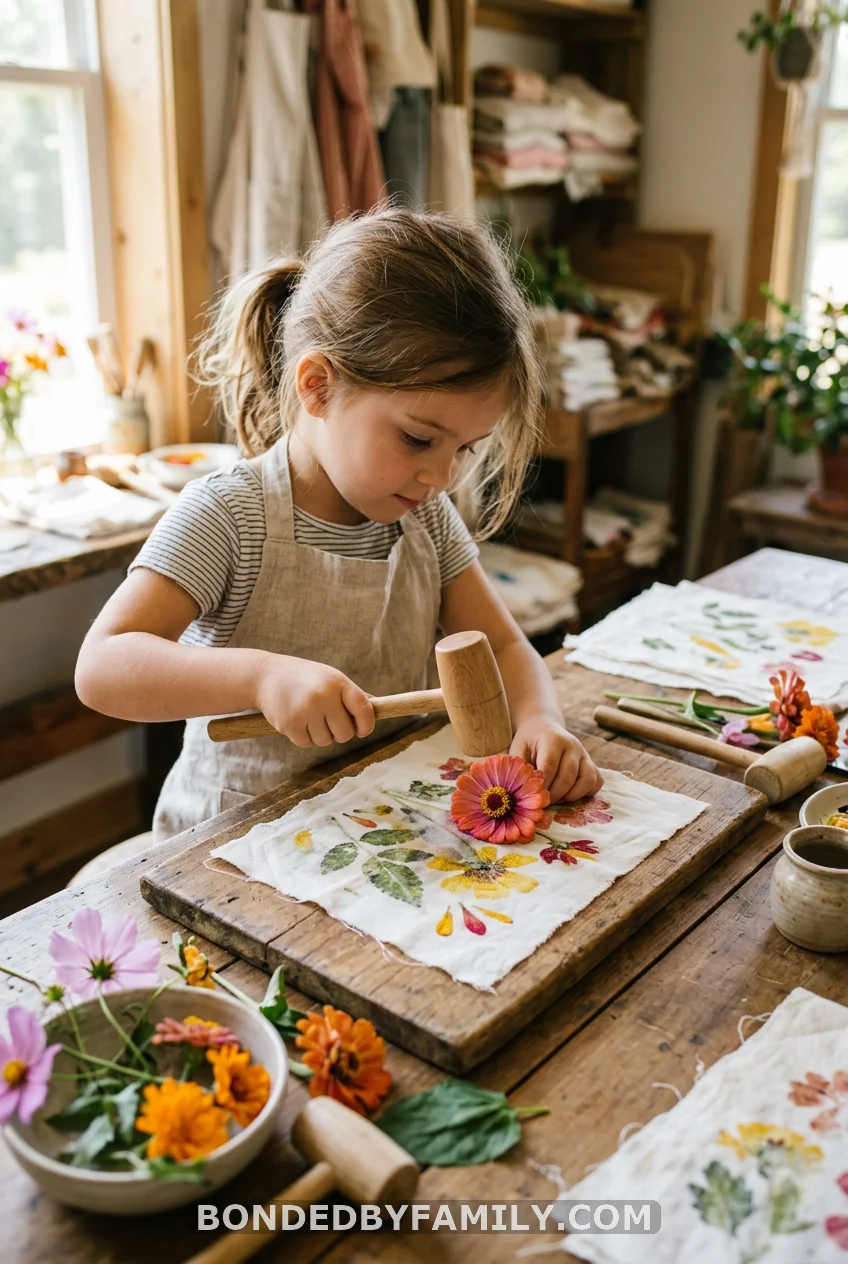
Lay a fresh flower or a thin leaf face down on a piece of plain cotton or watercolor paper. Cover it with a paper towel, then gently tap it all over with a small wooden mallet or the flat of a smooth rock. The plant releases its pigment right into the fabric, leaving a print of the real petal.
This is pure backyard chemistry, and the results genuinely surprise kids. Thin, pigment-rich flowers like pansies and ferns work best; thick or waxy ones barely transfer. Keep this one supervised because of the tapping tool, and work on a hard surface you don’t mind dinging.
15. Nature Weaving
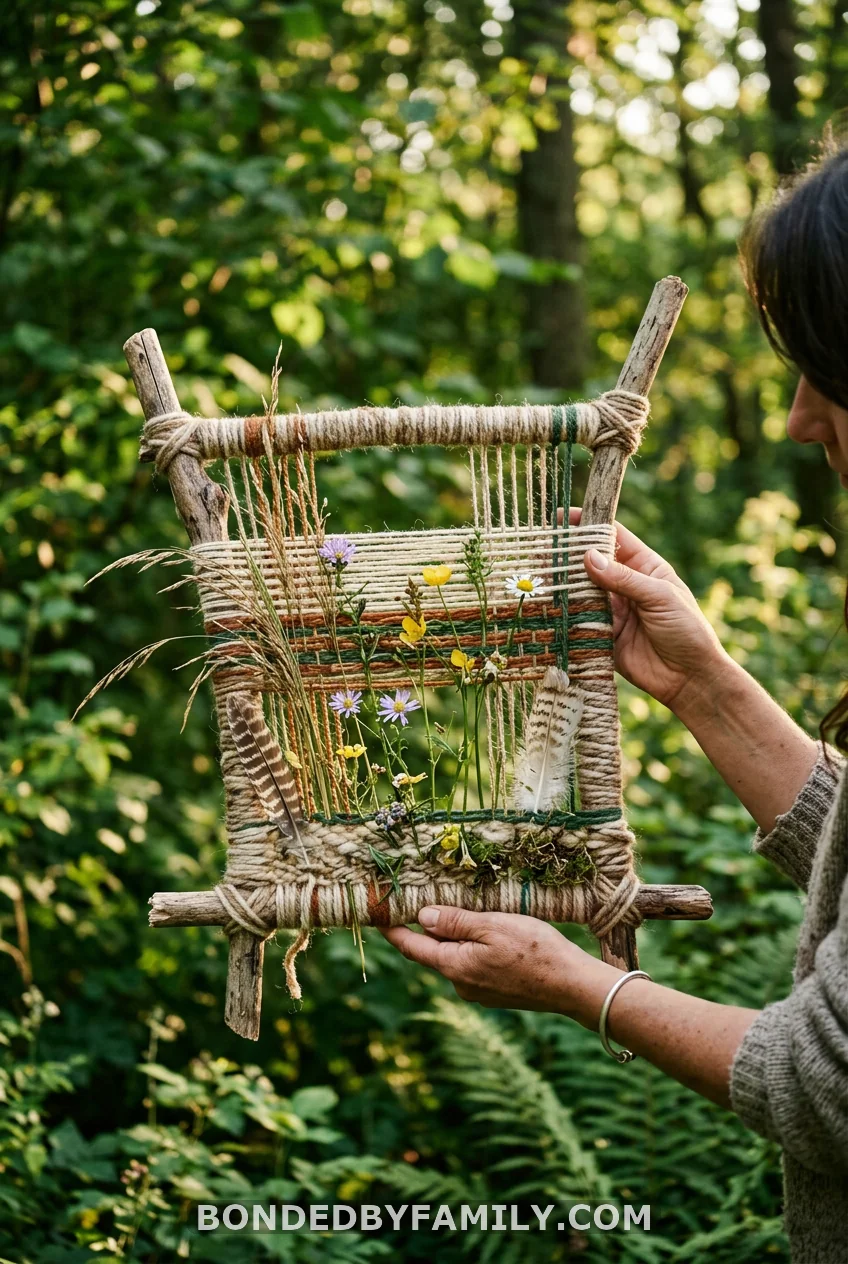
Find a forked Y-shaped branch and wind yarn back and forth across the gap to make a simple loom. (No good fork? Notch the sides of a piece of cardboard and string it the same way.)
Now let kids weave long grasses, flowers, feathers, and leaves through the yarn. Everyone comes out different, and there’s no wrong way to do it, which makes this great for kids who get frustrated by crafts with a “right” answer. The finished weaving hangs beautifully from the branch itself.
How to Pick the Right Craft for Your Kid’s Age
Not every craft fits every kid, so here’s a quick way to match them up. For toddlers and young preschoolers, ages 2 to 4, lean on the gluing and collecting projects: the paper nature tree, leaf bug critters, nature wands, and mud kitchen soup. The materials are forgiving, and the steps are short.
For ages 5 to 7, the painting and building projects land well: leaf butterfly prints, dandelion paint, flower crowns, and pressed flower suncatchers. They can follow two or three steps and handle a paintbrush with growing control.
For ages 8 to 10, give them the projects with a payoff worth the patience: the painted tic-tac-toe rocks, air-dry clay nests, pounded flower prints, nature weaving, and the nature journal. These rewards focus and produce something they’re proud to keep.
A Quick Word on Foraging Safely
Before you send kids out to gather, two minutes of safety talk saves trouble. Teach the “leaves of three, let it be” rule for poison ivy and poison oak, and point them out in your own yard if you have them. Remind kids that foraged berries, mushrooms, and unknown plants are never for eating, only for crafting. Wash your hands after handling sap-heavy plants, and steer clear of anything growing right at the roadside where exhaust and runoff collect. With those guardrails set, the backyard becomes a safe, free craft store.
Your Counter Full of Treasures, Put to Good Use
Here’s the quiet win in all of this: nature crafts for kids turn a habit you can’t stop (the pocketful of rocks, the wilting flowers) into time spent making something together. You don’t need a cart full of supplies. You need a walk, a glue bottle, and a little willingness to get messy.
Start with one craft this week. Pick the project that matches the day you’re having, slow or wild, quiet or hands-on, and let your kid lead. The pile on your counter has been waiting for exactly this.
Frequently Asked Questions
What are the easiest nature crafts for kids to start with?
The paper nature tree, nature wands, and leaf bug critters are the easiest. Each takes only glue and a handful of collected items, and they work even for toddlers. You can finish any of them in under ten minutes with almost no prep.
What materials do I need for nature crafts for kids?
Most projects need only things you already own: glue, craft paint, paper or cardstock, scissors, and yarn or tape. The “special” ingredients, leaves, sticks, rocks, flowers, and acorns, come free from your yard or a short walk. A few crafts add cheap extras like air-dry clay or contact paper.
What nature crafts work best for toddlers?
Stick to gluing and collecting projects for the under-fours. The paper nature tree, mud kitchen soup, and gluing leaves into bug shapes all skip small parts and tricky steps. Toddlers get the sensory fun of handling natural materials without needing fine motor precision.
Are nature crafts safe for kids?
They are, with a little supervision. Teach kids to recognize and avoid poison ivy, keep foraged berries and plants out of mouths, and supervise any craft that uses a hammer or hot glue. Swap peanut butter for sunflower seed butter in bird feeders if allergies are a concern.
How do I preserve nature crafts so they last?
Press flat items like flowers and leaves in a heavy book for several days before using them, which keeps them from crumbling. Seal painted rocks with a thin coat of Mod Podge. For clay projects, let them air-dry fully overnight before handling so they harden all the way through.