Last January I taped a snowman face to the wall with contact paper, handed my three-year-old a bowl of pom poms, and said, “Stick them on!” Every pom pom slid down the wall and landed on the floor. Within five minutes the dog had eaten two, my daughter was crying, and I was picking fuzz out of the rug.
That flop sent me back to the drawing board. These snowman fine motor activities are what I built after it. Each one names the hand skill it trains, takes one to five minutes to set up, and comes with a mess rating and a make-it-easier and make-it-harder tweak. You can use them with a toddler at the kitchen table or with a whole pre-K center rotation.
How to Read the Labels on Each Activity
Every idea below lists four things:
- Skill: the hand skill it builds, such as pincer grasp, hand strength, scissor control, bilateral coordination, or wrist stability.
- Setup: the real prep time, not the time a photo suggests.
- Mess: low, medium, or high.
- Easier / Harder: a quick swap so the same activity fits a 2-year-old and a 5-year-old.
A few quick definitions. Pincer grasp is the thumb-and-pointer pinch used to pick up small things. Bilateral coordination means both hands doing different jobs at once, like holding paper with one hand and cutting with the other. Wrist stability is the steady base that lets fingers work with control.
Why snowmen? The shape is three circles stacked up. Circles invite tracing, cutting and rolling. Buttons, coal and carrot noses are tiny parts, which means lots of pinching.
One safety rule covers the whole list. Pom poms, buttons, googly eyes, beads, cotton balls and dry pasta are choking hazards for children under 4. Stay at the table with little ones, and swap in bigger pieces when needed.
1. Pom Pom Drop Into a Snowman Bottle
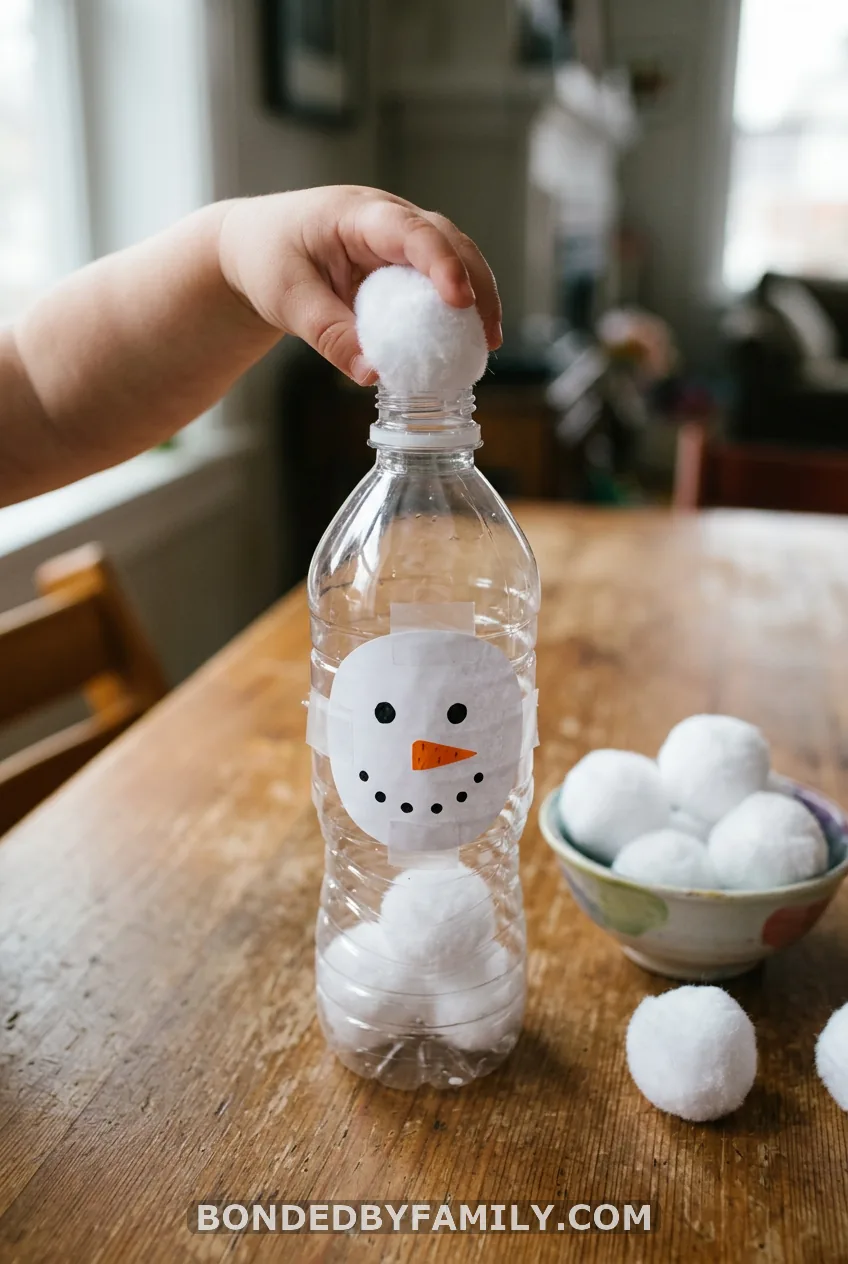
Skill: pincer grasp and in-hand manipulation. Setup: 2 minutes. Mess: low.
This is the one that started it all, and it earns its spot at number one. Here is how I set it up.
Materials: a clean 16-ounce water bottle or an empty oatmeal canister, white paper, a marker, tape, and about 20 pom poms (1-inch size for toddlers).
- Draw a round snowman face on the paper. Add two eyes, a carrot nose, and a row of coal dots for a smile.
- Tape it around the bottle, with the opening at the top of the head.
- Cut a small hole in the plastic lid if you want a tighter target, about 1 inch wide.
- Put the pom poms in a bowl. Ask your child to pick each one up with just thumb and pointer and “feed the snowman.”
- Count aloud as they drop each one in.
Common mistake: a mouth that is too narrow. If your child can’t get a pom pom in, they quit fast. Start wide, then shrink the opening over a week.
Easier: a wide-mouth jar and big 2-inch pom poms. Harder: mini pom poms and a bottle with a coin-slot lid.
2. Color-Match Snowball Sort
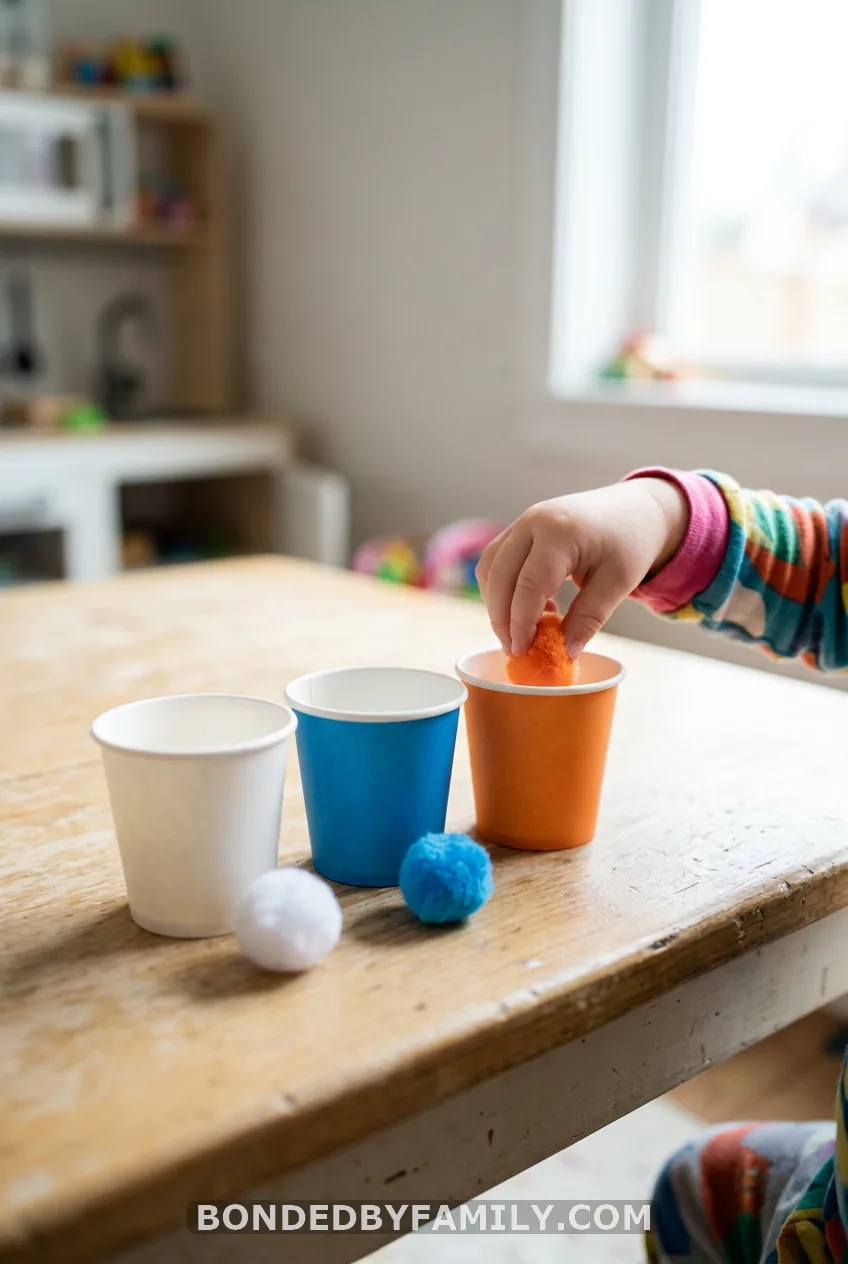
Skill: pincer grasp plus visual sorting. Setup: 2 minutes. Mess: low.
Mix white, light blue and orange pom poms in one bowl. Set out three cups to match. Your child sorts, then drops each one in the snowman bottle from number 1.
Easier: two colors only. Harder: add a rule, like “blue ones with tweezers, white ones with fingers.”
3. Tongs and Tweezers Snowball Transfer
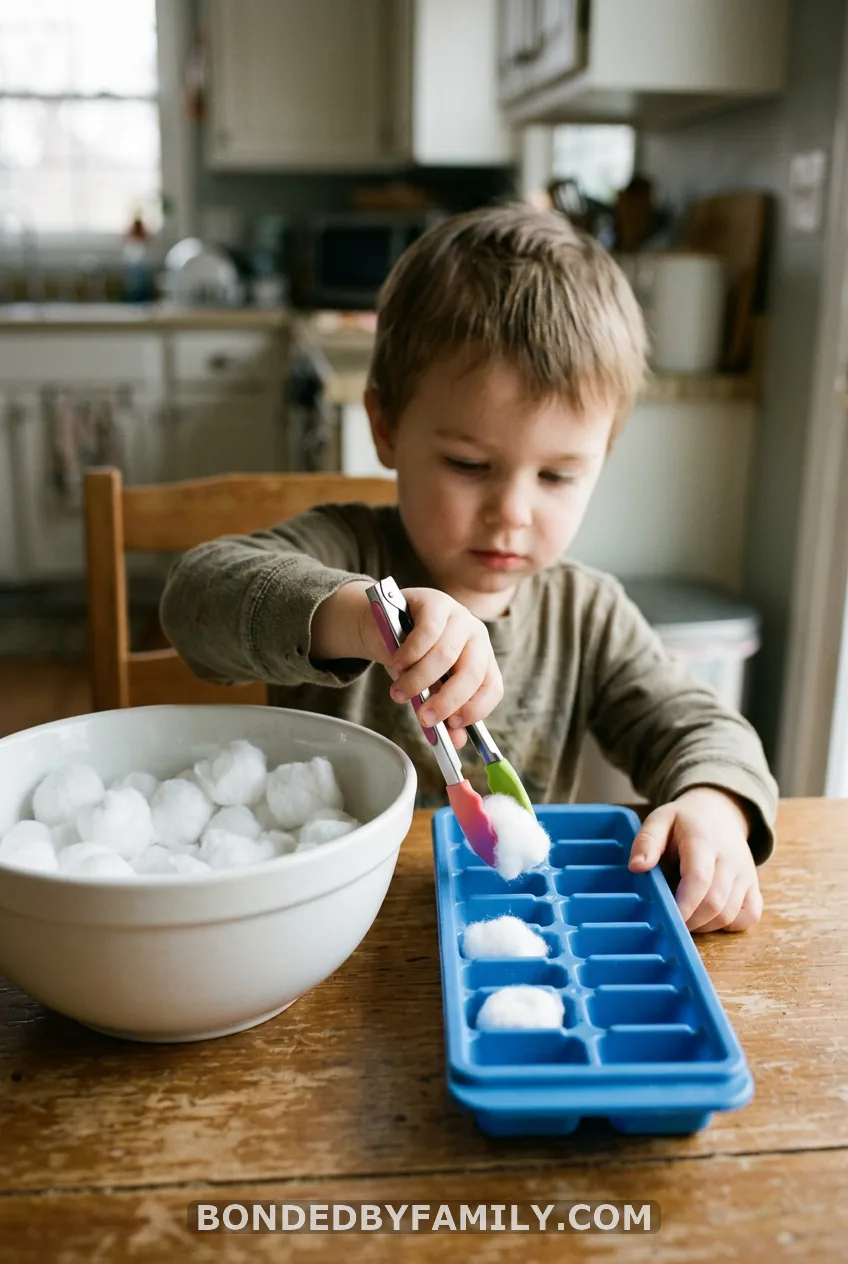
Skill: hand and arch strength. Setup: 1 minute. Mess: low.
Squeezing tongs works the small muscles that later hold a pencil. Dump 15 cotton balls in a big bowl. Have your child move each into an ice cube tray, one “snowball” per cup.
Cotton balls are easier to grab than pom poms, so start here with new tong users. Kids under 4 need a grown-up nearby, since cotton can end up in mouths.
Easier: large salad tongs. Harder: tweezers or a strawberry huller, which takes real force.
4. Paper Plate Snowman Lacing Card
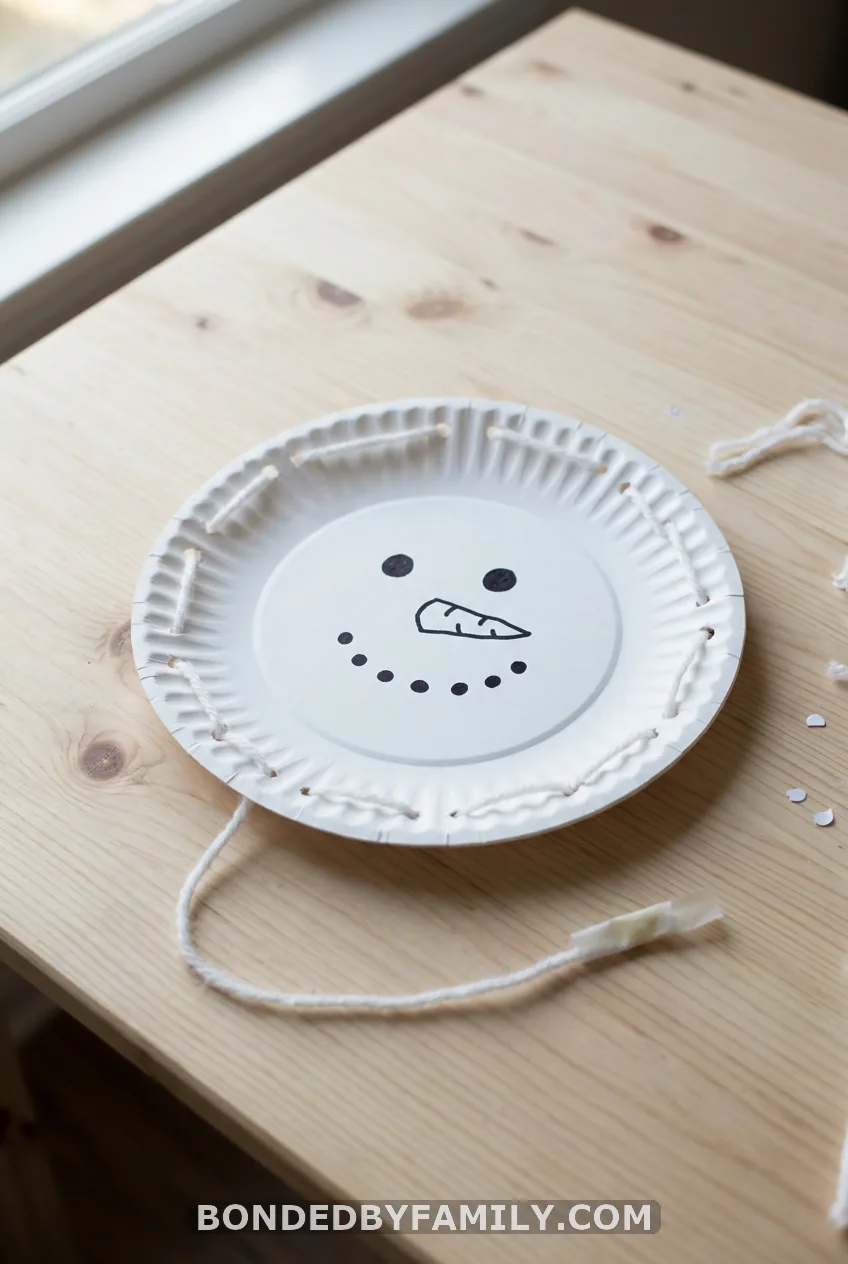
Skill: bilateral coordination and eye-hand control. Setup: 3 minutes. Mess: none.
Draw a snowman face in the center of a sturdy paper plate. Punch holes every inch around the rim with a single hole punch. Wrap one end of a 24-inch piece of yarn with tape so it works like a shoelace tip.
Your child laces in and out around the edge. One hand holds the plate steady while the other pulls the yarn through. That job split is exactly what bilateral coordination means.
Easier: holes every 2 inches and a thick shoelace. Harder: a whipstitch pattern, going over the edge each time.
5. Pipe Cleaner Snowman Bead Threading
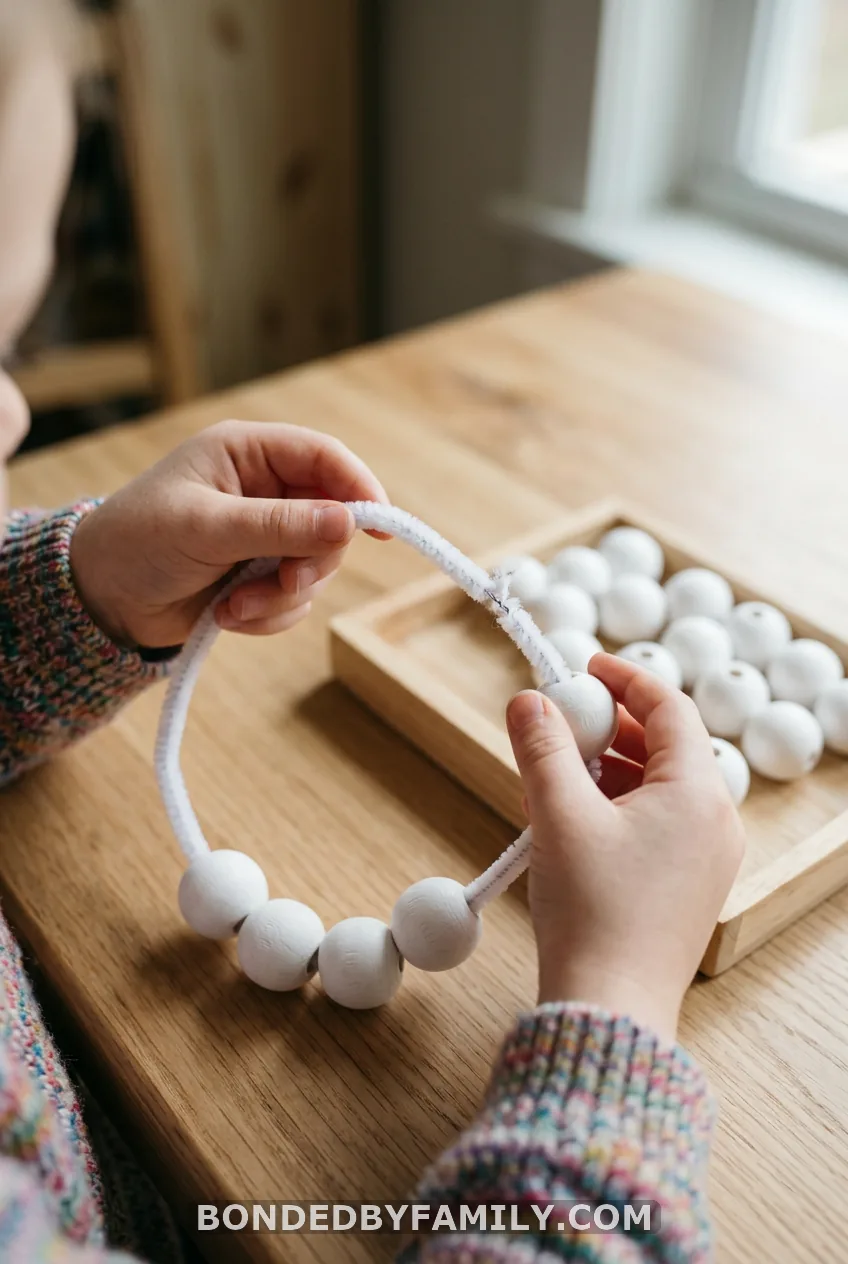
Skill: pincer grasp and wrist stability. Setup: 2 minutes. Mess: low.
Give your child a white pipe cleaner and a bowl of beads, pasta tubes, or cut straw pieces. They thread “snowballs” on, then you twist the ends into a ring or a three-ball snowman shape.
Beads are choking hazards under 4, so use large wooden ones or cut straw pieces for the little ones, and stay close.
Easier: extra-large beads. Harder: small pony beads in a color pattern, white-white-blue.
6. Build-a-Snowman Cut and Paste (No Printer)
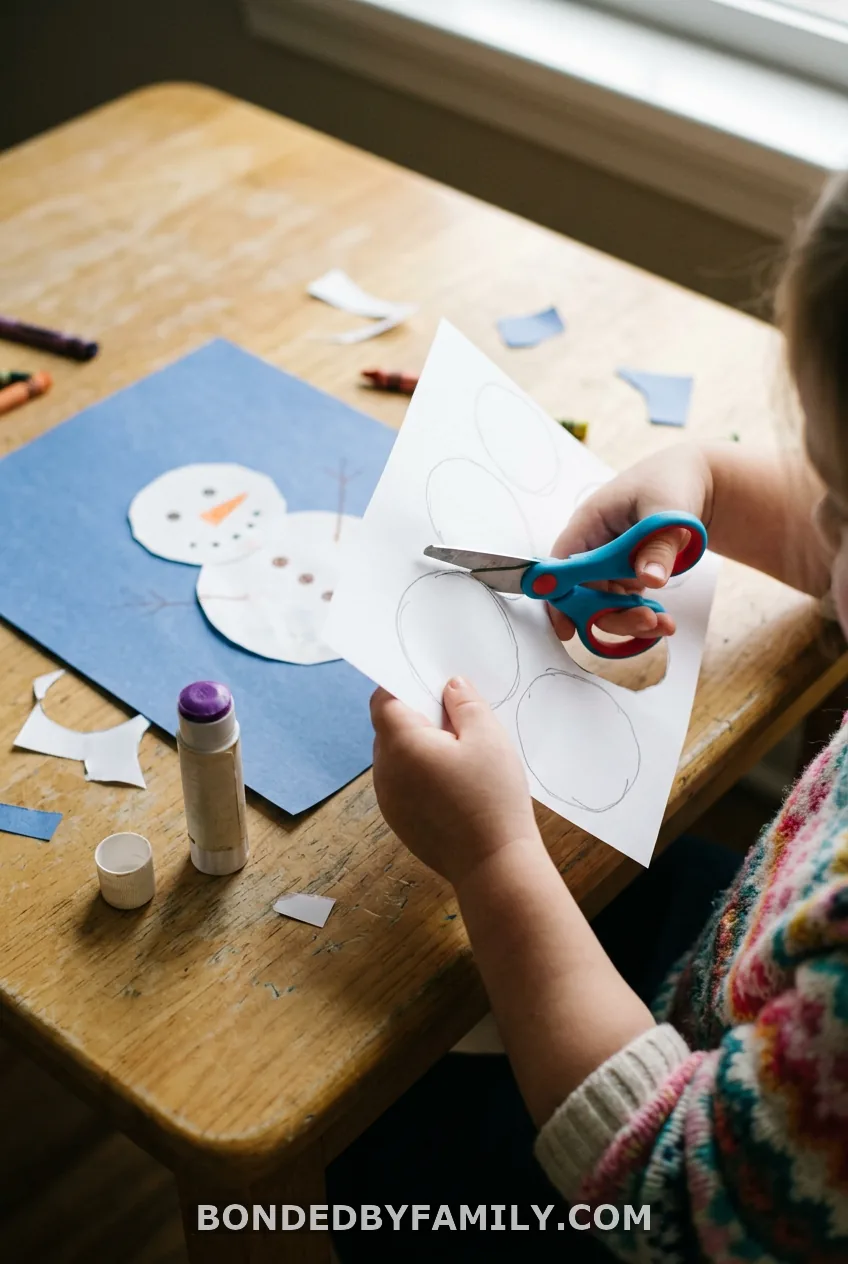
Skill: scissor control and glue control. Setup: 5 minutes. Mess: medium.
You don’t need a printable. Trace a mug, a cup, and a lid on white paper to draw three circles. Draw a hat, a scarf strip, and a carrot nose on colored paper.
Your child colors the pieces, cuts them out, and glues them in a stack on blue construction paper. Glue sticks beat liquid glue here because they give toddlers more control.
Scissors need an adult nearby. For kids still learning, hold the paper for them.
Easier: snips only. Cut the circles into squares and let them snip the edges. Harder: cut the full circles and add a fringed scarf with a row of small cuts.
7. Fill the Snowman With Everyday Objects
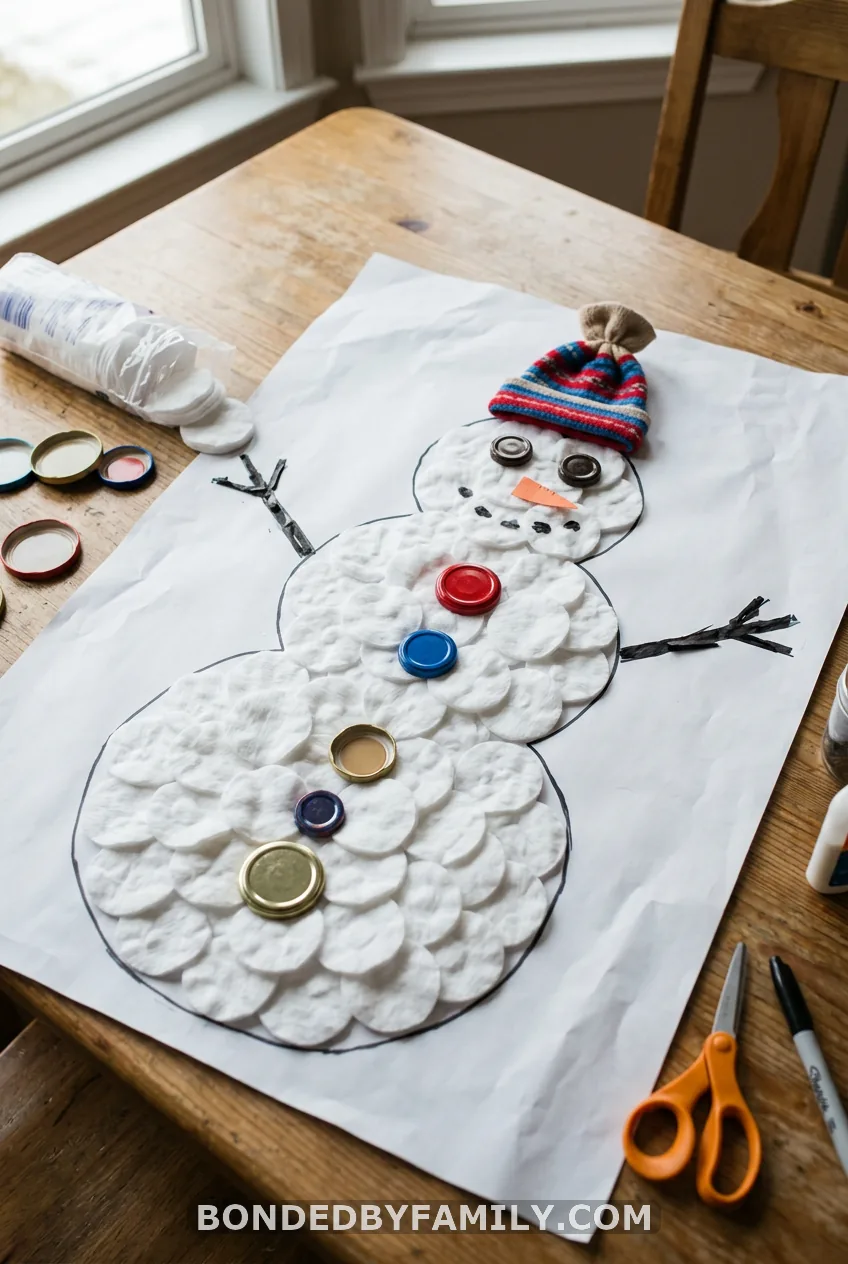
Skill: in-hand manipulation and planning. Setup: 2 minutes. Mess: low.
Draw a big snowman outline. Hand your child cotton rounds, bottle caps, and egg carton cups. They fill the shape and build up the face. A baby sock makes a hat.
Easier: one big jar lid per circle. Harder: small items only, no gaps.
8. Snowman Q-Tip Dot Painting
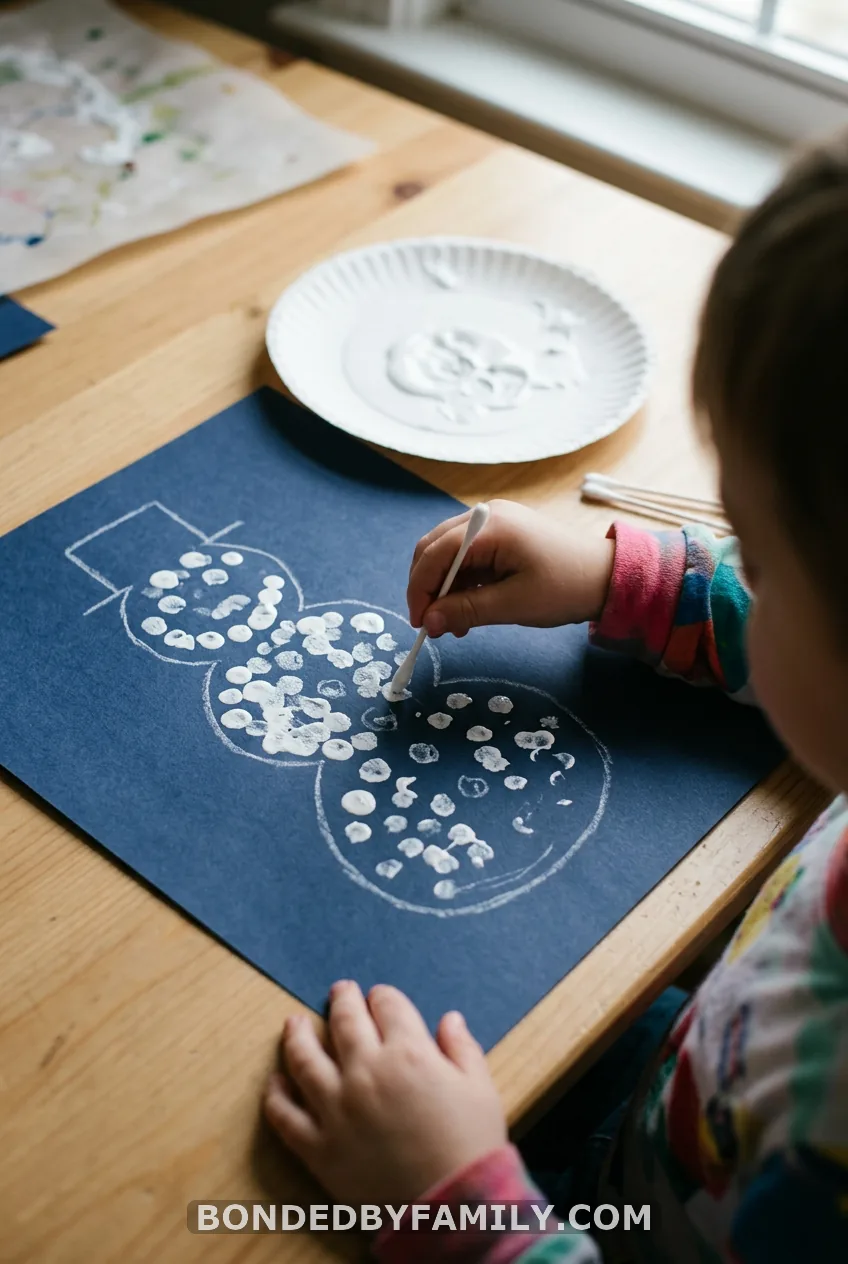
Skill: tripod grasp and precision. Setup: 3 minutes. Mess: medium.
Draw three stacked circles in white crayon on dark blue paper. Squirt a nickel-size dot of white washable paint on a plate. Your child dips a Q-tip and fills each circle with dots.
The small handle forces a pencil-like hold. Use one fresh Q-tip for each ball so the paint doesn’t blob.
Easier: a bingo dauber or a fat dot marker. Harder: dots that must not touch, like a snowball made of tiny separate flakes.
9. Sticker Dot Coal and Buttons
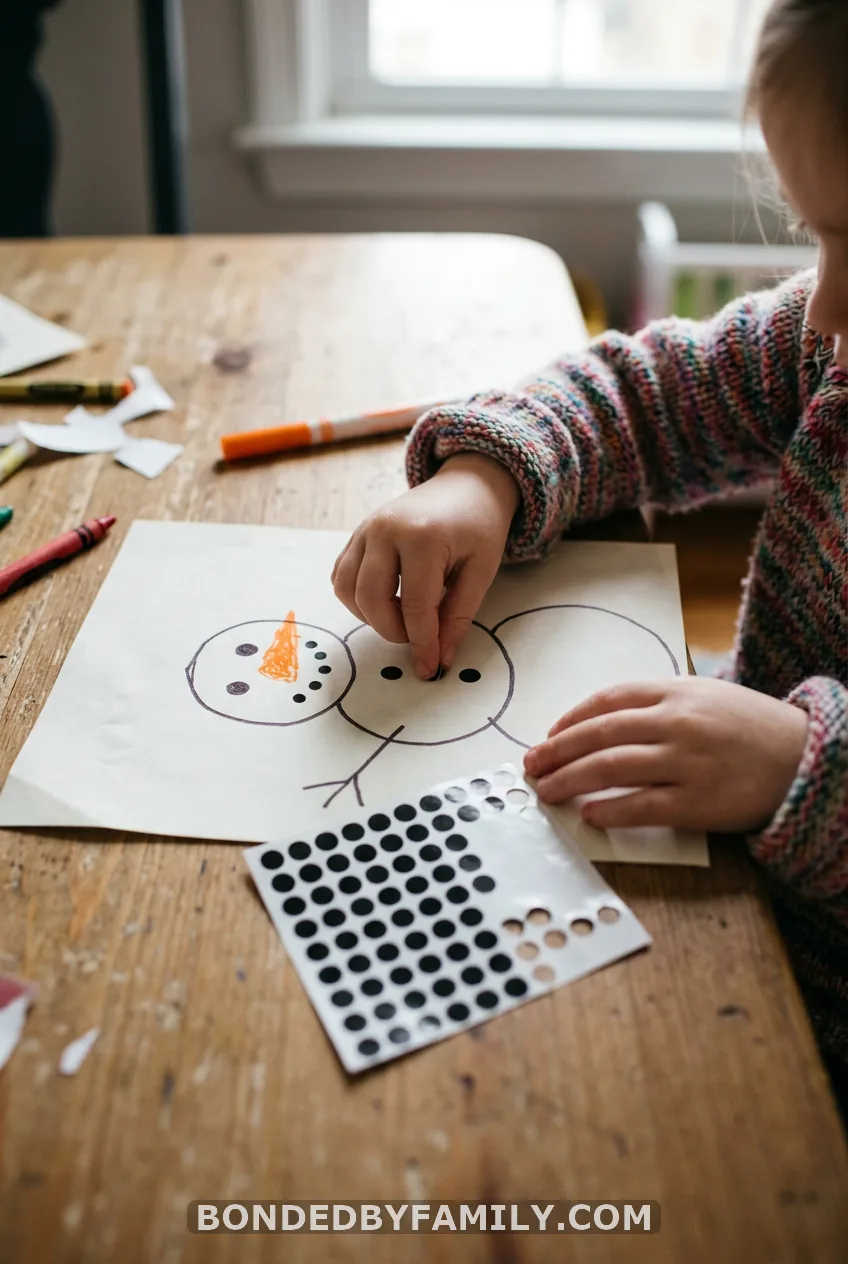
Skill: pincer grasp. Setup: 1 minute. Mess: none.
Peeling a tiny sticker is a real pinch workout. Draw a snowman, then have your child add eyes, mouth and three buttons with black dot stickers. If fingers struggle, peel the edge up first so there’s a lip to grab.
10. Playdough Snowman With Buttons and Googly Eyes
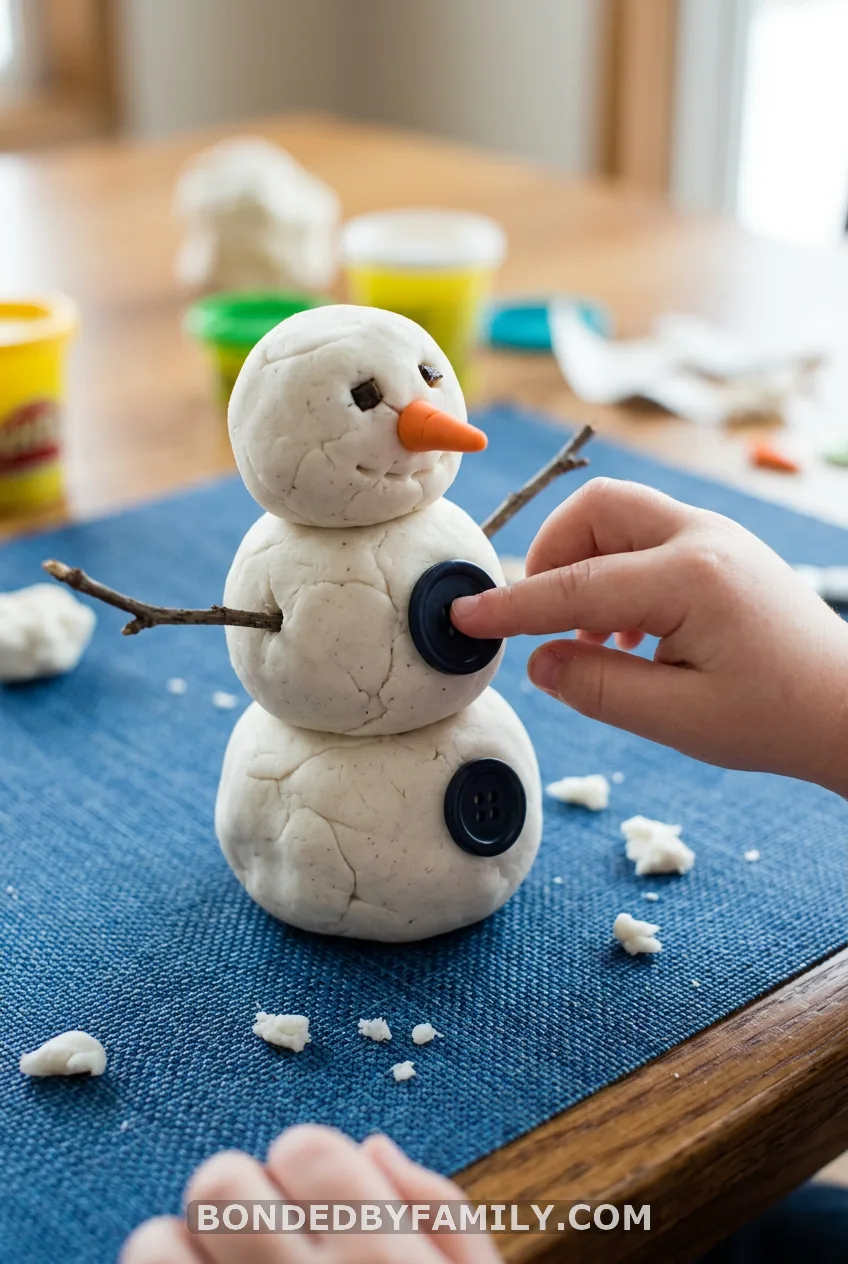
Skill: hand strength and finger isolation. Setup: 2 minutes. Mess: low.
Roll three balls of white dough in different sizes. Stack them, then press in buttons, googly eyes, an orange dough carrot, and twig or pretzel-stick arms. Rolling and pinching builds the muscles in the palm.
Skip buttons and googly eyes for children under 4, or swap them for rolled-dough dots. Playdough is also easy to make: mix 2 cups flour, 1 cup salt, 2 tablespoons cream of tartar, 2 tablespoons oil, and 2 cups hot water over low heat until it pulls from the pan.
Easier: just roll and stack. Harder: make tiny details, like a mouth from 5 dots.
11. Sticky Contact Paper Snowman (On the Table, Not the Wall)
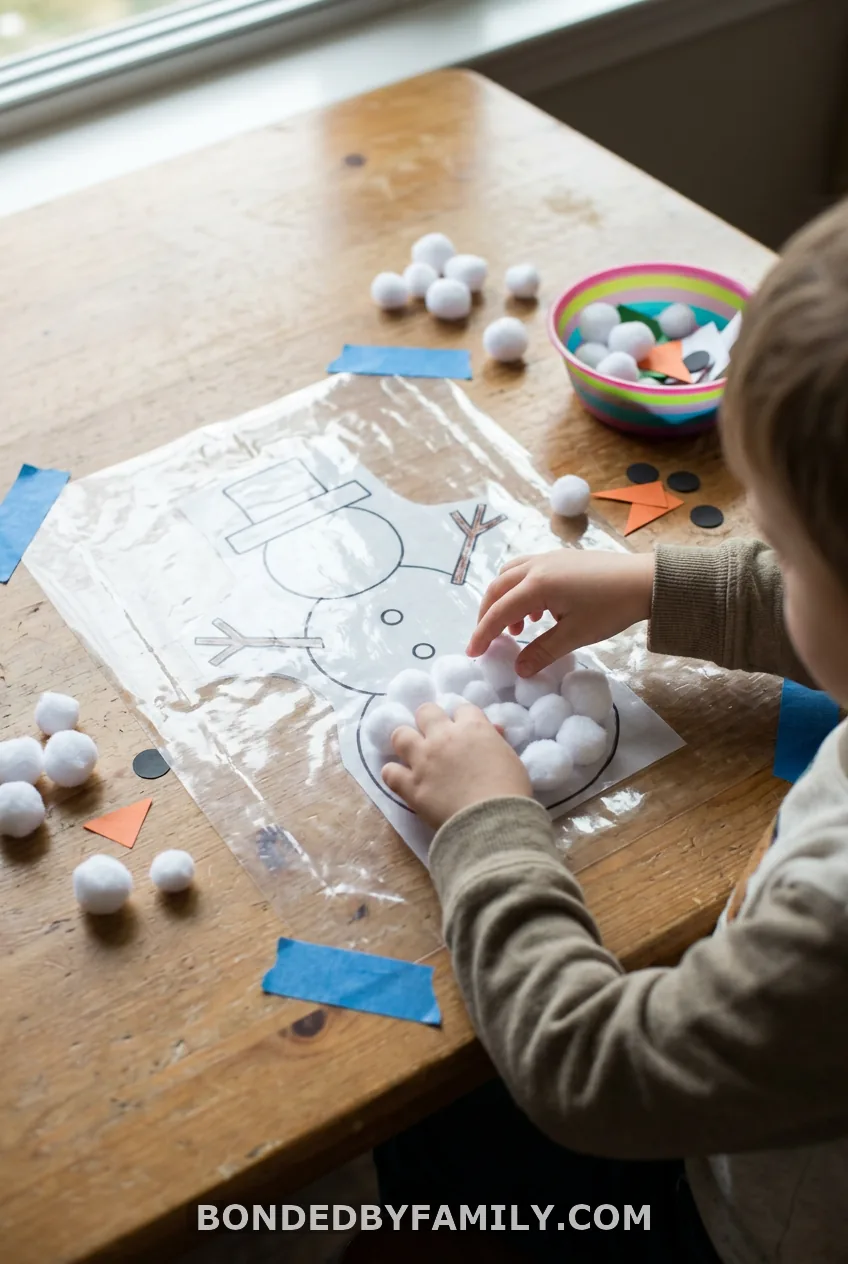
Skill: pincer grasp and wrist stability. Setup: 3 minutes. Mess: low.
What most people think: stick the contact paper on a wall, and gravity helps kids stand and work. Reality: pom poms are too light and the paper too weak, so they slide off, as my rug can attest.
Here’s what works. Tape a 12-by-18-inch sheet of contact paper sticky side up on a table, with a snowman outline taped beneath. Put out pom poms, felt scraps, and paper shapes. Kids press them down to build.
You can reuse it for a day or two. Press a second sheet on top to save the creation.
Easier: large felt pieces. Harder: small paper bits placed in a set pattern.
12. Help the Snowman Finish the Race (Tracing Lines)
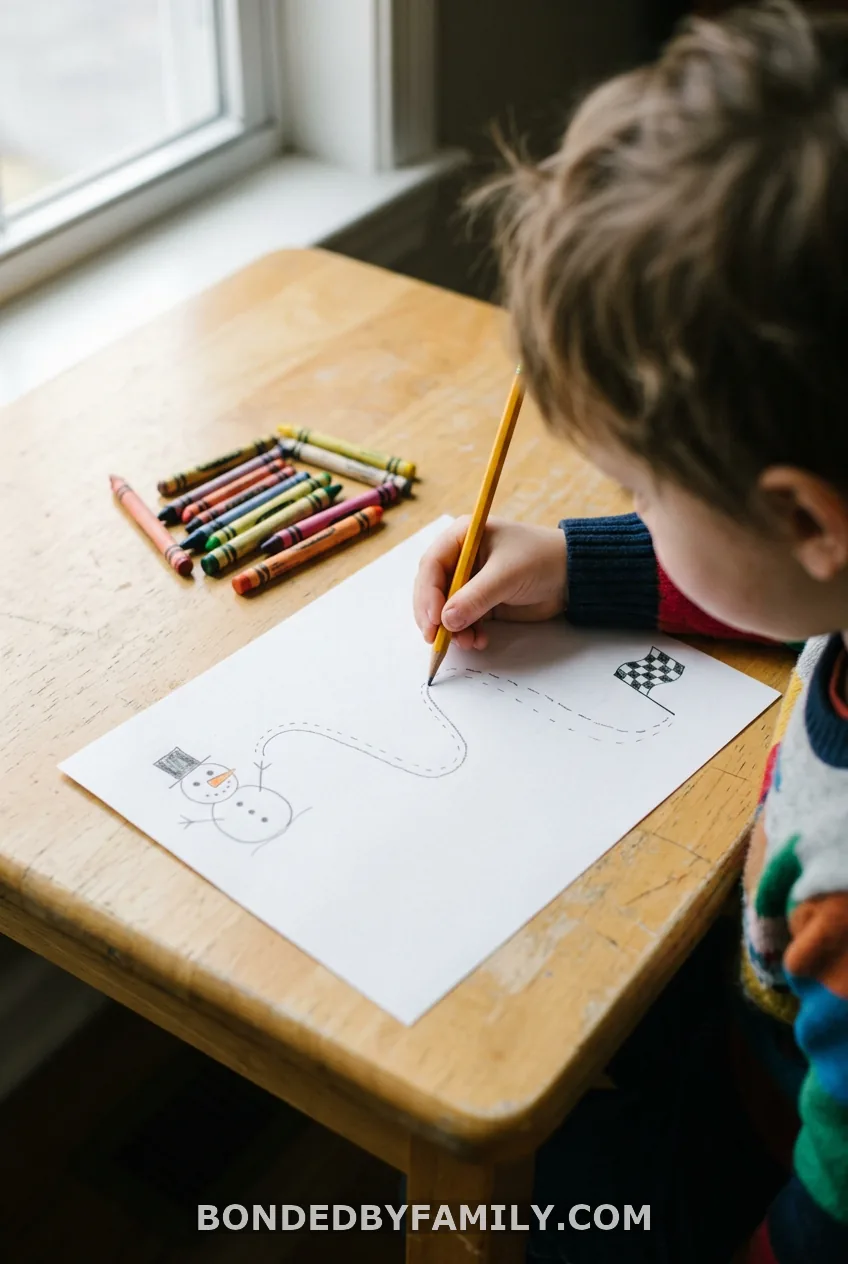
Skill: pencil control and left-to-right tracking. Setup: 3 minutes. Mess: none.
Draw a snowman on the left edge of a sheet and a finish flag on the right. Between them, draw lines for each lane: straight, wavy, zigzag, loops. Your child traces each lane to help the snowman win.
Use a thick marker for the lines so they’re easy to follow. Slip the sheet into a page protector and use a dry-erase marker for endless reuse.
Easier: one fat straight line. Harder: thin zigzags with sharp turns.
13. Snowman Dot-to-Dot
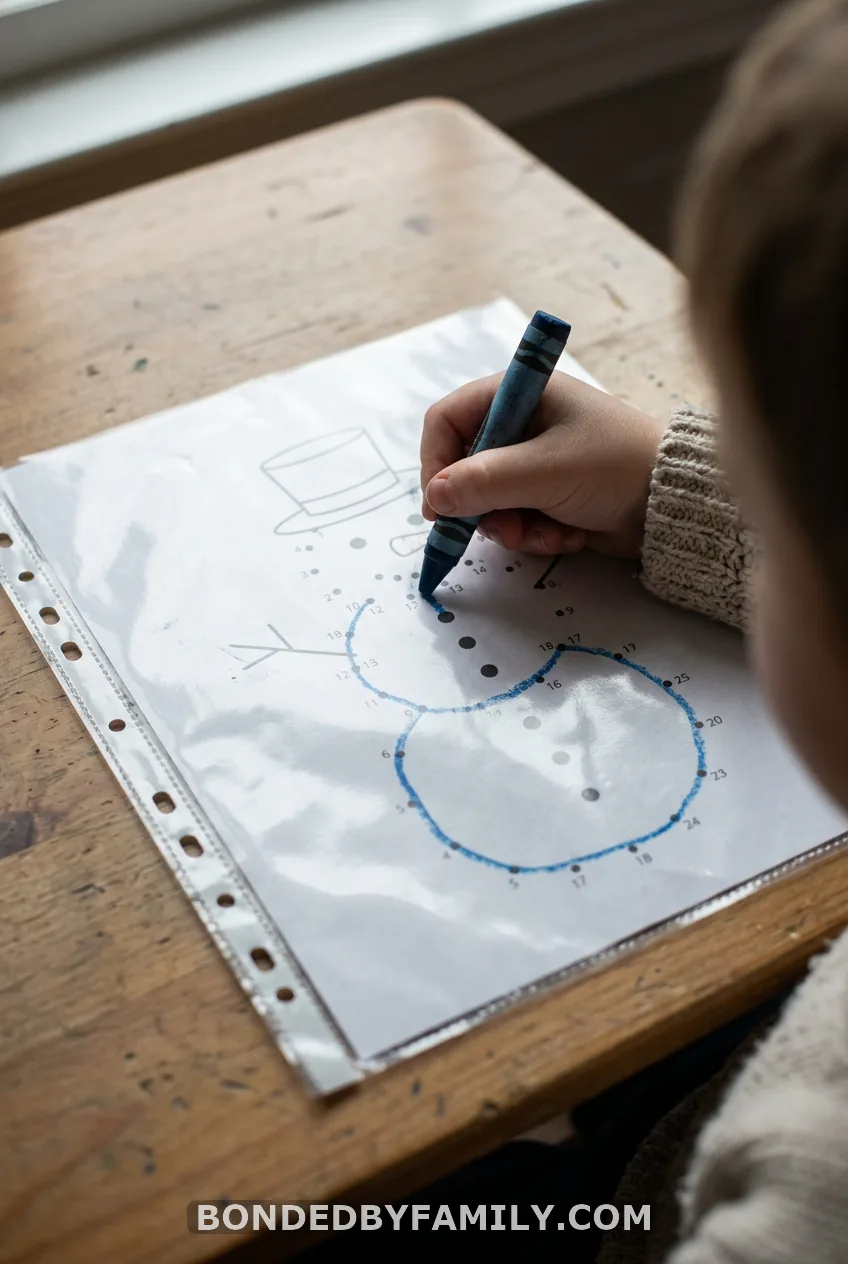
Skill: pencil grip and number order. Setup: 4 minutes. Mess: none.
Dot out a snowman with numbers by each dot, 1 through 10 for new counters. Your child connects them in order, then colors it in. Large dots help little hands aim.
Easier: 5 dots. Harder: count up to 20 or skip count by 2s.
14. Hole Punch Snowflakes
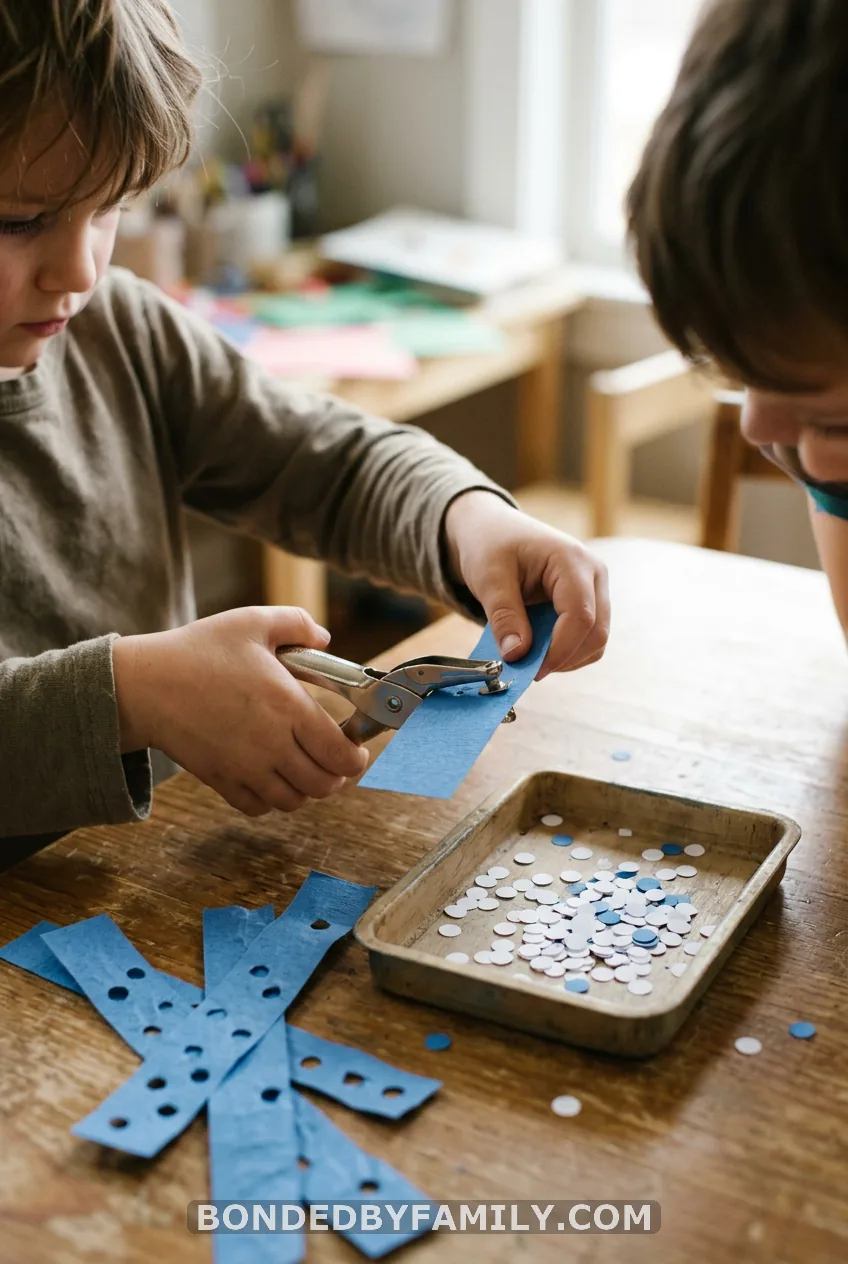
Skill: hand strength. Setup: 1 minute. Mess: medium (confetti).
Give your child a hole punch and strips of white or blue paper. Each squeeze makes a paper “snowflake.” Catch them in a tray, then glue them around a snowman. A single-hole punch takes real force, so it is a solid strength builder.
Easier: a lighter-action punch or thin paper. Harder: cardstock.
15. Tear and Crumple Paper Snowballs
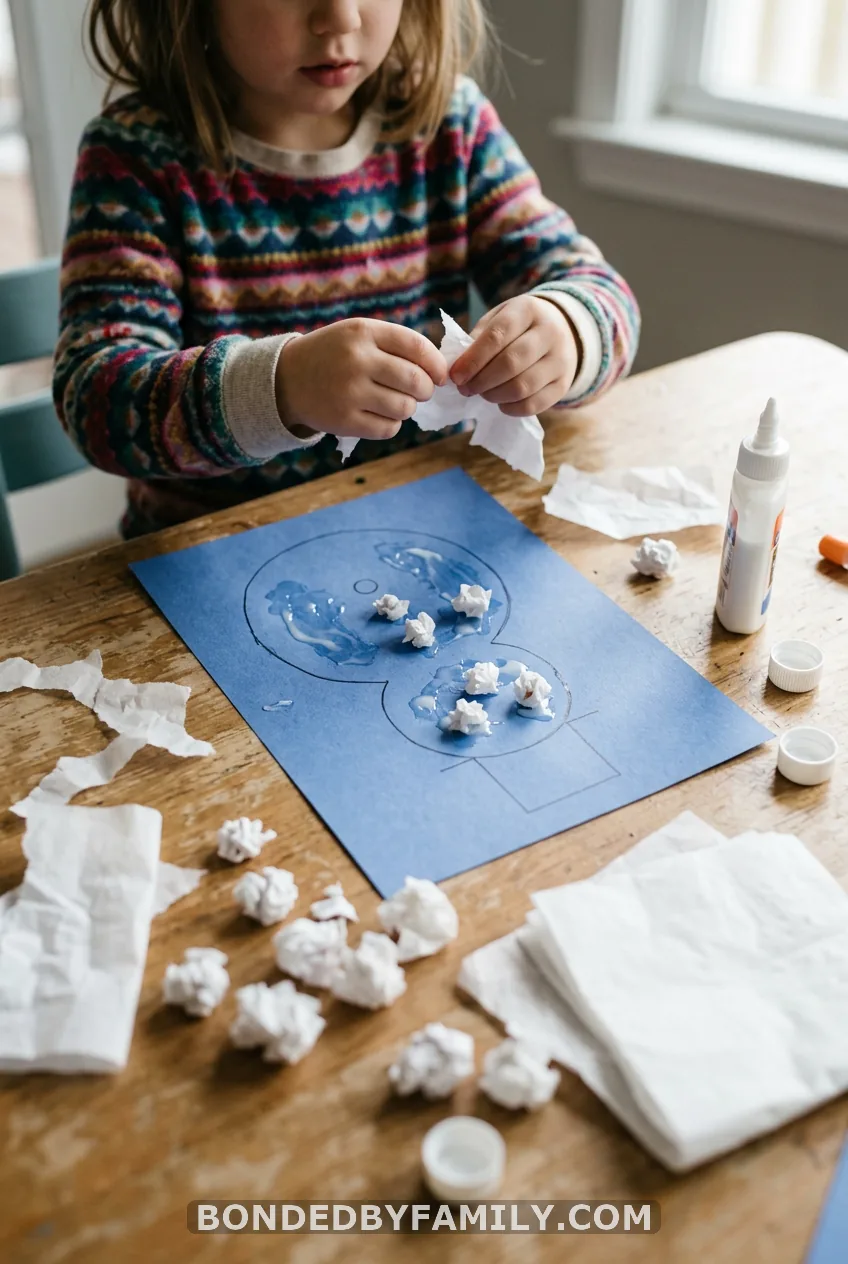
Skill: finger strength and bilateral coordination. Setup: 2 minutes. Mess: medium.
Tearing needs two hands working in opposite directions. Hand your child squares of white tissue paper or paper napkins. They tear, then crumple each piece into a ball with fingertips only, not the whole fist.
Brush glue inside a snowman outline and press the balls in. Add a scrap of orange paper for the nose.
Easier: large sheets and one big crumple. Harder: tiny balls using just the thumb and pointer.
16. Clothespin Snowman
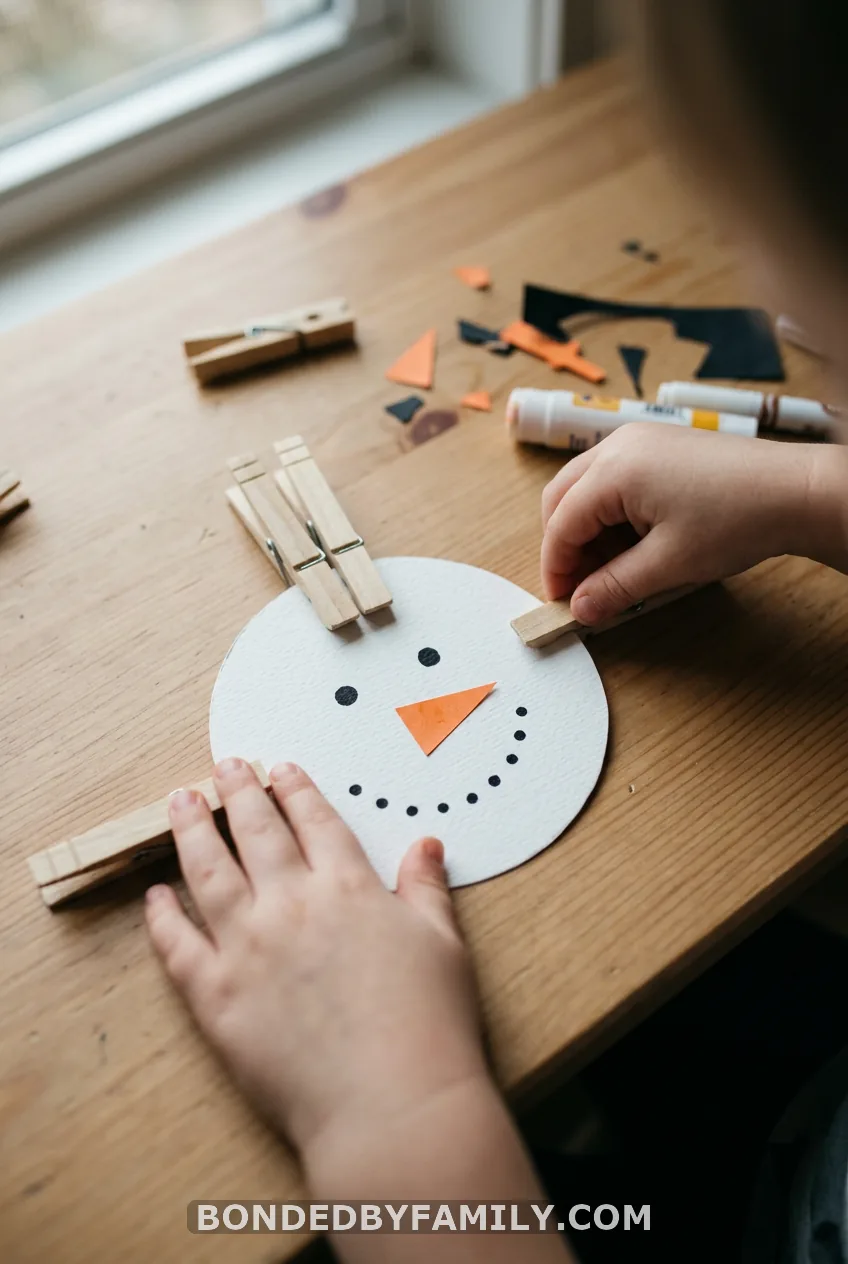
Skill: hand and arch strength. Setup: 2 minutes. Mess: none.
Cut a 6-inch circle from white cardstock and draw on a face. Your child clips wooden clothespins around the rim for arms, a hat, and a scarf. Opening a spring clothespin is a lot harder than it looks.
Easier: mini spring pins are harder, so use big ones or start with the clip pressed half open. Harder: color-match pins to paint spots on the edge.
17. Dress the Snowman: Scarf Tying and Buttoning
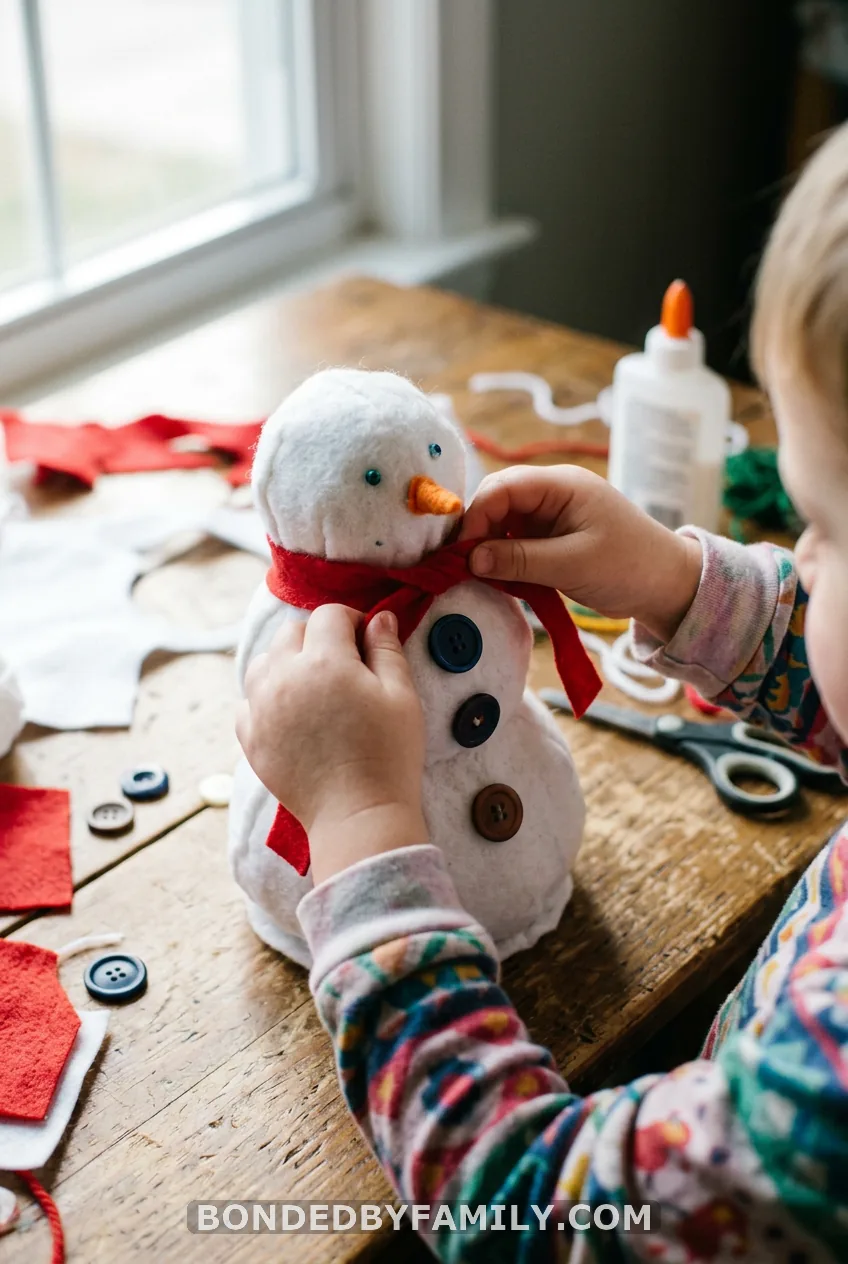
Skill: bilateral coordination and dressing skills. Setup: 5 minutes. Mess: none.
Cautionary tale first: I once handed my son a toddler-size snowman with tiny buttons. He gave up in thirty seconds. Size matters here.
Cut three felt circles and sew or glue them together into a snowman, 10 inches tall. Cut slits for buttonholes and sew on 1-inch buttons. Add a 2-inch-wide fleece strip as a scarf. Your child buttons and ties.
Stay close with kids under 4, since buttons can come off.
Easier: velcro dots. Harder: smaller buttons and a real knot.
Skill Cheat Sheet: Which Snowman Activity for Which Hand Skill
Pick by what your child needs most.
| Skill | Start with | Age range |
|---|---|---|
| Pincer grasp | Pom pom drop (1), sticker dots (9) | 2-4 |
| Hand strength | Clothespins (16), hole punch (14), tongs (3) | 3-5 |
| Scissor control | Cut and paste (6) | 3-5 |
| Bilateral coordination | Lacing (4), tearing (15) | 2-5 |
| Pencil control | Race tracing (12), dot-to-dot (13) | 3-5 |
| Wrist stability | Contact paper (11), threading (5) | 2-4 |
If scissors frustrate your child, begin with tearing and hole punching. Both build the same strength with less pressure. If pincer grasp is weak, start with big pom poms and tongs, then work down to smaller pieces.
How to Set Up a Snowman Fine Motor Station or Busy Bag
Pick three or four activities and give each its own tray. Tape a photo of the finished result to each tray so kids know the goal without asking.
For busy bags, put each activity in a zip bag with its supplies and a skill label on an index card. Rotate bags weekly. Pom pom drop, lacing, and playdough travel best.
In a classroom, run the trays as a center with a 10-minute rotation. On snow days, pull out the messy ones like painting and tearing, and save the quiet ones for rest time.
Where I’m Heading Next
Next week I’m skipping the big setup and running one tray a day. Monday is the pom pom drop, Tuesday lacing, Wednesday playdough, and so on, each a short ten-minute stretch. I’ll keep the sticky contact paper on the table where it belongs.
If you try only one, start with the pom pom bottle. Add a harder version once your child can drop ten in a row without a miss.
FAQ
What age can kids start snowman fine motor activities?
Toddlers around 18 months to 2 years can do big pom pom drops, playdough rolling, and sticker peeling with an adult nearby. Preschoolers from 3 to 5 handle lacing, cutting, and tracing. Skip small parts for anyone under 4.
How long should a fine motor activity last?
Toddlers usually give 5 to 10 minutes, and preschoolers 10 to 15. Stop while your child is still interested, and bring it back the next day.
Which activity is best for preschool pre-writing skills?
Q-tip dot painting and snowman race tracing both build the pencil-style grip and control that come before writing. Tongs and clothespins add the hand strength underneath it.